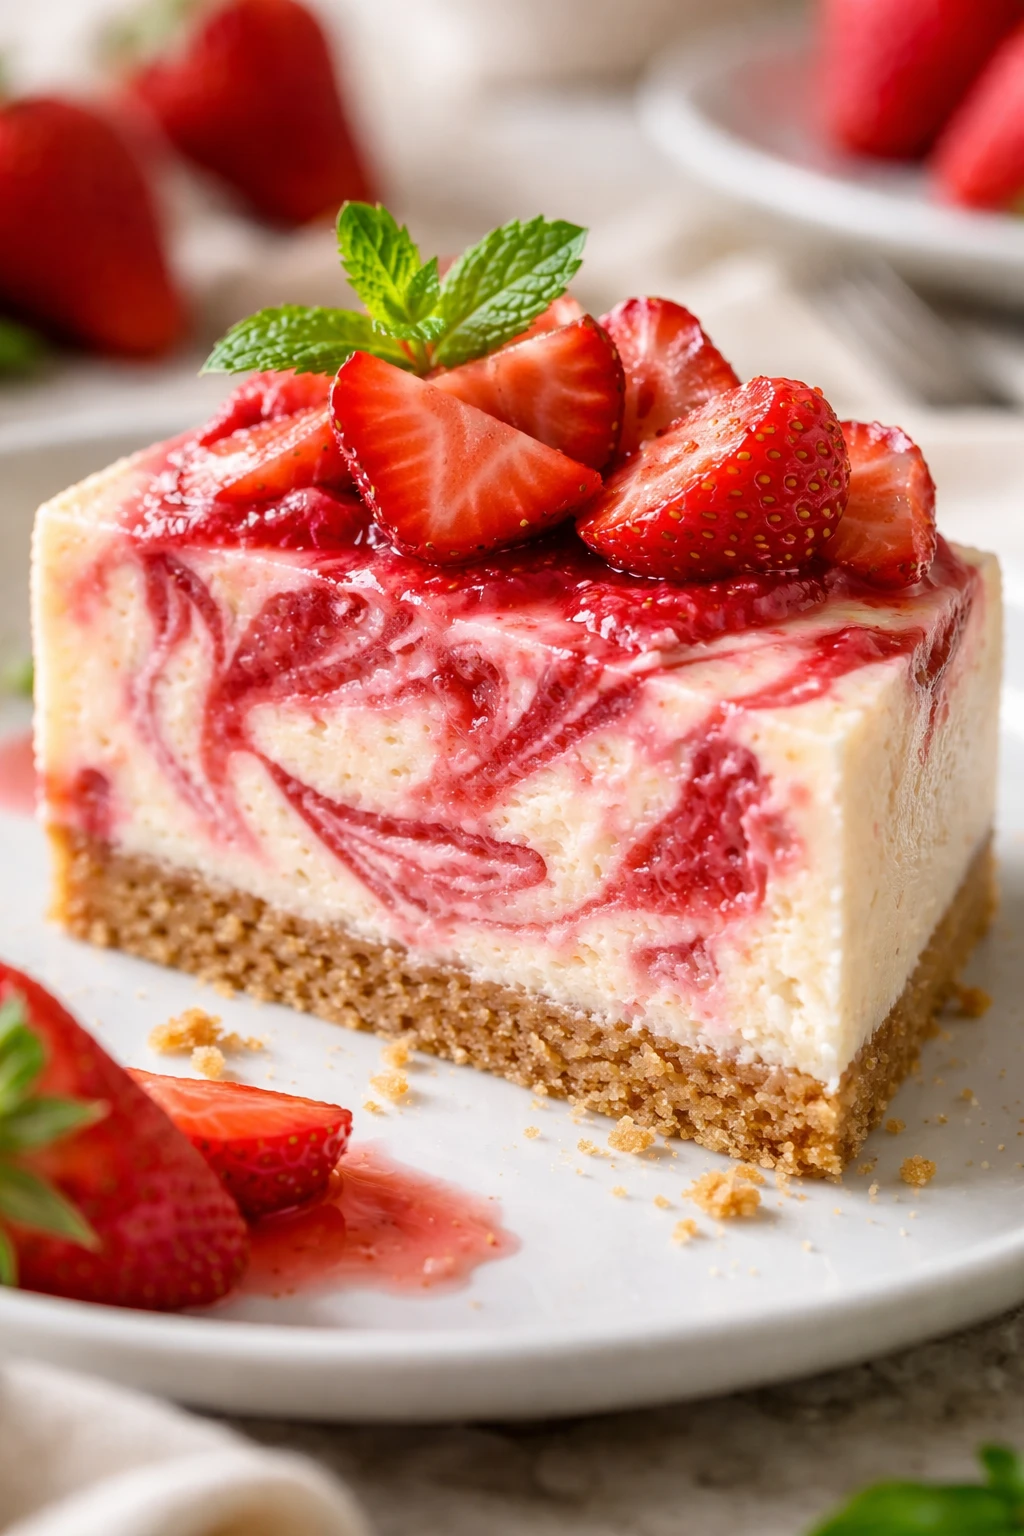
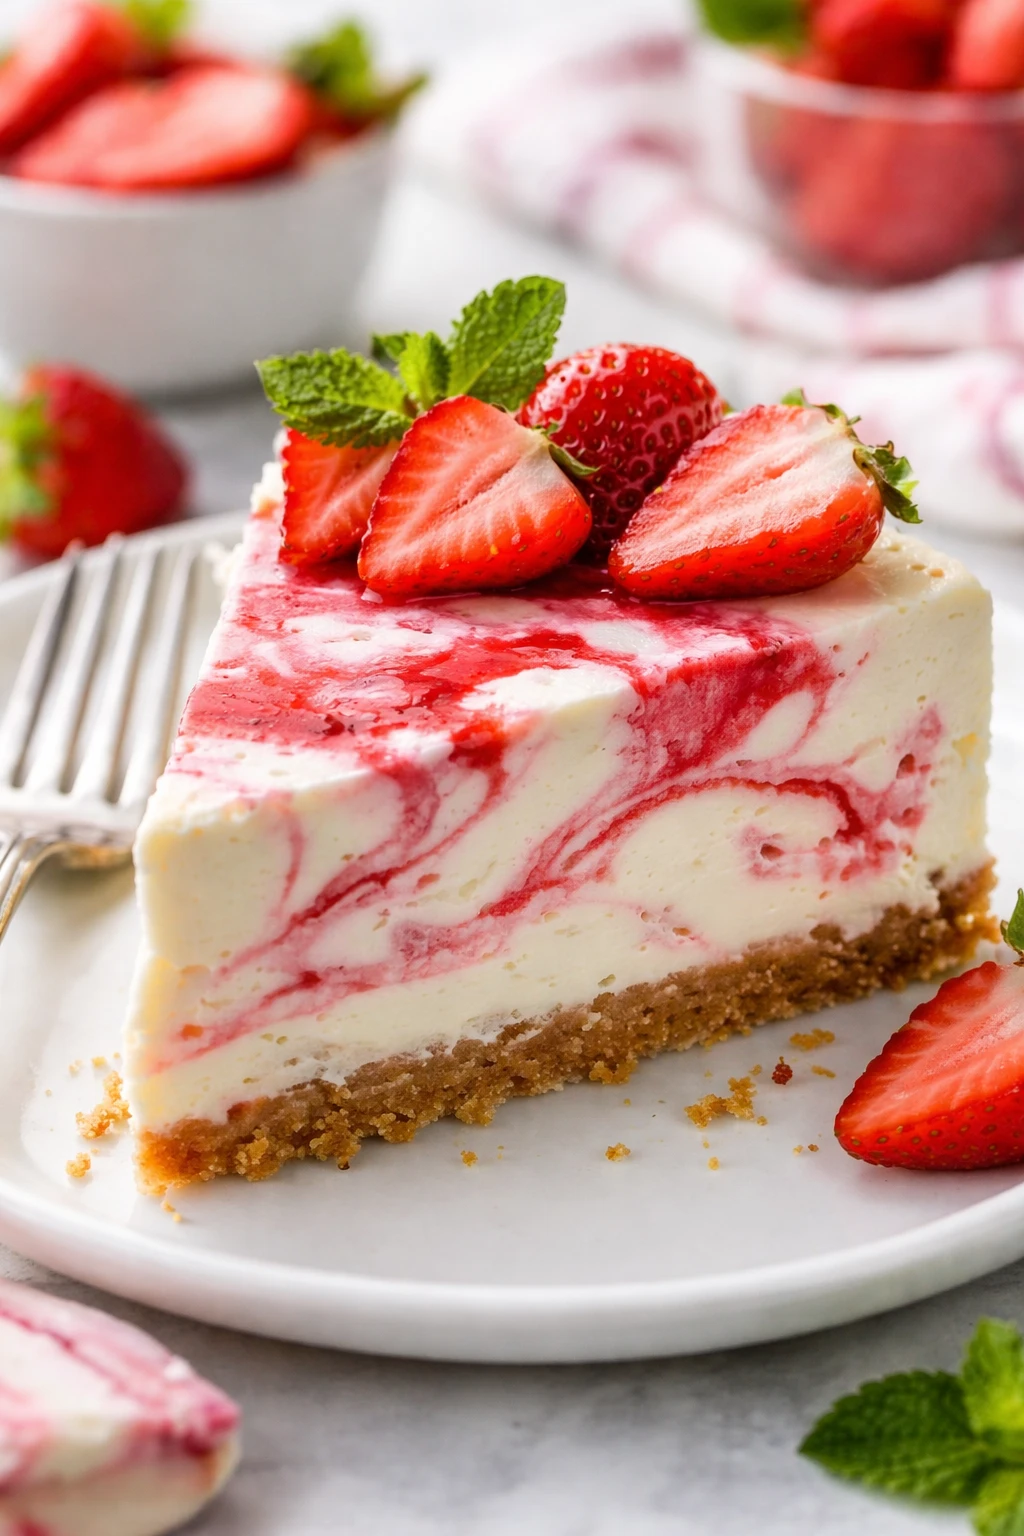
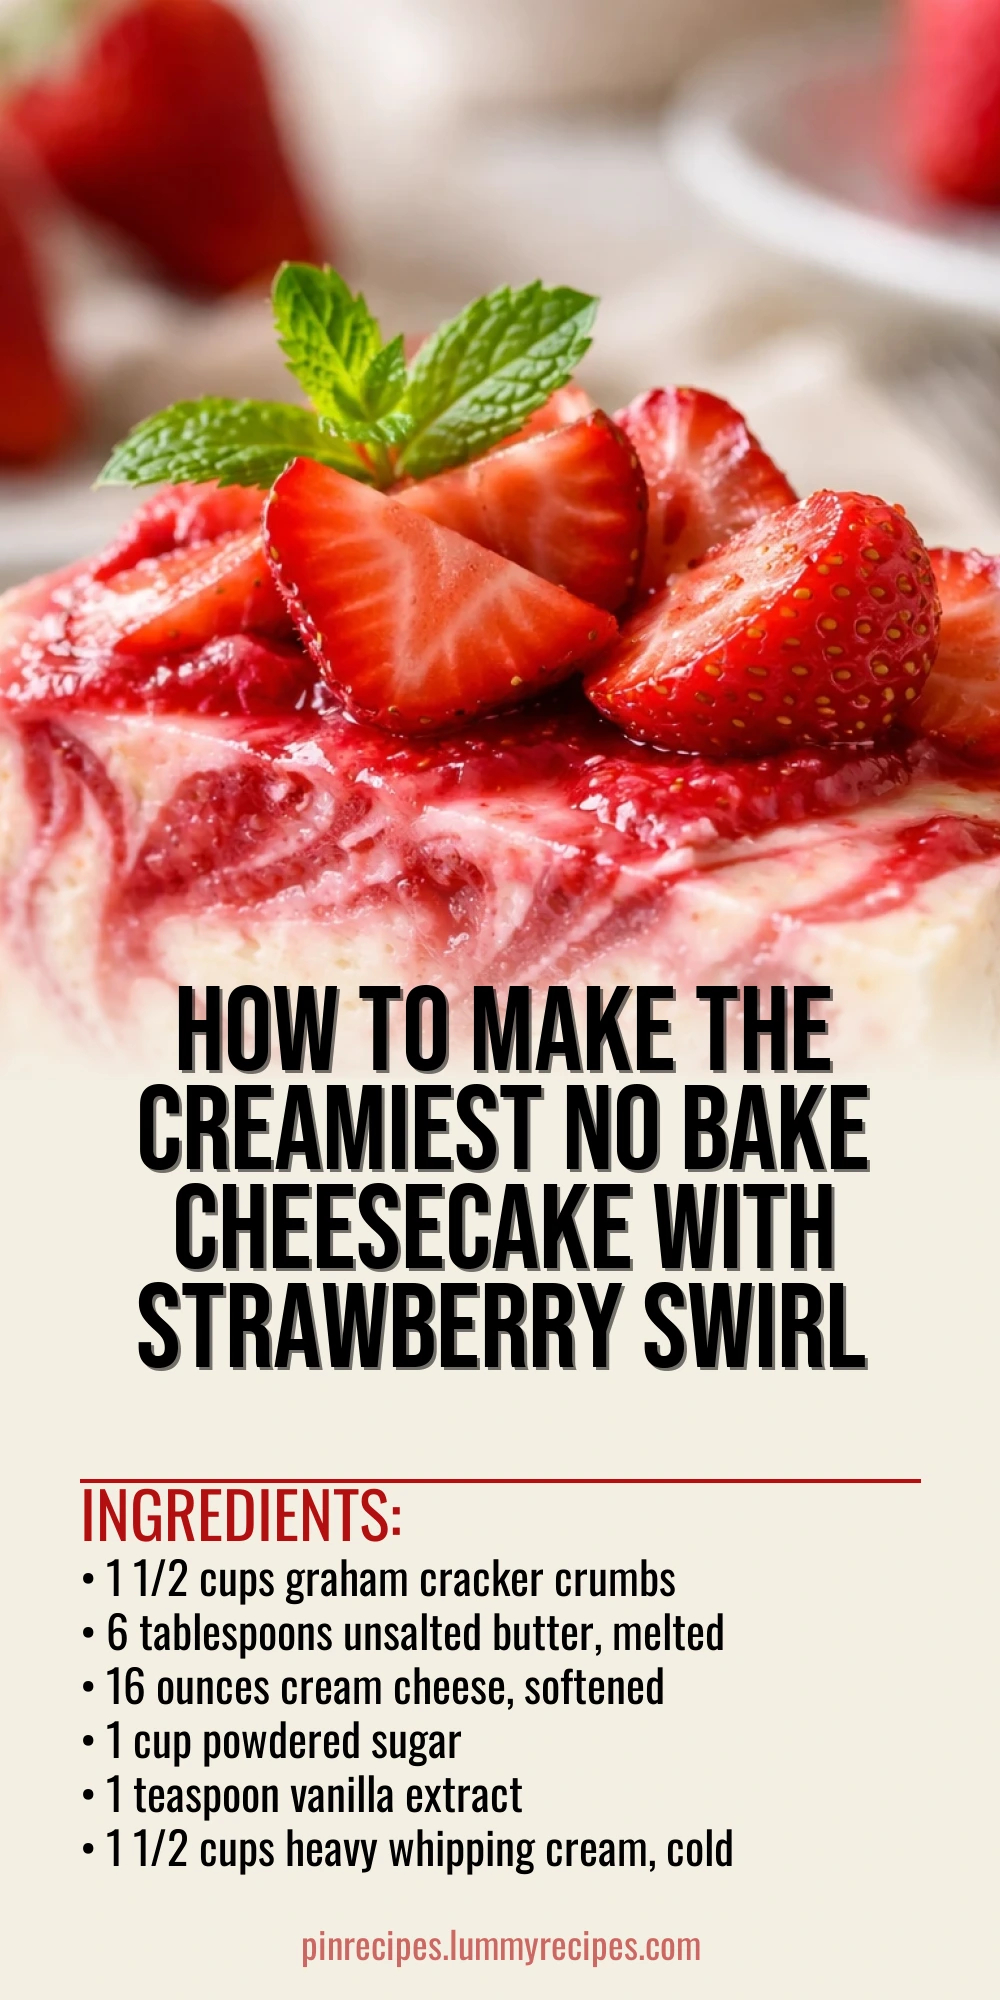
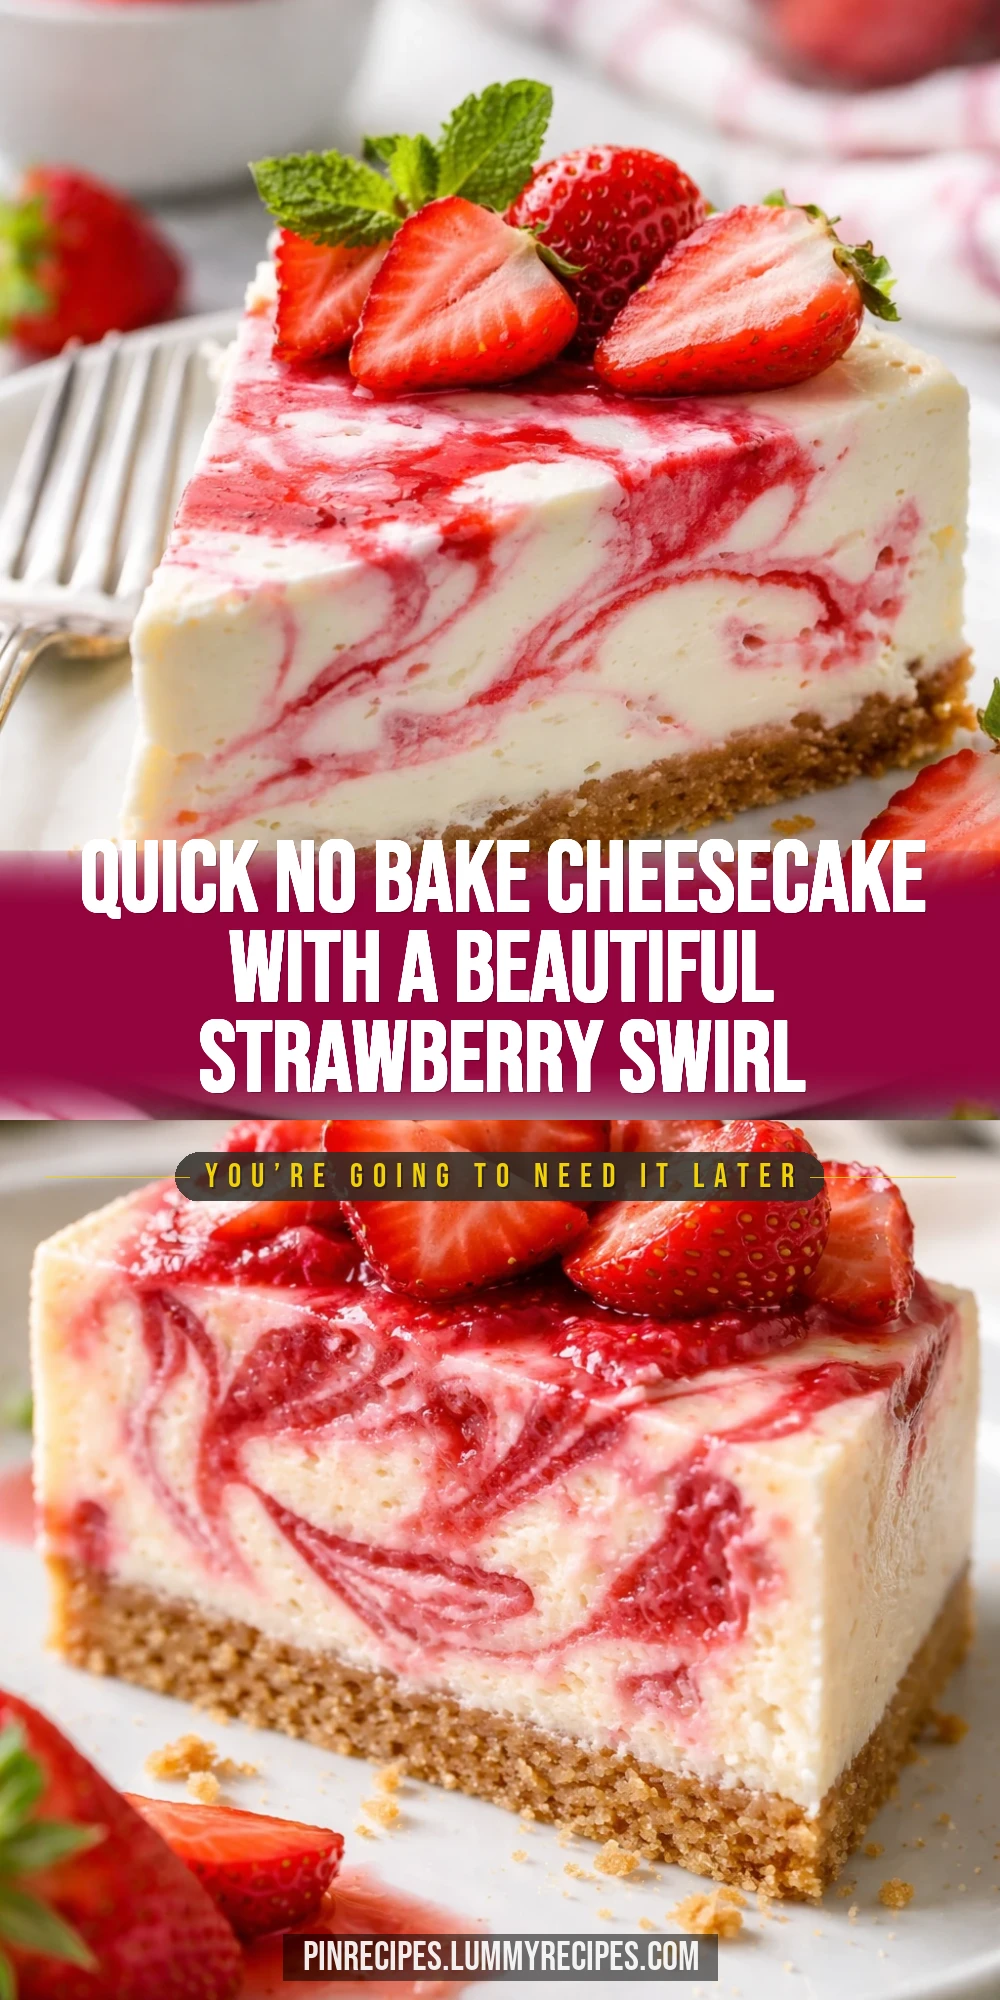
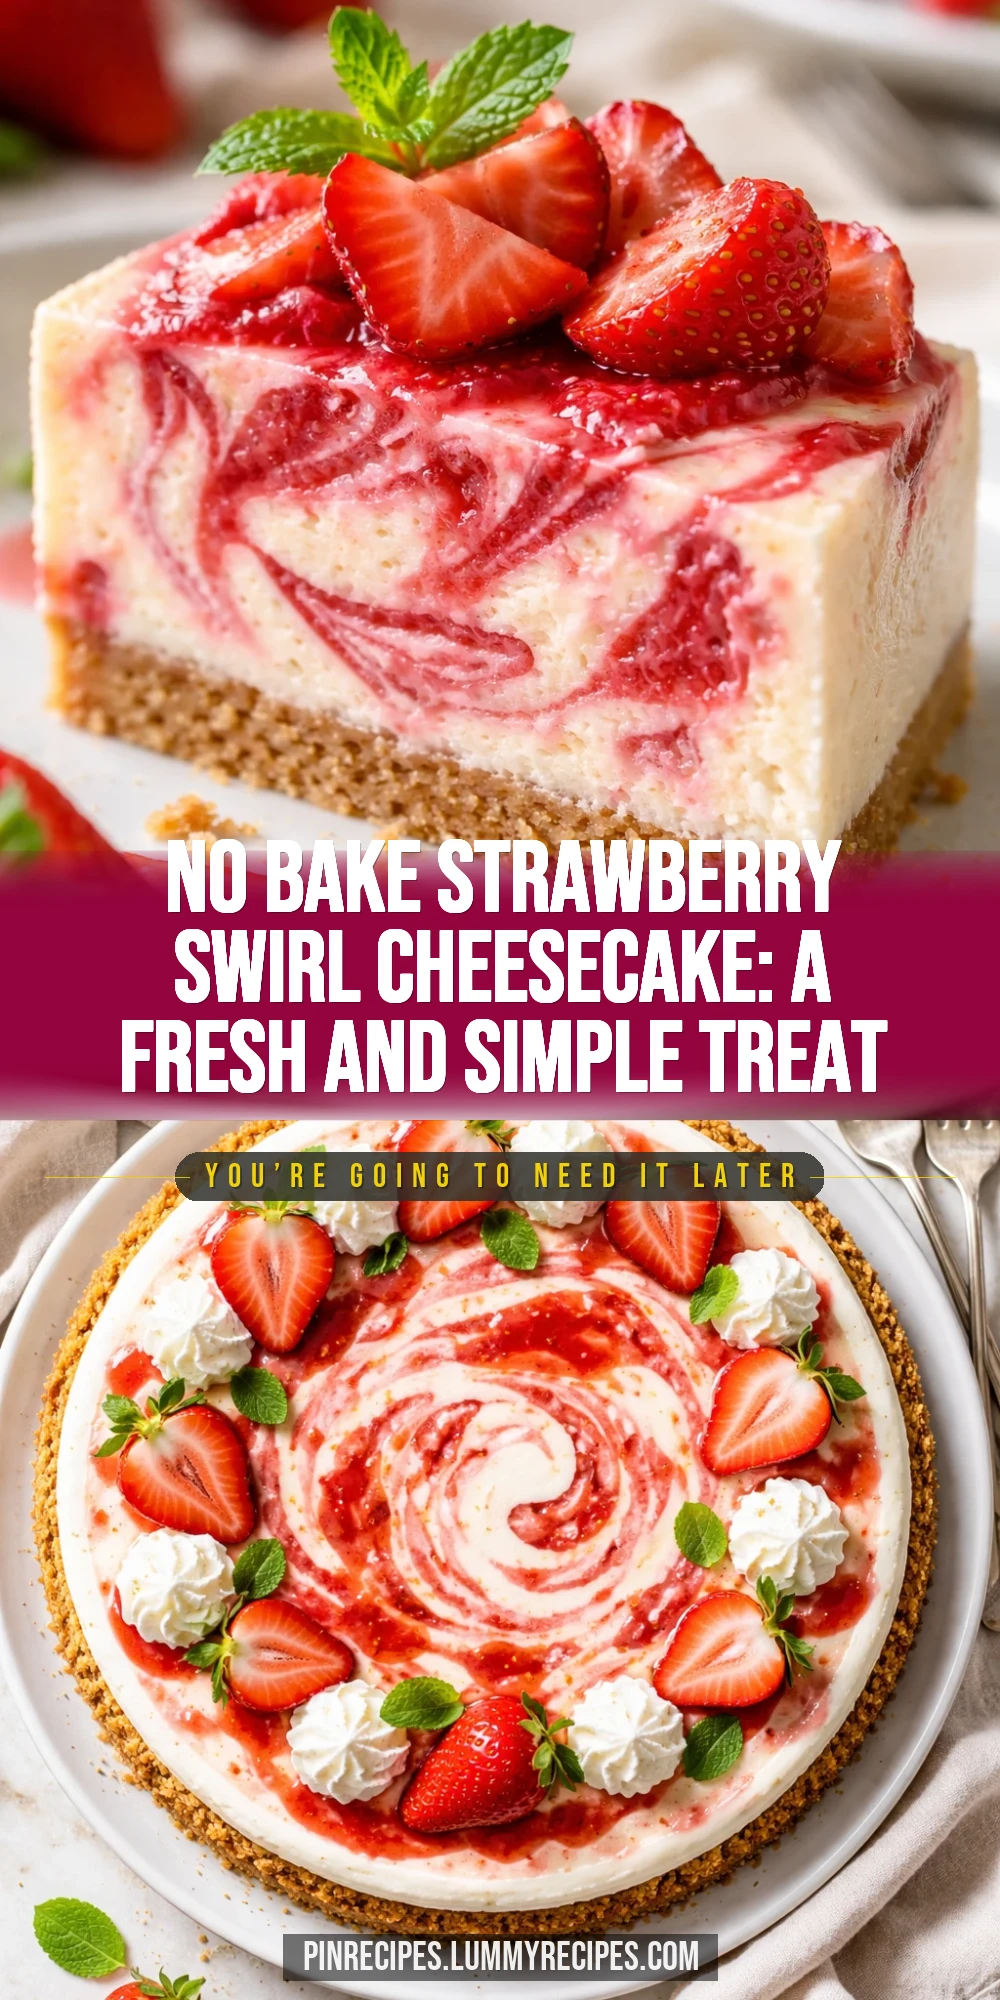
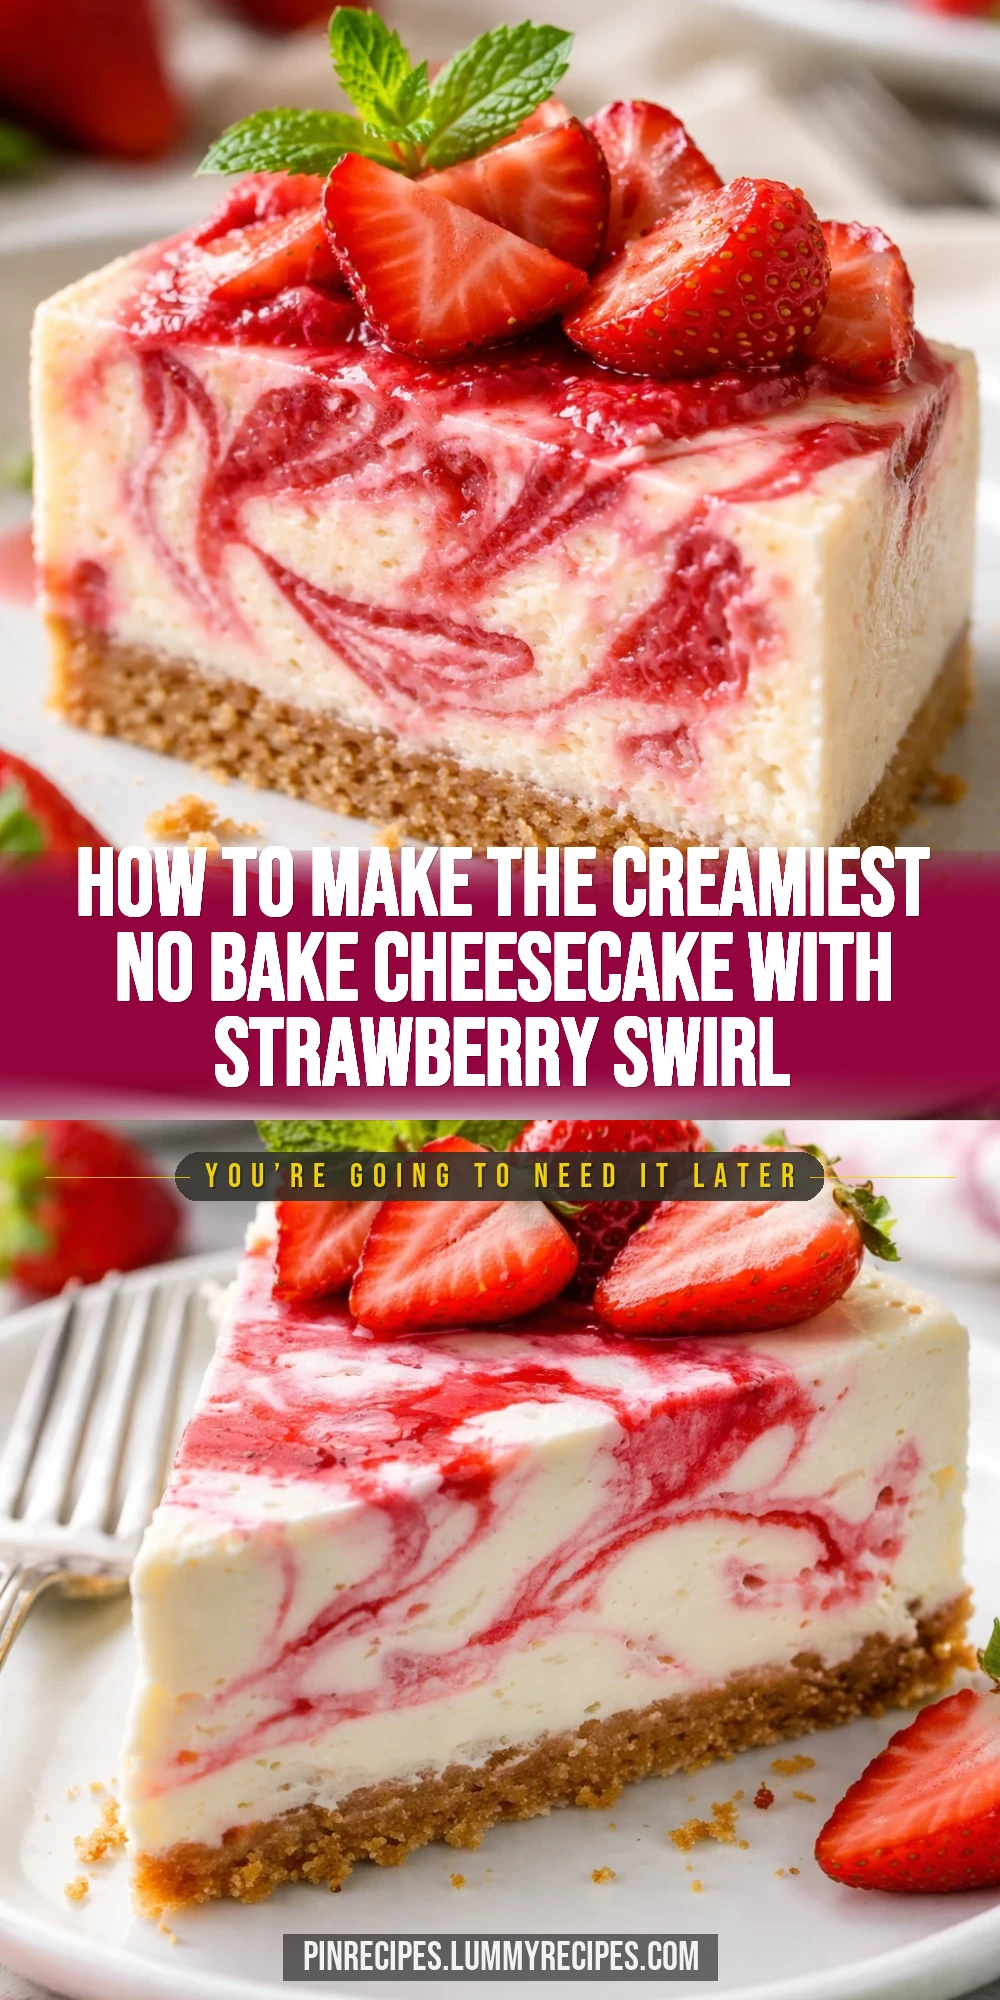
This no bake cheesecake is creamy and light, with a fresh strawberry swirl that adds a bright, fruity touch. It’s super easy to make and perfect for warm days or last-minute gatherings.
Introduction
I first made this no bake cheesecake with fresh strawberry swirl last summer when I wanted a light dessert that didn’t require turning on the oven in the heat. It quickly became a favorite in my family because it’s so creamy but still feels fresh thanks to the strawberry swirl. What sets this recipe apart is how easy it is to get that perfect swirl without any baking — just a simple folding technique and fresh fruit puree that adds natural sweetness and color. I love that it comes together in under 30 minutes, making it ideal for last-minute guests or warm weather when you want something cool and satisfying. The crust is buttery and crisp, complementing the silky filling beautifully. Honestly, I’ve tried other no bake cheesecakes before, but this one nails the balance between richness and freshness every time. The trick I learned was to whip the cream until it forms stiff peaks and fold it gently into the cream cheese mixture — that’s what makes it so light and airy. When it’s done, you get a beautiful marbled effect with the strawberry puree that looks as good as it tastes. It’s perfect for summer dinners, birthday parties, or just treating yourself on a weekend afternoon.
What You'll Need
One 9-inch cheesecake, 8 servings
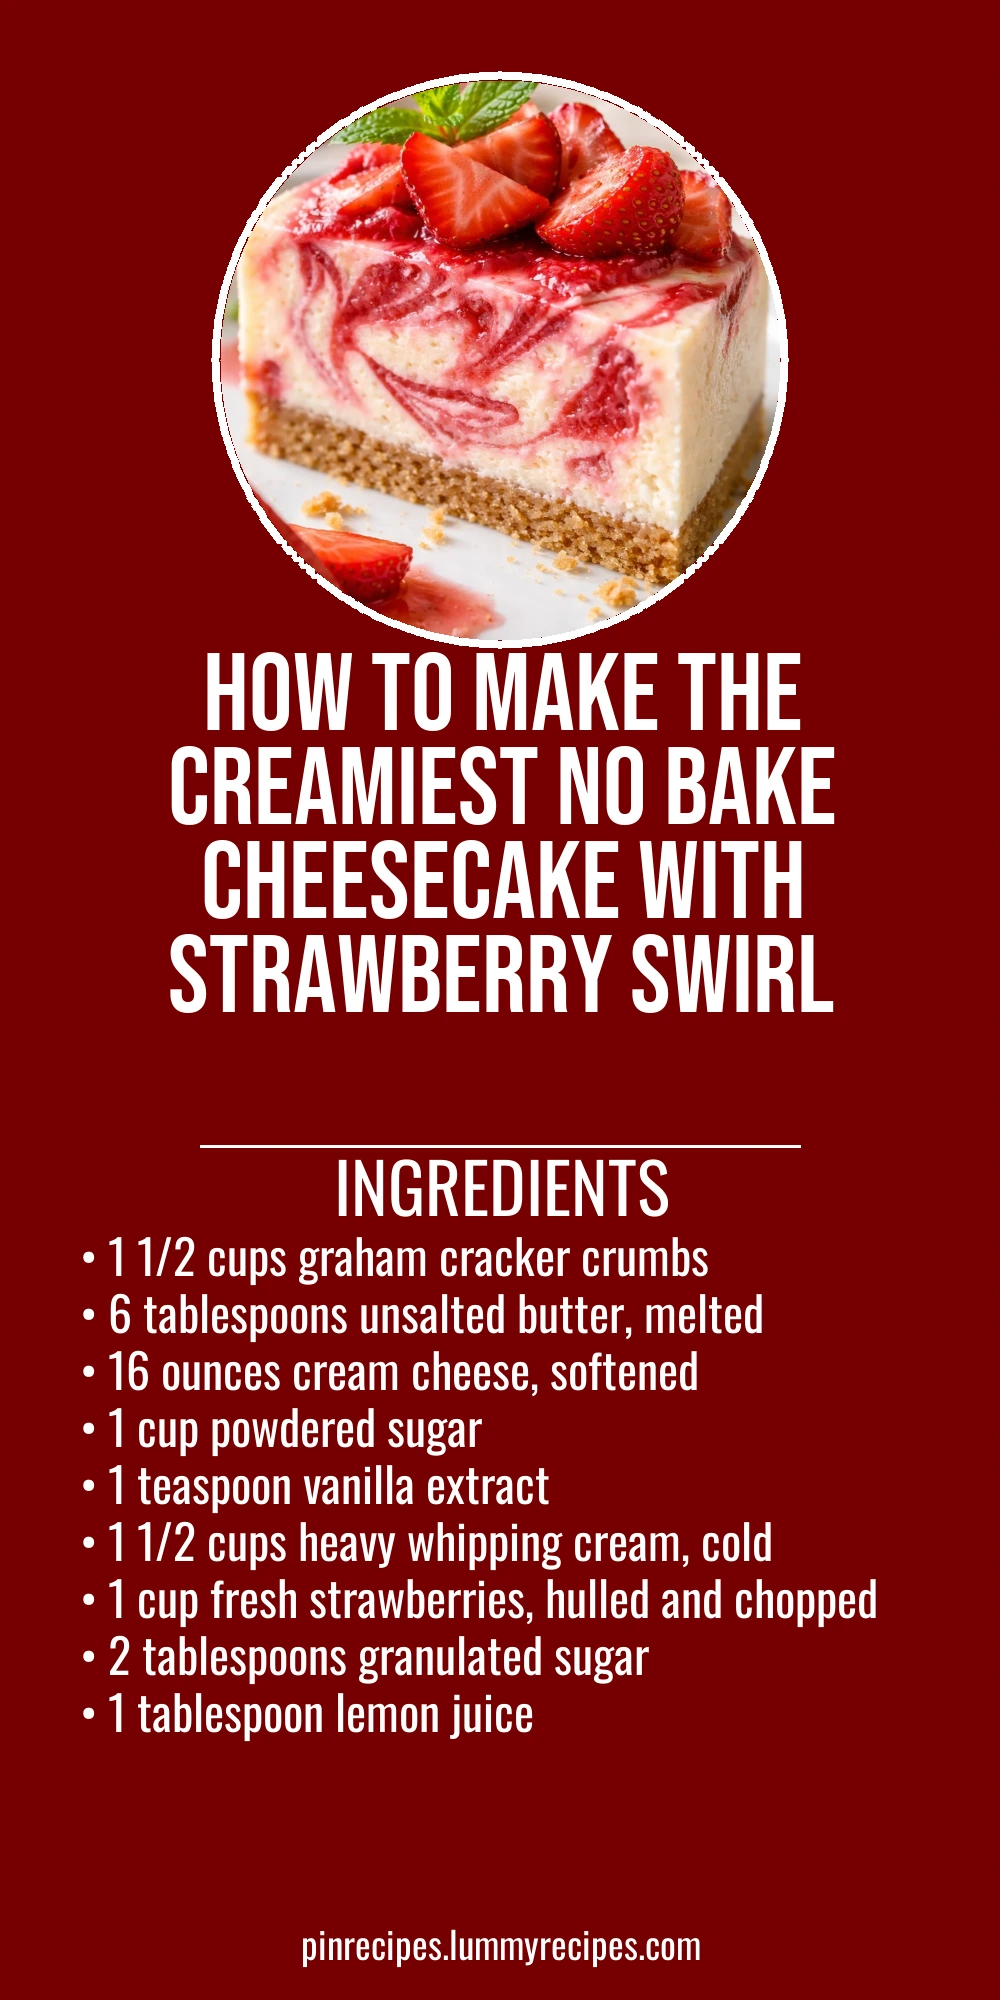
- 1 1/2 cups graham cracker crumbs
- 6 tablespoons unsalted butter, melted
- 16 ounces cream cheese, softened
- 1 cup powdered sugar
- 1 teaspoon vanilla extract
- 1 1/2 cups heavy whipping cream, cold
- 1 cup fresh strawberries, hulled and chopped
- 2 tablespoons granulated sugar
- 1 tablespoon lemon juice
How To Do It
Step 1
Start by making the crust. Combine the graham cracker crumbs and melted butter in a mixing bowl. Stir until the crumbs are evenly coated and the mixture feels like wet sand. Press this mixture firmly into the bottom of a 9-inch springform pan or pie dish to form an even layer. Use the back of a spoon or the bottom of a glass to compact it tightly — this helps the crust hold together when you slice the cheesecake later. Avoid pressing too hard or unevenly, as that can cause cracks or an uneven base. Chill the crust in the fridge while you prepare the filling so it sets nicely.
⏱ Time: 10 minutes
✓ Doneness: The crust should feel firm and compact when pressed with your fingers.
Step 2
Make the strawberry swirl by blending the chopped strawberries with granulated sugar and lemon juice until smooth. If you prefer a chunkier texture, pulse the blender a few times instead of pureeing completely. Set aside the strawberry puree to let the flavors meld while you prepare the filling. The lemon juice brightens the strawberries and helps balance their sweetness, while the sugar enhances their natural flavor. Don’t skip this step, as it’s what gives the cheesecake its fresh, vibrant swirl.
⏱ Time: 5 minutes
✓ Doneness: The puree should be smooth and glossy with a bright red color.
Step 3
In a large bowl, beat the softened cream cheese with powdered sugar and vanilla extract until smooth and creamy. Use an electric mixer on medium speed for about 2-3 minutes. This step is crucial to eliminate lumps and create a silky base for the cheesecake. Scrape down the sides of the bowl occasionally to ensure everything is evenly mixed. If the cream cheese is too cold or not softened enough, it will be difficult to beat and may result in a lumpy texture.
⏱ Time: 3 minutes
✓ Doneness: The mixture should be smooth, fluffy, and free of lumps.
Step 4
In a separate chilled bowl, whip the heavy cream until stiff peaks form. This means when you lift the whisk, the peaks hold their shape without drooping. Be careful not to overwhip, or the cream will turn grainy and start to separate into butter and buttermilk. Using cold cream and a cold bowl helps it whip faster and hold better. The whipped cream adds lightness to the cheesecake filling, making it airy and soft rather than dense.
⏱ Time: 5-7 minutes
✓ Doneness: Stiff, glossy peaks that hold shape when whisk is lifted.
Step 5
Gently fold the whipped cream into the cream cheese mixture using a spatula. Use a light hand and fold in thirds to avoid deflating the cream. This technique keeps the filling airy and smooth. Rushing this step or stirring vigorously will cause the mixture to lose volume and become dense. Folding ensures the whipped cream is evenly incorporated without losing its fluffiness.
⏱ Time: 3 minutes
✓ Doneness: Filling looks uniform and fluffy with no streaks of cream or cheese.
Step 6
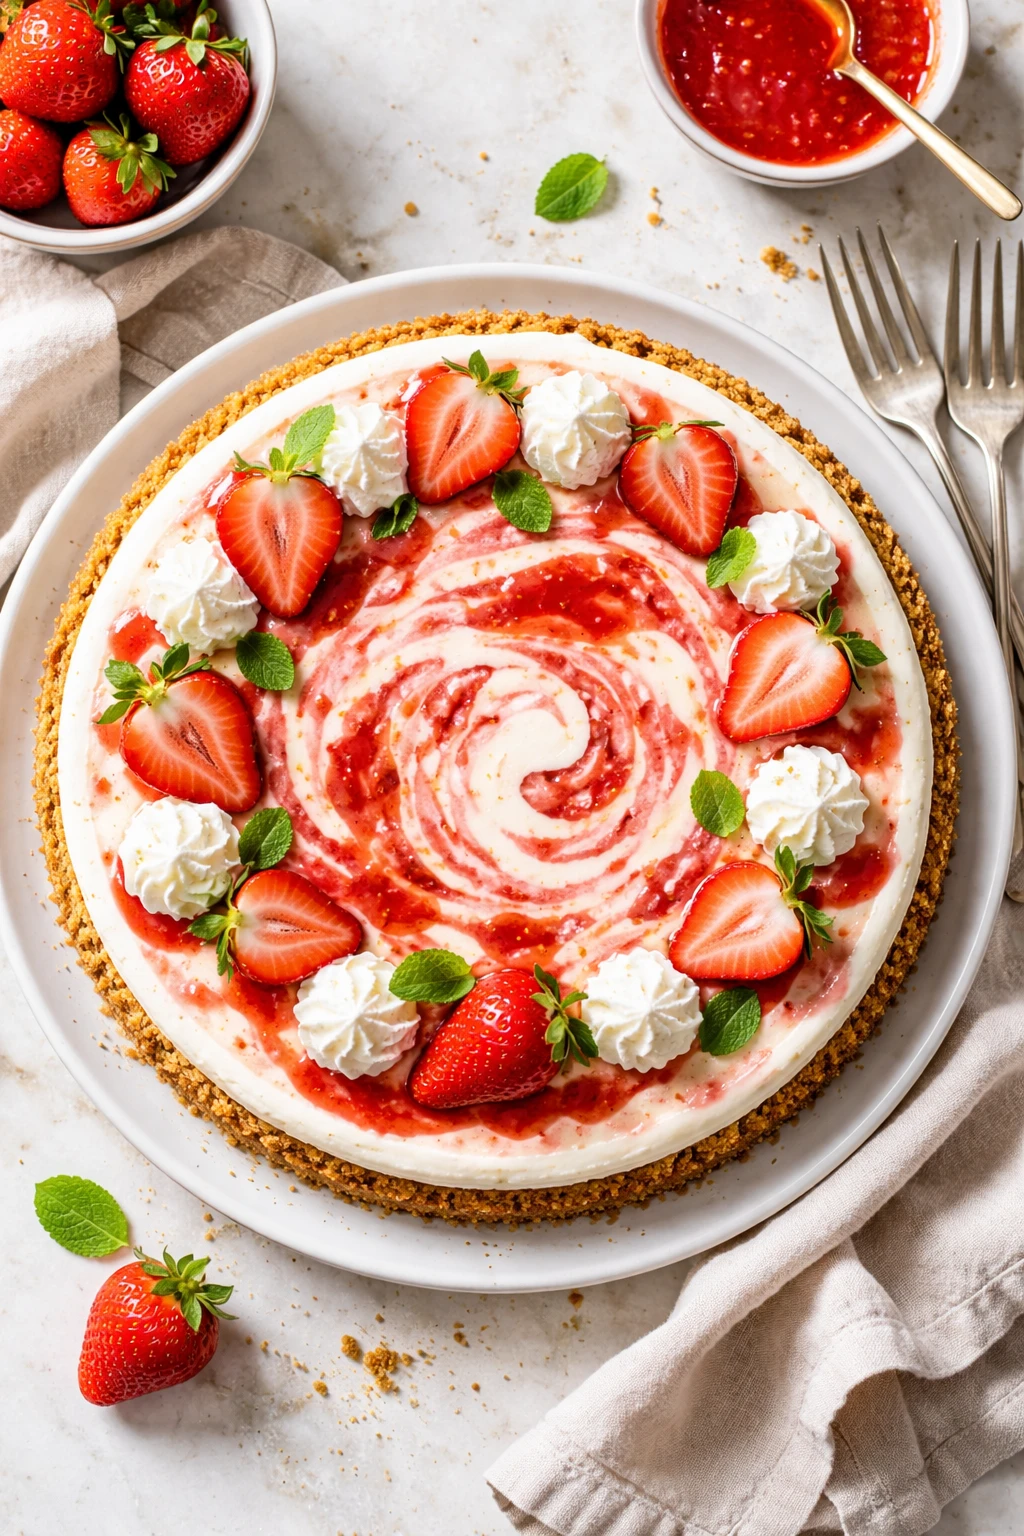
Pour half of the cheesecake filling over the chilled crust and smooth it out with a spatula. Then drop spoonfuls of the strawberry puree randomly over the filling. Pour the remaining filling on top and smooth again. Use a knife or skewer to gently swirl the strawberry puree through the cheesecake filling in a figure-eight or circular motion. Don’t over-swirl or the colors will blend too much and lose the marbled effect. This step creates the beautiful strawberry swirl pattern that makes the cheesecake visually stunning.
⏱ Time: 5 minutes
✓ Doneness: Distinct red swirls visible throughout the creamy white filling.
Step 7
Cover the cheesecake loosely with plastic wrap and refrigerate for at least 4 hours, preferably overnight. This chilling time allows the filling to set firmly and the flavors to meld together. If you try to slice it too soon, the cheesecake will be too soft and may collapse or lose its shape. Patience here is key for a perfect slice.
⏱ Time: 4 hours minimum
✓ Doneness: Filling is firm to the touch and slices cleanly.
Step 8
Before serving, run a thin knife around the edges of the pan to loosen the cheesecake. If using a springform pan, unlock and remove the sides carefully. This prevents the cheesecake from sticking and breaking apart. Slice with a sharp knife dipped in hot water and wiped dry between cuts for clean slices. Serve chilled with extra fresh strawberries or whipped cream if desired.
⏱ Time: 5 minutes
✓ Doneness: Smooth, clean slices with intact swirls.
Step 9
Store any leftovers covered in the refrigerator for up to 3 days. The flavors actually deepen after a day, but the crust may soften slightly. Avoid freezing as the texture can be compromised. When ready to eat, let the cheesecake sit at room temperature for 10 minutes to soften slightly for the best texture and flavor.
⏱ Time: N/A
✓ Doneness: Cheesecake remains creamy and fresh when served.
Pro Tips
Make sure your cream cheese is fully softened before mixing.
Softened cream cheese blends smoothly with powdered sugar and vanilla, preventing lumps. If it’s too cold, you’ll end up with a grainy texture that ruins the creamy mouthfeel of the cheesecake.
Chill your mixing bowl and whisk before whipping the cream.
Cold equipment helps the cream whip faster and hold stiff peaks longer, which is key for the light, airy texture of the filling. Warm bowls or beaters can cause the cream to become runny.
Don’t over-swirl the strawberry puree into the filling.
Over-mixing will blend the puree completely, losing the pretty marbled effect. A gentle, minimal swirl keeps the colors distinct and the visual appeal high.
Press the crust firmly and evenly into the pan.
A compact crust holds together when sliced and provides a nice contrast to the soft filling. Uneven or loose crust can crumble and make serving messy.
Use a hot knife for slicing the cheesecake.
Warming the knife slightly and wiping it clean between cuts creates smooth, clean slices without tearing or dragging the filling.
Refrigerate the cheesecake for at least 4 hours or overnight.
Chilling allows the filling to firm up and the flavors to meld. Cutting it too soon results in a runny, unstable cheesecake.
Add a splash of lemon juice to the strawberry puree.
The acidity brightens the berry flavor and helps maintain the vibrant red color, making the swirl pop visually and taste fresher.
Common Mistakes to Avoid
Using cold cream cheese that’s not softened
Why it happens Many assume cream cheese can be mixed straight from the fridge to save time, but it’s too firm and lumps form easily.
Fix Plan ahead and let the cream cheese sit at room temperature for at least 30 minutes before mixing. If short on time, cut it into small cubes to soften faster.
Over-whipping the heavy cream
Why it happens It’s easy to get carried away and whip past stiff peaks, turning cream grainy and beginning to separate.
Fix Stop whipping as soon as stiff peaks form—when the cream holds its shape but still looks smooth and glossy.
Swirling the strawberry puree too much
Why it happens Trying to create an even distribution can lead to over-mixing and a single pink color instead of swirls.
Fix Use a light hand and swirl just a few times with a knife or skewer to keep the marbled look.
Not chilling the cheesecake long enough
Why it happens Impatience or time constraints lead to slicing too soon, causing the filling to collapse.
Fix Refrigerate for a minimum of 4 hours, ideally overnight, to ensure the filling firms properly.
Pressing the crust unevenly
Why it happens Rushing or uneven pressure creates a crumbly crust that falls apart when sliced.
Fix Take your time pressing the crust evenly and firmly with the back of a spoon or glass.
Variations
Blueberry Swirl No Bake Cheesecake
Swap strawberries for fresh or frozen blueberries to create a beautiful purple swirl and a slightly different fruity flavor. Blend blueberries with sugar and lemon juice just like the strawberry puree. This version offers a different but equally fresh taste that’s perfect for summer.
Note: Blueberries may require a bit more sugar due to their tartness; puree consistency should be similar to strawberry puree for best swirling.
Chocolate Swirl No Bake Cheesecake
Add a rich chocolate swirl by melting semi-sweet chocolate and mixing it with a little cream. Drop spoonfuls on the filling and swirl gently. This adds a decadent twist that pairs wonderfully with the creamy filling without overpowering it.
Note: Use cooled but still pourable chocolate for easy swirling; avoid hot chocolate which can melt the filling.
Lemon Zest No Bake Cheesecake
Add fresh lemon zest to the cream cheese mixture for a bright citrus note that complements the strawberry swirl. This variation adds a refreshing zing and enhances the overall flavor complexity.
Note: Zest finely to avoid bitter pith; fold gently into cream cheese mixture before adding whipped cream.
Graham Cracker Crust with Toasted Almonds
Mix finely chopped toasted almonds into the graham cracker crust for extra crunch and a nutty flavor. This adds texture contrast and a subtle depth of flavor to the base.
Note: Toast almonds lightly to bring out flavor without burning; chop finely to blend well with crumbs.
Vegan No Bake Cheesecake with Cashew Base
For a vegan twist, replace cream cheese with soaked cashews blended with coconut cream and maple syrup. Use vegan butter or coconut oil for the crust. The strawberry swirl remains the same for a fresh finish.
Note: Soak cashews overnight for smooth blending; chill the vegan filling longer to firm up due to absence of dairy.
Nutrition
Per Serving:
Nutritional values are estimates and may vary based on specific ingredients used.
Storage & Tips
Room Temperature
Keep cheesecake covered at room temperature for no more than 2 hours to prevent spoilage. Use plastic wrap or a cake dome to protect it from drying out or absorbing odors.
Refrigerator
Store leftover cheesecake in an airtight container or cover tightly with plastic wrap in the fridge for up to 3 days. The texture may firm up more, so let it sit at room temperature for 10 minutes before serving for best flavor and creaminess.
Freezer
Freeze cheesecake slices wrapped tightly in plastic wrap and then foil for up to 1 month. To thaw, transfer to the fridge overnight and then bring to room temperature before serving. Note that freezing may slightly change the texture, making it less creamy.
Reheating
No reheating needed. Serve chilled or slightly softened at room temperature. Avoid microwaving as it can cause the filling to separate and become watery.
Make Ahead
Prepare the crust and filling separately up to 2 days ahead. Assemble and swirl the strawberry puree on the day you plan to serve for the freshest appearance and flavor. Keep all components refrigerated until ready.
FAQ
Can I use frozen strawberries for the swirl?
Yes, frozen strawberries work well if thawed completely and drained of excess liquid before pureeing. This prevents the swirl from becoming too watery and helps maintain a vibrant color.
What can I substitute for heavy cream?
Heavy cream is important for whipping and creating the light texture. You can try whipping full-fat coconut cream as a dairy-free alternative, but it will change the flavor and texture slightly.
How do I prevent the crust from getting soggy?
Press the crust firmly and chill before adding the filling. Also, avoid letting the cheesecake sit at room temperature for too long as moisture from the filling can soften the crust.
Can I make this cheesecake gluten-free?
Absolutely! Use gluten-free graham cracker crumbs or substitute with crushed gluten-free cookies for the crust. The filling is naturally gluten-free.
Why is my cheesecake filling grainy?
This usually happens if the cream cheese isn’t softened enough or if the sugar hasn’t dissolved properly. Make sure to beat the cream cheese until smooth and use powdered sugar for best results.
How long does the cheesecake need to chill?
At least 4 hours is necessary for the filling to set firmly, but overnight chilling is best for optimal texture and flavor melding.
Can I add gelatin to make it firmer?
Yes, adding gelatin can help the filling set more firmly, especially in warmer climates. However, this recipe is designed to set without gelatin for a softer, creamier texture.
What’s the best way to slice the cheesecake?
Use a sharp knife dipped in hot water and wiped dry between each slice. This prevents the filling from sticking and ensures clean, smooth cuts.
Final Thoughts
I hope you give this no bake cheesecake with fresh strawberry swirl a try — it’s one of those desserts that’s easy to make yet feels special. Let me know how it turns out!