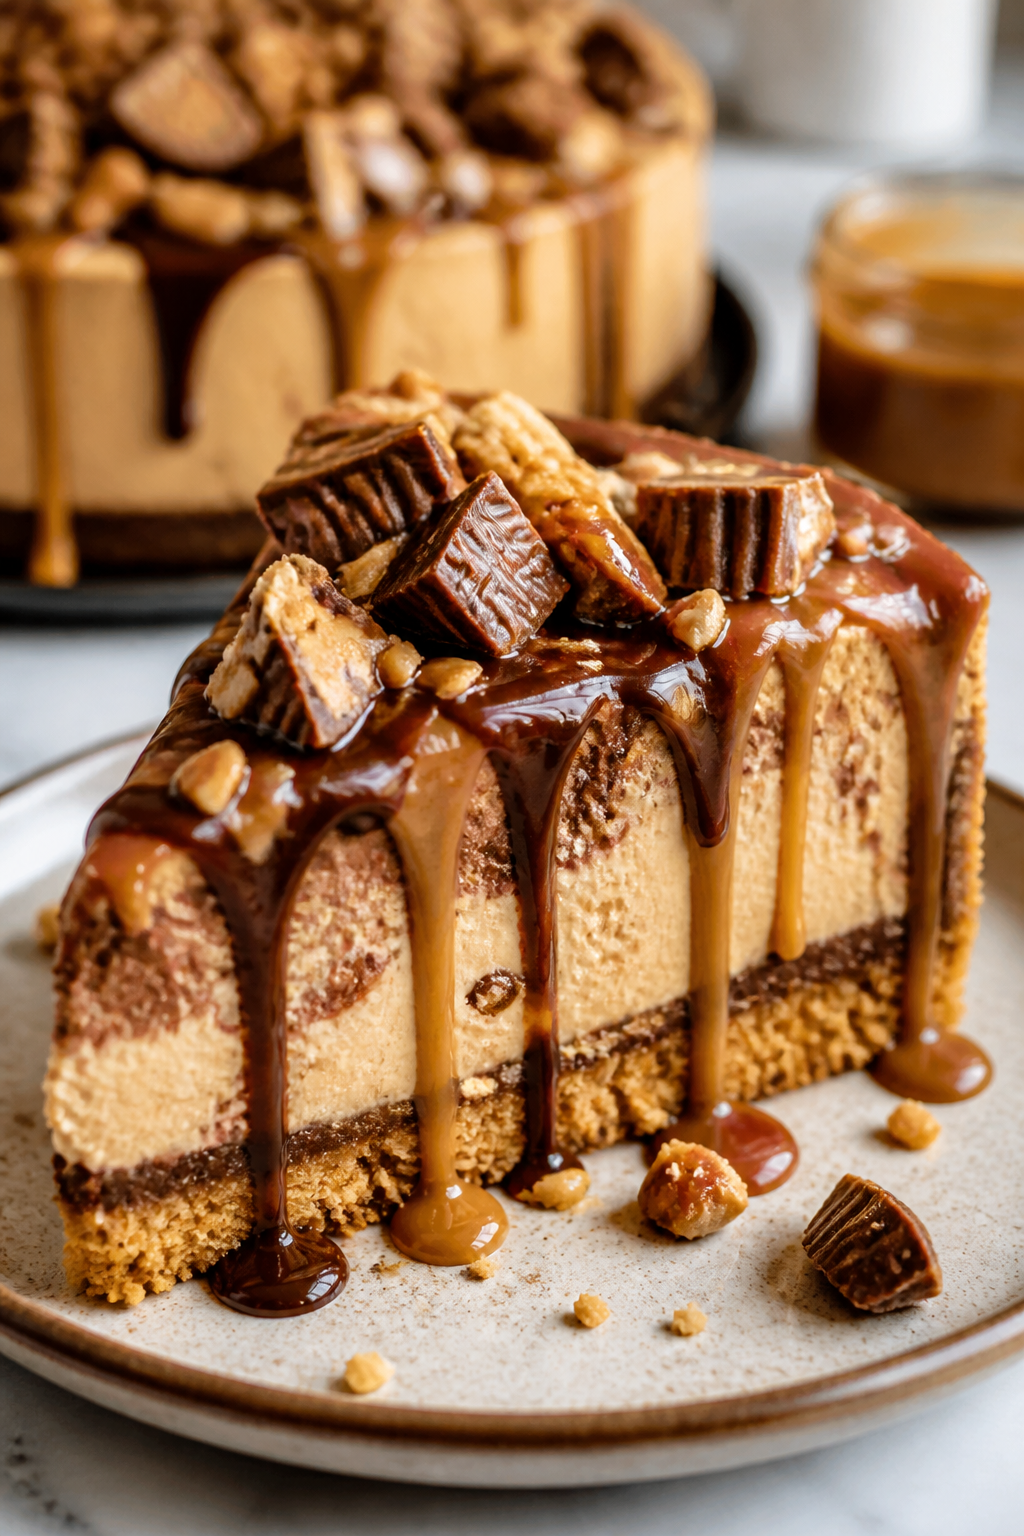
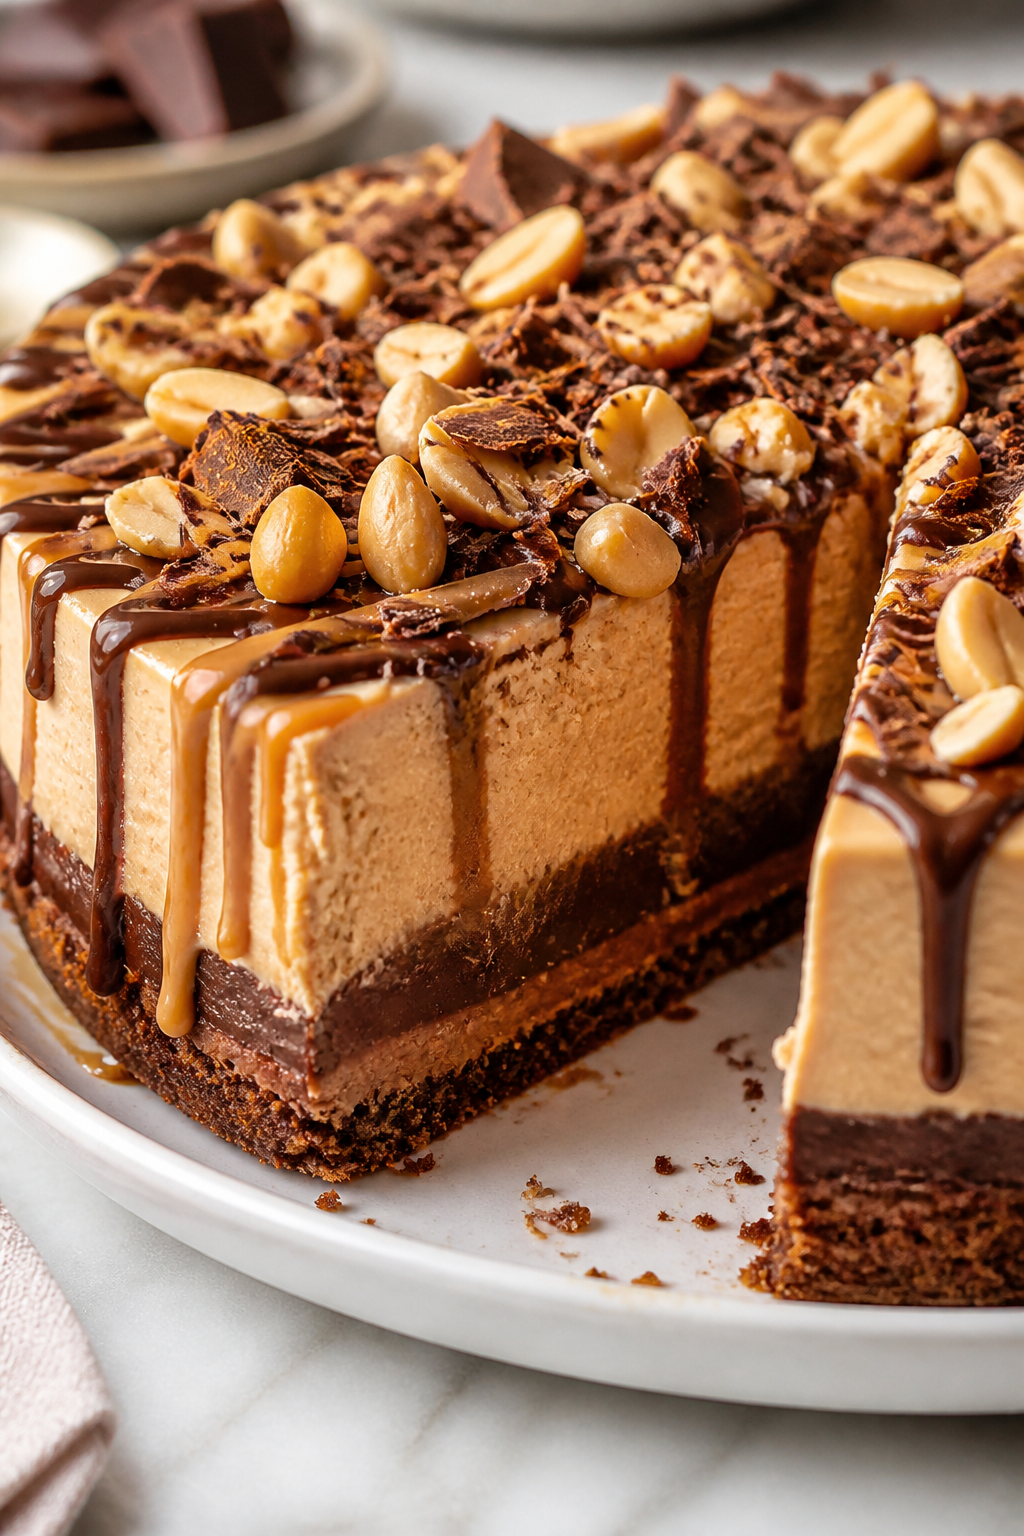
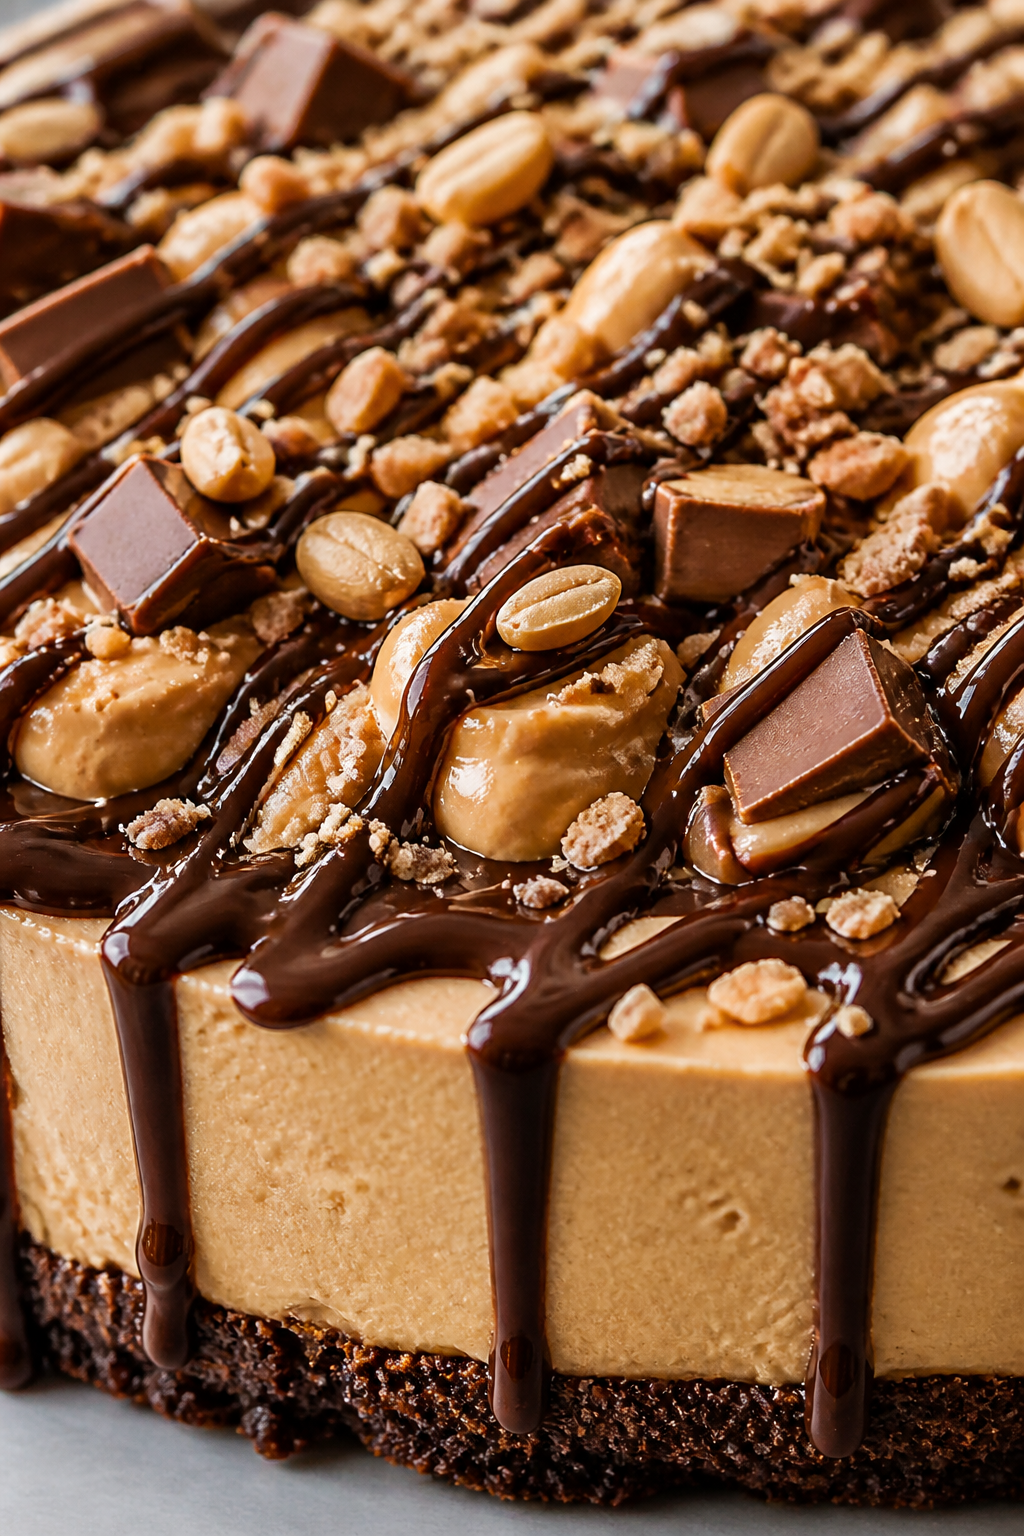
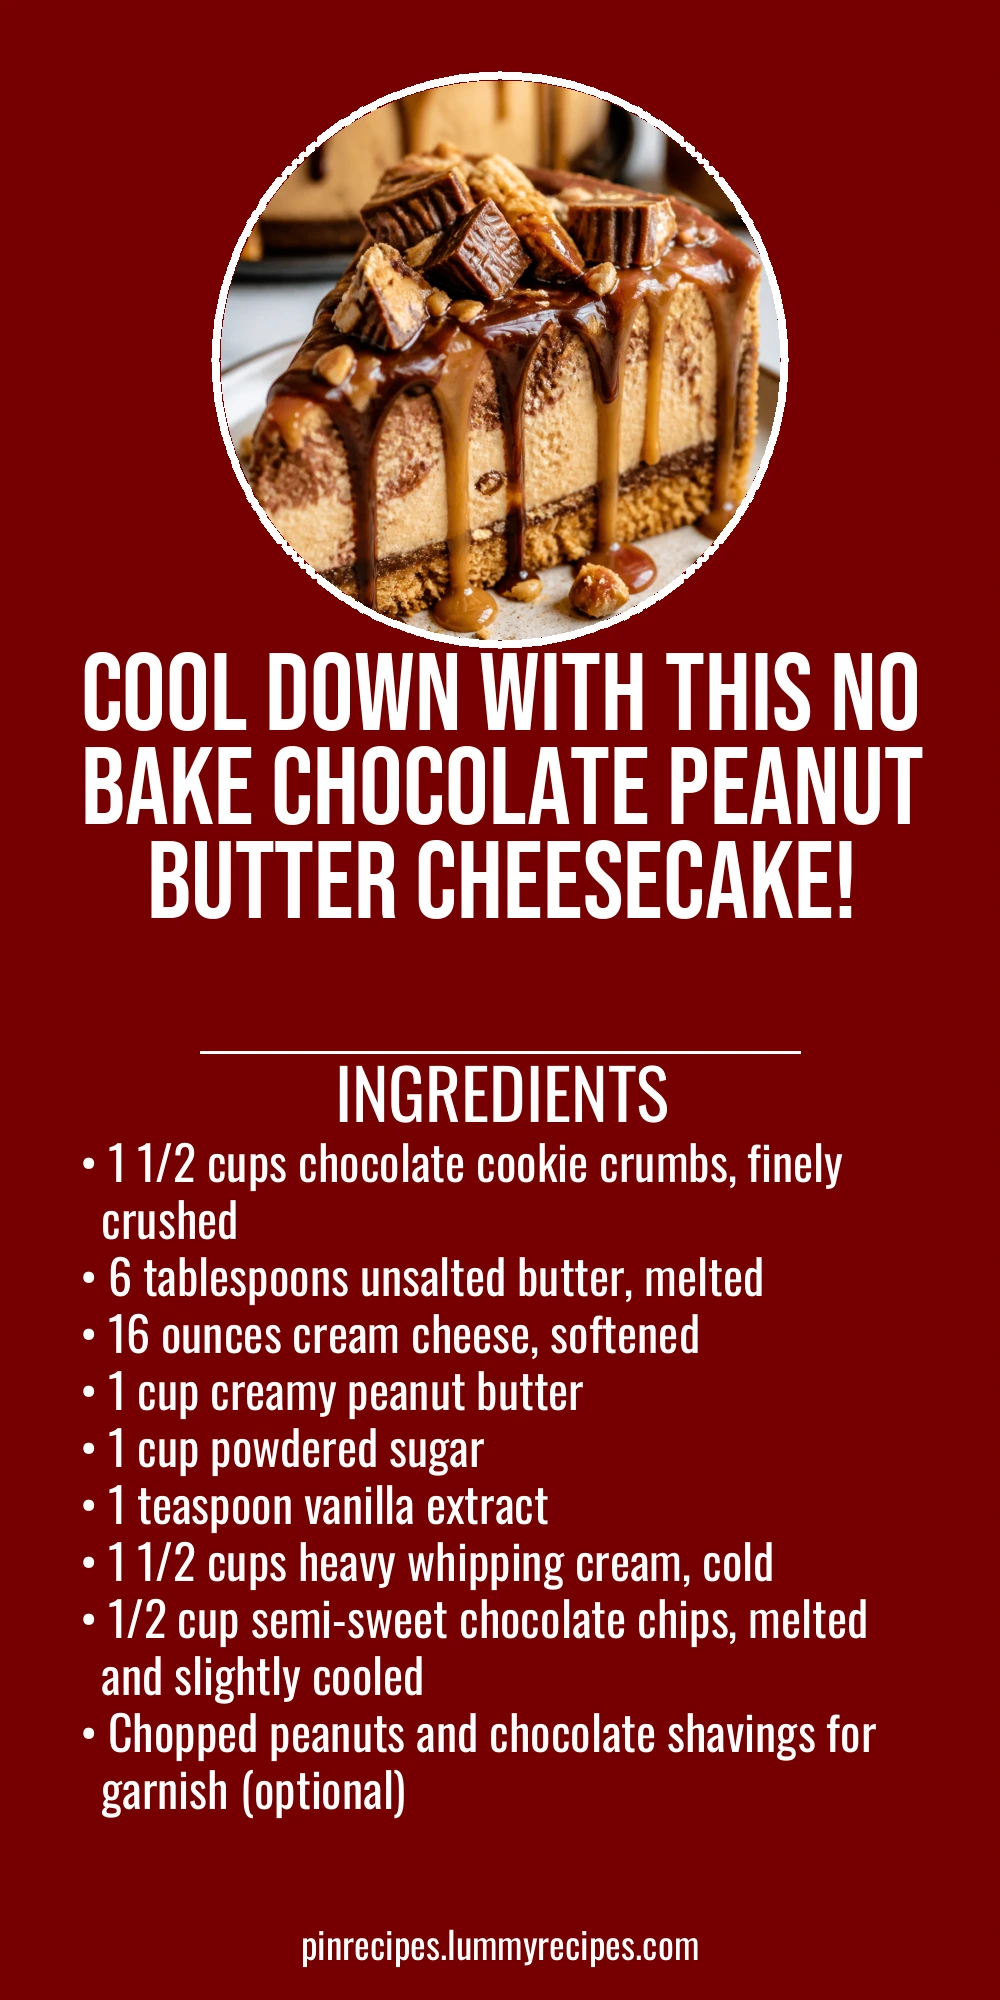
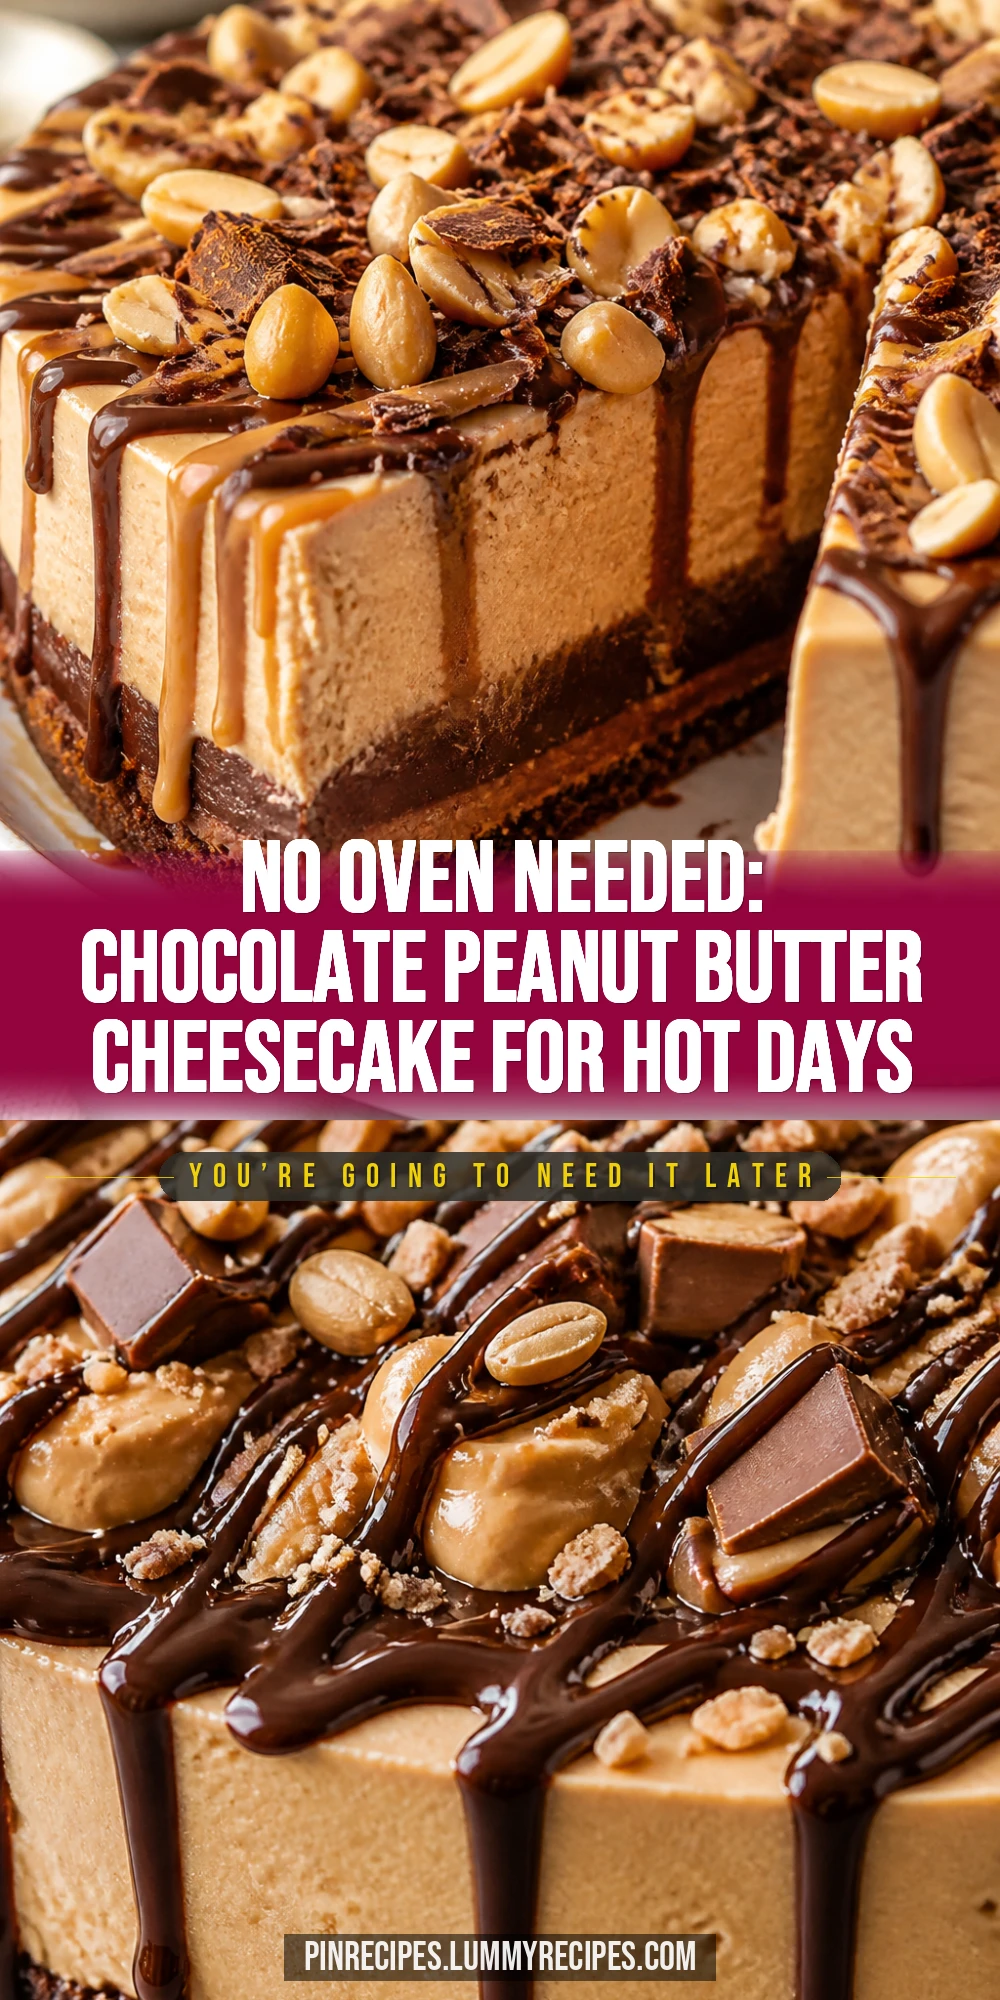
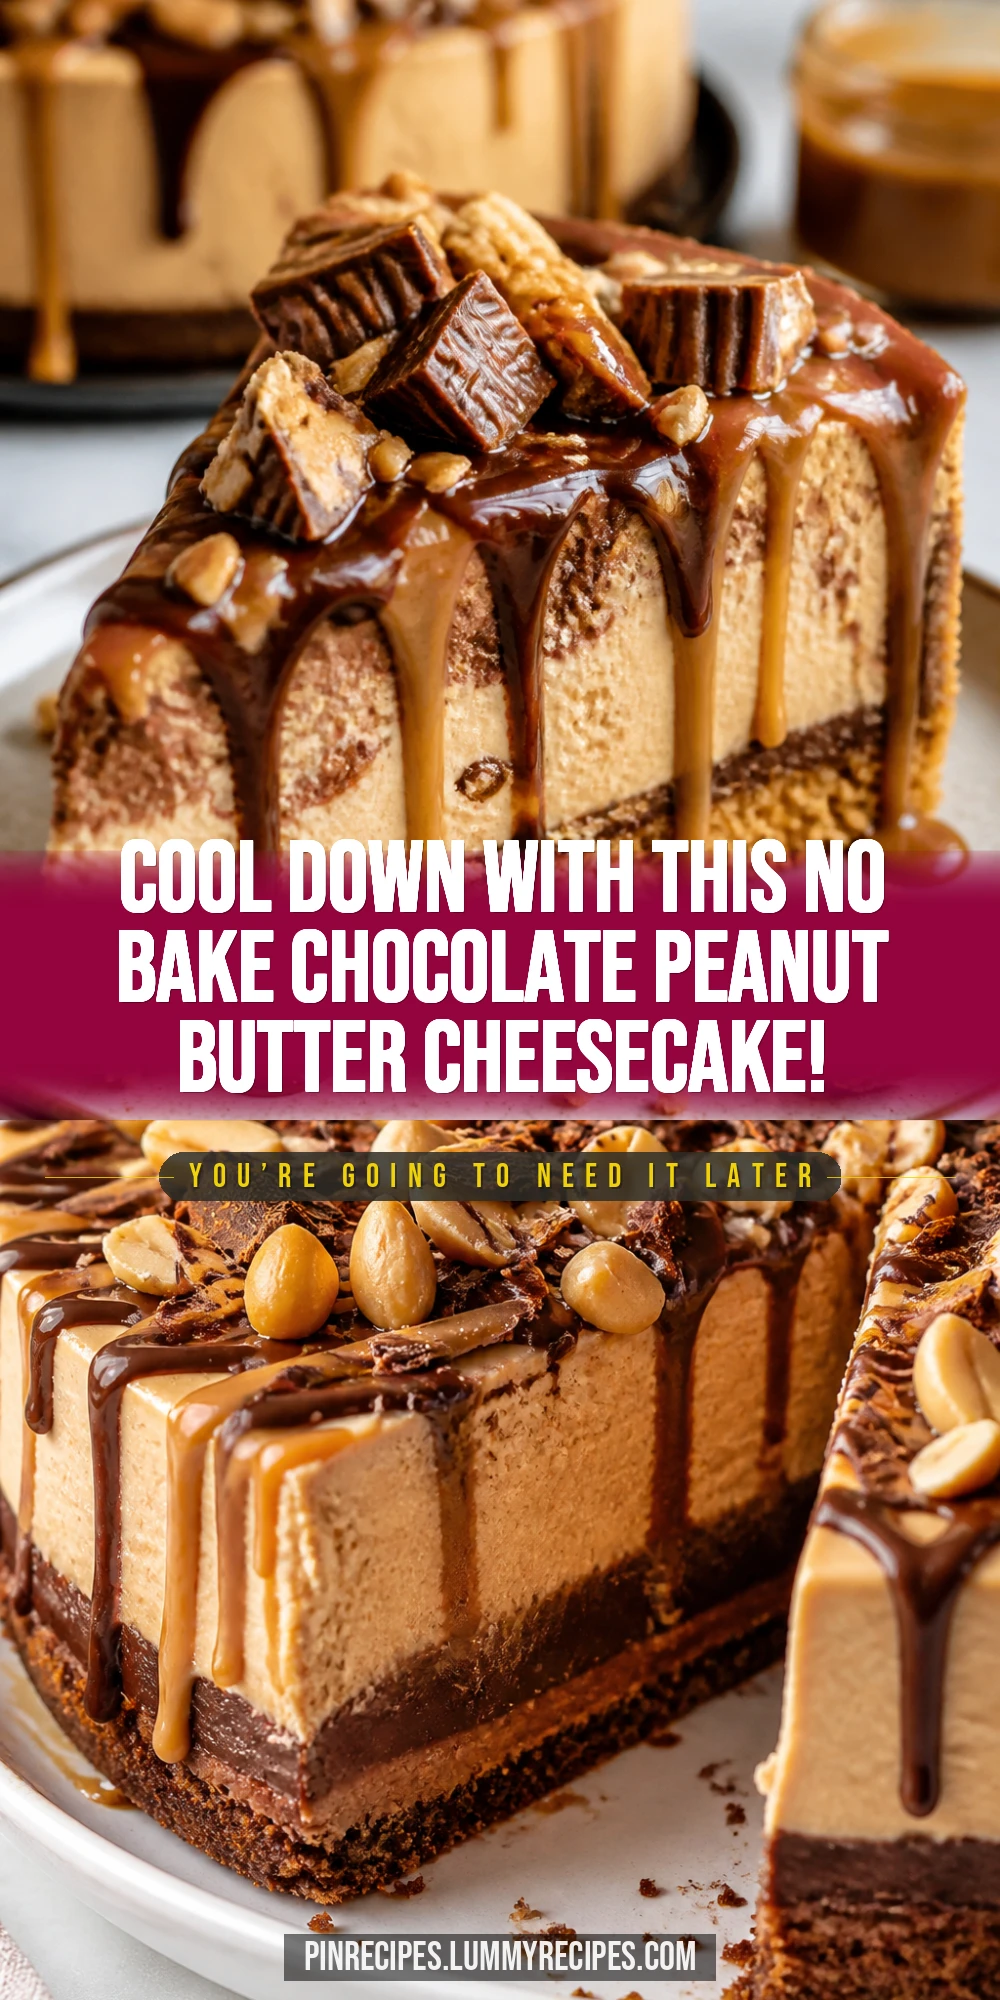
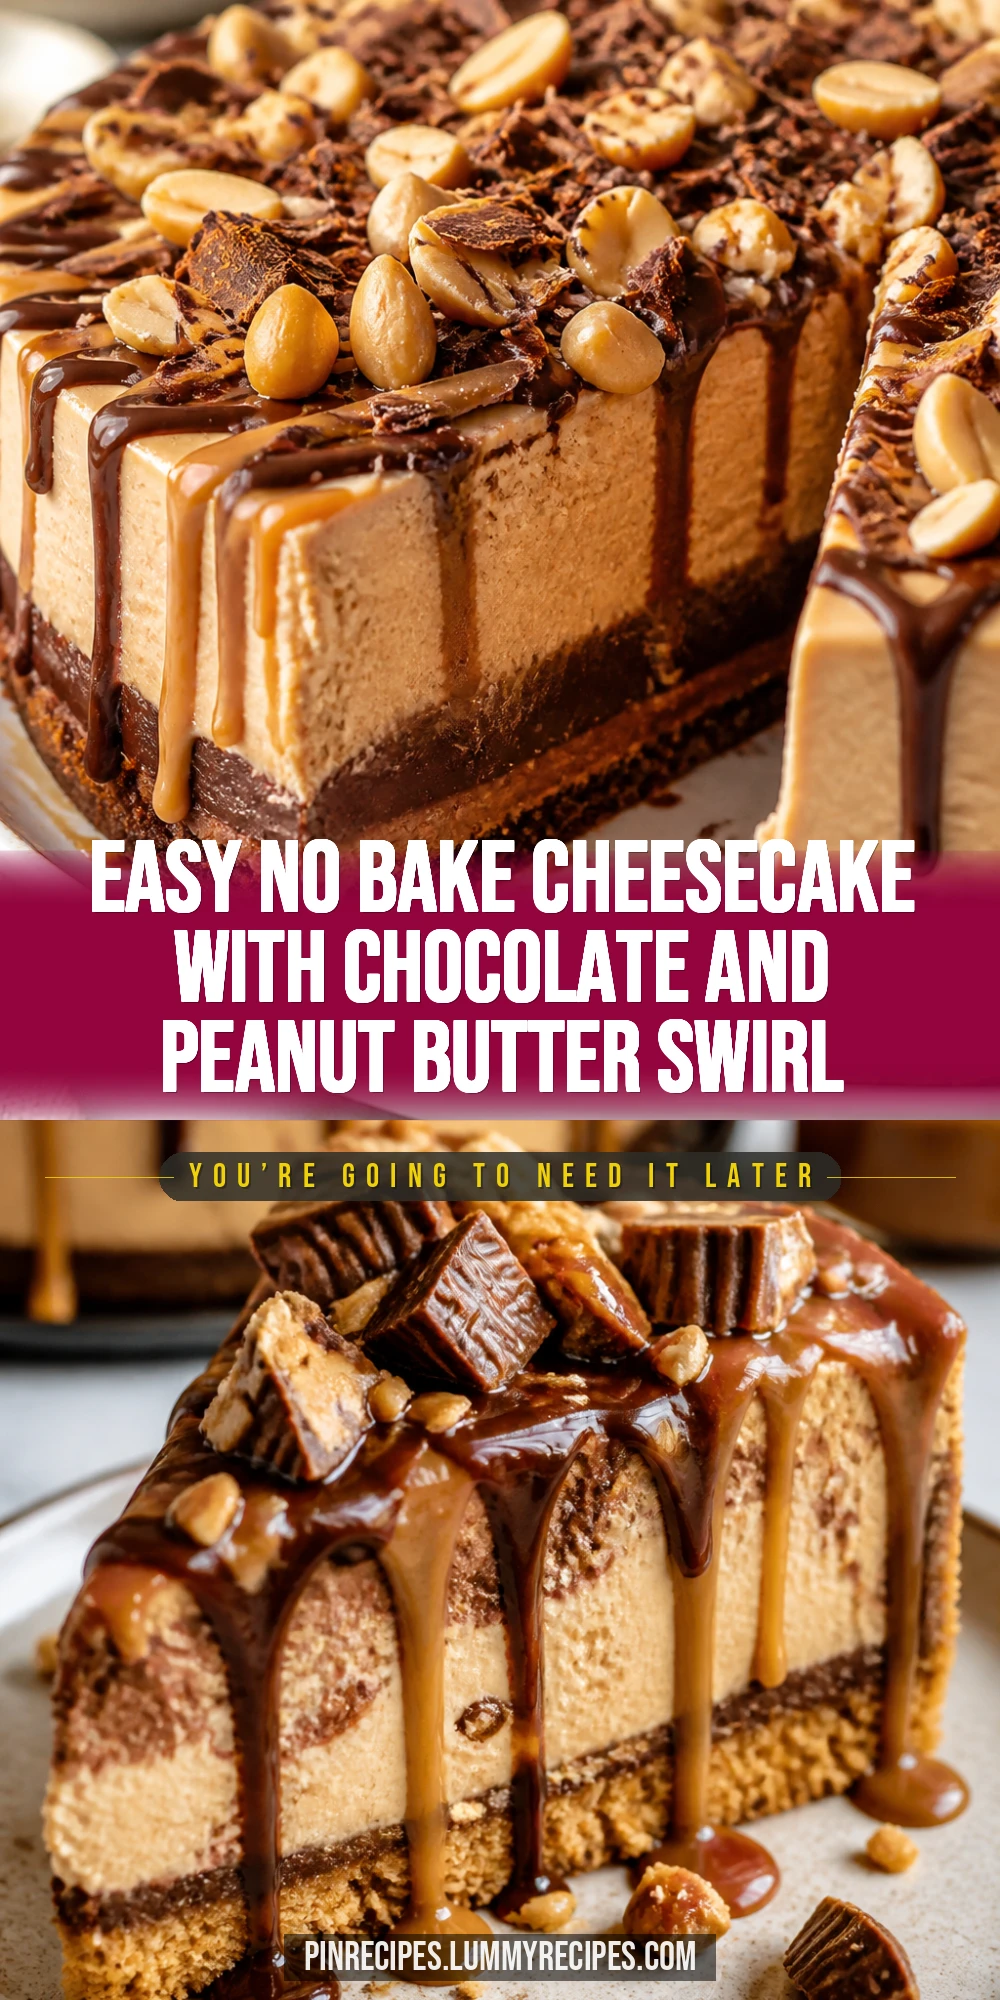
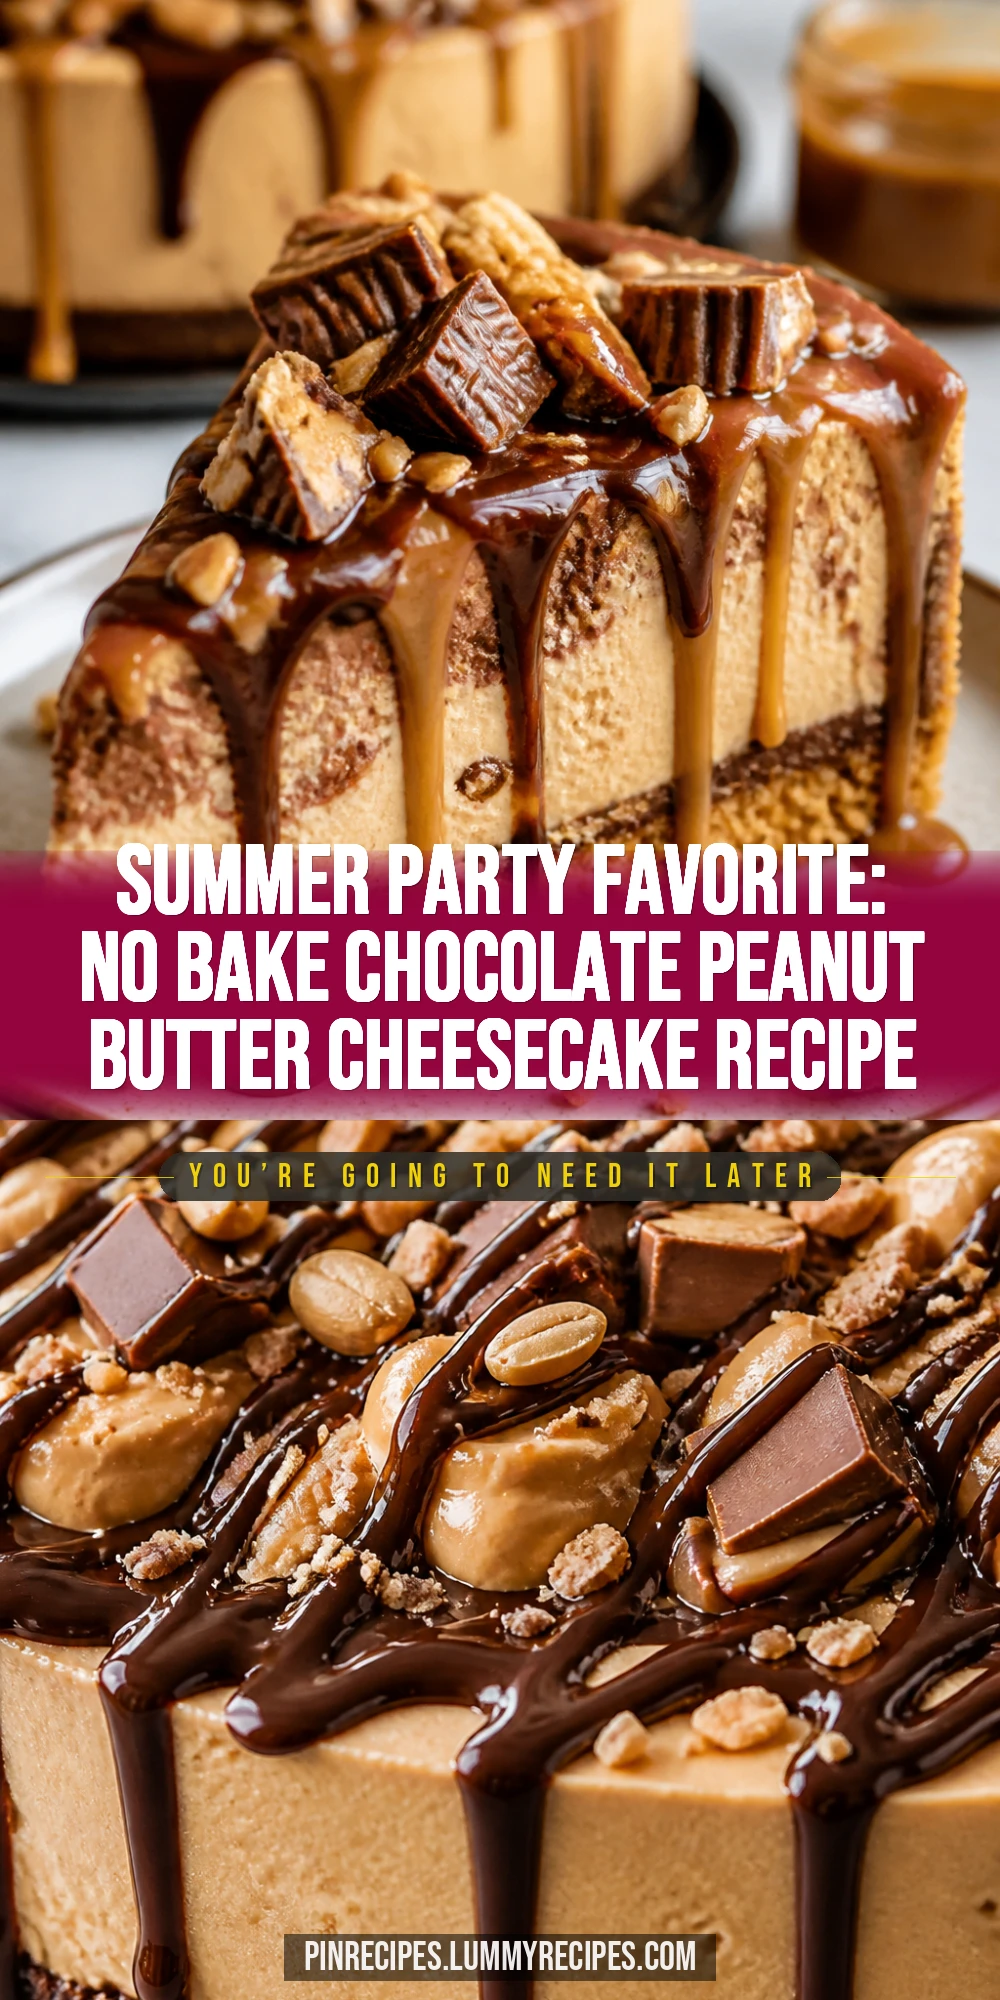
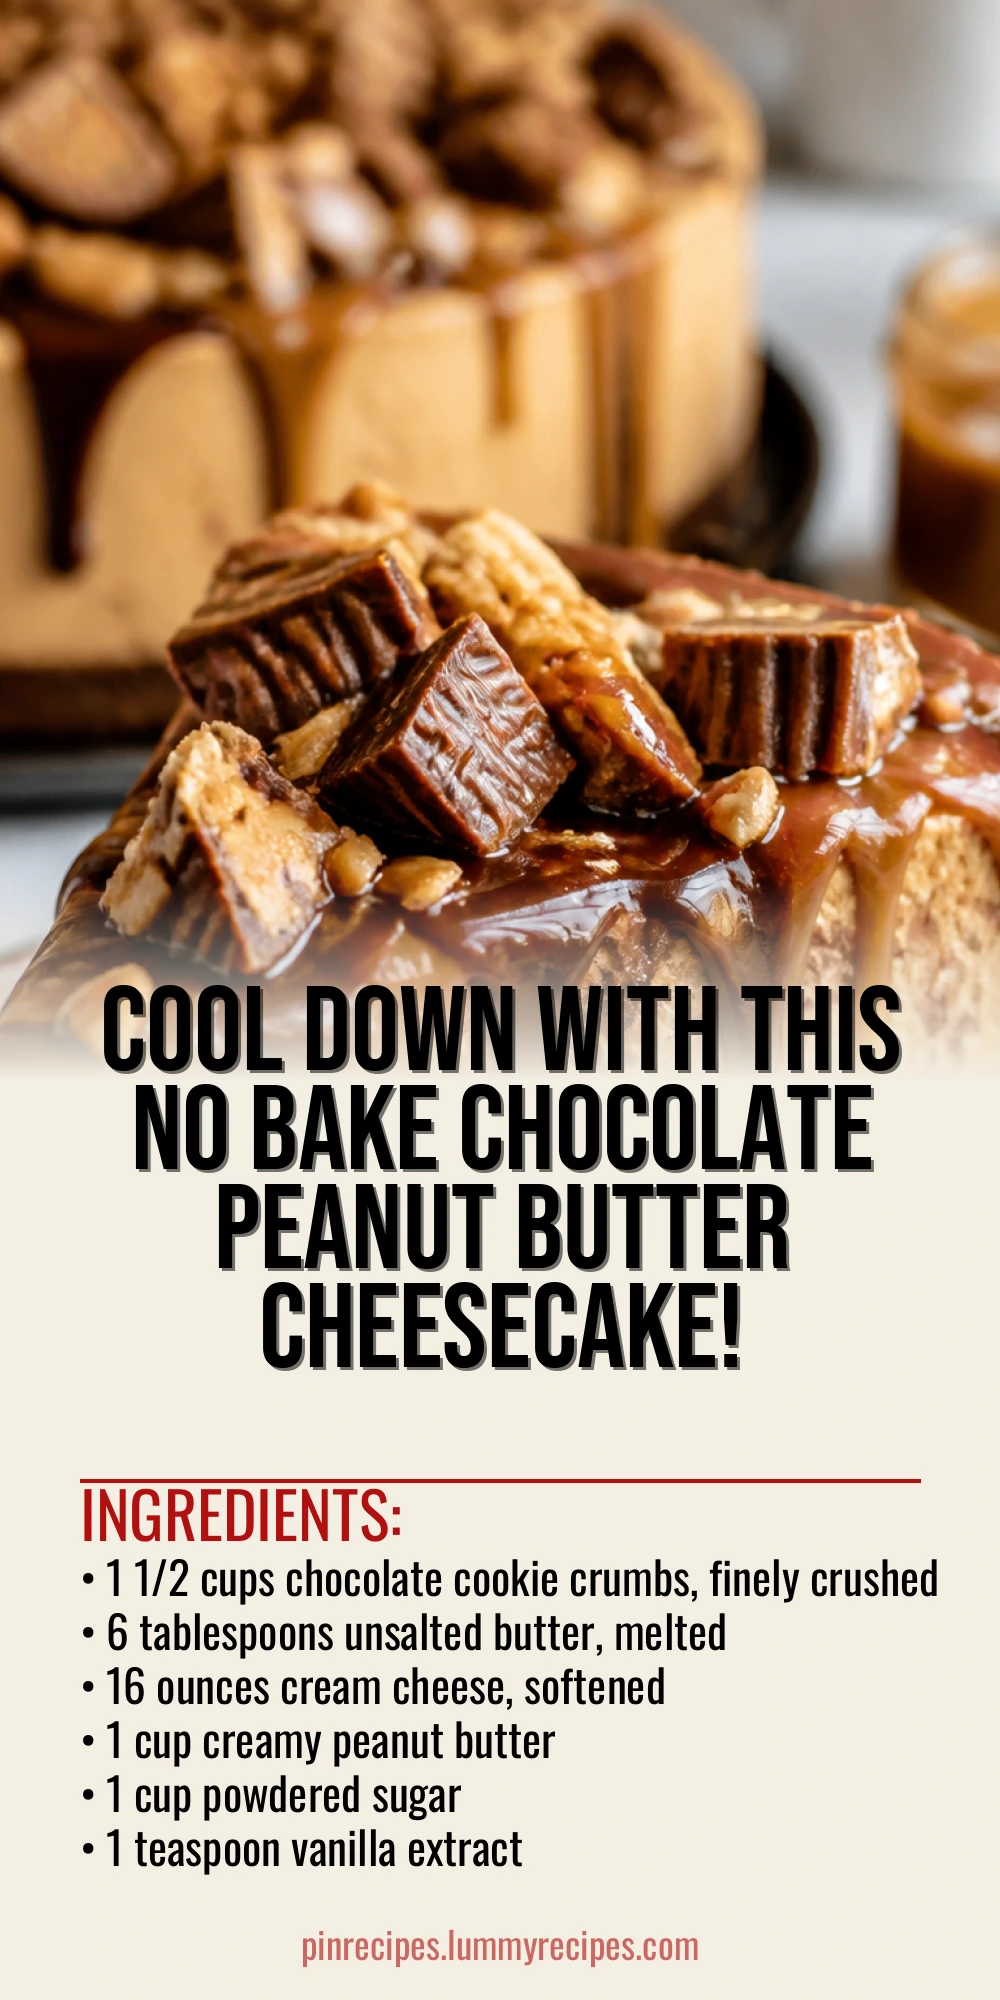
This no bake cheesecake blends creamy peanut butter with rich chocolate in a fluffy, dreamy dessert. It’s perfect for summer parties when you want something cool and indulgent without turning on the oven.
Introduction
I first made this no bake chocolate peanut butter cheesecake a few summers ago when I wanted a dessert that was indulgent but didn’t heat up the kitchen. Traditional cheesecakes take forever and require baking, but this version is all about ease and flavor. The peanut butter adds a creamy richness that pairs beautifully with the chocolate without overwhelming it. I love that you don’t have to turn on the oven, which is a blessing on hot days. The secret to its fluffy texture is folding whipped cream gently into the cream cheese mixture, which keeps it light and airy. Plus, the chocolate swirl adds a pretty marbled effect that makes it look fancy even though it’s super simple to make. It’s become my go-to for summer parties because everyone always asks for seconds, and it holds up well in the fridge for a couple of days. You get that perfect balance of sweet and salty, creamy and chocolatey, all without any fuss. Honestly, once you try it, you’ll wonder why you ever baked a cheesecake the old-fashioned way.
How To Do It
Step 1
Start by preparing the crust. Mix the chocolate cookie crumbs with the melted butter until the mixture is evenly moistened and holds together when pressed. This step is crucial because the butter binds the crumbs, creating a firm base for the cheesecake. Press the mixture firmly into the bottom of your springform pan or pie dish to form an even layer. Use the back of a spoon or a flat-bottomed glass to compact it tightly. Avoid pressing too hard, which can make the crust too dense and hard to cut later.
⏱ Time: 10 minutes
✓ Doneness: The crust should feel firm and hold its shape when gently pressed.
Step 2
In a large mixing bowl, beat the softened cream cheese until smooth and creamy with no lumps. This ensures a silky texture. Add the peanut butter, powdered sugar, and vanilla extract, then beat again until fully combined. It’s important to use softened cream cheese to avoid lumps and achieve a smooth mixture. Rushing this step or using cold cream cheese will result in a grainy texture.
⏱ Time: 5 minutes
✓ Doneness: Mixture should be smooth, creamy, and homogenous without any lumps.
Step 3
In a separate chilled bowl, whip the heavy cream until stiff peaks form. This means when you lift the whisk, the peaks hold their shape without collapsing. The cold cream whips better and creates more volume, which is key for a light cheesecake. Be careful not to overwhip, or it will turn grainy and start to separate.
⏱ Time: 5-7 minutes
✓ Doneness: Whipped cream should be thick, glossy, and hold firm peaks.
Step 4
Gently fold about half of the whipped cream into the cream cheese mixture to lighten it. Use a spatula and fold carefully to keep as much air as possible. Then fold in the remaining whipped cream until fully incorporated. This folding technique is what gives the cheesecake a fluffy, airy texture instead of being dense and heavy.
⏱ Time: 5 minutes
✓ Doneness: Mixture should be light, airy, and fully combined without streaks.
Step 5
Pour half of the cheesecake filling over the prepared crust and spread it evenly. Drizzle half of the melted chocolate over the filling. Use a knife or skewer to swirl the chocolate gently through the filling, creating a marbled effect. This step adds visual appeal and a burst of chocolate flavor in every bite. Avoid overmixing or the swirl will disappear.
⏱ Time: 5 minutes
✓ Doneness: Filling should be evenly spread with visible chocolate swirls on top.
Step 6
Add the remaining cheesecake filling on top and repeat the chocolate drizzle and swirling technique. This double layer of swirls makes the cheesecake look extra special. Take your time with the swirling to create pretty patterns but don’t overdo it or the layers will blend together.
⏱ Time: 5 minutes
✓ Doneness: Top layer has distinct chocolate swirls and smooth surface.
Step 7
Cover the cheesecake tightly with plastic wrap and refrigerate for at least 4 hours, preferably overnight. This chilling time allows the filling to set firmly and the flavors to meld. If you try to serve it too soon, the cheesecake might be too soft and won’t slice cleanly.
⏱ Time: 4+ hours
✓ Doneness: Cheesecake feels firm to the touch and slices hold shape well.
Step 8
Before serving, garnish with chopped peanuts and chocolate shavings if desired. This adds a nice crunch and extra chocolate flavor that complements the creamy filling. You can also add a light dusting of cocoa powder for a pretty finish. These toppings make the cheesecake look festive and inviting.
⏱ Time: 5 minutes
✓ Doneness: Toppings are evenly distributed and visually appealing.
Step 9
Slice the cheesecake with a sharp knife dipped in hot water and wiped dry between cuts to get clean slices. This simple trick prevents the knife from dragging through the creamy filling and helps maintain the cheesecake’s neat appearance. Serve chilled and enjoy the perfect balance of peanut butter and chocolate flavors.
⏱ Time: 5 minutes
✓ Doneness: Slices are clean with smooth edges and no crumbling.
Pro Tips
Always soften your cream cheese fully before mixing.
Softened cream cheese blends smoothly with other ingredients, preventing lumps and ensuring a creamy texture. If the cream cheese is cold, it won’t incorporate well and can create a grainy filling that impacts both the look and mouthfeel of your cheesecake.
Chill your mixing bowl and beaters before whipping cream.
Cold equipment helps the heavy cream whip faster and reach stiff peaks more easily. Warm bowls can cause the cream to stay liquid and not hold air, which is essential for creating that light, fluffy texture in the cheesecake filling.
Use a gentle folding technique when combining whipped cream with cream cheese mixture.
Folding preserves the air bubbles whipped into the cream, keeping the filling light and airy. Stirring too vigorously deflates the mixture, resulting in a dense, heavy cheesecake instead of a fluffy one.
Press the crust firmly but not too hard into the pan.
Pressing firmly binds the crumbs with butter so the crust holds together during slicing. However, pressing too hard compresses it too much, making it tough and hard to cut. Aim for a compact but slightly crumbly texture.
Cool the melted chocolate before swirling into the filling.
If the chocolate is too hot, it will melt the filling and lose the marbled effect. Slightly cooled chocolate stays fluid enough to swirl but won’t blend completely, creating pretty patterns and flavor contrast.
Cover the cheesecake tightly when chilling.
This prevents the cheesecake from absorbing fridge odors and keeps the surface from drying out or forming a skin. A tight cover also helps the filling set evenly and keeps the crust crisp.
Use a hot knife to slice the cheesecake cleanly.
Dipping the knife in hot water and wiping it between cuts prevents the creamy filling from sticking and smearing. This technique helps you get neat, professional-looking slices every time.
Common Mistakes to Avoid
Using cold cream cheese straight from the fridge.
Why it happens People often rush and don’t allow enough time for cream cheese to soften, thinking it saves time.
Fix Plan ahead and leave the cream cheese out at room temperature for at least 30 minutes before mixing. If short on time, cut it into small cubes to soften faster. This ensures a smooth filling without lumps.
Overwhipping the heavy cream.
Why it happens It’s easy to get carried away trying to reach stiff peaks and end up whipping too long.
Fix Watch the cream closely as it thickens. Stop whipping as soon as stiff peaks form. Overwhipped cream turns grainy and can separate, ruining the filling’s texture.
Mixing the chocolate swirl too much.
Why it happens Some try to create a uniform chocolate flavor by stirring the chocolate fully into the filling.
Fix Drizzle the melted chocolate on top and gently swirl with a knife or skewer just a few times. Overmixing blends the chocolate completely, losing the pretty marbled effect and flavor contrast.
Not chilling the cheesecake long enough.
Why it happens Impatience or lack of planning leads to serving the cheesecake too soon.
Fix Allow at least 4 hours, preferably overnight, for the filling to set firmly. This chilling time is essential for clean slicing and the right texture.
Pressing the crust too lightly.
Why it happens Some think a loose crust is fine or easier to cut.
Fix Firmly press the crust mixture into the pan to bind it well. This prevents crumbling when slicing and gives a satisfying crunch.
Variations
Swap Peanut Butter for Almond Butter
For a twist, replace the peanut butter with creamy almond butter. It adds a milder, slightly sweeter nutty flavor that pairs beautifully with chocolate. The texture remains creamy and the cheesecake just as indulgent.
Note: Almond butter is usually softer than peanut butter, so you may need to chill the filling slightly longer to set fully.
Add a Layer of Salted Caramel
Pour a thin layer of salted caramel sauce over the crust before adding the filling. This adds a rich, buttery contrast to the peanut butter and chocolate, elevating the flavor complexity for a decadent treat.
Note: Make sure the caramel layer is cool before adding the filling to avoid melting or mixing layers.
Use Oreo Cookies for the Crust
Swap the chocolate cookie crumbs for crushed Oreo cookies (with filling). This makes the crust sweeter and adds a hint of vanilla flavor that complements the peanut butter filling nicely.
Note: Because Oreos are sweeter, reduce powdered sugar in the filling slightly to balance sweetness.
Top with Fresh Berries
Add a fresh, tangy element by topping the cheesecake with raspberries or sliced strawberries. The bright fruit cuts through the richness and adds a pop of color, making it perfect for summer gatherings.
Note: Add berries just before serving to prevent them from releasing moisture and sogging the cheesecake.
Make it Vegan with Cashew Cream
Replace cream cheese and heavy cream with blended soaked cashews and coconut cream for a vegan-friendly version. Use dairy-free chocolate and peanut butter to keep it plant-based while maintaining creaminess.
Note: Chilling time may be longer as cashew cream firms up more slowly than dairy cream cheese.
Nutrition
Per Serving:
Nutritional values are estimates and may vary based on specific ingredients used.
Storage & Tips
Room Temperature
Keep the cheesecake covered and it can safely sit at room temperature for up to 2 hours. Beyond that, refrigeration is necessary to maintain texture and food safety.
Refrigerator
Store in an airtight container or tightly wrapped with plastic wrap for up to 4 days. The cheesecake is best served chilled; flavor and texture may dull slightly if served cold directly from the fridge, so let it sit 10 minutes before slicing.
Freezer
Freeze the cheesecake wrapped tightly in plastic wrap and aluminum foil for up to 2 months. To thaw, place in the refrigerator overnight. Freezing may slightly change the texture, making it less fluffy but still delicious.
Reheating
This cheesecake is best served cold and should not be reheated. If it feels too firm after refrigeration, let it sit at room temperature for 10-15 minutes before serving to soften slightly.
Make Ahead
Prepare the crust and filling up to 2 days in advance. Assemble and chill the cheesecake fully the day before serving. This allows flavors to meld and saves time on party day.
FAQ
Can I use crunchy peanut butter instead of creamy?
You can, but crunchy peanut butter will add texture and small peanut pieces in the filling. This changes the smooth, creamy mouthfeel of the cheesecake, so if you prefer a silky texture, stick to creamy peanut butter.
What if I don’t have a springform pan?
You can use a regular pie dish or any round baking dish. Just be mindful that slicing might be trickier without removable sides. Lining the dish with parchment paper can help lift the cheesecake out more easily.
Can I make this cheesecake gluten-free?
Absolutely! Use gluten-free chocolate cookies or graham crackers for the crust to keep it gluten-free. Make sure all other ingredients like chocolate chips are certified gluten-free as well.
How long does the cheesecake need to chill?
At least 4 hours for the filling to set properly, but overnight chilling is best. This ensures the cheesecake slices cleanly and flavors develop fully.
Can I prepare this cheesecake a day ahead?
Yes! In fact, making it a day ahead improves flavor and texture. Just keep it covered and refrigerated until ready to serve.
Why is my cheesecake too soft after chilling?
Softness usually means the filling didn’t set fully. This can happen if the cream cheese was too warm, not enough chilling time, or if the whipped cream wasn’t whipped to stiff peaks. Make sure to follow these steps carefully.
Can I add gelatin to make it firmer?
You can, but it’s not necessary if you use the right cream cheese and whipped cream technique. Gelatin will make the texture denser and less fluffy, so only add if you want a firmer dessert.
How do I store leftover cheesecake?
Keep leftovers covered tightly in the fridge for up to 4 days. Let it sit at room temperature for 10 minutes before serving for best texture.
Final Thoughts
Give this no bake chocolate peanut butter cheesecake a try at your next summer party — I promise it’ll be a hit! Don’t forget to share how it turns out!