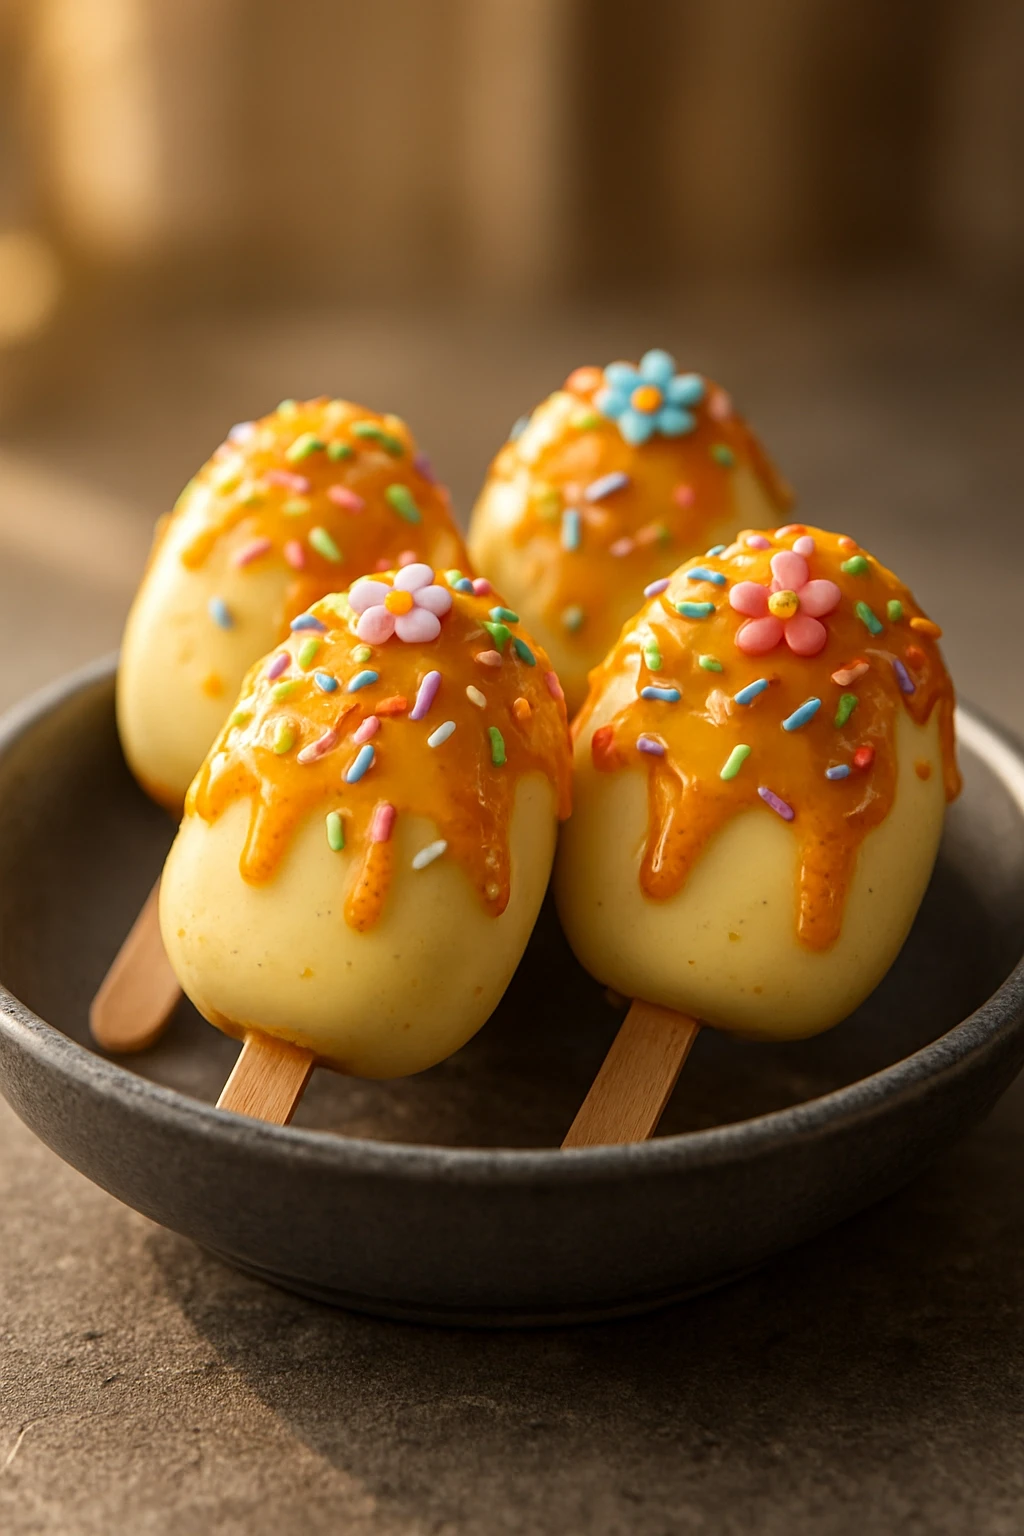
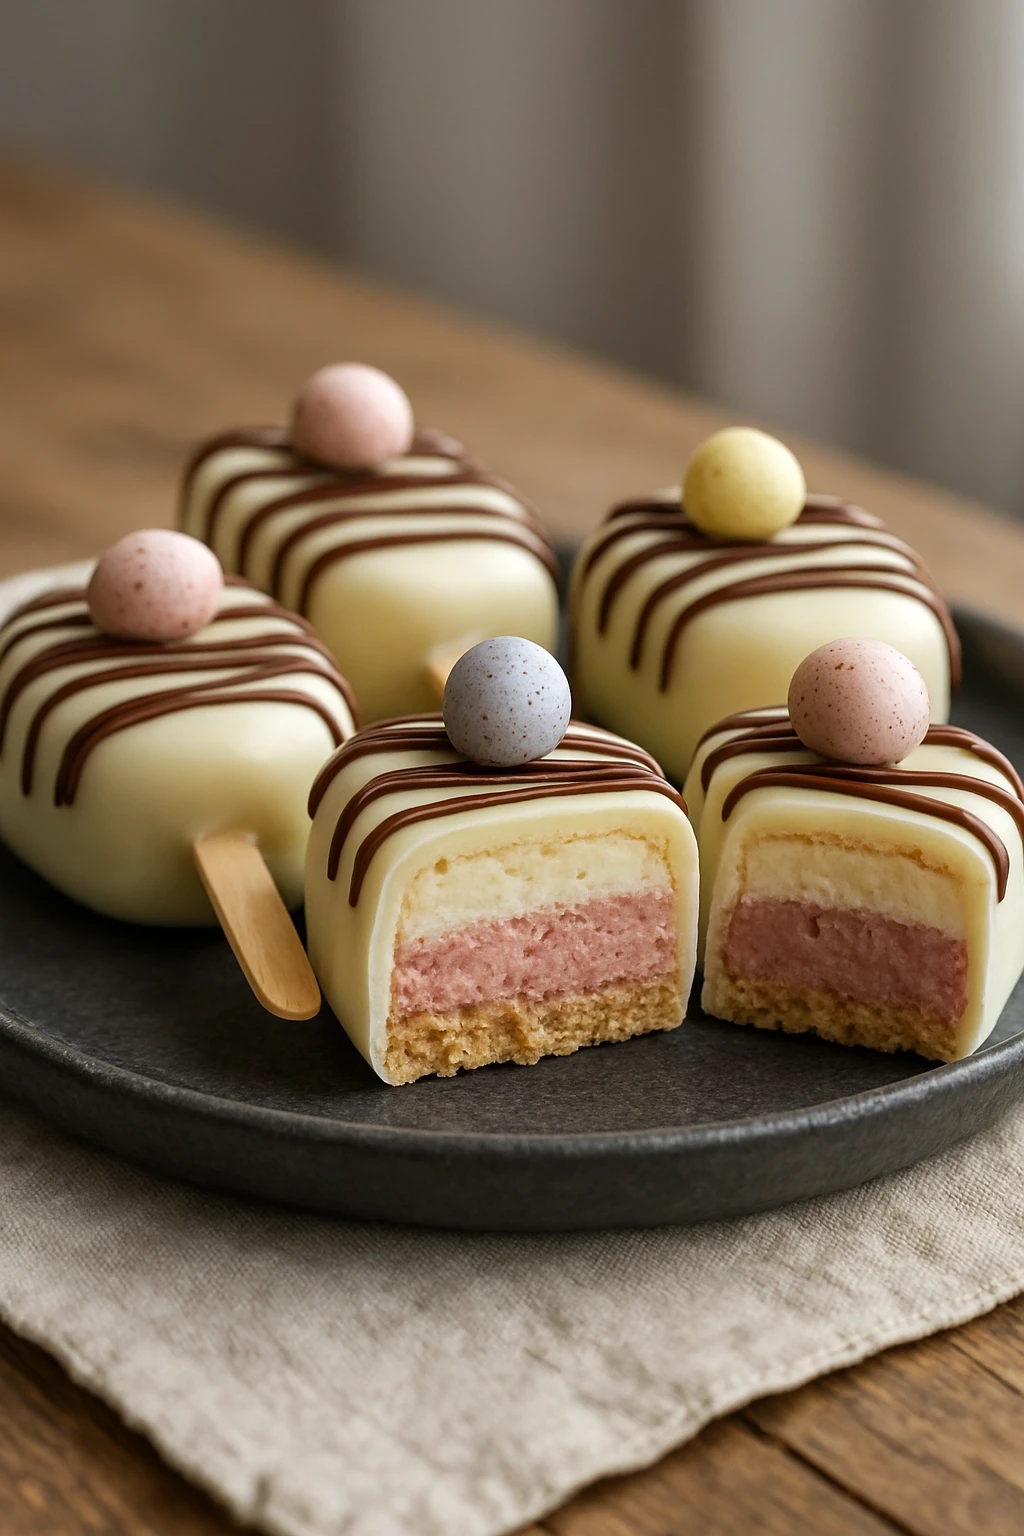
These no-bake Easter cakesicles are a delightful treat for spring celebrations. Made with cake mix and dipped in chocolate, they’re perfect for kids and adults alike!
Introduction
I first stumbled upon the idea of cakesicles during a friend's Easter gathering, and let me tell you, they were a hit! These treats are not only adorable but also incredibly easy to make—perfect for a fun afternoon with the kids. What I love about this recipe is that it uses cake mix, which cuts down on prep time but still delivers a delicious flavor. Plus, you can get creative with your decorations! The trick to making them really stand out is to use bright, festive sprinkles that scream spring. They’re sweet, fun, and just the right size for a little treat after a big meal or as a fun dessert for an Easter egg hunt. Trust me, everyone will be reaching for seconds!
What You'll Need
Approximately 12 cakesicles
- 1 box of cake mix (any flavor)
- 1/2 cup of frosting (matching flavor)
- 1 cup of chocolate chips (for coating)
- Sprinkles (for decoration)
- Lollipop sticks or popsicle sticks
How To Do It
Step 1
Start by preparing the cake mix according to the package instructions. This typically involves mixing the cake mix with eggs, water, and oil. Make sure to mix it well until there are no lumps, as a smooth batter ensures even baking. If you rush this step, you might end up with a dense cake that doesn't crumble nicely later. Bake it in a preheated oven at 350°F for about 25 minutes, or until a toothpick comes out clean. Let it cool completely before moving to the next step.
⏱ Time: 25 minutes
✓ Doneness: The cake should spring back when lightly pressed and a toothpick inserted should come out clean.
Step 2
Once the cake is cool, crumble it into a large bowl. You want fine crumbs, so use your hands or a fork to break it down. Then, add in the frosting, mixing until everything is well combined. The frosting acts as a binder, giving the cakesicles their shape. If you don’t mix it enough, they may fall apart when you mold them. Once mixed, take a handful and shape it into a rectangle around your lollipop stick, ensuring it’s packed tightly. Repeat until all the mixture is used up.
⏱ Time: 10 minutes
✓ Doneness: The mixture should hold together well without crumbling apart.
Step 3
Now, place the shaped cakesicles in the freezer for about 15 minutes. This helps them firm up, making it easier to dip them in chocolate later. If you skip this step, they might lose their shape when you try to coat them. While they chill, melt the chocolate chips in a microwave-safe bowl in 30-second intervals, stirring in between until smooth. This method prevents the chocolate from seizing and ensures a silky finish.
⏱ Time: 15 minutes
✓ Doneness: The cakesicles should feel firm to the touch but not frozen solid.
Step 4
Once the cakesicles are firm, dip each one into the melted chocolate, making sure to coat it evenly. Allow any excess chocolate to drip off before placing them back on a lined baking sheet. This step is crucial because too much chocolate can make them heavy and hard to eat. If you want to add sprinkles, do it immediately after dipping while the chocolate is still wet. This gives a festive look and adds a fun crunch.
⏱ Time: 10 minutes
✓ Doneness: The chocolate should have a smooth, shiny finish once set.
Step 5
Let the coated cakesicles sit at room temperature for about 15 minutes or until the chocolate hardens. If you’re in a hurry, you can pop them in the fridge for a quicker set. Just be careful not to let them chill too long, or they may become too hard. Once set, you can store them in an airtight container in the fridge until you’re ready to serve. They’re best enjoyed chilled, as it enhances the flavor and texture.
⏱ Time: 15 minutes
✓ Doneness: The chocolate coating should be firm and not sticky to the touch.
Step 6
For an extra touch, consider drizzling some contrasting chocolate over the top of each cakesicle. Melt a different color of chocolate and use a fork to drizzle it over the hardened cakesicles. This not only looks beautiful but also adds another layer of flavor. Just ensure the first layer of chocolate is fully set before adding the drizzle to avoid a messy mix.
⏱ Time: 5 minutes
✓ Doneness: The drizzle should set quickly and add a decorative touch.
Step 7
Finally, serve these delightful cakesicles at your Easter gathering or any spring celebration. They’re sure to impress both kids and adults alike! You can even package them up as cute gifts for friends or family. Just remember to keep them cool until serving, as the chocolate can melt if left out too long. Enjoy the smiles and compliments as everyone digs in!
⏱ Time: 5 minutes
✓ Doneness: They should look visually appealing and be easy to pick up without falling apart.
Pro Tips
Use a mix of cake flavors for variety.
Combining different cake flavors can create a fun surprise for your guests. It also allows for creativity in pairing with different frostings and coatings, making each bites unique.
Chill your chocolate before dipping.
Chilling the chocolate slightly can help it adhere better to the cakesicles, preventing it from sliding off and creating a smoother finish.
Experiment with different toppings.
Adding toppings like coconut, crushed nuts, or even edible glitter can make your cakesicles stand out. Plus, it adds different textures and flavors that enhance the treat.
Use a silicone mold for perfect shapes.
Silicone molds can help you achieve uniform shapes and sizes, making your cakesicles look professional. They also make it easier to pop them out once set.
Don’t rush the cooling process.
Allowing the cakesicles to cool completely before dipping is crucial. If they’re warm, the chocolate will melt and won’t adhere properly, leading to a messy result.
Common Mistakes to Avoid
Not letting the cakes cool completely.
Why it happens Many are eager to get to the fun part of dipping, but warm cakes can lead to a disaster.
Fix Always ensure your cakes are completely cool before shaping and dipping. This prevents melting and ensures a clean finish.
Using chocolate that doesn’t melt well.
Why it happens Some chocolates are formulated for baking and don’t melt smoothly, leading to clumps.
Fix Choose quality melting chocolate or chocolate chips specifically labeled for melting to ensure a smooth coating.
Overcrowding the baking sheet.
Why it happens It’s tempting to fit as many cakesicles as possible, but this can lead to uneven cooling.
Fix Give each cakesicle space on the baking sheet to cool and set properly, ensuring they maintain their shape.
Variations
Chocolate Peanut Butter Cakesicles
Swap out the frosting for peanut butter frosting for a rich, nutty flavor. Pair it with chocolate cake mix for a classic combination that everyone loves!
Note: Ensure the peanut butter frosting is not too thick; it should blend easily with the cake crumbs.
Red Velvet Cakesicles
Use red velvet cake mix and cream cheese frosting for a festive twist. The vibrant color is perfect for Easter and adds a delicious tangy flavor.
Note: Red velvet can be a bit denser, so ensure you mix thoroughly to achieve a good consistency.
Fruit-Infused Cakesicles
Incorporate pureed fruit like strawberries or raspberries into the cake mix for a fresh flavor. This adds a lovely natural sweetness and a pop of color.
Note: Adjust the amount of frosting slightly to compensate for the moisture from the fruit.
Nutrition
Per Serving:
Nutritional values are estimates and may vary based on specific ingredients used.
Storage & Tips
Room Temperature
Cakesicles can be kept at room temperature for about 2 hours, but they should be stored in a cool place to prevent melting.
Refrigerator
Store in an airtight container in the fridge for up to 5 days. The flavors deepen, but they may become a bit firmer.
Freezer
Freeze for up to 2 months. Wrap each cakesicle individually in plastic wrap and then in foil to prevent freezer burn.
Reheating
There’s no need to reheat; they’re best served cold. If they’ve been frozen, let them sit at room temperature for a few minutes before serving.
Make Ahead
You can prepare the cakesicles a day in advance and keep them in the fridge. Just dip them in chocolate the day of serving for the freshest taste.
FAQ
Can I use homemade cake instead of cake mix?
Absolutely! Just make sure it's a dense cake that holds together well. Homemade cake might require a bit more frosting to ensure it binds properly.
What if my chocolate isn't melting smoothly?
If your chocolate is clumping, it might be too hot or you may need to add a bit of vegetable oil to help it along. Stir thoroughly to achieve that silky texture.
How do I prevent my cakesicles from falling apart?
Ensure they’re chilled properly before dipping and pack the cake mixture tightly when shaping. This helps them hold together during the chocolate coating.
Can I make these gluten-free?
Yes! Just use a gluten-free cake mix and ensure your other ingredients are also gluten-free. They’ll taste just as delicious!
How can I make them more festive?
Use vibrant colored chocolate melts and a variety of sprinkles! You can even add edible glitter for a fun, sparkly touch.
Final Thoughts
I hope you give these no-bake Easter cakesicles a try! They're a delightful treat that everyone will love. Don't forget to share your creations with friends and family!