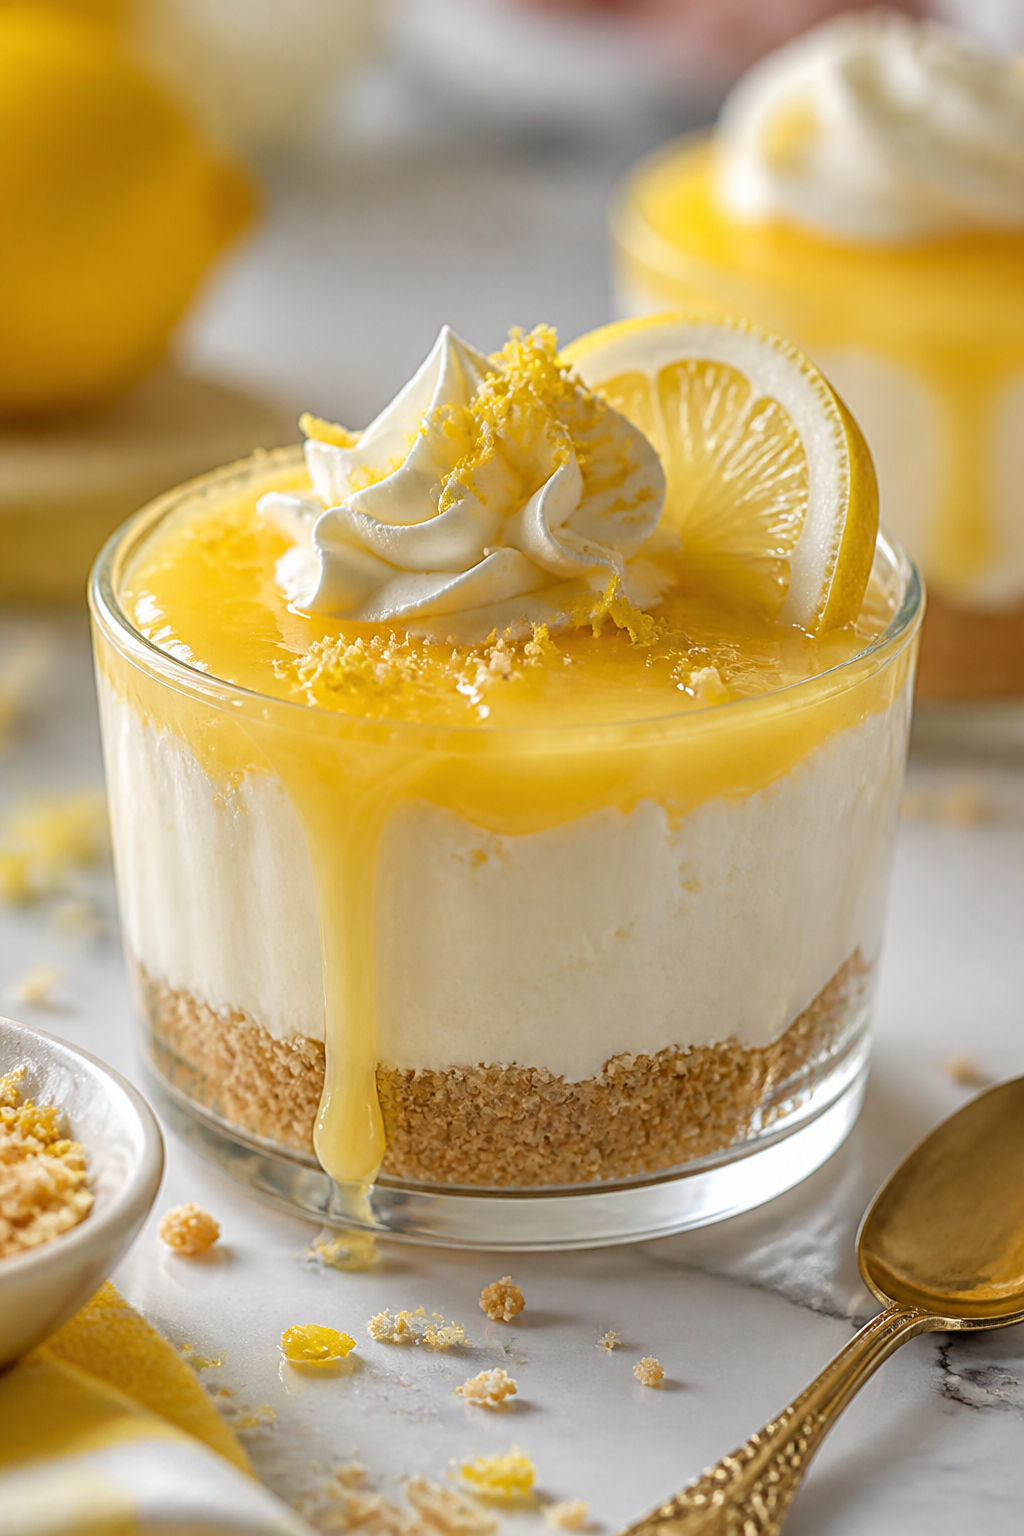
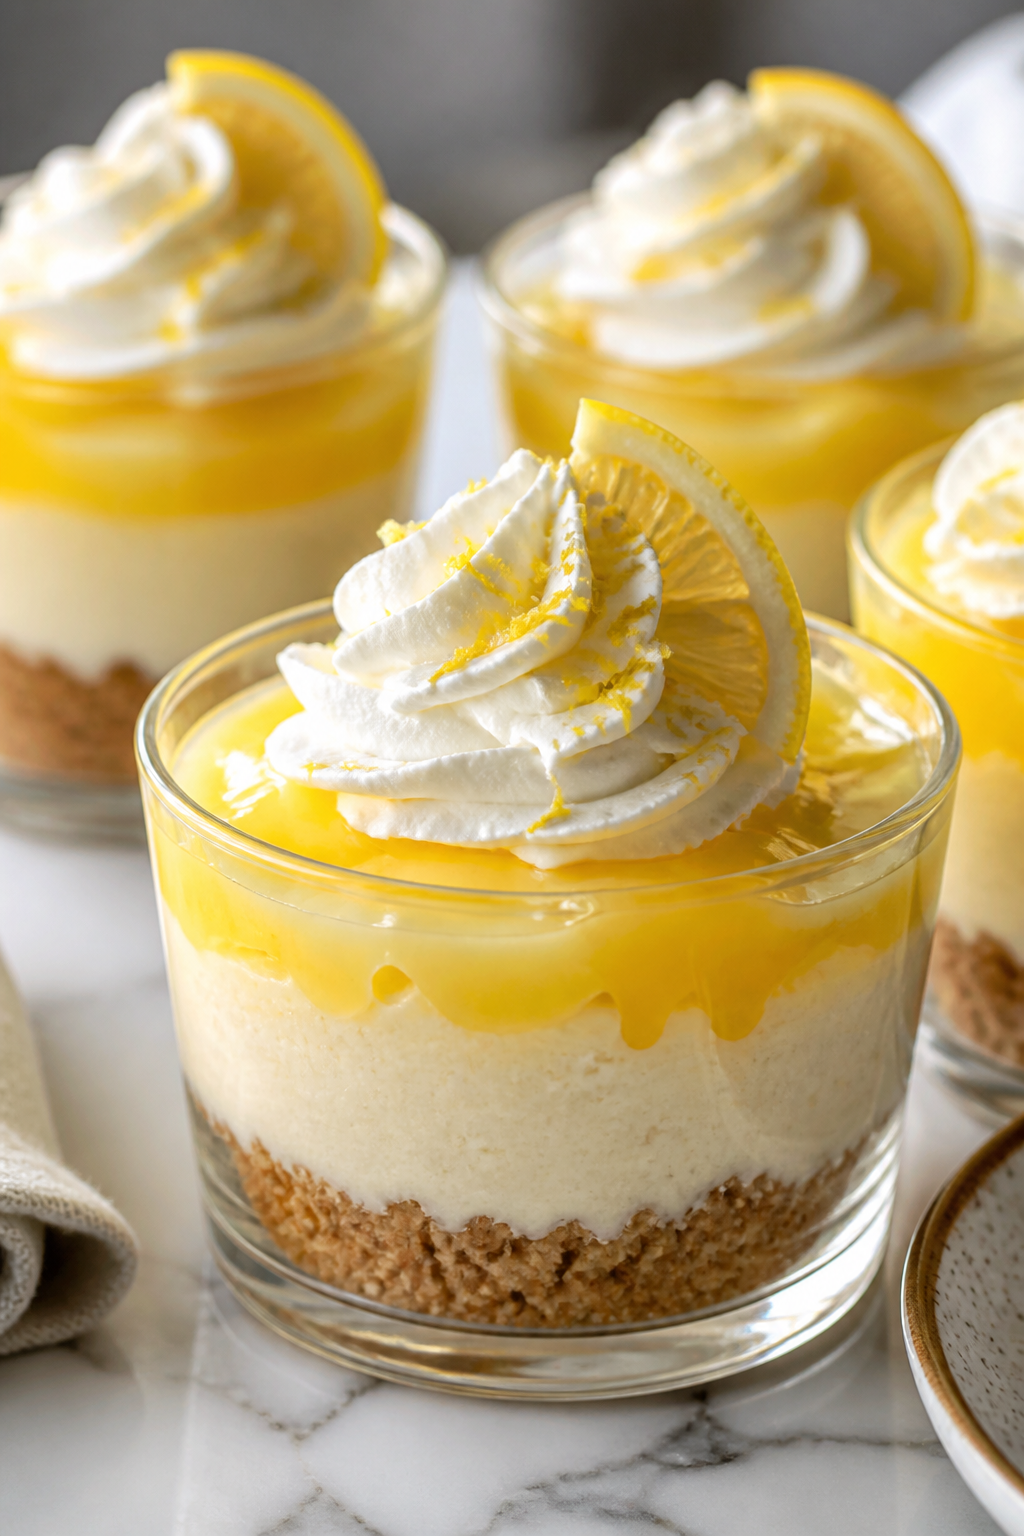
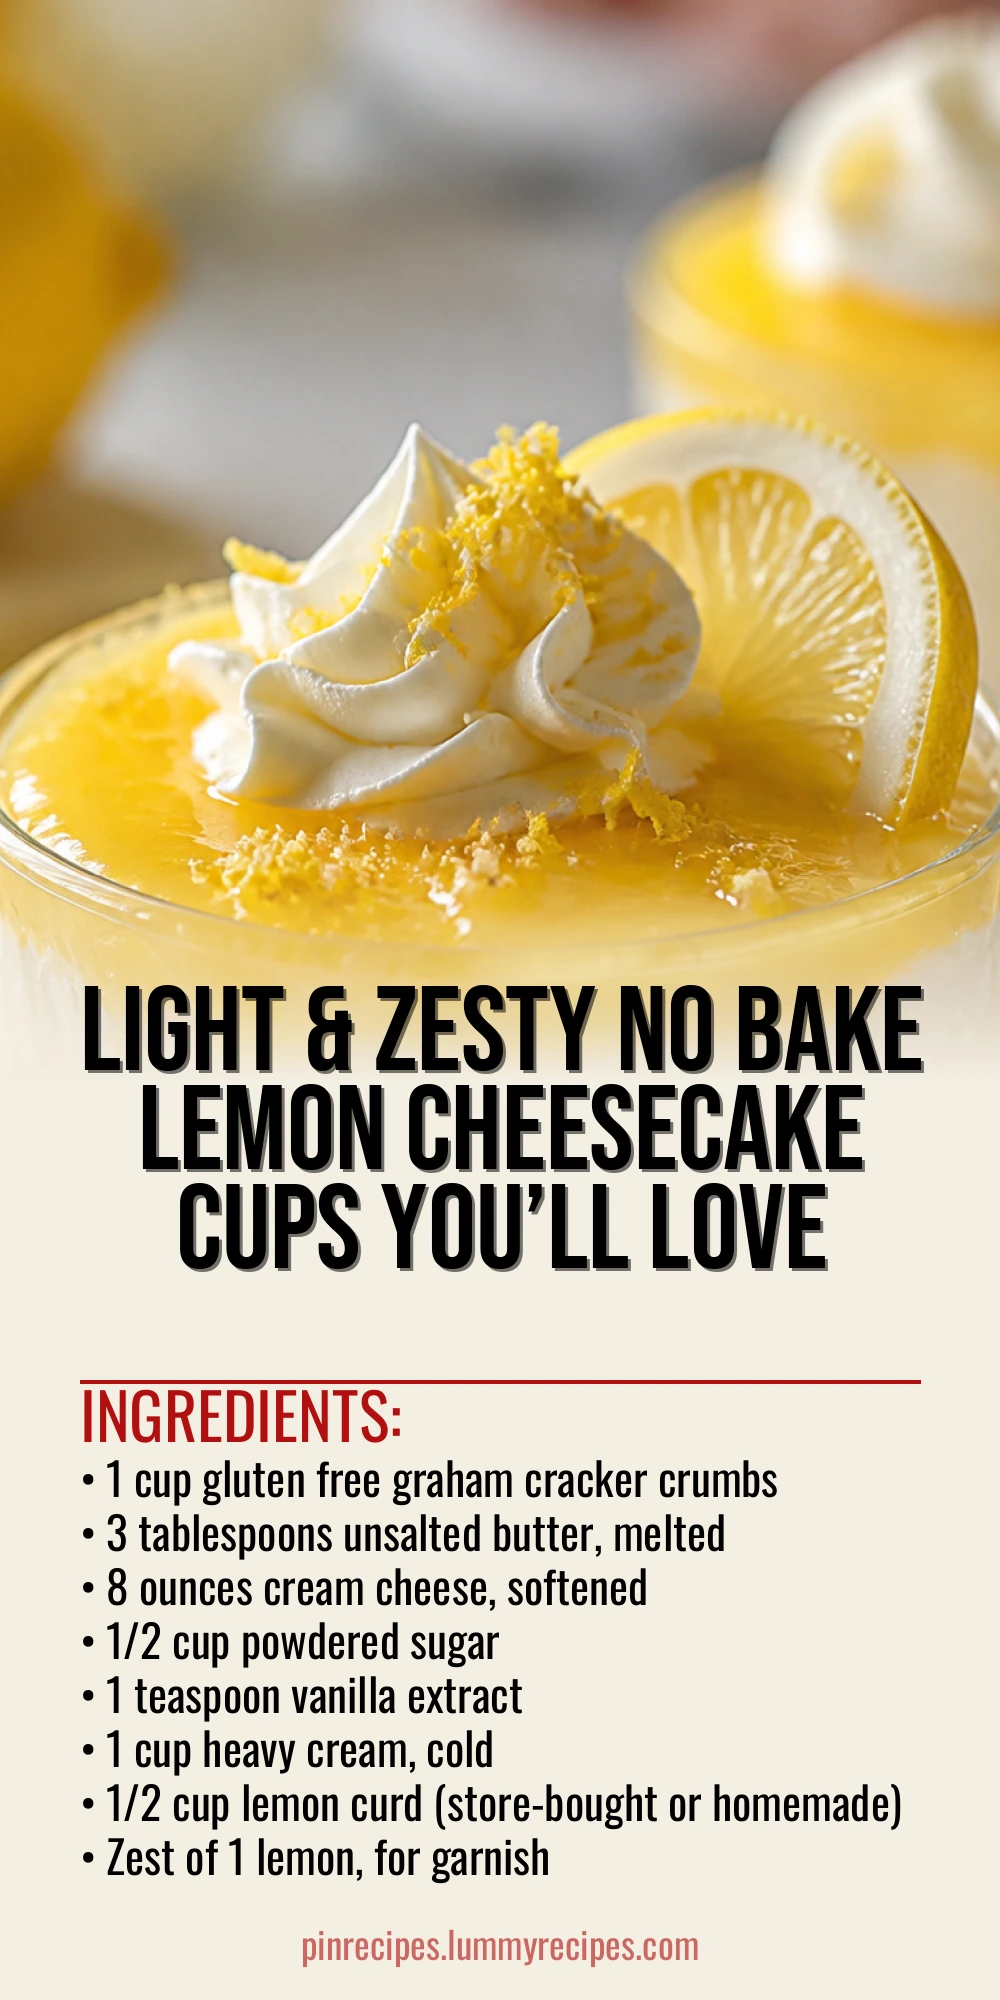
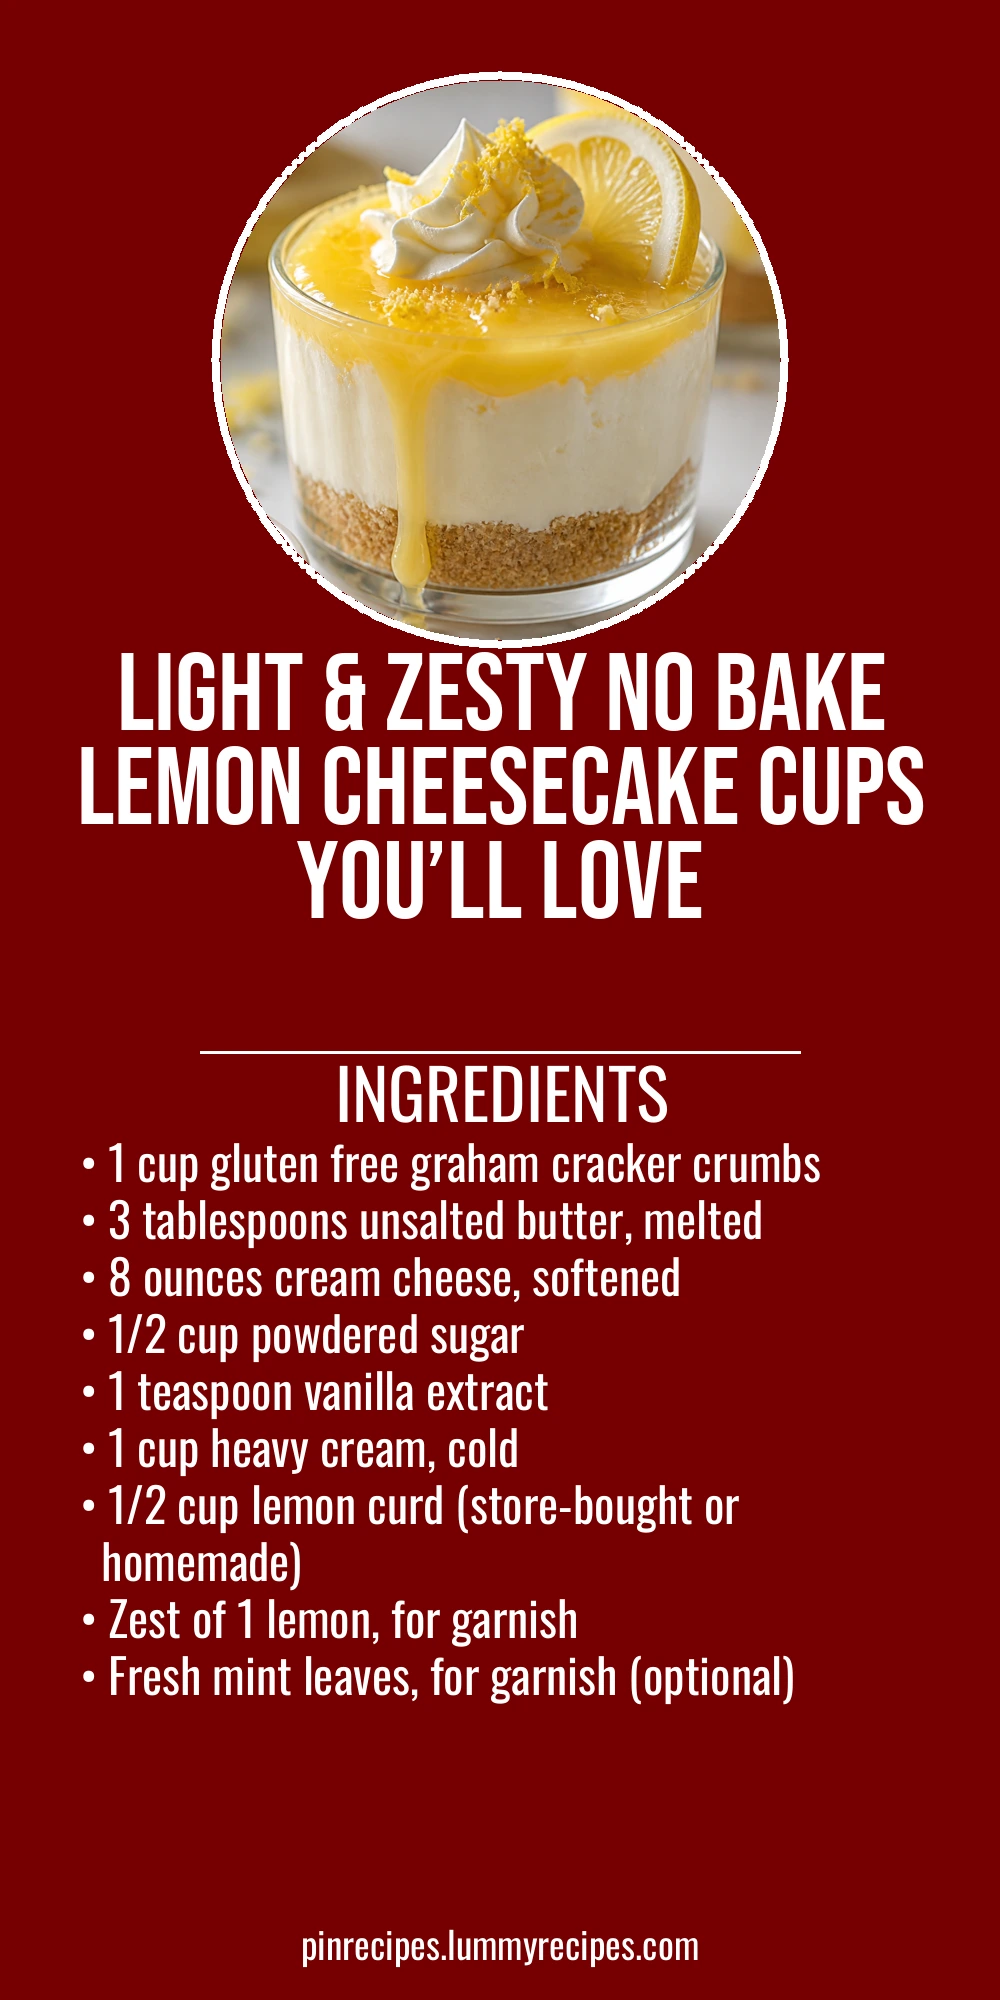
These lemon cheesecake cups are a refreshing no-bake treat that’s naturally gluten free and super easy to whip up. The zingy lemon curd and creamy filling make them perfect for a sunny day dessert or a light summer party snack.
Introduction
I stumbled upon this no bake gluten free lemon cheesecake cups recipe last summer when I was craving something light and refreshing but didn’t want to heat up the kitchen. My usual baked cheesecakes felt too heavy and time-consuming, so I experimented with a no bake version that still had that creamy, tangy punch. This recipe quickly became a favorite in my family, especially on warm days when you want dessert without the fuss. What sets this cheesecake apart is the use of cold heavy cream whipped to fluffy peaks, which gives it a light texture without any gelatin or complicated stabilizers. Plus, the gluten free graham cracker crust adds just the right amount of crunch and buttery flavor. I love how the lemon curd adds a fresh zing that balances the richness perfectly. This dessert looks elegant in individual cups but is super easy to make, so it’s great for casual get-togethers or just a treat for yourself. The finished cups are creamy, tangy, and delightfully smooth with a crumbly base that holds up well. I think you’ll find this recipe a breeze and a crowd-pleaser!
What You'll Need
4 individual cheesecake cups
- 1 cup gluten free graham cracker crumbs
- 3 tablespoons unsalted butter, melted
- 8 ounces cream cheese, softened
- 1/2 cup powdered sugar
- 1 teaspoon vanilla extract
- 1 cup heavy cream, cold
- 1/2 cup lemon curd (store-bought or homemade)
- Zest of 1 lemon, for garnish
- Fresh mint leaves, for garnish (optional)
How To Do It
Step 1
Start by making the crust: combine the gluten free graham cracker crumbs with the melted butter in a bowl. Stir until the crumbs are evenly coated and the mixture holds together when pressed. This step is important because the butter binds the crumbs, giving the crust structure and a rich flavor. If you skip melting the butter or don’t mix well, the crust will be dry and crumbly, falling apart when you try to eat it.
⏱ Time: 5 minutes
✓ Doneness: The mixture should clump together when pressed between your fingers without being greasy or too dry.
Step 2
Divide the crust mixture evenly among your serving cups and press down firmly to form a solid base. Use the bottom of a small glass or spoon to compact it tightly. This ensures the crust won’t crumble when you add the filling and eat the cheesecake. If you don’t press firmly enough, the crust will be loose and messy.
⏱ Time: 5 minutes
✓ Doneness: The crust should look flat and compacted, holding its shape in the cup.
Step 3
In a mixing bowl, beat the softened cream cheese with powdered sugar and vanilla extract until smooth and creamy. This step is essential to avoid lumps and get a silky filling. Make sure the cream cheese is at room temperature to blend easily. If it’s too cold, you’ll get clumps, and the texture will suffer.
⏱ Time: 3-4 minutes
✓ Doneness: The mixture should be completely smooth with no visible lumps.
Step 4
In a separate chilled bowl, whip the cold heavy cream to stiff peaks using a hand mixer or stand mixer. This adds lightness and air to your filling, making it fluffy and not too dense. Overwhipping can cause the cream to turn grainy or even butter, so watch carefully and stop as soon as stiff peaks form.
⏱ Time: 5 minutes
✓ Doneness: When you lift the beaters, the cream should hold a firm peak without collapsing.
Step 5
Gently fold the whipped cream into the cream cheese mixture in batches. Use a spatula and fold carefully to keep the airiness. This technique prevents the filling from deflating, resulting in a light texture. Stirring too aggressively will make the filling dense and heavy.
⏱ Time: 3 minutes
✓ Doneness: The filling should look smooth, fluffy, and well combined with no streaks.
Step 6
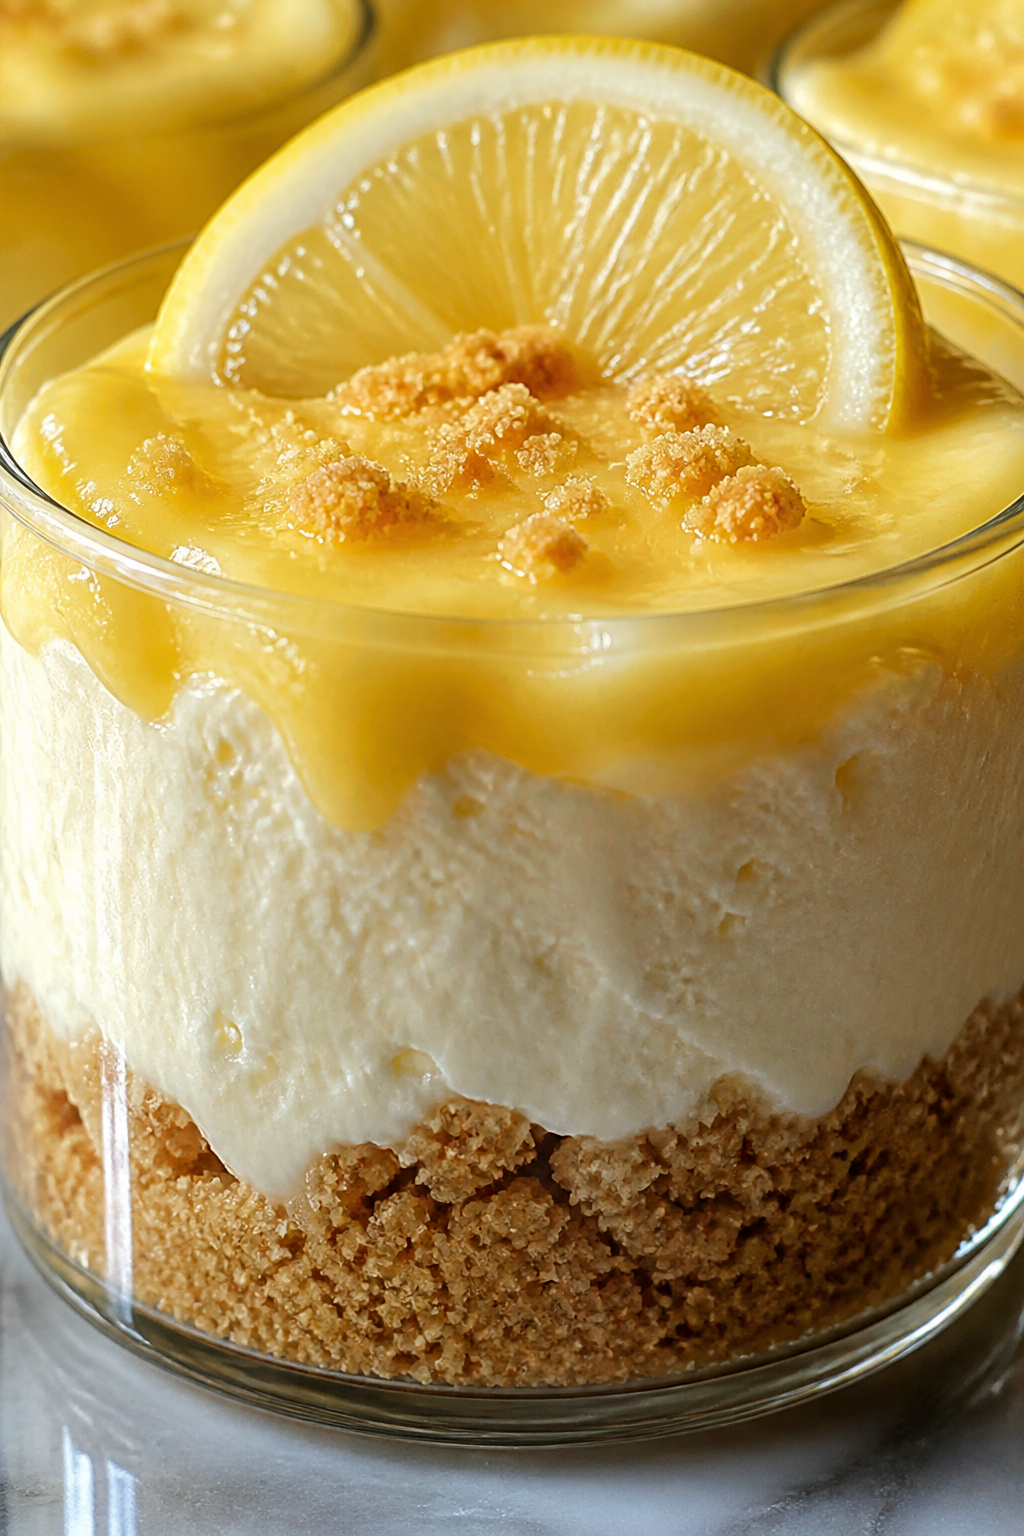
Spoon a layer of lemon curd over the crust in each cup, then add a generous layer of the cream cheese filling on top. You can add another thin layer of lemon curd if you like a stronger lemon flavor. The layering adds a nice contrast in texture and bright citrus zing that balances the creaminess.
⏱ Time: 5 minutes
✓ Doneness: Each cup should have an even base of crust, a lemon curd layer, and a smooth filling layer.
Step 7
Refrigerate the assembled cheesecake cups for at least 2 hours to let them set and the flavors meld. Chilling firms up the filling and helps the crust hold its shape. Don’t rush this step; serving too soon will mean a runny filling and crumbly crust.
⏱ Time: 2 hours
✓ Doneness: The filling should feel firm to the touch and hold its shape when served.
Step 8
Before serving, zest a fresh lemon over the top of each cup and add a mint leaf if desired. The zest adds a bright aroma and fresh flavor that elevates the dessert’s presentation and taste. Mint adds a pretty pop of color and a refreshing note.
⏱ Time: 2 minutes
✓ Doneness: The cups should look vibrant with visible lemon zest and fresh mint.
Step 9
Serve chilled straight from the fridge. These cheesecake cups are best enjoyed cold to keep the creamy texture and refreshing lemon flavor intact. If left out too long, the filling softens and the crust can get soggy.
⏱ Time: Immediate
✓ Doneness: The dessert should be cool, creamy, and firm with a crisp crust.
Pro Tips
Use room temperature cream cheese for smooth mixing.
Cold cream cheese is stiff and won’t blend well, causing lumps in your filling. Allowing it to soften ensures a silky texture and prevents graininess, improving the overall mouthfeel of your cheesecake.
Chill your mixing bowl and beaters before whipping cream.
Cold equipment helps the heavy cream whip faster and hold stiff peaks better. Warm bowls slow down the process and can cause the cream to turn soft or separate, affecting the filling’s volume and texture.
Press the crust firmly into the cups to avoid crumbling.
A compact crust holds together when you eat the cheesecake. If it’s too loose, it will fall apart and create a mess. Using the bottom of a glass to press evenly distributes pressure and creates a solid base.
Fold whipped cream gently into cream cheese mixture.
Folding preserves the air whipped into the cream, keeping the filling light and fluffy. Stirring vigorously deflates the mixture, resulting in a dense, heavy texture instead of a mousse-like creaminess.
Chill the assembled cups for at least 2 hours before serving.
Chilling firms up the filling and allows flavors to meld. Serving too soon means the filling will be runny and the crust won’t hold its shape, diminishing the dessert’s appeal.
Use fresh lemon zest on top for added aroma and flavor.
Zesting just before serving releases essential oils that brighten the dessert’s aroma and add a fresh citrus punch, enhancing the overall sensory experience.
If lemon curd is too runny, refrigerate it to thicken before layering.
Thicker curd prevents the crust from becoming soggy and helps maintain distinct layers, improving both texture and presentation.
Common Mistakes to Avoid
Using cold cream cheese without softening
Why it happens Many cooks rush the process and try to mix cream cheese straight from the fridge, assuming it will blend fine.
Fix Plan ahead and let cream cheese sit at room temperature for at least 30 minutes. This prevents lumps and ensures a smooth, creamy filling.
Overwhipping the heavy cream
Why it happens It’s easy to get carried away when whipping cream, especially if you want stiff peaks quickly.
Fix Watch closely and stop as soon as stiff peaks form. Overwhipping leads to grainy texture or butter formation, ruining the filling’s lightness.
Not pressing the crust firmly
Why it happens Some assume sprinkling crumbs is enough and skip compacting them.
Fix Use the bottom of a glass or spoon to press crumbs firmly in the cups, creating a stable base that won’t crumble when served.
Skipping the chilling time
Why it happens Impatience or lack of planning can lead to serving immediately after assembly.
Fix Chill for at least 2 hours to allow filling to set and flavors to develop. This step is crucial for texture and taste.
Using runny lemon curd
Why it happens Using lemon curd straight from the jar without checking consistency can cause soggy crusts.
Fix If curd is too runny, refrigerate it to thicken or gently cook down before layering to maintain crust integrity.
Variations
Berry Swirl Lemon Cheesecake Cups
Add a swirl of fresh berry compote or raspberry jam into the lemon curd layer for a fruity twist. This adds a beautiful color contrast and a sweet-tart flavor that complements the lemon perfectly.
Note: Be careful not to add too much liquid berry compote to avoid soggy crusts; use thickened jams or reduced compotes.
Coconut Gluten Free Crust
Swap the graham cracker crumbs for shredded coconut mixed with almond flour and butter for a tropical flavor and chewy texture. This variation pairs wonderfully with the lemon and adds a nutty aroma.
Note: Toasting the coconut lightly beforehand enhances flavor and prevents excess moisture.
Vegan No Bake Lemon Cheesecake Cups
Replace cream cheese with vegan cream cheese and use coconut cream whipped to stiff peaks instead of heavy cream. Use a vegan butter substitute for the crust. This keeps the dessert dairy-free and still creamy.
Note: Chill coconut cream overnight and whip it cold for best results; vegan cream cheese should be softened for smooth mixing.
Lemon Basil Cheesecake Cups
Add finely chopped fresh basil to the filling for a subtle herbal note that pairs beautifully with lemon. Garnish with a small basil leaf for a sophisticated touch.
Note: Fold basil in gently to avoid bruising; fresh herbs add a unique flavor but use sparingly to not overpower the lemon.
Chocolate Drizzle Lemon Cheesecake Cups
Drizzle melted dark chocolate over each cup just before serving for a rich contrast. The bitterness of chocolate complements the sweet and tart lemon filling wonderfully.
Note: Allow chocolate to cool slightly before drizzling to avoid melting the filling or crust.
Nutrition
Per Serving:
Nutritional values are estimates and may vary based on specific ingredients used.
Storage & Tips
Room Temperature
These cheesecake cups can safely sit at room temperature for up to 1 hour if covered to prevent drying out. Longer than that and the filling may soften too much and the crust can become soggy.
Refrigerator
Store in an airtight container in the fridge for up to 3 days. The flavors meld nicely over time, but the crust may soften slightly. Serve chilled for best texture and taste.
Freezer
Freeze the cups for up to 1 month. Wrap tightly with plastic wrap and place in a freezer-safe container to prevent freezer burn. Thaw overnight in the fridge before serving. Texture may be slightly softer after freezing.
Reheating
No reheating needed; serve these cheesecake cups chilled. If you prefer, let them sit at room temperature for 10-15 minutes before eating to soften slightly.
Make Ahead
You can prepare the crust and filling separately up to 1 day in advance. Assemble the cups and chill overnight for best results. This makes it a perfect make-ahead dessert for parties or busy days.
FAQ
Can I use regular graham crackers instead of gluten free?
Yes, if you don’t need the recipe to be gluten free, regular graham cracker crumbs work perfectly. Just swap them 1:1 with the gluten free crumbs. The texture and flavor will be very similar.
How do I make homemade lemon curd for this recipe?
Homemade lemon curd is simple: whisk together lemon juice, zest, sugar, eggs, and butter in a saucepan over low heat until thickened. Let it cool before using. It adds fresh flavor and you can control sweetness.
What if I don’t have heavy cream? Can I substitute?
Heavy cream is best for whipping and adding lightness. You can try whipping coconut cream for a dairy-free option or use whipped topping, but the texture won’t be quite the same.
Can I make this recipe vegan?
Yes! Use vegan cream cheese, coconut cream whipped to stiff peaks, and a vegan butter substitute for the crust. This keeps the dessert dairy-free but still creamy and delicious.
Why is my filling too runny?
Runny filling usually means the cream cheese was too soft or the heavy cream wasn’t whipped enough. Make sure cream cheese is softened but not melted, and whip the cream to stiff peaks before folding in.
How long should I chill the cheesecake cups?
At least 2 hours is needed to let the filling firm up and the flavors meld. Overnight chilling is even better for a firmer texture and enhanced taste.
Can I make these in a larger dish instead of cups?
Absolutely! Use a small springform pan or glass dish and layer crust, lemon curd, and filling as usual. Chill and slice into portions before serving.
Can I add other flavors to the filling?
Yes, you can fold in zest from other citrus fruits or a bit of almond extract for a twist. Just add sparingly to not overpower the lemon flavor.
Final Thoughts
Give these no bake gluten free lemon cheesecake cups a try—you’ll love how simple and refreshing they are! Don’t forget to share your photos and thoughts, I’d love to hear how they turn out.