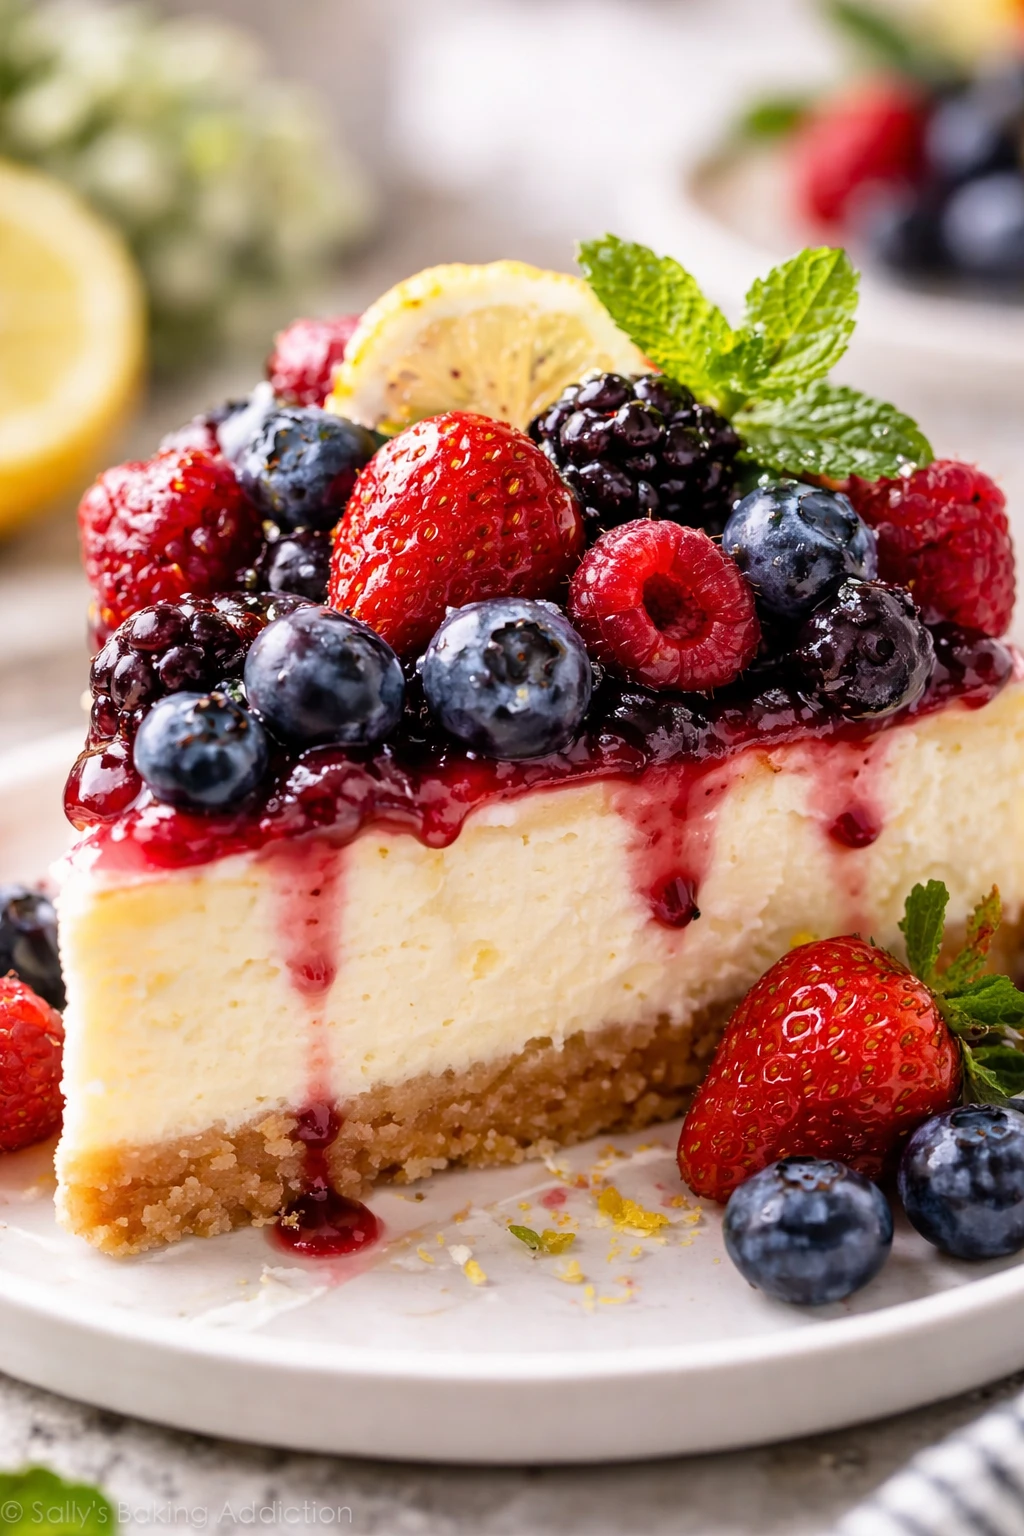
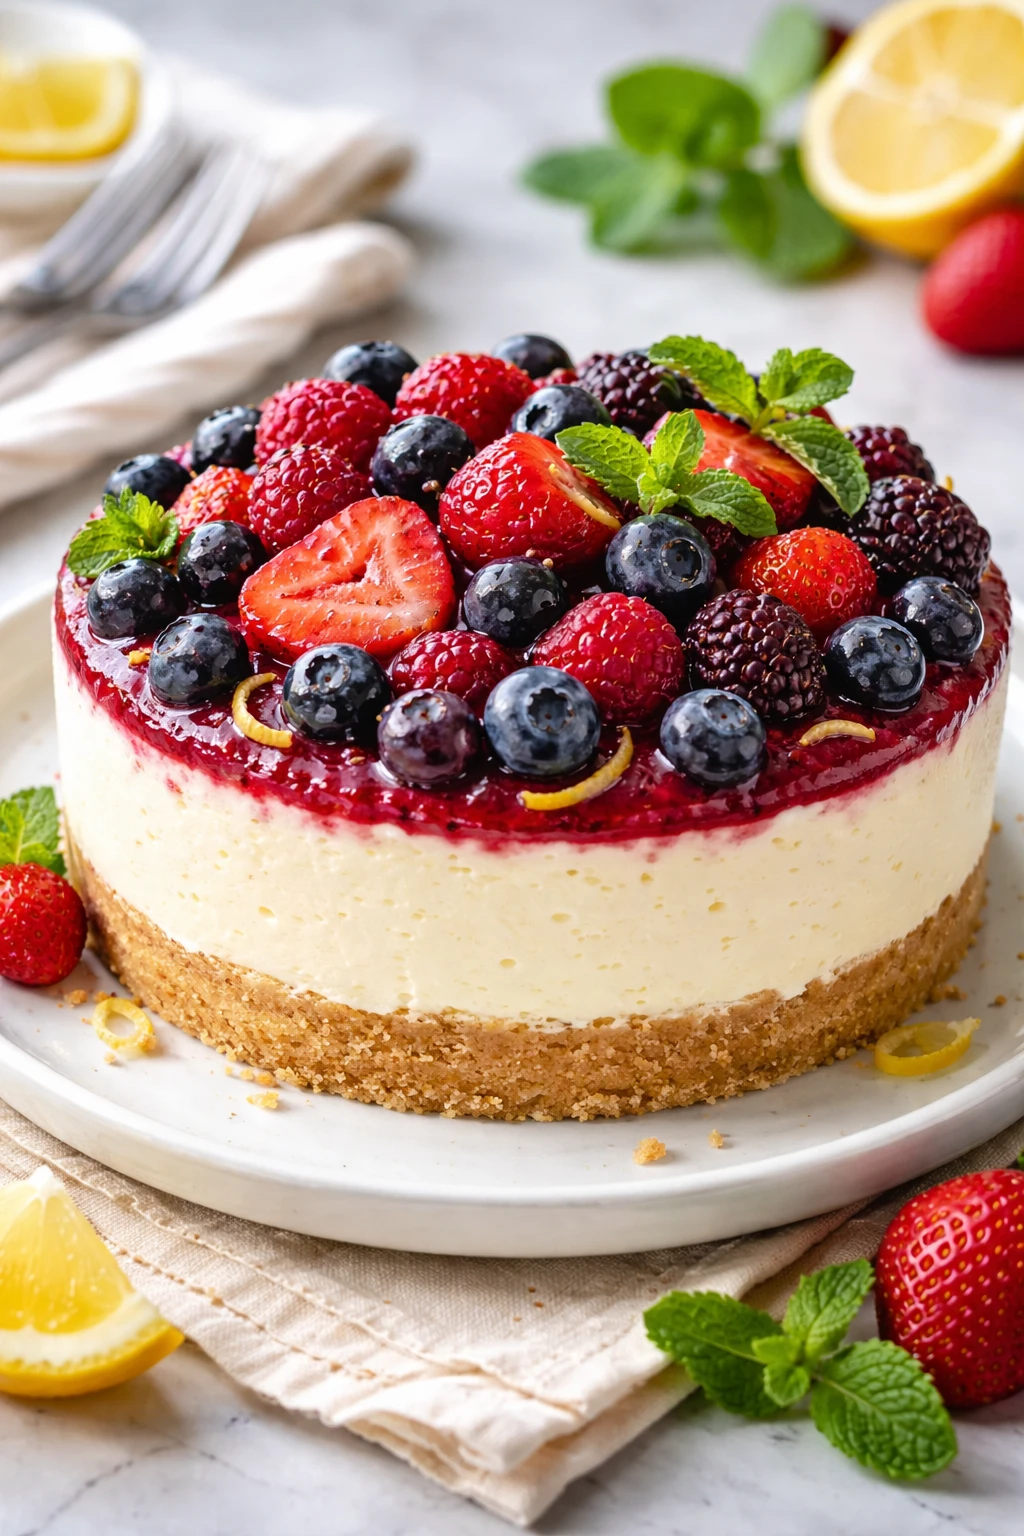
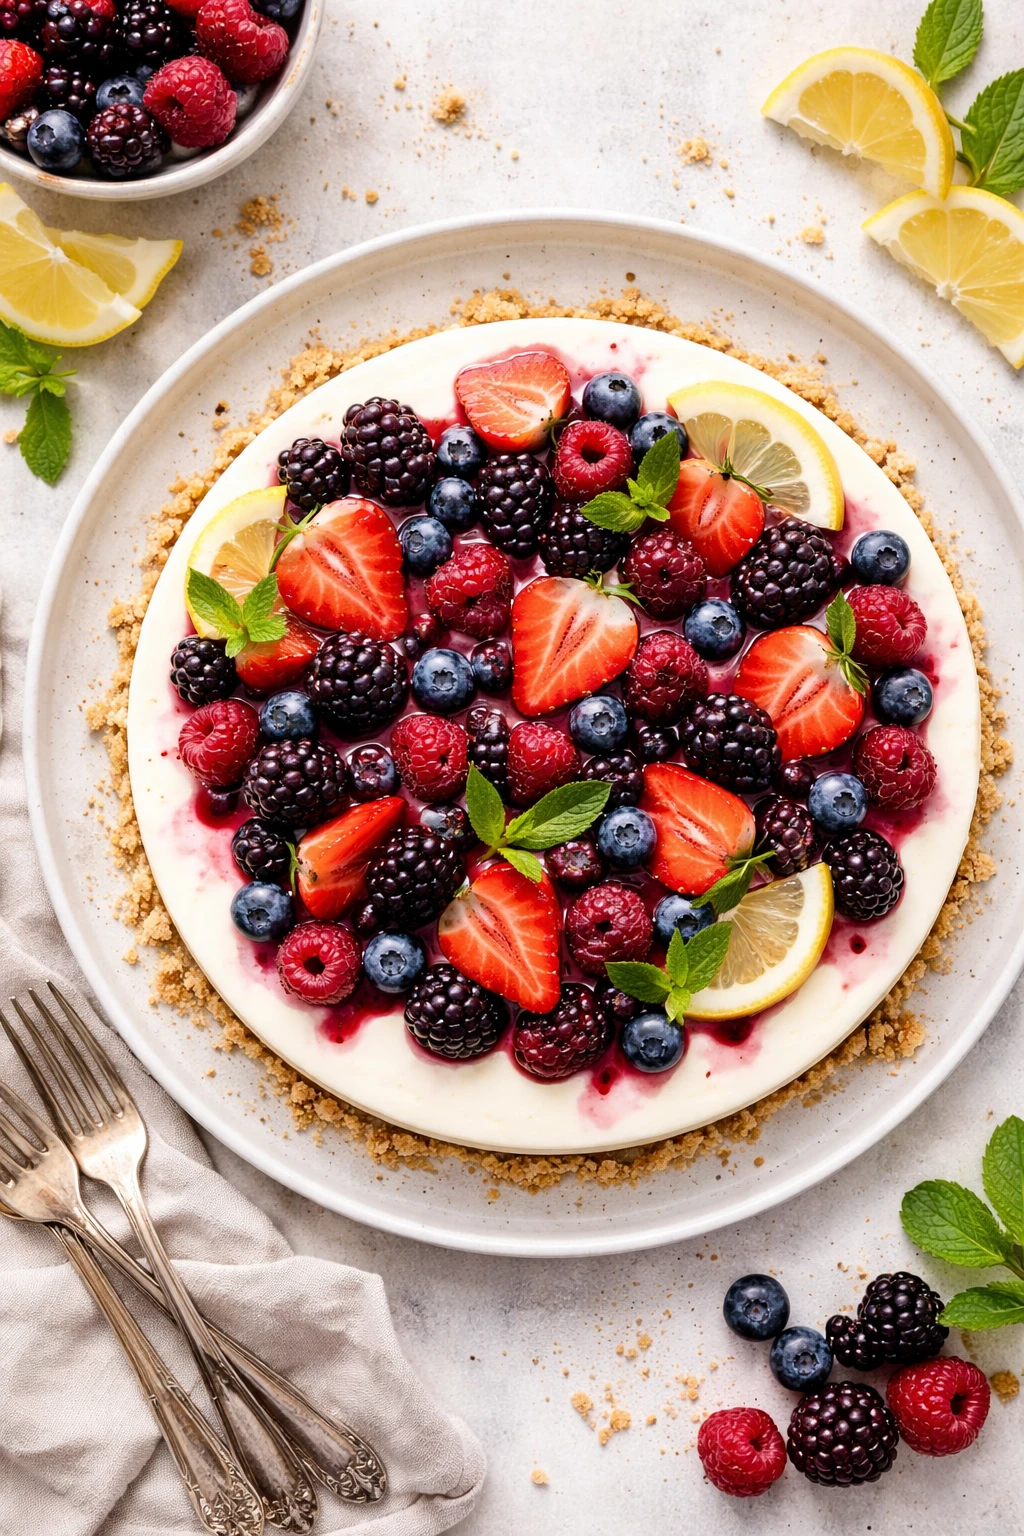
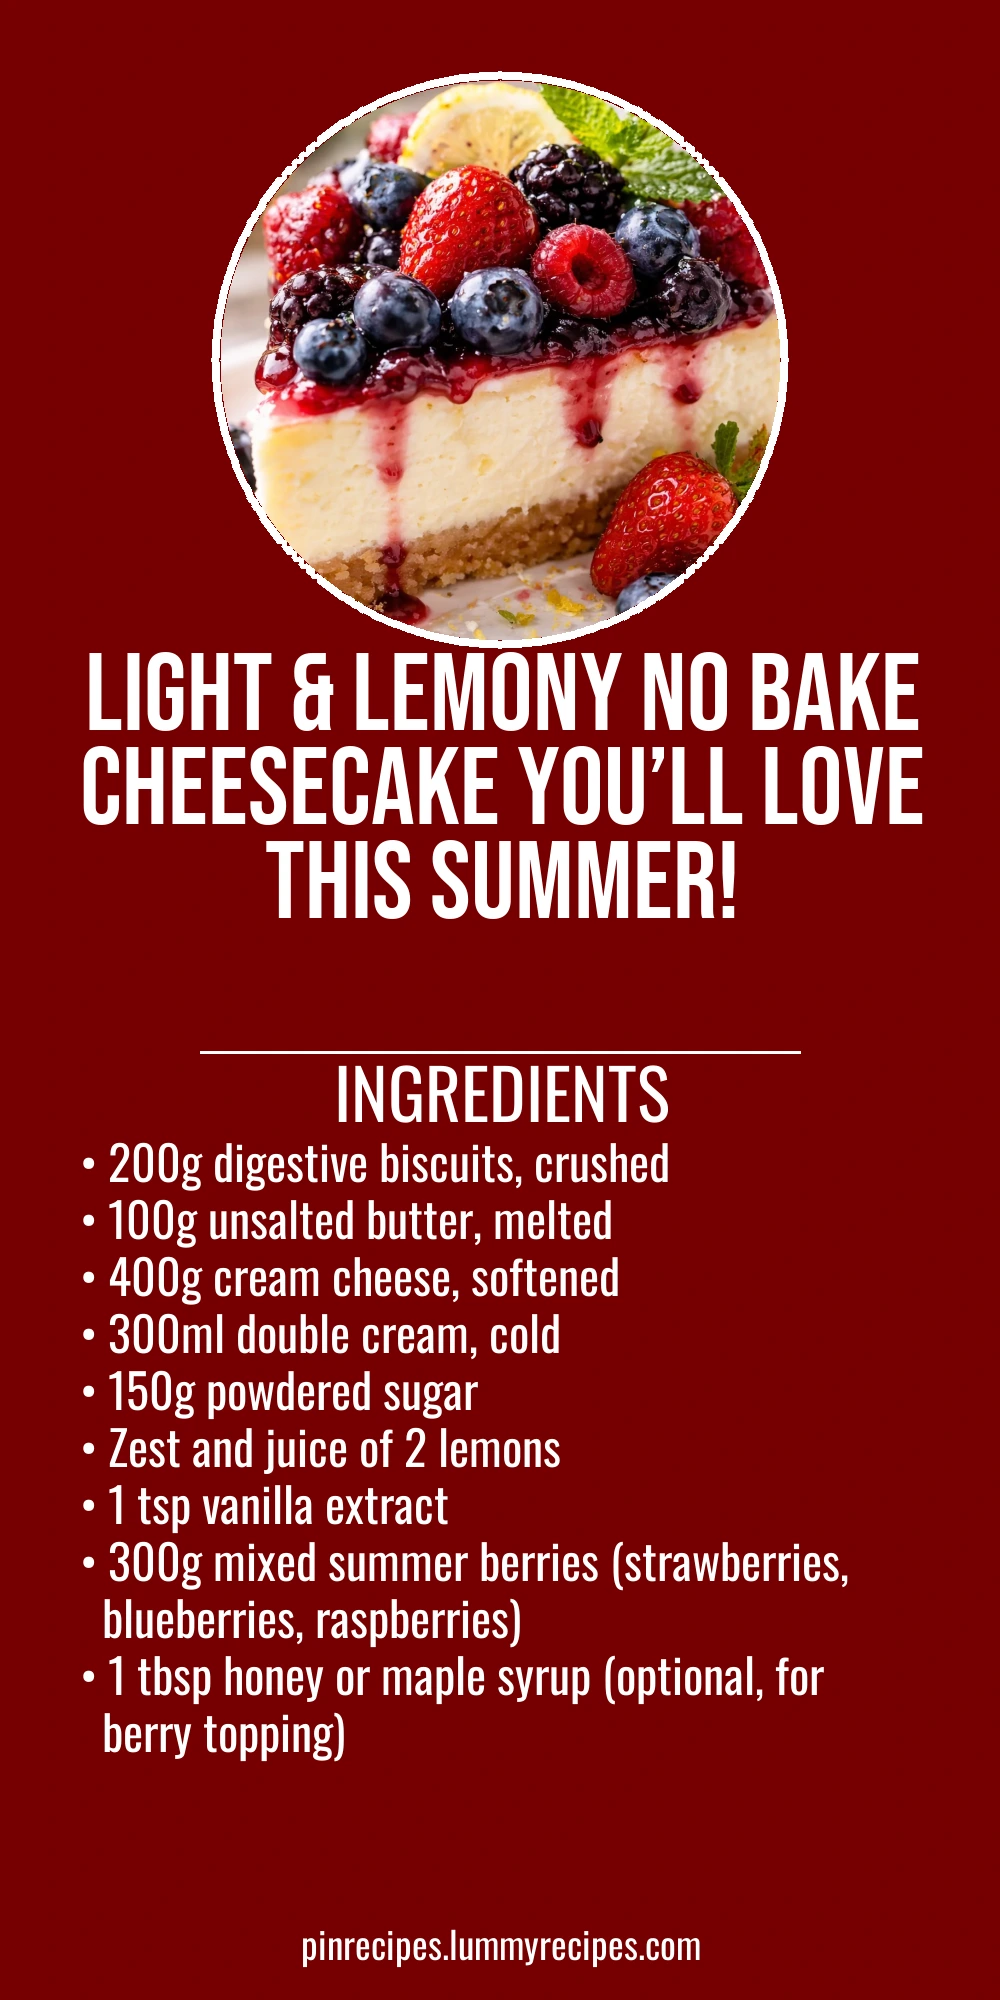
This no bake lemon cheesecake is a fresh and zesty dessert that’s perfect for warm days. The creamy lemon filling is silky smooth, topped with juicy summer berries for a burst of natural sweetness. Great for casual get-togethers or a quick treat!
Introduction
I first made this no bake lemon cheesecake during a hot summer when I really didn’t want to heat up the kitchen with the oven. It quickly became a family favorite because it’s light, tangy, and topped with fresh berries that make it feel like a special treat without any fuss. What I love most about this version is how easy it is to whip together—the crust just needs a quick mix of crushed biscuits and melted butter, and the filling comes together with simple folding of cream and cream cheese. No baking means it stays silky smooth and perfectly creamy every time. Plus, the lemon zest and juice give it a bright, fresh flavor that cuts through the richness. The summer berries on top add a natural sweetness and a pop of color that makes it look stunning on the table. It’s a dessert that feels fancy but is truly effortless, perfect for warm afternoons or casual get-togethers when you want something refreshing and satisfying. I’ve tried baked versions before, but this no bake cheesecake wins for speed and texture every time!
What You'll Need
One 9-inch cheesecake, 8 servings
- 200g digestive biscuits, crushed
- 100g unsalted butter, melted
- 400g cream cheese, softened
- 300ml double cream, cold
- 150g powdered sugar
- Zest and juice of 2 lemons
- 1 tsp vanilla extract
- 300g mixed summer berries (strawberries, blueberries, raspberries)
- 1 tbsp honey or maple syrup (optional, for berry topping)
How To Do It
Step 1
Start by making the crust: crush the digestive biscuits finely, either in a food processor or by placing them in a sealed bag and bashing with a rolling pin. Then, mix the crumbs with melted butter until fully combined. This step is crucial because the butter binds the crumbs together, creating a firm base. Press the mixture evenly into the bottom of your springform pan, making sure to compact it well to avoid a crumbly crust later. Chill this in the fridge while you prepare the filling to help it set properly.
⏱ Time: 10 minutes
✓ Doneness: Crust feels firm and holds together when pressed
Step 2
In a large bowl, beat the softened cream cheese with powdered sugar until smooth and creamy. Add the lemon zest, lemon juice, and vanilla extract, mixing until fully incorporated. This step is important to evenly distribute the lemon flavor and sweetness. Make sure the cream cheese is soft to avoid lumps and to get a smooth filling. If you rush this, the filling might be grainy or uneven in flavor.
⏱ Time: 5 minutes
✓ Doneness: Mixture is smooth, creamy, and well combined with no lumps
Step 3
In a separate bowl, whip the cold double cream until soft peaks form. This means the cream will hold shape but still be smooth and not stiff. Whipping the cream correctly is key to getting a light, airy filling. Overwhipping can cause it to become grainy or butter-like, while underwhipping won’t provide enough structure. Gently fold the whipped cream into the cream cheese mixture using a spatula, folding carefully to keep as much air as possible for a fluffy texture.
⏱ Time: 7 minutes
✓ Doneness: Filling is light, airy, and smooth with no streaks
Step 4
Pour the filling over the chilled biscuit crust and smooth the top with a spatula. Cover with cling film and refrigerate for at least 4 hours, preferably overnight. This chilling step is essential because it allows the filling to firm up and develop its creamy texture. Rushing this will result in a runny cheesecake that won’t slice well.
⏱ Time: 4 hours minimum
✓ Doneness: Filling is set and slices cleanly without wobbling
Step 5
Prepare the berry topping by gently washing and drying the summer berries. If you like a sweeter topping, toss them with a tablespoon of honey or maple syrup. This balances the tartness of the berries and complements the lemon cheesecake beautifully. Let them macerate for 10-15 minutes to release their juices, adding extra flavor and moisture.
⏱ Time: 15 minutes
✓ Doneness: Berries are juicy but still hold their shape
Step 6
Once the cheesecake has chilled and set, carefully remove it from the springform pan and transfer to a serving plate. Arrange the berry topping evenly over the surface, creating a colorful and inviting presentation. The contrast between the creamy lemon filling and fresh berries is what makes this dessert so delightful visually and in taste.
⏱ Time: 5 minutes
✓ Doneness: Cheesecake looks smooth with a vibrant, fresh berry topping
Step 7
Slice the cheesecake with a hot, dry knife for clean cuts. Dip the knife in hot water and wipe it dry between slices to prevent sticking. This little trick helps maintain neat slices and a beautiful presentation. Serve chilled for the best texture and refreshing flavor.
⏱ Time: 5 minutes
✓ Doneness: Slices are clean, smooth, and hold their shape
Step 8
Store any leftovers in the fridge covered with plastic wrap or in an airtight container. This keeps the cheesecake fresh and prevents it from absorbing fridge odors. When ready to eat again, serve cold or let it sit at room temperature for 10 minutes for a softer texture.
⏱ Time: N/A
✓ Doneness: Cheesecake remains creamy and fresh after storage
Step 9
For best results, avoid freezing this cheesecake as the texture of the cream cheese filling can change and become grainy. If you need to prepare ahead, make the crust and filling separately, then assemble and chill just before serving.
⏱ Time: N/A
✓ Doneness: Cheesecake texture remains silky and smooth without freezer damage
Pro Tips
Press the crust firmly into the pan to avoid crumbling.
Firmly pressing the biscuit and butter mixture helps compact the crumbs, creating a stable base that won’t fall apart when sliced. If you don’t press enough, the crust can be loose and messy, detracting from the cheesecake’s structure.
Use room temperature cream cheese for a smooth filling.
Cold cream cheese is stiff and difficult to mix evenly, which can result in lumps. Softening it to room temperature allows it to blend smoothly with sugar and lemon juice, producing a silky filling without graininess.
Whip the cream to soft peaks, not stiff.
Soft peaks provide enough structure to lighten the filling, while stiff peaks can cause the mixture to be too thick and dense. Overwhipping also risks turning the cream grainy or even butter-like, ruining the texture.
Fold whipped cream gently into the cream cheese mixture.
Folding preserves the air whipped into the cream, keeping the filling light and fluffy. Stirring or beating vigorously will deflate the cream, making the cheesecake heavy and dense.
Chill the cheesecake for at least 4 hours, preferably overnight.
Chilling allows the fats in butter and cream cheese to solidify, setting the filling firmly. Without enough chill time, the cheesecake will be too soft to slice and won’t hold its shape on the plate.
Use a hot, clean knife to slice the cheesecake.
Warming the knife between slices prevents sticking and helps achieve clean, smooth cuts. A cold or dirty knife can drag through the cheesecake, causing ragged edges and messy presentation.
Macerate the berries with a little honey before topping.
Letting the berries sit with honey or syrup releases their natural juices and softens them slightly, enhancing their sweetness and flavor while preventing them from being too tart against the lemon filling.
Common Mistakes to Avoid
Using cold cream cheese straight from the fridge.
Why it happens Many assume cream cheese can be mixed cold, but it’s actually hard to blend and causes lumps.
Fix Always leave cream cheese out for 30-60 minutes to soften before mixing. If short on time, microwave in 10-second bursts, stirring in between, until soft but not melted.
Overwhipping the cream.
Why it happens It’s easy to get carried away whipping cream, thinking stiffer is better.
Fix Watch cream carefully and stop whipping as soon as soft peaks form. Test by lifting the whisk—peaks should hold shape but still be smooth.
Not pressing the crust firmly enough.
Why it happens Rushing this step or using loose crumbs leads to a crumbly base.
Fix Use the bottom of a glass or measuring cup to press the crust evenly and firmly in the pan. Chill immediately to set.
Skipping chilling time or serving too soon.
Why it happens Impatience or last-minute plans can tempt skipping the fridge time.
Fix Plan ahead to chill at least 4 hours. If short on time, chill in the freezer for 1-2 hours but watch closely to avoid freezing.
Using frozen or wet berries without drying.
Why it happens Frozen berries release excess moisture that can make the topping soggy.
Fix Use fresh berries or thaw frozen ones fully and pat dry before topping. Toss berries gently with a little honey to enhance flavor without adding water.
Variations
Lime and Coconut No Bake Cheesecake
Swap lemon zest and juice for lime for a tropical twist. Add shredded coconut to the crust or sprinkle on top with berries for extra texture and flavor.
Note: Lime juice is slightly less acidic than lemon, so the filling may be a bit softer. Coconut flakes add chewiness and a nutty note.
Berry Swirl Cheesecake
Puree half the berries and swirl them into the filling before chilling for a marbled look and burst of berry flavor inside the cheesecake.
Note: Fold the berry puree gently to avoid deflating the filling too much. Chilling time remains the same.
Gluten-Free Almond Crust
Replace digestive biscuits with ground almonds mixed with a little honey and butter for a gluten-free crust that’s nutty and rich.
Note: Almond crust may be more crumbly; press firmly and chill well to help it set.
Vegan No Bake Cheesecake
Use vegan cream cheese and coconut cream instead of dairy. Sweeten with maple syrup and top with fresh berries for a plant-based delight.
Note: Coconut cream whips differently than dairy cream; chill cans overnight and scoop thick cream for best results.
Chocolate Lemon Cheesecake
Add melted white chocolate to the cream cheese mixture for a creamy, sweet contrast to the tart lemon. Top with berries and white chocolate shavings.
Note: Melt white chocolate gently and cool slightly before folding in to avoid curdling the cream cheese.
Nutrition
Per Serving:
Nutritional values are estimates and may vary based on specific ingredients used.
Storage & Tips
Room Temperature
Keep cheesecake covered and cool; it’s safe for up to 2 hours at room temperature but best enjoyed chilled.
Refrigerator
Store in an airtight container or cover tightly with plastic wrap for up to 4 days. Flavor stays fresh but berries may release juice, so serve soon after topping.
Freezer
Freezing is not recommended as the texture of the cream cheese filling changes and can become grainy. If necessary, wrap tightly and freeze for up to 1 month. Thaw overnight in the fridge and expect some texture change.
Reheating
No reheating needed; serve chilled. If preferred softer, let sit at room temperature 10-15 minutes before serving.
Make Ahead
Prepare crust and filling up to 2 days ahead, store separately chilled. Assemble and add berry topping just before serving to keep berries fresh and vibrant.
FAQ
Can I use low-fat cream cheese for this recipe?
Low-fat cream cheese isn’t recommended because it contains stabilizers and less fat, which affect the texture and flavor. The cheesecake may turn out less creamy and not set properly. Full-fat cream cheese gives the best rich and smooth texture.
What can I substitute for digestive biscuits in the crust?
You can use graham crackers or gluten-free cookies if you need a substitute. Just make sure they’re plain and not overly sweet or flavored, so they complement the cheesecake filling. Adjust the butter quantity slightly if the crumbs are drier.
How long can I store this cheesecake in the fridge?
This cheesecake keeps well for up to 4 days in the fridge when stored in an airtight container. After that, the texture and flavor may start to degrade, especially the fresh berry topping, which can become soggy.
Can I make this cheesecake ahead of time?
Absolutely! You can make the crust and filling up to 2 days ahead and keep them chilled separately. Assemble and add the berry topping just before serving to keep it fresh and vibrant.
Why is my cheesecake runny after chilling?
Runny cheesecake usually means it hasn’t chilled long enough or the cream wasn’t whipped properly. Make sure to whip the cream to soft peaks and fold gently. Also, chill the cheesecake for at least 4 hours, preferably overnight, to allow it to set.
Can I freeze this cheesecake?
Freezing isn’t ideal because the cream cheese filling can become grainy and watery after thawing. If you must freeze it, wrap tightly and freeze for up to one month. Thaw slowly in the fridge and expect some texture changes.
How do I get clean slices when serving?
Use a sharp knife dipped in hot water, then wiped dry before slicing. This melts through the cheesecake smoothly without dragging or sticking. Repeat between slices for the best presentation.
Can I use frozen berries for the topping?
You can, but thaw them completely and drain any excess liquid, then pat dry to avoid a watery topping. Fresh berries are best for texture and flavor, but frozen work in a pinch.
Final Thoughts
I hope you give this no bake lemon cheesecake a try—it’s such a refreshing, easy dessert that feels a bit special. Let me know how it turns out and what your favorite berry topping combo is!