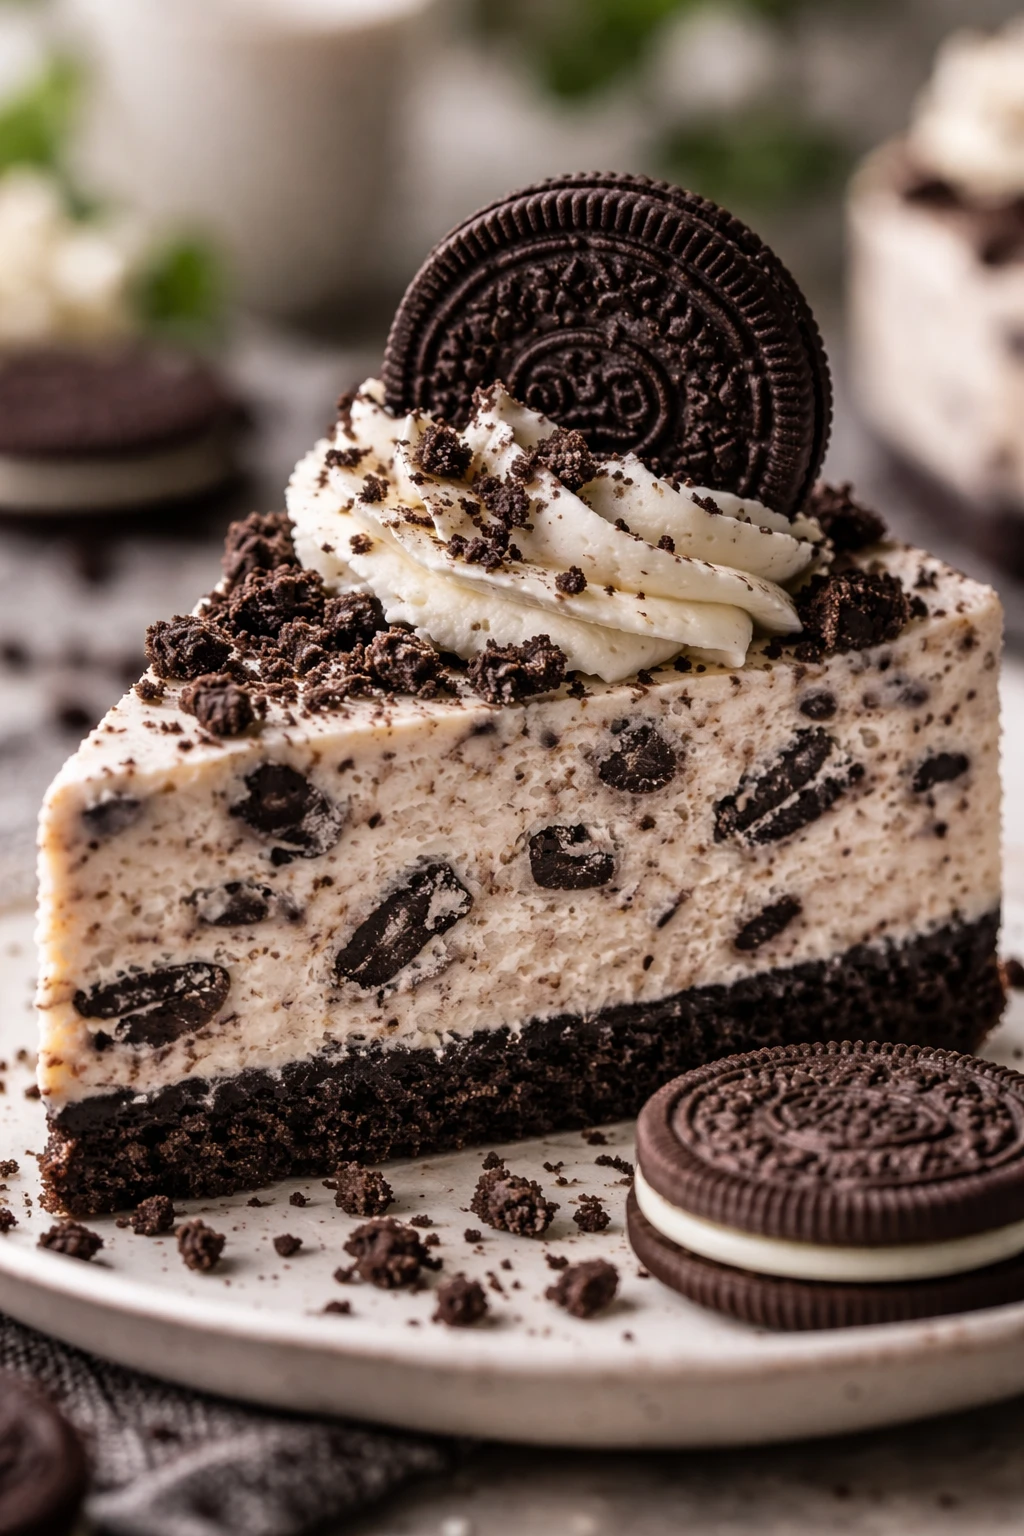
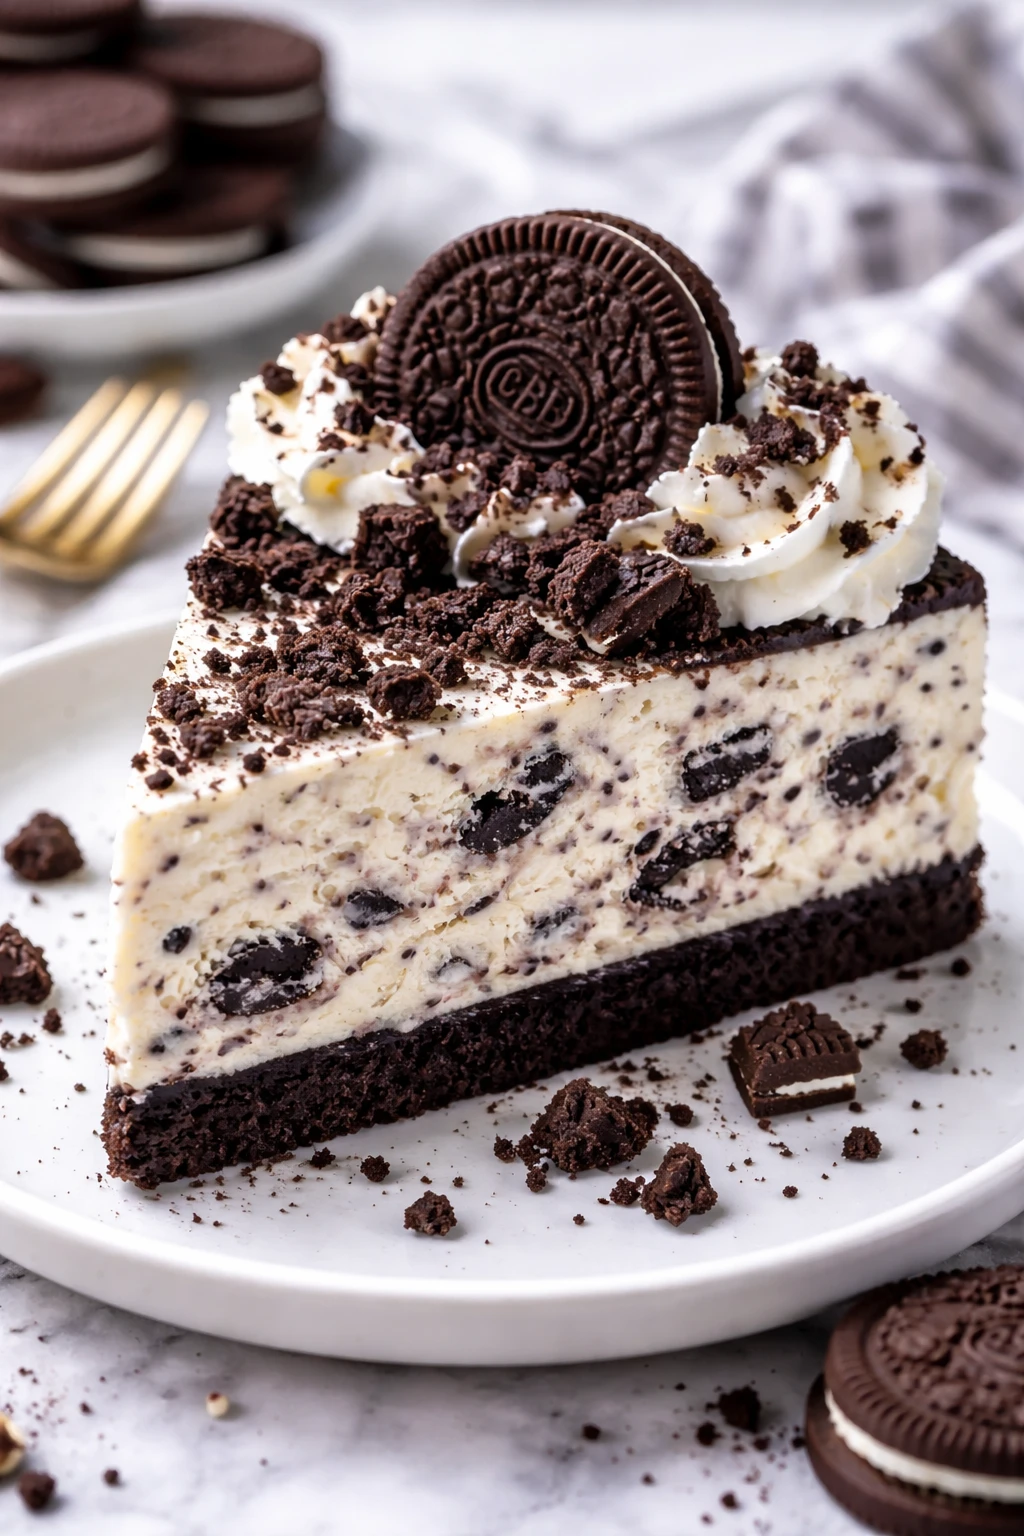
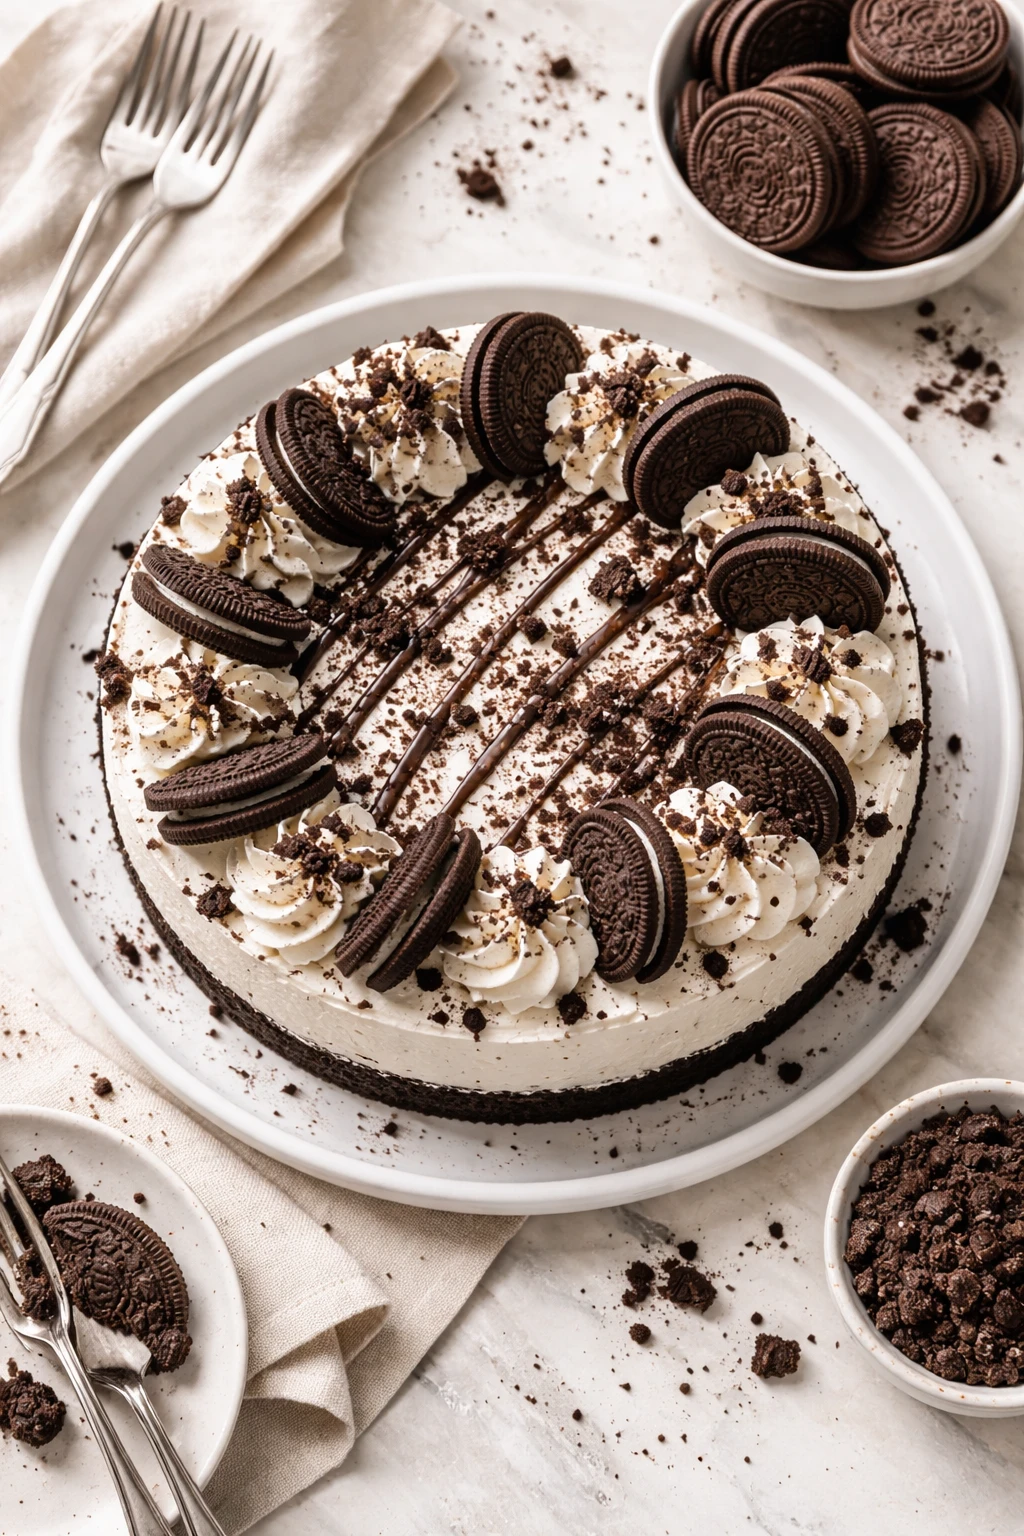
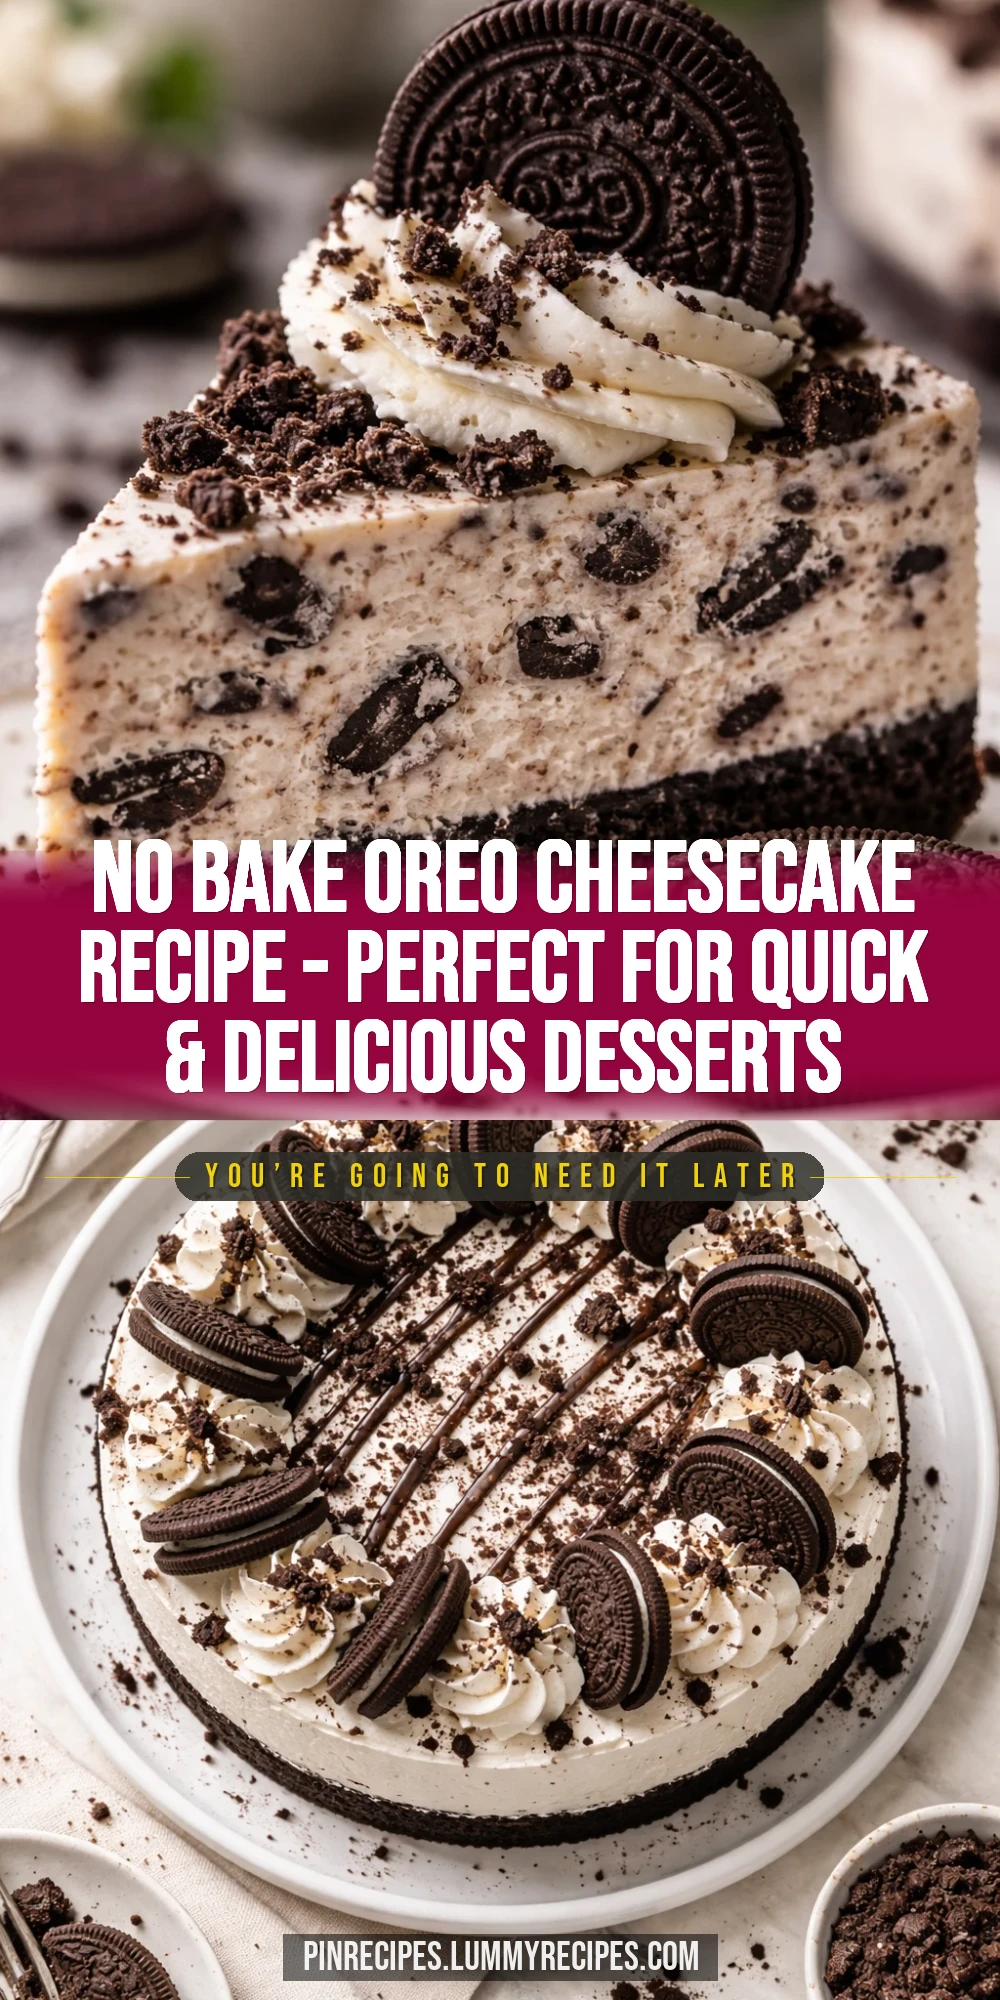
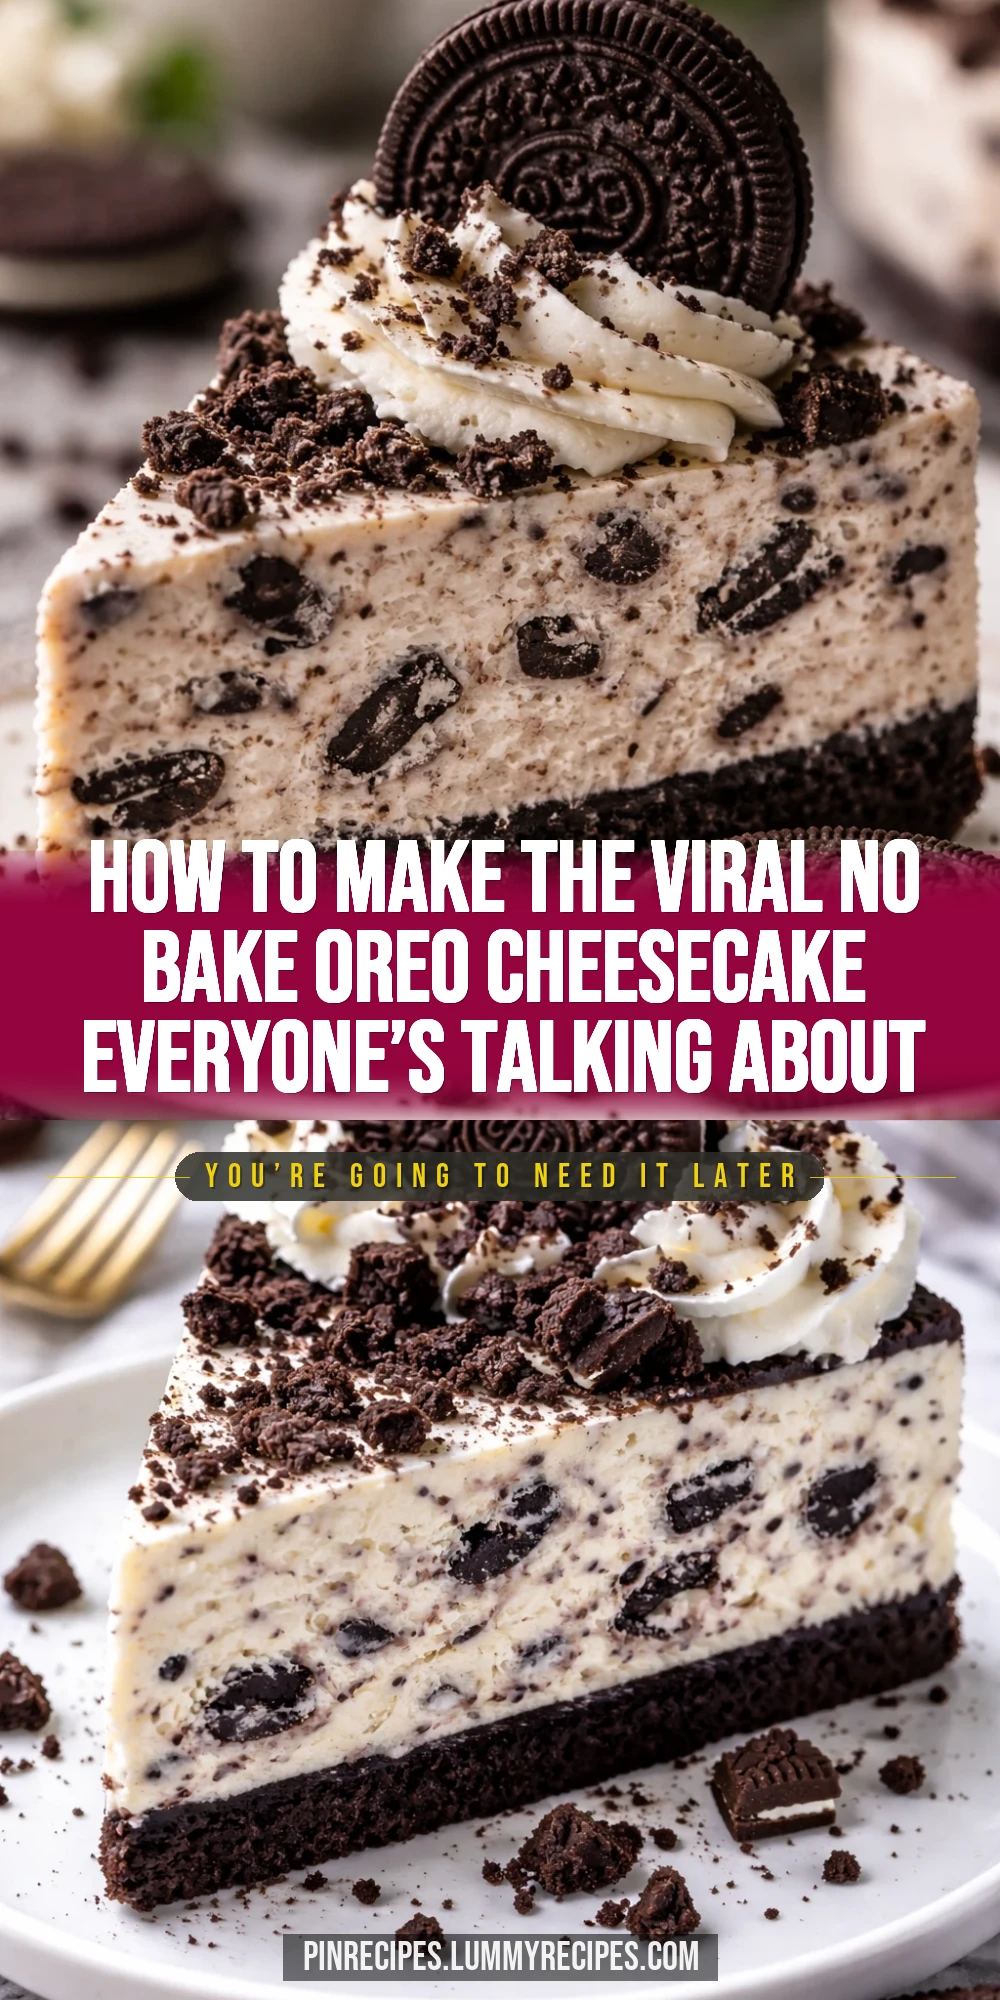
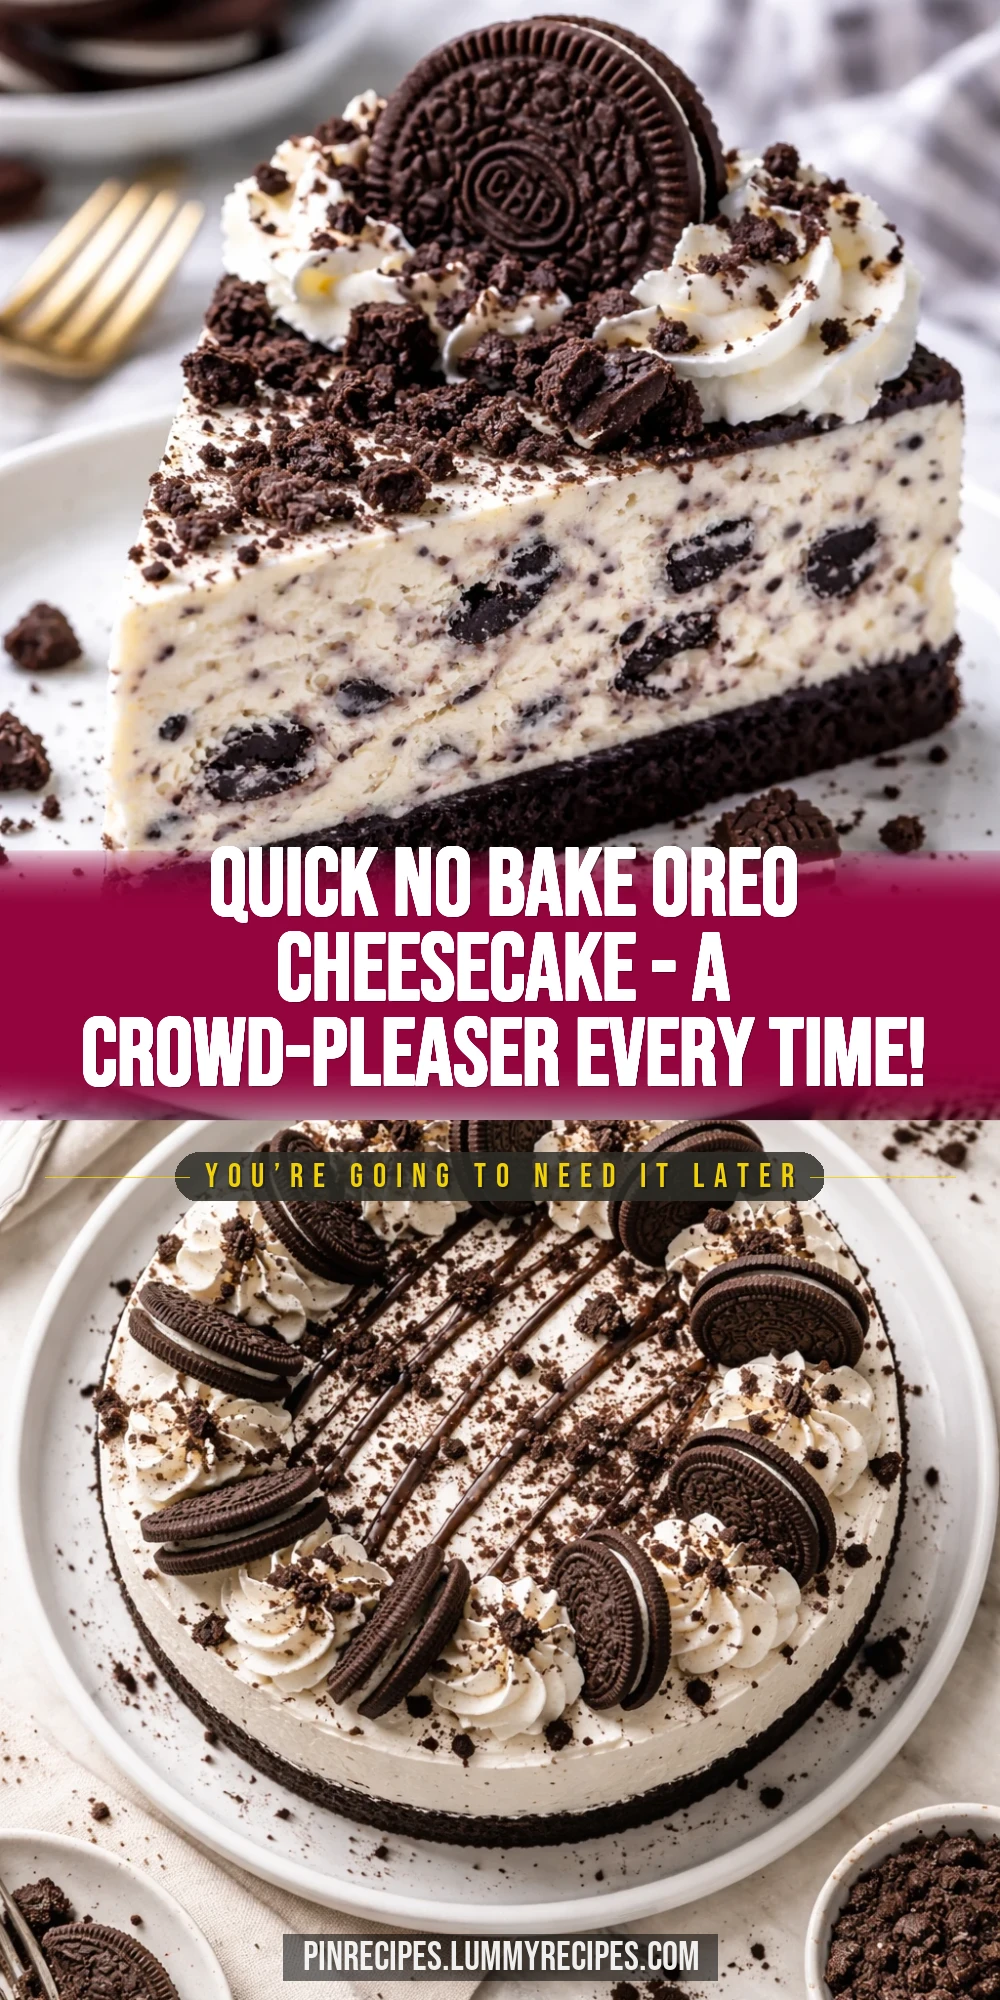
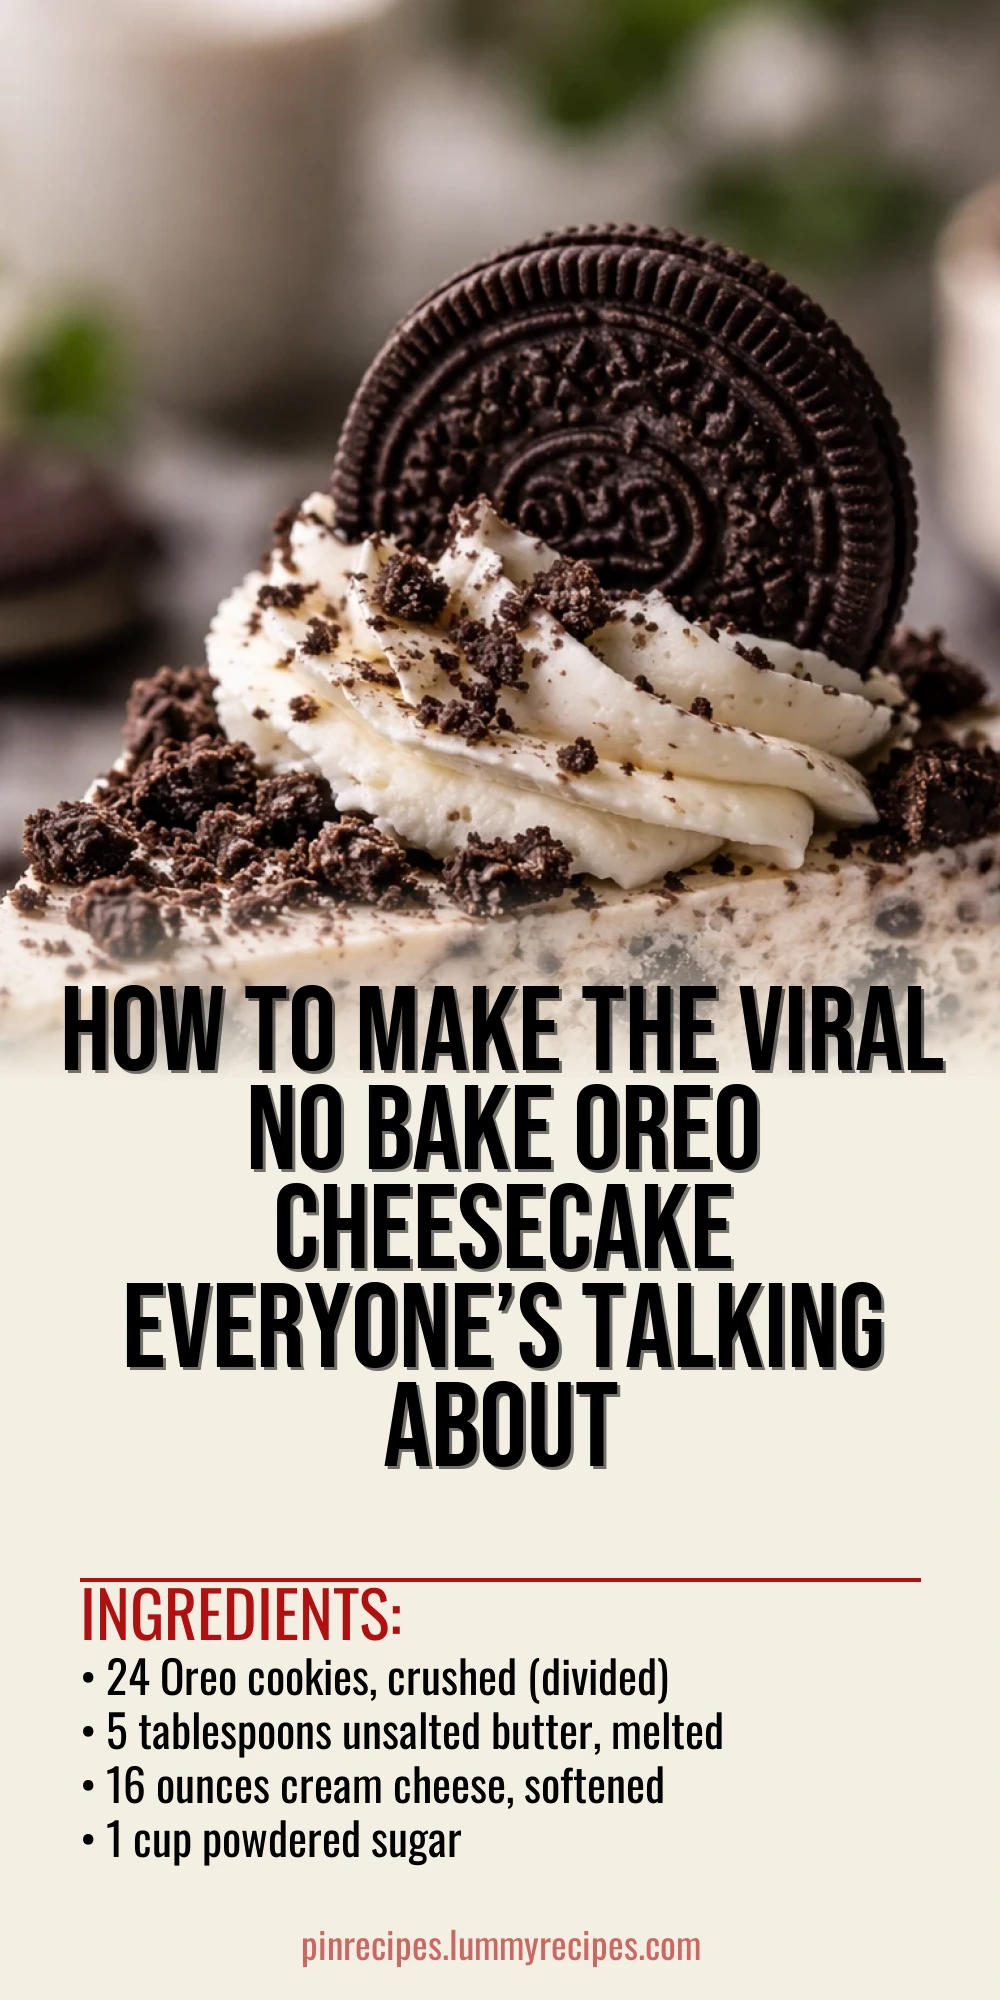
This no bake Oreo cheesecake is a creamy dream that’s super easy to make and perfect for sharing. The crushed Oreos in the crust and filling add the perfect crunch and chocolatey punch. Great for last-minute dessert cravings or parties!
Introduction
I first stumbled upon this no bake Oreo cheesecake while endlessly scrolling through TikTok one evening. It instantly caught my eye because it promised a rich, creamy dessert without the hassle of baking. I decided to give it a shot, and honestly, it’s become one of my go-to desserts ever since. What sets this cheesecake apart from others I've made is the perfect balance of crushed Oreos folded right into the filling, giving every bite a delightful crunch and chocolate flavor. Plus, the crust is buttery and packed with Oreo goodness, making it extra indulgent. I’ve tried other no bake cheesecakes before, but this one’s silky texture and ease truly won me over. The trick I learned is to whip the cream just right – not too soft, not too stiff – so it blends perfectly with the cream cheese mixture. The final result is a luscious, smooth cheesecake that holds its shape beautifully and tastes like a dream. It’s perfect for potlucks, birthdays, or any time you want a fuss-free, crowd-pleasing dessert that’s guaranteed to impress.
What You'll Need
One 9-inch cheesecake, 8 servings
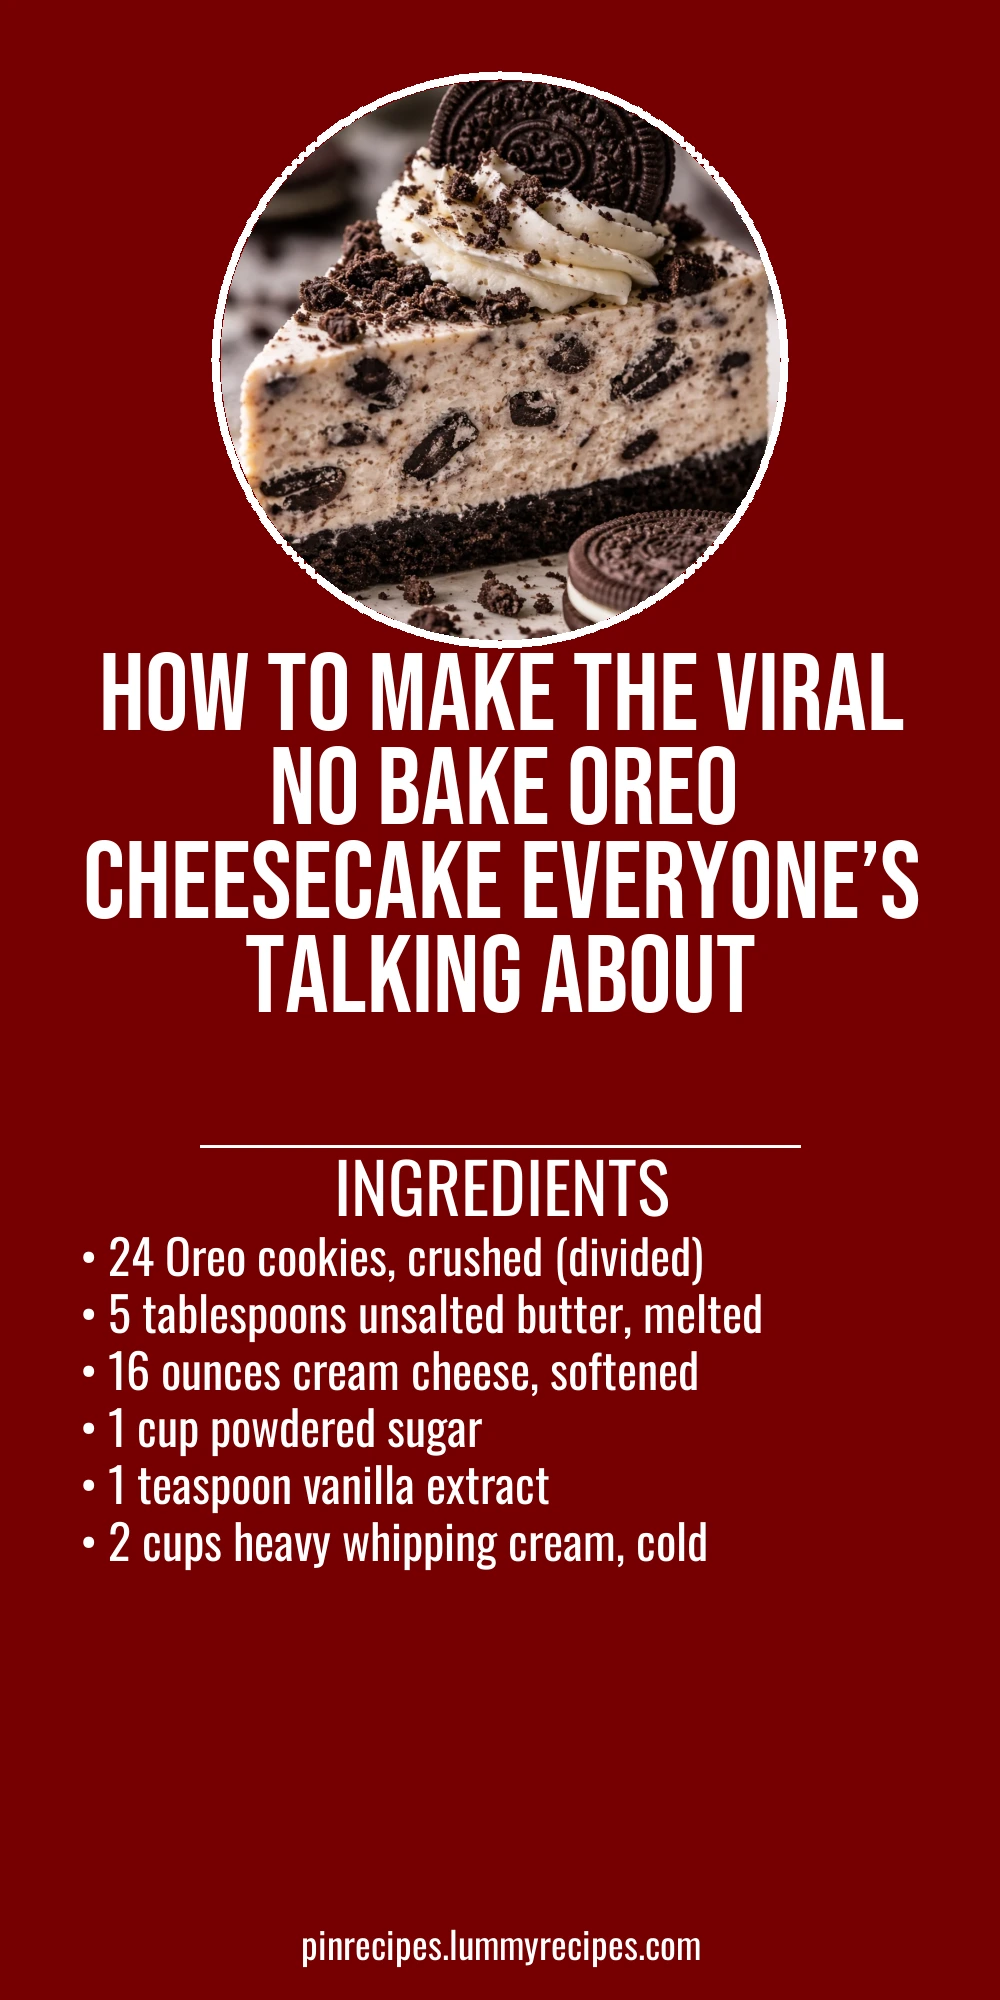
- 24 Oreo cookies, crushed (divided)
- 5 tablespoons unsalted butter, melted
- 16 ounces cream cheese, softened
- 1 cup powdered sugar
- 1 teaspoon vanilla extract
- 2 cups heavy whipping cream, cold
How To Do It
Step 1
Start by crushing 20 of the Oreo cookies into fine crumbs. You can do this by placing them in a ziplock bag and gently pounding with a rolling pin or pulsing in a food processor. The finer the crumbs, the better they’ll bind with the melted butter to form a sturdy crust. Avoid crushing them too coarsely, or the crust won’t hold together well. Once crushed, mix the crumbs with melted butter until all the crumbs are evenly coated. This butter binds the crumbs and helps the crust set firmly in the fridge.
⏱ Time: 10 minutes
✓ Doneness: The mixture should look evenly moist and clump together when pressed.
Step 2
Press the Oreo crumb mixture firmly into the base of a 9-inch springform pan. Use the back of a spoon or the bottom of a glass to compact it evenly and tightly. A well-pressed crust is key for a solid base that won’t crumble when slicing. Chill the crust in the fridge for at least 15 minutes to help it set while you prepare the filling.
⏱ Time: 15 minutes
✓ Doneness: The crust should feel firm and hold its shape when gently pressed.
Step 3
In a large bowl, beat the softened cream cheese until smooth and creamy using a hand mixer or stand mixer. This step is crucial to avoid lumps and get a silky filling. Add in the powdered sugar and vanilla extract, then continue mixing until fully combined. The sugar sweetens the filling, while vanilla adds depth to the flavor. Don’t rush this step; a well-mixed base ensures a smooth cheesecake texture.
⏱ Time: 5 minutes
✓ Doneness: The cream cheese mixture should be smooth with no visible lumps.
Step 4
In a separate chilled bowl, whip the heavy cream using a hand mixer until stiff peaks form. This means when you lift the beaters, the peaks stand straight without collapsing. Whipping the cream properly is essential because it gives the cheesecake its light, airy texture. Under-whipping results in a runny filling, while over-whipping can make it grainy. Keep an eye on the cream as it whips to get the perfect consistency.
⏱ Time: 5-7 minutes
✓ Doneness: Stiff peaks that hold their shape firmly when beaters are lifted.
Step 5
Gently fold half of the whipped cream into the cream cheese mixture to lighten it. Use a spatula and fold carefully to keep the air in the whipped cream, which helps the filling stay fluffy. Then fold in the remaining whipped cream until fully incorporated. Over-mixing here can deflate the cream, so take your time and fold with gentle, sweeping motions.
⏱ Time: 5 minutes
✓ Doneness: Filling should be smooth, light, and airy with no streaks of cream.
Step 6
Chop the remaining 4 Oreos into small chunks and fold them into the filling. This adds delightful Oreo bits throughout the cheesecake, giving texture and bursts of chocolate flavor. Be gentle to avoid crushing the pieces too much. This step makes the cheesecake feel more special and indulgent.
⏱ Time: 2 minutes
✓ Doneness: Oreo chunks are evenly distributed without breaking down too much.
Step 7
Pour the filling over the chilled Oreo crust and smooth the top with a spatula. Make sure to spread it evenly to avoid lumps or uneven layers. The smooth surface will set nicely and look beautiful when sliced. Tap the pan gently on the counter to release any air bubbles trapped inside.
⏱ Time: 5 minutes
✓ Doneness: Filling surface is smooth and even with no air pockets.
Step 8
Cover the cheesecake with plastic wrap and refrigerate for at least 4 hours, preferably overnight. This chilling time allows the filling to firm up and the flavors to meld beautifully. Don’t rush this step, or the cheesecake won’t slice cleanly and might be too soft.
⏱ Time: 4+ hours
✓ Doneness: Cheesecake is firm to the touch and slices cleanly.
Step 9
Before serving, optionally decorate the top with extra Oreo halves or crushed crumbs for a pretty finish. When slicing, use a sharp knife dipped in hot water and wiped dry between cuts to get clean slices without smudging. This little trick makes serving look professional and neat.
⏱ Time: 5 minutes
✓ Doneness: Clean, neat slices with visible Oreo pieces throughout.
Pro Tips
Chill your mixing bowl and beaters before whipping cream.
Cold equipment helps the cream whip faster and reach stiff peaks without over-whipping. Warm bowls can cause the cream to become runny or take longer, risking a less stable filling.
Press the crust firmly and evenly into the pan.
A tightly packed crust prevents crumbling and ensures a sturdy base that holds together when slicing. Uneven or loose crust leads to a messy dessert.
Use room temperature cream cheese for smooth mixing.
Softened cream cheese blends easily with sugar and vanilla, preventing lumps. Cold cream cheese can result in uneven texture and clumps in the filling.
Fold whipped cream gently into the cream cheese mixture.
Folding preserves the air whipped into the cream, keeping the filling light and fluffy. Stirring too vigorously deflates the mixture, making it dense.
Chill the cheesecake overnight for best texture.
Extended chilling allows the fats to solidify and flavors to meld, resulting in a firmer, tastier cheesecake that slices neatly.
Use a hot, clean knife to slice the cheesecake.
Warming the knife and wiping it clean between cuts prevents sticking and smudging, giving you clean, professional-looking slices.
Reserve some Oreo chunks for garnish.
Adding Oreo pieces on top before serving adds a nice decorative touch and extra crunch, enhancing the presentation and texture.
Common Mistakes to Avoid
Not softening the cream cheese enough
Why it happens People often rush and use cream cheese straight from the fridge, thinking it will mix faster or just to save time.
Fix Let cream cheese sit at room temperature for at least 30 minutes before mixing. If short on time, microwave in 10-second bursts, stirring in between, until just softened. This prevents lumps and ensures a smooth filling.
Over-whipping the cream
Why it happens It’s easy to keep beating the cream thinking it’s not stiff enough, or to get stiff peaks but then go too far.
Fix Stop whipping as soon as stiff peaks form—when the cream holds shape without falling. Over-whipped cream becomes grainy and separates, ruining the texture.
Pressing the crust too lightly
Why it happens Sometimes people just sprinkle crumbs without compacting, assuming it will set on its own.
Fix Use the back of a spoon or glass to firmly press crumbs into an even layer. This helps the crust hold together and not crumble when slicing.
Skipping the chilling time
Why it happens Impatience to eat the cheesecake leads to serving it too soon.
Fix Chill at least 4 hours, preferably overnight. This lets the filling set and flavors develop. Serving too early results in a runny, unstable cheesecake.
Mixing whipped cream too vigorously into the filling
Why it happens Trying to fully combine the mixture quickly can cause over-stirring.
Fix Fold whipped cream gently with a spatula using slow, sweeping motions to keep air bubbles intact, ensuring a light, fluffy texture.
Variations
Chocolate Ganache Topped Oreo Cheesecake
After chilling, pour a smooth layer of warm chocolate ganache over the cheesecake for an extra rich finish. The ganache adds a glossy, decadent touch that pairs perfectly with the Oreo crunch.
Note: Allow ganache to cool slightly before pouring to avoid melting the filling. Chill again to set the ganache layer.
Peanut Butter Oreo Cheesecake
Fold 1/2 cup creamy peanut butter into the cream cheese mixture before folding in whipped cream. This adds a salty, nutty flavor that complements the Oreos beautifully.
Note: Ensure peanut butter is smooth and at room temperature for easy mixing and even distribution.
Mini Oreo Cheesecake Cups
Divide the crust and filling into individual cups or jars for easy serving and portion control. Perfect for parties or packed lunches.
Note: Adjust chilling time to about 2-3 hours since smaller portions set faster.
Vegan No Bake Oreo Cheesecake
Use vegan cream cheese and coconut cream whipped to stiff peaks. Substitute Oreos with vegan-certified cookies. This version is dairy-free but still creamy and delicious.
Note: Chill coconut cream overnight and scoop the solid part for whipping. Texture will be slightly different but still satisfying.
Mint Oreo Cheesecake
Add 1/2 teaspoon peppermint extract to the cream cheese mixture and garnish with crushed mint Oreos on top. This gives a refreshing twist to the classic flavor.
Note: Start with a small amount of extract and adjust to taste to avoid overpowering the cheesecake.
Nutrition
Per Serving:
Nutritional values are estimates and may vary based on specific ingredients used.
Storage & Tips
Room Temperature
This cheesecake should not be left out at room temperature for more than 2 hours due to the dairy content. Keep it covered with plastic wrap or in a cake dome to prevent drying out.
Refrigerator
Store the cheesecake in an airtight container or cover tightly with plastic wrap in the fridge for up to 4 days. The texture remains creamy, though the crust may soften slightly. Serve chilled for best taste.
Freezer
You can freeze the cheesecake for up to 2 months. Wrap tightly with plastic wrap and then aluminum foil to prevent freezer burn. Thaw overnight in the fridge before serving. The texture may be slightly less creamy but still delicious.
Reheating
No reheating is needed or recommended for this no bake cheesecake. Serve chilled directly from the fridge for the best texture and flavor.
Make Ahead
You can prepare the crust and filling up to 1 day in advance. Assemble the cheesecake and refrigerate overnight to save time on the day of serving. This also enhances flavor melding.
FAQ
Can I use a different cookie for the crust instead of Oreos?
Absolutely! You can substitute Oreos with any chocolate sandwich cookie or even graham crackers. Just make sure to crush them finely and adjust the sugar in the filling if the cookies are less sweet. The texture and flavor will vary slightly but still delicious.
How long does this no bake cheesecake need to chill?
It needs at least 4 hours to set properly, but overnight chilling is best. This allows the filling to firm up and the flavors to develop fully, resulting in a creamy, sliceable cheesecake.
Can I make this cheesecake without heavy cream?
Heavy cream is key for whipping and lightening the filling. If you omit it, the cheesecake will be denser and less airy. You could try substituting with whipped coconut cream for a dairy-free option, but results will differ.
Why is my cheesecake runny after chilling?
This usually happens if the cream wasn’t whipped to stiff peaks or the cheesecake wasn’t chilled long enough. Make sure the cream is cold before whipping and fold it gently into the cream cheese mixture. Also, don’t rush the chilling time.
Can I freeze the no bake Oreo cheesecake?
Yes, you can freeze it for up to 2 months. Wrap tightly to prevent freezer burn. Thaw in the fridge overnight before serving. Texture might be a bit less creamy but still tasty.
How do I get clean slices when cutting the cheesecake?
Use a sharp knife dipped in hot water and wiped dry before each cut. The heat helps the knife glide through the creamy filling without sticking, giving you neat slices.
Can I add other flavors to the cheesecake filling?
Definitely! Vanilla is classic, but you can add peppermint, coffee extract, or even a bit of citrus zest to customize the flavor. Just add small amounts and taste as you go.
Is it necessary to chill the crust before adding the filling?
Chilling the crust helps it firm up so it holds together when you add the filling. It prevents the crust from becoming soggy and ensures a clean slice.
Final Thoughts
Give this no bake Oreo cheesecake a try—you’ll love how easy and delicious it is! Don’t forget to share your results; I’d love to see how yours turns out.