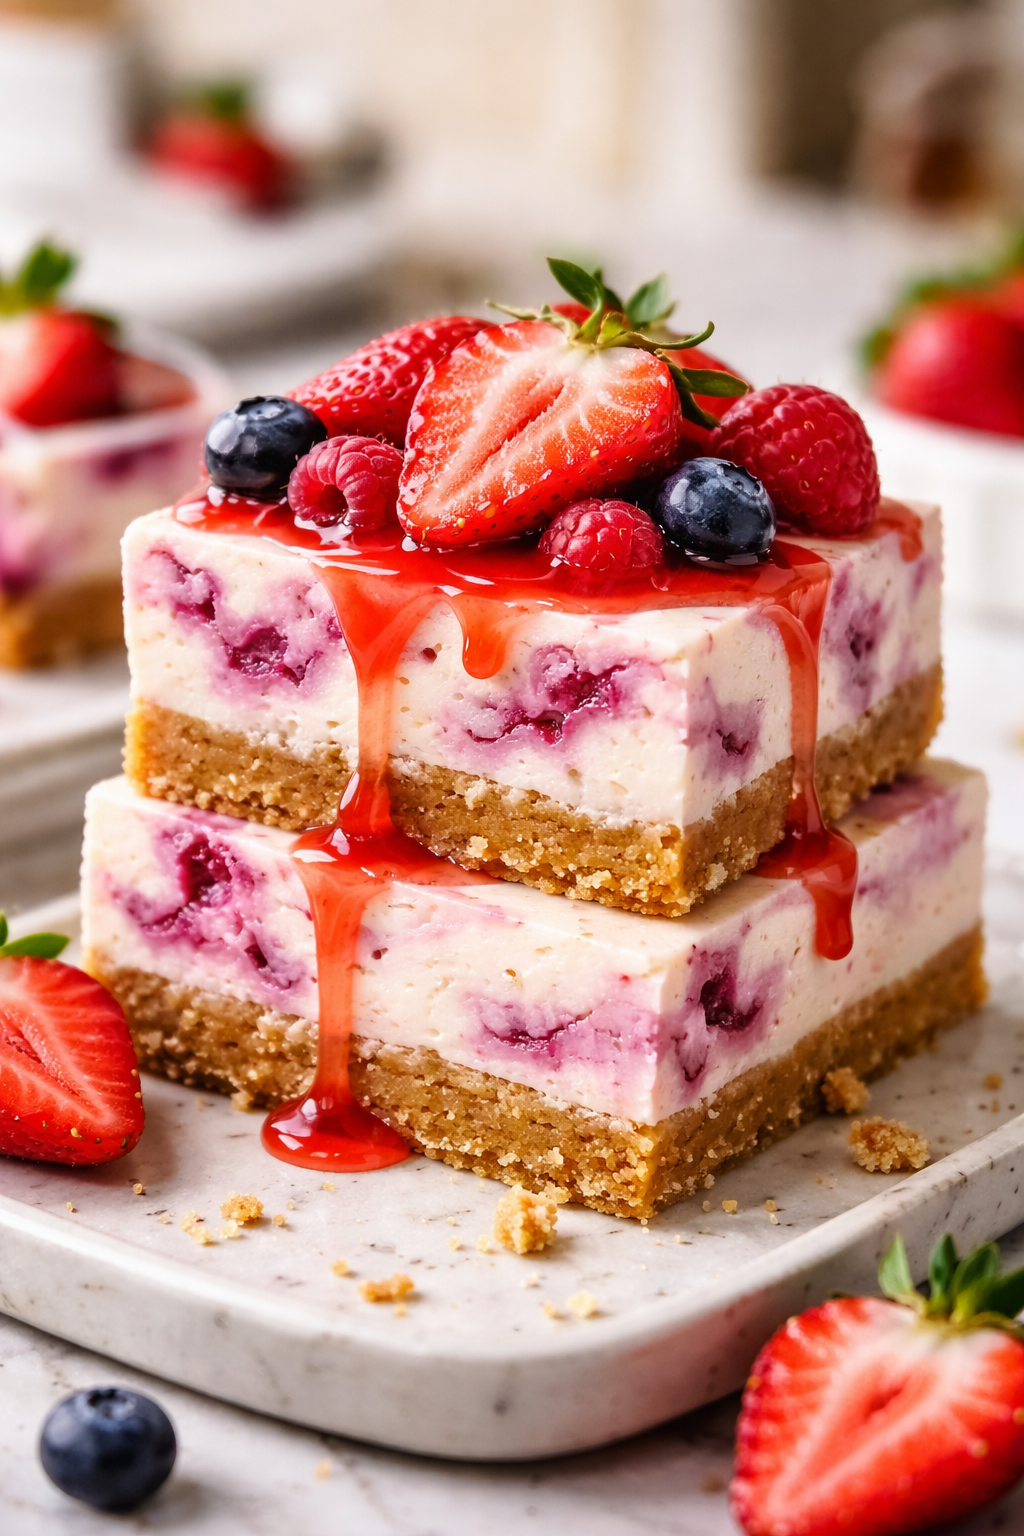
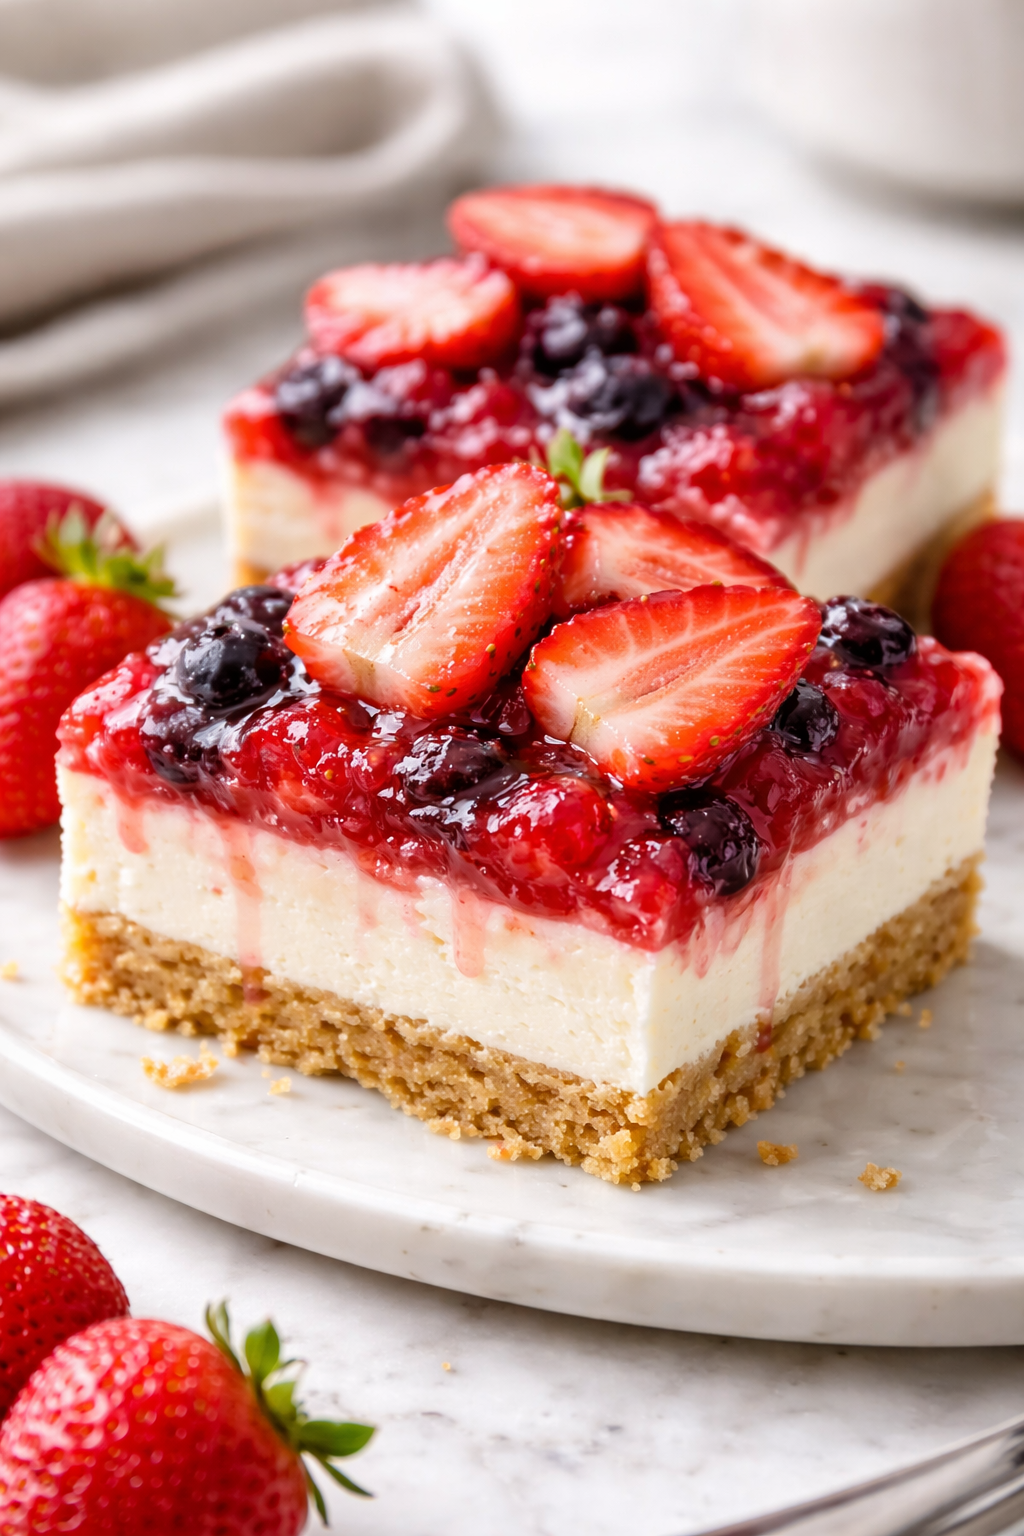
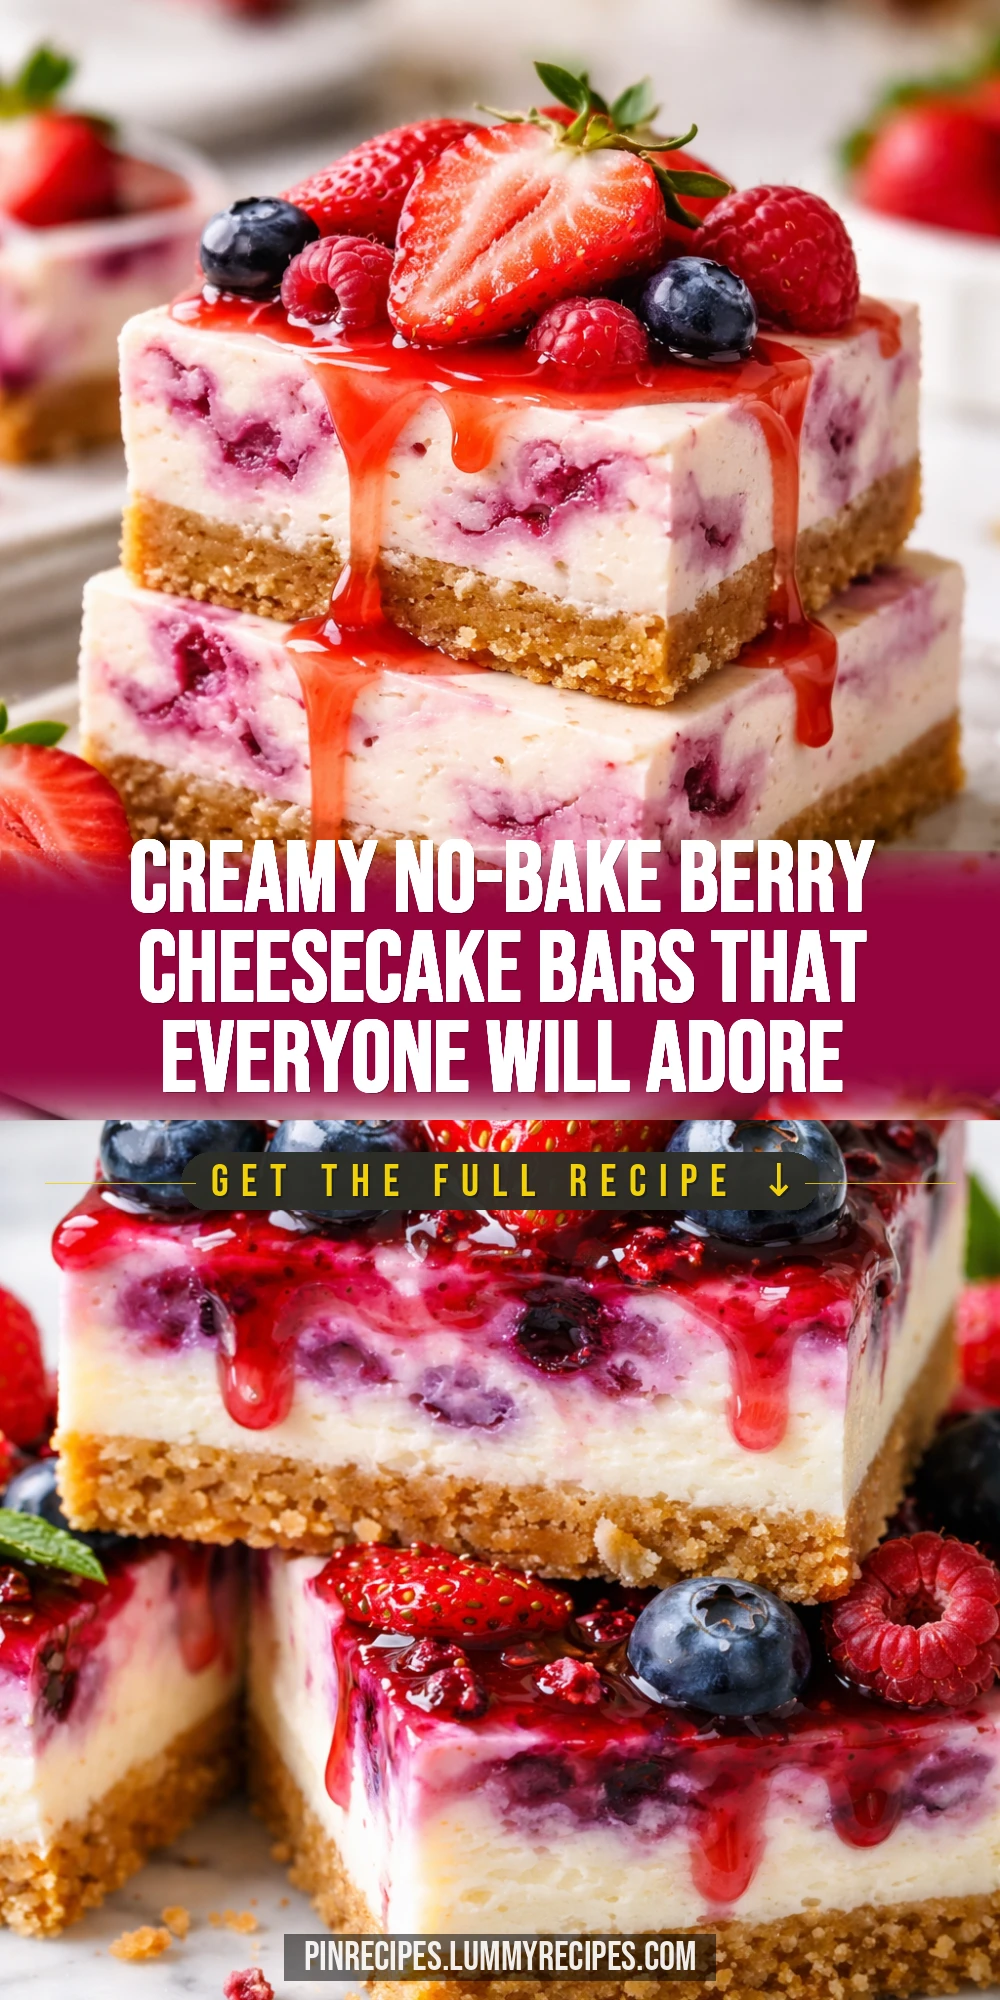
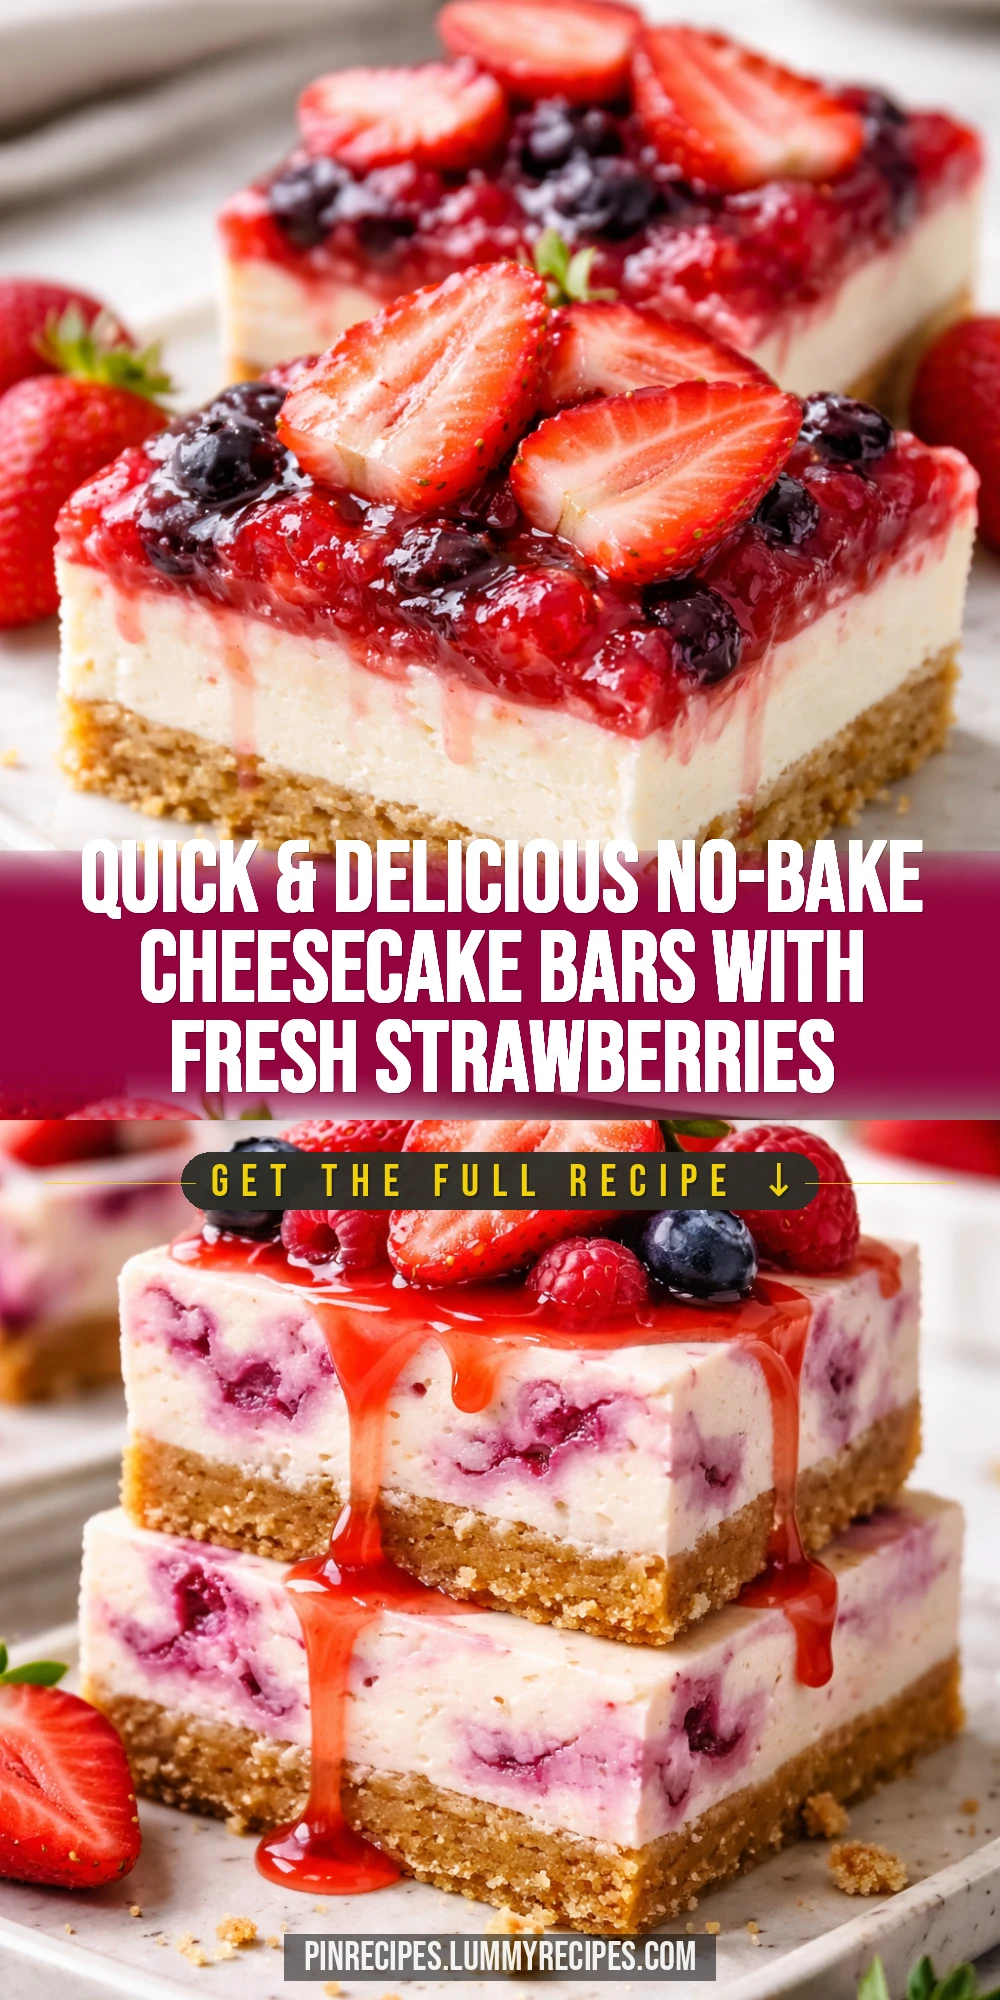
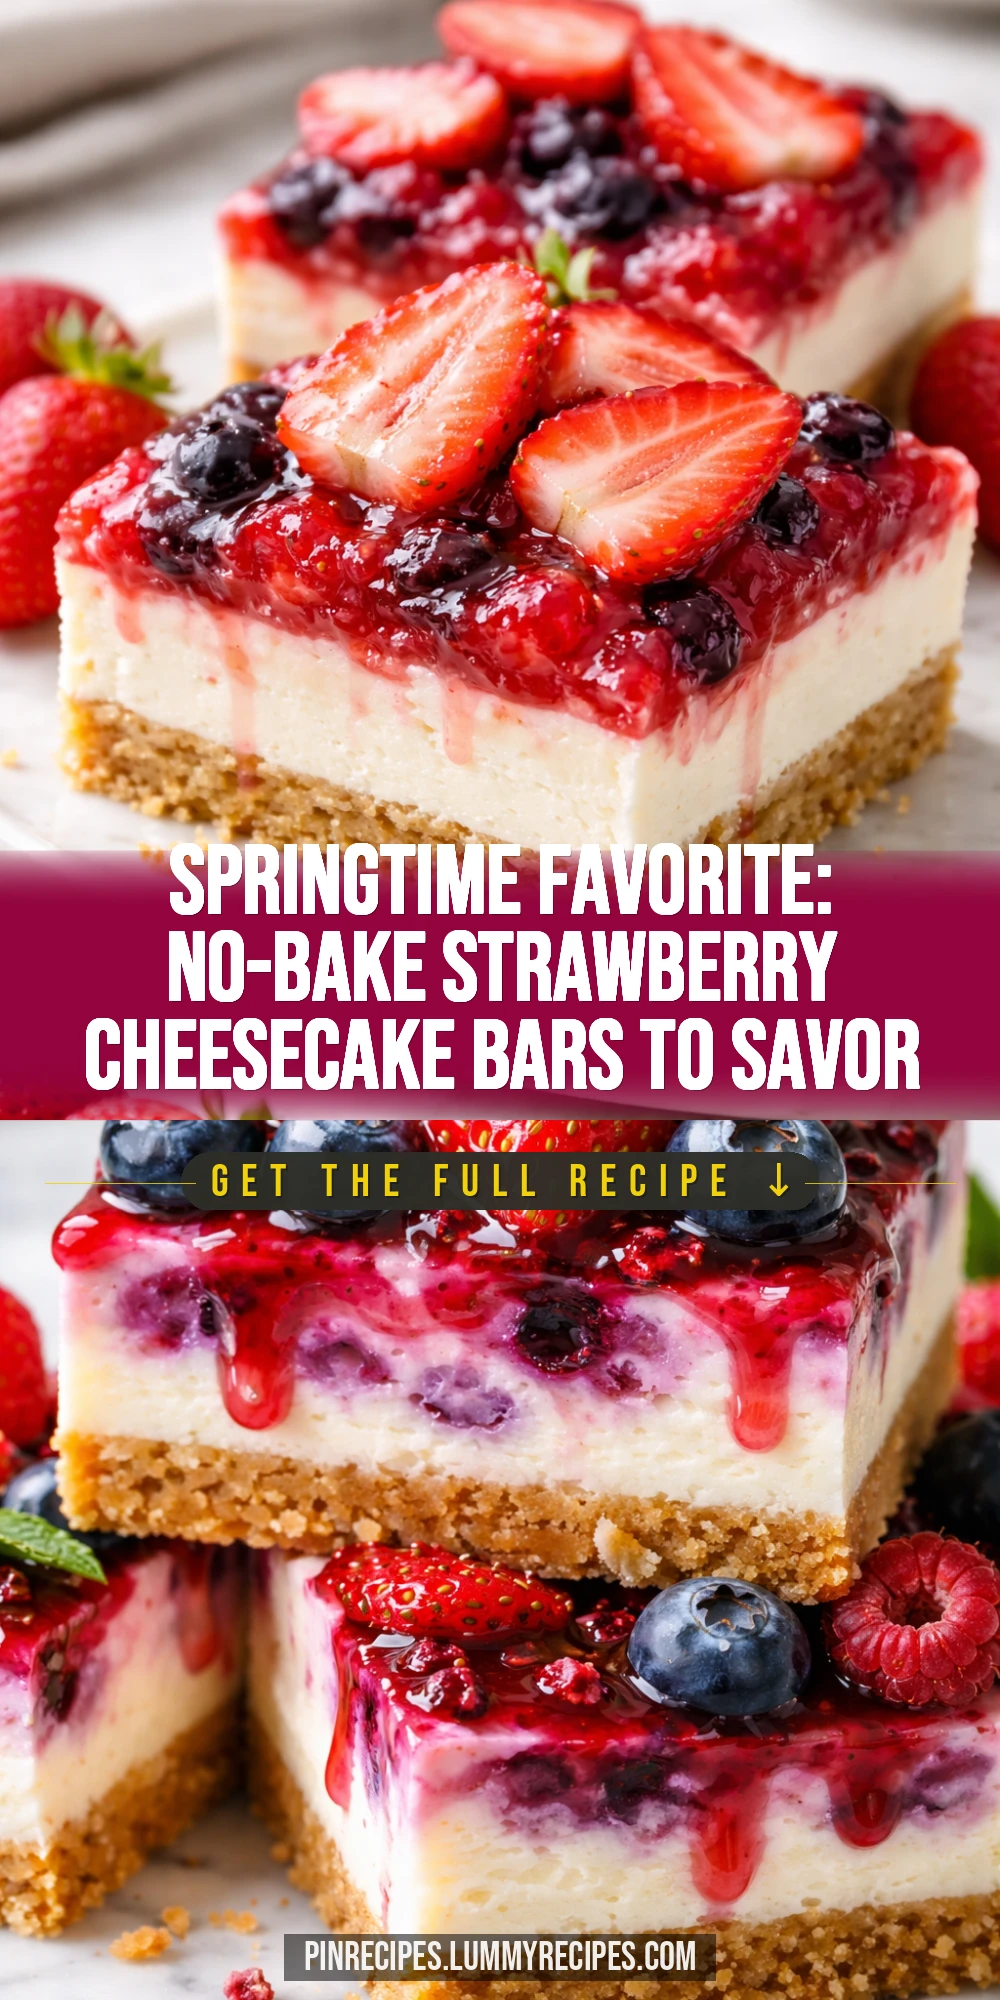
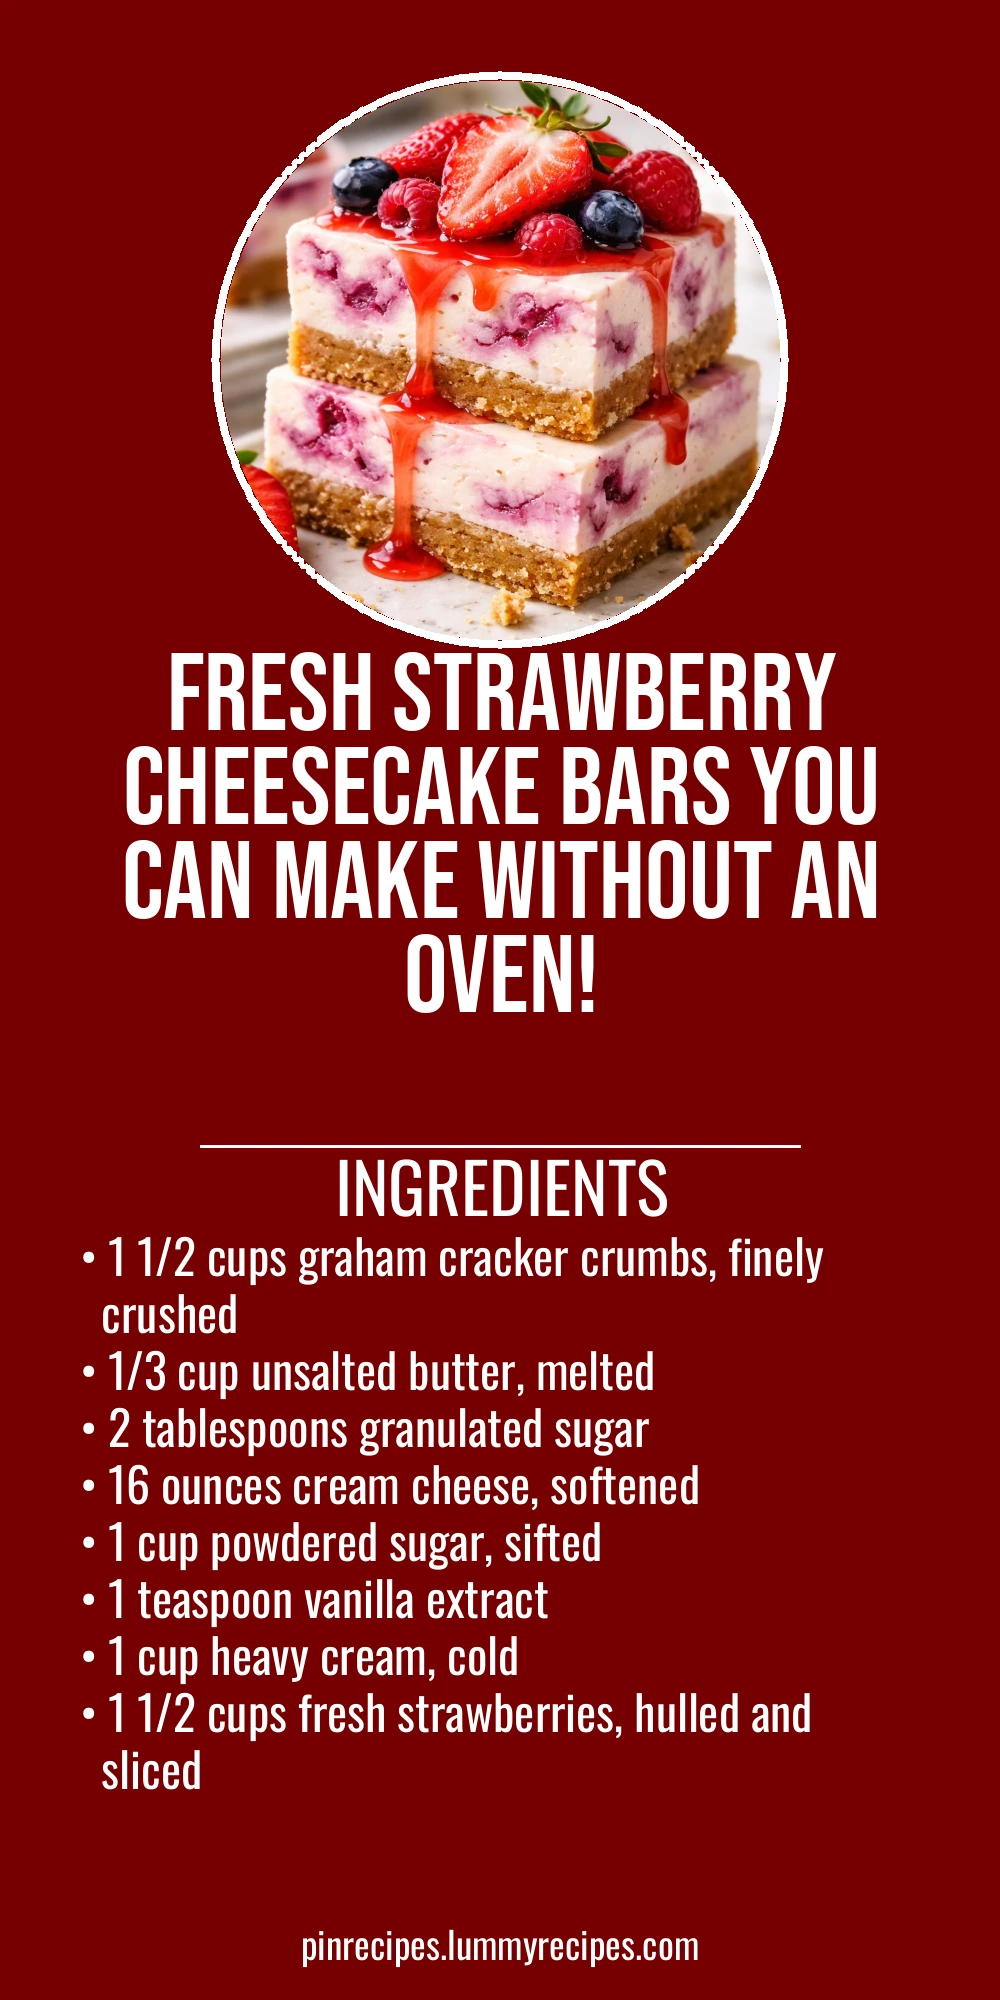
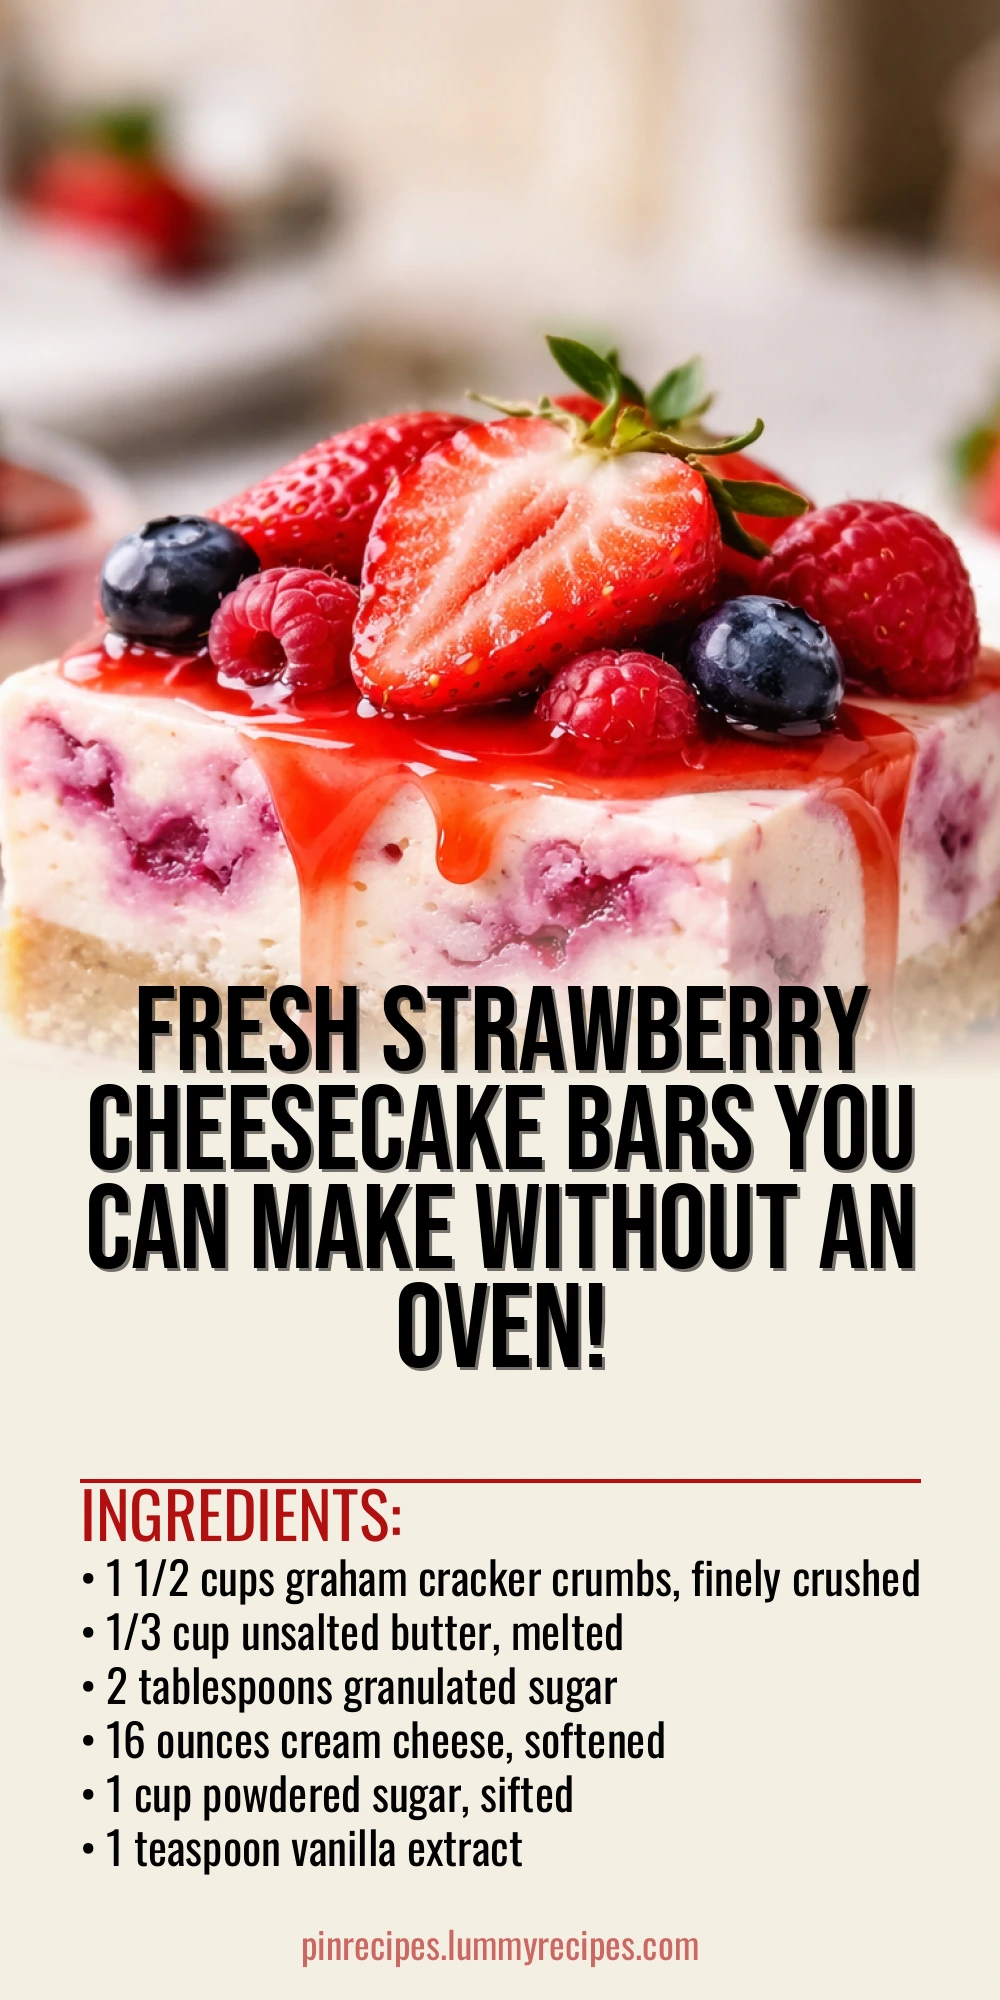
These no-bake cheesecake bars are a fresh, fruity delight perfect for spring. The fresh strawberries on top add a juicy pop, and the creamy filling is silky smooth without turning on the oven. Great for casual get-togethers or a light dessert!
Introduction
I first made these no-bake spring berry cheesecake bars on a warm afternoon when I wanted something sweet but didn’t want to heat up the kitchen. I’ve always loved the creamy texture of cheesecake but the thought of baking and waiting was a bit much. This recipe is a lifesaver because it skips the oven entirely and still delivers that rich, silky cheesecake flavor. What makes this version stand out is the fresh strawberry topping — it adds a bright, juicy contrast that feels so light and perfect for spring. The crust is buttery and crisp, giving just enough crunch to balance the creamy filling. I also discovered that whipping the heavy cream to soft peaks before folding it in is the secret to getting that fluffy, airy texture without heaviness. These bars come together quickly, chill in the fridge, and then you get this gorgeous dessert that looks like you spent hours on it. The first time I served these at a family brunch, everyone kept going back for more, and I loved how easy it was to throw together. If you’re craving a fresh, no-fuss dessert with a touch of elegance, this is it!
How To Do It
Step 1
Start by making the crust. Combine the finely crushed graham cracker crumbs with melted butter and granulated sugar in a mixing bowl. Stir until the mixture looks evenly moistened and resembles wet sand. This step is crucial because the butter binds the crumbs together, creating a firm base. Press the mixture firmly and evenly into the bottom of a 9x9 inch pan lined with parchment paper. Use the bottom of a glass or measuring cup to pack it tightly; this prevents the crust from crumbling when you cut the bars later. Chill the crust in the fridge for at least 10 minutes to help it set while you prepare the filling.
⏱ Time: 10 minutes
✓ Doneness: Crust feels firm and compact to the touch, no loose crumbs
Step 2
In a large bowl, beat the softened cream cheese until smooth and creamy using a hand mixer or stand mixer. Gradually add the sifted powdered sugar and vanilla extract, beating until everything is fully combined and silky. This step ensures the filling is lump-free and sweetened evenly. If you rush it or skip sifting the powdered sugar, you might end up with grainy spots. Scrape down the sides of the bowl to incorporate all the cream cheese for a consistent texture.
⏱ Time: 5 minutes
✓ Doneness: Filling is smooth, creamy, and free of lumps
Step 3
In a separate chilled bowl, whip the cold heavy cream until soft peaks form. This means when you lift the whisk, the cream holds a gentle peak that softly folds over. Be careful not to overwhip or you’ll end up with butter. The whipped cream adds lightness and airiness to the dense cream cheese mixture, making the bars fluffy and less heavy. Once whipped, gently fold the cream into the cream cheese mixture in batches using a spatula. Folding preserves the air bubbles, which is key to the light texture.
⏱ Time: 7 minutes
✓ Doneness: Filling looks smooth, fluffy, and well combined without deflating
Step 4
Pour the creamy filling over the chilled crust and spread it evenly with an offset spatula or the back of a spoon. Smooth the top carefully to avoid air pockets. This step sets the stage for an even slice later, so take your time. The filling should be thick but spreadable. Once spread, cover the pan tightly with plastic wrap and refrigerate for at least 4 hours, preferably overnight. This chilling allows the filling to firm up and the flavors to meld beautifully.
⏱ Time: 5 minutes + chilling time
✓ Doneness: Filling is set and firm to the touch after chilling
Step 5
Before serving, wash and hull fresh strawberries, then slice them thinly. Arrange the slices neatly on top of the set cheesecake bars in a single layer. The fresh strawberries add a juicy brightness and a lovely pop of color that makes the dessert feel fresh and inviting. If you want, you can brush them lightly with a bit of warmed strawberry jam to give a shiny finish and extra sweetness.
⏱ Time: 10 minutes
✓ Doneness: Strawberries look fresh, vibrant, and evenly distributed
Step 6
Using the parchment paper overhang, lift the cheesecake slab from the pan carefully and place it on a cutting board. Use a sharp knife dipped in hot water and wiped dry to cut the bars cleanly. Wiping the knife between cuts prevents sticking and keeps edges neat. Cut into 9 or 12 bars depending on your preferred size. Clean cuts make the bars look professional and prevent the filling from squishing out.
⏱ Time: 10 minutes
✓ Doneness: Bars have clean edges and hold their shape well
Step 7
Serve the bars chilled for the best texture and flavor. If you want to add a little extra flair, a small dollop of whipped cream or a sprinkle of finely chopped fresh mint pairs wonderfully. The cool, creamy filling with the bright strawberries is a perfect balance of sweet and tart that feels indulgent but fresh.
⏱ Time: 0 minutes
✓ Doneness: Bars feel cool and creamy, strawberries fresh and juicy
Step 8
Store any leftovers in an airtight container in the refrigerator. These cheesecake bars hold up well for 3-4 days but are best enjoyed fresh. Avoid leaving them at room temperature for too long to keep the filling firm and safe. When you want to serve again, just take them out and let sit for 5 minutes to soften slightly before eating.
⏱ Time: 0 minutes
✓ Doneness: Bars maintain texture and flavor after refrigeration
Step 9
If you want to prepare this dessert ahead of time for a party, you can make the crust and filling up to 2 days in advance. Keep the strawberries separate until just before serving to ensure they stay fresh and don’t release too much juice. This strategy saves time on the day and keeps everything tasting bright and fresh.
⏱ Time: 0 minutes
✓ Doneness: Bars stay fresh and strawberries look vibrant when added last minute
Pro Tips
Always soften your cream cheese before mixing.
Softened cream cheese blends smoothly with sugar and vanilla, preventing lumps. Cold cream cheese can create uneven texture and make mixing harder, leading to a grainy filling.
Chill your mixing bowl and whisk before whipping cream.
Cold equipment helps the cream whip faster and hold peaks longer. Warm bowls can cause the cream to become runny and not hold air, resulting in a denser filling.
Press the crust firmly and evenly into the pan.
A well-packed crust prevents crumbling and helps the bars hold together when sliced. Using the bottom of a glass to press evenly distributes pressure and creates a uniform base.
Fold whipped cream gently into the cream cheese mixture.
Folding preserves the air bubbles whipped into the cream, making the filling light and fluffy. Stirring vigorously breaks down the air and results in a dense, heavy texture.
Use a hot, wiped knife to slice the bars.
Heating the knife slightly and wiping it clean between cuts prevents sticking and keeps edges clean and sharp. This technique gives the bars a professional look.
Add strawberries just before serving.
Adding fresh berries at the last minute keeps them vibrant and prevents excess juice from soaking into the bars, which could make the crust soggy.
Chill the bars overnight if possible.
Longer chilling time allows the filling to set fully and flavors to meld, resulting in a firmer texture and more balanced taste.
Common Mistakes to Avoid
Using cold cream cheese without softening
Why it happens Many assume mixing cold cream cheese is fine, but it resists blending and causes lumps.
Fix Always let cream cheese sit at room temperature for 30-60 minutes before mixing. If short on time, microwave in 10-second intervals and stir gently until smooth.
Overwhipping the cream
Why it happens It’s easy to keep whipping past soft peaks, turning cream into butter.
Fix Watch closely and stop whipping as soon as soft peaks form—when the cream holds a peak that gently folds over.
Not pressing the crust firmly
Why it happens Rushing this step or pressing unevenly leads to crumbly crust that falls apart.
Fix Use a flat-bottomed glass or measuring cup to press the crust evenly and firmly into the pan.
Mixing whipped cream too vigorously
Why it happens Overmixing deflates the air whipped into the cream, making the filling dense.
Fix Fold the cream in gently using a spatula with slow, careful motions until just combined.
Adding strawberries too early
Why it happens Strawberries release juice that can make the crust soggy and the bars watery.
Fix Add fresh strawberries only right before serving to keep the bars firm and the berries fresh.
Variations
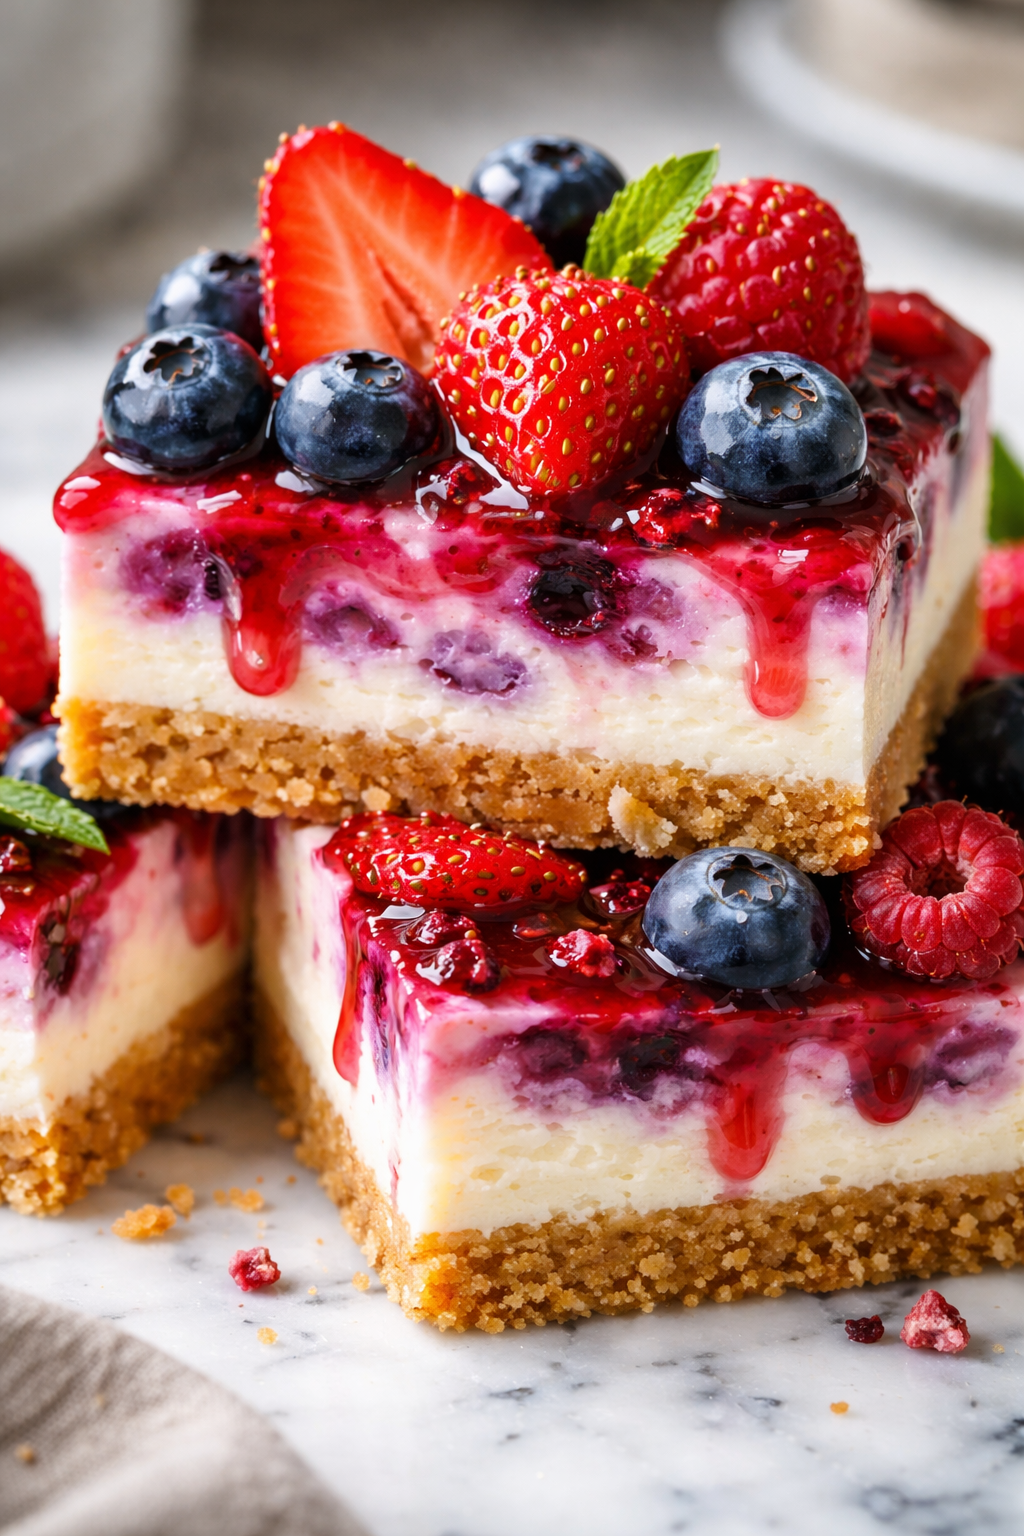
Mixed Berry Cheesecake Bars
Swap out the strawberries for a mix of blueberries, raspberries, and blackberries for a colorful twist. The combination adds a variety of tart and sweet notes that brighten the creamy filling.
Note: Because some berries release more juice, add them just before serving to avoid sogginess.
Lemon Zest Cheesecake Bars
Add 1 tablespoon of fresh lemon zest to the cream cheese mixture for a citrusy zing. This variation feels fresher and pairs beautifully with the strawberry topping.
Note: Zest before mixing to evenly distribute the flavor without adding moisture.
Chocolate Graham Cracker Crust
Use chocolate graham crackers or add 2 tablespoons of cocoa powder to the crust mix for a rich chocolate base that complements the sweet berries and creamy filling.
Note: Adjust sugar slightly if using sweetened chocolate crackers to balance flavors.
Vegan No-Bake Cheesecake Bars
Substitute cream cheese with vegan cream cheese and use coconut cream instead of heavy cream. Use vegan butter for the crust. The texture will be slightly different but still creamy and delicious.
Note: Chill the coconut cream overnight and whip the solid part for best results.
Honey-Sweetened Cheesecake Bars
Replace powdered sugar with honey for a natural sweetness and subtle floral notes. This variation feels less processed and adds depth to the flavor profile.
Note: Reduce liquid slightly if adding honey to keep filling firm.
Nutrition
Per Serving:
Nutritional values are estimates and may vary based on specific ingredients used.
Storage & Tips
Room Temperature
These cheesecake bars can safely stay at room temperature for up to 2 hours if covered. Beyond that, refrigeration is recommended to keep the filling firm and safe to eat.
Refrigerator
Store in an airtight container in the fridge for up to 4 days. The texture remains creamy and fresh, though strawberries may soften slightly. Serve chilled for best taste.
Freezer
Freeze the bars without strawberries for up to 2 months. Wrap tightly in plastic wrap and foil to prevent freezer burn. Thaw overnight in the fridge before adding fresh berries and serving.
Reheating
No reheating needed. Serve chilled or at room temperature. If desired, let sit out 10 minutes before serving to soften slightly.
Make Ahead
Prepare the crust and filling up to 2 days ahead and refrigerate covered. Add fresh strawberry topping just before serving to keep it vibrant and fresh.
FAQ
Can I use low-fat cream cheese for this recipe?
Low-fat cream cheese tends to be more watery and less creamy, which can affect the texture and firmness of the bars. For best results, stick with full-fat cream cheese to get that rich, smooth filling.
What if I don’t have graham crackers for the crust?
You can substitute with digestive biscuits or vanilla wafers crushed finely. Just make sure to adjust the sugar level if your substitute is sweeter or less sweet than graham crackers.
How long do these bars need to chill before serving?
They need at least 4 hours to set properly, but chilling overnight is ideal for the best texture and flavor melding. Rushing this step can result in a softer filling that doesn't slice well.
Can I prepare these bars without fresh strawberries?
Yes, you can top them with other fresh fruits like blueberries or raspberries. Just add the fruit right before serving to keep the crust from getting soggy.
Is it possible to make this recipe vegan?
Absolutely! Use vegan cream cheese and coconut cream whipped for the filling, and vegan butter for the crust. The texture will be slightly different but still delicious and creamy.
How do I get a smooth, lump-free filling?
Make sure your cream cheese is fully softened before mixing. Beat it thoroughly with powdered sugar and vanilla until smooth before folding in the whipped cream gently.
Can I freeze the cheesecake bars?
Yes, freeze the bars without strawberries for up to 2 months. Wrap tightly to prevent freezer burn. Thaw overnight in the fridge before adding fresh berries and serving.
What’s the best way to slice the bars cleanly?
Use a sharp knife dipped in hot water and wiped dry between cuts. This prevents sticking and keeps the edges neat for a professional look.
Final Thoughts
I hope you enjoy making and sharing these no-bake spring berry cheesecake bars as much as I do! Don’t forget to tell me how they turn out or any fun twists you try.