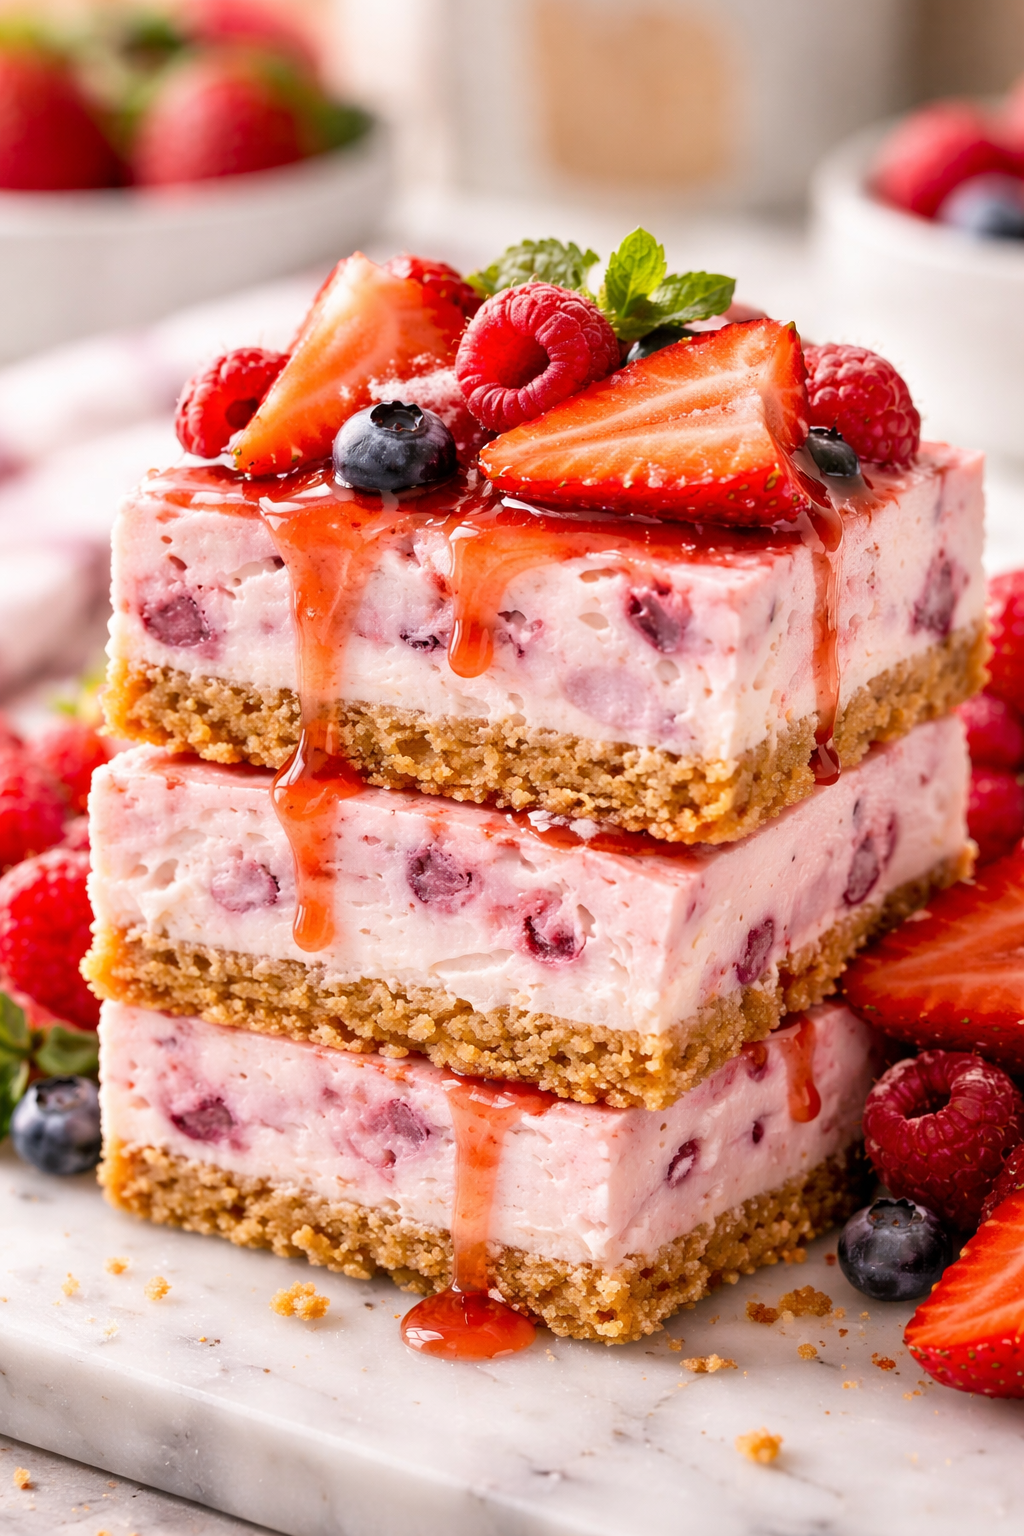
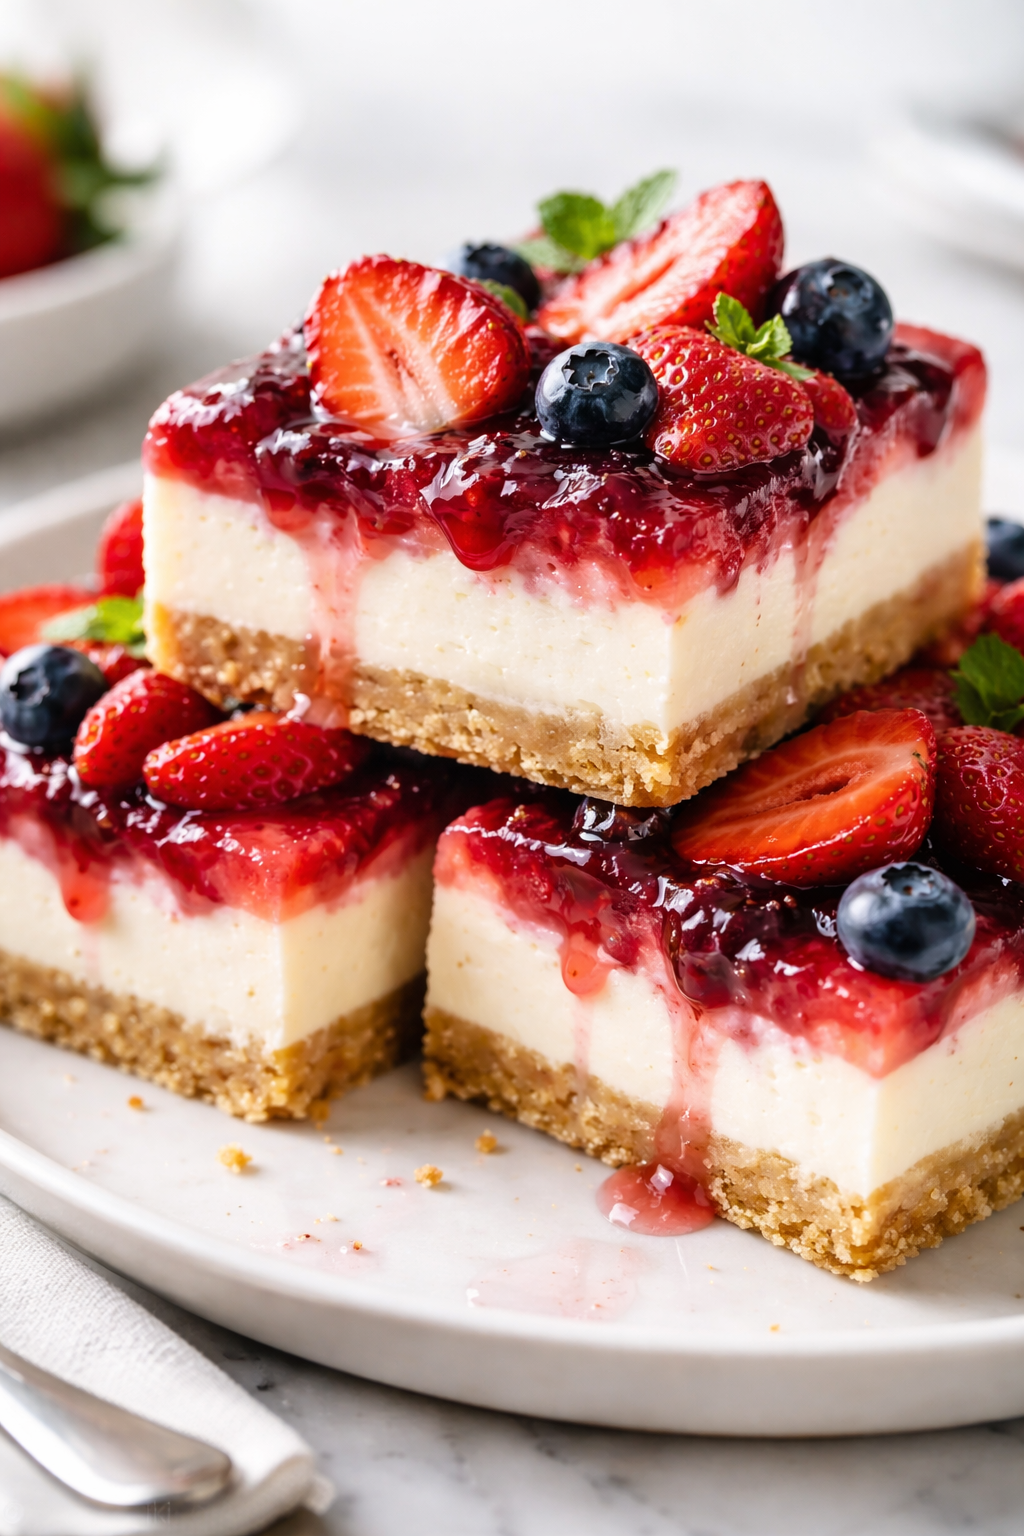
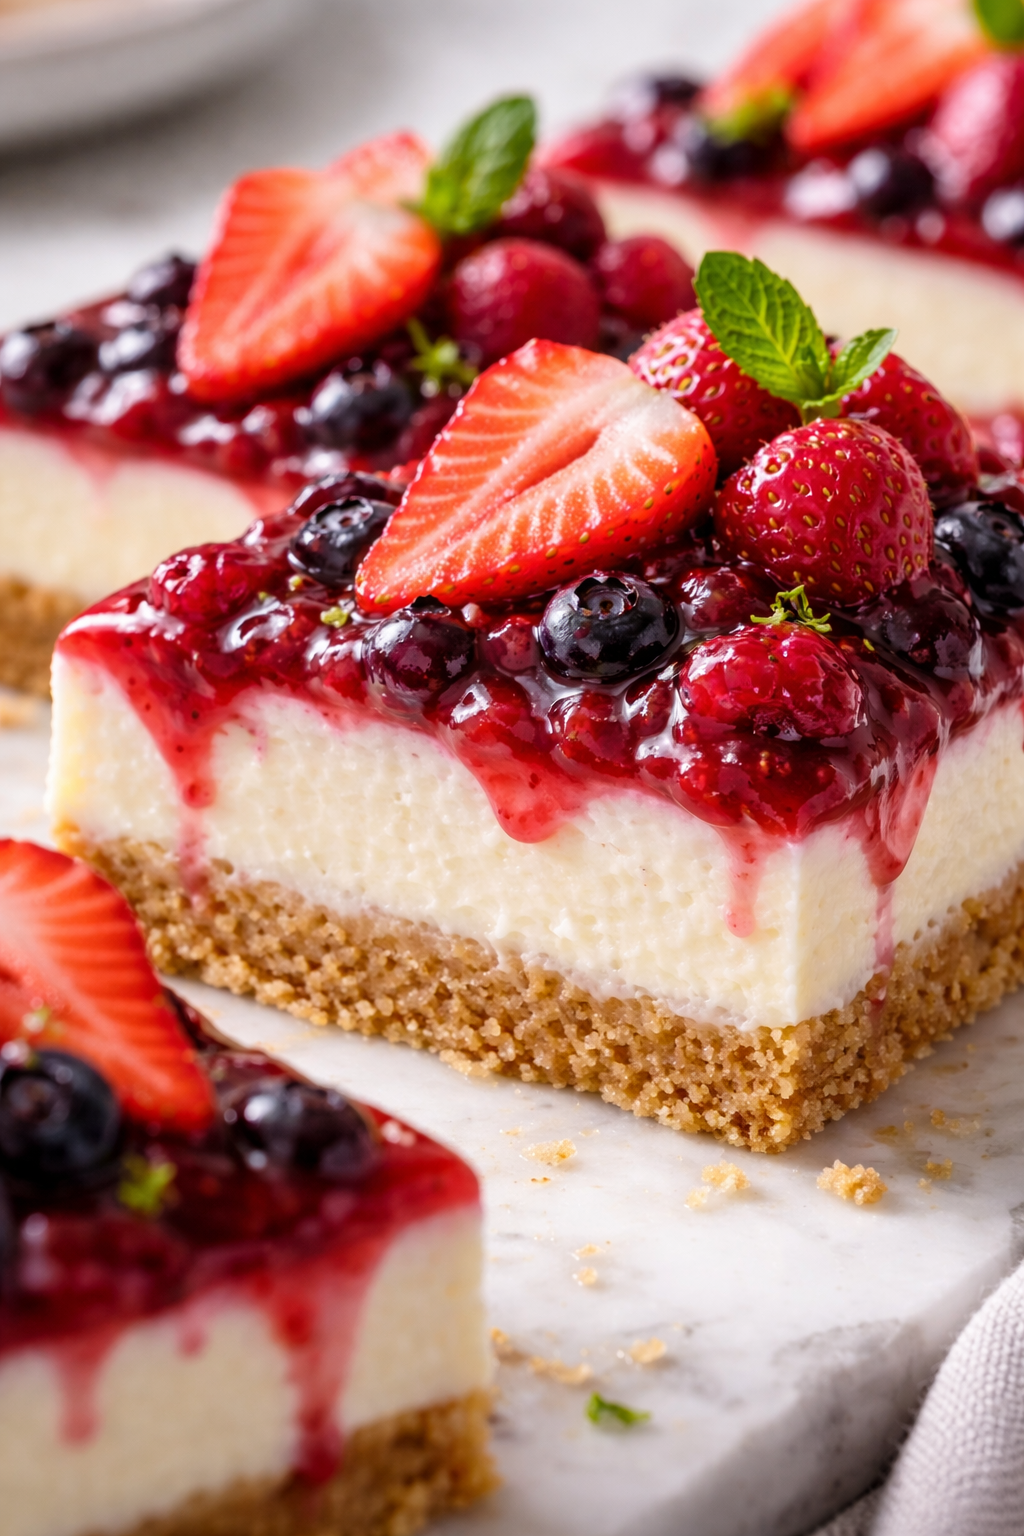
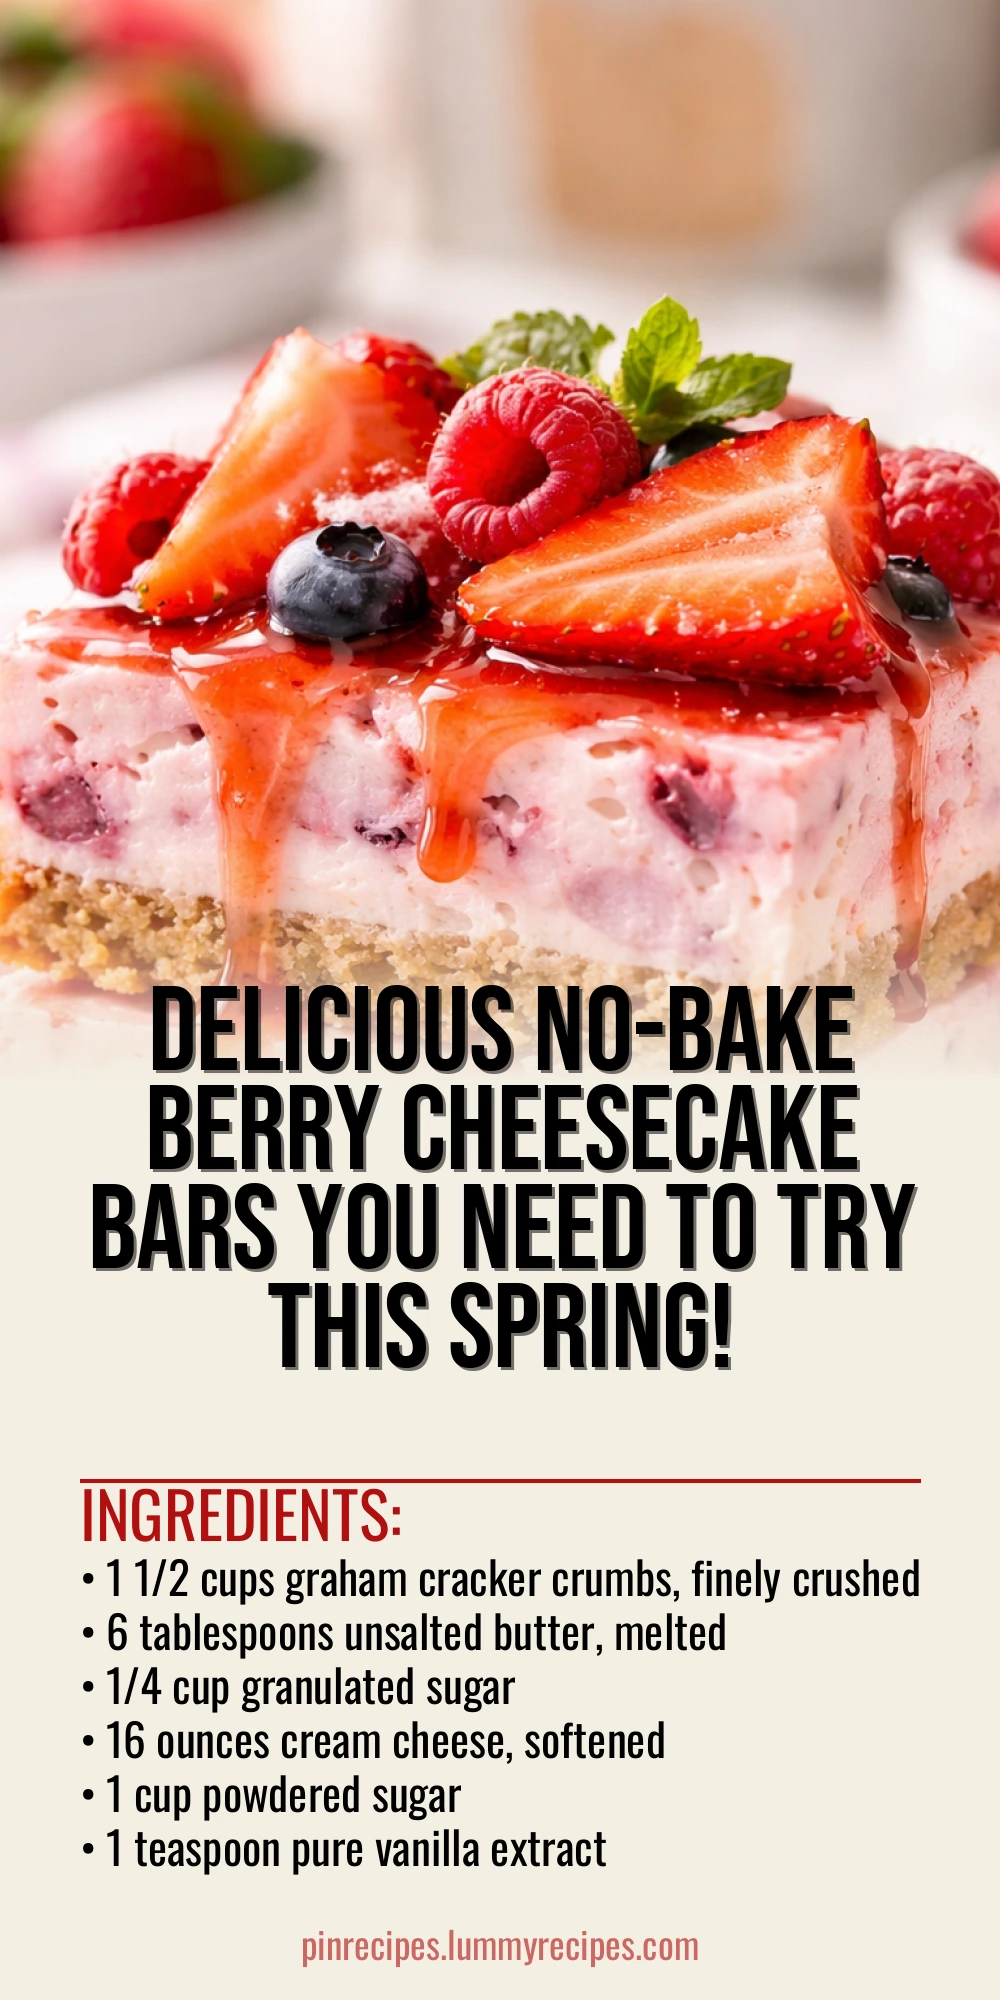
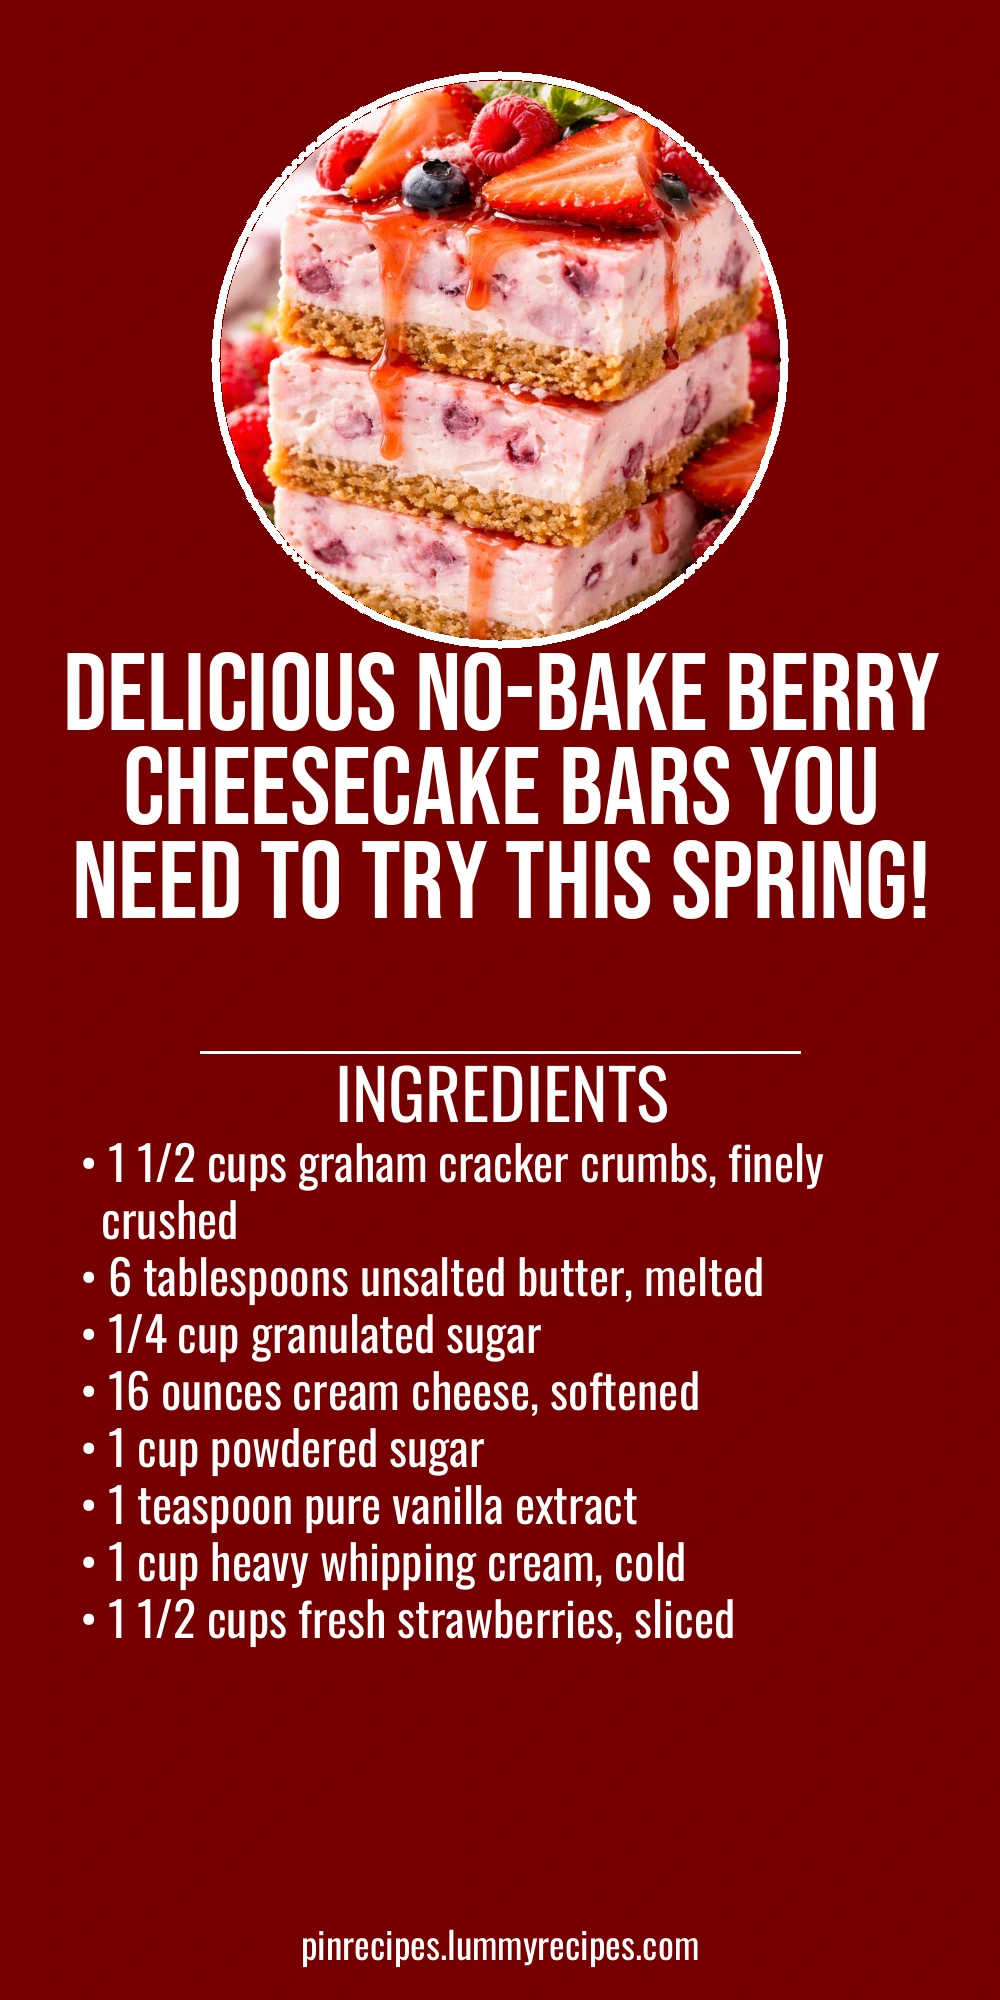
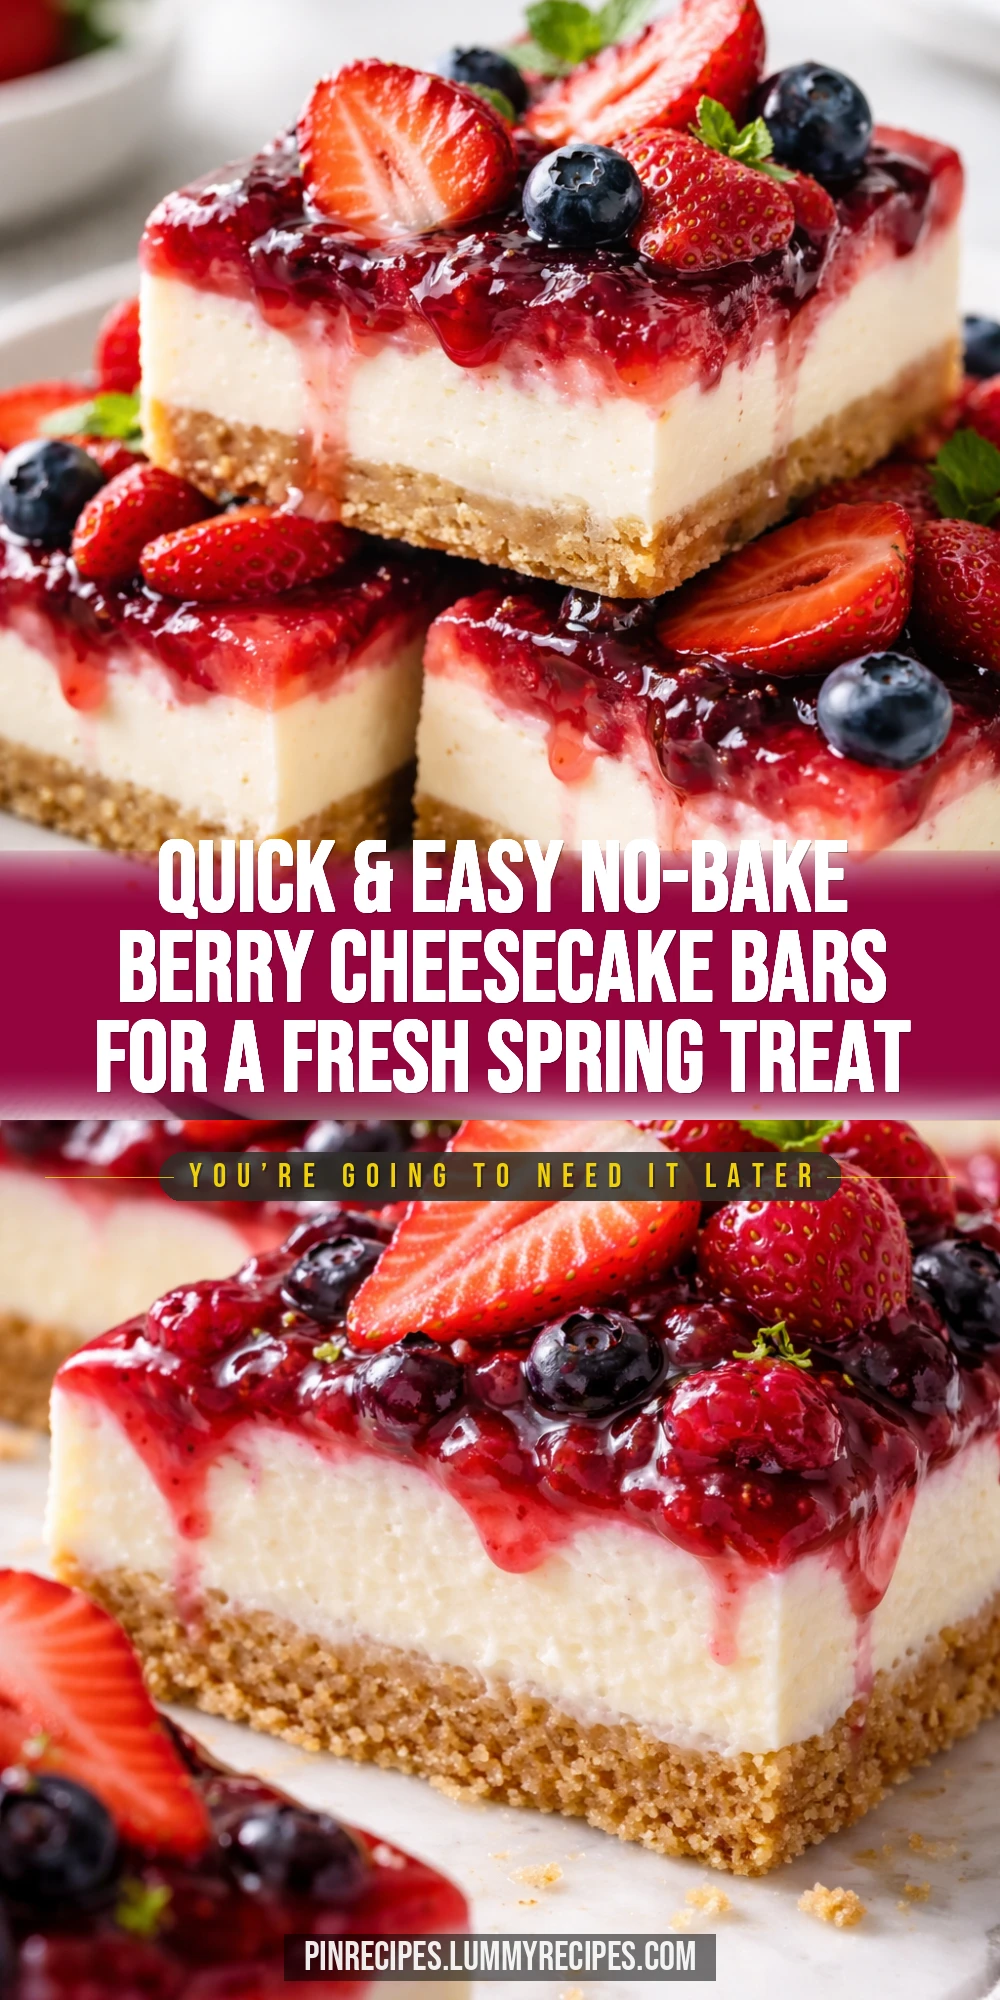
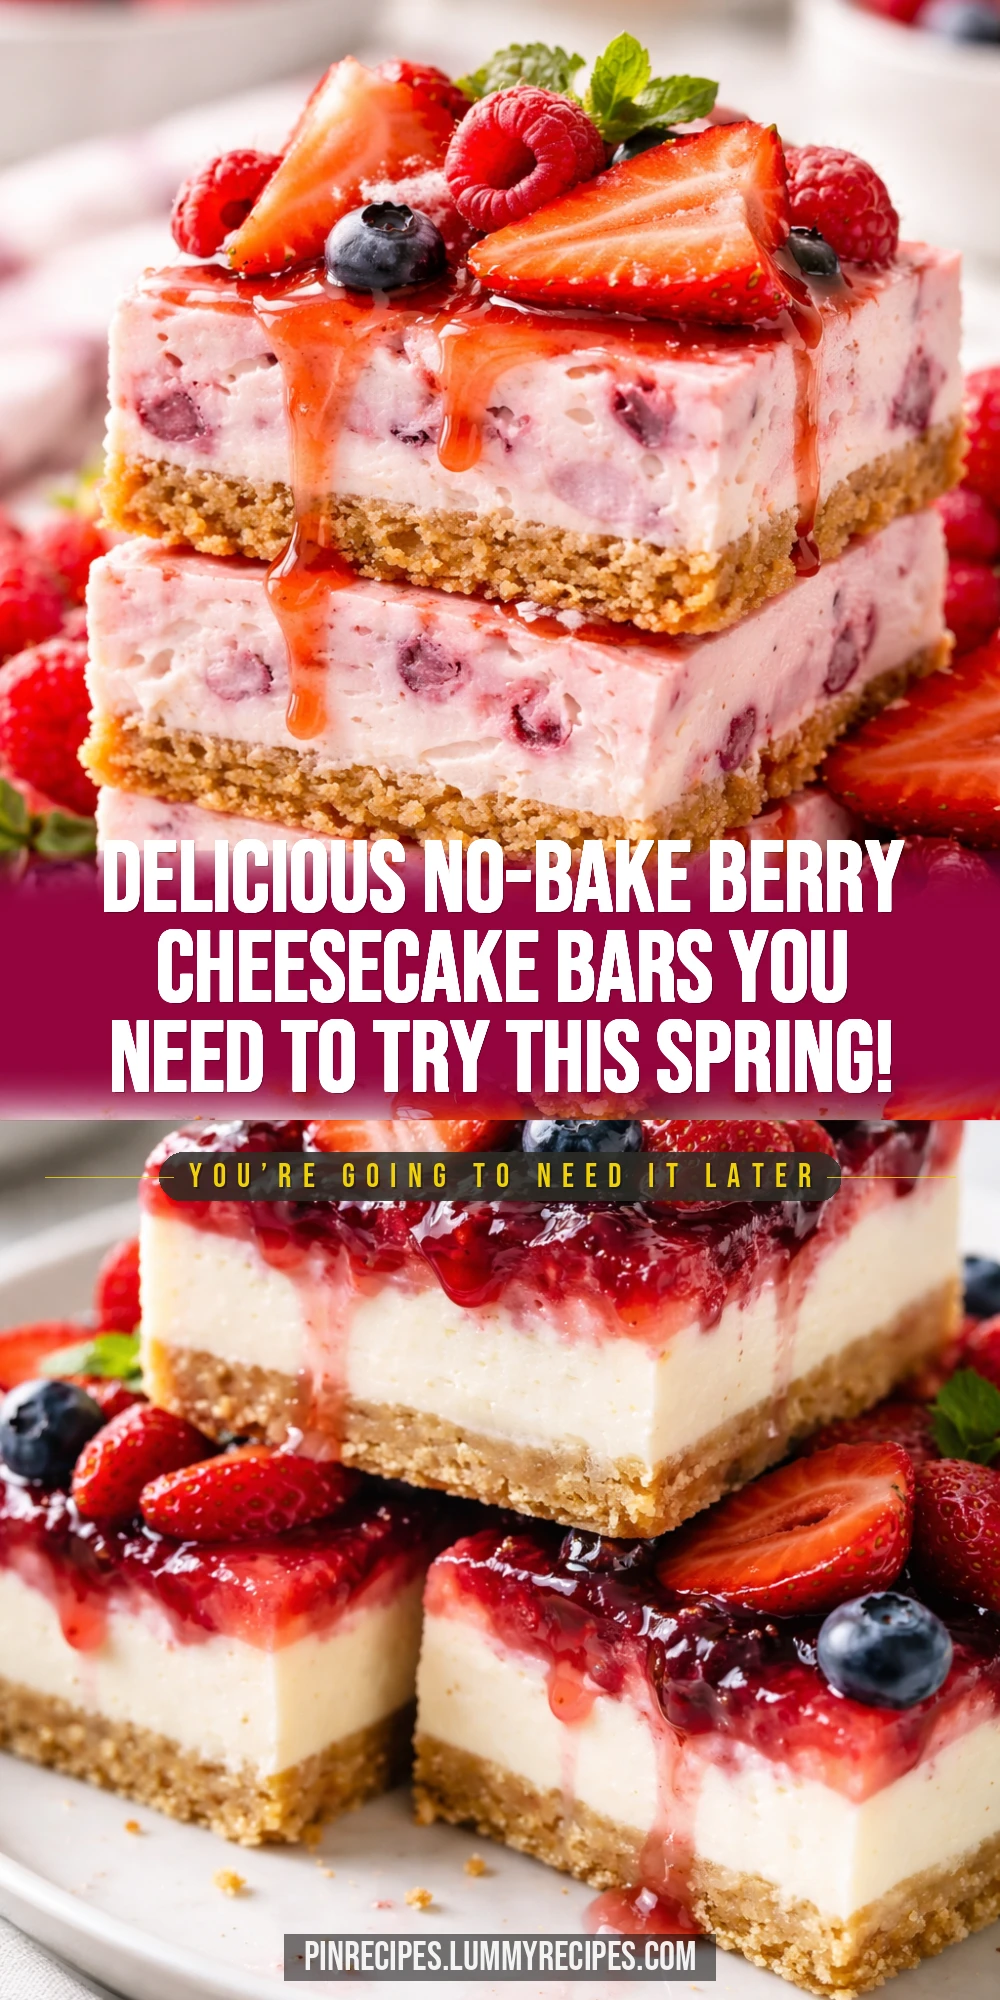
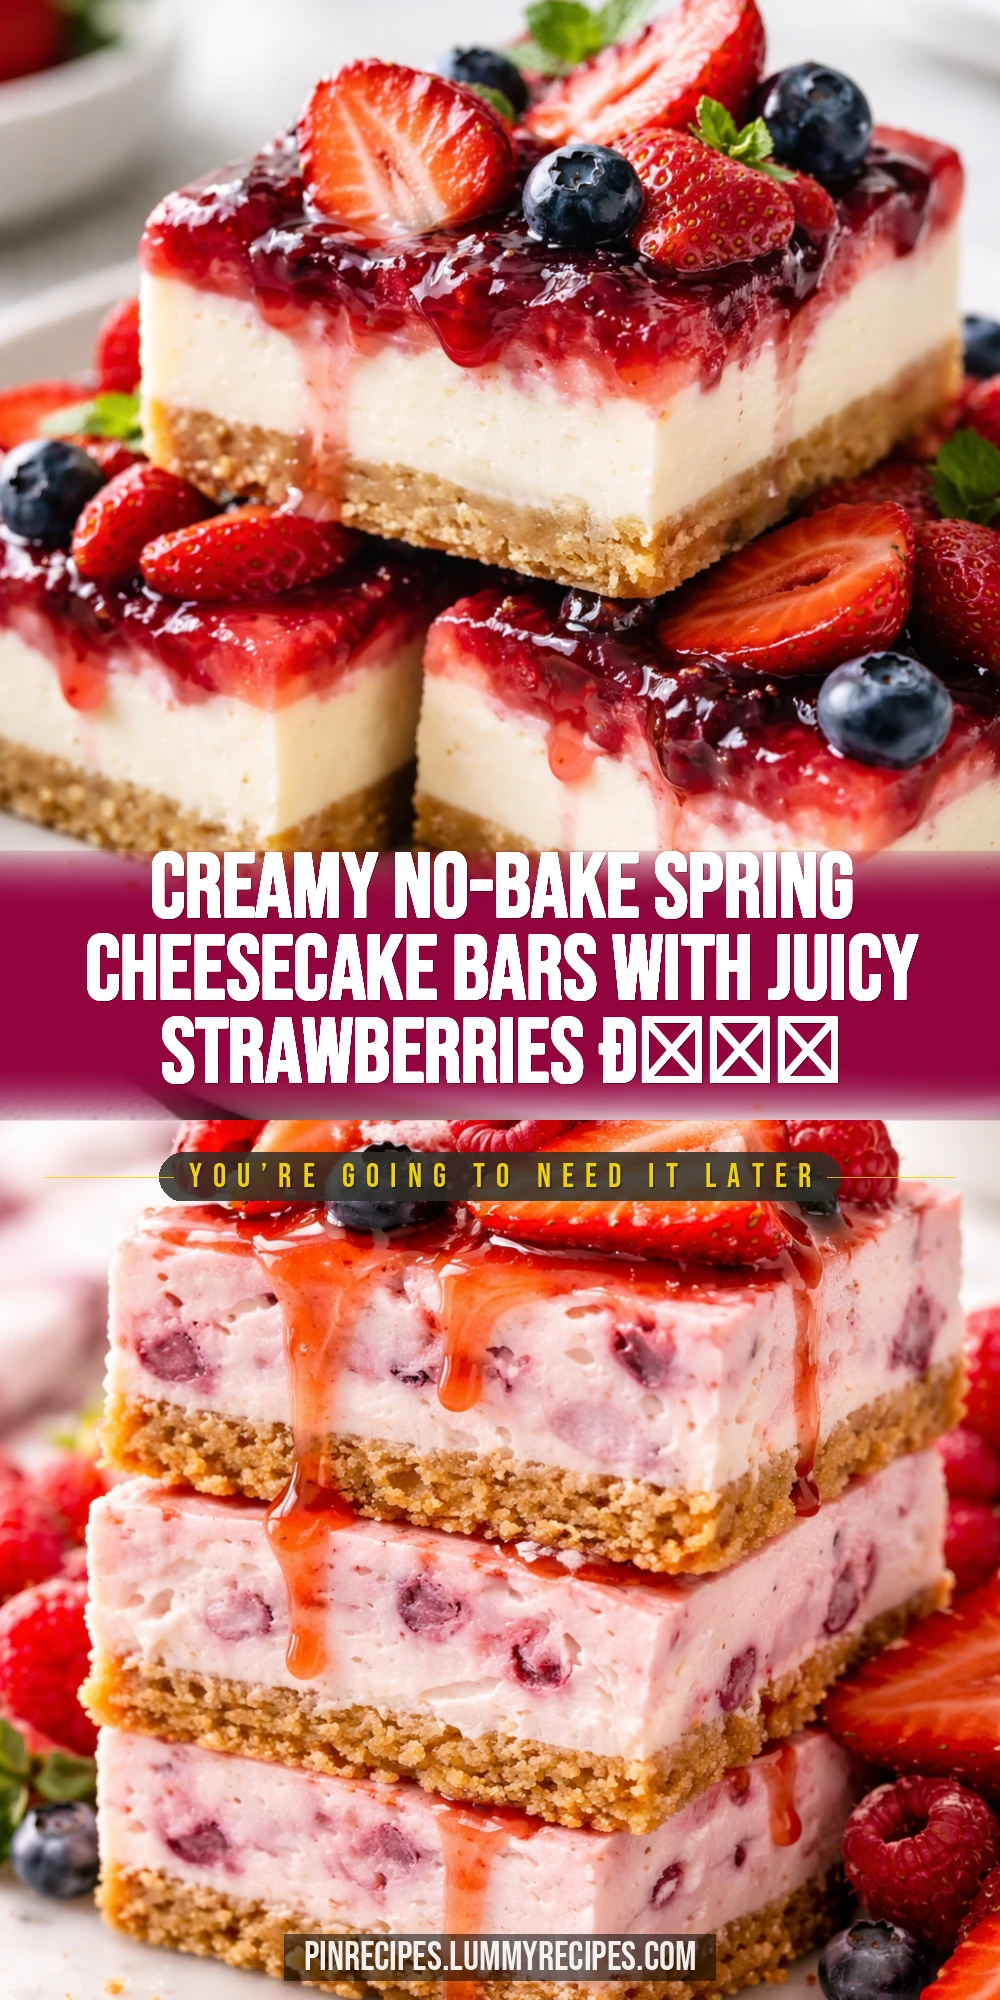
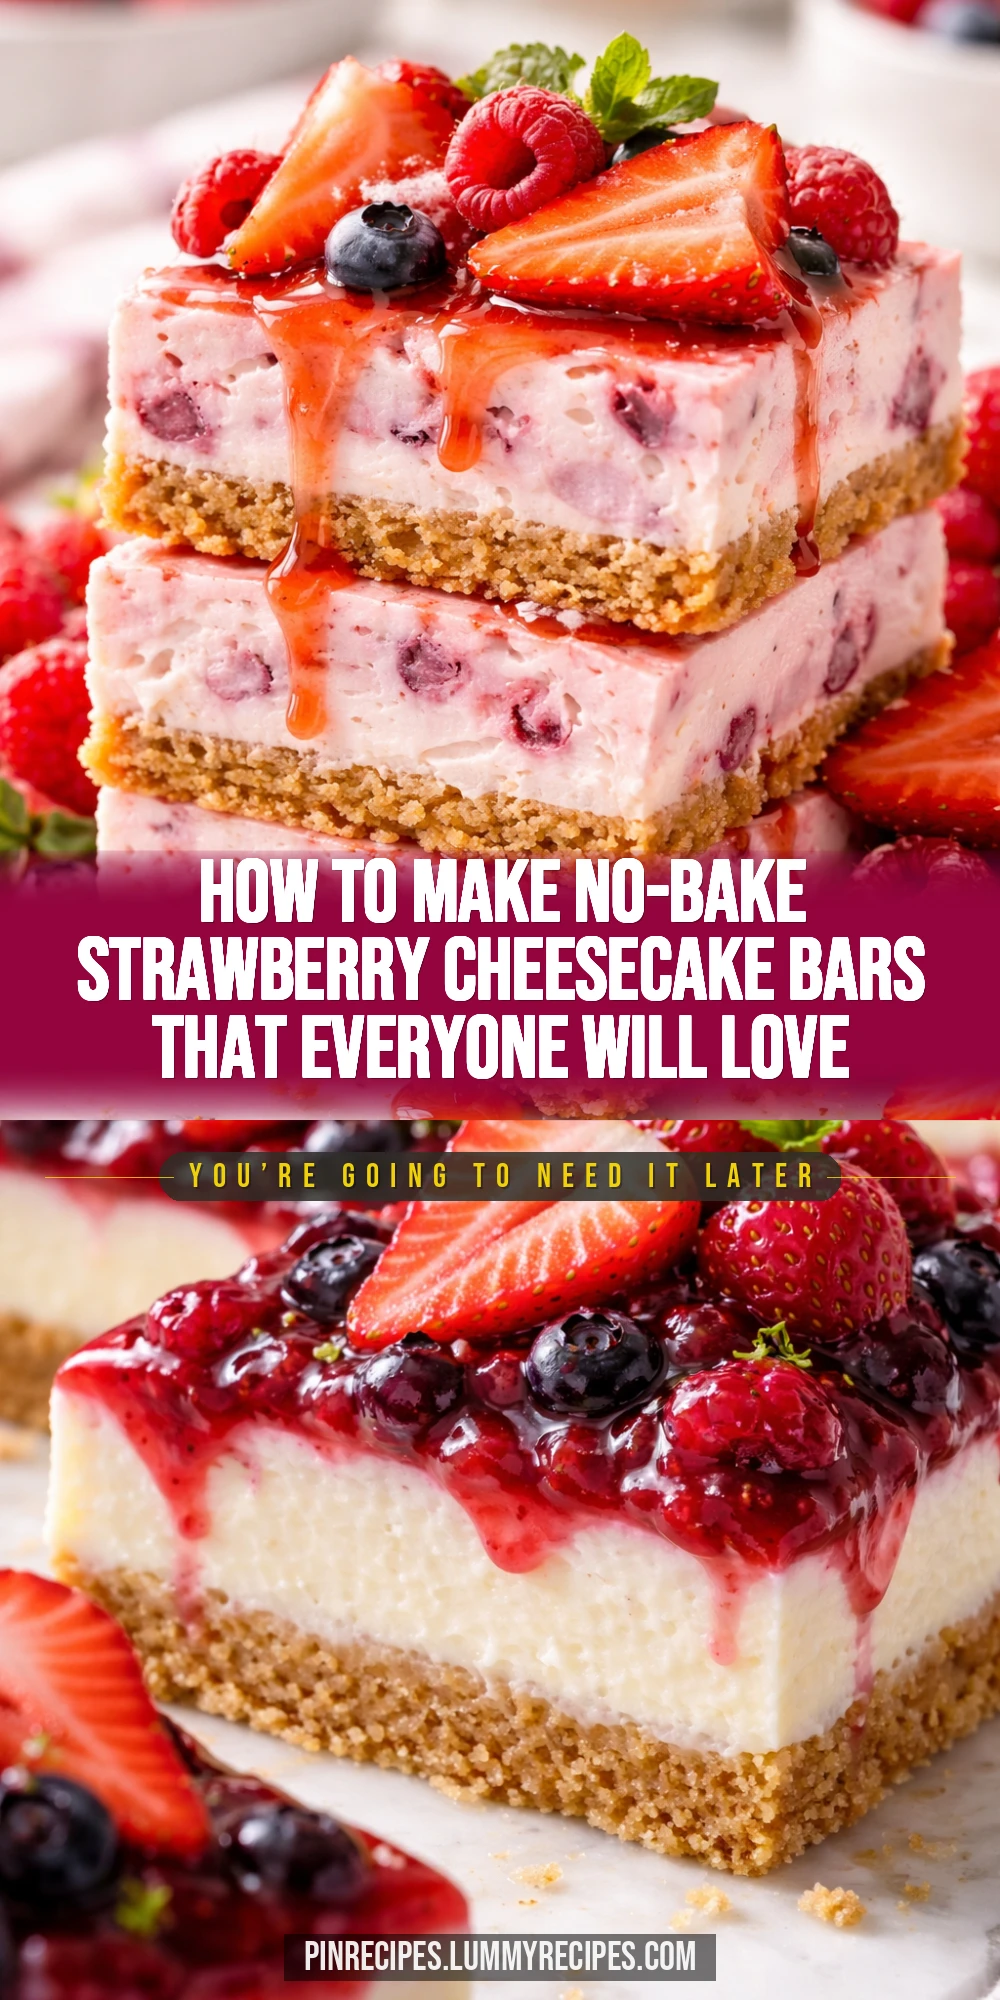
These no-bake cheesecake bars are a fresh, fruity delight perfect for spring. Creamy and light with a crisp base and juicy strawberries on top. Great for casual gatherings or a sweet afternoon treat!
Introduction
I first made these no-bake spring berry cheesecake bars last year when I wanted something fresh and easy for a family gathering. Honestly, I was skeptical about a cheesecake without baking, but this recipe blew me away. The trick I learned is whipping the cream cheese and sugar until silky smooth before folding in the whipped cream gently — it keeps the texture light and fluffy without any heaviness. Plus, using fresh strawberries on top instead of canned or frozen really brightens the flavor and makes it feel like spring in every bite. These bars come together super quickly and need only chilling time, which is perfect for when you want a fuss-free dessert that still impresses. The crust is buttery and crunchy, balancing the creamy filling perfectly. If you’re looking for a dessert that’s fresh, creamy, and just sweet enough, this is it. It’s become a favorite for picnics, potlucks, or anytime I want a cool treat without turning on the oven.
How To Do It
Step 1
Start by making the crust: combine the graham cracker crumbs, melted butter, and granulated sugar in a medium bowl. Mix well until the crumbs are evenly coated and the mixture holds together when pressed. This step is crucial because the butter binds the crumbs, giving the crust its structure and crunch. Avoid skipping the sugar here, as it adds a subtle sweetness that balances the tangy filling. Press the mixture firmly into the bottom of a lined 8x8-inch pan to create an even layer. Using the bottom of a glass or measuring cup helps compact the crust tightly, preventing it from falling apart when sliced.
⏱ Time: 10
✓ Doneness: Crust should be firmly packed and even, with no loose crumbs on top
Step 2
Next, prepare the cheesecake filling. Beat the softened cream cheese with powdered sugar and vanilla extract until completely smooth and creamy. This step is key to avoid lumps and ensure a silky texture. If the cream cheese isn’t softened enough, you’ll get clumps that affect the final texture. Once smooth, whip the cold heavy cream in a separate bowl until stiff peaks form. Gently fold the whipped cream into the cream cheese mixture, being careful not to deflate the air you just whipped in. This folding technique keeps the filling light and airy, which makes these bars feel less dense than traditional baked cheesecakes.
⏱ Time: 15
✓ Doneness: Filling should be smooth, fluffy, and hold its shape when spooned
Step 3
Pour the filling evenly over the prepared crust, smoothing the top with a spatula. This ensures an even layer that will slice nicely later. Spread gently to avoid disturbing the crust but make sure there are no air pockets. Then, arrange the sliced fresh strawberries on top in a single layer. The strawberries add a fresh burst of flavor and a lovely pop of color that makes the bars look irresistible. Don’t overcrowd the top — a neat layer lets each bite have a bit of berry goodness.
⏱ Time: 10
✓ Doneness: Filling is level and strawberries are evenly spaced without gaps
Step 4
Cover the pan tightly with plastic wrap and refrigerate for at least 4 hours, preferably overnight. This chilling time is essential because it allows the filling to set firmly and the flavors to meld together. Rushing this step will result in bars that are too soft and won’t hold their shape when cut. Overnight chilling also helps the crust absorb moisture from the filling slightly, making it perfectly tender yet still crisp.
⏱ Time: 240
✓ Doneness: Filling is firm to the touch and bars slice cleanly without crumbling
Step 5
When ready to serve, remove the bars from the fridge and carefully lift them out using the parchment paper edges. Use a sharp knife to cut into 9 equal squares. For cleaner cuts, wipe the knife with a warm damp cloth between slices. This prevents the filling from sticking and keeps the edges neat. Serve chilled, and if you like, garnish with a few extra strawberry slices or a light dusting of powdered sugar for an elegant touch.
⏱ Time: 10
✓ Doneness: Bars cut cleanly with visible layers of crust, creamy filling, and strawberry topping
Step 6
If you want to add a little extra flavor, you can fold in a tablespoon of lemon zest or a teaspoon of fresh lemon juice into the cream cheese mixture before folding in the whipped cream. This adds a subtle brightness that complements the strawberries beautifully. Just be careful not to add too much liquid or the filling won’t set properly. This is a simple tweak that elevates the flavor without complicating the recipe.
⏱ Time: 5
✓ Doneness: Filling remains smooth and sets properly after chilling
Step 7
For a gluten-free version, swap the graham cracker crumbs with gluten-free cookie crumbs or ground nuts like almonds. Make sure to check the butter quantity as nuts may absorb differently. This substitution keeps the crust crunchy and flavorful without compromising texture. It’s a great way to make this dessert accessible for friends or family with dietary restrictions.
⏱ Time: 5
✓ Doneness: Crust binds well and holds shape after chilling
Step 8
If you want to store leftovers, keep the bars covered tightly in the fridge. They stay fresh for up to 3 days. Avoid leaving them out at room temperature for more than 2 hours to prevent the cream cheese from softening too much or spoiling. When serving leftovers, they’re best enjoyed chilled but can be left out for a few minutes to soften slightly for easier slicing.
⏱ Time: 2
✓ Doneness: Bars remain firm and fresh when refrigerated
Step 9
To make these bars ahead for a party, prepare the crust and filling a day before, then add the strawberries just before serving. This keeps the berries fresh and prevents them from releasing too much juice, which can make the crust soggy. Just cover the crust and filling tightly with plastic wrap and refrigerate overnight. This strategy saves time and keeps your dessert looking and tasting its best.
⏱ Time: 5
✓ Doneness: Filling sets well overnight and strawberries stay fresh when added last minute
Pro Tips
Use room temperature cream cheese for a smooth filling.
Softened cream cheese blends more easily with sugar and vanilla, preventing lumps and ensuring a creamy texture. Using cold cream cheese can result in clumps that affect the smoothness and mouthfeel of the cheesecake.
Whip heavy cream to stiff peaks but don’t overbeat.
Whipping cream to stiff peaks incorporates enough air to lighten the filling. Overwhipping can cause the cream to break down into butter, making the filling grainy and less smooth, ruining the texture.
Press the crust firmly and evenly into the pan.
A well-packed crust holds together when sliced and provides a satisfying crunch. If it’s loosely packed, the crust will crumble apart, making it difficult to serve neat bars.
Fold whipped cream gently into the cream cheese mixture.
Folding preserves the air bubbles in the whipped cream, keeping the filling light and fluffy. Stirring vigorously deflates the mixture, resulting in a dense, heavy texture.
Chill the bars overnight for best results.
Chilling allows the fat in the cream cheese and butter to firm up, helping the bars set properly. Shorter chilling times can result in a runny filling that doesn’t slice cleanly.
Use a sharp knife warmed in hot water for clean slices.
Wiping the knife between cuts prevents the filling from sticking and tearing the bars. Warm knives glide through the creamy filling easily, giving neat edges.
Add lemon zest for a bright flavor twist.
Lemon zest adds a fresh, citrusy note that complements the sweetness and tanginess of the cheesecake, enhancing the overall flavor without adding extra moisture that could affect setting.
Common Mistakes to Avoid
Using cold cream cheese without softening
Why it happens Many home cooks forget to take cream cheese out ahead of time, leading to lumps when mixing.
Fix Plan ahead and let cream cheese sit at room temperature for at least 30 minutes. If short on time, soften gently in the microwave in 10-second bursts, stirring in between.
Overwhipping the heavy cream
Why it happens It’s easy to get carried away whipping cream, especially if you’re not used to watching for stiff peaks.
Fix Stop whipping as soon as stiff peaks form — the cream should hold shape but still be smooth. If you overwhip, start over with fresh cream.
Not pressing the crust firmly enough
Why it happens Rushing this step or being too gentle can cause a crumbly base that falls apart.
Fix Use the bottom of a glass to firmly compact the crust evenly. This ensures it holds together when slicing.
Skipping chilling time or cutting bars too soon
Why it happens Impatience or underestimating chilling time leads to runny filling.
Fix Refrigerate at least 4 hours, ideally overnight. This firms the filling so bars slice cleanly.
Using overripe or watery strawberries
Why it happens Not all berries are equal; some may be too soft or juicy.
Fix Choose firm, ripe berries and slice evenly. Remove any excess juice before topping to avoid soggy bars.
Variations
Mixed Berry Cheesecake Bars
Swap out some strawberries for blueberries and raspberries for a colorful mixed berry topping. This adds a variety of flavors and a beautiful look. The tartness of raspberries balances the sweetness nicely.
Note: Use fresh berries and arrange evenly. Avoid adding too much juice to keep crust crisp.
Lemon Blueberry No-Bake Bars
Add lemon zest and juice to the filling for a citrusy twist, and top with fresh blueberries instead of strawberries. This version is bright and refreshing, perfect for summer.
Note: Ensure lemon juice is added sparingly to avoid thinning the filling.
Chocolate Swirl Cheesecake Bars
Fold melted dark chocolate into half the cream cheese mixture before layering to create a marbled effect. Top with strawberries for a rich and elegant dessert.
Note: Cool melted chocolate slightly before folding to avoid melting the whipped cream.
Vegan No-Bake Berry Bars
Use vegan cream cheese and coconut cream whipped to stiff peaks. Substitute butter with coconut oil and use gluten-free vegan cookies for the crust. Top with fresh strawberries as usual.
Note: Chill coconut cream overnight and whip well for best texture.
Nutty Crust Cheesecake Bars
Add finely chopped toasted pecans or almonds to the graham cracker crust for extra crunch and flavor. This adds a toasty, nutty note that complements the creamy filling.
Note: Toast nuts lightly to enhance flavor without overpowering.
Nutrition
Per Serving:
Nutritional values are estimates and may vary based on specific ingredients used.
Storage & Tips
Room Temperature
These bars can safely sit out at room temperature for up to 2 hours if covered to protect from dust and insects. Beyond that, the cream cheese filling will soften and could spoil, so keep refrigerated when not serving.
Refrigerator
Store bars in an airtight container in the fridge for up to 3 days. The texture remains creamy and fresh, though strawberries may release some juice over time. Serve chilled for best flavor and firmness.
Freezer
Wrap bars tightly in plastic wrap and then foil, freezing for up to 1 month. To thaw, place in the fridge overnight. Texture may soften slightly but still delicious. Avoid refreezing.
Reheating
No reheating needed—these bars are best served chilled. If too firm from the fridge, let sit at room temperature 10-15 minutes before slicing for easier cuts.
Make Ahead
Prepare crust and filling up to 2 days in advance and refrigerate covered. Add fresh strawberries just before serving to keep them bright and fresh. This saves time and keeps the dessert looking perfect.
FAQ
Can I use frozen strawberries instead of fresh?
Frozen strawberries tend to release a lot of juice when thawed, which can make the crust soggy and the topping watery. If you must use frozen, thaw them completely and drain excess liquid before slicing and placing on top. Fresh strawberries are best for texture and flavor.
What can I substitute for heavy cream in the filling?
You can try whipping coconut cream as a dairy-free alternative, but it will change the flavor slightly. Avoid using milk or half-and-half, as they won’t whip properly and the filling won’t set correctly.
How do I prevent the crust from getting soggy?
Press the crust firmly and chill it before adding the filling if possible. Also, adding the fresh strawberries just before serving helps avoid excess moisture soaking into the crust.
Can I make these bars gluten-free?
Yes! Use gluten-free graham cracker crumbs or crushed gluten-free cookies for the crust. Make sure all other ingredients are gluten-free certified to avoid cross-contamination.
Why is my filling too runny after chilling?
This usually happens if the cream cheese wasn’t softened properly or if the cream wasn’t whipped enough. Also, rushing chilling time can prevent the filling from setting firm. Make sure to follow the steps carefully and chill at least 4 hours.
How long can I store these bars in the fridge?
They keep well for up to 3 days in an airtight container. After that, the texture and flavor may start to degrade, and the strawberries might release moisture that affects the crust.
Can I add gelatin to make the filling firmer?
While gelatin can help set no-bake fillings, it’s not necessary here if you chill long enough. Adding gelatin changes the texture, making it more jelly-like, which some people may not prefer.
What’s the best way to slice these bars cleanly?
Use a sharp knife warmed in hot water and wipe it clean between cuts. This prevents the creamy filling from sticking and tearing the bars, giving neat, attractive slices.
Final Thoughts
I hope you give these no-bake spring berry cheesecake bars a try—they’re such a fresh and easy way to celebrate the season. Let me know how they turn out for you!