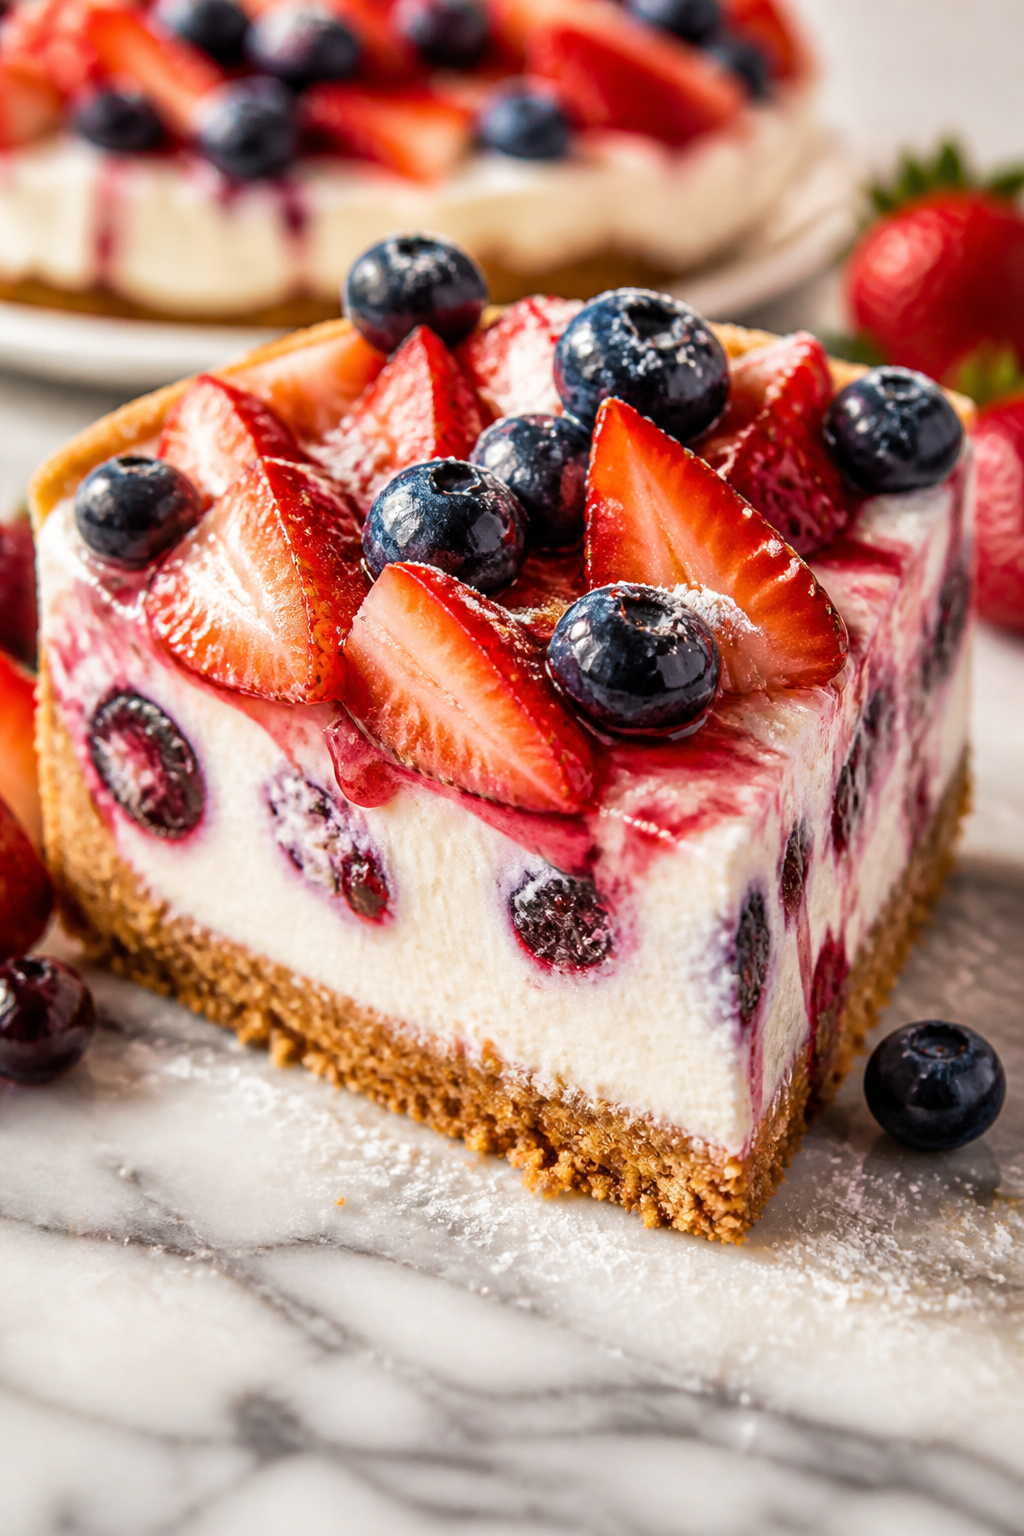
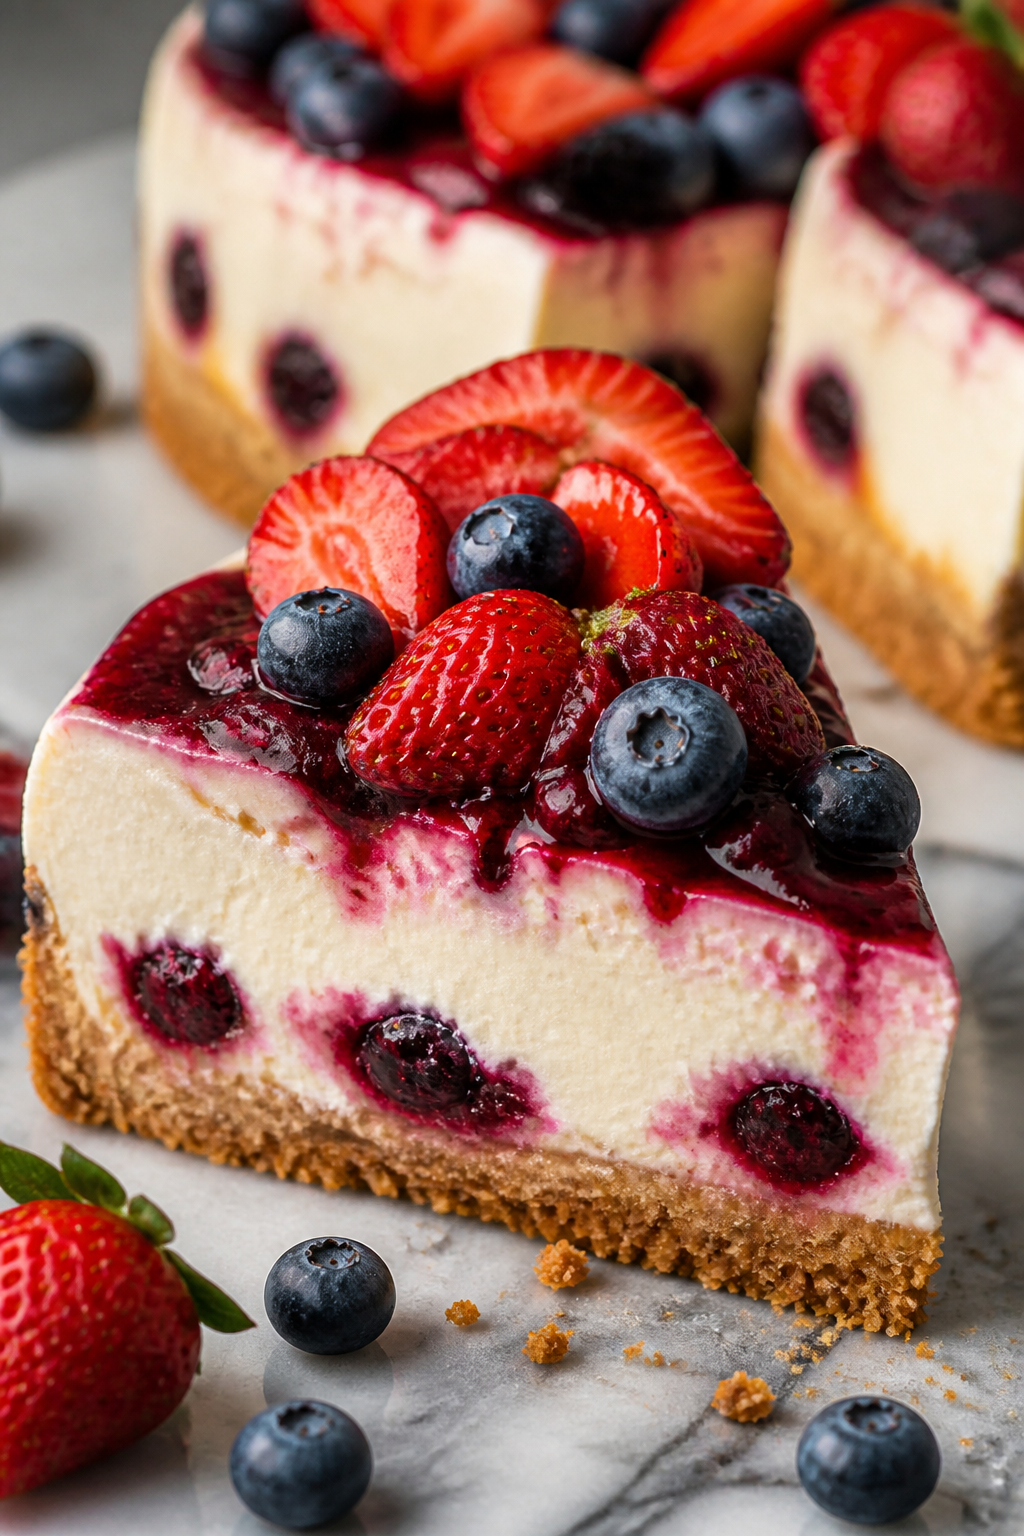
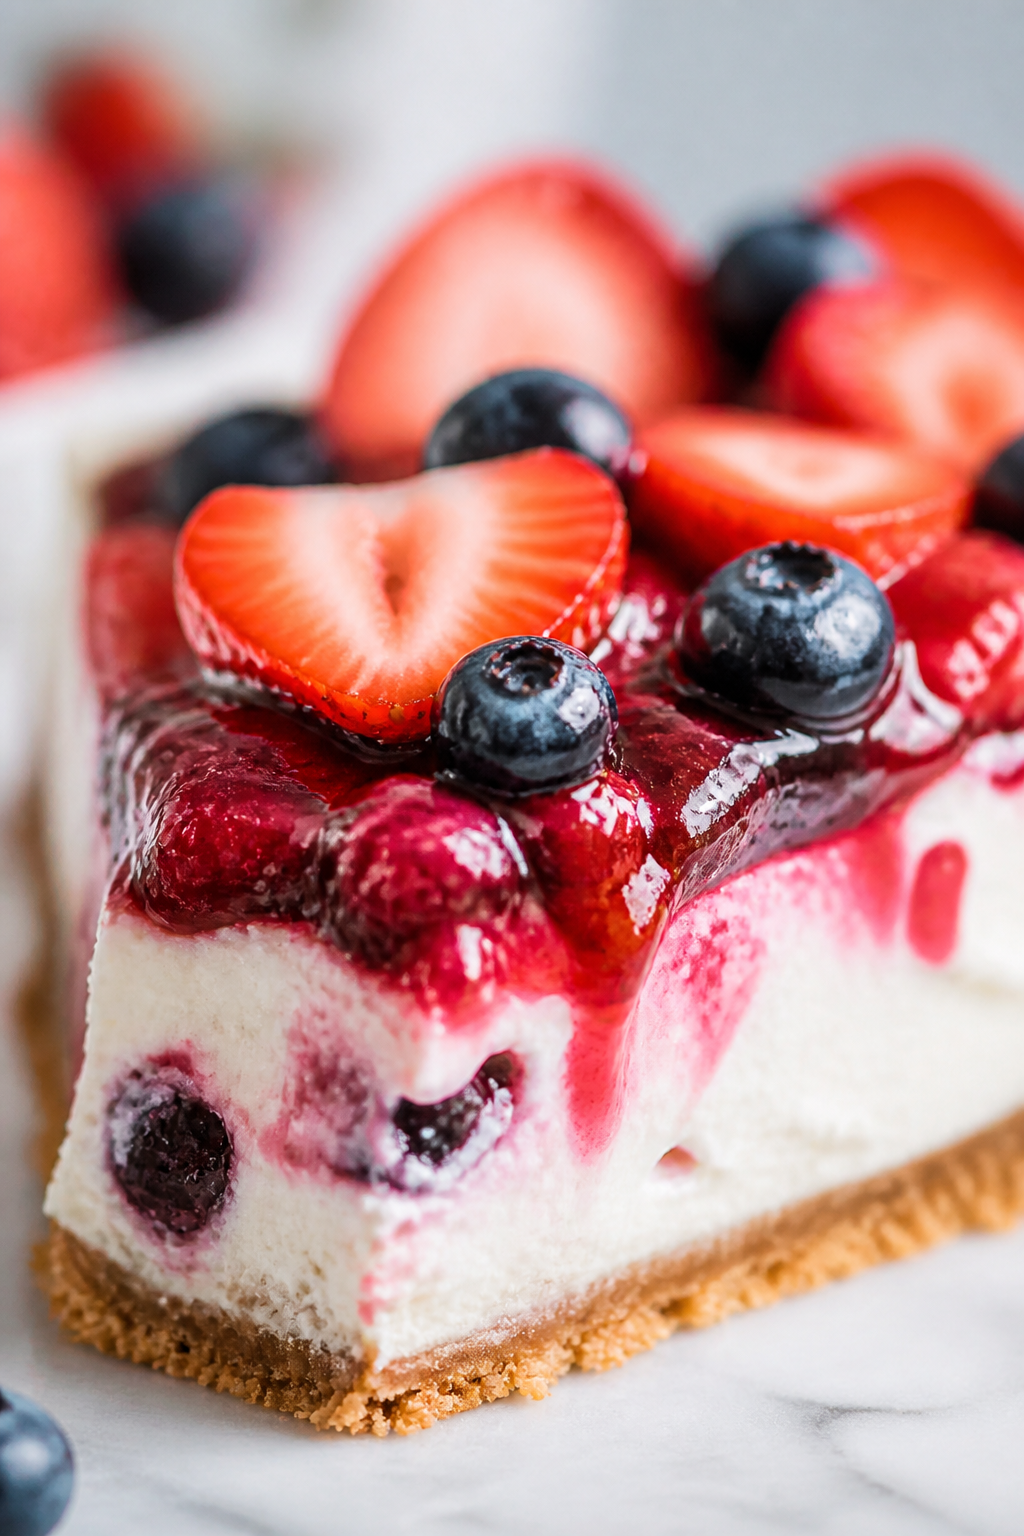
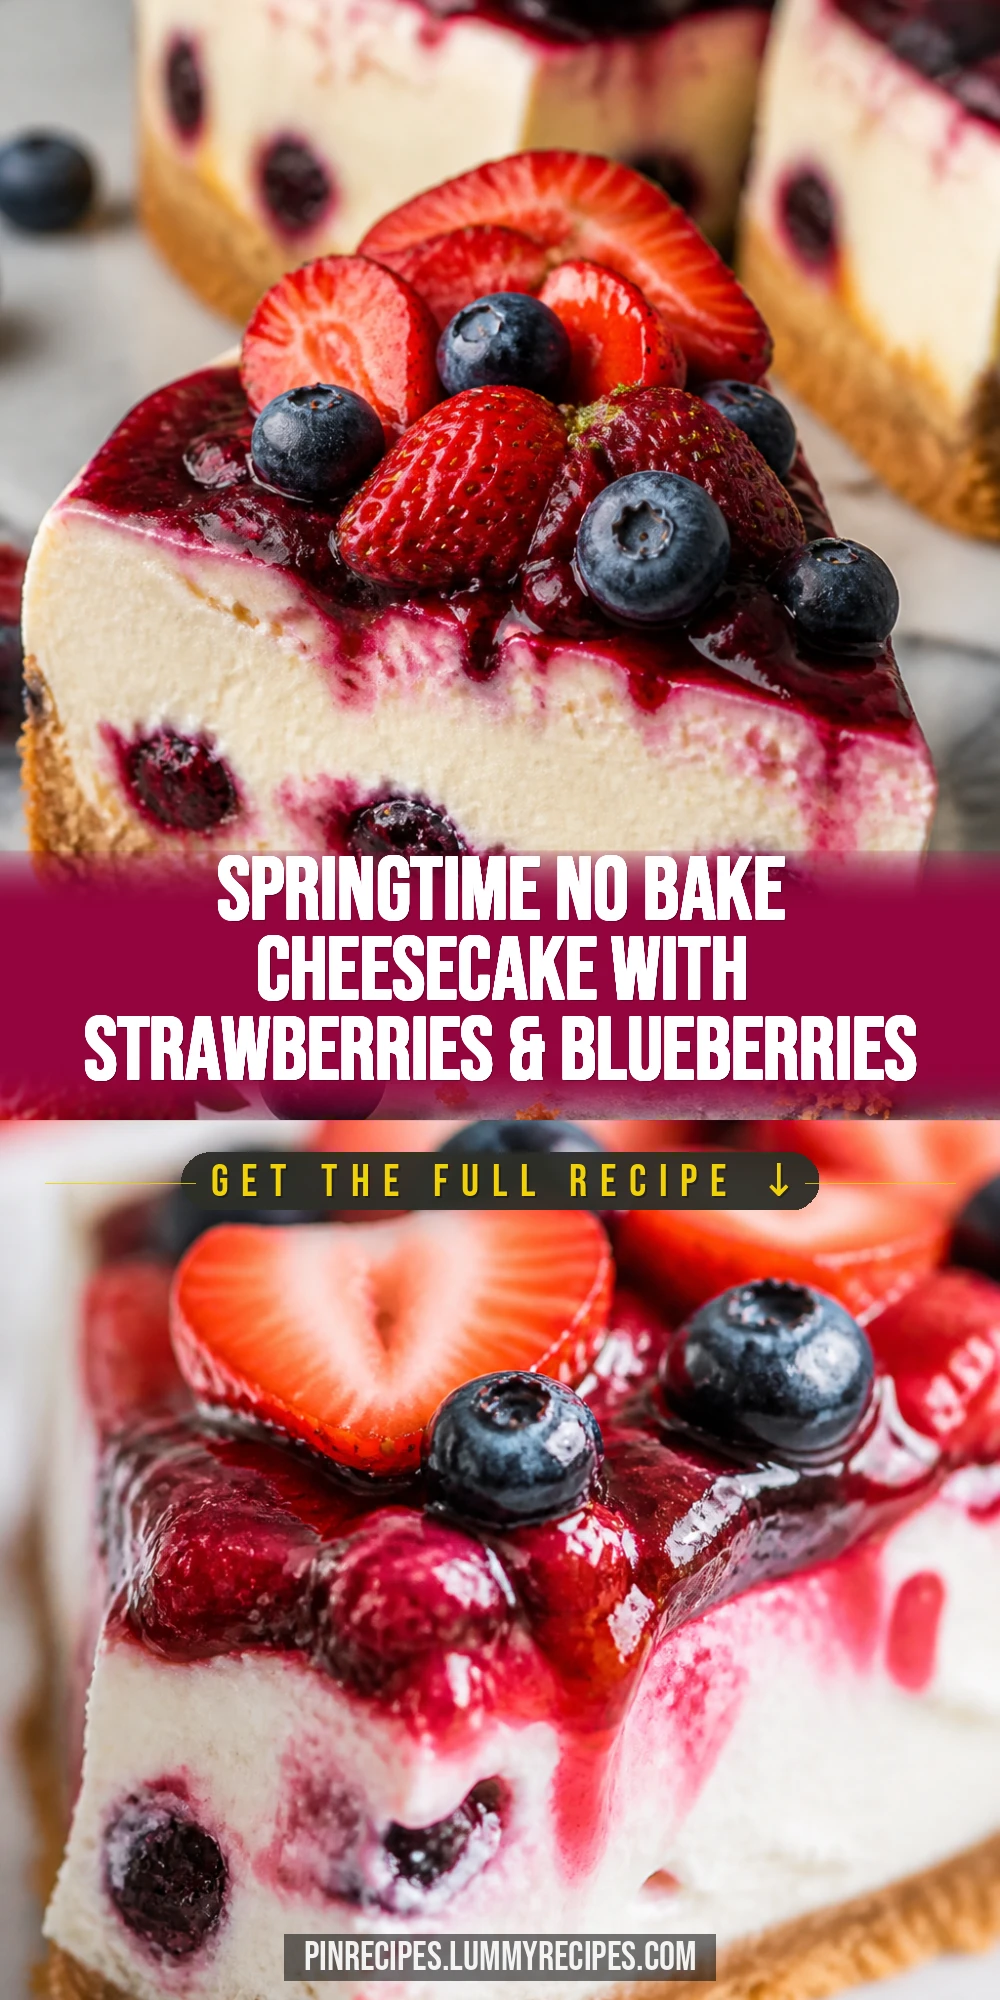
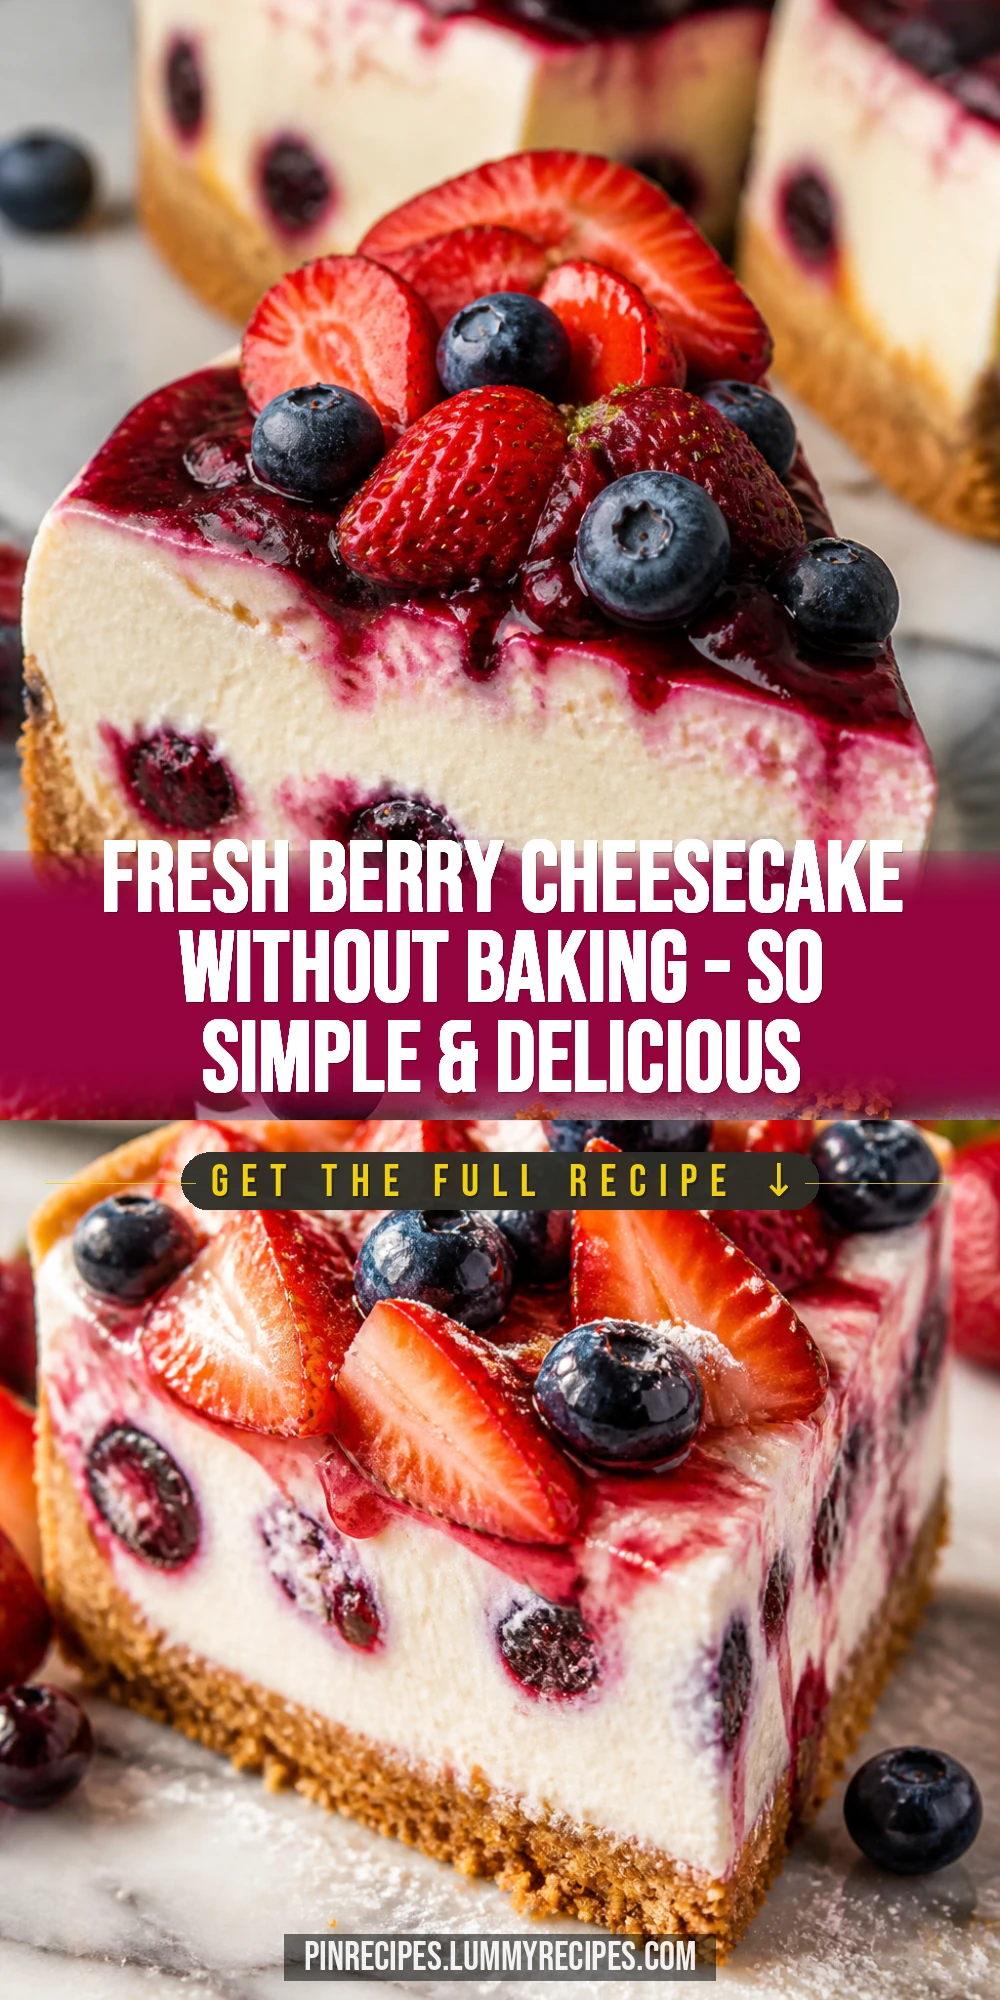
This no bake cheesecake is a fresh, light dessert packed with sweet strawberries and blueberries. The creamy filling sets perfectly without the oven, making it a quick spring favorite. Serve it chilled for a cool finish to any meal.
Introduction
I first made this no bake spring berry cheesecake a few years ago when I wanted a light dessert that didn’t heat up the kitchen. It quickly became a favorite in my family because it’s creamy, fresh, and doesn’t require any baking—perfect for warm days or last-minute guests. What I love about this version is the simple graham cracker crust that holds together without fuss and the fluffy whipped cream folded into the cream cheese mixture, which makes the filling extra airy and smooth. The fresh strawberries and blueberries on top add a burst of natural sweetness and color, making it look as good as it tastes. I’ve tried other no bake cheesecakes before, but this one strikes the perfect balance between sweet and tangy, and it sets nicely in the fridge without being too dense or mushy. It’s a dessert that feels special but is so easy to pull together, which is why I keep coming back to it. If you’re looking for a crowd-pleaser that’s fuss-free and fresh, this is it. Plus, you can swap berries depending on what’s in season or what your family likes best!
What You'll Need
One 9-inch cheesecake, 8 servings
- 1 1/2 cups graham cracker crumbs
- 1/3 cup unsalted butter, melted
- 16 ounces cream cheese, softened
- 1 cup powdered sugar
- 1 teaspoon vanilla extract
- 2 cups heavy whipping cream, cold
- 1/4 cup granulated sugar
- 1 cup fresh strawberries, sliced
- 1 cup fresh blueberries
How To Do It
Step 1
Start by preparing the crust. Combine the graham cracker crumbs and melted butter in a mixing bowl until the mixture looks like wet sand. This step is crucial because the butter binds the crumbs together, creating a firm base that holds the cheesecake. Press the mixture firmly into the bottom of a 9-inch springform pan, making sure it's evenly distributed and compacted to avoid crumbling later. If you skip pressing firmly, the crust might fall apart when slicing. Once packed, place the crust in the fridge to chill while you prepare the filling.
⏱ Time: 10 minutes
✓ Doneness: Crust is evenly packed and feels firm to the touch
Step 2
Next, beat the softened cream cheese with powdered sugar and vanilla extract until smooth and creamy. This step is key to avoid lumps and ensure a silky texture. Use room temperature cream cheese to make the process easier and get a smooth filling. If the cream cheese is too cold, it won’t blend well and you’ll end up with a grainy texture. Mix on medium speed until no lumps remain and the mixture looks fluffy.
⏱ Time: 5 minutes
✓ Doneness: Filling is smooth, creamy, and free of lumps
Step 3
In a separate bowl, whip the cold heavy cream with granulated sugar until stiff peaks form. This means when you lift the whisk, the cream holds its shape without collapsing. Whipping the cream properly is essential because it lightens the filling and adds volume, giving the cheesecake a fluffy texture. Be careful not to overwhip or it will turn grainy and start turning into butter.
⏱ Time: 5-7 minutes
✓ Doneness: Cream holds stiff peaks and looks glossy
Step 4
Gently fold the whipped cream into the cream cheese mixture using a spatula. The folding technique preserves the airiness of the whipped cream, which keeps the filling light. Avoid stirring vigorously or you’ll deflate the mixture, resulting in a dense cheesecake. Use slow, sweeping motions and fold until just combined with no visible streaks.
⏱ Time: 3-4 minutes
✓ Doneness: Filling is fully combined, fluffy, and smooth
Step 5
Pour the filling over the chilled crust and smooth the top with a spatula. This step ensures an even surface for a neat presentation and even setting. Tap the pan gently on the counter to release any air bubbles trapped in the filling, which could cause cracks or holes.
⏱ Time: 5 minutes
✓ Doneness: Filling is evenly spread and smooth on top
Step 6
Refrigerate the cheesecake for at least 4 hours or overnight. This chilling time is critical because it allows the filling to set firmly without baking. If you rush this step, the cheesecake will be too soft and won’t slice cleanly. Overnight chilling is best for optimal texture and flavor melding.
⏱ Time: 4+ hours
✓ Doneness: Filling is firm to the touch and holds shape when sliced
Step 7
Before serving, wash and slice the fresh strawberries and rinse the blueberries. Arrange the berries on top of the cheesecake in an even layer or decorative pattern. The fresh fruit adds a juicy contrast and bright color that makes the dessert inviting. Make sure to pat the berries dry to avoid extra moisture on the cheesecake surface.
⏱ Time: 10 minutes
✓ Doneness: Berries look fresh, vibrant, and nicely arranged
Step 8
Carefully release the springform pan sides and transfer the cheesecake to a serving plate. Use a sharp knife dipped in warm water between slices for clean cuts. This simple trick prevents the filling from sticking and helps maintain the cheesecake’s neat edges.
⏱ Time: 5 minutes
✓ Doneness: Slices hold shape cleanly without crumbling
Step 9
Serve chilled and enjoy! This cheesecake pairs wonderfully with a cup of tea or coffee and is perfect for spring and summer gatherings. Leftovers can be stored in the fridge, but it’s best eaten within 2 days for freshness.
⏱ Time: Immediate
✓ Doneness: Cheesecake tastes fresh, creamy, and balanced
Pro Tips
Always soften cream cheese before mixing.
Softened cream cheese blends smoothly with powdered sugar and vanilla, preventing lumps in your filling. If it’s too cold, it won’t mix well and you’ll end up with a grainy texture. Let it sit at room temperature for about 30 minutes for best results.
Use cold heavy cream for whipping.
Cold cream whips faster and holds stiff peaks better, giving your cheesecake filling a light, airy texture. Warm cream won’t whip properly and can result in a runny filling that doesn’t set well.
Press the crust firmly into the pan.
Firmly pressing the graham cracker crust ensures it holds together when sliced and doesn’t crumble. If the crust is loose, the cheesecake won’t slice neatly and can fall apart when served.
Fold whipped cream gently into cream cheese mixture.
Folding preserves the air whipped into the cream, keeping the filling fluffy and light. Stirring too vigorously deflates the mixture, resulting in a dense cheesecake that lacks the signature creamy texture.
Chill the cheesecake overnight if possible.
Extended chilling allows the filling to set firmly and flavors to meld. Rushing this step leads to a soft filling that won’t hold shape and a less developed flavor profile.
Use a warm knife for slicing.
Dipping your knife in warm water before slicing helps cut cleanly through the cheesecake without sticking or tearing. This keeps your slices neat and presentable.
Pat berries dry before topping.
Excess moisture from wet berries can make the cheesecake soggy on top. Gently drying them with paper towels ensures the topping stays fresh and the crust remains crisp.
Common Mistakes to Avoid
Using cold cream cheese directly from the fridge
Why it happens Many rush the process and don’t allow cream cheese to soften, assuming it will mix fine cold.
Fix Let cream cheese sit at room temperature for at least 30 minutes before mixing. This prevents lumps and ensures a smooth, creamy filling.
Overwhipping the cream
Why it happens It’s easy to get carried away and whip cream past stiff peaks into butter.
Fix Stop whipping as soon as stiff peaks form – the cream should hold shape but still look glossy. Overwhipped cream will separate and ruin the texture.
Not pressing the crust firmly enough
Why it happens Some assume a light press is enough, but the crust needs to be compacted.
Fix Use the bottom of a glass or measuring cup to press crust firmly and evenly, so it sets well and holds together when sliced.
Skipping the chilling step
Why it happens Impatience or time constraints lead to serving the cheesecake too soon.
Fix Chill the cheesecake for at least 4 hours, preferably overnight, to allow the filling to firm up and flavors to develop fully.
Topping with wet berries
Why it happens Rinsing berries and immediately placing them on the cheesecake without drying.
Fix Pat berries dry with paper towels before arranging on top to prevent sogginess and maintain a fresh look.
Variations
Lemon Zest No Bake Berry Cheesecake
Add 1 tablespoon of fresh lemon zest to the cream cheese mixture for a bright citrus twist. The lemon adds a refreshing tang that complements the berries beautifully, making the dessert even more spring-like and vibrant.
Note: Incorporate lemon zest during the cream cheese and sugar mixing step to evenly distribute the flavor without affecting texture.
Gluten-Free Crust Option
Swap the graham cracker crumbs for gluten-free almond flour or gluten-free cookie crumbs. This makes the crust suitable for gluten-sensitive eaters without sacrificing flavor or texture.
Note: Press the alternative crust firmly as usual; almond flour crusts may be a bit crumblier but still hold well when chilled.
Mixed Berry Medley Cheesecake
Use a combination of raspberries, blackberries, strawberries, and blueberries for a colorful, flavor-packed topping. This variation adds complexity and visual appeal to the classic version.
Note: Ensure all berries are fresh and dried well before topping to avoid excess moisture.
Chocolate Drizzle No Bake Cheesecake
Drizzle melted dark chocolate over the top of the finished cheesecake for a rich contrast. The bittersweet chocolate pairs wonderfully with the sweet berries and creamy filling.
Note: Allow the cheesecake to chill fully before drizzling chocolate to prevent melting or mixing into the filling.
Individual No Bake Berry Cheesecakes
Make this recipe in small mason jars or ramekins for single servings. Perfect for parties or easy portion control. Each jar can be topped with different berries or garnishes for variety.
Note: Reduce chilling time slightly for smaller portions but still allow at least 2-3 hours for setting.
Nutrition
Per Serving:
Nutritional values are estimates and may vary based on specific ingredients used.
Storage & Tips
Room Temperature
This cheesecake should not be left out at room temperature for more than 2 hours. Cover it loosely with plastic wrap or a cake dome to protect from dust and odors if serving shortly after chilling.
Refrigerator
Store in an airtight container or cover tightly with plastic wrap in the refrigerator for up to 3 days. The texture remains creamy but the crust may soften slightly. Best served chilled; no reheating needed.
Freezer
Freeze the cheesecake wrapped tightly in plastic wrap and then foil for up to 1 month. To thaw, transfer to the refrigerator overnight. Avoid freezing topped with fresh berries; add them fresh after thawing.
Reheating
No reheating needed or recommended for this no bake cheesecake. Serve chilled for best texture and flavor.
Make Ahead
You can prepare the crust and filling up to 2 days ahead and keep refrigerated. Assemble and top with fresh berries the day you plan to serve for the freshest presentation.
FAQ
Can I use low-fat cream cheese or whipped cream?
Low-fat cream cheese or whipped cream won’t provide the same creamy texture or stability. The filling may be runnier and won’t set properly. For best results, use full-fat cream cheese and heavy whipping cream.
How do I prevent the crust from getting soggy?
Make sure to press the crust firmly and chill it before adding the filling. Also, avoid using wet berries directly on the crust. Pat berries dry before topping to keep moisture from seeping in.
Can I substitute the graham cracker crust with cookies?
Yes, crushed digestive biscuits or vanilla wafers work well as a crust substitute. Just crush them finely and mix with melted butter the same way. The flavor will vary slightly but still delicious.
What if my filling is too soft after chilling?
This usually means it hasn’t chilled long enough or the cream wasn’t whipped properly. Make sure to whip cream to stiff peaks and chill the cheesecake at least 4 hours, ideally overnight.
Can I make this cheesecake vegan?
This recipe isn’t vegan as it uses dairy cream cheese and heavy cream. However, you can experiment with vegan cream cheese and coconut cream, but texture and flavor will differ.
How do I store leftovers?
Keep leftovers covered tightly in the refrigerator and consume within 3 days. The cheesecake tastes best chilled and fresh, as the crust may soften over time.
Can I use frozen berries?
Frozen berries tend to release more moisture and can make the cheesecake soggy. If using frozen, thaw and drain them well, then pat dry before topping.
Is it okay to skip the powdered sugar in the filling?
Powdered sugar adds sweetness and helps stabilize the filling. Skipping it will make the cheesecake less sweet and may affect texture slightly.
Final Thoughts
I hope you enjoy making and sharing this no bake spring berry cheesecake as much as my family does! Don’t forget to let me know how it turns out and any fun twists you try.