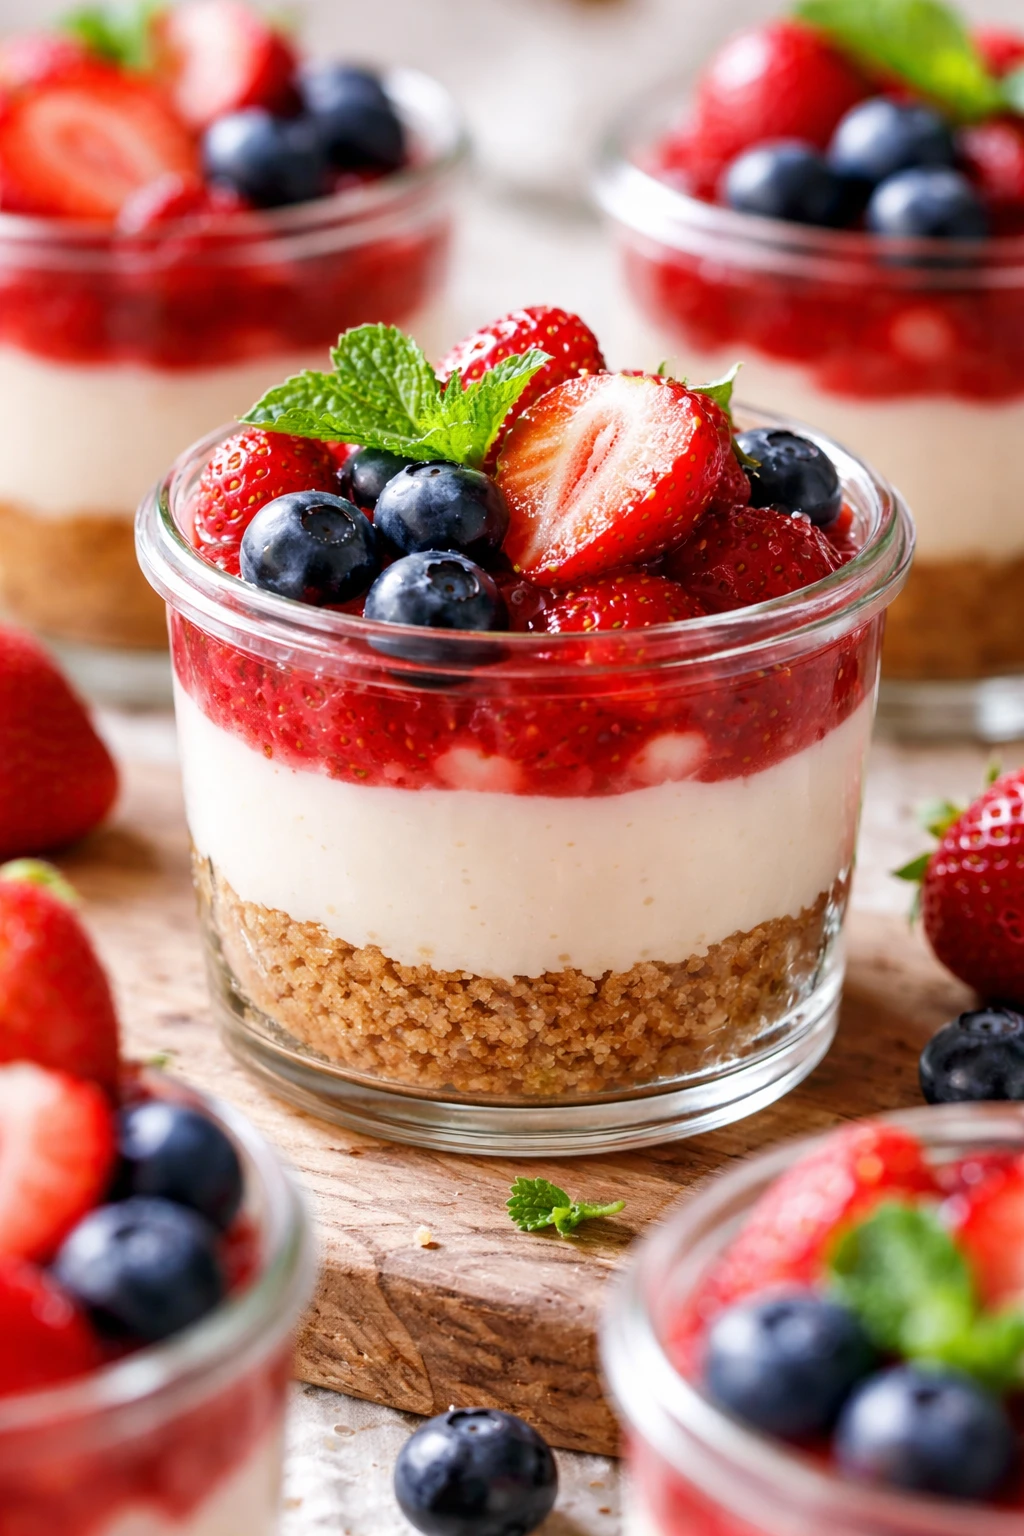
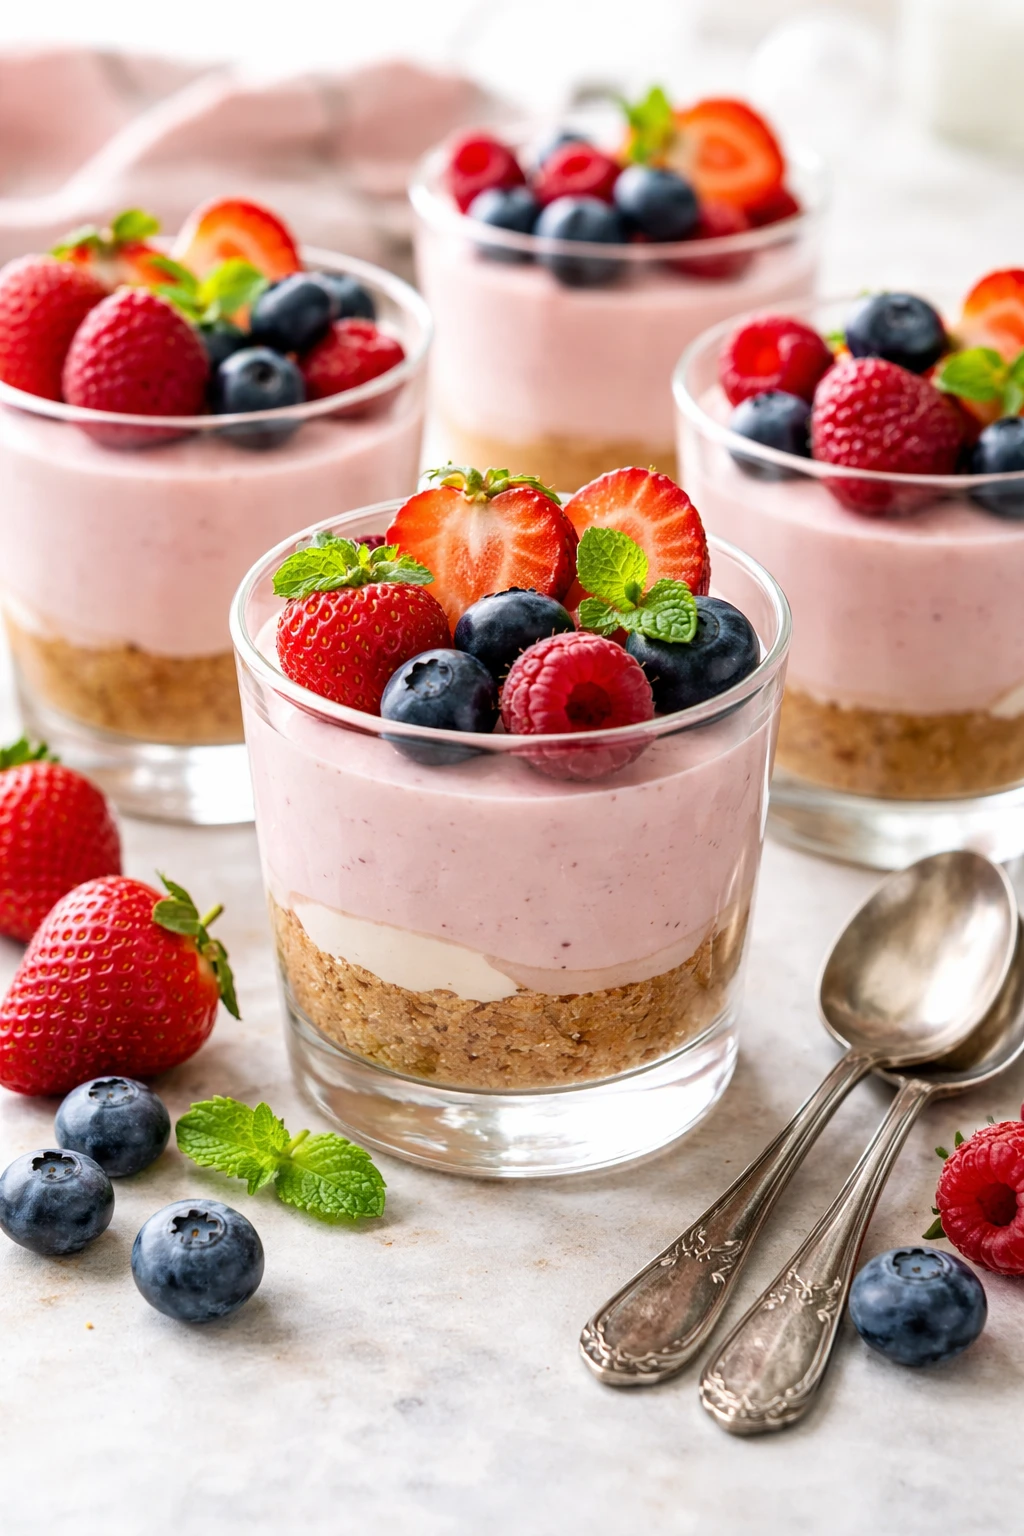
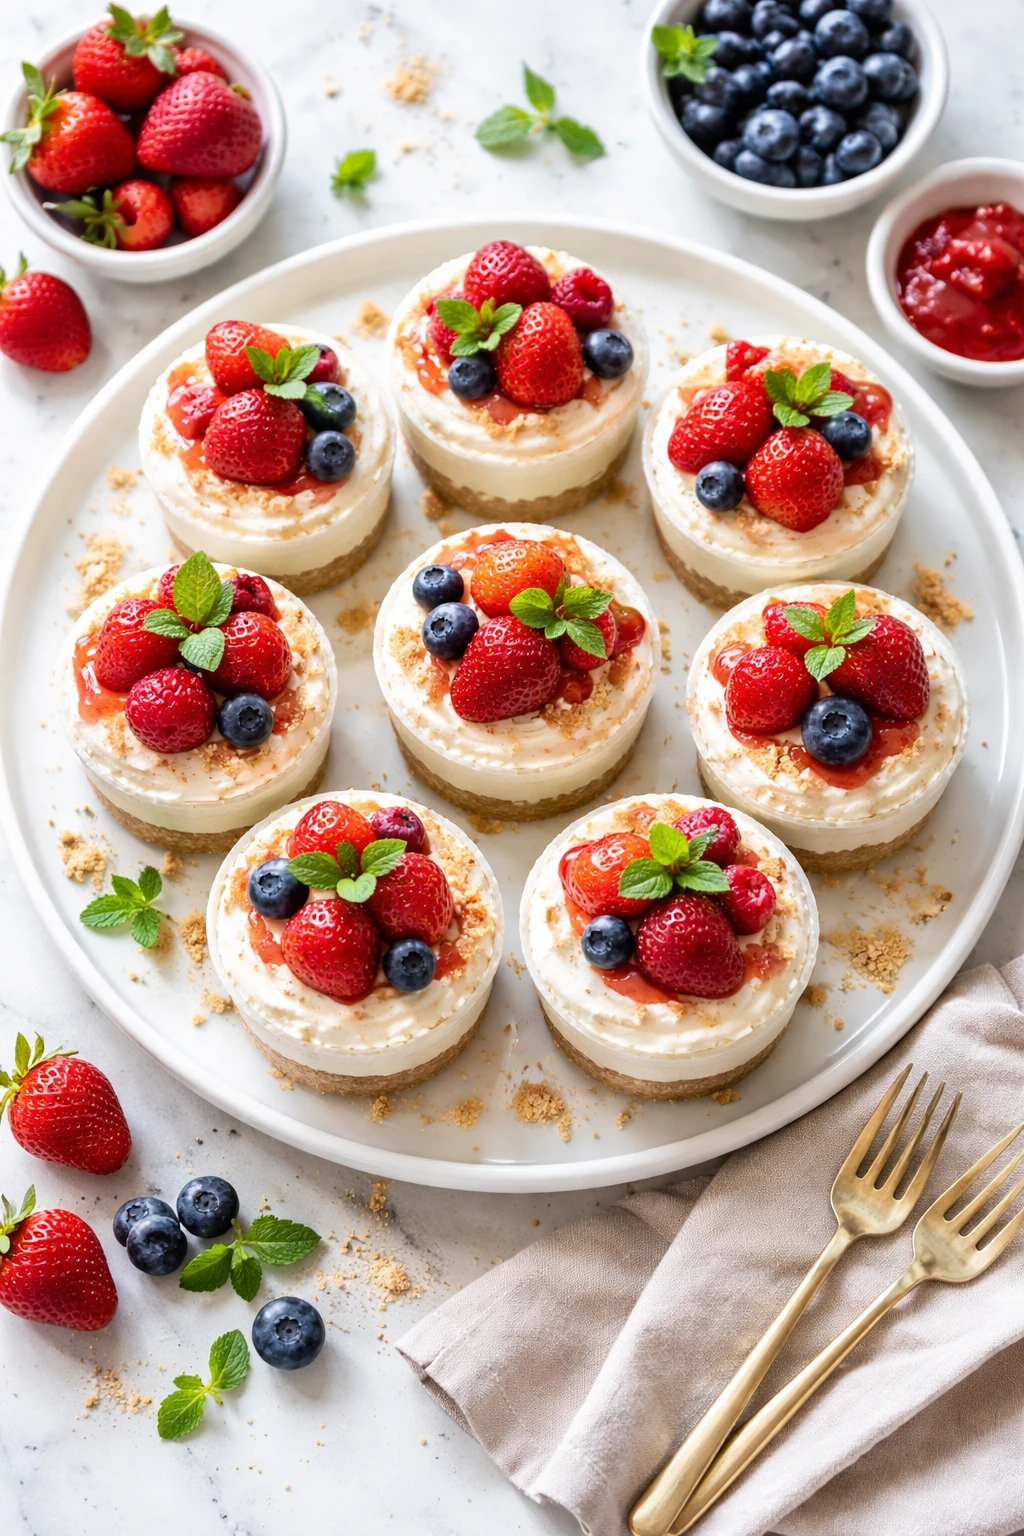
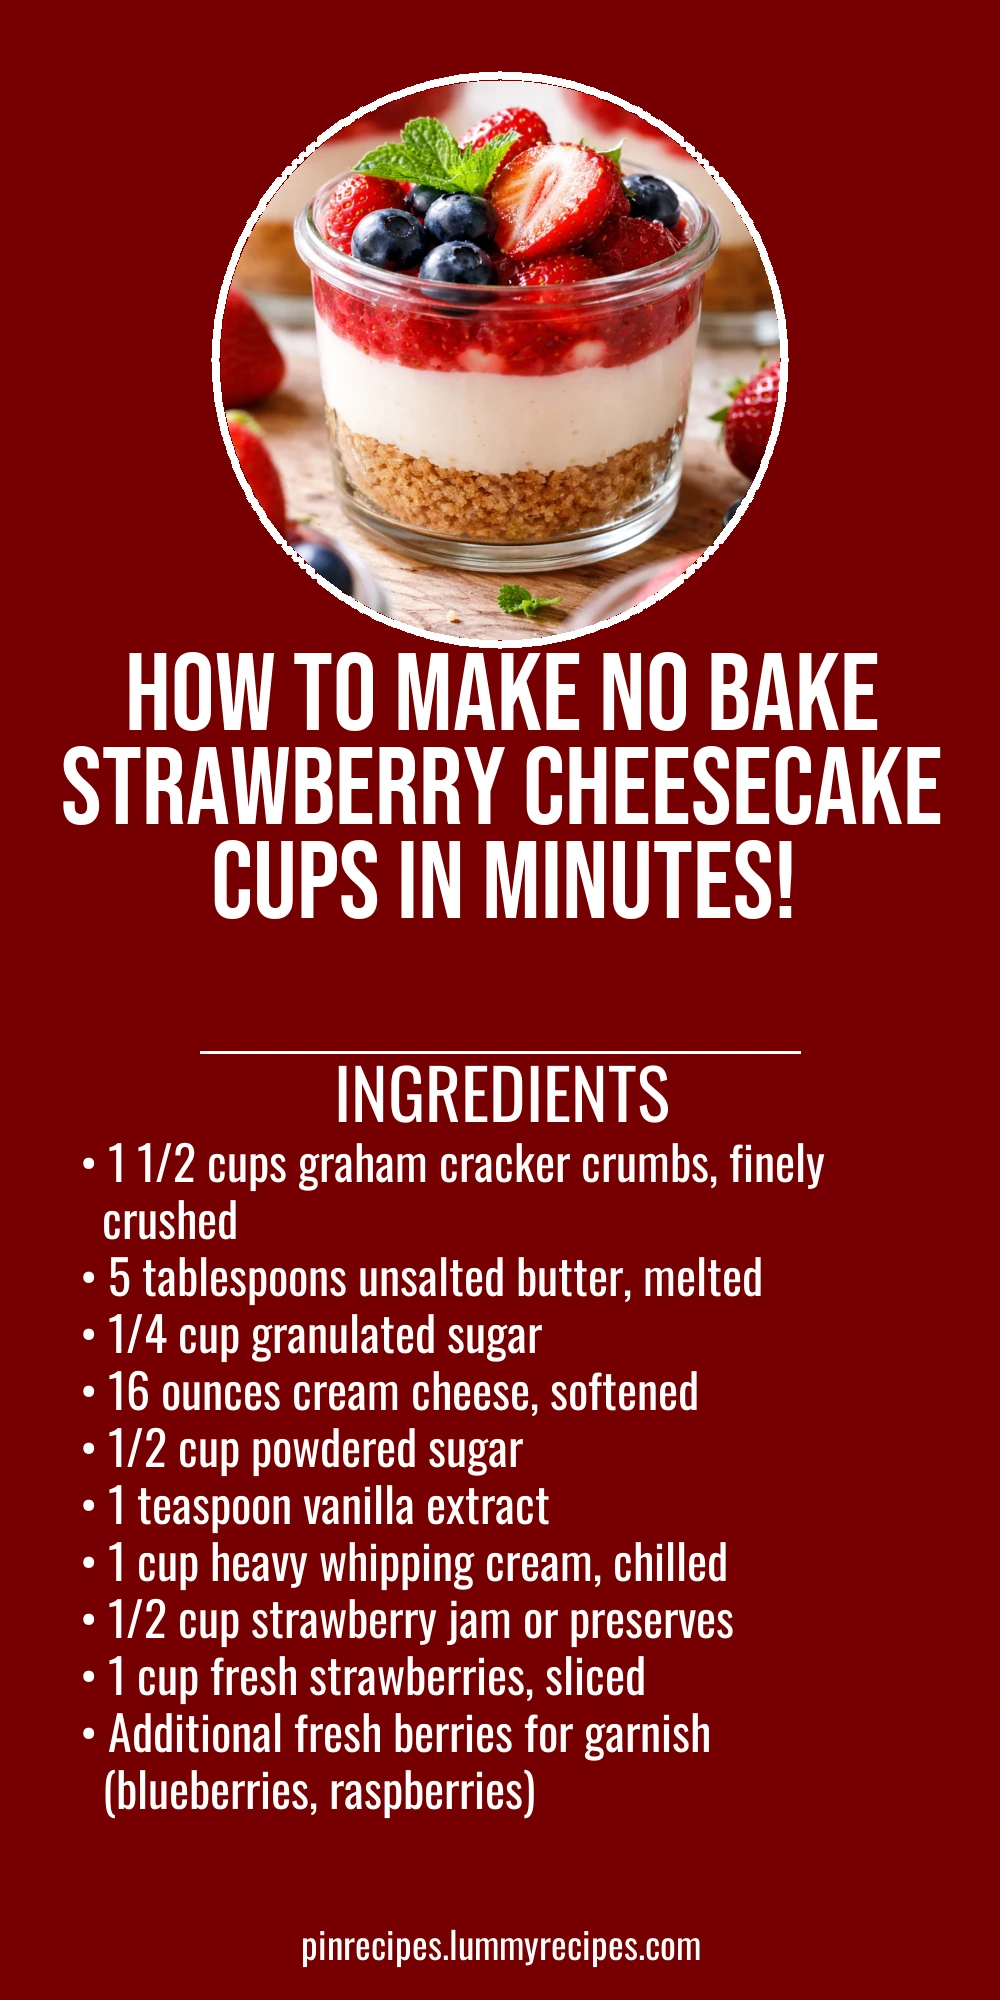
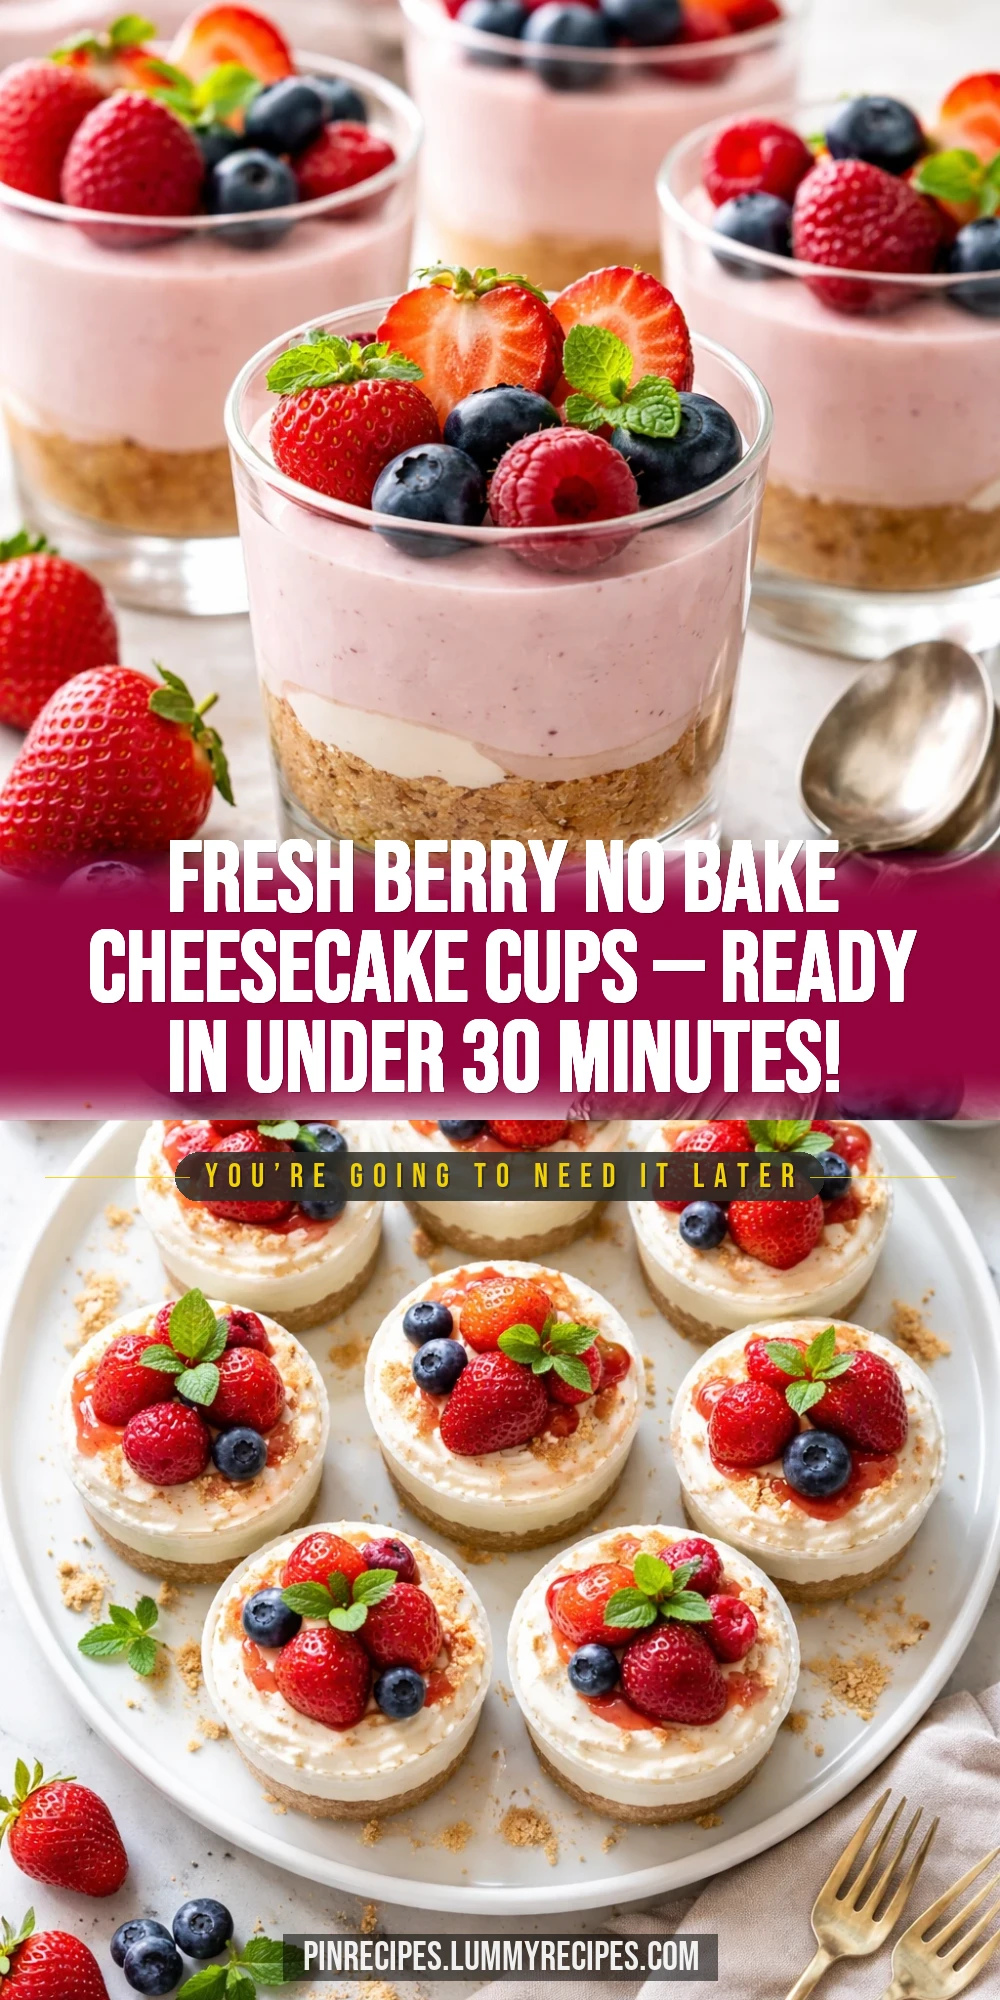
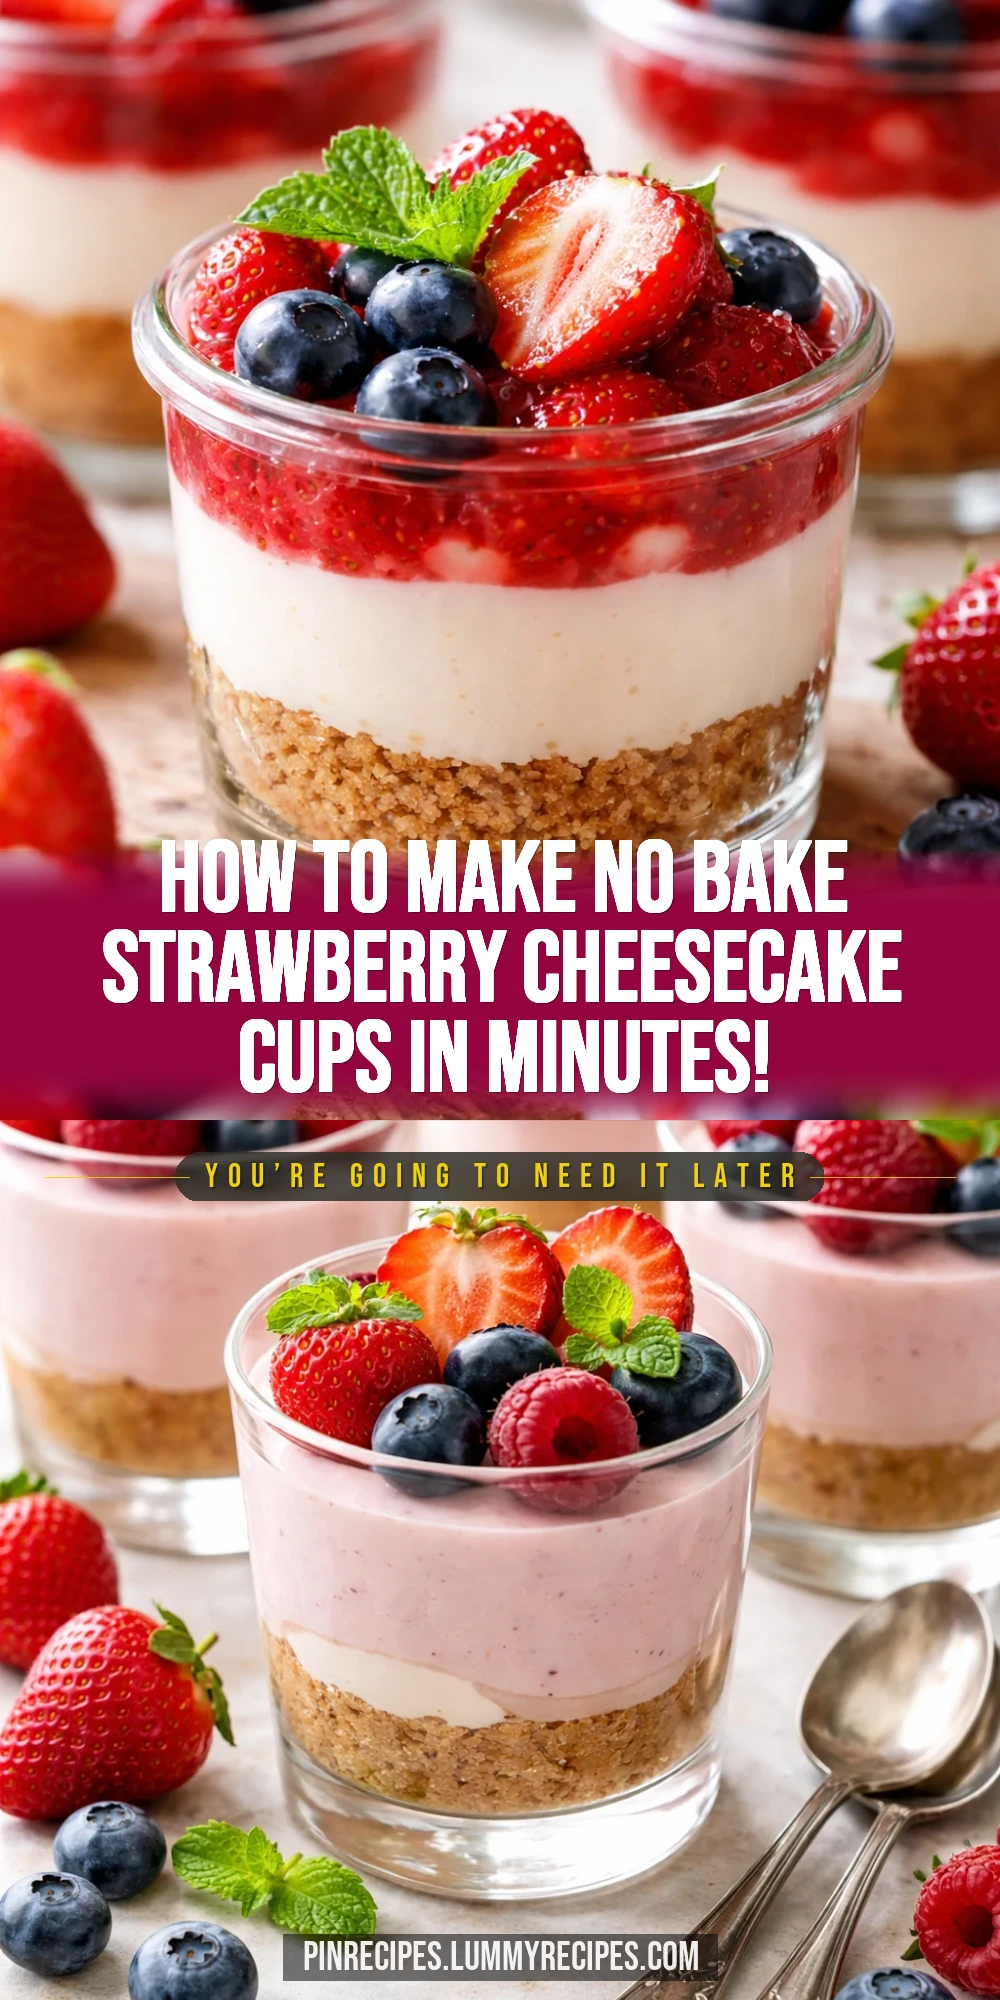
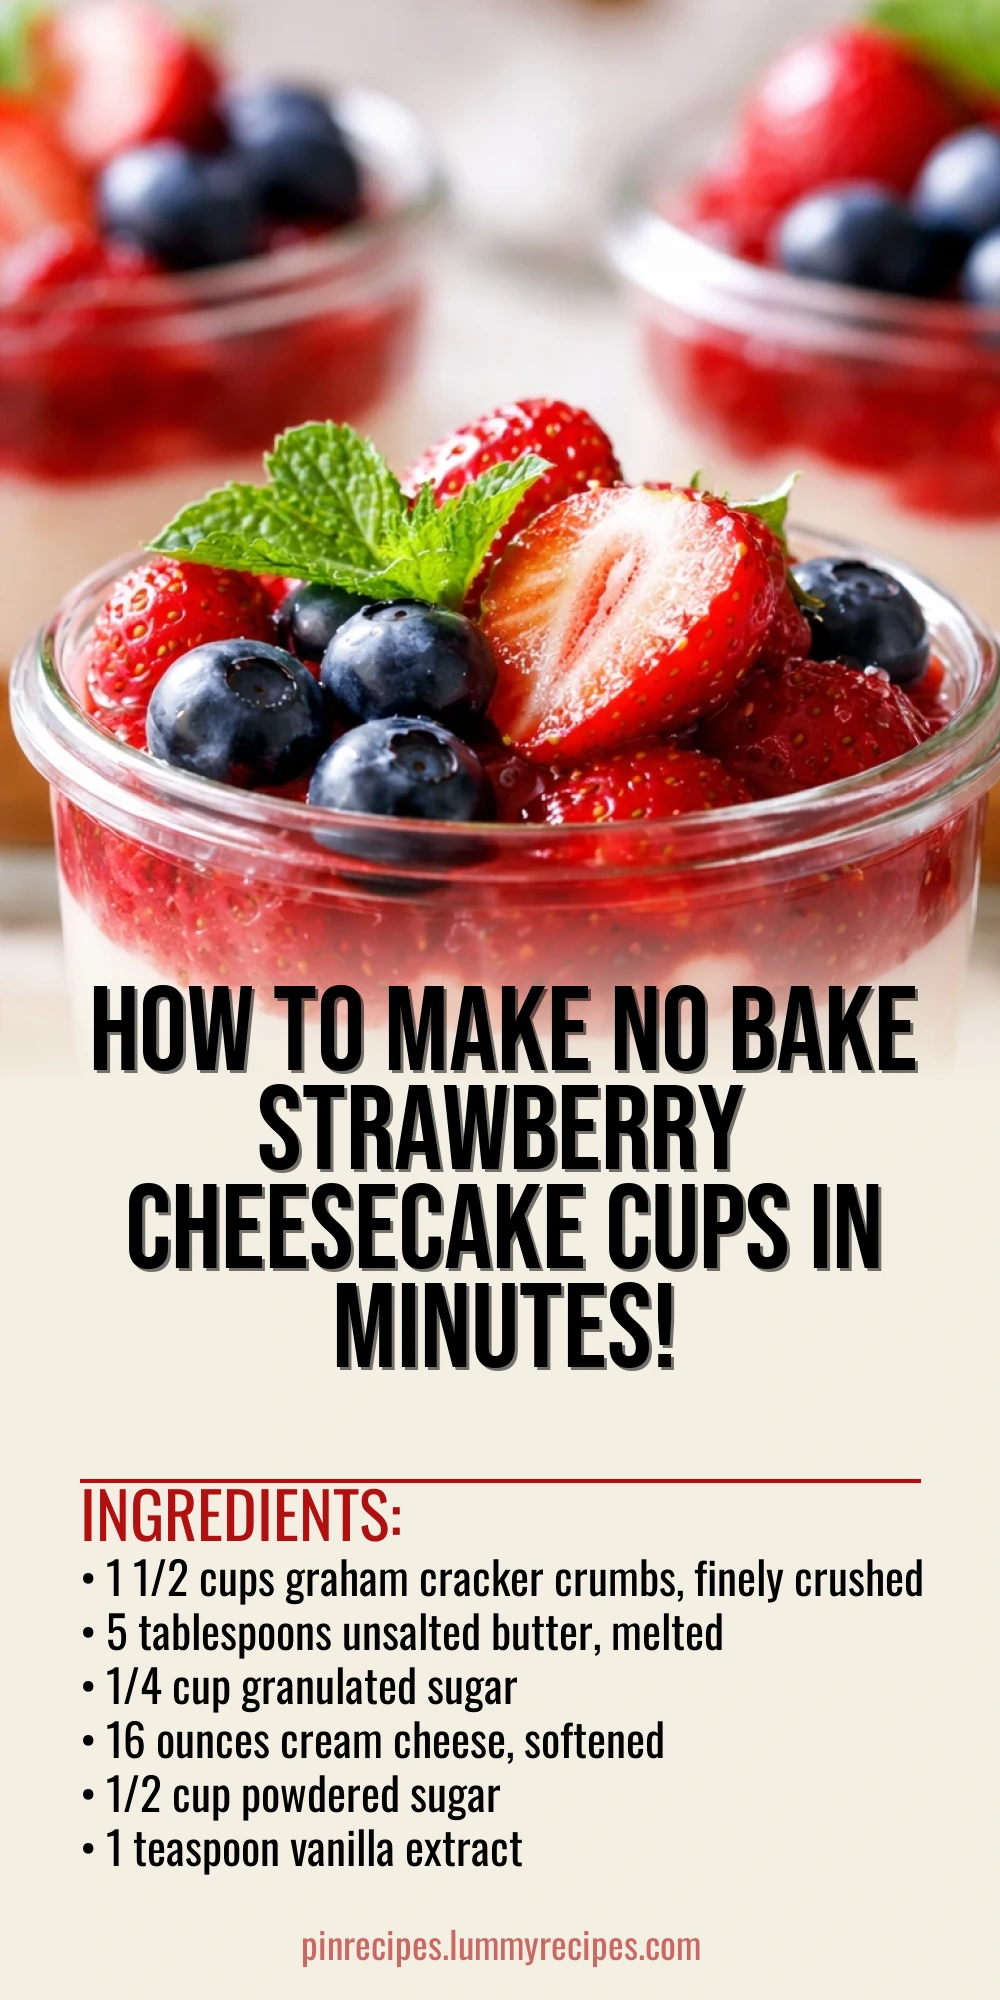
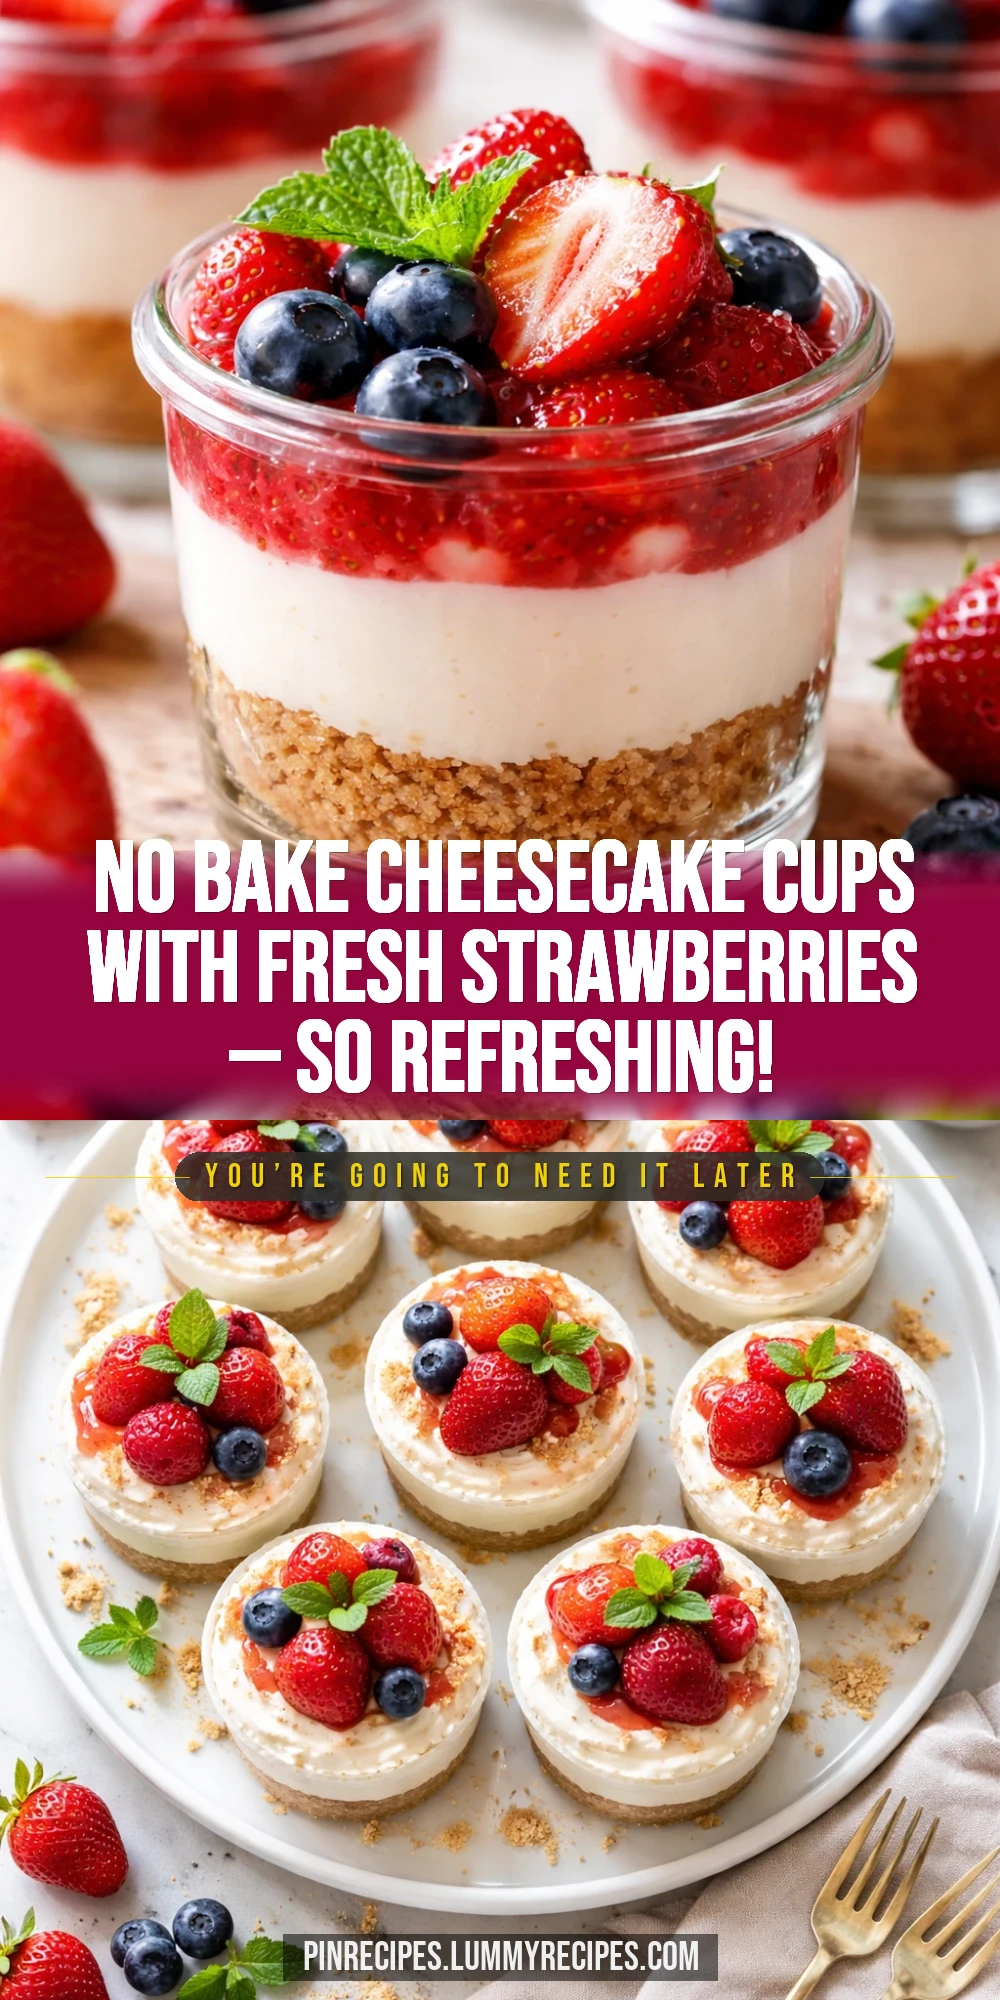
These no bake cheesecake cups are a fresh and light dessert featuring a creamy strawberry filling and a crunchy graham cracker base. I love how the fresh berries on top add a burst of natural sweetness. Perfect for warm days or casual get-togethers!
Introduction
I first made these no bake strawberry cheesecake cups on a warm spring afternoon when I wanted something sweet but didn’t want to heat up the kitchen. What I love about this recipe is how simple it is — no oven, no complicated steps, just fresh flavors and creamy texture. My family went crazy for the crunchy graham cracker base paired with the silky cream cheese filling swirled with strawberry jam. The fresh berries on top add that perfect pop of color and natural sweetness that feels like a little celebration in every bite. I’ve tried other no bake cheesecakes before but often found them either too dense or too sweet. The trick I learned here is folding whipped cream gently into the cream cheese mixture to keep it light and fluffy. Also, chilling the cups for at least a couple of hours helps everything set perfectly. The finished cups are smooth, creamy, and refreshingly fruity — great for casual summer dinners or just an afternoon treat. Honestly, once you try this, you’ll want to keep these in your dessert rotation all year round!
How To Do It
Step 1
Start by making the crust: mix the graham cracker crumbs, melted butter, and granulated sugar in a bowl until the mixture looks like wet sand. This step is important because the butter binds the crumbs together, giving you that perfect crunchy base. If you don’t mix thoroughly, the crust might fall apart when you try to eat it. Press this mixture firmly into the bottom of your serving cups or jars. Use the back of a spoon or your fingers to compact it well, so it holds together when you add the filling.
⏱ Time: 10 minutes
✓ Doneness: Crust feels firm and compact when pressed, no loose crumbs falling off
Step 2
In a large bowl, beat the softened cream cheese with powdered sugar and vanilla extract until smooth and creamy. This step ensures the filling is free of lumps and sweetened just right. If you rush or don’t soften the cream cheese enough, you’ll get clumps that ruin the texture. Take your time and scrape the bowl sides to get a silky base.
⏱ Time: 5 minutes
✓ Doneness: Mixture is smooth, creamy, and uniform in texture with no lumps
Step 3
In a separate chilled bowl, whip the heavy cream until stiff peaks form. This means when you lift the whisk, the cream holds its shape without falling. Whipping the cream properly is key to keeping the filling light and airy. Under-whipped cream will make the filling dense; over-whipped cream can turn buttery. Watch carefully and stop whipping at the right moment.
⏱ Time: 5-7 minutes
✓ Doneness: Cream holds stiff peaks, looks fluffy and stable
Step 4
Gently fold the whipped cream into the cream cheese mixture using a spatula. Folding, not stirring, is important here to keep the air in the whipped cream. If you stir aggressively, the mixture will deflate and become dense. Use slow, sweeping motions until just combined.
⏱ Time: 3 minutes
✓ Doneness: Filling is smooth, light, and airy with no streaks of cream or cream cheese
Step 5
Warm the strawberry jam slightly in the microwave for about 15 seconds to make it easier to swirl. Drop spoonfuls of jam into the filling and gently swirl with a toothpick or knife to create pretty ribbons of strawberry flavor. This adds a fresh fruity note and visual appeal. Avoid mixing too much or the jam will blend completely and lose the swirl effect.
⏱ Time: 2 minutes
✓ Doneness: Visible swirls of jam throughout the filling without full blending
Step 6
Spoon the filling over the graham cracker crust in each cup, filling nearly to the top. Smooth the surface gently with the back of a spoon. This layering keeps the crust intact and the filling nicely presented. Don’t overfill or the filling might spill when chilled.
⏱ Time: 5 minutes
✓ Doneness: Cups are filled evenly with a smooth top surface
Step 7
Top each cheesecake cup with sliced fresh strawberries and other berries as desired. Adding fresh fruit right before serving keeps them vibrant and juicy. If you add berries too early, they might release juice and make the filling watery.
⏱ Time: 3 minutes
✓ Doneness: Fresh berries look bright and juicy on top without sogginess
Step 8
Cover the cups with plastic wrap or lids and refrigerate for at least 2 hours, preferably overnight. Chilling allows the crust to firm up and the filling to set into that perfect creamy texture. If you skip chilling, the cheesecake cups will be too soft and may not hold their shape when served.
⏱ Time: 120 minutes
✓ Doneness: Filling is firm but still creamy, crust holds shape when touched
Step 9
Serve chilled straight from the fridge. For an extra touch, sprinkle a few crushed graham crackers or a mint leaf on top. Enjoy immediately for the best texture and flavor. Leftover cups can be stored covered in the fridge for up to 3 days.
⏱ Time: 0 minutes
✓ Doneness: Dessert is cold, creamy, and fresh with intact layers
Pro Tips
Always soften your cream cheese before mixing.
Softened cream cheese blends smoothly with sugar and vanilla, preventing lumps and ensuring a creamy filling. If it's too cold, you’ll end up with clumps that ruin the texture. Room temperature cream cheese mixes evenly and creates a silky base.
Chill your whipping bowl and beaters before whipping cream.
Cold equipment helps the cream whip faster and hold stiff peaks. Warm cream or tools slow down aeration, resulting in a loose, runny texture that won’t give the filling its light, airy structure.
Fold whipped cream gently into the cream cheese mixture.
Folding preserves the air bubbles in whipped cream, keeping the filling light and fluffy. Stirring vigorously deflates the mixture, making it dense and heavy, which defeats the purpose of a no bake cheesecake.
Press the crust firmly into the cups.
Firm pressure compacts the crumbs and butter, creating a solid base that won’t crumble when you eat. Loose crust can fall apart and make serving messy, so take your time pressing it evenly.
Warm the strawberry jam slightly before swirling.
Warming the jam makes it easier to swirl without fully mixing into the filling, creating a pretty marbled effect and bursts of fruity flavor. Cold jam is too thick and hard to distribute evenly.
Add fresh berries just before serving.
Adding berries too early causes them to release juice, which can make the filling watery and soggy. Fresh berries on top stay vibrant, juicy, and maintain the perfect texture contrast.
Chill the assembled cups for at least 2 hours.
Chilling allows the butter in the crust to solidify and the filling to set, giving the cheesecake cups structure and the perfect creamy texture. Skipping this step results in a runny, unstable dessert.
Common Mistakes to Avoid
Using cold cream cheese straight from the fridge
Why it happens Many assume cream cheese can be mixed immediately, but cold cream cheese is dense and lumpy, making it hard to blend smoothly.
Fix Always let cream cheese sit out for at least 30 minutes to soften, or cut into cubes and microwave briefly in short bursts. This ensures a smooth, lump-free filling.
Over-whipping the cream
Why it happens It’s easy to keep whipping past stiff peaks, turning the cream grainy and buttery.
Fix Stop whipping as soon as stiff peaks form—when the cream holds its shape but is still smooth. This keeps the filling light and airy.
Not pressing the crust firmly
Why it happens Rushing or lightly pressing the crumbs leaves a loose crust that falls apart when served.
Fix Use firm, even pressure with a spoon or your fingers to compact the crust tightly. This creates a sturdy base that holds up well.
Mixing the jam too much into the filling
Why it happens Stirring aggressively blends the jam completely, losing the pretty swirl and distinct flavor pockets.
Fix Gently drop spoonfuls of warmed jam and swirl lightly with a toothpick or knife. Avoid over-mixing to keep the marbled effect.
Adding berries too early
Why it happens Berries release juice over time, making the filling watery and soggy.
Fix Top the cups with fresh berries right before serving to keep them fresh and prevent excess moisture.
Variations
Lemon Blueberry No Bake Cheesecake Cups
Swap strawberry jam for lemon curd and top with fresh blueberries instead of strawberries. This gives a bright, tangy twist with a burst of blueberry sweetness. The tart lemon flavor pairs beautifully with the creamy filling.
Note: Lemon curd is thicker than jam, so warm it gently before swirling to avoid clumping. Blueberries hold up well as a topping without releasing too much juice.
Chocolate No Bake Cheesecake Cups
Add 1/4 cup cocoa powder to the cream cheese mixture and use chocolate cookie crumbs for the crust. Garnish with chocolate shavings or mini chocolate chips for a rich, indulgent dessert.
Note: Mix cocoa powder thoroughly to avoid lumps. Use a sturdy chocolate crust to balance the creamy filling.
Tropical Mango No Bake Cheesecake Cups
Replace strawberry jam with mango puree and top with diced fresh mango and toasted coconut flakes. This variation is bright, fruity, and perfect for summer vibes.
Note: Mango puree may be thinner than jam; consider reducing it slightly or mixing with a bit of gelatin to help swirl and set.
Vegan No Bake Strawberry Cheesecake Cups
Use vegan cream cheese and coconut cream whipped until fluffy. Substitute butter with coconut oil for the crust and use vegan graham crackers. The flavor is just as delicious and creamy!
Note: Chill coconut cream overnight to separate and whip properly. Coconut oil should be solid but soft enough to mix well with crumbs.
Peach and Raspberry No Bake Cheesecake Cups
Swap strawberries for fresh peach slices and raspberries. Use peach preserves for the swirl. This combo offers a sweet, slightly tart flavor that’s refreshing and colorful.
Note: Peach preserves tend to be thinner, so warm gently before swirling. Handle raspberries carefully as they’re delicate and can release juice quickly.
Nutrition
Per Serving:
Nutritional values are estimates and may vary based on specific ingredients used.
Storage & Tips
Room Temperature
These cheesecake cups should not be left out at room temperature for more than 2 hours, especially in warm weather. Keep them covered with plastic wrap or lids to prevent drying out or contamination.
Refrigerator
Store in an airtight container or covered cups in the fridge for up to 3 days. The texture remains creamy, but fresh berries on top are best added just before serving to avoid sogginess.
Freezer
You can freeze the cheesecake cups for up to 2 months. Wrap each cup tightly with plastic wrap and place in a freezer-safe container. Thaw overnight in the refrigerator before serving. Note the crust may soften slightly after freezing.
Reheating
No reheating is needed or recommended for this dessert. Serve chilled straight from the fridge for the best texture and flavor.
Make Ahead
Prepare the crust and filling up to 2 days ahead, assemble the cups, and refrigerate covered. Add fresh berries just before serving to keep them vibrant and fresh.
FAQ
Can I use low-fat cream cheese for this recipe?
Low-fat cream cheese is not recommended because it lacks the fat content needed for a creamy, stable filling. Using it may result in a runnier texture and less rich flavor. For best results, stick to full-fat cream cheese.
How long do these cheesecake cups need to chill?
They need at least 2 hours to set properly, but chilling overnight is ideal. This gives the crust time to firm up and the filling to become perfectly creamy and sliceable.
Can I make these gluten-free?
Yes! Use gluten-free graham cracker crumbs or substitute with gluten-free cookies for the crust. The rest of the recipe remains the same, making it safe for gluten-sensitive diets.
What if I don’t have strawberry jam?
You can substitute with any fruit jam or preserves you like, such as raspberry, blueberry, or apricot. Just warm it slightly before swirling for the best effect.
Can I double the recipe?
Absolutely! Just double all ingredients and use larger serving containers or more cups. Keep the chilling time the same, but ensure the filling is evenly distributed.
How do I prevent the crust from getting soggy?
Press the crust firmly and chill the assembled cups well. Avoid adding wet ingredients directly on the crust before chilling. The butter in the crust also helps create a moisture barrier.
Can I use frozen berries as a topping?
Frozen berries tend to release extra juice as they thaw, which can make the filling watery. It’s best to use fresh berries or thaw and drain frozen berries thoroughly before topping.
Is it possible to make this recipe vegan?
Yes, by using vegan cream cheese and coconut cream whipped as a substitute for heavy cream, along with vegan butter or coconut oil for the crust. The texture and flavor will be slightly different but still delicious.
Final Thoughts
Give these no bake strawberry cheesecake cups a try — they’re a fresh, easy dessert that always impresses! I’d love to hear how yours turn out, so don’t forget to share your photos and thoughts.