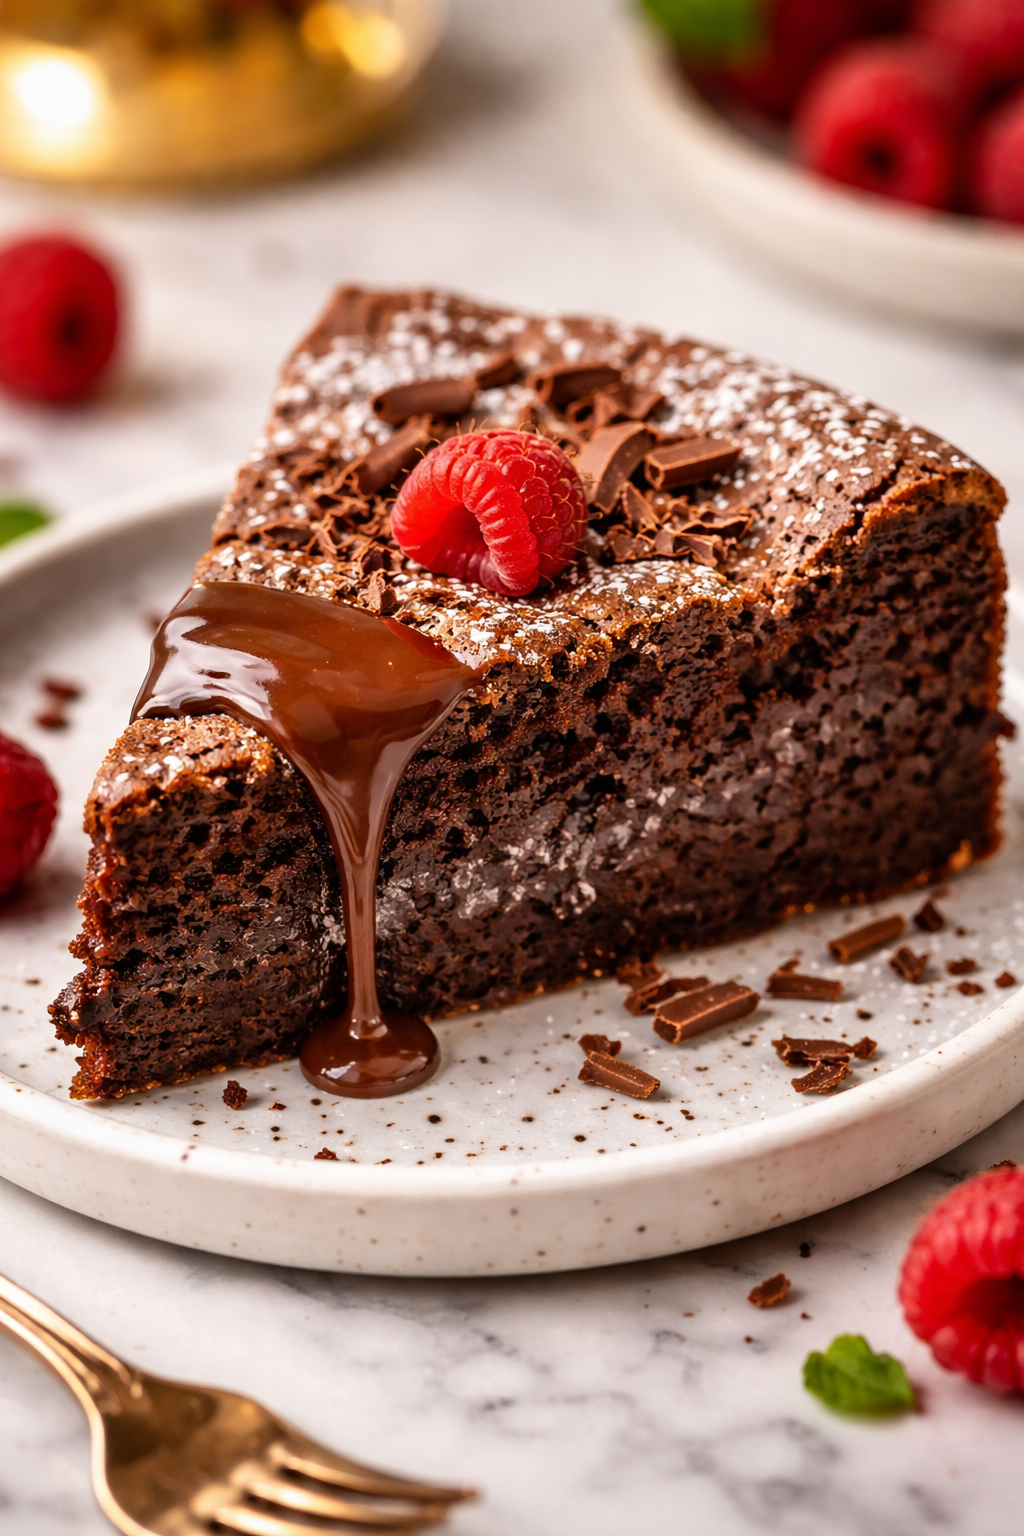
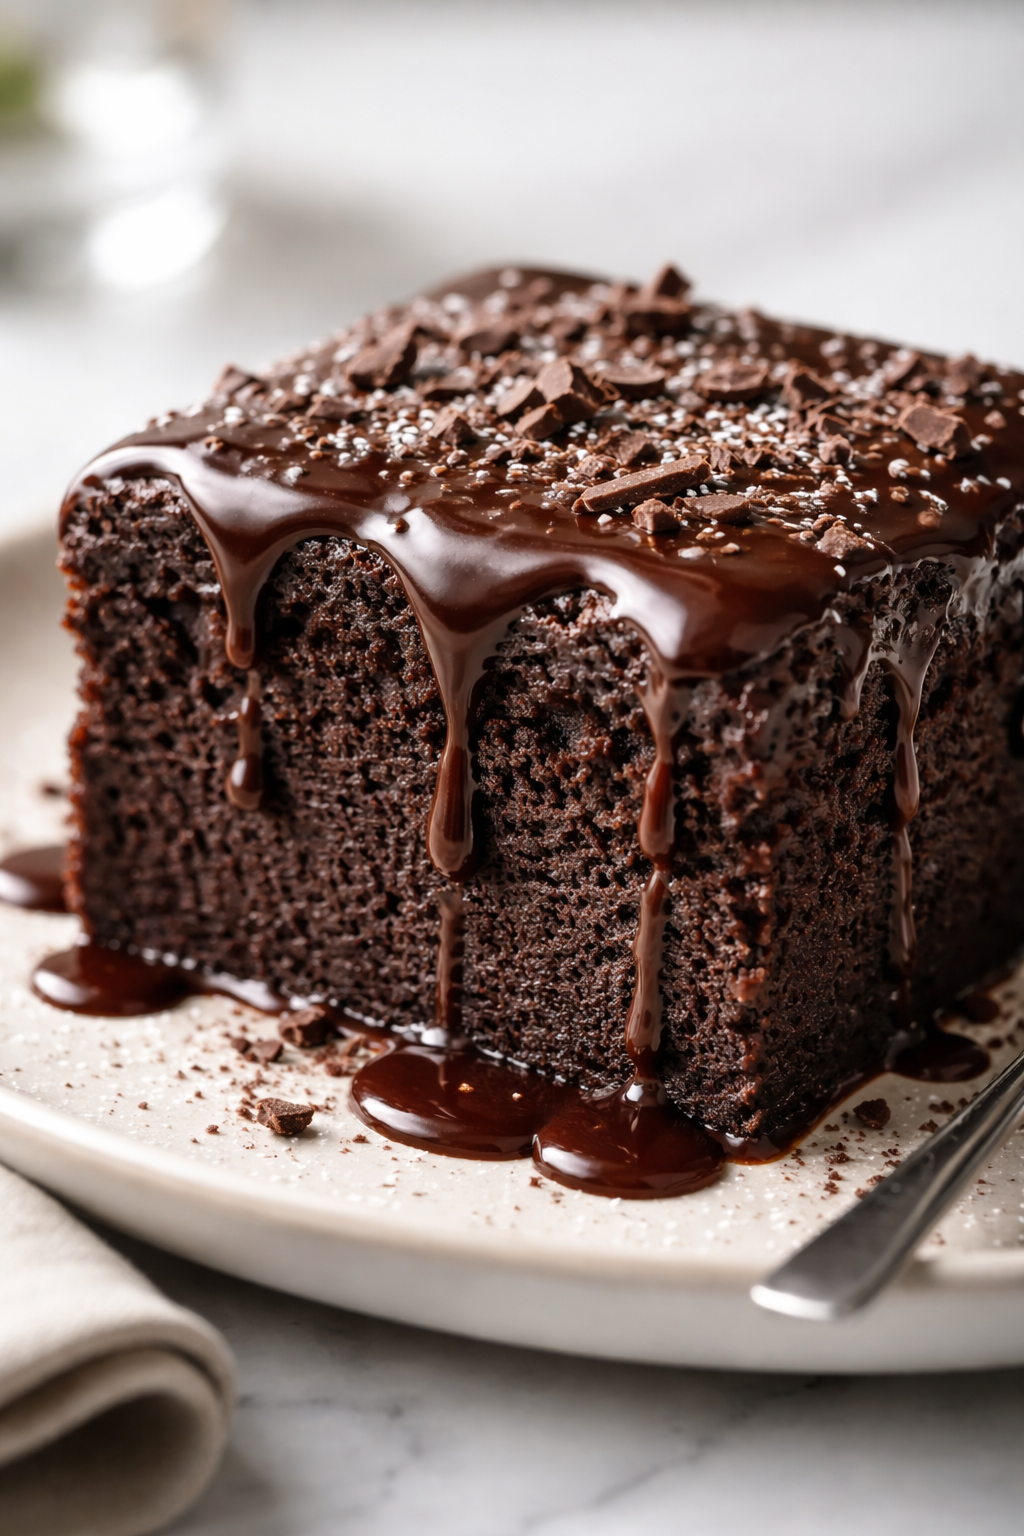
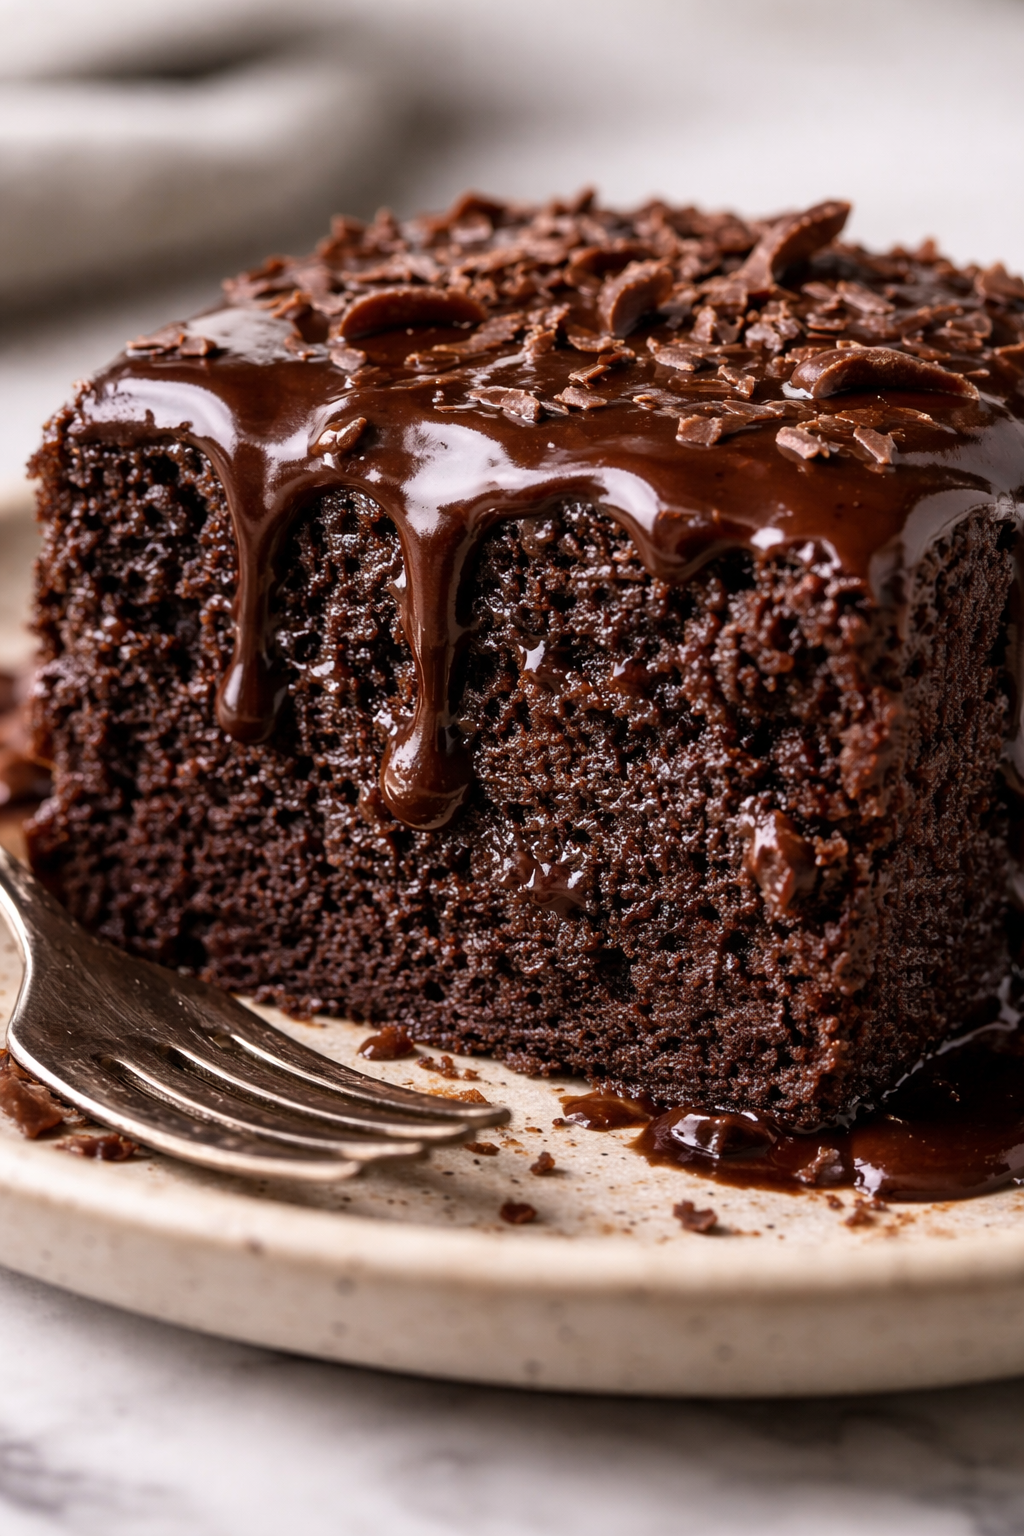
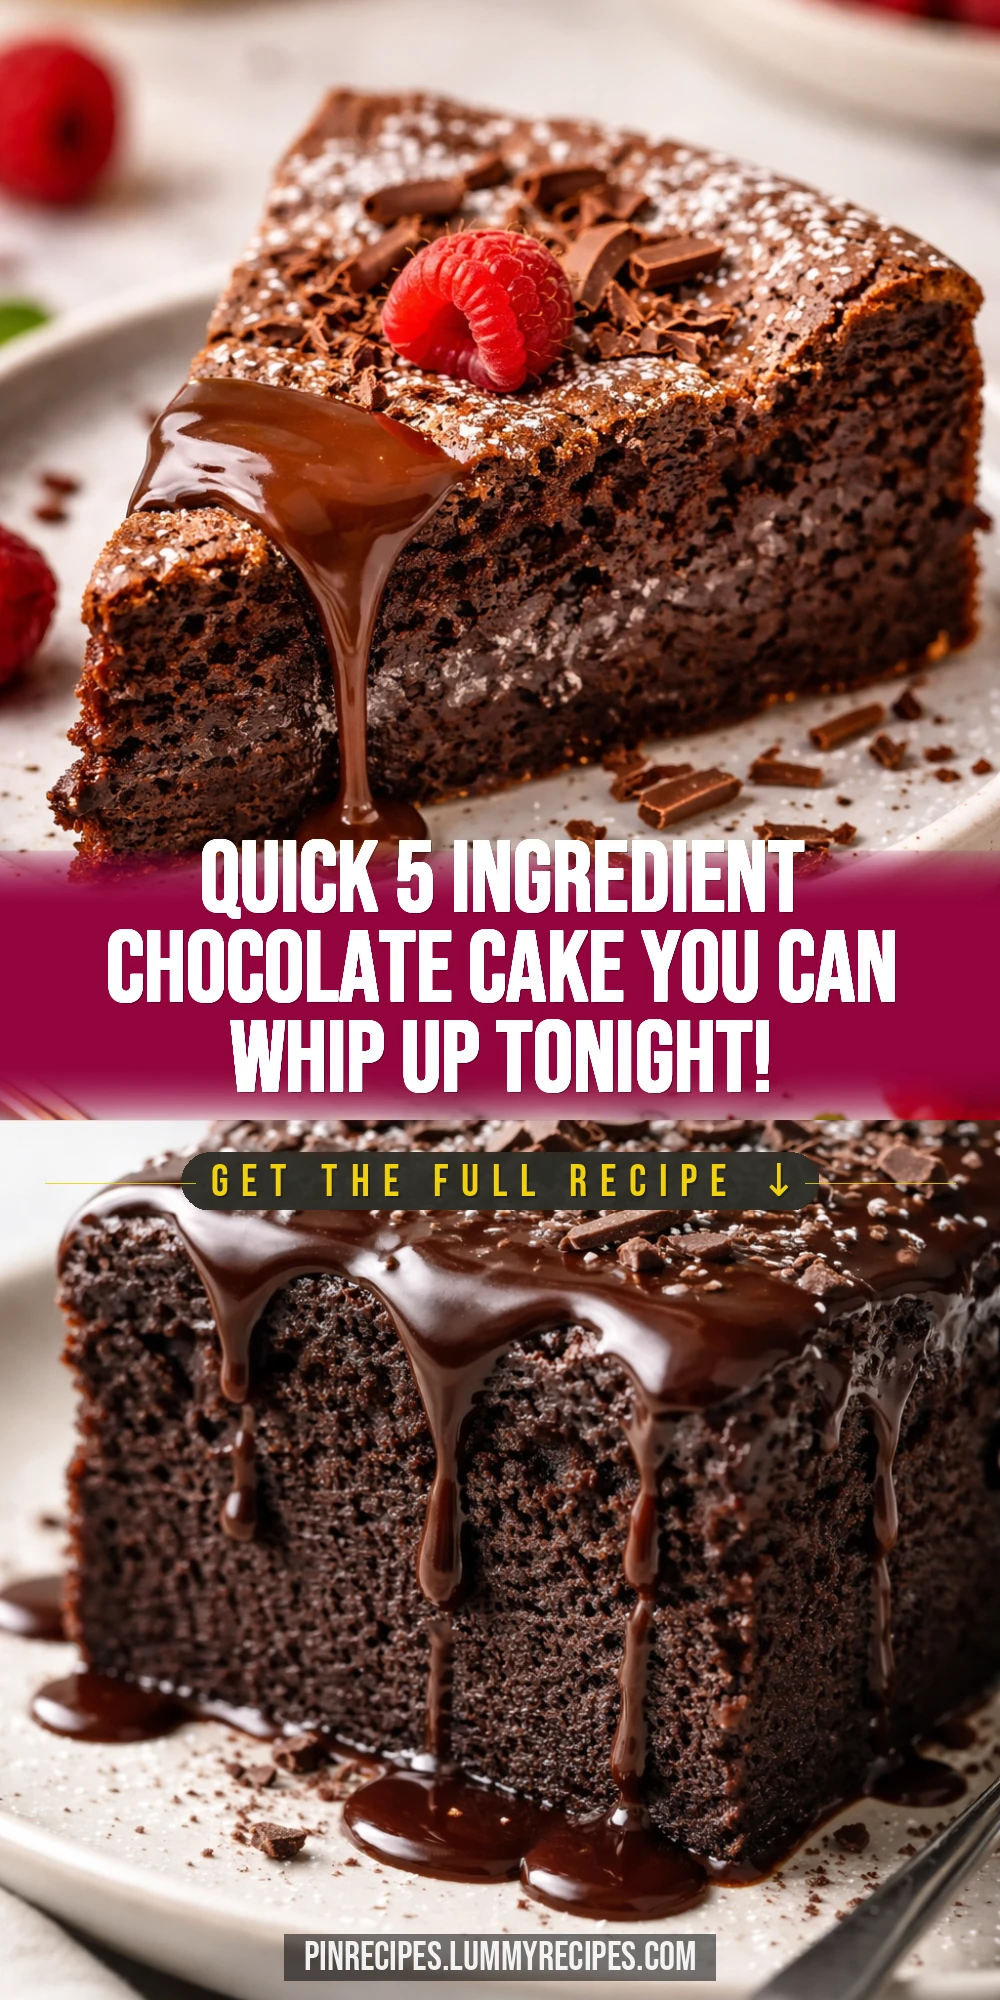
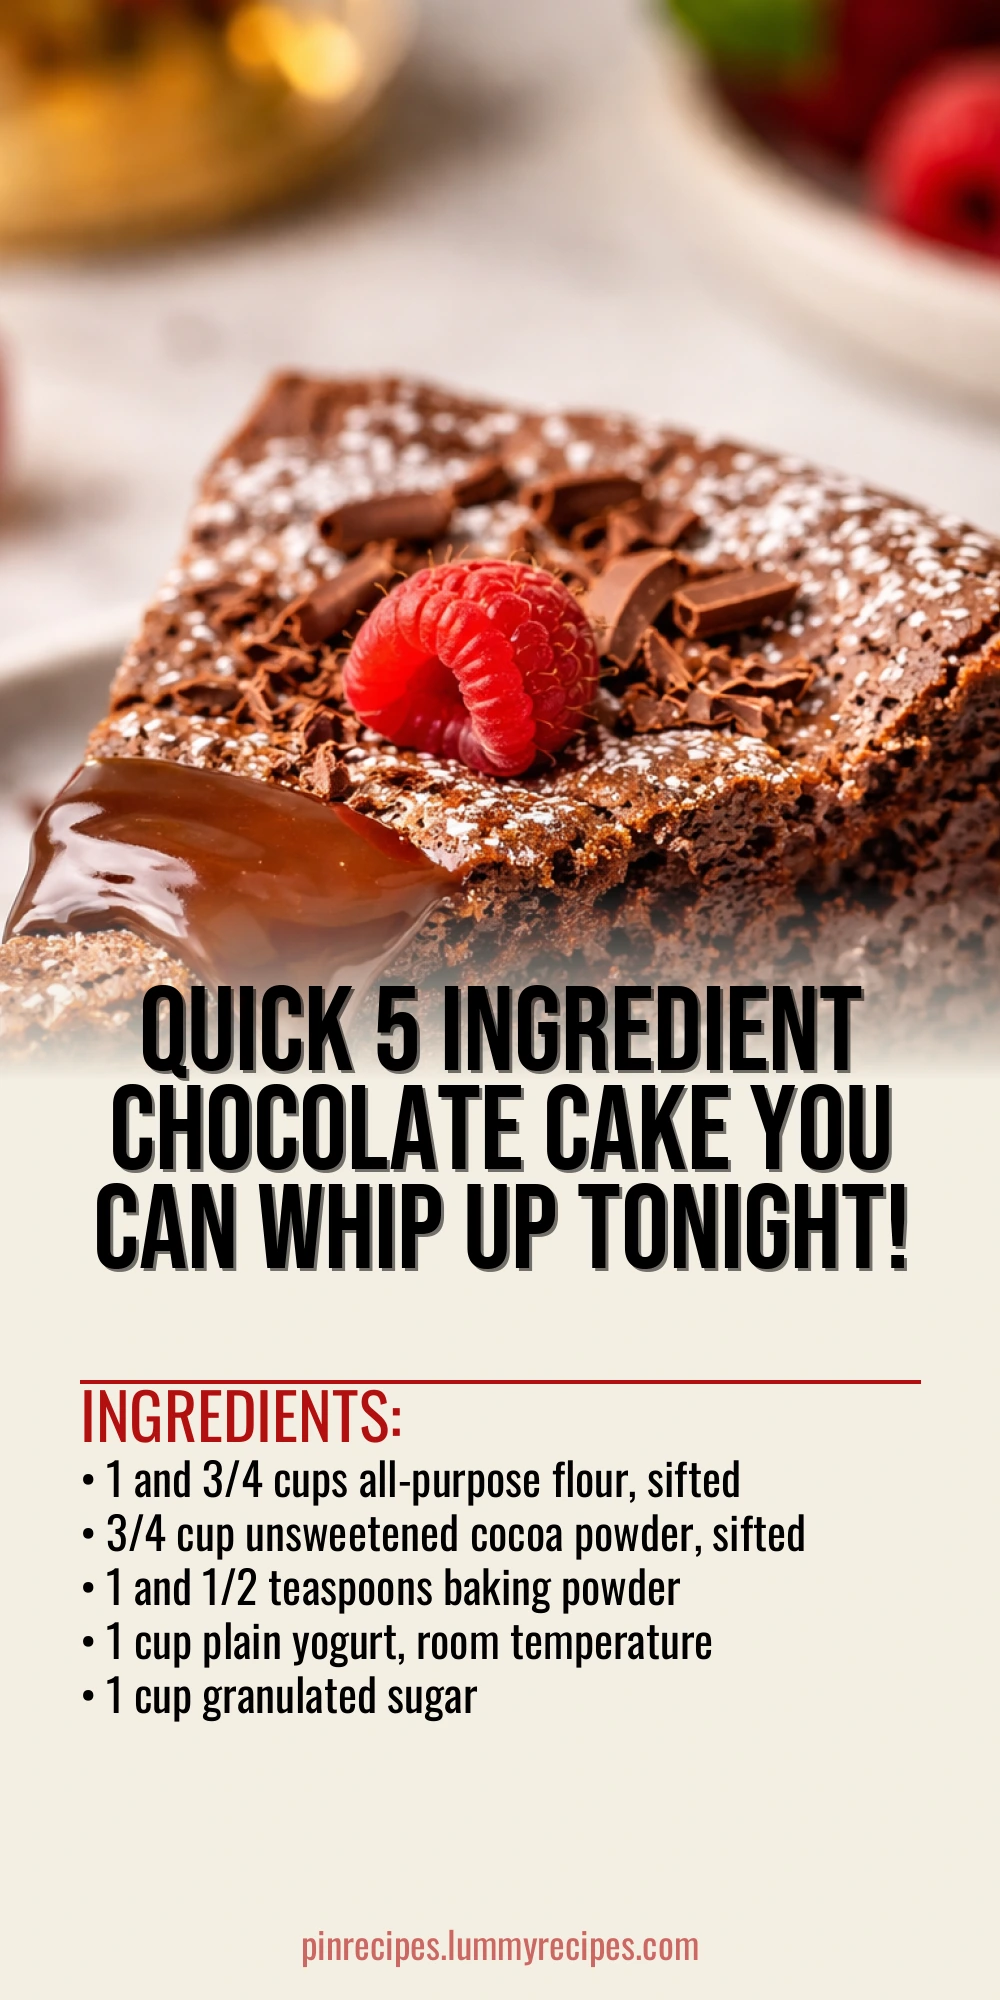
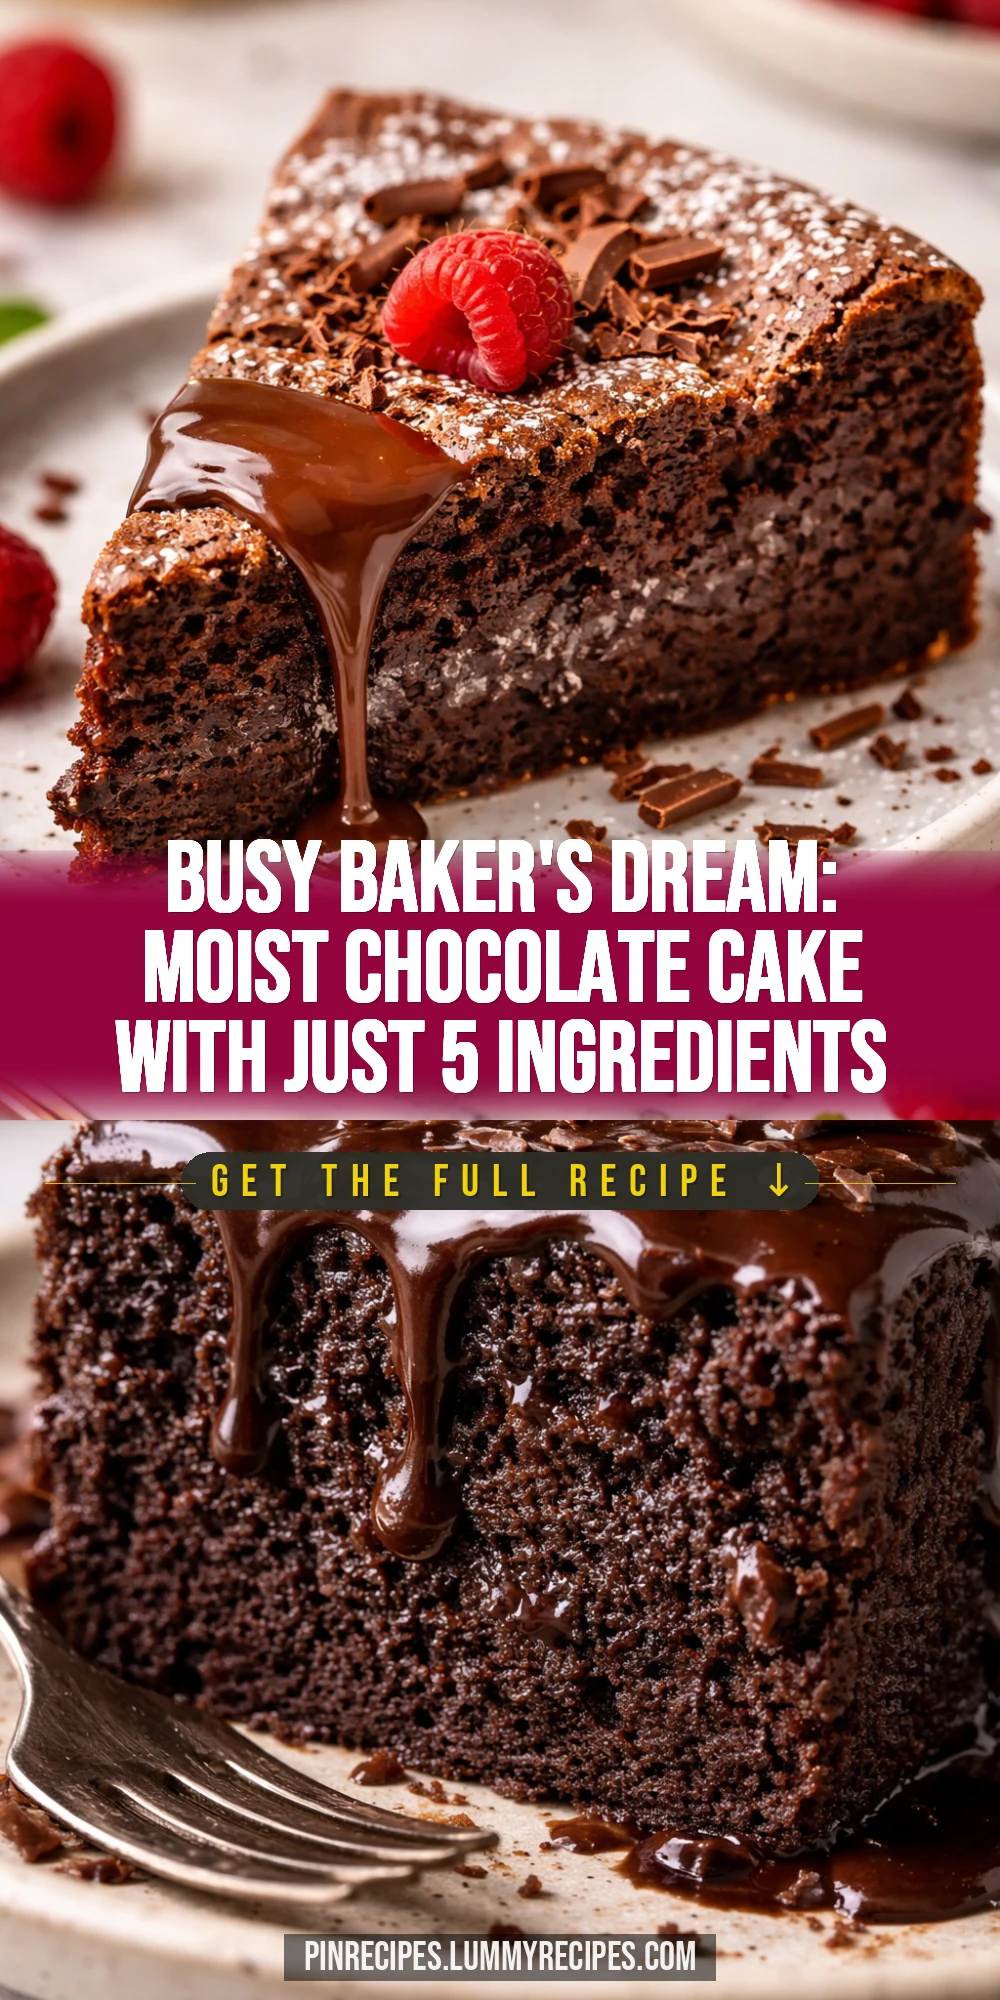
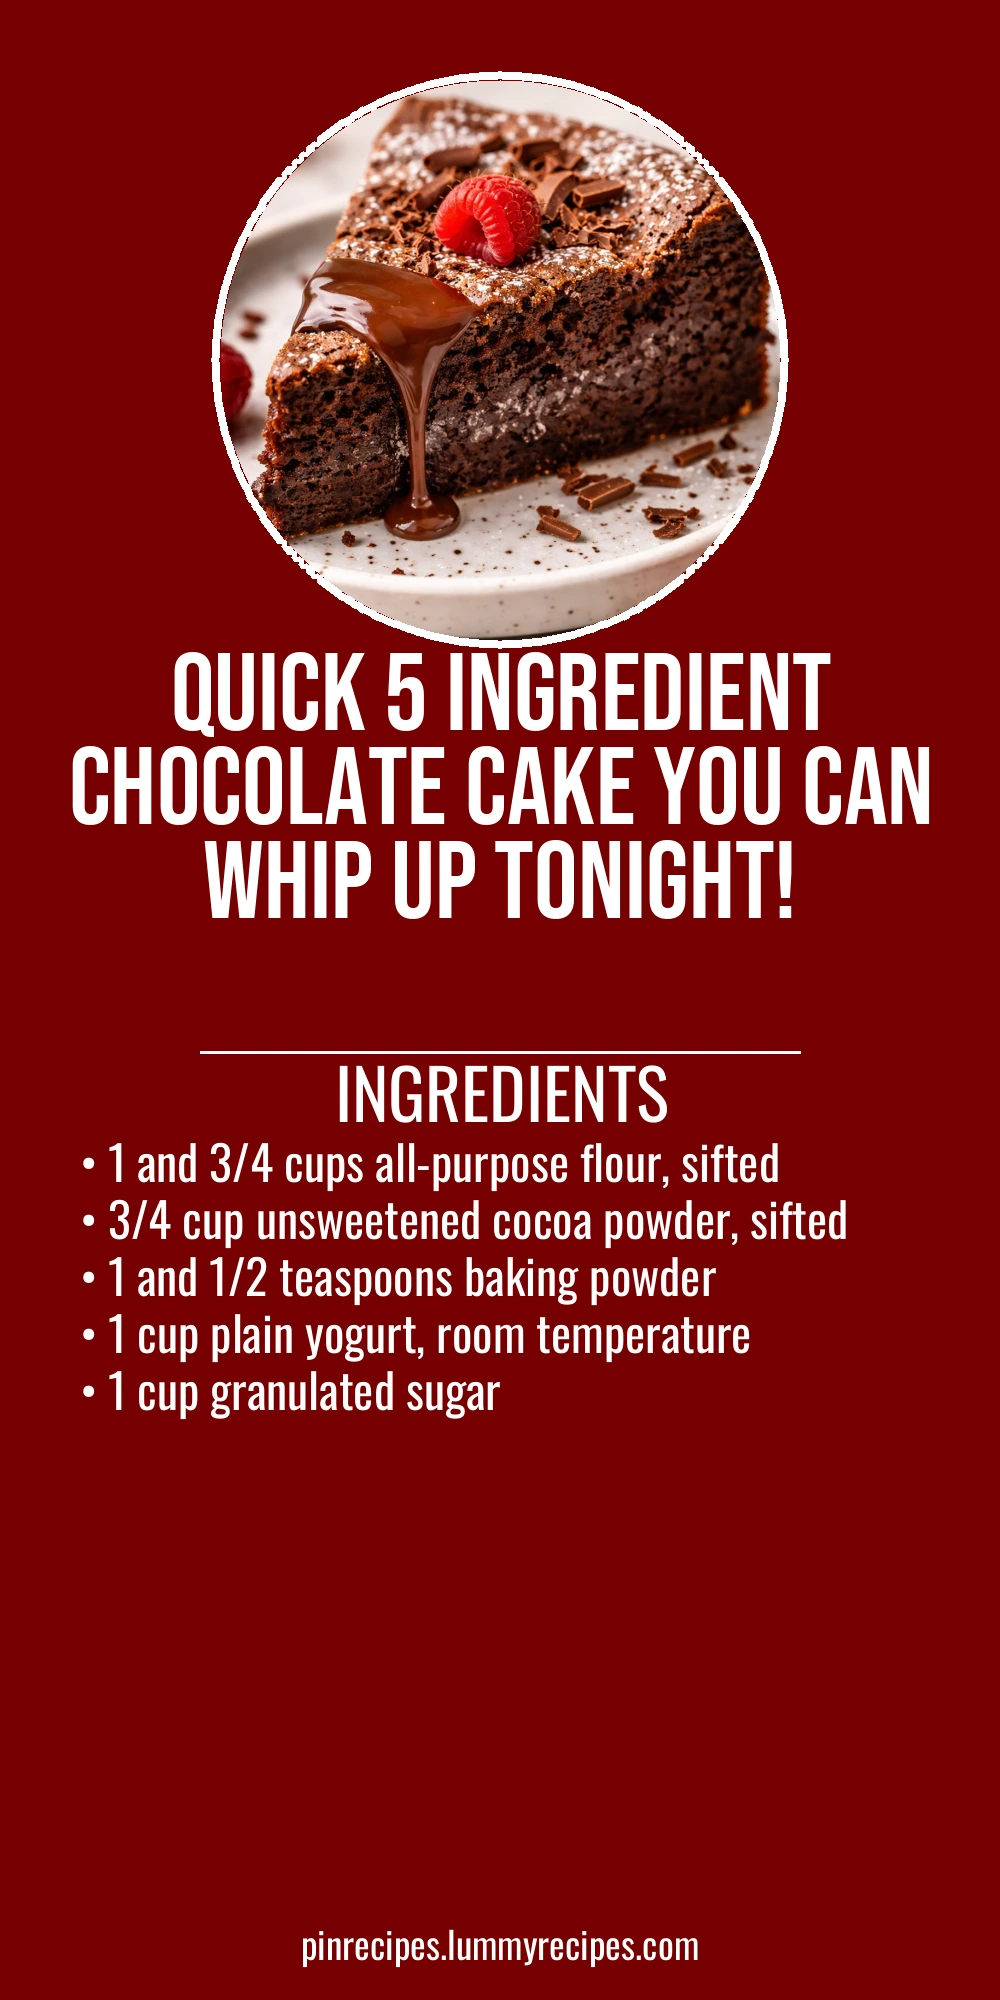
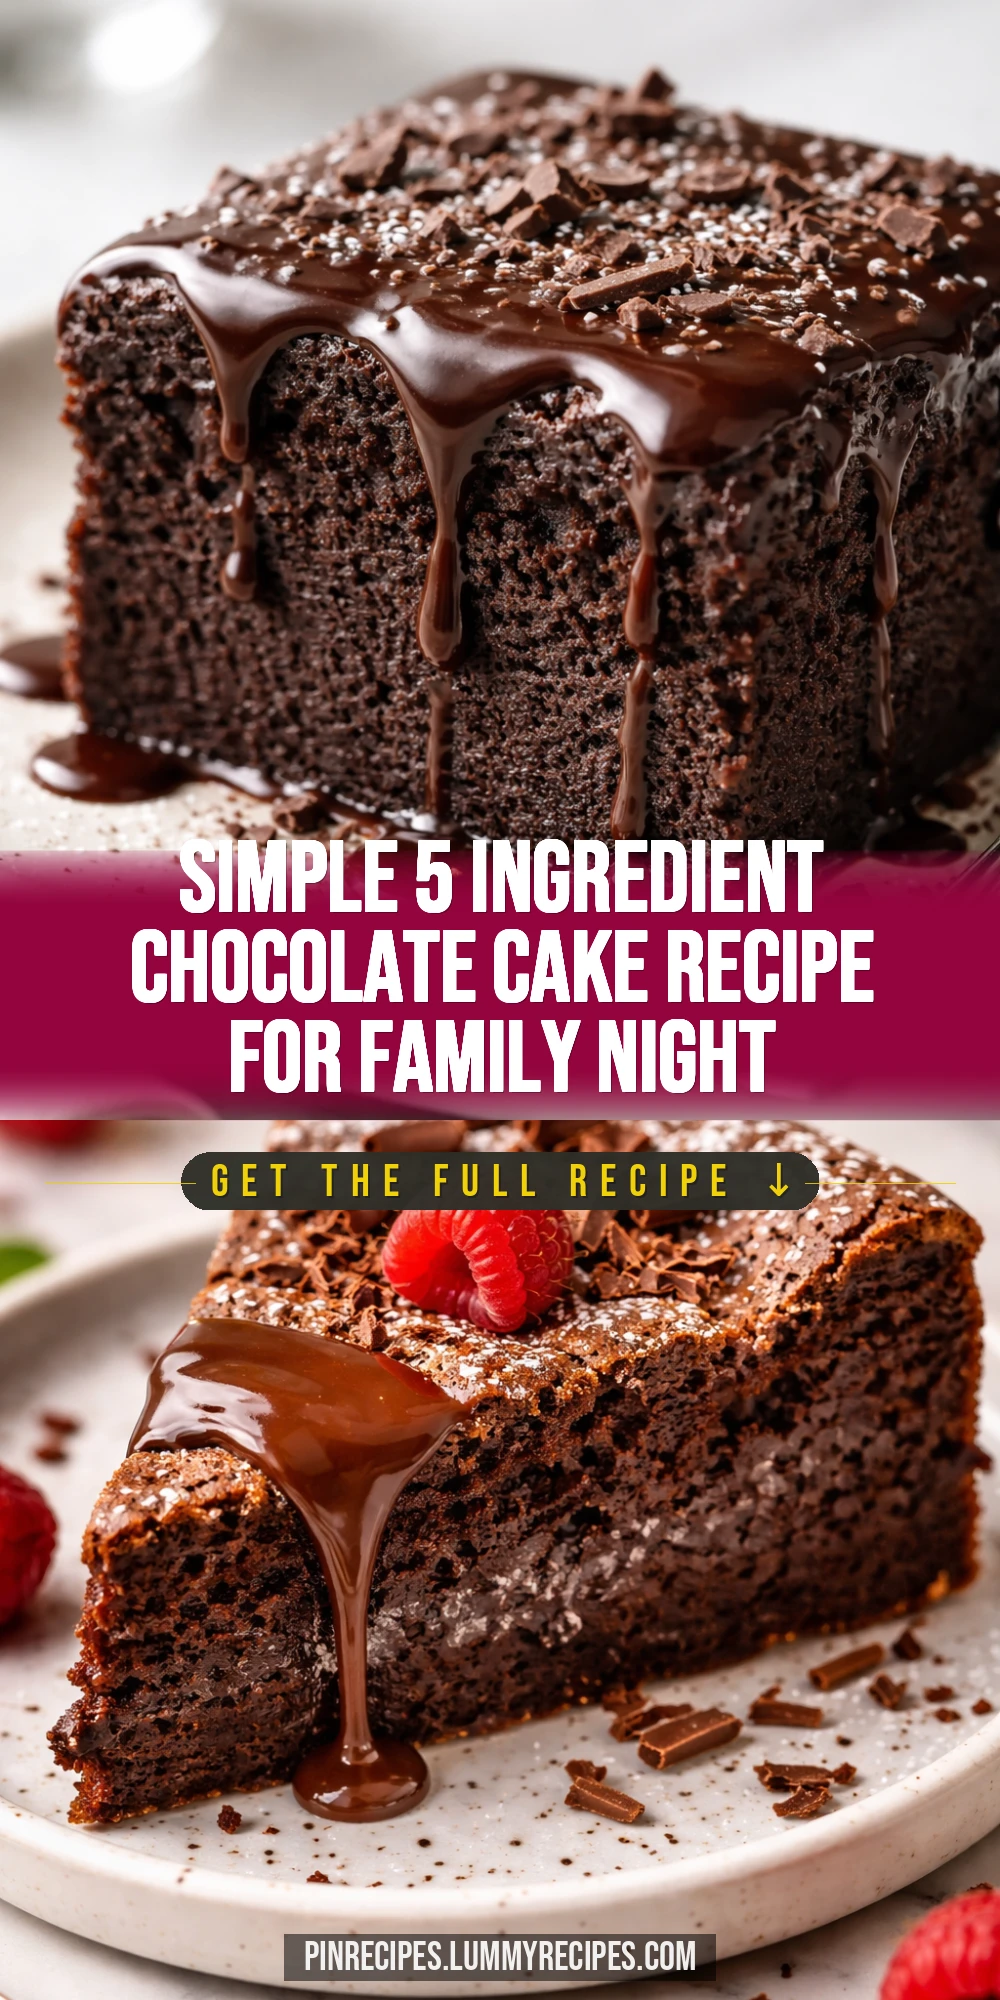
This chocolate cake is a lifesaver when you're short on time but want something homemade. Only five ingredients and no complicated steps. The secret? Using plain yogurt for moisture—perfect for an after-dinner treat or any sweet craving.
Introduction
I first stumbled upon this chocolate cake recipe during a hectic week when I barely had time to breathe, let alone bake. I wanted something simple, quick, and satisfying—without a long list of ingredients or complicated steps. This cake fits the bill perfectly. What makes it stand out is the use of plain yogurt instead of oil or butter, which keeps the cake incredibly moist and tender without weighing it down. Plus, it adds a subtle tang that balances the deep cocoa flavor beautifully. Over the years, I’ve tweaked it just a bit to get the texture just right—light but still rich and chocolatey. It’s the kind of cake that feels like a warm hug after a busy day, and my family always asks for seconds. Whether you’re an experienced baker or just starting out, this recipe is foolproof and forgiving. You’ll end up with a chocolate cake that’s soft, moist, and perfectly balanced every single time. I think you’ll love how easy it is to mix everything in one bowl and have a homemade cake ready in under an hour. It’s definitely become my go-to when I want comfort food fast.
What You'll Need
One 9-inch round cake, 8 servings
- 1 and 3/4 cups all-purpose flour, sifted
- 3/4 cup unsweetened cocoa powder, sifted
- 1 and 1/2 teaspoons baking powder
- 1 cup plain yogurt, room temperature
- 1 cup granulated sugar
How To Do It
Step 1
Preheat your oven to 350°F (175°C) and grease a 9-inch round cake pan with butter or non-stick spray. This step is important because a properly greased pan ensures your cake releases easily after baking, preventing any frustrating sticking or tearing. You can also line the bottom with parchment paper for extra insurance. Make sure your oven is fully preheated before you put the cake in, as an uneven temperature can affect how your cake rises and bakes.
⏱ Time: 10 minutes
✓ Doneness: Oven fully preheated to 350°F
Step 2
In a large mixing bowl, sift together the flour, cocoa powder, and baking powder. Sifting helps break up any lumps and aerates the dry ingredients, which contributes to a lighter cake texture. It also ensures even distribution of the baking powder, so your cake rises uniformly. If you skip sifting, you might end up with clumps of cocoa or uneven baking.
⏱ Time: 5 minutes
✓ Doneness: Dry ingredients fully combined and lump-free
Step 3
Add the sugar to the dry ingredients and whisk everything together until well combined. Mixing the sugar with the dry ingredients first helps it distribute evenly throughout the batter, which means consistent sweetness in every bite. Don’t rush this step; a thorough mix is key to a balanced flavor.
⏱ Time: 3 minutes
✓ Doneness: Sugar evenly mixed with dry ingredients
Step 4
Make a well in the center of the dry ingredients and add the plain yogurt. Using yogurt instead of oil or butter adds moisture and a slight tang, making the cake tender and rich without being heavy. Stir gently with a spatula or wooden spoon just until combined. Overmixing can develop gluten in the flour, making the cake dense and tough, so stop as soon as you see no dry flour.
⏱ Time: 3 minutes
✓ Doneness: Batter smooth with no visible flour patches
Step 5
Pour the batter into your prepared cake pan and smooth the top with the back of a spoon or offset spatula. This helps the cake bake evenly and look neat. Tap the pan gently on the counter to release any air bubbles trapped inside the batter, which can cause holes or uneven texture in the finished cake.
⏱ Time: 2 minutes
✓ Doneness: Batter evenly spread and surface smooth
Step 6
Place the cake pan in the center of the preheated oven and bake for about 28 to 32 minutes. Start checking at 28 minutes by inserting a toothpick in the center—if it comes out clean or with just a few moist crumbs, the cake is done. Baking too long will dry out the cake, so watch closely towards the end.
⏱ Time: 28-32 minutes
✓ Doneness: Toothpick inserted comes out mostly clean
Step 7
Once baked, remove the cake from the oven and let it cool in the pan for about 15 minutes. This resting period lets the cake firm up a bit, making it easier to remove from the pan without breaking. Avoid trying to unmold it while it’s still hot, as it’s more fragile and prone to crumbling.
⏱ Time: 15 minutes
✓ Doneness: Cake slightly cooled and firm to touch
Step 8
Run a knife around the edges of the cake pan to loosen the cake, then invert it onto a wire rack to cool completely. Cooling completely prevents the cake from becoming soggy from trapped steam. If you try to frost or slice it warm, it may crumble or the frosting might melt.
⏱ Time: 30 minutes
✓ Doneness: Cake fully cooled and set
Step 9
Serve the cake plain, dusted with powdered sugar, or with a simple glaze or whipped cream. This cake is versatile and pairs well with many toppings, but it’s delicious on its own thanks to the rich cocoa and moist crumb. Store leftovers covered at room temperature or in the fridge to keep it fresh.
⏱ Time: 5 minutes
✓ Doneness: Cake sliced cleanly and holds together well
Pro Tips
Always sift your dry ingredients together before mixing.
Sifting breaks up lumps and aerates the flour and cocoa powder, which helps the cake rise evenly and creates a lighter, fluffier texture. Skipping this step can lead to dense spots or uneven baking.
Use room temperature yogurt for the best batter consistency.
Cold yogurt can cause the batter to clump and not mix evenly, which may result in uneven texture or baking. Room temperature ingredients blend more smoothly, producing a uniform batter and consistent crumb.
Don’t overmix the batter once wet and dry ingredients are combined.
Overmixing develops gluten in the flour, which makes the cake tough and chewy instead of tender. Stir just until no dry flour remains to keep the crumb soft and light.
Tap the cake pan on the counter before baking.
This releases trapped air bubbles in the batter that can cause holes or tunnels in the finished cake. It helps the cake bake evenly and have a smooth, uniform texture.
Check the cake for doneness a few minutes before the timer.
Ovens vary, so starting to check early prevents overbaking and drying out the cake. Use a toothpick test and look for moist crumbs rather than wet batter.
Cool the cake in the pan before removing.
Removing the cake too soon can cause it to break apart. Cooling allows it to firm up and pull away from the sides, making unmolding easier and cleaner.
Store leftovers covered at room temperature for best texture.
Refrigeration can dry out cake unless wrapped tightly. Room temperature storage keeps it moist and tender for a day or two.
Common Mistakes to Avoid
Skipping sifting of dry ingredients
Why it happens Many cooks assume sifting is an unnecessary extra step or don’t realize how much it affects texture.
Fix Always sift flour, cocoa, and baking powder together to break up lumps and mix evenly. This ensures a lighter, more uniform cake.
Using cold yogurt straight from the fridge
Why it happens It’s easy to forget to bring yogurt to room temperature, especially when in a hurry.
Fix Take yogurt out 30 minutes before baking or warm briefly in a bowl of warm water to avoid clumpy batter and uneven texture.
Overmixing the batter after adding wet ingredients
Why it happens Trying to get the batter perfectly smooth can lead to overmixing.
Fix Stir gently just until combined and no dry streaks remain. This prevents toughening from gluten overdevelopment.
Not greasing the pan properly
Why it happens Skipping this step to save time or assuming non-stick pans are enough.
Fix Grease the pan well and optionally line the bottom with parchment paper to ensure the cake releases cleanly.
Baking at the wrong temperature
Why it happens Oven temperatures can vary, and some cooks don’t preheat properly.
Fix Always preheat your oven fully to 350°F and use an oven thermometer if possible to ensure accurate temperature.
Variations
Add a Coffee Boost
Stir in 1/4 cup strong brewed coffee or espresso to the batter for a deeper, richer chocolate flavor. It complements the cocoa beautifully and adds complexity without overpowering the cake.
Note: Reduce the yogurt by 1/4 cup to keep batter consistency and baking time unchanged.
Chocolate Chip Surprise
Fold in 1/2 cup semi-sweet chocolate chips to the batter for melty pockets of chocolate throughout. This adds texture and extra indulgence to each bite.
Note: Gently fold chips in last to avoid overmixing and distribute evenly.
Citrus Zest Twist
Add 1 tablespoon of orange or lemon zest to the dry ingredients for a fresh, bright note that cuts through the richness of the chocolate.
Note: Make sure zest is finely grated to blend well without adding texture.
Nutty Crunch
Mix in 1/2 cup chopped toasted walnuts or pecans for added crunch and flavor contrast. Nuts add a nice earthy note and make the cake more substantial.
Note: Fold nuts in gently at the end to avoid overmixing.
Gluten-Free Version
Swap the all-purpose flour for a gluten-free blend that includes xanthan gum. This makes the cake safe for gluten-sensitive eaters without sacrificing texture.
Note: Check blend instructions for 1:1 substitution and adjust baking time slightly if needed.
Nutrition
Per Serving:
Nutritional values are estimates and may vary based on specific ingredients used.
Storage & Tips
Room Temperature
This cake keeps well at room temperature for up to 2 days when covered with plastic wrap or stored in an airtight container. Keeping it covered prevents it from drying out and protects it from dust or insects.
Refrigerator
Store the cake in an airtight container in the fridge for up to 5 days. The cake may firm up and lose some moisture, so bring it to room temperature before serving or warm briefly in the microwave to restore softness.
Freezer
Wrap the cake tightly in plastic wrap and then foil to freeze for up to 3 months. To thaw, move to the fridge overnight or leave at room temperature for a few hours. Avoid thawing in the microwave as it can make the texture rubbery.
Reheating
Warm individual slices in the microwave for 15-20 seconds or in a 300°F oven for 5-7 minutes. Adding a small splash of milk or covering loosely with foil helps retain moisture during reheating.
Make Ahead
You can prepare the batter and pour it into the pan the night before, then cover tightly and bake fresh the next day. Alternatively, bake the cake a day ahead and store covered at room temperature or refrigerated, then frost or serve as desired.
FAQ
Can I substitute the yogurt with sour cream or buttermilk?
Yes, you can substitute with sour cream or buttermilk in equal amounts. Both provide moisture and acidity, but sour cream is thicker and may make the batter denser, while buttermilk is thinner and may require slight adjustments in flour. The texture and flavor might vary slightly but will still be delicious.
What if I don’t have baking powder? Can I use baking soda?
Baking powder and baking soda are not interchangeable one-to-one because baking powder contains acid and base, while baking soda needs an acidic ingredient to activate. If you only have baking soda, add 1/4 teaspoon baking soda plus 1/2 teaspoon lemon juice or vinegar to replace 1 teaspoon of baking powder. Otherwise, the cake may not rise properly.
How do I know when the cake is done without a toothpick?
If you don’t have a toothpick, gently press the center of the cake; it should spring back without leaving an indentation. The edges will start to pull away slightly from the pan, and the cake will have a subtle golden crust on top.
Can I make this cake vegan?
To make it vegan, substitute the yogurt with a plant-based alternative like coconut or soy yogurt and use a flax egg or commercial egg replacer if the recipe calls for eggs. Since this recipe doesn’t use eggs, the swap is simpler. Make sure the cocoa powder and sugar are vegan-certified.
Why is my cake dense or gummy?
Dense or gummy texture often results from overmixing the batter, using too much liquid, or baking at too low a temperature. Be sure to mix just until combined and measure ingredients carefully. Also, check your oven temperature with an oven thermometer to ensure accuracy.
Can I double this recipe for a larger cake?
Yes, you can double the ingredients and bake in a larger pan or two pans. Adjust baking time accordingly—start checking for doneness after 35 minutes. Larger cakes may require a bit longer to bake through but watch closely to avoid drying out.
How should I store leftover cake with frosting?
Store frosted cake in an airtight container in the refrigerator to keep the frosting fresh. Bring to room temperature before serving for best texture and flavor. If the frosting is butter-based, refrigeration helps prevent spoilage.
Can I use this batter to make cupcakes?
Absolutely! Fill cupcake liners about two-thirds full and bake at 350°F for about 18-22 minutes. Check with a toothpick for doneness. Cupcakes bake faster due to their smaller size, so keep an eye on them.
Final Thoughts
I hope you enjoy this no-fuss chocolate cake as much as my family does! Give it a try and let me know how it turns out — it’s such a comforting treat that’s easy to whip up anytime.