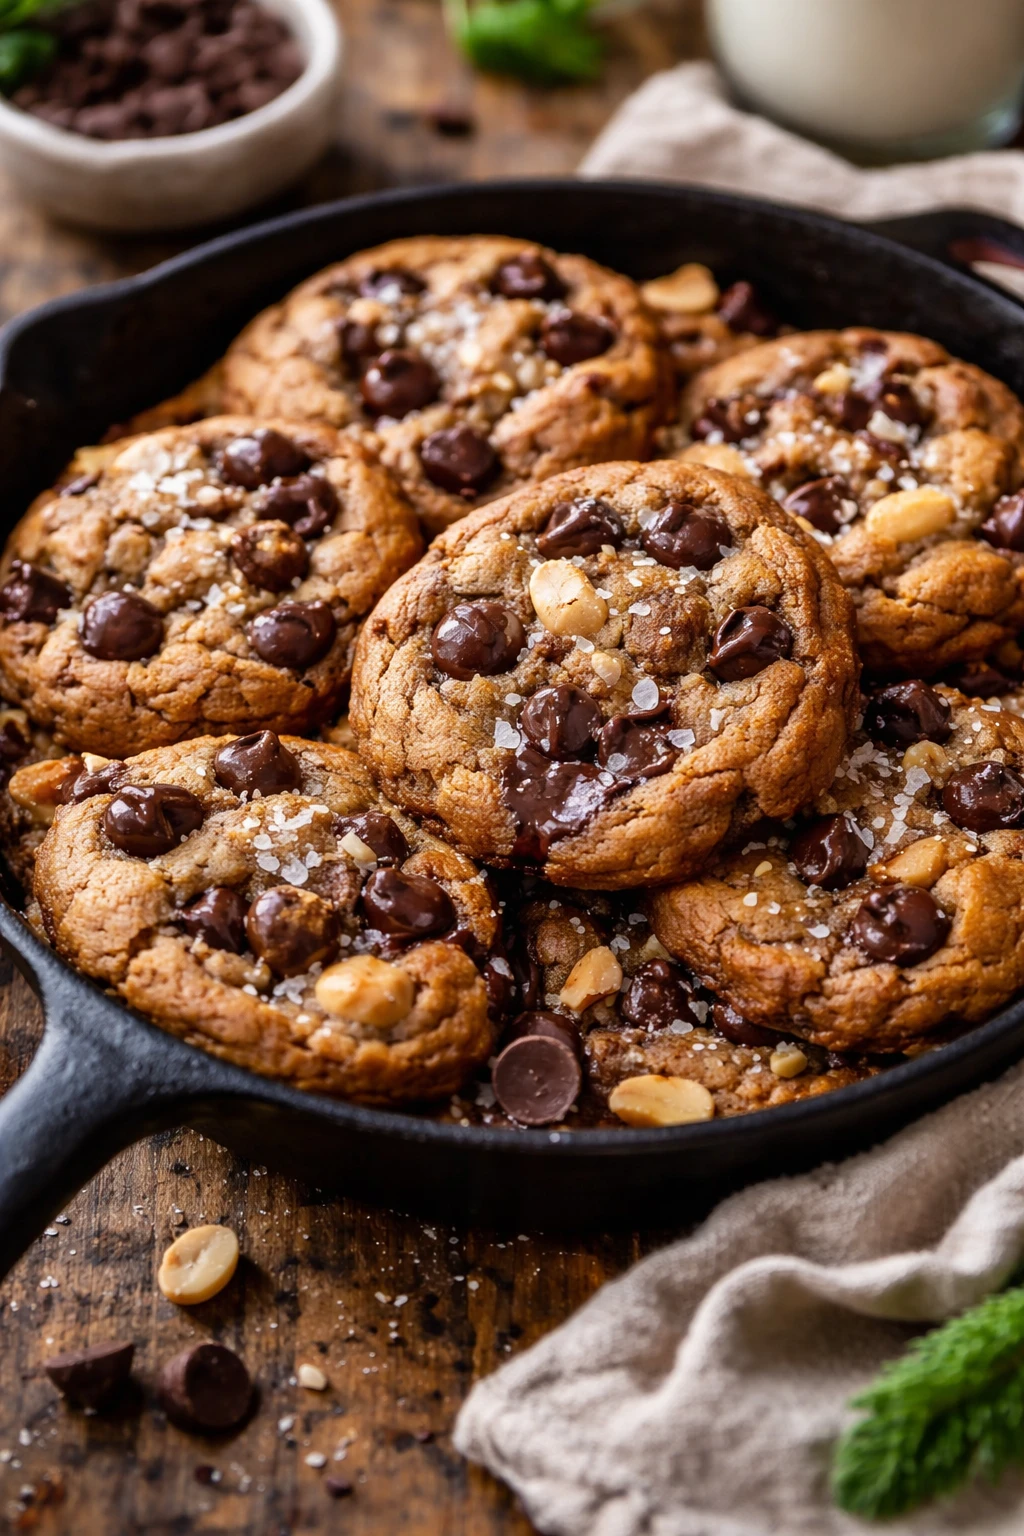
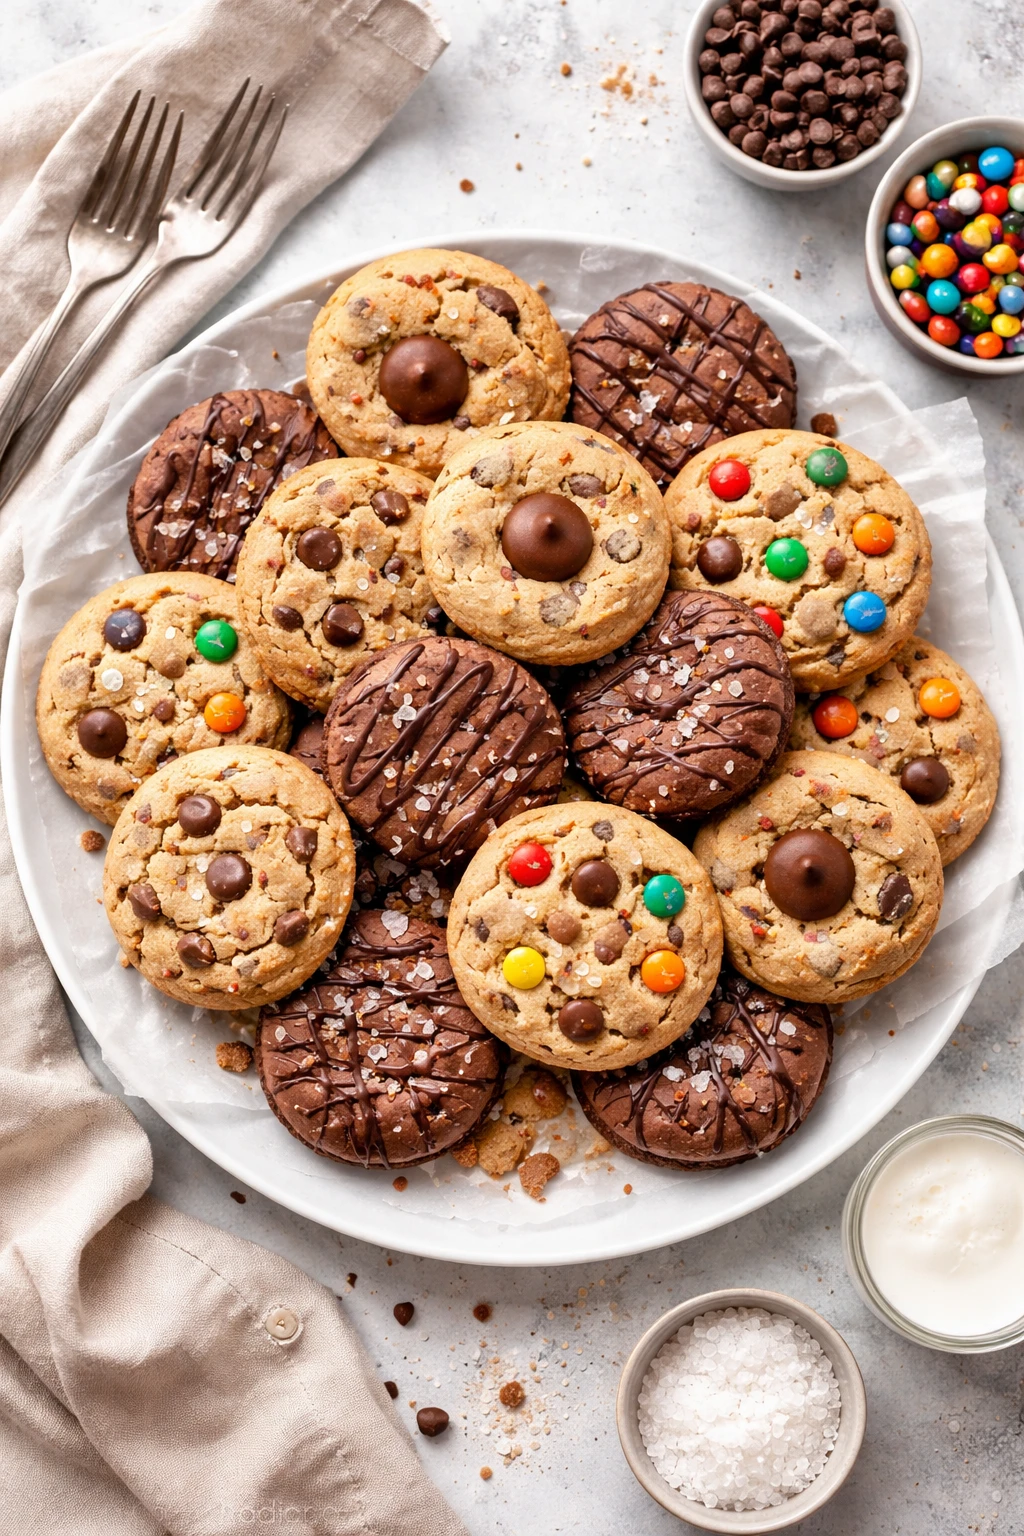
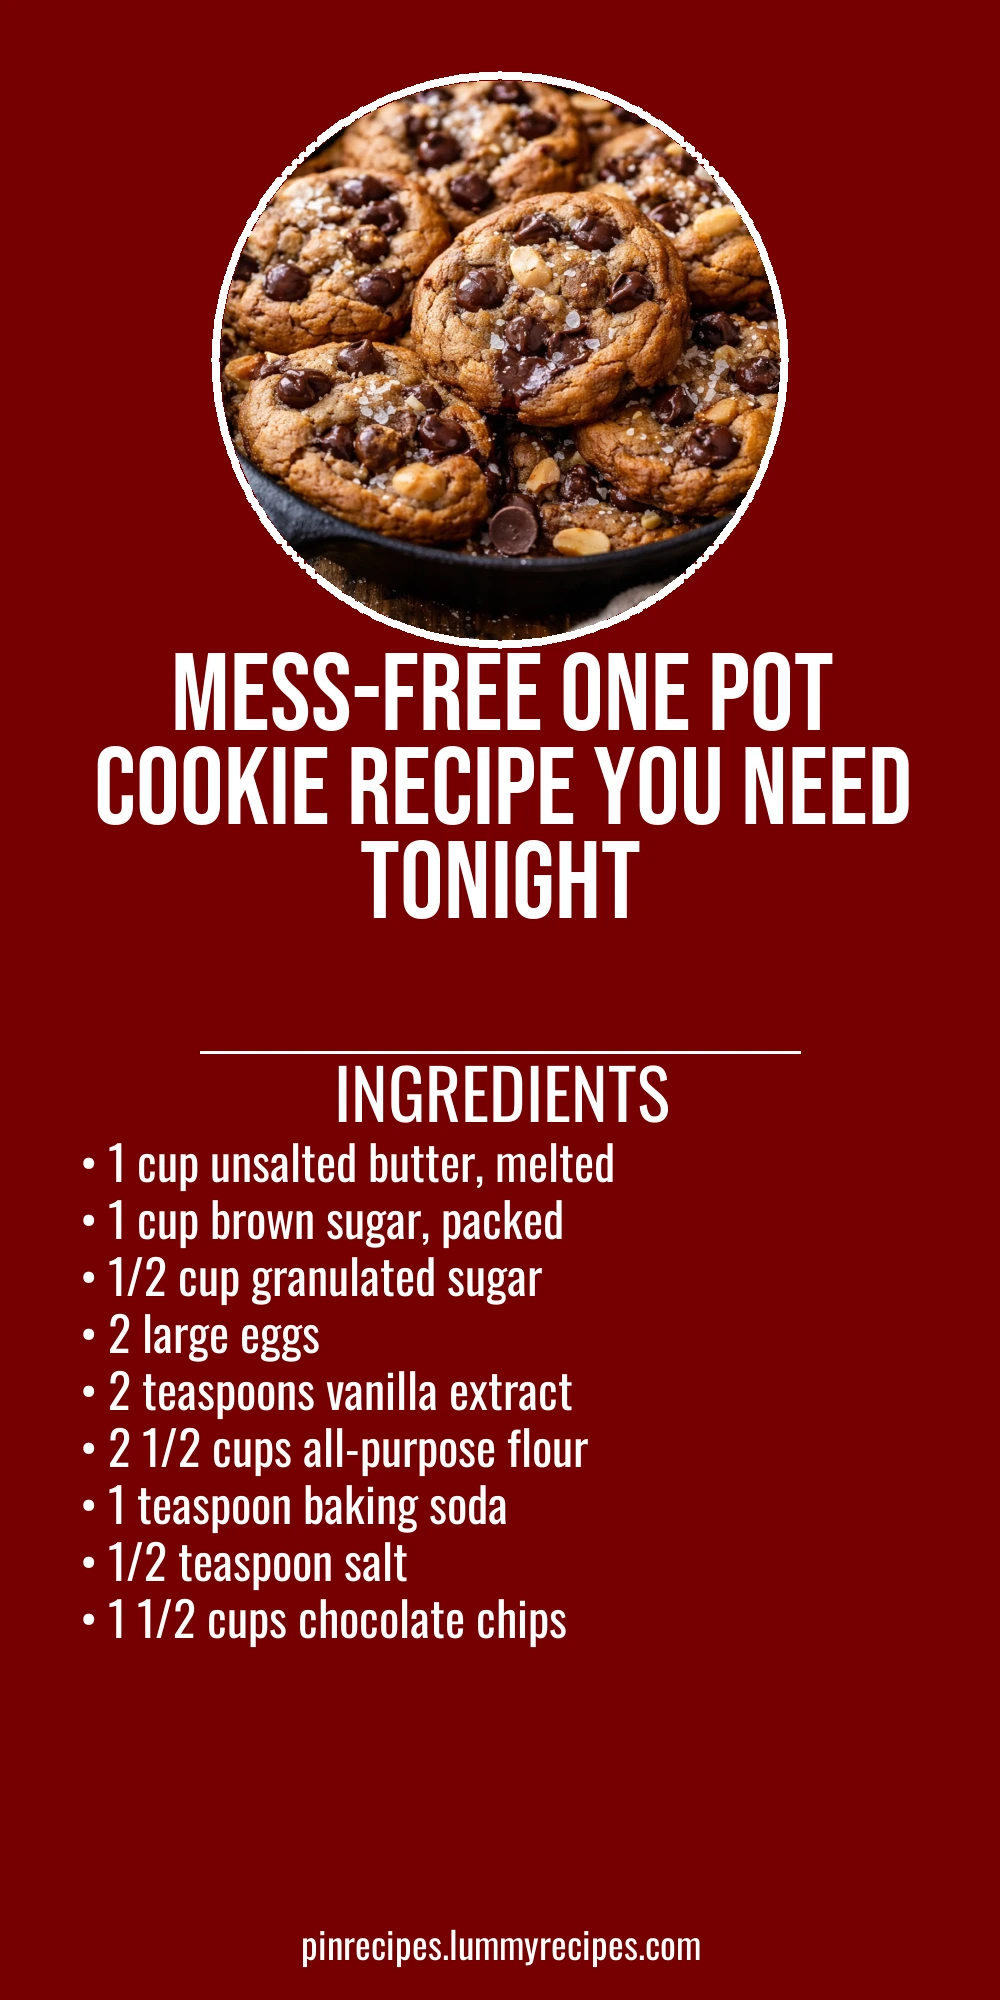
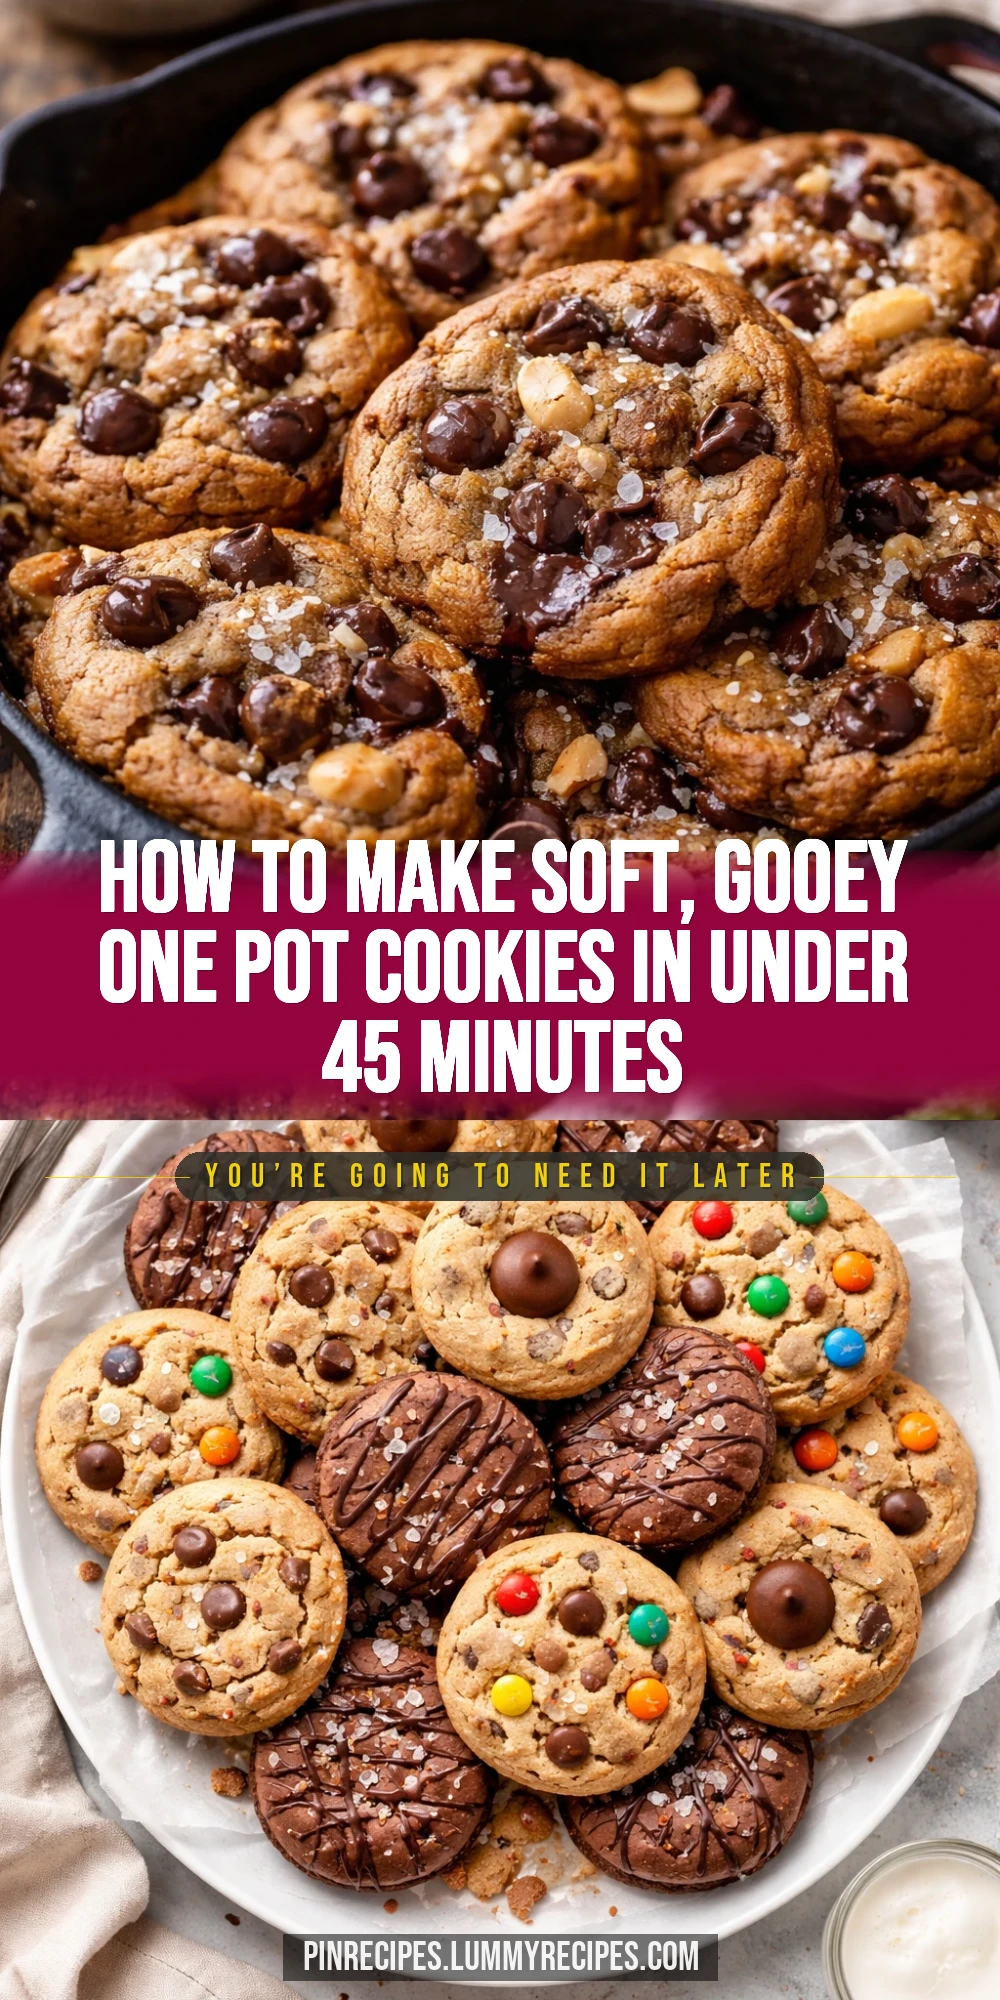
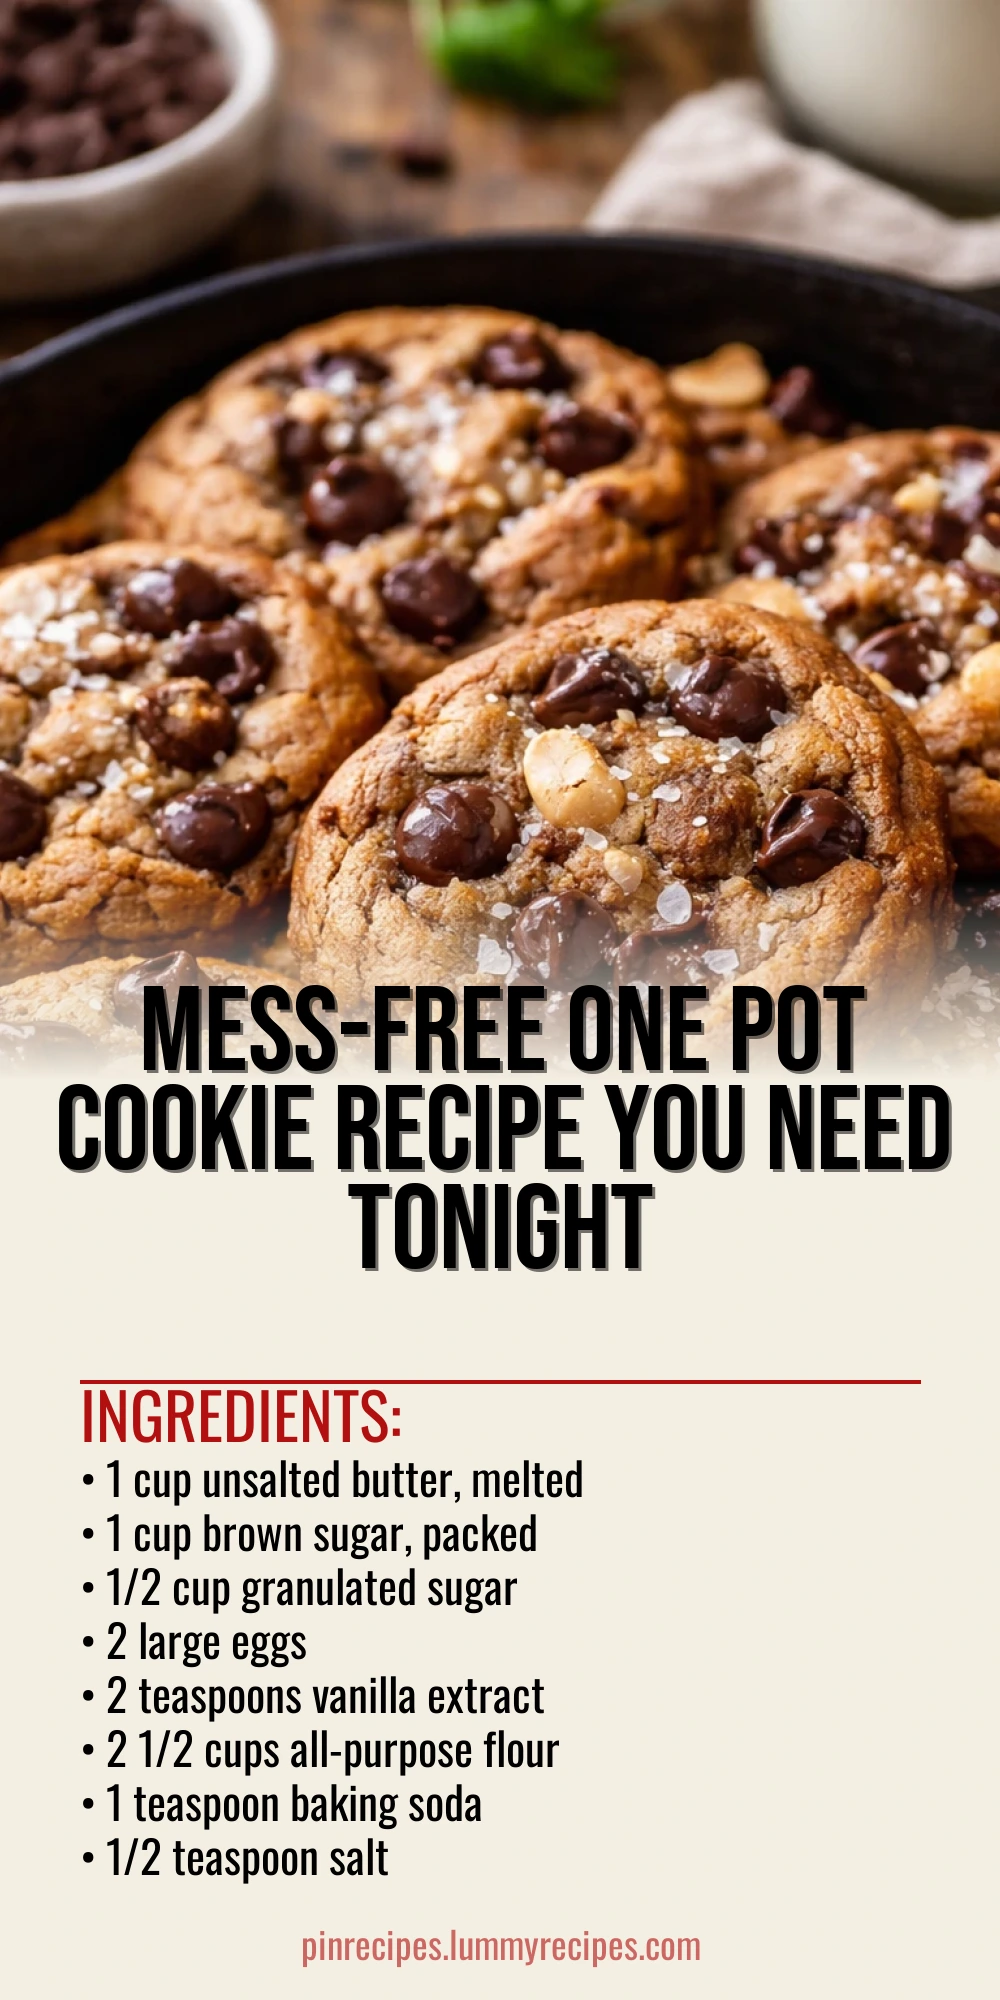
This one pot cookie recipe is a total game changer—no extra bowls, no mess! You just mix everything in one pot, bake, and get soft, gooey cookies perfect for sharing or a quick sweet fix.
Introduction
I first tried making one pot cookies on a hectic weeknight when I was craving something sweet but didn’t want to spend forever washing dishes. Honestly, it was a bit of an experiment, but I was pleasantly surprised! This recipe is all about simplicity—melting the butter right in the pot, mixing everything together, and popping it in the oven. What sets this apart from your usual cookie recipe is that you don’t need multiple bowls or a stand mixer, making it perfect for quick baking sessions or when you’re just not in the mood for a big cleanup. The texture is soft and chewy with melty chocolate pockets, and the best part is how easy it is to customize. I’ve tried adding nuts or swapping chocolate chips for white chocolate, and it works every time. The trick I learned is to melt the butter gently and mix the dry ingredients well before adding the eggs to get the best dough consistency. The finished cookies come out golden on the edges with a tender middle, and they smell absolutely irresistible. If you want a fuss-free way to bake cookies that still taste like you spent hours on them, this one pot cookie recipe is for you!
How To Do It
Step 1
Start by melting the butter in a large oven-safe pot or Dutch oven over low heat. Melting the butter directly in the pot saves you from extra dishes and ensures the butter is evenly warm, which helps the sugars dissolve better. Be careful not to overheat or brown the butter; it should be just melted and smooth. This step is crucial because it sets the base for a soft, chewy cookie texture.
⏱ Time: 5 minutes
✓ Doneness: Butter is fully melted with no visible lumps and warm to the touch but not bubbling.
Step 2
Remove the pot from heat and stir in the brown sugar and granulated sugar until well combined. Mixing the sugars while the butter is warm helps them dissolve slightly, creating a smoother dough and richer flavor. If you rush this step, the sugars won’t meld properly, leading to a grainier texture in the cookies.
⏱ Time: 3 minutes
✓ Doneness: Sugar mixture looks glossy and smooth with no visible graininess.
Step 3
Add the eggs one at a time, stirring well after each addition. Then stir in the vanilla extract. Incorporating the eggs slowly helps the dough emulsify properly, which means the fats and liquids blend smoothly, resulting in tender cookies. If you add eggs too quickly, the dough might curdle or separate.
⏱ Time: 4 minutes
✓ Doneness: Dough looks creamy and uniform with no streaks of egg whites.
Step 4
In a separate bowl, whisk together the flour, baking soda, and salt. This ensures the leavening agent and salt are evenly distributed, which is key for consistent texture and flavor in every bite. Skipping this step can cause uneven rising or salty spots in the cookies.
⏱ Time: 3 minutes
✓ Doneness: Dry ingredients are fully combined with no clumps.
Step 5
Gradually add the dry ingredients to the wet mixture in the pot, stirring gently until just combined. Overmixing can develop gluten and make cookies tough, so stop as soon as you don’t see dry flour. The dough should be thick and sticky but not dry.
⏱ Time: 4 minutes
✓ Doneness: Dough is smooth, thick, and slightly sticky without visible flour patches.
Step 6
Fold in the chocolate chips evenly throughout the dough. This step adds pockets of melty chocolate in every bite, making the cookies irresistible. Be gentle to avoid breaking the chips or overworking the dough.
⏱ Time: 2 minutes
✓ Doneness: Chocolate chips are well distributed and the dough looks uniform.
Step 7
Preheat your oven to 350°F (175°C). While the oven heats, smooth the dough evenly in the pot, pressing it down gently with a spatula. This ensures even baking and a consistent cookie thickness. Don’t over-press or compact the dough too much, or the cookies may turn dense.
⏱ Time: 5 minutes
✓ Doneness: Dough surface is level and smooth but still slightly soft to the touch.
Step 8
Bake the cookies in the preheated oven for 25-30 minutes. Keep an eye on the edges; they should turn golden brown while the center remains soft. Avoid overbaking, which dries out the cookies. The center will set as it cools, so it’s okay if it looks slightly underdone when you take it out.
⏱ Time: 25-30 minutes
✓ Doneness: Edges are golden and firm, center looks set but slightly soft.
Step 9
Let the cookies cool in the pot for at least 15 minutes before serving. This resting time allows the cookies to finish setting and makes them easier to slice and serve. If you try to cut them too soon, they might crumble or fall apart.
⏱ Time: 15 minutes
✓ Doneness: Cookies feel firm to the touch and slice cleanly without crumbling.
Pro Tips
Use room temperature eggs for easier mixing and better emulsification.
Cold eggs can cause the melted butter to seize up or create lumps in the dough, making it harder to combine. Room temperature eggs blend more smoothly with warm butter and sugars, resulting in a consistent dough texture.
Don’t overmix the dough once you add the flour.
Overmixing develops gluten in the flour, which can make cookies tough and chewy rather than soft and tender. Stir just until the flour disappears to keep the texture light and delicate.
Let the cookies cool completely in the pot before slicing.
The residual heat finishes baking the cookies and allows them to firm up, making slicing easier and preventing crumbling. Cutting too soon can lead to messy, broken pieces.
Use a spatula to fold in chocolate chips gently.
Folding preserves the chips’ shape and prevents the dough from becoming overworked. Overworking can toughen the dough and cause the chips to melt unevenly.
Line the pot with parchment paper if you’re worried about sticking.
While the melted butter usually prevents sticking, parchment ensures easy removal and cleanup, especially if your pot isn’t non-stick.
Customize by adding nuts or dried fruit for extra texture.
Adding mix-ins changes the cookie’s flavor and texture profile, but be mindful of quantity so the dough consistency isn’t compromised. Fold these in gently with the chocolate chips.
Use an oven thermometer to ensure accurate baking temperature.
Ovens can run hotter or cooler than the dial indicates, affecting baking time and texture. An accurate temperature ensures the cookies bake evenly without burning or undercooking.
Common Mistakes to Avoid
Using cold butter instead of melted butter.
Why it happens Many assume butter should be softened but not melted for cookies, but this recipe specifically requires melted butter to create the right dough texture.
Fix Melt the butter gently over low heat until fully liquid but not browned. This helps dissolve sugars and creates a tender, chewy cookie.
Overmixing the dough after adding flour.
Why it happens It’s tempting to mix thoroughly for evenness, but overmixing activates gluten, making cookies tough.
Fix Stir just until flour disappears. Stop mixing as soon as the dough looks uniform to keep cookies soft.
Baking at too high a temperature.
Why it happens Rushing baking can lead to burnt edges and undercooked centers.
Fix Bake at 350°F (175°C) for 25-30 minutes, watching closely near the end to pull them out when edges are golden.
Cutting cookies too soon after baking.
Why it happens Impatience leads to crumbly slices and broken pieces.
Fix Let cookies cool in the pot for at least 15 minutes to set properly before slicing.
Not measuring flour correctly.
Why it happens Scooping flour directly with a cup packs it too densely, resulting in dry, crumbly dough.
Fix Spoon flour into measuring cup and level with a knife for accuracy.
Variations
Nutty One Pot Cookies
Add 1 cup chopped walnuts or pecans to the dough for a crunchy twist. The nuts add texture and a toasty flavor that complements the chocolate chips perfectly.
Note: Fold nuts in gently with the chocolate chips to avoid breaking them and maintain an even distribution.
Oatmeal One Pot Cookies
Replace 1 cup of flour with rolled oats for a heartier cookie with a chewy texture. You can also add cinnamon for warmth and depth.
Note: Oats absorb more moisture, so watch the dough consistency and add a splash of milk if it feels too dry.
White Chocolate and Cranberry
Swap chocolate chips for white chocolate chunks and fold in 1/2 cup dried cranberries for a sweet-tart combo that’s festive and flavorful.
Note: Dried fruit can dry out cookies slightly, so consider adding an extra egg yolk for moisture.
Peanut Butter One Pot Cookies
Mix in 1/2 cup creamy peanut butter with the melted butter for rich, nutty flavor. These cookies are extra soft and perfect for peanut butter lovers.
Note: Peanut butter can thicken dough; if too stiff, add a tablespoon of milk to loosen it.
Double Chocolate One Pot Cookies
Add 1/4 cup cocoa powder to the dry ingredients and use dark chocolate chips for an intense chocolate flavor that’s decadent yet simple.
Note: Cocoa powder absorbs moisture; slightly reduce flour by 2 tablespoons to keep dough balanced.
Nutrition
Per Serving:
Nutritional values are estimates and may vary based on specific ingredients used.
Storage & Tips
Room Temperature
Cookies can be kept at room temperature in an airtight container for up to 2 days. Keep them covered to maintain softness and prevent drying out.
Refrigerator
Store cookies in an airtight container in the fridge for up to 5 days. They may firm up when cold, so bring to room temperature or microwave briefly before serving.
Freezer
Freeze cookies in a sealed container or freezer bag for up to 3 months. Wrap individually in parchment to prevent sticking. Thaw at room temperature or warm gently in the oven.
Reheating
Reheat cookies in a 300°F oven for 5-7 minutes or microwave for 15-20 seconds with a damp paper towel to restore softness. Avoid overheating to prevent dryness.
Make Ahead
Prepare the dough up to folding in chocolate chips and refrigerate for up to 2 days. Bring to room temperature and add chips before baking for fresh cookies anytime.
FAQ
Can I use salted butter instead of unsalted?
Yes, but reduce or omit the added salt in the recipe since salted butter already contains salt. This adjustment prevents the cookies from becoming too salty.
What if I don’t have a large oven-safe pot?
You can use a large oven-safe baking dish instead. Just line it with parchment paper for easy removal. The key is an even thickness for consistent baking.
Can I substitute chocolate chips with other mix-ins?
Absolutely! Nuts, dried fruit, white chocolate, or butterscotch chips all work well. Just fold them in gently to avoid breaking the dough.
How do I know when the cookies are done baking?
Look for golden edges and a set but slightly soft center. The cookies will firm up as they cool, so err on the side of slightly underbaking rather than overbaking.
Why did my cookies turn out dry?
Common causes include overbaking, using too much flour, or not enough butter. Measure ingredients carefully and watch baking time closely.
Can I make this recipe vegan?
You can try substituting butter with vegan margarine and eggs with flax eggs, but texture and flavor may differ. Experimentation is key!
Is it okay to chill the dough before baking?
Yes, chilling helps develop flavor and can improve texture. Just bring dough to room temperature before baking for even cooking.
How do I prevent cookies from sticking to the pot?
Make sure the pot is well buttered or lined with parchment paper. Using melted butter in the recipe also helps prevent sticking.
Final Thoughts
I hope you give this one pot cookie recipe a try—it’s a simple way to enjoy homemade cookies without the hassle. Let me know how your batch turns out!