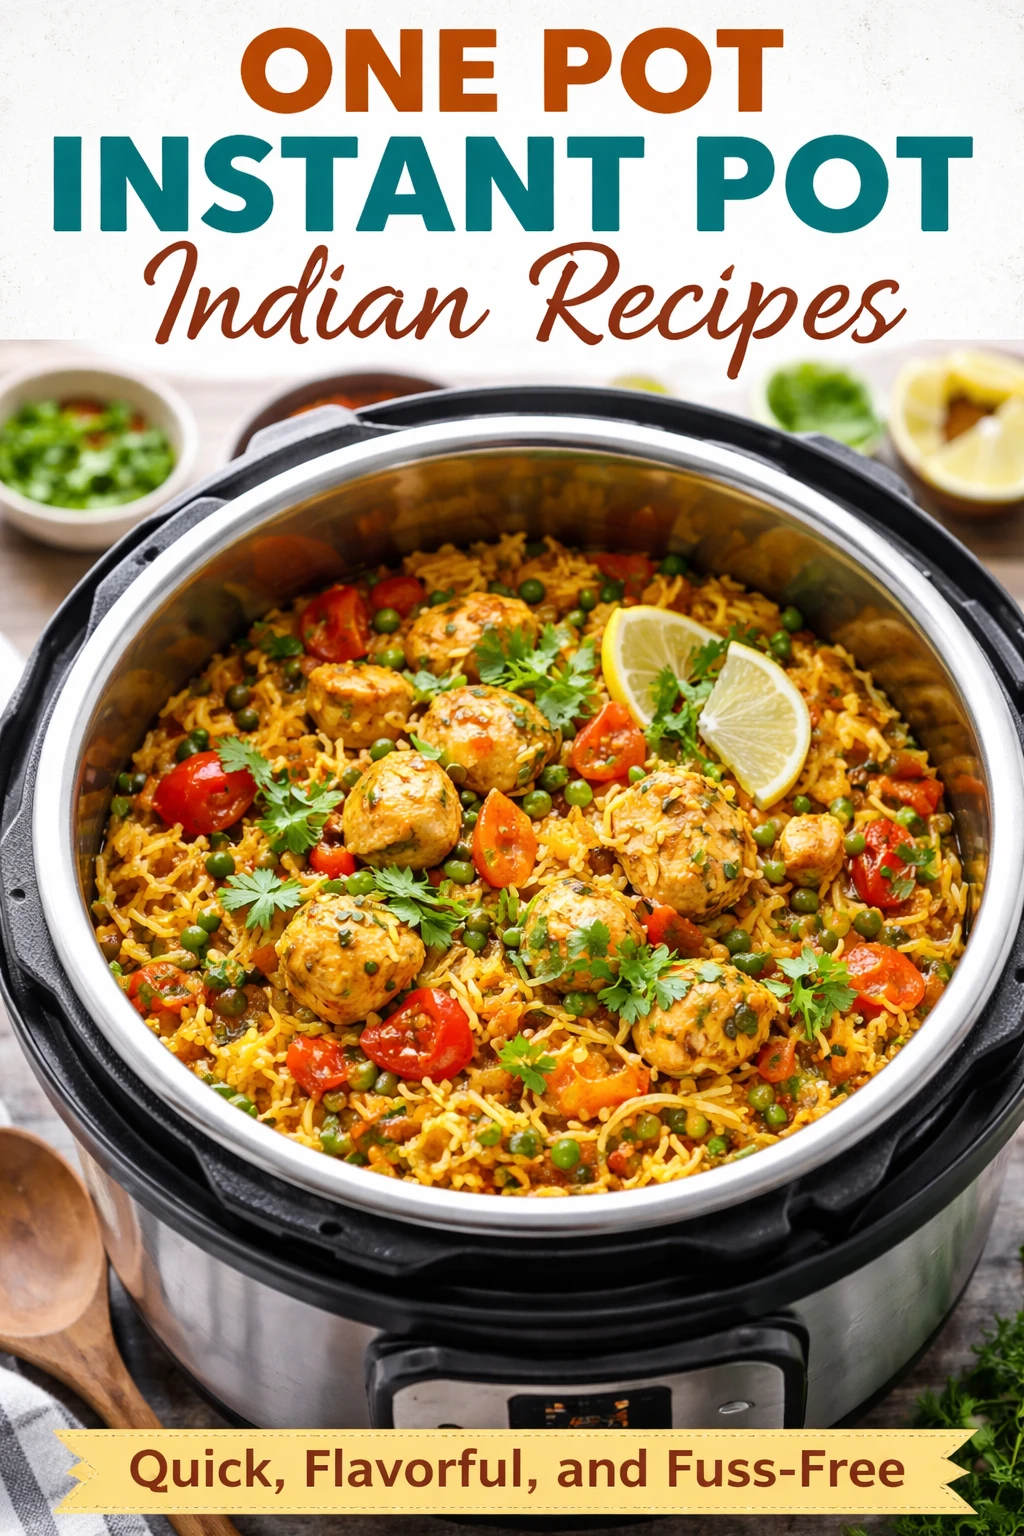
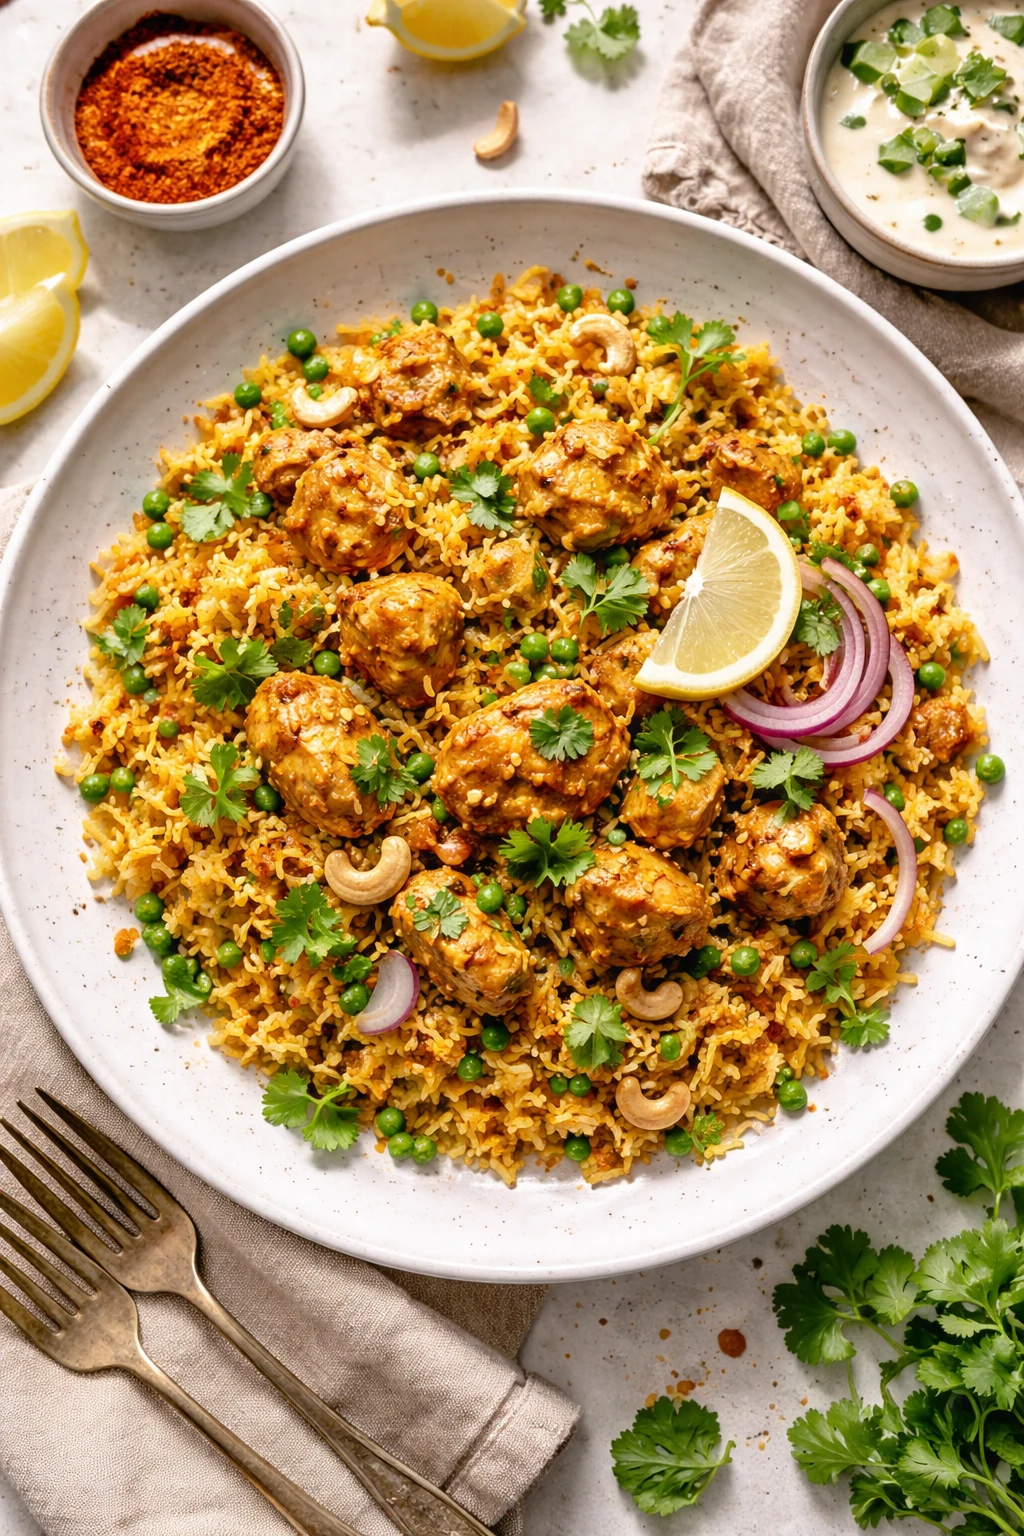
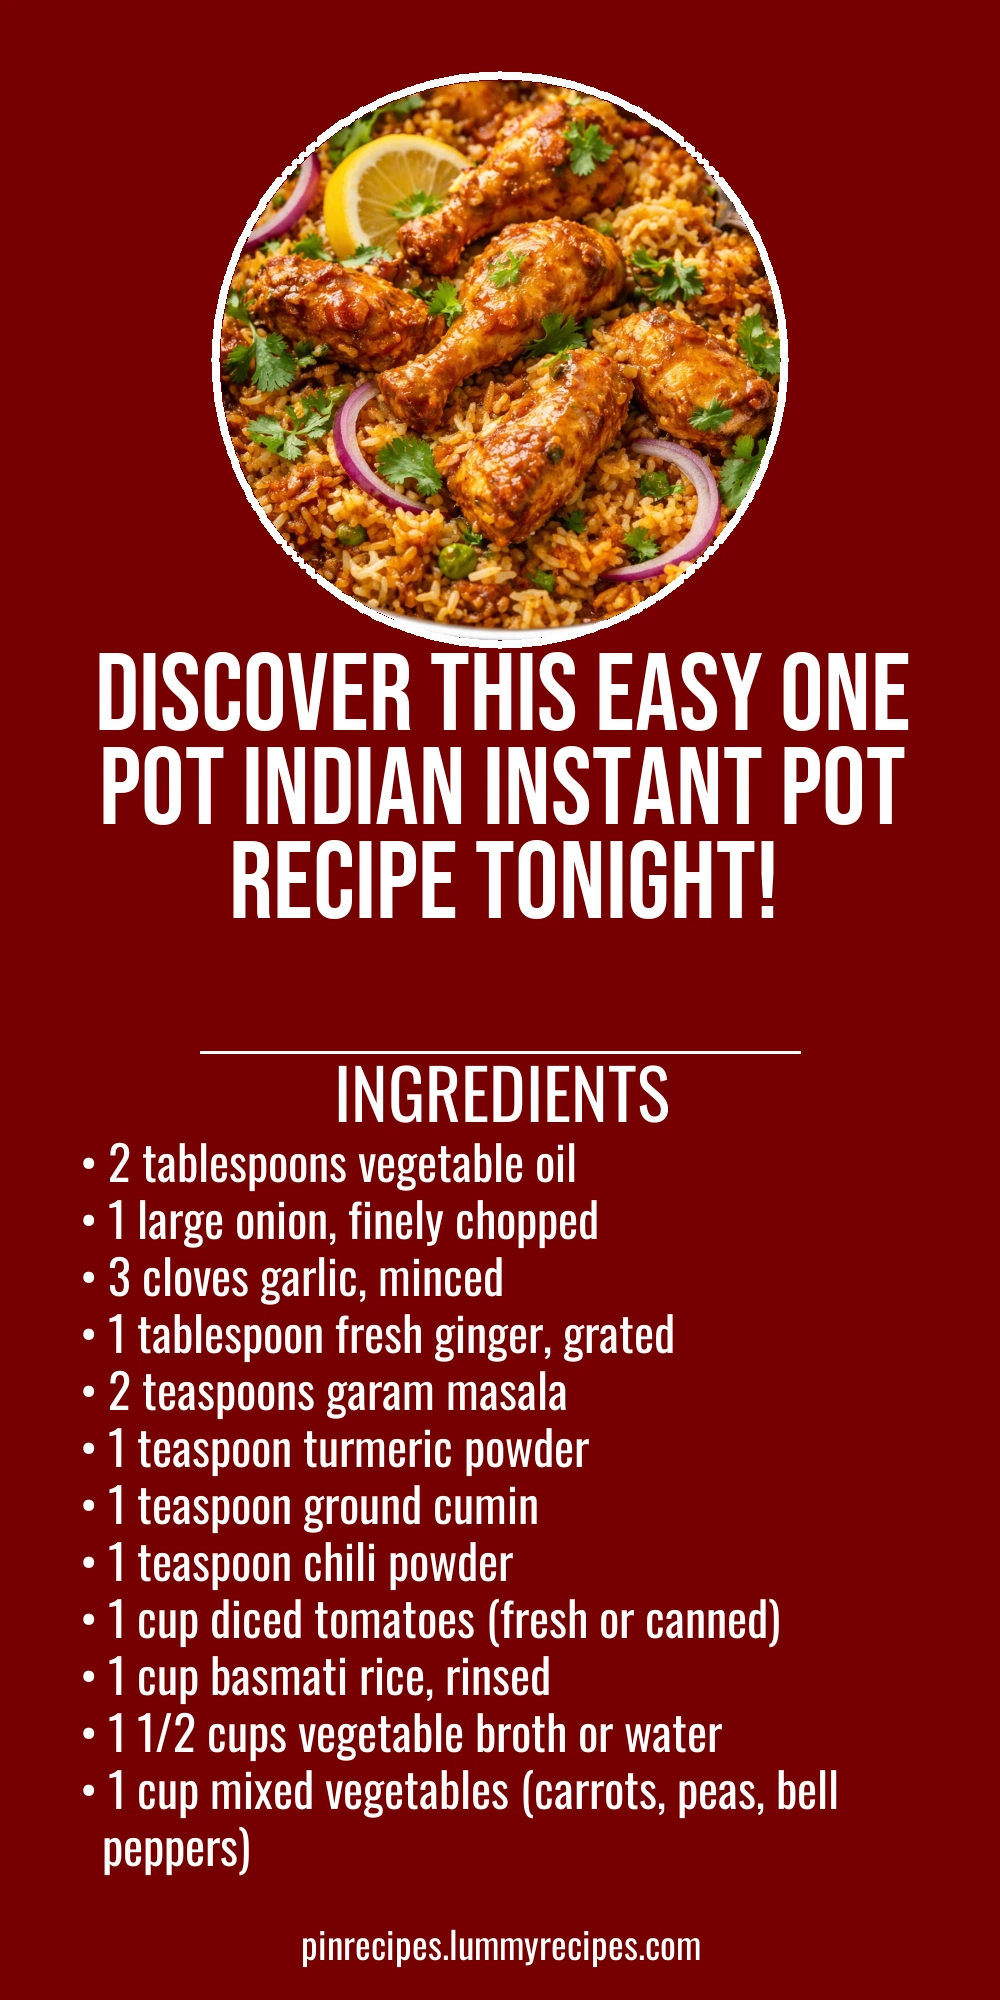
If you love Indian flavors but hate the long prep, this one pot Instant Pot recipe is a game changer. It’s packed with spices and veggies, cooks fast, and cleans up even faster. Perfect for busy weeknights or when you want something comforting without the hassle.
Introduction
I stumbled upon this one pot Instant Pot Indian recipe during a week when I was juggling work and family, and honestly, it saved me. I wanted something that captured the depth of Indian spices but without the usual hours of prep and multiple pots. This recipe is a bit of a hybrid — it uses the Instant Pot to build layers of flavor quickly, thanks to sautéing the spices and aromatics right in the pot before pressure cooking everything together. Plus, the rice cooks perfectly alongside the veggies, soaking up all those spices, which means no separate rice to fuss with. One thing I learned the hard way was not to skip rinsing the rice; it keeps the dish from turning mushy. The final dish is comforting, fragrant, and vibrant, with just the right balance of heat and earthiness. It’s now a go-to for when I want authentic Indian flavors but need dinner on the table fast. You’ll love how everything comes together in one pot, with minimal cleanup and maximum taste.
How To Do It
Step 1
Start by setting your Instant Pot to the sauté function and heating the vegetable oil. Once hot, add the finely chopped onions and cook them slowly until they turn golden and translucent. This step is crucial because it builds the base flavor of the dish. Stir frequently to avoid burning, which can make the dish bitter. Taking your time here ensures the onions caramelize properly, releasing their natural sweetness that balances the spices later on.
⏱ Time: 8 minutes
✓ Doneness: Onions should be soft, golden, and slightly caramelized without any burnt spots.
Step 2
Add the minced garlic and grated ginger to the onions, stirring constantly for about 1-2 minutes until fragrant. Then, sprinkle in the garam masala, turmeric, cumin, and chili powder. Toasting the spices like this in the hot oil helps release their essential oils and deepens their flavor. Be careful not to let the spices burn; if you notice any black specks, lower the heat or add a splash of water to prevent bitterness.
⏱ Time: 3 minutes
✓ Doneness: Spices should smell aromatic and the mixture should look well combined without any burnt bits.
Step 3
Pour in the diced tomatoes and cook for another 3-4 minutes, stirring occasionally. This allows the tomatoes to break down and meld with the spices, creating a rich sauce base. If you’re using canned tomatoes, make sure they’re well drained to avoid excess liquid. The acidity from the tomatoes balances the spices and adds brightness to the dish.
⏱ Time: 4 minutes
✓ Doneness: Tomatoes should be softened and starting to form a thick sauce.
Step 4
Add the rinsed basmati rice to the pot and stir well to coat each grain with the spiced tomato mixture. This step ensures the rice absorbs all the flavors evenly during cooking. Rinsing the rice beforehand removes excess starch, preventing it from becoming gummy. Mixing it thoroughly here prevents clumps and promotes even cooking.
⏱ Time: 2 minutes
✓ Doneness: Rice grains are coated evenly and separated, not clumped together.
Step 5
Pour in the vegetable broth or water, then add the mixed vegetables and chickpeas. Give everything a gentle stir to distribute ingredients evenly. The liquid level is important here; too much can make the rice mushy, too little and it won’t cook properly. The vegetables add texture and nutrition, while chickpeas bring protein and heartiness to the dish.
⏱ Time: 2 minutes
✓ Doneness: Ingredients are evenly mixed, and liquid just covers the rice and veggies.
Step 6
Secure the Instant Pot lid and set the valve to sealing. Cook on high pressure for 6 minutes. Pressure cooking speeds up the cooking process while allowing flavors to meld beautifully. Don’t rush this step by reducing the time; undercooked rice will be hard and unpleasant. The Instant Pot will take some time to build pressure before the timer starts, so be patient.
⏱ Time: 6 minutes (plus pressure build-up time)
✓ Doneness: Pressure cooking completes and the pot switches to keep warm mode.
Step 7
Once cooking is done, allow the pressure to release naturally for 10 minutes before carefully turning the valve to venting to release any remaining pressure. Natural release lets the rice finish cooking gently and prevents it from sticking to the bottom. Quick release can cause rice to be underdone or texture to be uneven.
⏱ Time: 10 minutes
✓ Doneness: Steam stops escaping and the lid can be safely opened without resistance.
Step 8
Open the lid and gently fluff the rice and vegetable mixture with a fork. This loosens the grains and distributes the veggies evenly without mashing them. Fluffing also helps release steam and prevents the dish from becoming soggy. Be gentle to keep the texture light and fluffy.
⏱ Time: 2 minutes
✓ Doneness: Rice grains are separate and fluffy, vegetables intact and evenly mixed.
Step 9
Taste and adjust seasoning with salt as needed. Garnish with fresh cilantro for a bright, herbal note that complements the spices. Serve hot with a side of yogurt or naan if you like. This final step brings freshness and balances the richness of the dish, making it complete and satisfying.
⏱ Time: 2 minutes
✓ Doneness: Dish is well seasoned and garnished, ready to serve.
Pro Tips
Always rinse your basmati rice before cooking.
Rinsing removes surface starch that causes rice to clump and become gummy. This simple step ensures each grain cooks up fluffy and separate, which is essential for a one pot rice dish where texture matters.
Don’t skip the sauté step for onions and spices.
Sautéing activates the Maillard reaction, which deepens flavor by caramelizing onions and blooming spices. This step transforms raw ingredients into a fragrant base that carries through the entire dish.
Use natural pressure release instead of quick release.
Natural release lets the rice finish cooking gently and prevents sticking or undercooked grains. Quick release can shock the rice, leaving it unevenly cooked and mushy in parts.
Use fresh garam masala when possible.
Spices lose potency over time. Fresh garam masala ensures your dish has vibrant, complex flavors. Toasting it in oil releases essential oils that dried or old spice blends can’t match.
Add vegetables that cook quickly last.
Adding delicate veggies like peas or bell peppers near the end prevents them from turning mushy during pressure cooking, preserving their texture and color.
Fluff the rice gently after cooking.
Using a fork to fluff separates grains without crushing them, maintaining a light texture. Stirring too vigorously can break grains and make the dish dense.
Adjust salt after cooking.
Salt levels can concentrate during pressure cooking. Tasting and adjusting at the end ensures balanced seasoning without oversalting.
Common Mistakes to Avoid
Skipping rinsing the rice
Why it happens Many assume rinsing is unnecessary or forget, but it’s easy to overlook.
Fix Always rinse the basmati rice under cold water until the water runs clear to remove excess starch. This prevents clumping and achieves fluffy grains.
Burning the spices during sauté
Why it happens High heat and lack of stirring can cause spices to burn quickly.
Fix Keep the heat moderate and stir continuously when adding spices to oil. If spices start to burn, add a splash of water or lower the heat immediately.
Using too much liquid
Why it happens Misjudging broth or water amounts can lead to soggy rice.
Fix Measure liquids carefully and stick to the recipe’s recommended amounts. Too much liquid makes rice mushy; too little leaves it undercooked.
Quick releasing pressure immediately
Why it happens Impatience leads to quick release to speed up meal prep.
Fix Allow the pot to naturally release pressure for at least 10 minutes. This finishes cooking gently and prevents texture issues.
Not fluffing the rice after cooking
Why it happens Some skip this step thinking it’s unnecessary.
Fix Use a fork to gently fluff the rice to separate grains and avoid clumps, ensuring a light, airy texture.
Variations
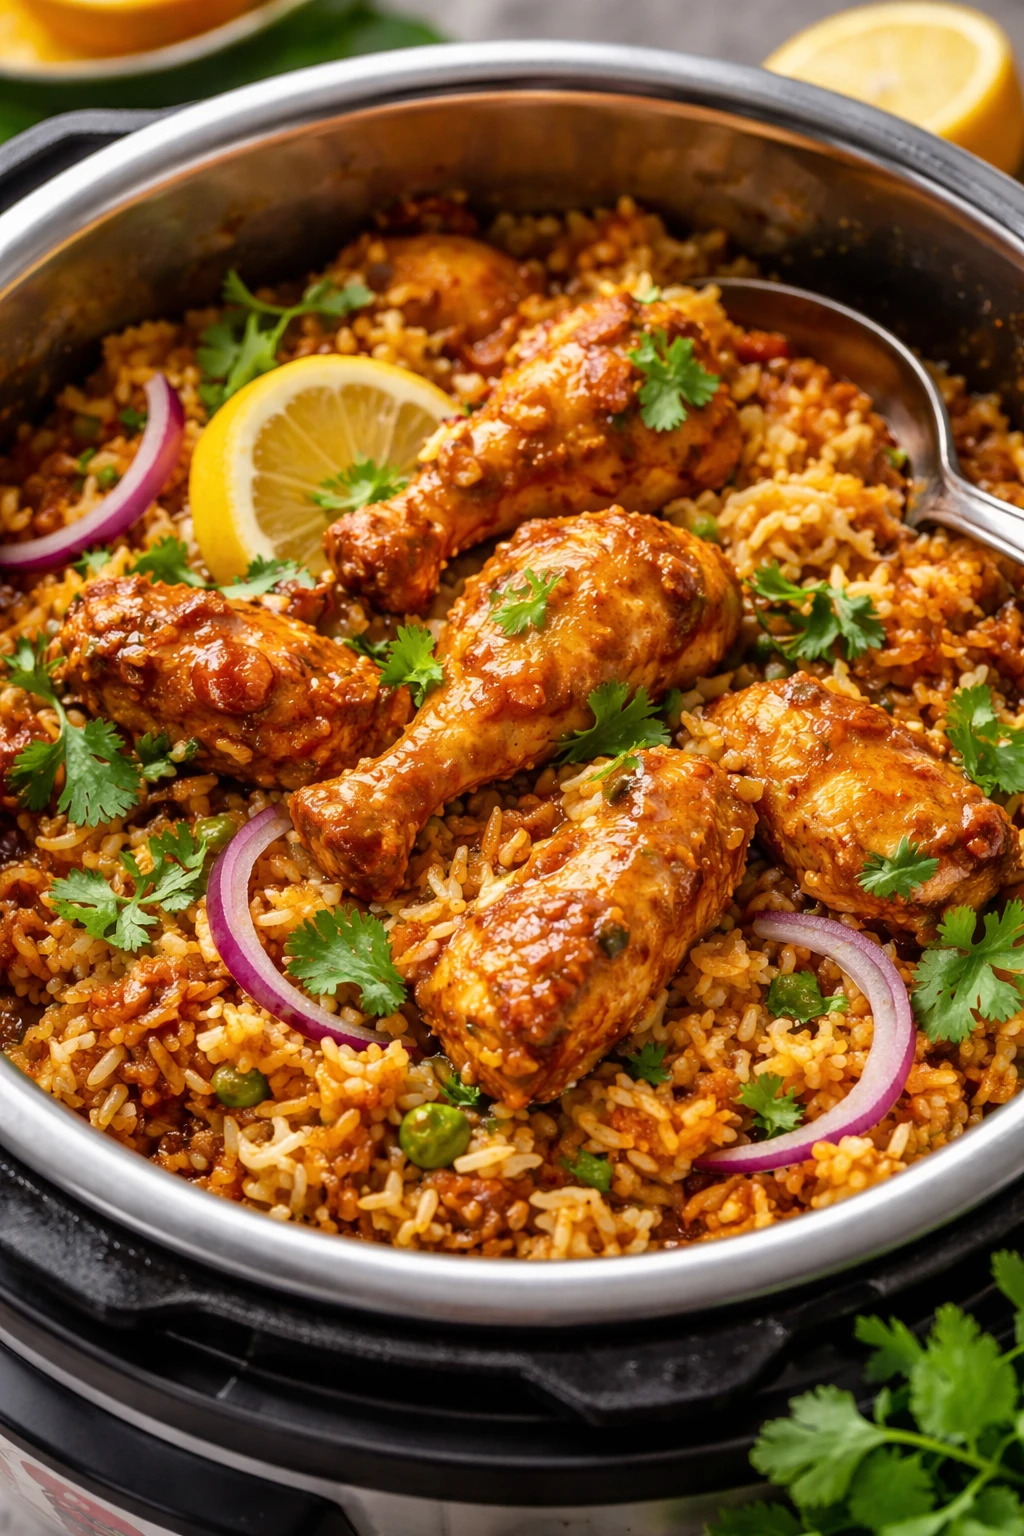
Chicken One Pot Instant Pot Indian
Add bite-sized chicken pieces before pressure cooking for a protein-packed meal. Brown the chicken in the sauté step for extra flavor. Expect a heartier dish with tender meat infused with spices.
Note: Increase pressure cooking time to 8 minutes to ensure chicken is fully cooked without overcooking rice.
Vegan Coconut Curry Version
Swap vegetable broth for coconut milk and add sweet potatoes and spinach for a creamy vegan twist. The coconut milk adds richness and balances the spices with a subtle sweetness.
Note: Reduce liquid slightly to account for coconut milk’s thickness and add leafy greens after pressure cooking to avoid overcooking.
Spicy One Pot Indian Instant Pot Rice
Increase chili powder and add chopped green chilies for a spicier kick. This version is perfect for those who like heat and bold flavors in their meals.
Note: Be cautious with chili quantity and adjust after cooking to avoid overpowering the dish.
Lentil and Rice One Pot Meal
Add red lentils along with rice for extra protein and texture. Lentils cook quickly and add a lovely creaminess, making this a nutritious and filling option.
Note: Reduce liquid by 1/4 cup to compensate for lentils absorbing more water.
Paneer and Peas One Pot Indian
Fold in cubes of paneer and peas after pressure cooking for a fresh, creamy texture. Paneer adds richness and a mild flavor that pairs well with spices.
Note: Add paneer last to avoid it breaking down; peas can be added during cooking for softness.
Nutrition
Per Serving:
Nutritional values are estimates and may vary based on specific ingredients used.
Storage & Tips
Room Temperature
This dish can be safely kept covered at room temperature for up to 2 hours. Beyond that, bacteria growth can increase, so refrigerate promptly to maintain freshness and safety.
Refrigerator
Store leftovers in an airtight container for up to 4 days. The flavors deepen over time, but the rice may firm up. Reheat gently to retain moisture, adding a splash of water if needed.
Freezer
Freeze in a sealed container for up to 2 months. To prevent freezer burn, press plastic wrap directly onto the surface before sealing. Thaw overnight in the fridge and reheat thoroughly before serving.
Reheating
Reheat on the stovetop over low heat or in the microwave. Add a splash of water or broth to loosen the rice and cover to trap steam, which helps restore moisture. Avoid overheating to prevent drying out.
Make Ahead
You can prepare the sautéed base and spice mixture a day ahead and refrigerate. Add rice, liquids, and veggies just before cooking. This saves time on busy days while preserving freshness.
FAQ
Can I use brown rice instead of basmati?
Brown rice requires longer cooking times and more liquid than basmati. If substituting, increase pressure cooking time to about 20-22 minutes and adjust liquid accordingly. Keep in mind the texture and flavor will be different, with a nuttier, chewier bite.
What if I don’t have garam masala?
You can substitute with a mix of ground cinnamon, cumin, coriander, and cardamom to mimic garam masala’s warm spice blend. However, the flavor won’t be as complex. It’s worth investing in garam masala for authentic taste.
Can I make this recipe in a regular pot on the stove?
Yes, but you’ll need to adjust cooking times. After sautéing, add rice and liquids, bring to a boil, then simmer covered for about 15-20 minutes until rice is tender. Watch closely to avoid burning and add liquid as needed.
Is this recipe gluten-free?
Yes, all ingredients are naturally gluten-free. Just ensure your spice blends and broth are certified gluten-free if you have sensitivities, as cross-contamination can occur.
How spicy is this dish by default?
It has a mild to medium heat level from chili powder, balanced by the sweetness of onions and tomatoes. You can easily adjust spice levels by adding more or less chili powder or fresh chilies to suit your taste.
Can I add meat or seafood to this recipe?
Absolutely! Chicken works well and can be added during the sauté step or before pressure cooking. Seafood like shrimp should be added after pressure cooking to avoid overcooking, stirred in and cooked on sauté mode briefly.
Why is rinsing the rice so important?
Rinsing removes excess surface starch that causes rice to clump and become gummy. This step is vital for achieving fluffy, separate grains, especially in one pot dishes where the rice cooks with other ingredients.
Can I double this recipe for a larger batch?
You can, but be mindful of your Instant Pot’s max fill line. Doubling ingredients may require longer pressure cooking times and more liquid. It’s best to cook in batches if your pot is small to ensure even cooking.
Final Thoughts
I hope you enjoy making this one pot Instant Pot Indian recipe as much as I do. It’s a simple way to get big flavors on the table fast—let me know how yours turns out!