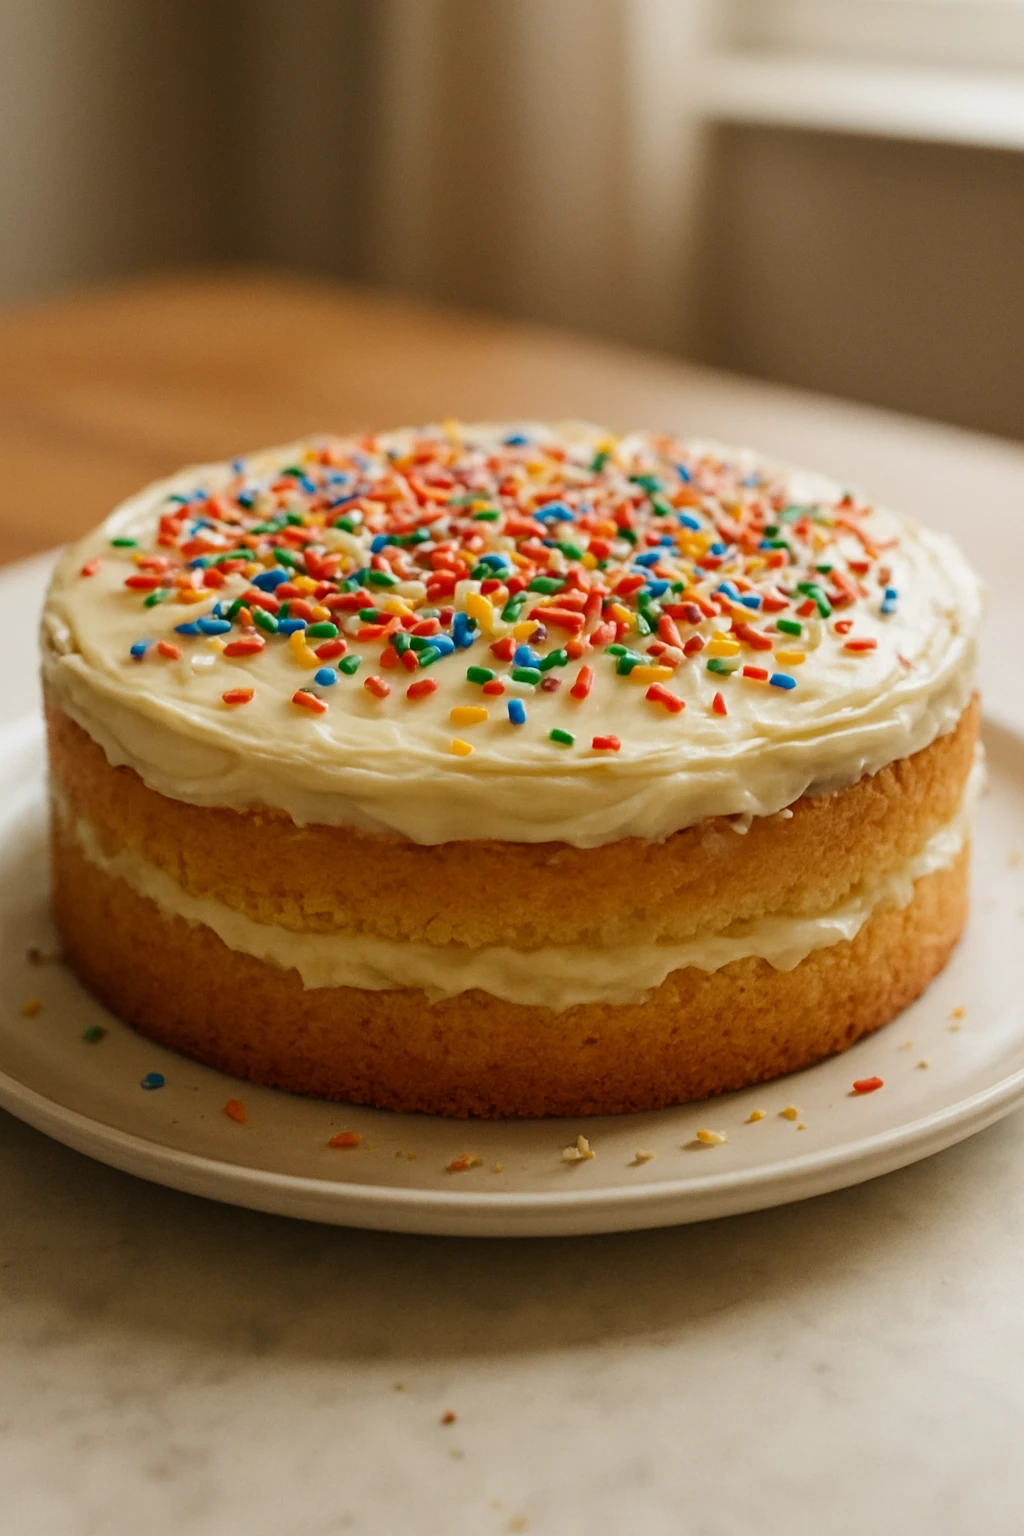
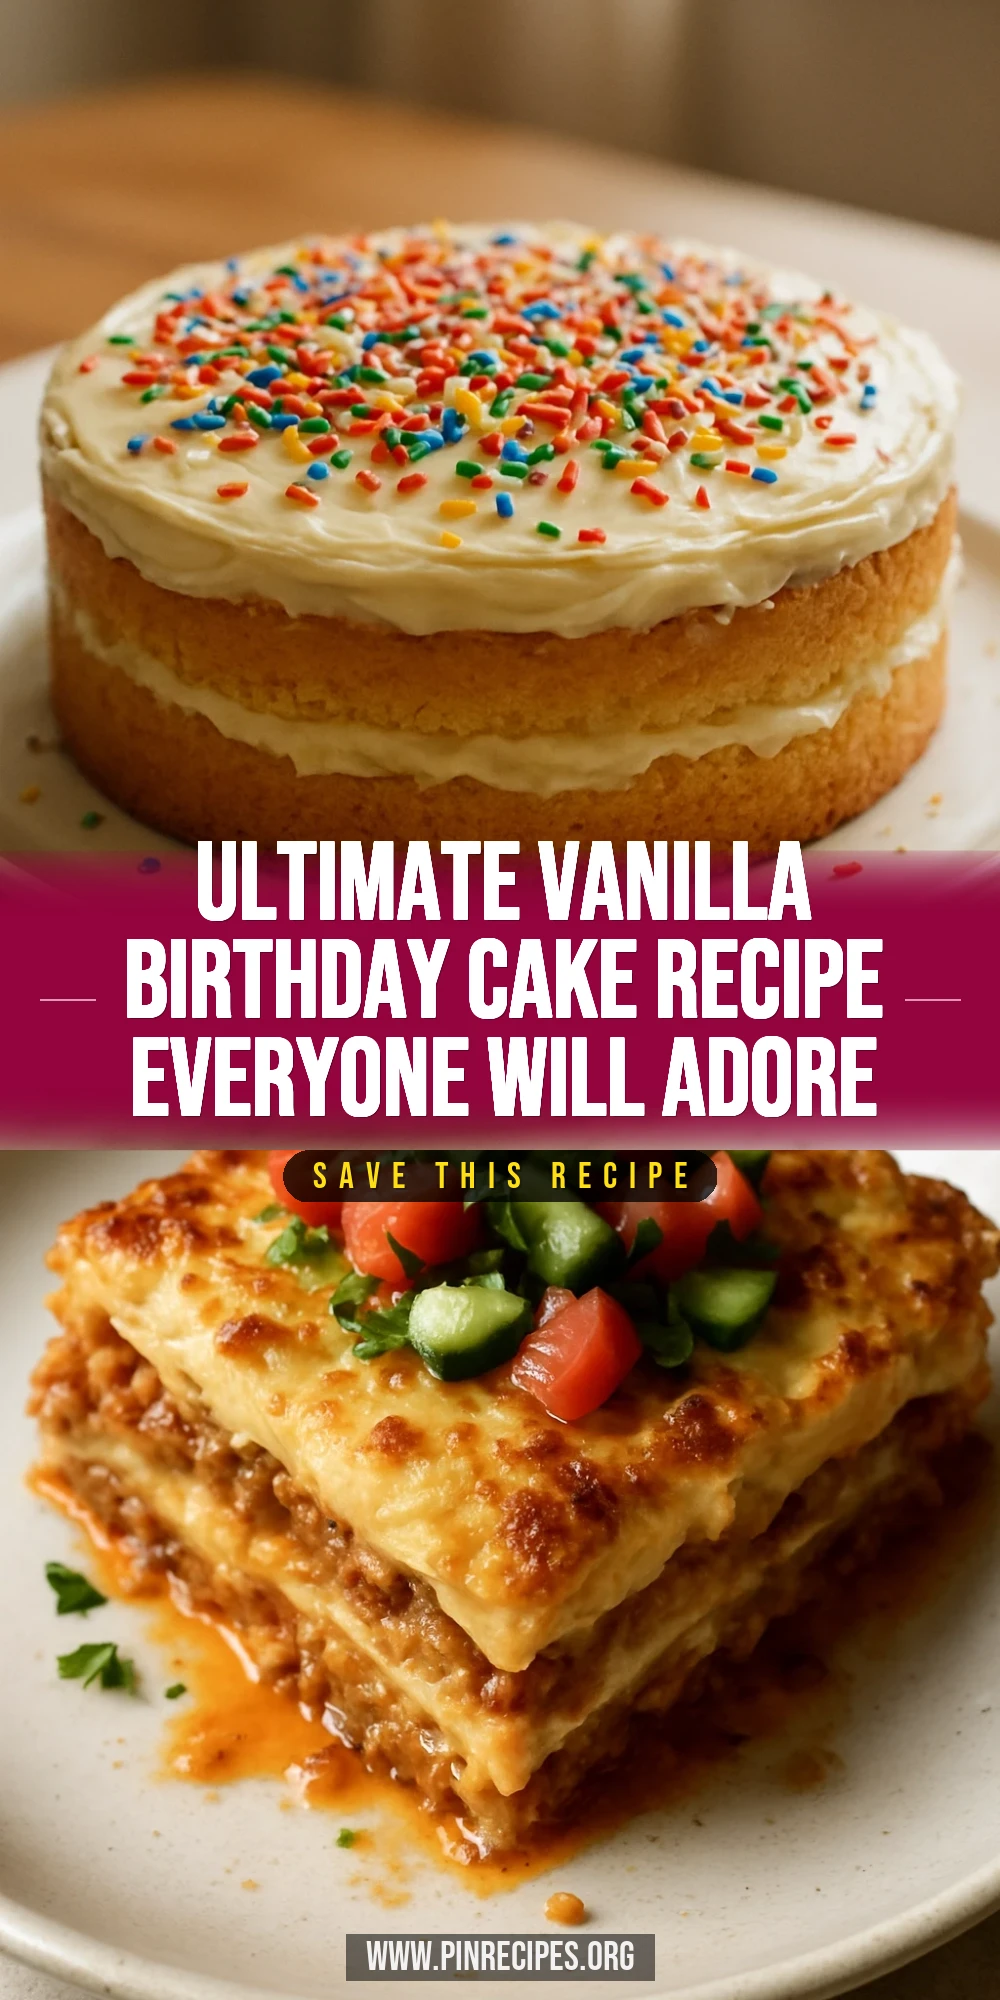
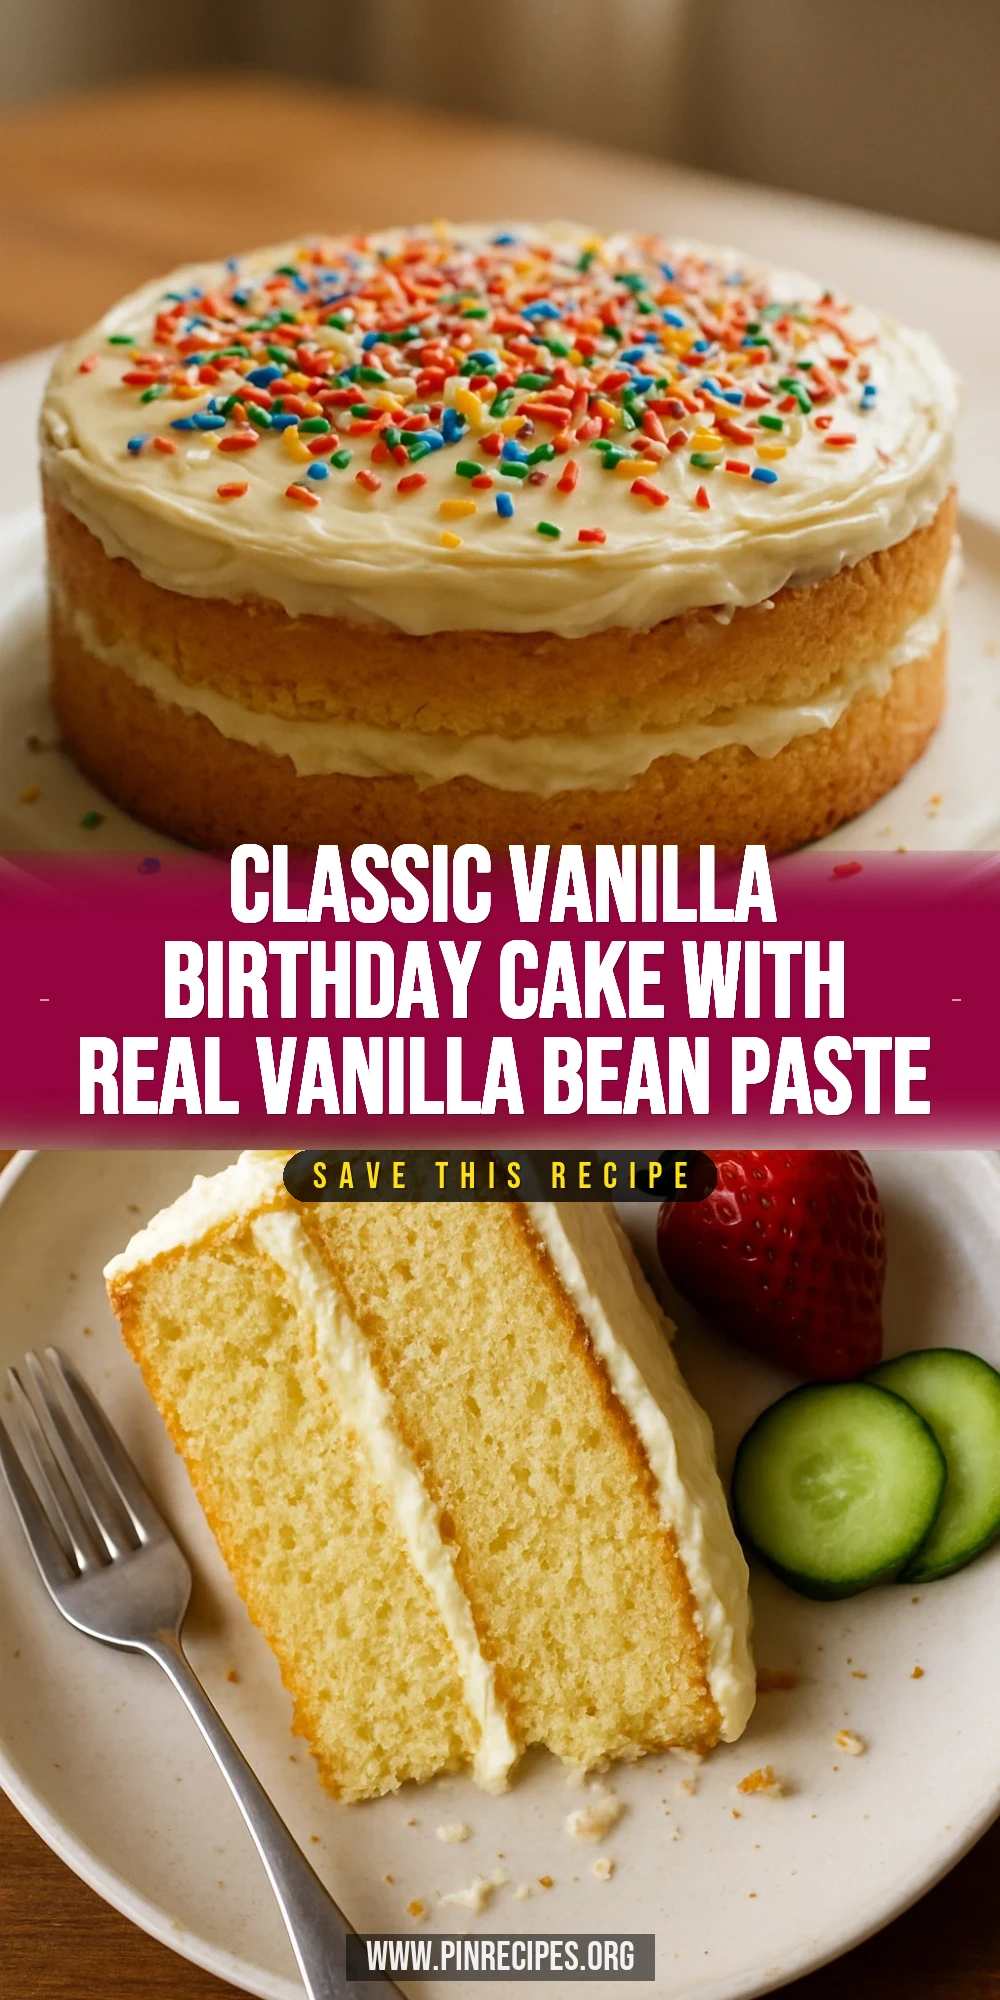
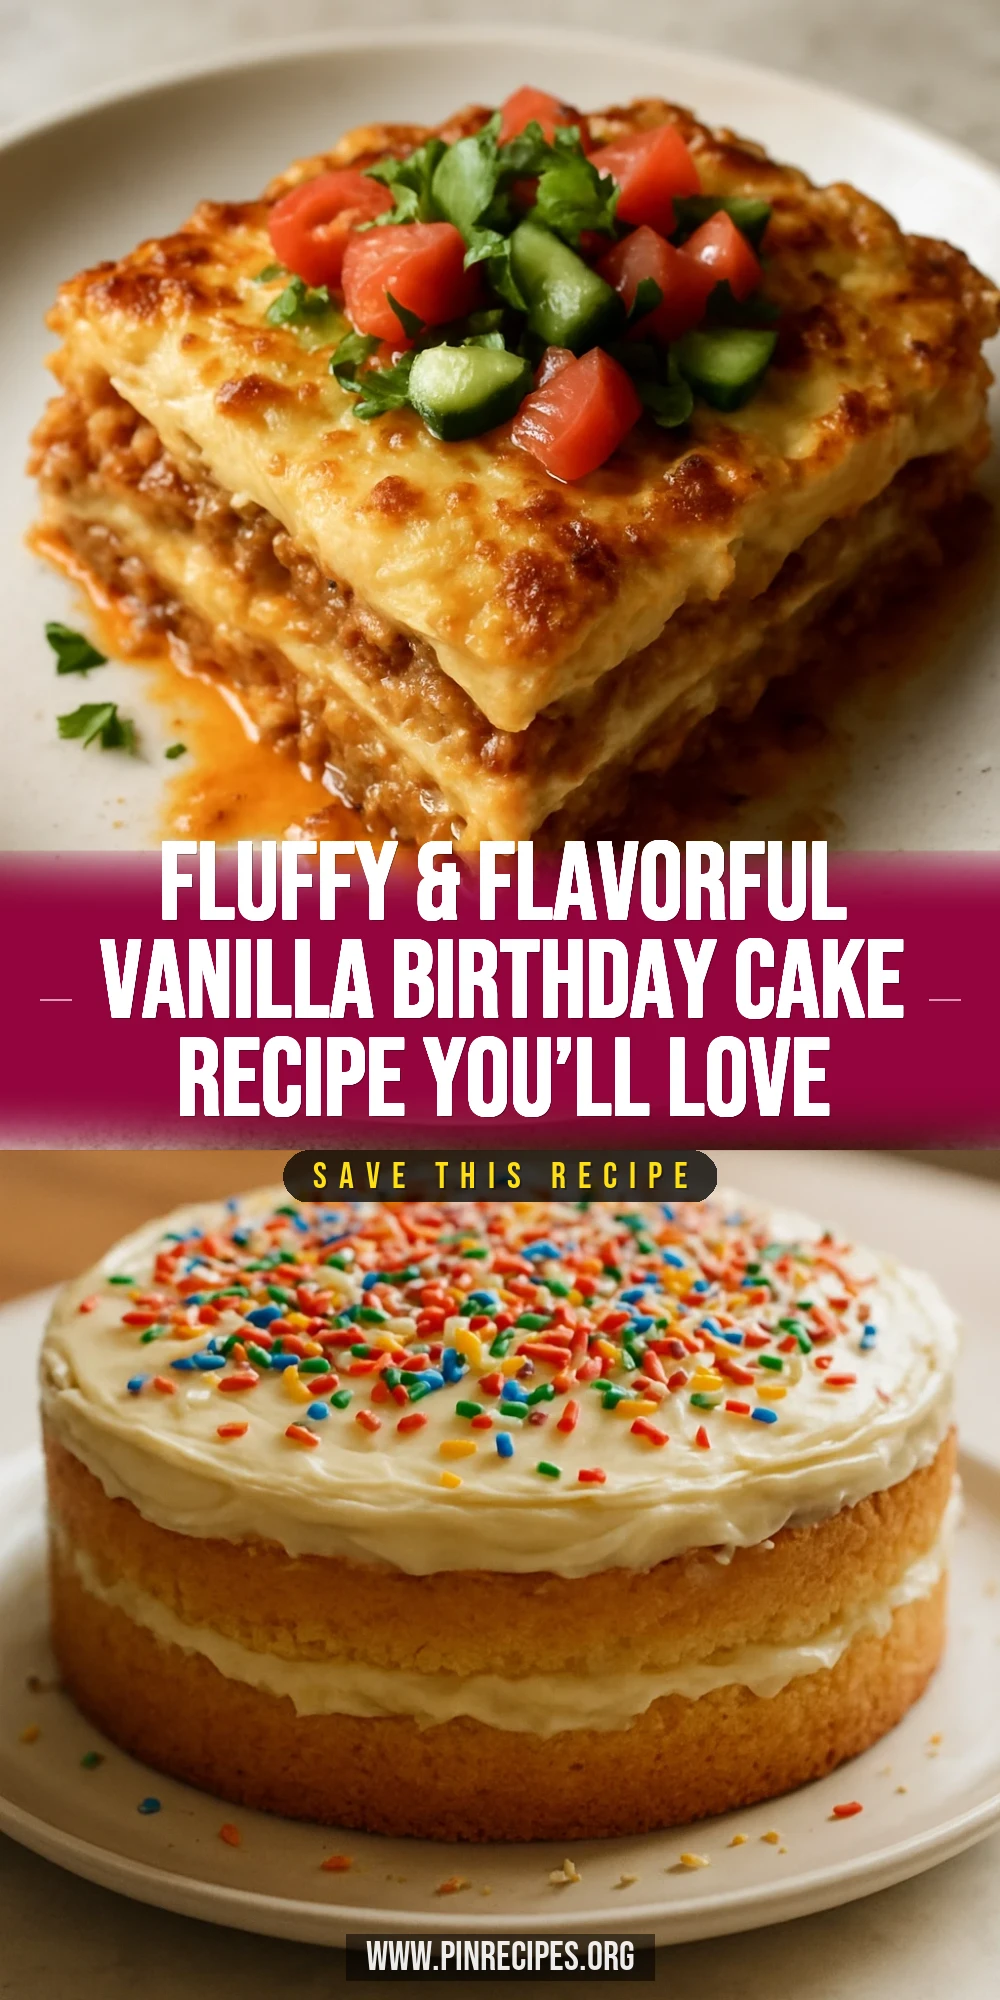
This vanilla birthday cake is a classic treat with a light, fluffy crumb and a rich vanilla flavor. The secret? Using real vanilla bean paste for an extra depth of flavor. Ideal for celebrating any special occasion!
Introduction
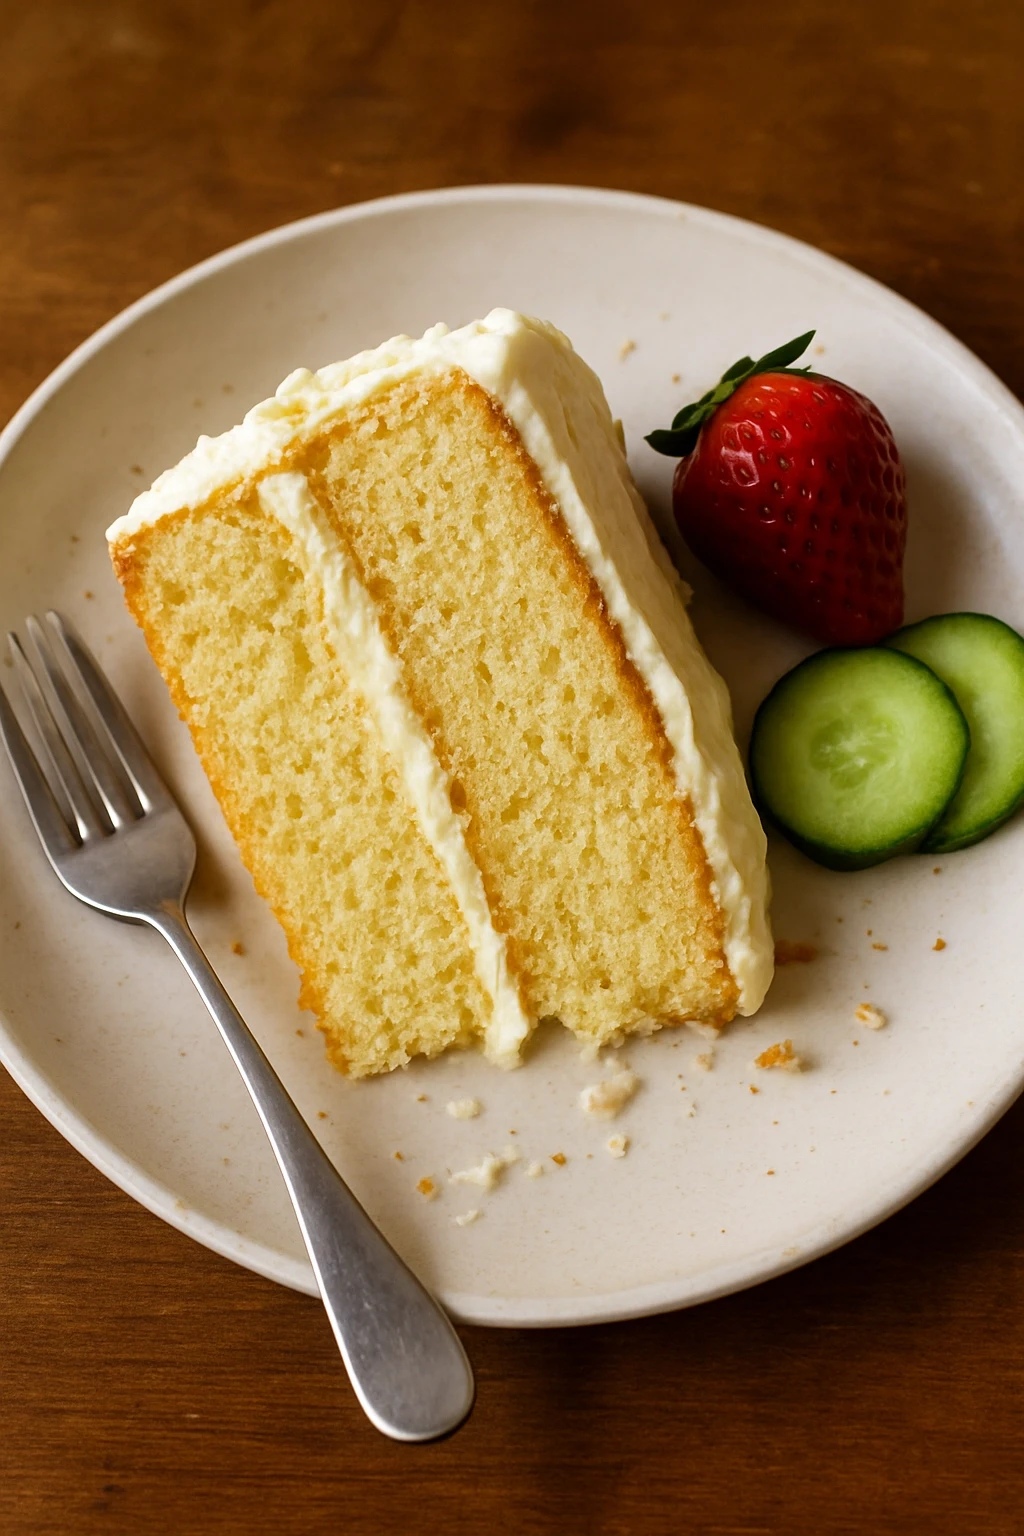
I still remember the first time I baked this vanilla birthday cake for my niece’s party. It was a bit of a gamble—I wanted something classic but not boring. After a few tweaks, I landed on this recipe that’s become a family favorite. What makes it stand out? I use vanilla bean paste instead of extract, which gives the cake a gorgeous speckled look and a richer flavor. Also, I learned that adding a teaspoon of lemon juice to the milk helps tenderize the crumb, making it super soft and moist. The layers bake up perfectly even and light, not dense or dry like some vanilla cakes can be. When you slice into it, you’ll see those tiny vanilla flecks, and the aroma will fill your kitchen with that comforting, sweet vanilla scent. It’s exactly the kind of cake you want to serve at birthdays or any celebration when you want something simple but special. Plus, the frosting melts into the cake just right, so every bite is a perfect balance of fluffy cake and creamy sweetness. Honestly, it’s become my go-to whenever I want to impress without fussing over complicated ingredients or techniques.
What You'll Need
One 9-inch two-layer cake, about 12 servings
- 2 ½ cups (312g) all-purpose flour, sifted
- 2 ½ tsp baking powder
- ½ tsp salt
- 1 cup (227g) unsalted butter, softened
- 1 ¾ cups (350g) granulated sugar
- 4 large eggs, room temperature
- 1 tbsp vanilla bean paste
- 1 cup (240ml) whole milk, room temperature
- 1 tsp lemon juice
How To Do It
Step 1
Preheat your oven to 350°F (175°C). Grease and flour two 9-inch round cake pans, or line them with parchment paper. This step is crucial because it ensures your cake layers come out cleanly without sticking. If you skip this, you might end up tearing the cake when you remove it, which can ruin the presentation. Take your time to coat the pans evenly, especially the corners.
⏱ Time: 10 minutes
✓ Doneness: Pans are evenly greased and floured with no bare spots
Step 2
In a medium bowl, whisk together the sifted flour, baking powder, and salt. Sifting helps aerate the flour and remove lumps, which leads to a lighter cake texture. Mixing the dry ingredients first ensures they’re evenly distributed, so your cake rises uniformly. Don’t skip sifting; it really makes a difference in the crumb.
⏱ Time: 5 minutes
✓ Doneness: Dry ingredients are well combined and lump-free
Step 3
In a large bowl, beat the softened butter and sugar together on medium speed until pale, fluffy, and light—about 4 to 5 minutes. This creaming process is key because it traps air in the batter, which helps the cake rise and gives it a tender crumb. If you rush this or don’t beat long enough, the cake can turn out dense and heavy.
⏱ Time: 5 minutes
✓ Doneness: Mixture is noticeably lighter in color and fluffy in texture
Step 4
Add the eggs one at a time, beating well after each addition. This gradual incorporation prevents the batter from curdling and ensures a smooth texture. If you add all eggs at once, the mixture might separate, leading to a less stable batter and uneven rise.
⏱ Time: 3 minutes
✓ Doneness: Batter is smooth and glossy with no streaks of egg visible
Step 5
Mix in the vanilla bean paste until evenly combined. The paste adds an intense vanilla flavor and those pretty black flecks throughout the cake. It’s a simple swap that elevates the cake from ordinary to special. If you don’t have paste, vanilla extract works, but the flavor is less robust.
⏱ Time: 2 minutes
✓ Doneness: Vanilla flecks are visible and evenly distributed
Step 6
In a small bowl, combine the milk with lemon juice and let it sit for 5 minutes to curdle slightly. This homemade buttermilk substitute tenderizes the cake by breaking down gluten strands, resulting in a softer crumb. Using straight milk without acid won’t give the same moistness or texture.
⏱ Time: 5 minutes
✓ Doneness: Milk appears slightly thickened and curdled
Step 7
Alternately add the dry ingredients and the milk mixture to the butter mixture, starting and ending with the dry ingredients. Mix gently on low speed until just combined. Overmixing here can develop gluten and make the cake tough, so stop as soon as you don’t see flour streaks.
⏱ Time: 4 minutes
✓ Doneness: Batter is smooth, slightly thick, with no visible flour
Step 8
Divide the batter evenly between the prepared pans and smooth the tops with a spatula. Even layers ensure the cake bakes uniformly and stacks nicely. Uneven layers can cause tilting or uneven frosting coverage later.
⏱ Time: 3 minutes
✓ Doneness: Batter is level and evenly spread in both pans
Step 9
Bake for 30-35 minutes, rotating the pans halfway through for even heat exposure. The cake is done when a toothpick inserted in the center comes out clean or with a few moist crumbs. Don’t overbake; it dries out the cake. Underbaking leaves it gummy in the middle.
⏱ Time: 30-35 minutes
✓ Doneness: Toothpick comes out clean or with moist crumbs, cake springs back when pressed lightly
Step 10
Let the cakes cool in the pans for 10 minutes, then run a knife around the edges and invert onto wire racks to cool completely. Cooling in the pans too long traps steam and can make the cake soggy. Removing them too soon risks breakage. The right timing ensures easy removal and perfect texture.
⏱ Time: 20 minutes
✓ Doneness: Cakes release easily from pans and are cool to the touch
Pro Tips
Always use room temperature ingredients before starting.
Room temperature eggs, butter, and milk blend more easily, creating a smooth batter and better emulsion. Cold ingredients can cause the batter to curdle or mix unevenly, resulting in a dense or uneven crumb.
Don’t overmix once you add flour.
Overmixing develops gluten, which makes cakes tough and chewy instead of soft and tender. Mix just until you see no more flour streaks to keep the texture delicate.
Rotate your cake pans halfway through baking.
Oven heat can be uneven, and rotating pans ensures both layers bake uniformly. This prevents one side from browning too much or the cake doming unevenly.
Use an oven thermometer to confirm temperature.
Many ovens run hotter or cooler than their dial indicates. Baking at the correct temperature ensures the cake rises properly and doesn’t dry out or underbake.
Let the cake cool in the pan for exactly 10 minutes.
Cooling too long traps steam, making the cake soggy. Too short and the cake might break when removed. Ten minutes strikes the perfect balance for easy release and texture.
Sift your dry ingredients together.
Sifting removes lumps and aerates the flour mixture, which helps the cake rise evenly and creates a finer crumb.
Use a toothpick to test doneness instead of relying on baking time alone.
Ovens vary, so the toothpick test ensures the cake is fully baked without overbaking, which can dry it out.
Common Mistakes to Avoid
Using cold ingredients straight from the fridge.
Why it happens Many people assume cold ingredients are fine, but cold butter or eggs don’t blend well, causing a lumpy batter and uneven texture.
Fix Plan ahead to let ingredients sit at room temperature for at least 30 minutes before baking. This helps them combine smoothly and promotes even baking.
Overmixing the batter after adding flour.
Why it happens It’s tempting to mix thoroughly to get rid of lumps, but overmixing develops gluten, making the cake tough.
Fix Mix gently with a spatula or mixer on low speed just until no flour streaks remain. Stop immediately once combined.
Not greasing or flouring the pans properly.
Why it happens Rushing this step or skipping it leads to stuck cakes that tear when removed.
Fix Use a pastry brush or paper towel to evenly coat pans with butter, then dust with flour, tapping out excess. Alternatively, use parchment paper rounds.
Opening the oven door repeatedly during baking.
Why it happens People often check too often, but this causes heat loss and uneven rising.
Fix Set a timer and resist opening the oven until the last 5 minutes of baking to check doneness.
Using expired baking powder.
Why it happens Baking powder loses potency over time, leading to flat, dense cakes.
Fix Test baking powder by mixing a teaspoon in warm water; it should bubble vigorously. Replace if it doesn’t.
Variations
Lemon Vanilla Cake
Add 2 tablespoons of fresh lemon zest to the batter and replace vanilla bean paste with vanilla extract. This adds a bright citrus note that pairs beautifully with the vanilla base. The cake will taste fresher and slightly tangier, perfect for spring or summer birthdays.
Note: Zest must be finely grated and folded gently to avoid overmixing. Baking time remains the same.
Chocolate Swirl Vanilla Cake
Reserve ½ cup of batter, mix with 2 tablespoons cocoa powder, and swirl into the vanilla batter in the pans before baking. This creates a marbled effect with a hint of chocolate flavor, adding visual interest and flavor contrast without overpowering the vanilla.
Note: Don’t over-swirl to keep distinct marbled patterns. Bake as usual.
Gluten-Free Vanilla Cake
Substitute all-purpose flour with a 1:1 gluten-free baking flour blend containing xanthan gum. This allows those with gluten sensitivities to enjoy the cake without sacrificing texture or flavor significantly.
Note: Mix gluten-free flour thoroughly but gently; batter may be slightly thicker. Baking time may need an extra 3-5 minutes.
Dairy-Free Vanilla Cake
Replace butter with a high-quality dairy-free margarine and milk with almond or oat milk. This variation keeps the cake moist and flavorful for dairy-free diets, though the crumb may be slightly less rich.
Note: Use vanilla-flavored plant milk for extra aroma. Baking time remains consistent.
Vanilla Bean and Raspberry Cake
Fold fresh raspberries gently into the batter before baking or add raspberry jam between the layers after frosting. The tartness of raspberries complements the sweet vanilla beautifully and adds a pop of color and flavor.
Note: If adding raspberries to batter, fold carefully to avoid breaking berries and discoloring batter.
Nutrition
Per Serving:
Nutritional values are estimates and may vary based on specific ingredients used.
Storage & Tips
Room Temperature
The cake can be kept at room temperature for up to 2 days if covered tightly with plastic wrap or stored in a cake dome. This prevents drying out and keeps the crumb soft.
Refrigerator
Store the cake in an airtight container or wrapped tightly in plastic wrap for up to 5 days. The cake may firm up and lose some moisture but will still taste great. Bring to room temperature before serving for best texture.
Freezer
Wrap the cooled cake layers tightly in plastic wrap and then aluminum foil. Freeze for up to 3 months. To thaw, move to the refrigerator overnight, then bring to room temperature before frosting or serving to restore softness.
Reheating
If desired, warm individual slices in a microwave for 10-15 seconds to soften chilled cake. Avoid overheating to prevent drying out. For a fresh-baked feel, briefly warm in a 300°F oven for 5-7 minutes wrapped in foil.
Make Ahead
You can bake the cake layers 1-2 days ahead and keep them wrapped in the refrigerator. Prepare frosting separately and assemble on the day of serving for the freshest look and taste.
FAQ
Can I use vanilla extract instead of vanilla bean paste?
Yes, you can substitute vanilla extract for vanilla bean paste in equal amounts. However, the flavor will be less intense and you won’t get the pretty vanilla specks in the cake. For the best flavor and appearance, I recommend using the paste if possible.
Why does my cake sometimes turn out dense?
Dense cake often results from overmixing the batter, especially after adding flour, or using cold ingredients. Make sure to mix gently and use room temperature eggs, butter, and milk. Also, check your baking powder’s freshness, as old leavening can cause poor rise.
Can I make this cake gluten-free?
Absolutely! Use a 1:1 gluten-free baking flour blend with xanthan gum. The texture will be slightly different but still delicious. Be careful not to overmix the batter as gluten-free flours can become gummy if overworked.
How do I know when the cake is fully baked?
Insert a toothpick into the center of the cake. If it comes out clean or with a few moist crumbs, it’s done. The cake should also spring back lightly when pressed. Avoid relying solely on baking time, as ovens vary.
Can I freeze the cake layers?
Yes, freeze the cooled layers wrapped tightly in plastic and foil for up to 3 months. Thaw overnight in the fridge, then bring to room temperature before frosting. This helps maintain moisture and texture.
What frosting pairs best with this vanilla cake?
Classic buttercream or cream cheese frosting pairs beautifully. You can also try whipped cream frosting for a lighter option. The vanilla cake’s subtle flavor works well with a variety of frostings.
Why do you add lemon juice to the milk?
The lemon juice curdles the milk slightly, creating a buttermilk substitute. This acid tenderizes gluten and reacts with baking powder to help the cake rise and stay moist. It’s a simple trick for a softer crumb.
Can I bake this cake in a different size pan?
You can, but baking time will vary. For smaller pans, bake less time; for larger pans, bake longer. Use the toothpick test to check doneness. Adjust the recipe quantities accordingly to maintain layer thickness.
Final Thoughts
Give this vanilla birthday cake a try and see how those simple tweaks make a big difference. I’d love to hear how it turns out for your next celebration!