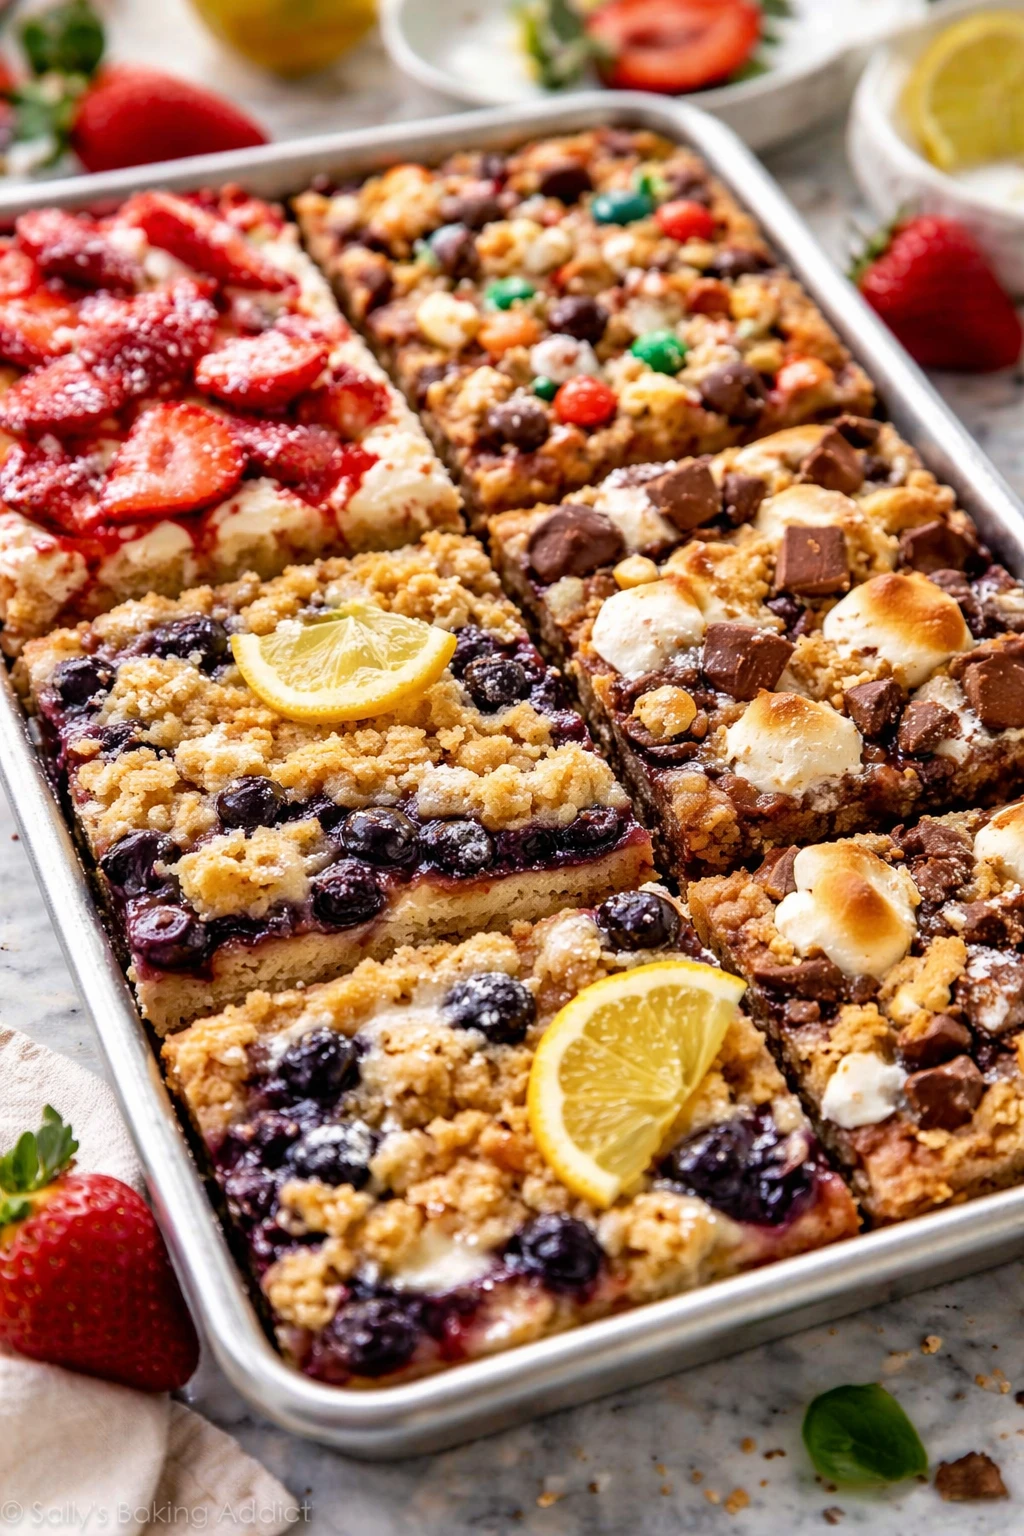
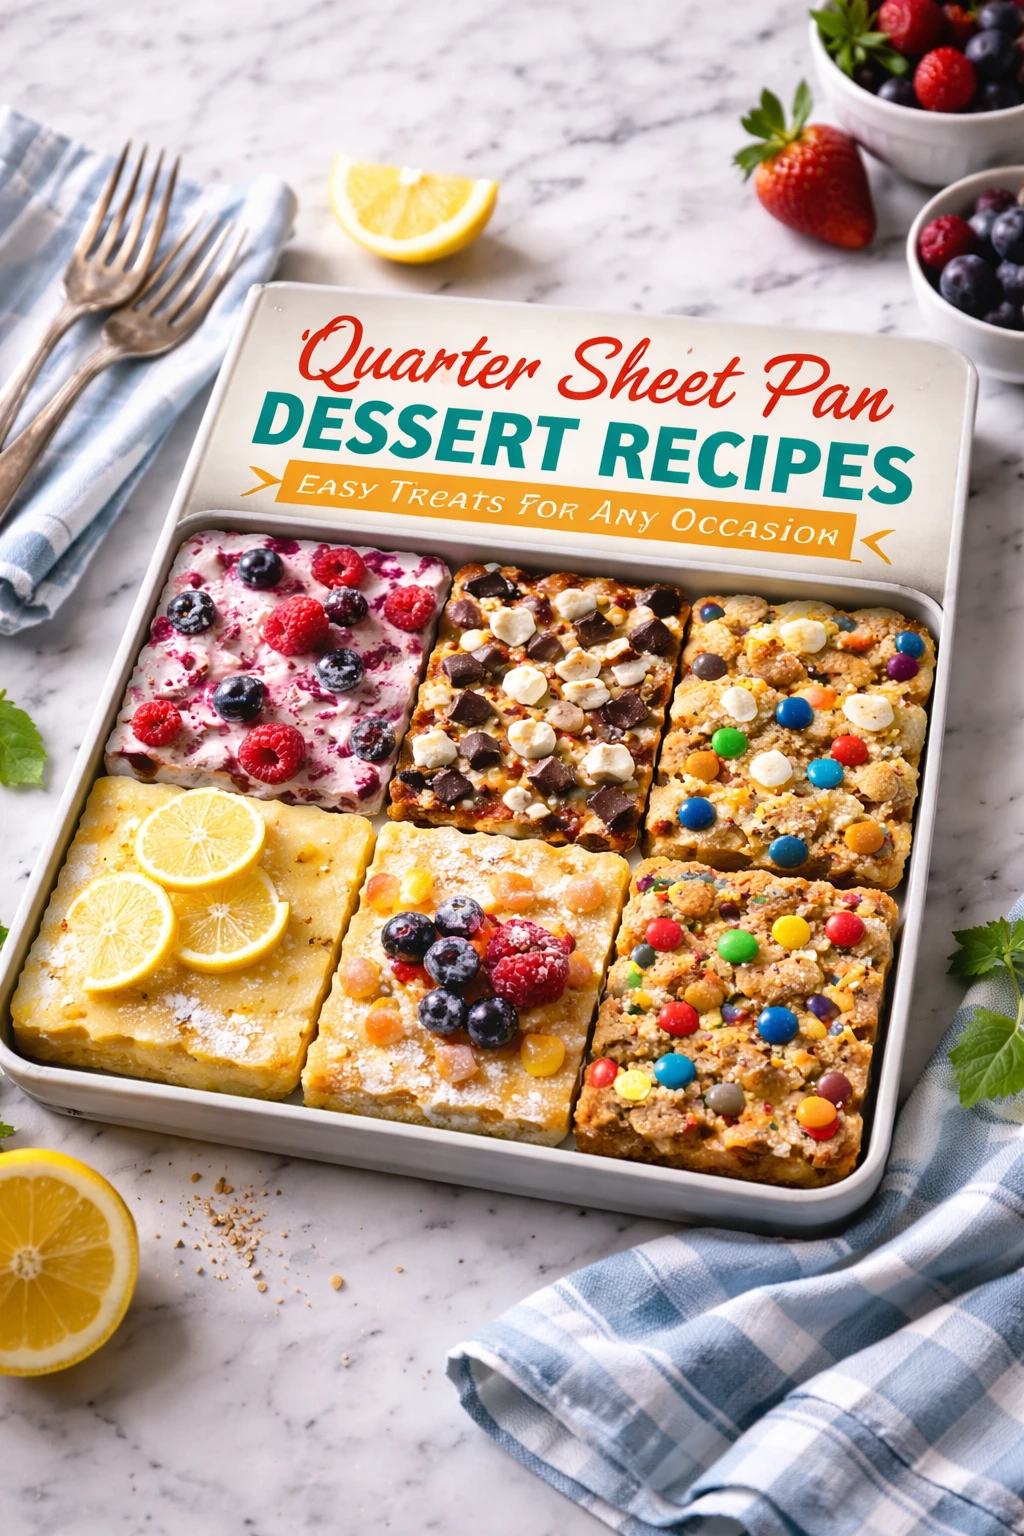
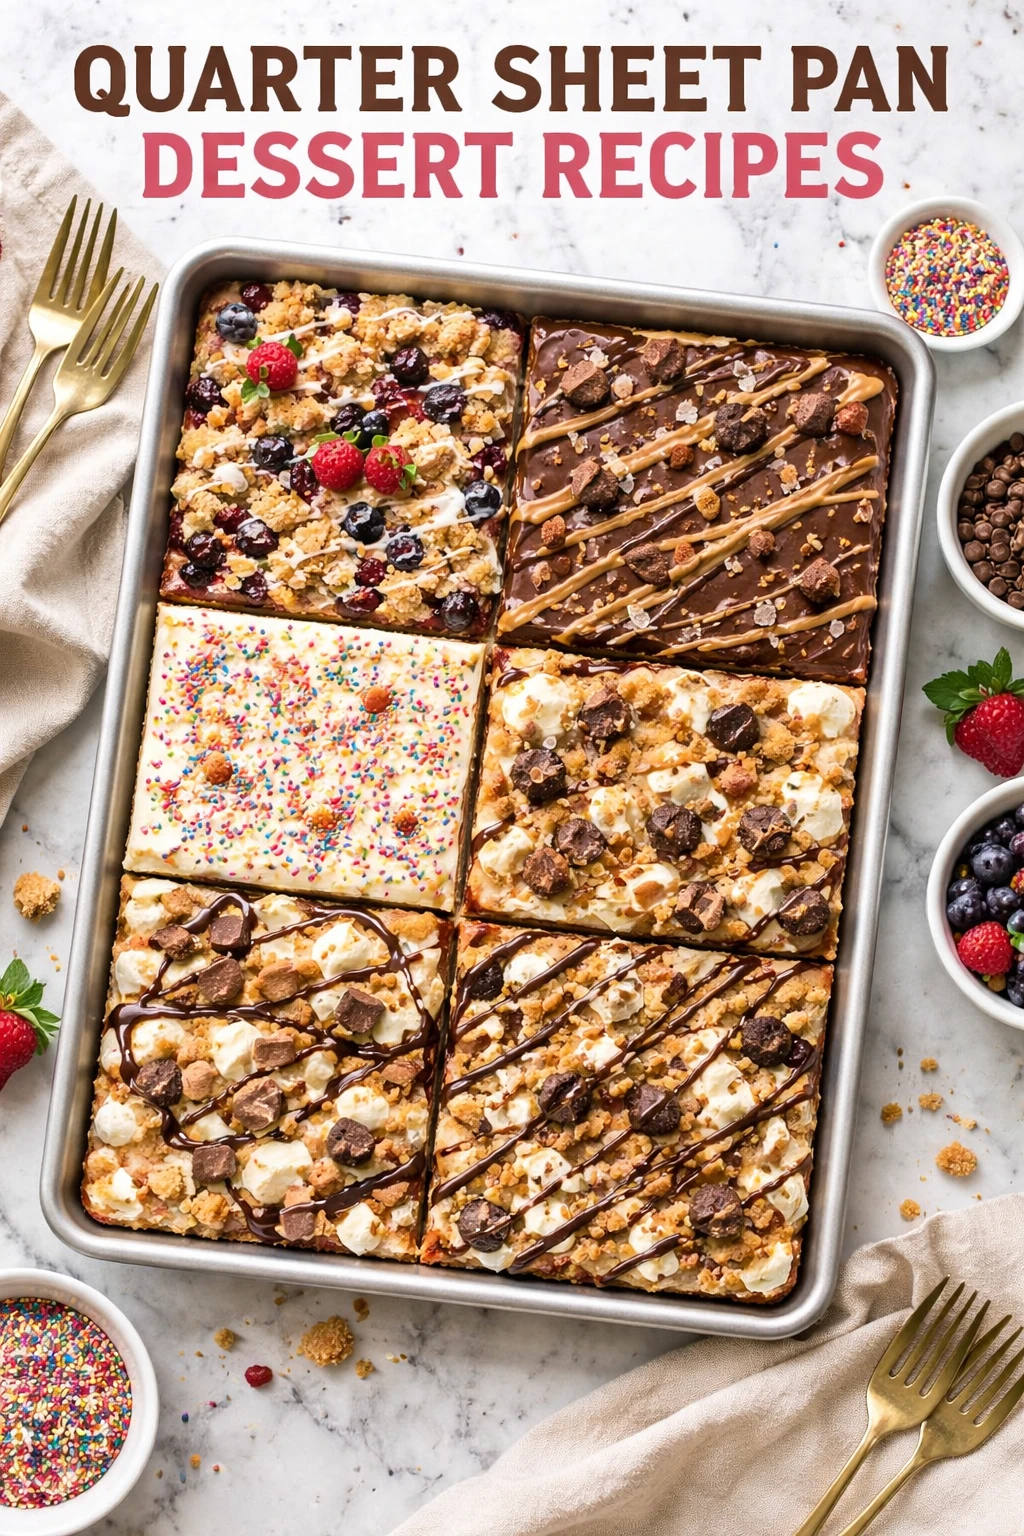
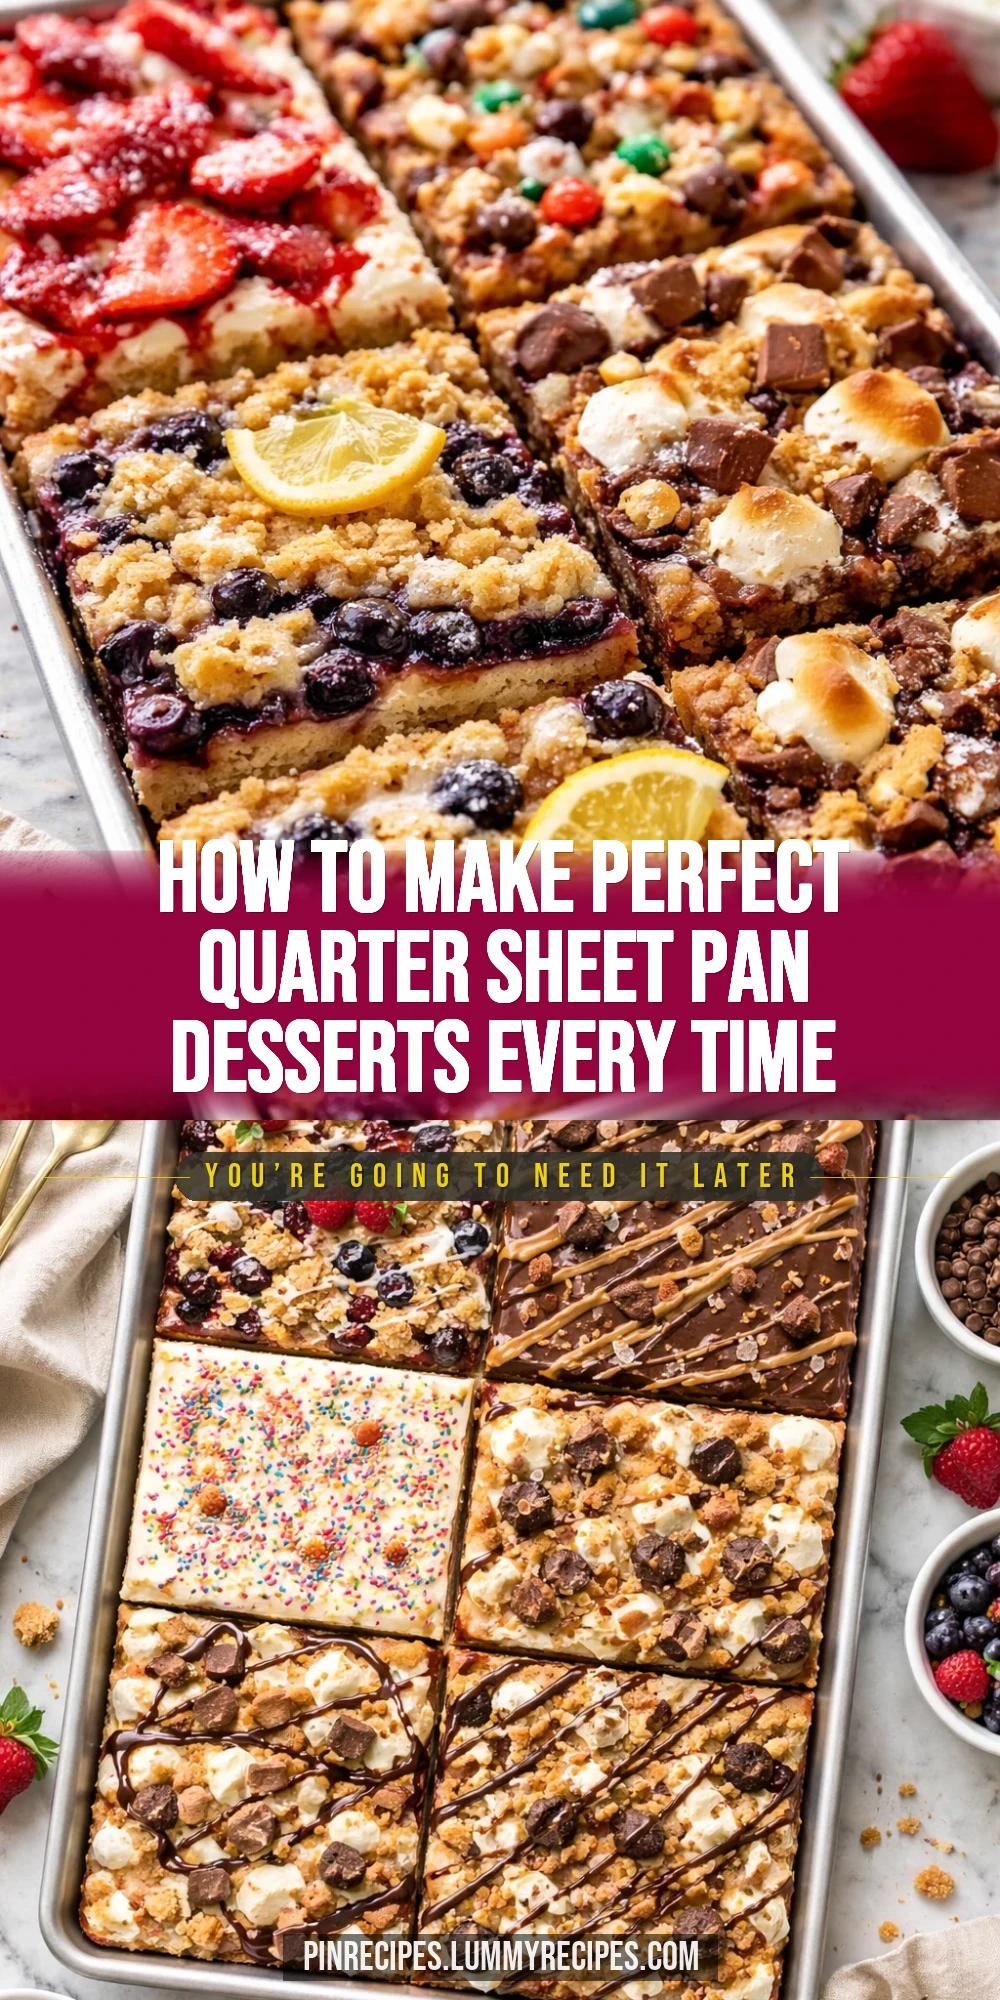
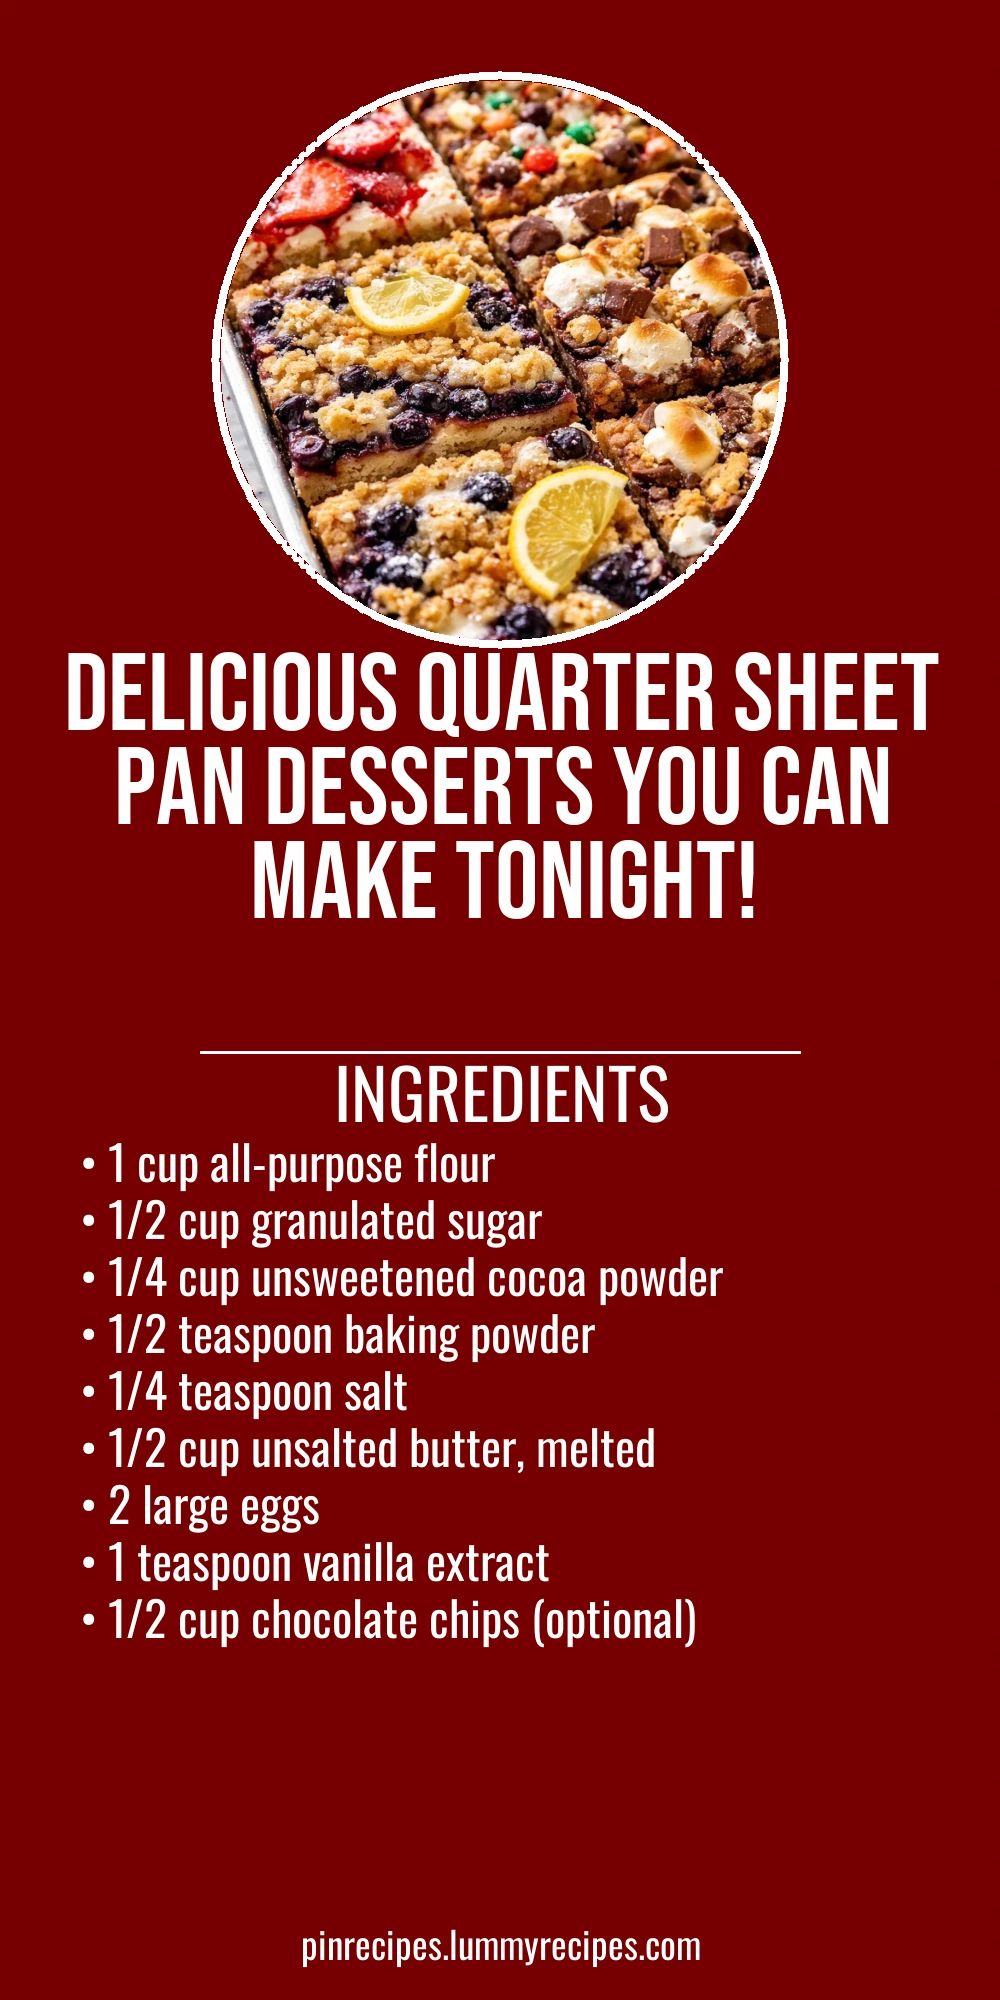
These quarter sheet pan desserts are my go-to when I want something sweet but simple. Using a smaller pan means faster baking and less waste. Perfect for casual get-togethers or a cozy night in!
Introduction
I first stumbled upon quarter sheet pan desserts when I realized I didn't want to make a whole big batch of sweets just for myself or a small group. These smaller pans are perfect for quick bakes, and I love how evenly everything cooks. Over time, I tweaked this recipe to balance moistness with a tender crumb, adding melted butter for richness and a hint of vanilla for warmth. One trick I learned is to not overmix the batter—just enough to combine the ingredients keeps the texture light and soft. The result is a dessert that's easy to slice into perfect squares, with a slightly fudgy center and crisp edges. It’s become my go-to for casual nights when I want something sweet but fuss-free. Plus, you can easily customize it with chocolate chips, nuts, or berries depending on what you have on hand. No fancy equipment needed, just a trusty quarter sheet pan and a few pantry staples.
How To Do It
Step 1
Preheat your oven to 350°F (175°C) and grease your quarter sheet pan with butter or non-stick spray. This step is crucial because it ensures the dessert doesn’t stick and helps the edges crisp up nicely. Using a smaller pan means the batter will be thicker, so greasing well prevents any frustration when removing the dessert after baking.
⏱ Time: 10 minutes
✓ Doneness: Pan is evenly coated with no dry spots visible
Step 2
In a large bowl, whisk together the flour, sugar, cocoa powder, baking powder, and salt until well combined. This dry mix forms the base of your dessert and evenly distributes the leavening agent, which helps the dessert rise just enough without becoming cakey. Make sure to break up any lumps for a smooth batter.
⏱ Time: 5 minutes
✓ Doneness: Dry ingredients are uniform in color with no clumps
Step 3
In a separate bowl, beat the eggs lightly, then add the melted butter and vanilla extract. Whisk these wet ingredients together until smooth. The melted butter adds richness and moisture, while the vanilla gives a warm, inviting flavor. Combining wet ingredients separately helps with even mixing later on.
⏱ Time: 5 minutes
✓ Doneness: Wet mixture is smooth and slightly frothy
Step 4
Pour the wet ingredients into the dry mix and gently fold with a spatula until just combined. Avoid overmixing here; it’s tempting to keep stirring but doing so can develop gluten and make the dessert tough. Folding ensures a tender crumb and moist texture.
⏱ Time: 3 minutes
✓ Doneness: Batter is uniform but still slightly lumpy
Step 5
If using, fold in the chocolate chips now. They add pockets of melted chocolate that make each bite extra indulgent. You can substitute with nuts or dried fruit if you prefer. Distribute them evenly for consistent flavor throughout.
⏱ Time: 2 minutes
✓ Doneness: Chocolate chips are evenly dispersed in the batter
Step 6
Spread the batter evenly into the prepared quarter sheet pan using a spatula. Make sure it’s level so the dessert bakes uniformly. Uneven batter can cause some parts to overbake while others stay underdone.
⏱ Time: 3 minutes
✓ Doneness: Surface is smooth and level without thick or thin spots
Step 7
Bake in the preheated oven for 25-30 minutes. Start checking at 25 minutes by inserting a toothpick in the center; it should come out with a few moist crumbs but no wet batter. Overbaking dries the dessert, while underbaking leaves it gooey and unstable.
⏱ Time: 25-30 minutes
✓ Doneness: Toothpick inserted comes out with moist crumbs but no raw batter
Step 8
Remove the pan from the oven and let it cool on a wire rack for at least 15 minutes. Cooling allows the dessert to set, making it easier to slice without crumbling. Cutting too soon can cause it to fall apart.
⏱ Time: 15 minutes
✓ Doneness: Dessert is firm to the touch and slightly pulling away from pan edges
Step 9
Once cooled, slice into squares with a sharp knife. For clean cuts, wipe the knife between slices. Serve as is or with a scoop of ice cream for an extra special treat. This dessert keeps well and can be enjoyed warm or at room temperature.
⏱ Time: 5 minutes
✓ Doneness: Squares are cleanly cut without crumbling
Pro Tips
Don’t overmix the batter once you combine wet and dry ingredients.
Overmixing develops gluten strands which toughen the dessert’s texture. Folding just until combined keeps the crumb tender and moist. You’ll notice a few lumps in the batter—that’s perfect!
Use room temperature eggs to help the batter emulsify better.
Cold eggs can cause the melted butter to seize or clump, making it harder to mix evenly. Room temperature eggs blend smoothly, resulting in a uniform batter and consistent texture.
Grease the pan thoroughly to prevent sticking and ensure even browning.
Butter or non-stick spray creates a barrier between the batter and pan. Without it, the dessert can stick and break apart when slicing, ruining your presentation and making cleanup harder.
Check for doneness early with a toothpick starting at 25 minutes.
Ovens vary, so starting to test early prevents overbaking. A toothpick with moist crumbs means it’s perfectly baked—too dry means it’s overdone, and wet batter means it needs more time.
Let the dessert cool completely before slicing.
Cooling allows the structure to set, making clean cuts easier. Cutting warm will cause crumbling and uneven pieces, which can be frustrating when serving.
Customize with mix-ins like chocolate chips or nuts for added texture.
Adding ingredients like chocolate chips introduces melty pockets of flavor, while nuts add crunch and contrast. Just fold them in gently at the end to maintain batter consistency.
Use a sharp knife wiped clean between cuts for neat squares.
A dull or sticky knife drags and crumbles the dessert, making slices messy. Wiping the knife between cuts ensures smooth, attractive pieces perfect for serving.
Common Mistakes to Avoid
Overbaking the dessert
Why it happens Many bakers leave the dessert in the oven too long, thinking it needs to be completely dry inside.
Fix Start checking for doneness at 25 minutes by inserting a toothpick. Remove the dessert as soon as it comes out with moist crumbs, not completely dry. This keeps it moist and tender.
Overmixing the batter
Why it happens It’s natural to want a smooth batter, but mixing too much develops gluten.
Fix Fold the wet and dry ingredients gently until just combined. Stop mixing as soon as you don’t see dry flour. This prevents toughness.
Not greasing the pan properly
Why it happens Skipping or lightly greasing can cause sticking.
Fix Use enough butter or non-stick spray to coat the entire pan surface, including corners. This helps the dessert release cleanly.
Using expired baking powder
Why it happens Old baking powder loses potency and won’t leaven properly.
Fix Test baking powder by adding a bit to warm water—if it bubbles vigorously, it’s fresh. Otherwise, replace it to ensure proper rise.
Cutting dessert before it cools
Why it happens Impatience leads to slicing warm dessert that hasn’t set.
Fix Allow at least 15 minutes cooling on a wire rack. The dessert firms up and slices cleanly without crumbling.
Variations
Berry Swirl Quarter Sheet Pan Dessert
Add fresh or frozen berries to the batter and swirl in a spoonful of berry jam before baking. This adds a fruity brightness that balances the chocolate richness. Expect a slightly moister texture and a beautiful marbled look.
Note: Use berries that aren’t too watery to prevent sogginess; adjust baking time by a few minutes if needed.
Peanut Butter Chocolate Chip Bars
Fold in 1/3 cup creamy peanut butter and chocolate chips to the batter for a nutty twist. The peanut butter adds creaminess and a savory counterpoint to the sweet chocolate. The texture will be a bit denser and richer.
Note: Warm peanut butter slightly for easier folding; reduce butter slightly to compensate for added fat.
Gluten-Free Quarter Sheet Pan Dessert
Swap all-purpose flour for a gluten-free blend that includes xanthan gum. This keeps the texture tender and moist without gluten. The flavor remains chocolatey and satisfying with no compromise.
Note: Check your gluten-free blend ingredients; some require additional moisture or resting time for best results.
Salted Caramel Quarter Sheet Dessert
Drizzle salted caramel sauce over the batter before baking and sprinkle with flaky sea salt after baking. The salty-sweet combo elevates the dessert and adds a professional touch. Texture stays soft with a sticky caramel top.
Note: Use a good quality caramel sauce and don’t overdo the drizzle to avoid sogginess.
Espresso Infused Quarter Sheet Dessert
Add 1 tablespoon instant espresso powder to the dry ingredients for a subtle coffee flavor that enhances the chocolate notes. This variation is perfect for coffee lovers and adds depth without bitterness.
Note: Dissolve espresso powder in a tablespoon of hot water before mixing if you want a smoother flavor integration.
Nutrition
Per Serving:
Nutritional values are estimates and may vary based on specific ingredients used.
Storage & Tips
Room Temperature
Store the dessert in an airtight container at room temperature for up to 2 days. Keep it covered to prevent it from drying out. It’s best enjoyed within this time for optimal texture and freshness.
Refrigerator
Keep leftovers in an airtight container in the fridge for up to 5 days. The dessert may firm up and taste denser when cold. Reheat gently in the microwave for 15-20 seconds to restore softness before serving.
Freezer
Wrap the dessert tightly in plastic wrap and then foil to freeze for up to 2 months. To thaw, place in the fridge overnight. Warm slices in the oven at low heat or microwave briefly to regain a fresh-baked texture.
Reheating
Reheat slices in a 300°F oven for 5-7 minutes or microwave for 15-20 seconds. Adding a small splash of milk or cream before reheating can help restore moisture. Avoid overheating which can dry out the dessert.
Make Ahead
You can prepare the batter a day ahead and keep it covered in the fridge. Bake fresh the next day for best texture. Alternatively, bake and store the dessert, then slice and reheat as needed.
FAQ
Can I use a different size pan for this recipe?
Yes, but keep in mind that using a larger pan will result in thinner dessert bars and shorter baking time, while a smaller pan will make thicker bars needing longer baking. Adjust baking time accordingly and watch closely to prevent over- or under-baking.
What can I substitute for cocoa powder?
You can try using melted chocolate instead of cocoa powder, but reduce the butter slightly to compensate for the extra fat. Keep in mind this will change the texture and flavor, making it richer and denser.
How do I know when the dessert is done baking?
Insert a toothpick into the center; it should come out with a few moist crumbs but no wet batter. The edges will be set and slightly pulling away from the pan. Avoid waiting until the toothpick is completely clean to keep the dessert moist.
Can I make this dessert vegan?
To make it vegan, substitute eggs with flax eggs (1 tablespoon ground flaxseed + 3 tablespoons water per egg) and use a plant-based butter alternative. The texture might be slightly different but still delicious.
Why is my dessert dry or crumbly?
Dryness usually comes from overbaking or overmixing the batter, which develops gluten. Make sure to check for doneness early and fold ingredients gently. Also, using fresh ingredients and proper measurements helps avoid dryness.
Can I add nuts or other mix-ins?
Absolutely! Nuts, dried fruit, or chocolate chips can be folded into the batter just before baking. They add texture and flavor variety. Just be sure not to add too much or the dessert might not set properly.
How should I store leftovers?
Store leftovers in an airtight container at room temperature for up to 2 days or in the fridge for up to 5 days. For longer storage, freeze tightly wrapped for up to 2 months. Reheat gently before serving.
Can I double this recipe?
Yes, just double all ingredients and use a half sheet pan (twice the size). Baking time may need to be adjusted slightly—start checking at the original time and add more as needed.
Final Thoughts
I hope you enjoy making and sharing this quarter sheet pan dessert as much as I do! Let me know how it turns out and what mix-ins you tried!