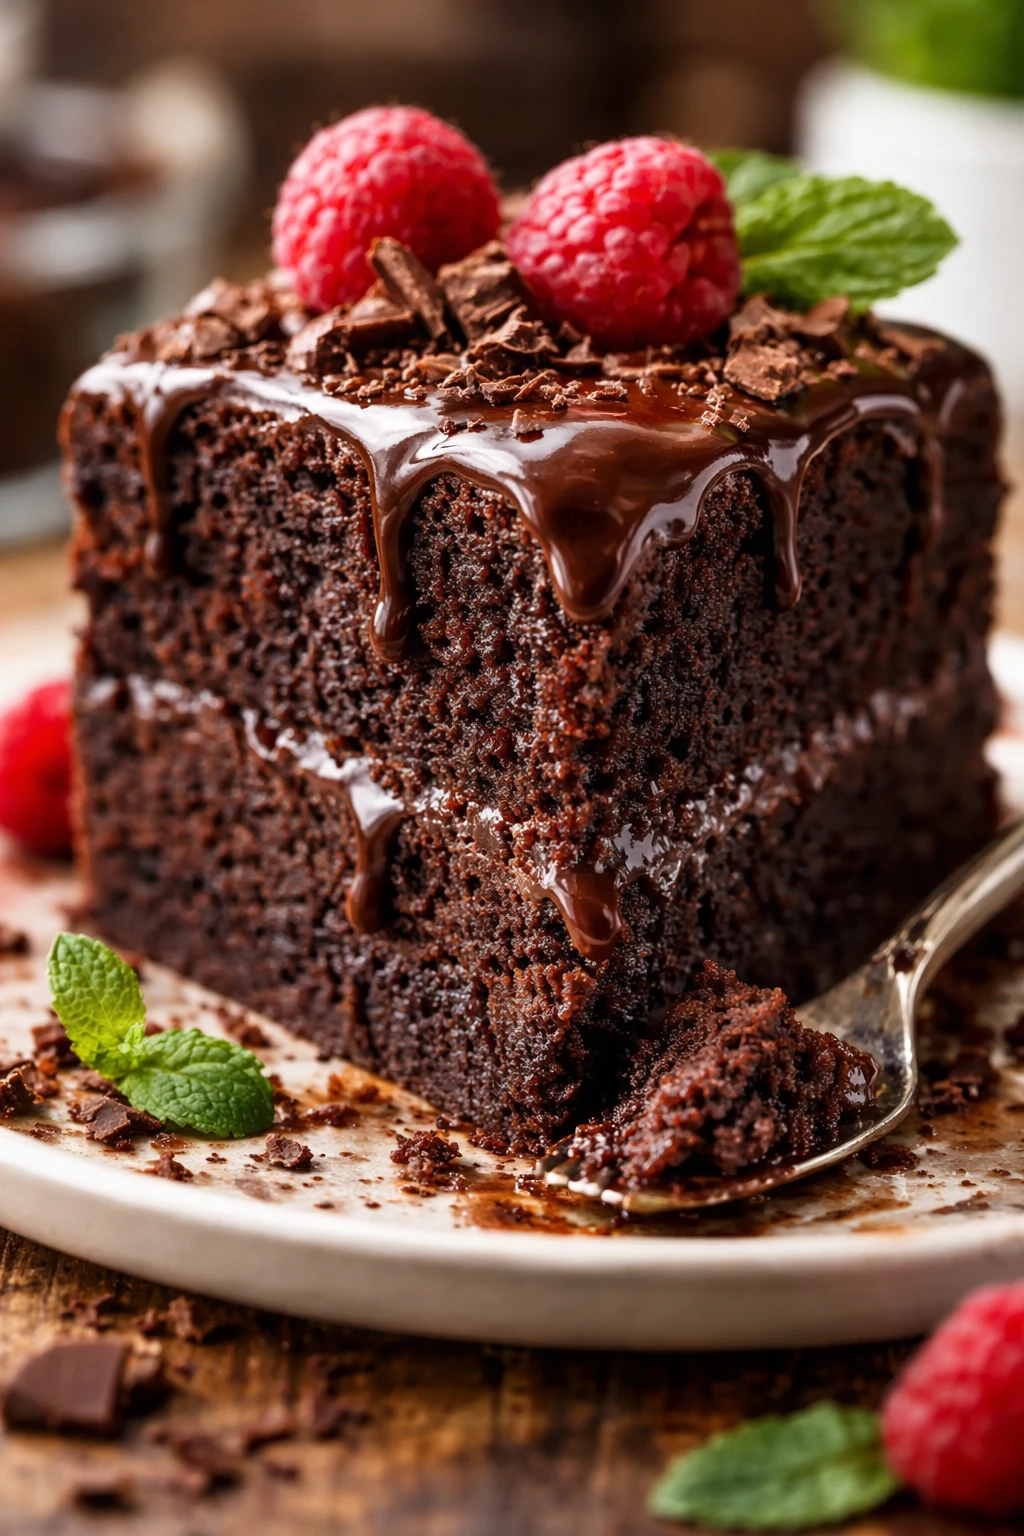
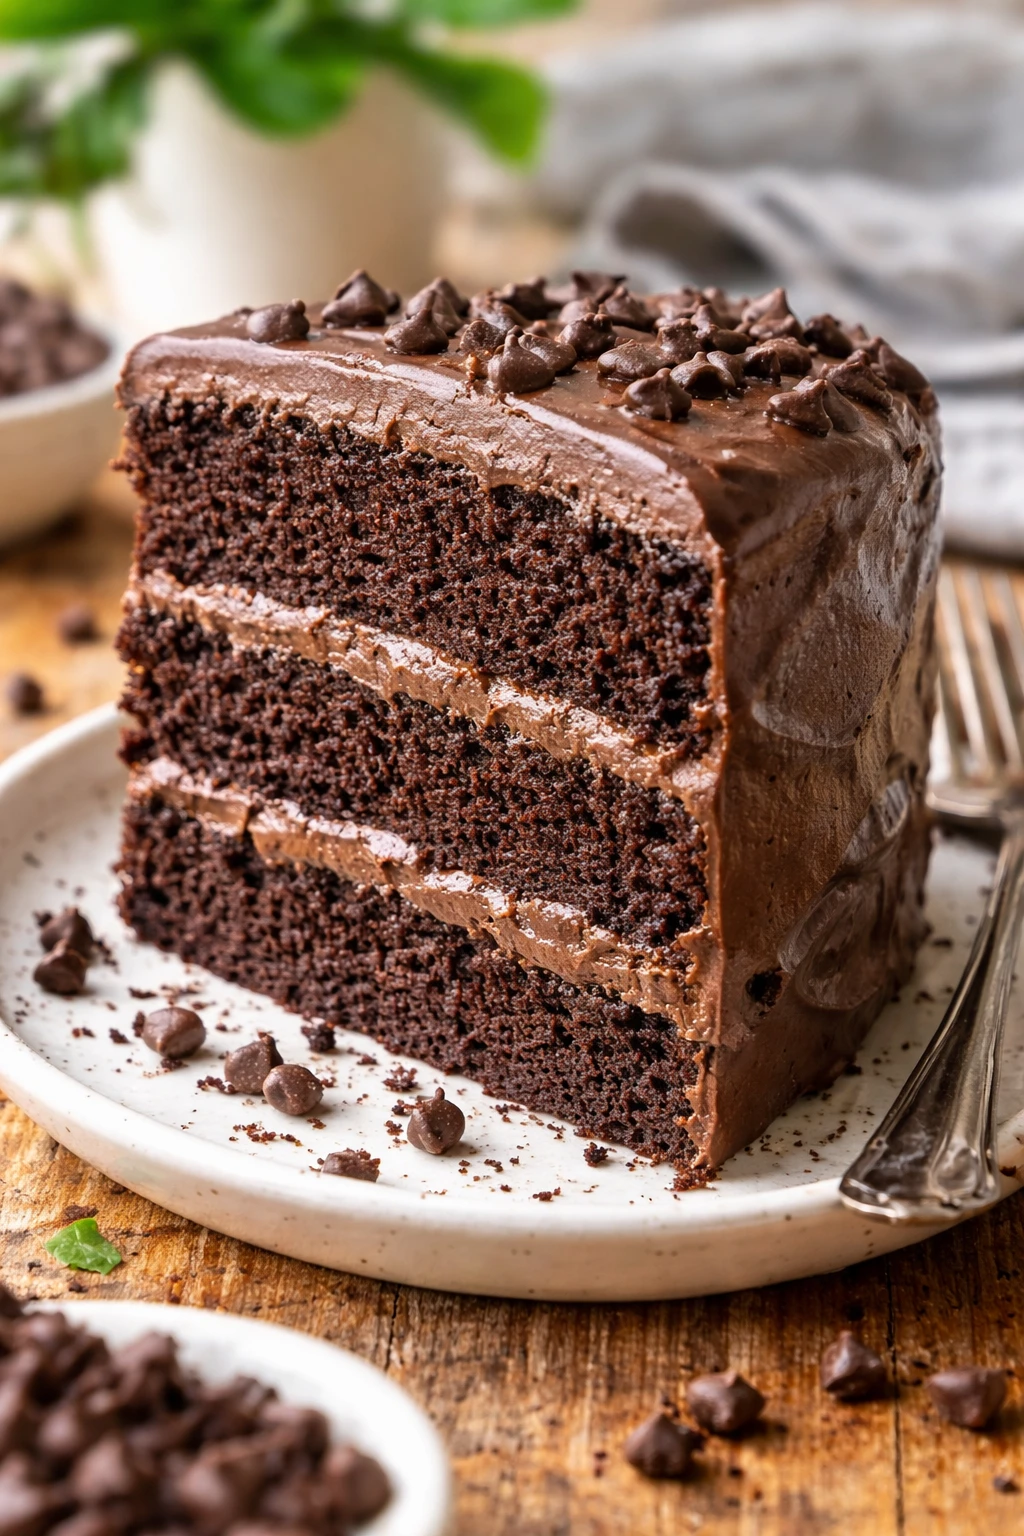
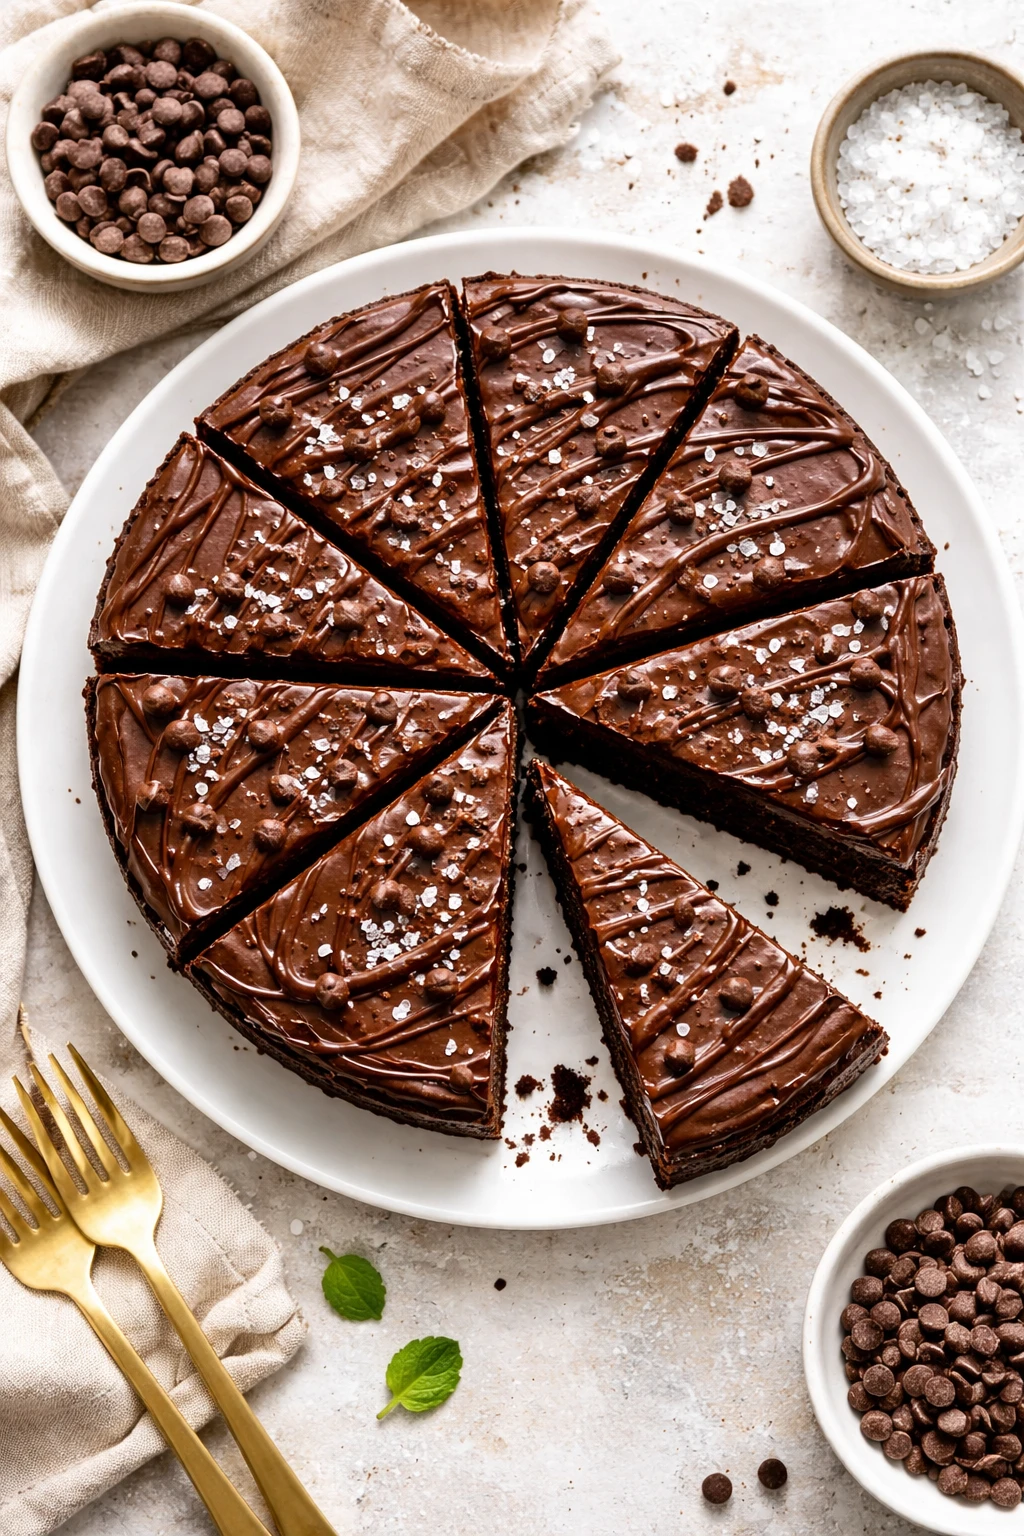
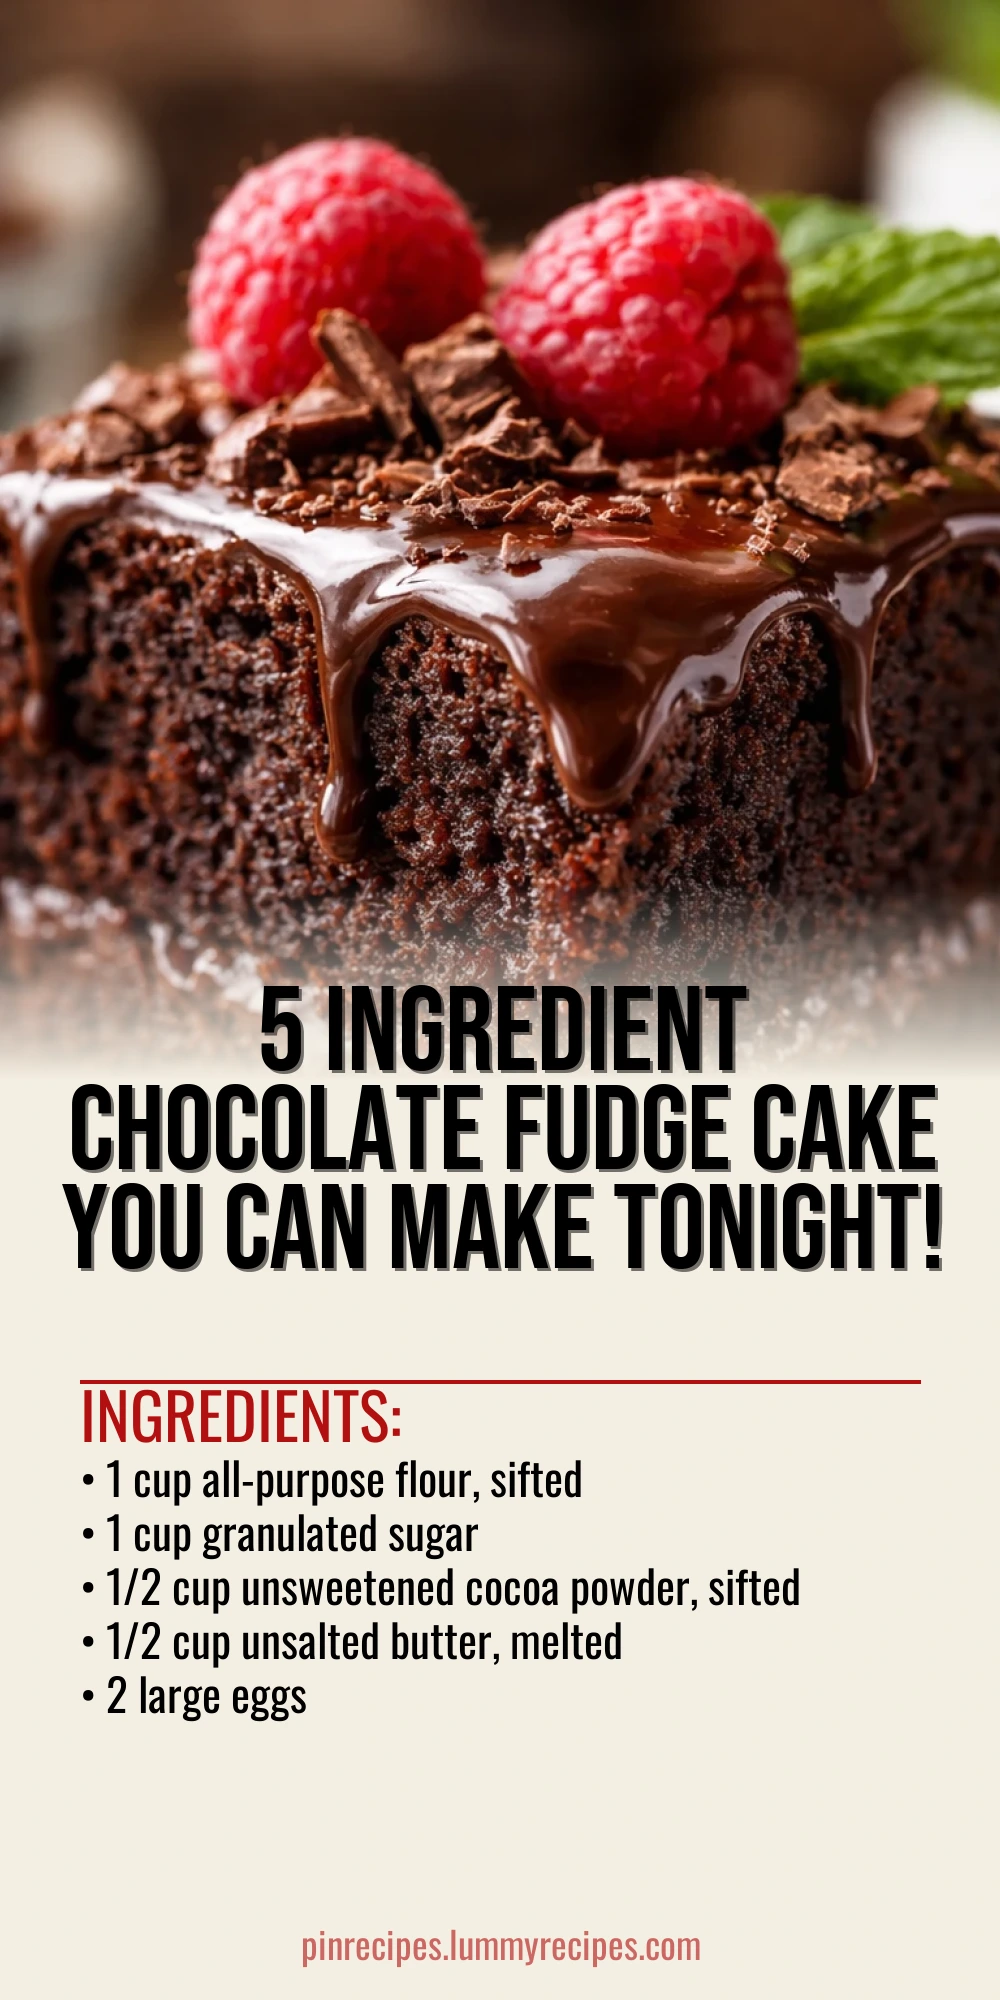
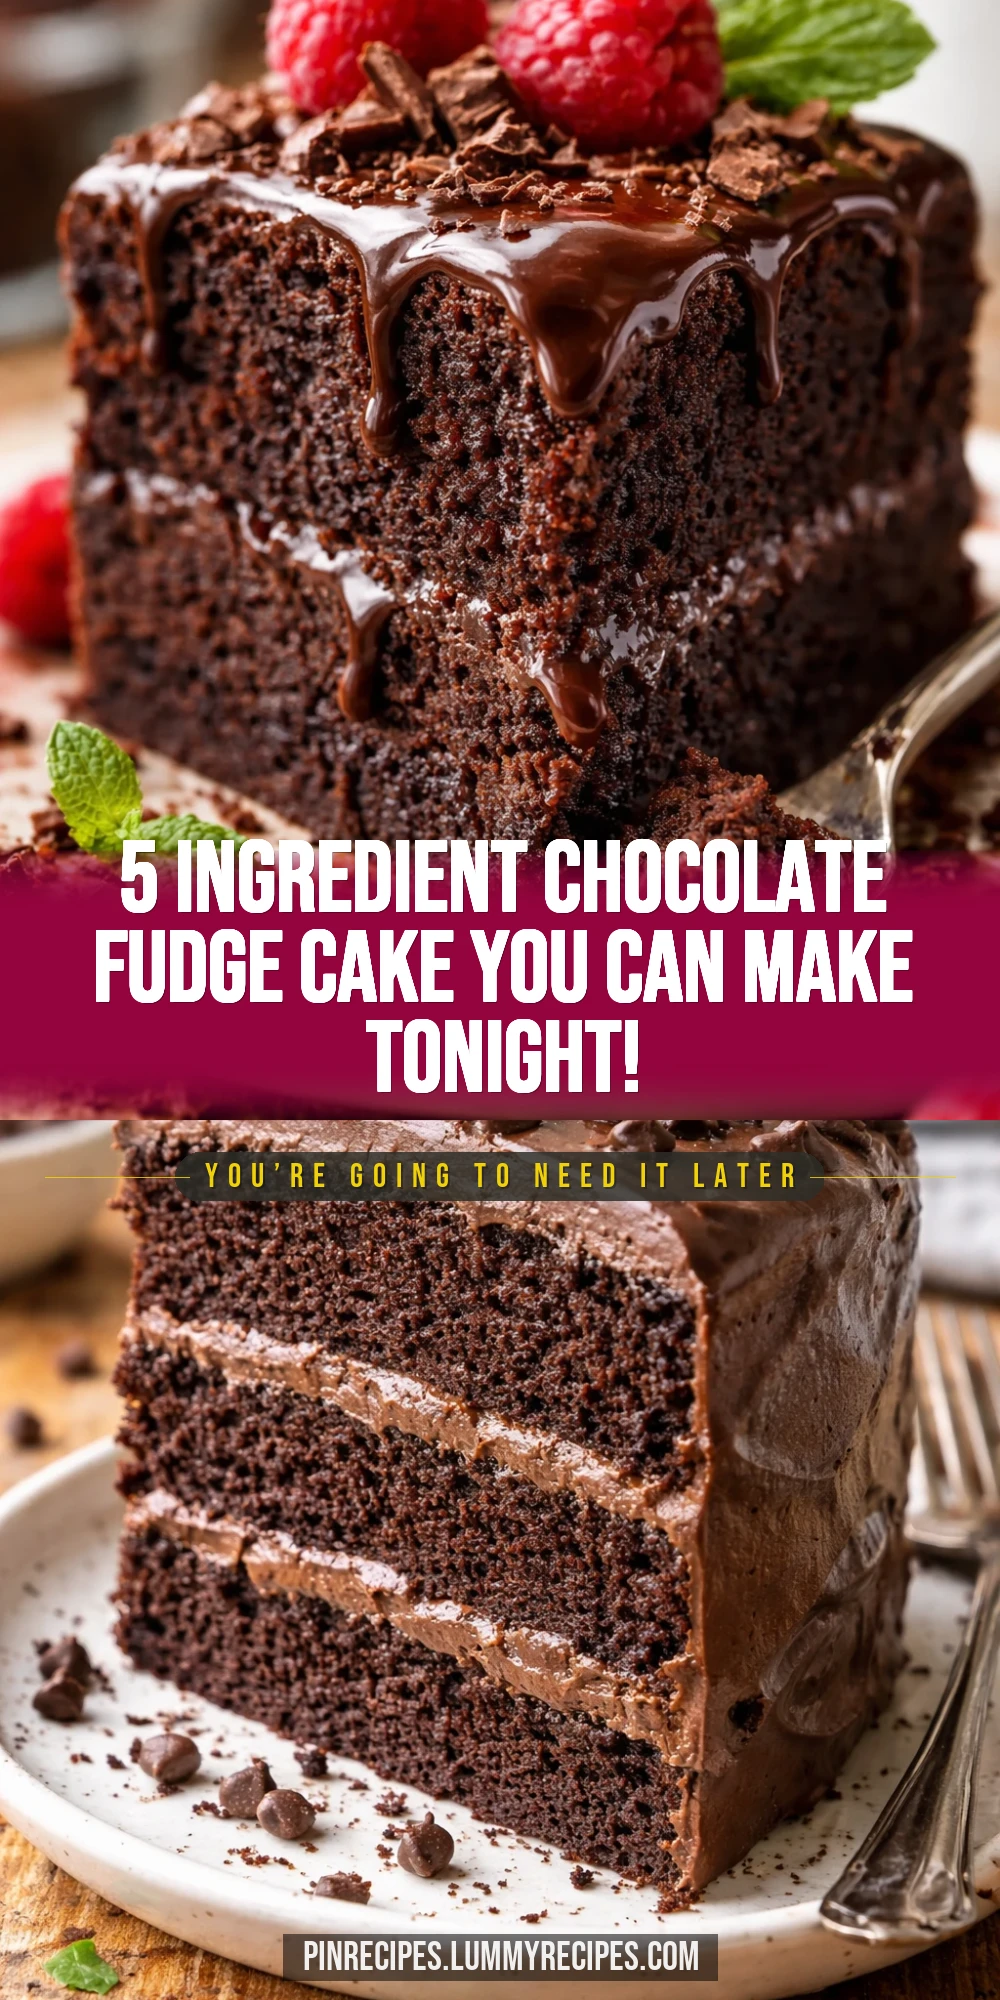
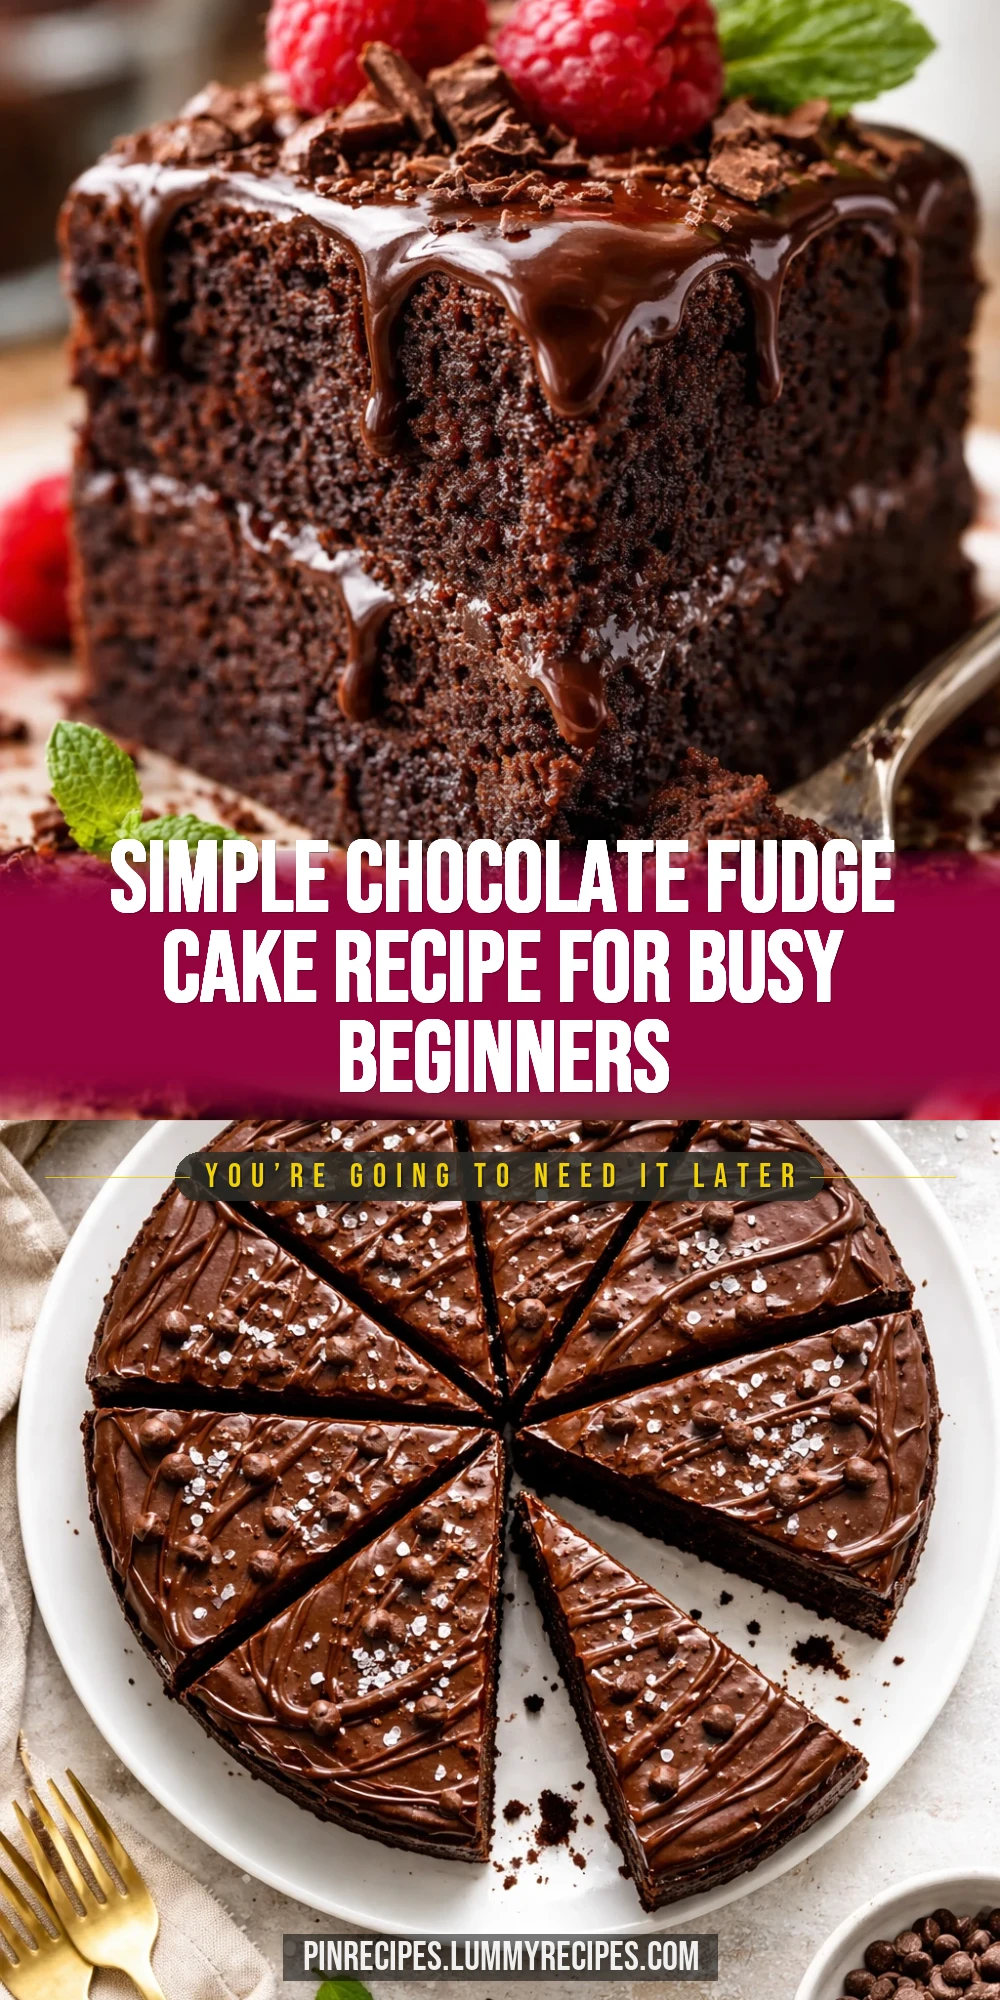
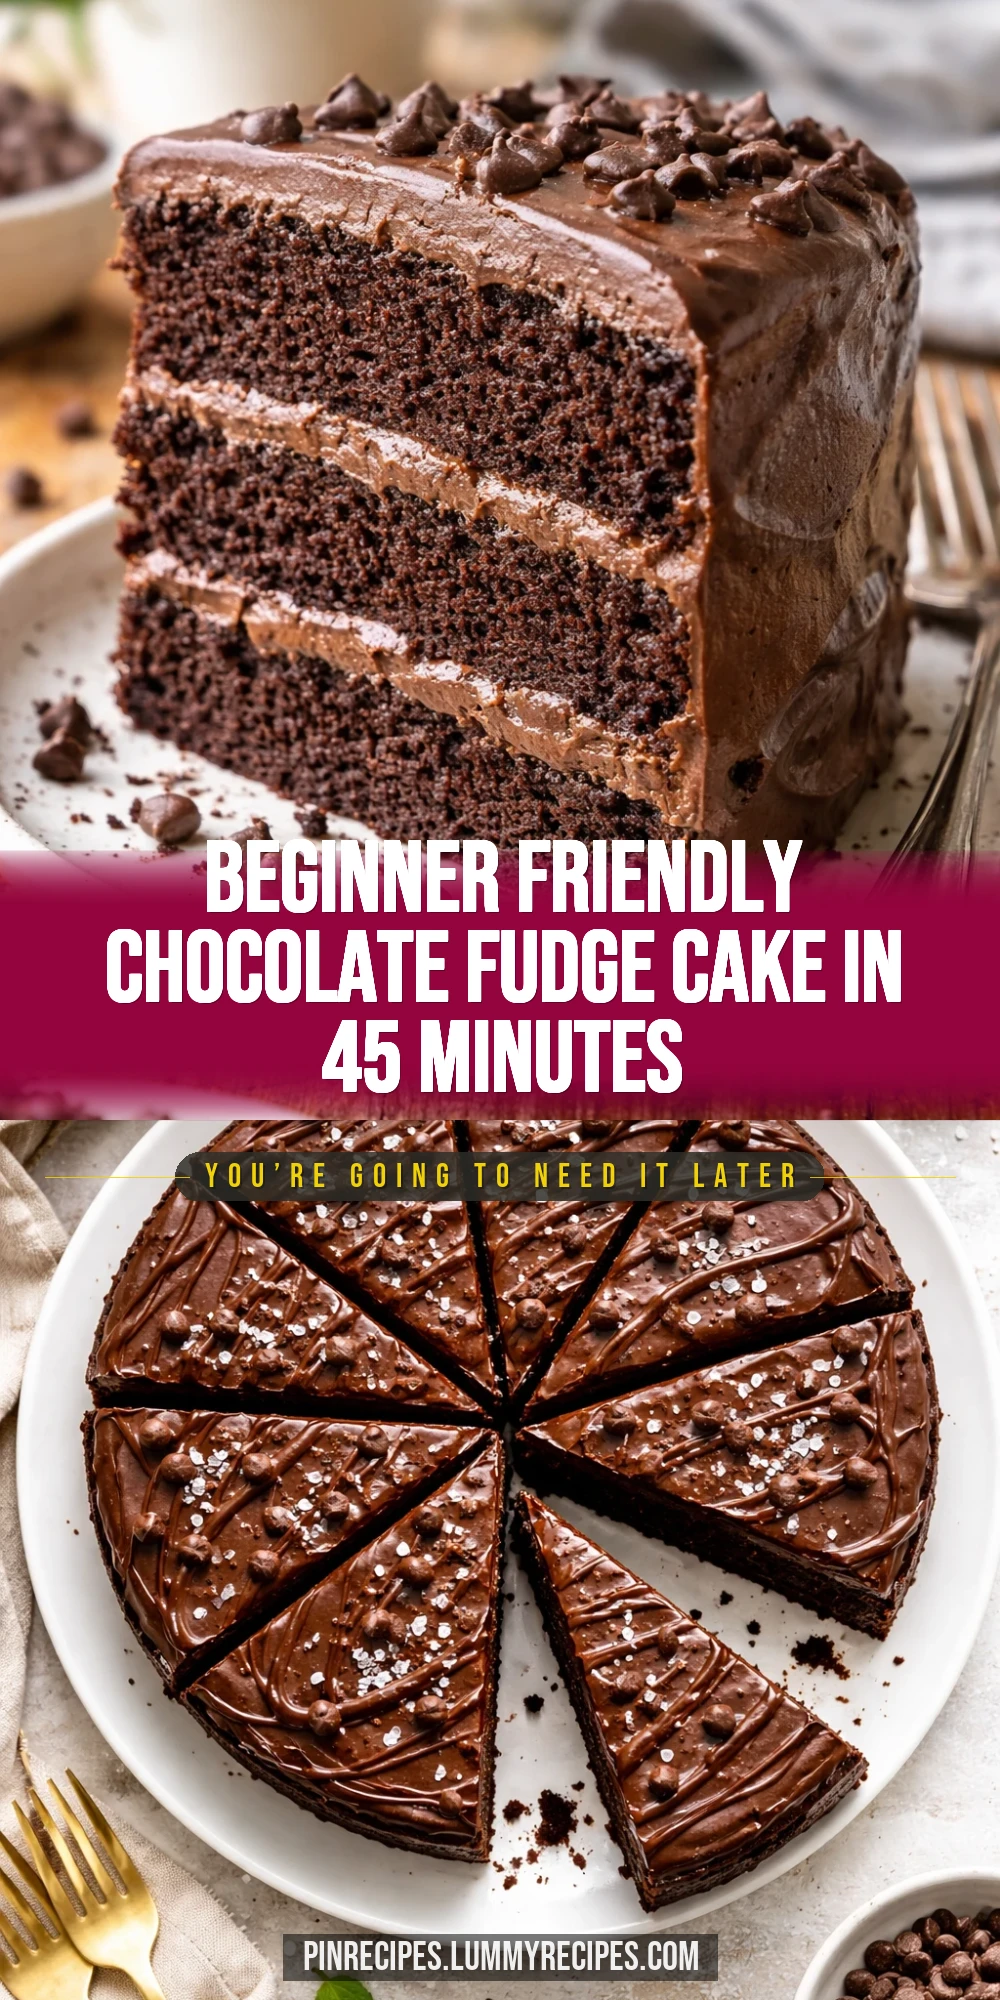
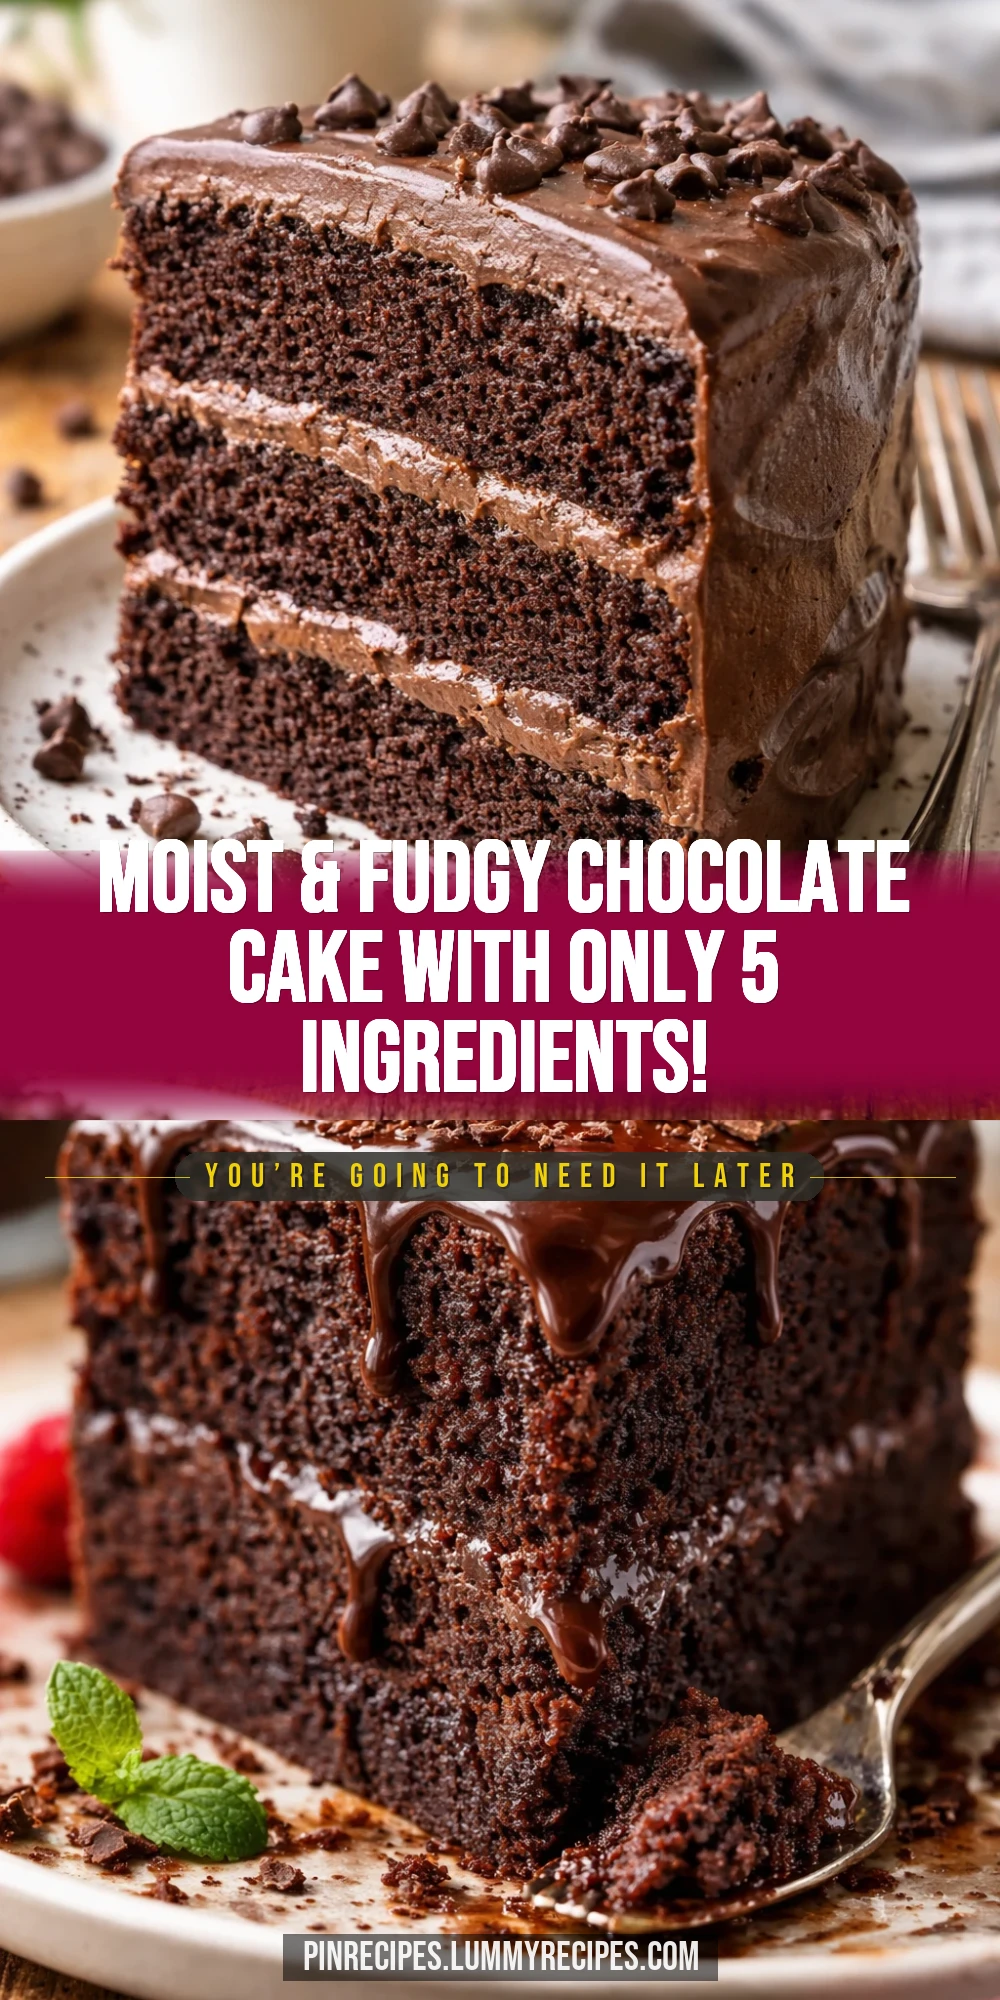
This chocolate fudge cake is a lifesaver when you want something rich but simple. Just five ingredients and about 45 minutes to a moist, fudgy dessert. Perfect for last-minute cravings or beginner bakers!
Introduction
I remember the first time I tried making this chocolate fudge cake—it was a total game changer for me. Before, I’d always think rich chocolate cakes had to be complicated or require a dozen ingredients. But this recipe is so simple, just five ingredients, and it always turns out moist and fudgy. What I love is how forgiving it is for beginners; even if you’re not confident in baking, you’ll get a delicious cake every time. The trick I learned early on is to sift the cocoa and flour together to keep the texture light but still dense enough to feel indulgent. Plus, melting the butter instead of creaming it saves time and keeps the cake super tender. The result is a deep chocolate flavor with a soft, almost brownie-like crumb that’s perfect for any occasion, whether it’s a last-minute dessert or a cozy weekend treat. Honestly, it’s become my go-to when I want chocolate without the fuss. I think you’ll love how quick and satisfying it is to make!
What You'll Need
One 8-inch round cake, 8 servings
- 1 cup all-purpose flour, sifted
- 1 cup granulated sugar
- 1/2 cup unsweetened cocoa powder, sifted
- 1/2 cup unsalted butter, melted
- 2 large eggs
How To Do It
Step 1
Preheat your oven to 350°F (175°C). Grease an 8-inch round cake pan and line the bottom with parchment paper to prevent sticking. This step is crucial because it ensures your cake releases cleanly, preserving its fudgy texture. If you skip greasing or lining, the cake might stick and break apart when you try to remove it, which can be frustrating especially for beginners.
⏱ Time: 10 minutes
✓ Doneness: Pan is evenly greased with no dry spots, parchment paper fits snugly
Step 2
In a large mixing bowl, sift together the flour and cocoa powder. Sifting helps to remove lumps and aerate the dry ingredients, which is key for a smooth batter and even baking. If you skip this, your cake might have pockets of dry flour or cocoa, leading to an uneven crumb.
⏱ Time: 5 minutes
✓ Doneness: Flour and cocoa powder are combined into a fine, lump-free mixture
Step 3
Add the sugar to the flour and cocoa mixture and whisk briefly to combine. This step ensures the sugar is evenly distributed, which helps the cake bake uniformly and sweeten every bite. Don’t overmix here, just a gentle whisk is enough.
⏱ Time: 2 minutes
✓ Doneness: Dry ingredients are evenly mixed with no visible sugar clumps
Step 4
In a separate bowl, beat the eggs lightly with a fork until combined. Then stir in the melted butter. Mixing the eggs and butter first helps to incorporate fats evenly into the batter, which contributes to the cake’s moist texture. Make sure the butter is not too hot or it can cook the eggs prematurely.
⏱ Time: 5 minutes
✓ Doneness: Eggs and butter form a smooth, uniform liquid mixture
Step 5
Pour the wet ingredients into the dry ingredients and gently fold together using a spatula. Folding rather than vigorous stirring prevents overworking the gluten in the flour, keeping the cake tender rather than tough. Stop mixing as soon as the batter looks uniform with no streaks of flour.
⏱ Time: 3 minutes
✓ Doneness: Batter is smooth and slightly thick, no flour streaks visible
Step 6
Pour the batter into the prepared pan and smooth the top with a spatula. Even spreading helps the cake bake evenly and rise uniformly. Uneven batter can cause lopsided baking or dense spots.
⏱ Time: 2 minutes
✓ Doneness: Batter surface is level and smooth
Step 7
Bake in the preheated oven for 25-30 minutes. Begin checking around 25 minutes by inserting a toothpick into the center. You’re looking for a few moist crumbs clinging to the toothpick; this means the cake is fudgy inside but fully baked. Overbaking will dry it out, so watch carefully.
⏱ Time: 25-30 minutes
✓ Doneness: Toothpick comes out with moist crumbs, not wet batter
Step 8
Remove the cake from the oven and let it cool in the pan for 10 minutes. Cooling allows the cake to set, making it easier to remove from the pan without breaking. If you try to unmold it while hot, it may crumble.
⏱ Time: 10 minutes
✓ Doneness: Cake feels firm around edges but still soft in center
Step 9
Run a knife around the pan edges and invert the cake onto a wire rack to cool completely. This prevents condensation from making the bottom soggy and keeps the texture perfect. Once cooled, slice and serve as is or with a dollop of whipped cream for extra indulgence.
⏱ Time: 15 minutes
✓ Doneness: Cake releases cleanly from pan and cools without moisture buildup
Pro Tips
Always sift your dry ingredients together.
Sifting removes lumps and aerates the flour and cocoa powder, which helps the cake rise evenly and prevents dense spots. Skipping this can lead to uneven texture and baking inconsistencies.
Use room temperature eggs for easier mixing.
Room temperature eggs blend more smoothly with melted butter, creating a uniform batter. Cold eggs can cause the butter to solidify, leading to lumps and uneven texture.
Don’t overmix the batter once wet and dry ingredients are combined.
Overmixing develops gluten, making the cake tough rather than tender and fudgy. Gentle folding keeps the crumb soft and moist.
Line your pan with parchment paper for easy removal.
Parchment prevents sticking and helps the cake come out cleanly without breaking, preserving its fudgy texture.
Check the cake early with a toothpick to avoid overbaking.
Because this cake is meant to be fudgy, overbaking dries it out. Look for moist crumbs on the toothpick rather than a completely clean one.
Let the cake cool in the pan before removing.
Cooling lets the cake set and reduces the chance of it breaking apart when you unmold it.
Use good quality cocoa powder for best flavor.
The cocoa powder is the star ingredient for chocolate flavor. Fresh, high-quality cocoa will give a richer, deeper taste.
Common Mistakes to Avoid
Skipping sifting the dry ingredients
Why it happens Many assume sifting is unnecessary or time-consuming, especially when in a hurry.
Fix Take a few extra minutes to sift flour and cocoa powder together. This ensures no lumps and helps the cake rise evenly, resulting in a smooth, tender crumb.
Overmixing the batter
Why it happens Beginners often think mixing longer means better combined ingredients.
Fix Mix just until combined. Use a folding motion to gently incorporate ingredients, preventing tough gluten formation and keeping the cake fudgy.
Using hot melted butter
Why it happens Sometimes butter is melted in the microwave and used immediately without cooling.
Fix Let melted butter cool slightly before adding to eggs to avoid cooking them, which can cause a curdled batter.
Overbaking the cake
Why it happens Not checking doneness early or leaving cake in oven too long.
Fix Start checking at 25 minutes. A toothpick with moist crumbs means perfect fudgy texture; a dry toothpick means it's overbaked.
Removing cake from pan too soon
Why it happens Impatience or fear of overcooling.
Fix Allow cake to cool in pan for at least 10 minutes to set. This prevents breakage and keeps the texture intact.
Variations
Add Espresso Powder for Deeper Chocolate Flavor
Stir 1 teaspoon of instant espresso powder into the dry ingredients. It intensifies the chocolate notes without making the cake taste like coffee. The cake will have a richer, more complex flavor with the same fudgy texture.
Note: Espresso powder dissolves easily and won’t affect batter consistency, so no other adjustments are needed.
Use Brown Sugar Instead of Granulated Sugar
Swap granulated sugar for brown sugar to add moisture and a hint of caramel. This variation yields a slightly denser, more moist cake with a subtle toffee undertone.
Note: Brown sugar’s moisture content may slightly extend baking time by a few minutes; watch closely.
Add Chopped Nuts for Crunch
Fold 1/2 cup chopped walnuts or pecans into the batter before baking. This adds a pleasant crunch contrast to the fudgy cake and a nutty flavor dimension.
Note: Chop nuts evenly to ensure uniform distribution and prevent sinking.
Make It Gluten-Free
Replace all-purpose flour with a gluten-free blend one-to-one. This makes the cake suitable for gluten-sensitive eaters while maintaining fudgy texture, though crumb may be slightly more delicate.
Note: Ensure your gluten-free blend contains xanthan gum for structure.
Top with Ganache for Extra Decadence
After the cake cools, pour a simple chocolate ganache made from heavy cream and chopped chocolate over the top. This adds a glossy, rich layer that makes the cake extra special for celebrations.
Note: Ganache should be poured warm but not hot to avoid melting the cake surface.
Nutrition
Per Serving:
Nutritional values are estimates and may vary based on specific ingredients used.
Storage & Tips
Room Temperature
Store the cake covered tightly with plastic wrap or in an airtight container at room temperature for up to 2 days. Keep it away from direct sunlight and heat sources to maintain moisture and prevent drying out.
Refrigerator
You can refrigerate the cake in an airtight container for up to 5 days. The cake may firm up and lose some softness; bring to room temperature or warm slightly before serving to restore softness.
Freezer
Wrap the cake tightly in plastic wrap and foil, then freeze for up to 2 months. To thaw, leave in the fridge overnight or at room temperature for a few hours. Avoid microwaving frozen cake directly as it can dry out.
Reheating
Warm slices gently in a microwave for 15-20 seconds or in a low oven (300°F) for 5-7 minutes. Adding a small splash of milk or cream before warming can help maintain moisture. Avoid overheating which can make the cake dry.
Make Ahead
You can prepare the batter a few hours ahead and keep it covered in the fridge. Bring to room temperature before baking. Alternatively, bake the cake a day in advance and store covered at room temperature or refrigerated, then serve with fresh toppings on the day of.
FAQ
Can I substitute oil for butter in this recipe?
Yes, you can replace melted butter with an equal amount of vegetable oil for a slightly lighter texture. However, butter adds richness and flavor that oil can’t fully replicate, so the cake might be less decadent.
What if I don’t have an 8-inch cake pan?
You can use a 9-inch pan but the cake will be thinner and bake faster, so check for doneness earlier, around 20-25 minutes. For smaller pans, increase baking time slightly but watch closely to avoid drying out.
Why is my cake dry after baking?
Overbaking is the most common cause of dryness. Make sure to check the cake starting at 25 minutes and remove as soon as a toothpick comes out with moist crumbs. Also, avoid overmixing which can toughen the crumb.
Can I add chocolate chips to this cake?
Absolutely! Fold in 1/2 cup of chocolate chips into the batter before baking for melty pockets of chocolate. Just be careful not to add too many as it might affect baking time and texture.
Is it okay to use Dutch-processed cocoa instead of natural cocoa?
You can, but Dutch-processed cocoa is less acidic and might affect the cake’s rise slightly. Since this recipe doesn’t use baking soda, it should be fine—just expect a slightly different flavor and color.
How do I know when the cake is done?
Insert a toothpick into the center around 25 minutes. The cake is done when the toothpick comes out with a few moist crumbs attached, not wet batter. This means the cake is fudgy but fully baked.
Can I make this cake vegan?
To make it vegan, substitute eggs with flax eggs (1 tbsp ground flaxseed + 3 tbsp water per egg) and use vegan butter or coconut oil. The texture might be slightly different but still delicious.
Why is my cake dense and heavy?
Dense cake can result from overmixing, using expired leavening agents (if any), or not sifting dry ingredients. Make sure to sift and fold gently to keep the batter light.
Final Thoughts
I hope you enjoy making this quick and easy chocolate fudge cake as much as I do! Don’t forget to share your baking adventures and tweaks—I’d love to hear how yours turns out.