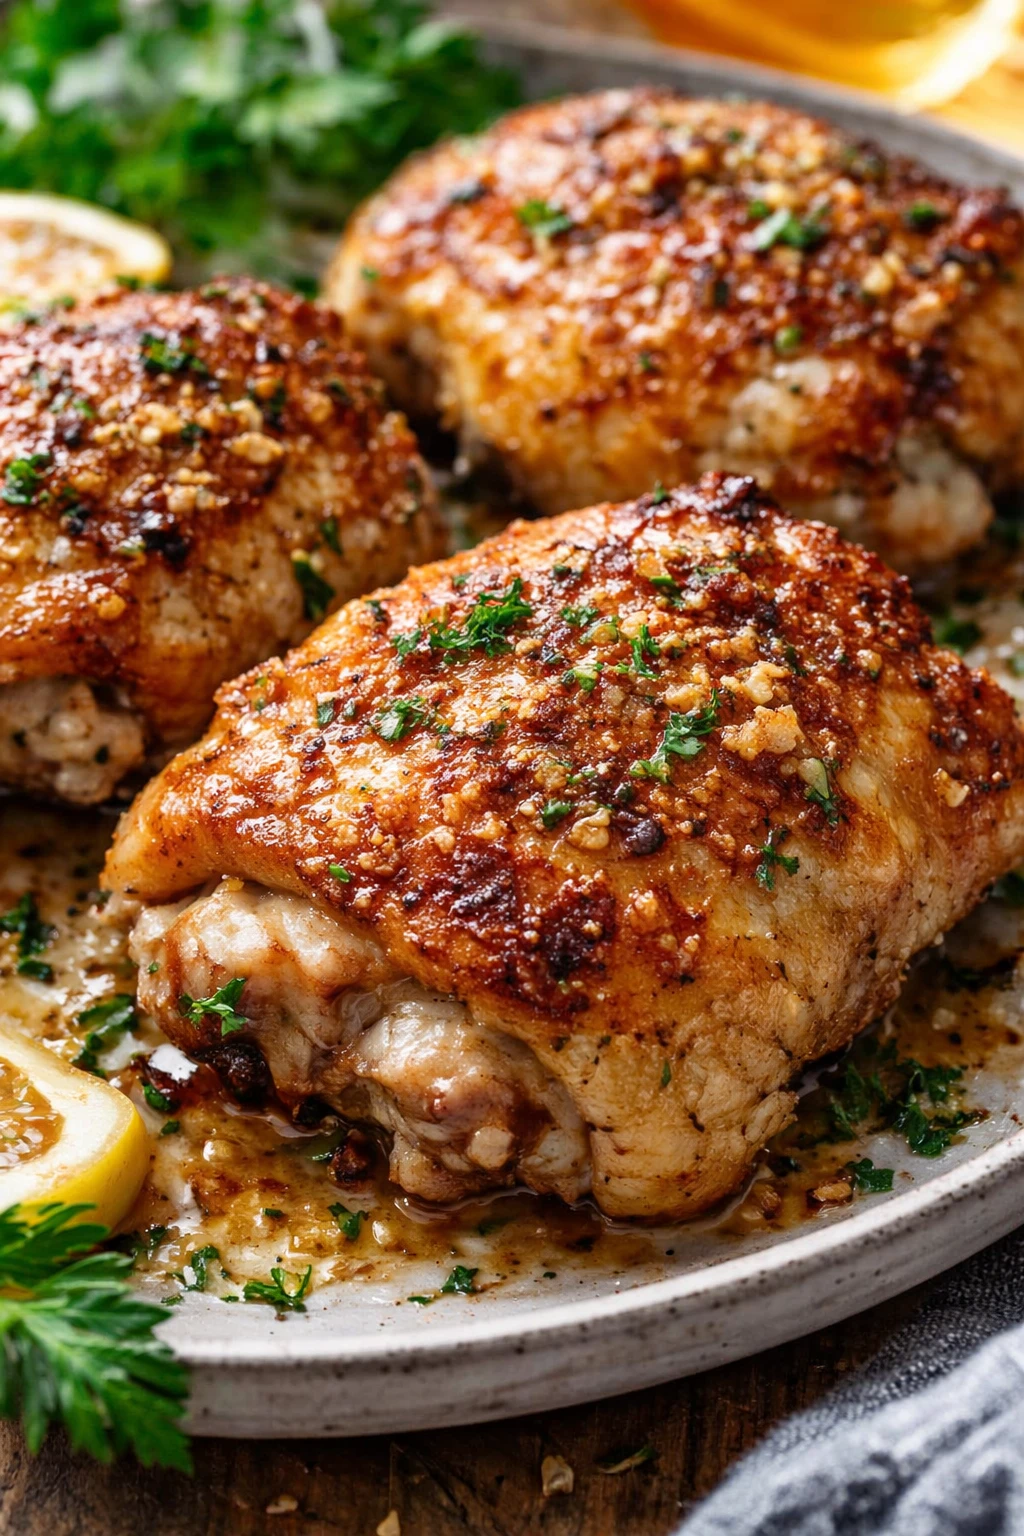
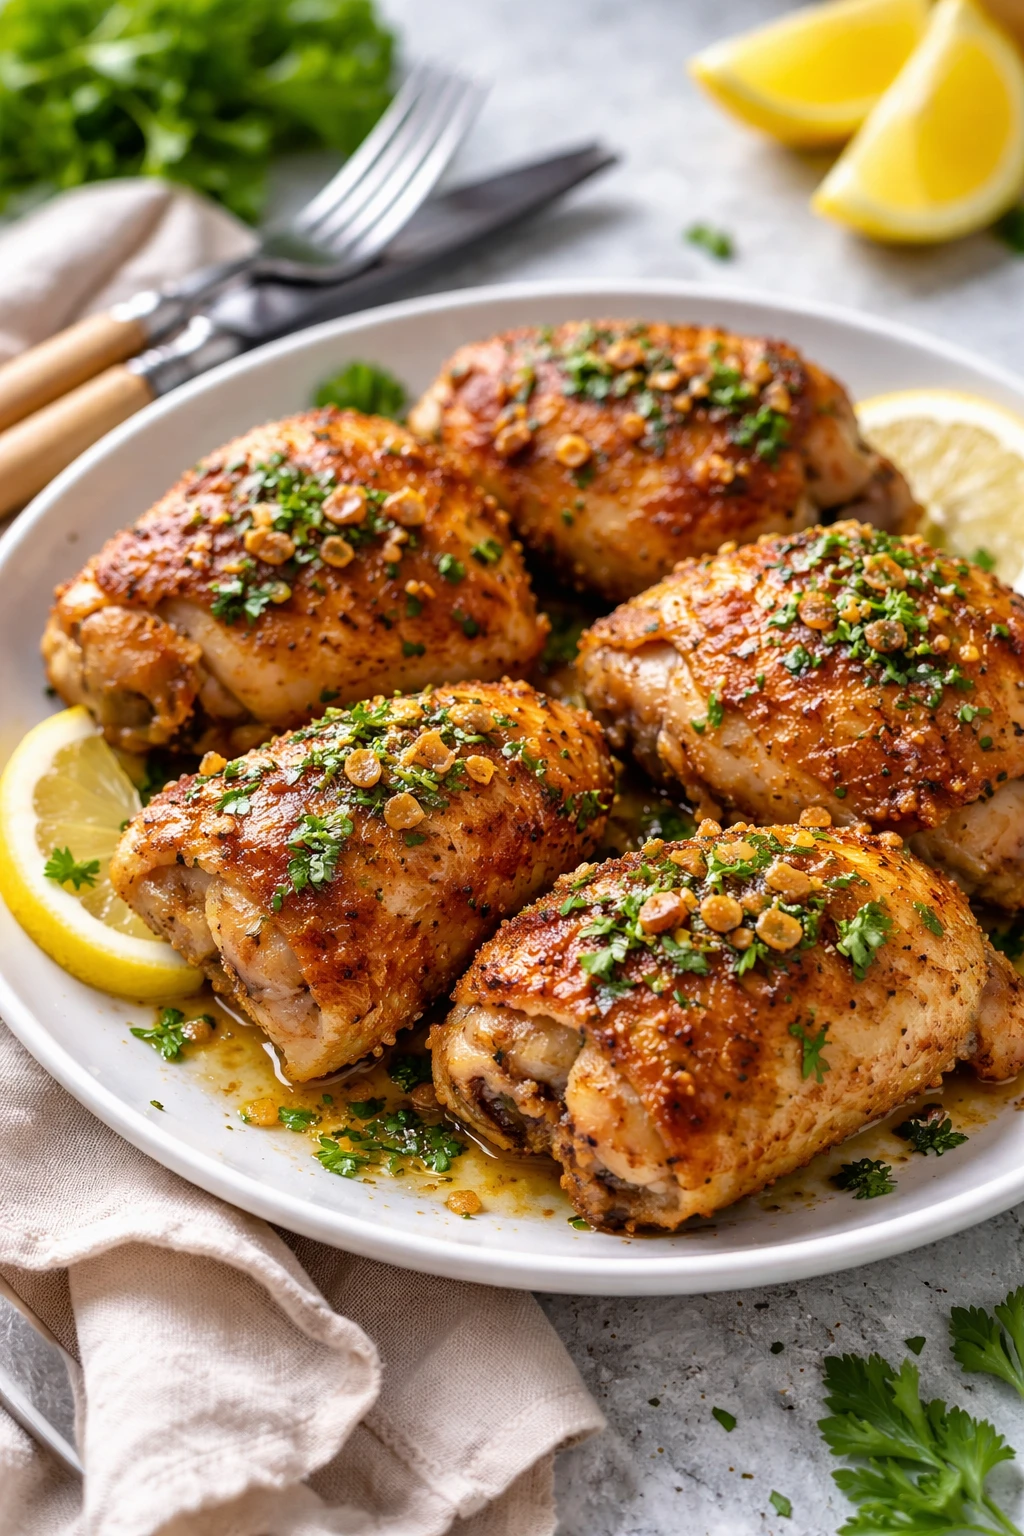
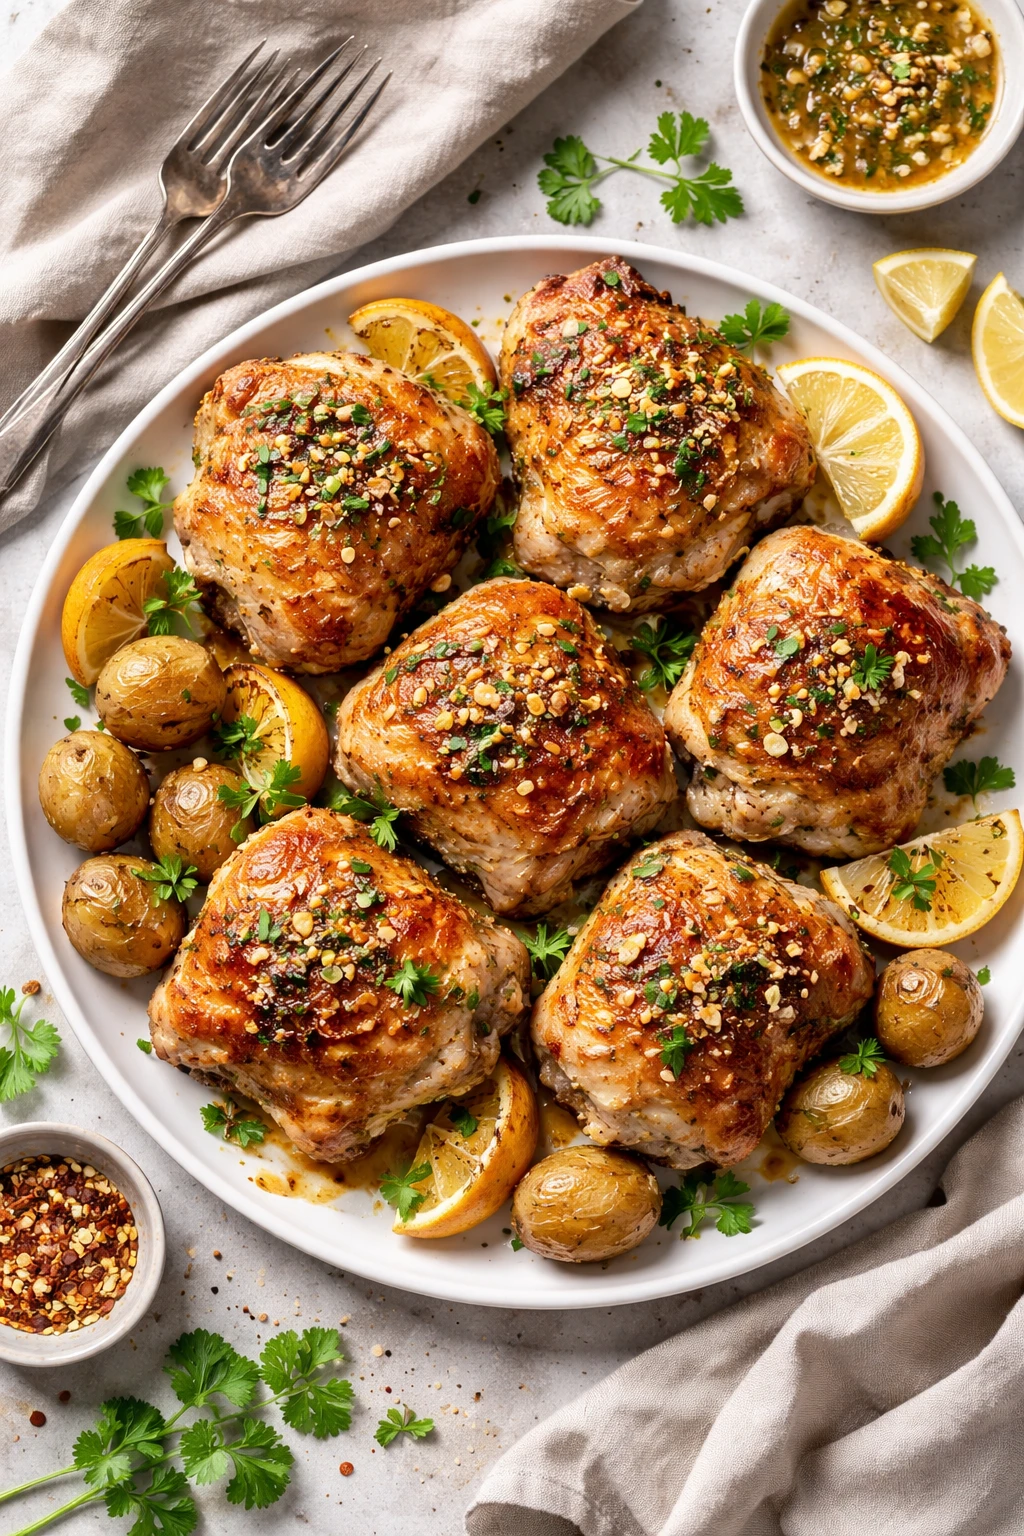
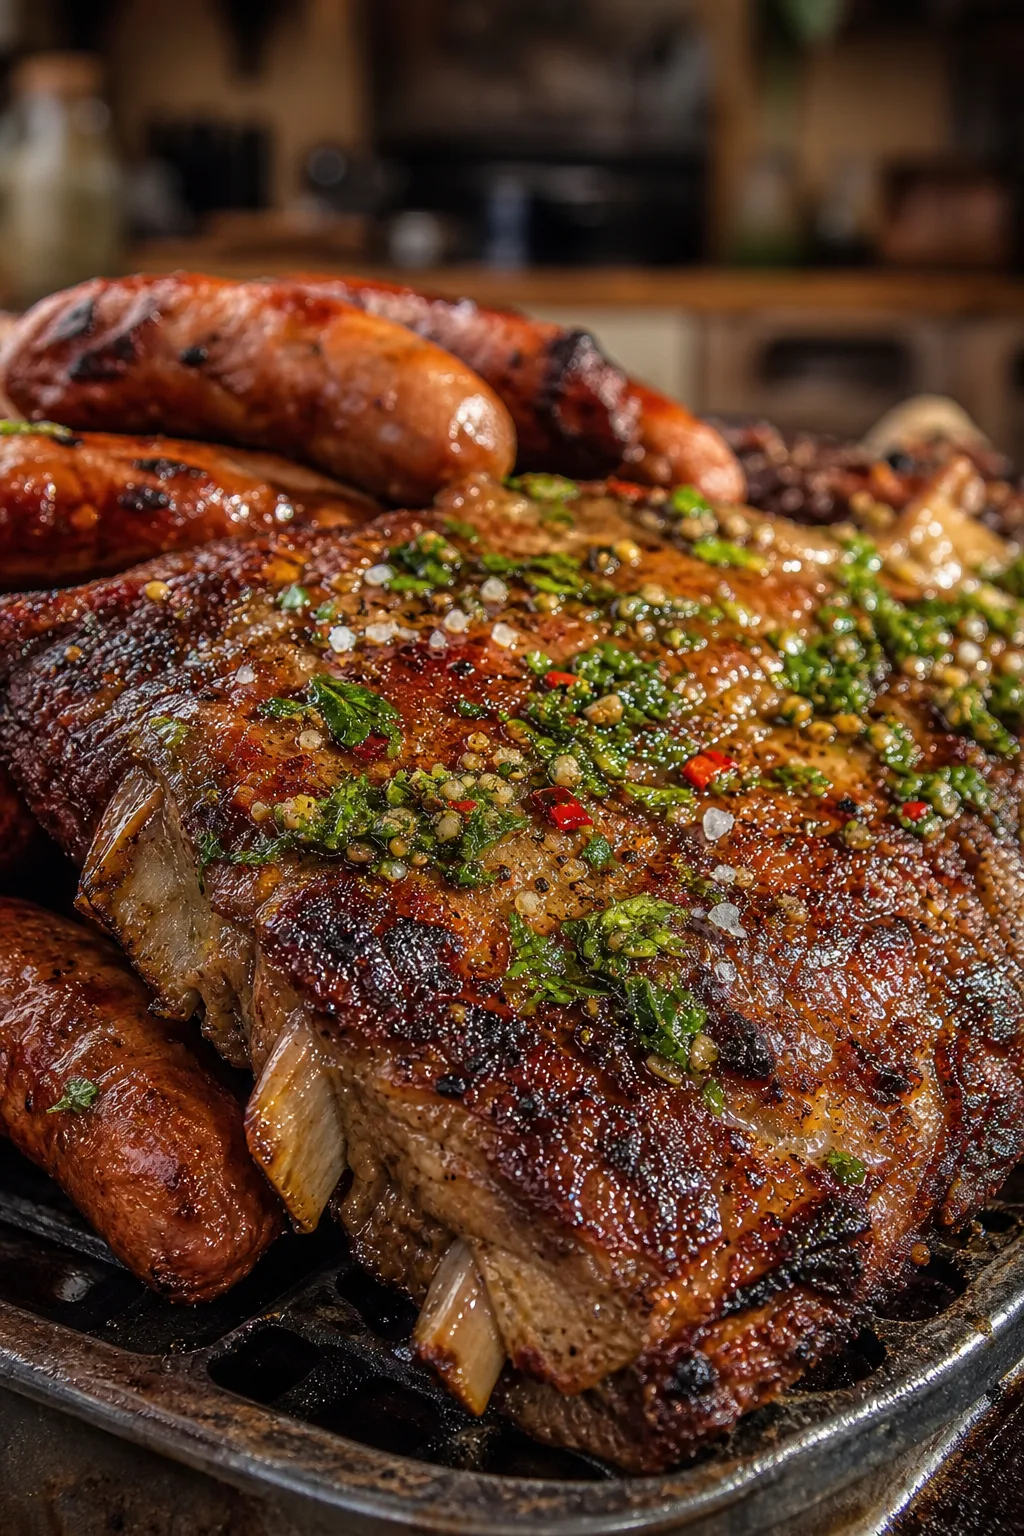
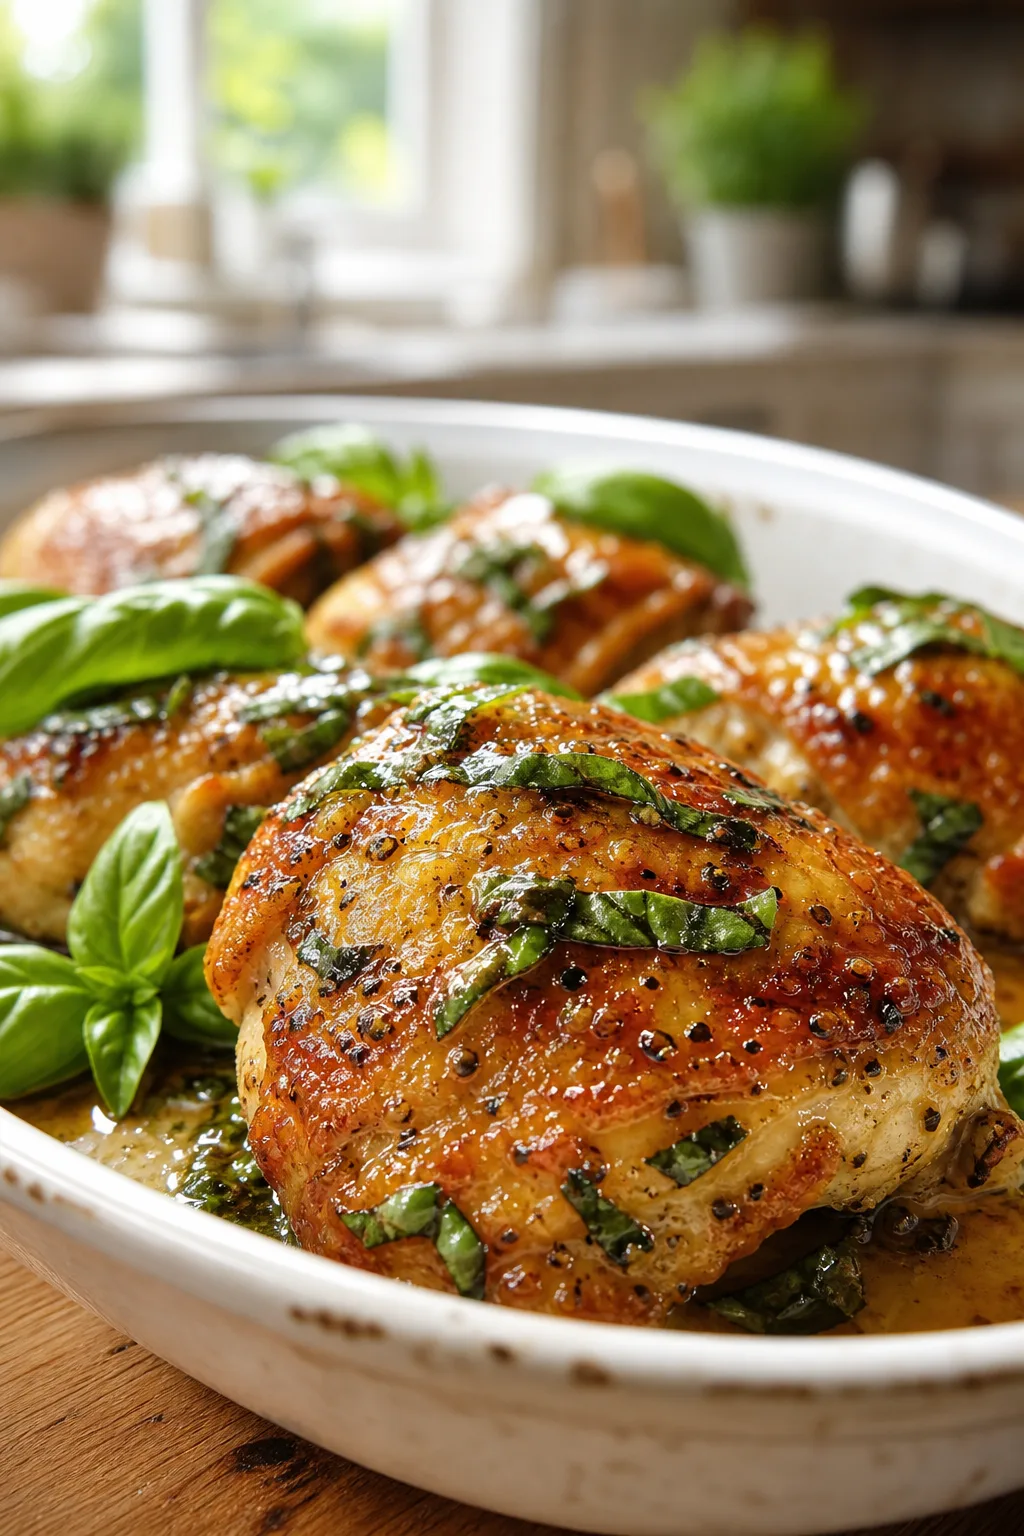
These chicken thighs come out perfectly crispy thanks to the airfryer magic and a luscious garlic butter finish that seals in flavor. Quick to make and ideal for busy weeknights or casual dinners with friends.
Introduction
I first tried making crispy chicken thighs in my airfryer a few months ago, and honestly, it changed how I think about weeknight dinners. The skin comes out perfectly crisp every time, and the meat stays juicy inside, which is something I've struggled with when pan-frying or baking. What really sets this recipe apart is the garlic butter finish — it’s like giving the chicken a savory, buttery hug right before serving. I learned that patting the chicken dry and seasoning it well before airfrying makes all the difference for crispiness. Also, melting butter with fresh garlic and drizzling it over the hot chicken adds a layer of flavor that feels indulgent but is super simple. The result? A golden, crunchy skin with tender, flavorful meat underneath. It’s a dish that’s both comforting and quick enough for those busy nights when you want something special without a lot of fuss. My family always asks for seconds, and it’s become one of my go-to recipes when I want to impress without stressing in the kitchen. Plus, cleanup is a breeze since the airfryer does most of the work!
How To Do It
Step 1
Start by patting your chicken thighs completely dry with paper towels. This step is crucial because excess moisture on the skin will steam the chicken during cooking, preventing it from crisping up properly. Once dry, season both sides generously with smoked paprika, garlic powder, salt, and black pepper. The paprika adds a subtle smoky depth, while the garlic powder complements the fresh garlic butter you'll add later. Make sure to rub the seasoning in well so it adheres to the skin and meat evenly.
⏱ Time: 10 minutes
✓ Doneness: Skin feels dry to the touch and evenly coated with spices
Step 2
Preheat your airfryer to 400°F (200°C) for about 5 minutes. This ensures the cooking chamber is hot enough to start crisping the skin immediately. Place the chicken thighs skin-side down in the basket, making sure they aren’t touching to allow air circulation. Cook for 15 minutes, then flip the thighs skin-side up and cook for another 12-15 minutes. Flipping halfway helps the skin crisp on both sides and cooks the meat evenly without drying it out.
⏱ Time: 30 minutes
✓ Doneness: Skin is golden brown and crispy; internal temperature reaches 165°F (74°C)
Step 3
While the chicken cooks, melt the butter in a small pan over medium heat. Add the minced garlic and cook gently for 1-2 minutes until fragrant but not browned. This infuses the butter with garlic flavor without bitterness. Remove from heat and stir in chopped parsley if using. This garlic butter will be drizzled over the chicken right after cooking to add richness and a fresh herbal note.
⏱ Time: 5 minutes
✓ Doneness: Butter is melted and garlic is aromatic but not browned
Step 4
Once the chicken is done, transfer it to a serving plate and immediately spoon the garlic butter over the hot thighs. The residual heat helps the butter soak into the skin and meat, enhancing flavor and adding a glossy finish. Don’t skip this step because it transforms the dish from good to irresistible.
⏱ Time: 2 minutes
✓ Doneness: Chicken glistens with garlic butter, aroma is rich and inviting
Step 5
Let the chicken rest for about 5 minutes before serving. Resting allows the juices to redistribute throughout the meat, keeping it moist and tender when you cut into it. If you cut in too soon, the juices will run out and leave the meat dry.
⏱ Time: 5 minutes
✓ Doneness: Chicken juices run clear when pierced and skin remains crispy
Step 6
Serve the chicken thighs with your favorite sides like roasted veggies, a fresh salad, or buttery mashed potatoes. The garlic butter pairs wonderfully with almost anything and adds a comforting richness that makes this meal feel special but effortless.
⏱ Time: 0 minutes
✓ Doneness: Dish is plated attractively and ready to enjoy
Step 7
If you want to add a little extra crispiness, you can spray the chicken lightly with cooking spray before airfrying. This helps the skin blister and crackle like fried chicken but without the oil mess. Just don’t overdo it, or you’ll lose the dry heat advantage of the airfryer.
⏱ Time: Optional
✓ Doneness: Skin is extra crispy and golden
Step 8
For a flavor twist, sprinkle some fresh lemon zest over the finished chicken before serving. The citrus brightens the rich garlic butter and adds a fresh pop that balances the dish beautifully.
⏱ Time: Optional
✓ Doneness: Lemon aroma complements garlic butter without overpowering
Step 9
Clean your airfryer basket and tray promptly after cooking to avoid any stuck-on bits that can burn next time. Wipe down with a damp cloth and mild soap, then dry thoroughly. Keeping your airfryer clean ensures it cooks evenly and lasts longer.
⏱ Time: 5 minutes
✓ Doneness: Basket and tray are clean and dry, ready for next use
Pro Tips
Always pat chicken skin dry before seasoning.
Moisture on the skin creates steam during cooking, which prevents it from crisping properly. By patting the skin dry, you remove excess water that would otherwise interfere with the Maillard reaction responsible for browning and crispiness.
Preheat your airfryer before adding the chicken.
Starting with a hot airfryer ensures that the skin begins to crisp immediately upon contact. This jumpstarts the browning process and prevents the chicken from sticking or cooking unevenly.
Flip the chicken halfway through cooking.
Turning the thighs allows both sides to brown evenly and prevents one side from becoming soggy. This step also helps cook the meat uniformly, avoiding dry or undercooked spots.
Melt garlic gently in butter without browning it.
Garlic burns quickly and develops a bitter taste if overheated. Cooking it gently releases its aroma and flavor without bitterness, which enhances the buttery sauce and complements the chicken.
Rest the chicken after cooking before serving.
Resting allows the juices to redistribute throughout the meat, making it juicier and more tender. Cutting into it too soon causes the juices to run out, leaving the meat dry.
Use bone-in, skin-on thighs for best results.
The bone helps retain moisture and flavor, while the skin crisps up nicely in the airfryer. Boneless or skinless thighs cook differently and won’t achieve the same texture.
Add fresh herbs like parsley after cooking for brightness.
Herbs add a fresh contrast to the rich garlic butter and crispy chicken, balancing the flavors and adding visual appeal.
Common Mistakes to Avoid
Cooking chicken without drying the skin first.
Why it happens Many cooks assume seasoning is enough and skip drying, not realizing moisture prevents crisping.
Fix Always use paper towels to thoroughly pat the chicken skin dry before seasoning. This simple step ensures the skin crisps properly during airfrying and avoids soggy results.
Overcrowding the airfryer basket.
Why it happens Trying to cook too many pieces at once to save time, but this blocks airflow.
Fix Cook in batches if needed. Leave space between thighs so hot air circulates freely, which is key for even cooking and crisp skin.
Skipping the garlic butter drizzle.
Why it happens Rushing or forgetting the finishing step because the chicken looks done.
Fix Don’t skip drizzling the garlic butter right after cooking. It adds essential flavor and moisture that elevate the dish from good to amazing.
Cooking at too low a temperature.
Why it happens Lower temps are sometimes used to avoid burning but result in less crispy skin.
Fix Set airfryer to 400°F (200°C) to ensure the skin crisps quickly. Lower temps cause sogginess and longer cook times.
Not letting the chicken rest before slicing.
Why it happens Impatience to eat leads to cutting immediately after cooking.
Fix Let chicken rest for 5 minutes to keep juices sealed inside. This makes the meat moist and tender rather than dry.
Variations
Spicy Garlic Butter Chicken Thighs
Add 1/2 teaspoon cayenne pepper or chili flakes to the seasoning mix for a spicy kick. The garlic butter can also be infused with a pinch of smoked paprika or hot sauce. This version has a nice heat contrast to the buttery richness.
Note: Watch the cayenne quantity carefully to avoid overpowering the garlic flavor; adjust cooking time if thicker skin is used.
Herb-Infused Garlic Butter Chicken
Mix fresh thyme, rosemary, or oregano into the melted garlic butter before drizzling. These herbs add a fragrant, earthy note that complements the crispy skin beautifully.
Note: Use fresh herbs finely chopped and add them off heat to preserve their bright flavors and avoid bitterness.
Lemon Garlic Butter Chicken Thighs
Stir in fresh lemon juice and zest into the garlic butter for a citrusy brightness. This variation is lighter and adds a refreshing balance to the richness of the butter and crispy skin.
Note: Add lemon juice after removing the butter from heat to prevent curdling and maintain a clean, fresh flavor.
Parmesan Crusted Chicken Thighs
Before airfrying, sprinkle grated Parmesan cheese over the seasoned skin. The cheese melts and crisps, adding a nutty, savory crust that pairs wonderfully with garlic butter.
Note: Use finely grated Parmesan and apply it just before cooking to avoid sogginess; monitor cooking to prevent burning.
Honey Garlic Butter Chicken Thighs
Add a tablespoon of honey to the melted garlic butter for a sweet-savory glaze. The honey caramelizes slightly, giving the chicken a glossy, sticky finish that’s irresistible.
Note: Apply honey butter after cooking to avoid burning sugars in the airfryer; serve immediately for best texture.
Nutrition
Per Serving:
Nutritional values are estimates and may vary based on specific ingredients used.
Storage & Tips
Room Temperature
Cooked chicken thighs can safely sit out at room temperature for up to 2 hours if covered loosely to avoid contamination. Beyond this, refrigeration is recommended to prevent bacterial growth.
Refrigerator
Store leftovers in an airtight container for up to 3 days. The skin may lose some crispness but reheating in the airfryer or oven can restore it. Cold chicken is still tasty but less crispy.
Freezer
Freeze cooked chicken thighs wrapped tightly in foil or freezer-safe bags for up to 3 months. To thaw, place in the fridge overnight. Reheat gently to avoid drying out the meat.
Reheating
Reheat in the airfryer at 350°F (175°C) for 5-7 minutes to restore crispiness. Alternatively, use an oven at 375°F (190°C) for 10 minutes. Avoid microwaving as it makes the skin soggy. Add a splash of water to keep meat moist if reheating longer.
Make Ahead
You can season and dry the chicken thighs a day ahead and keep them refrigerated uncovered to dry the skin further. Prepare the garlic butter fresh just before serving. Cooking the chicken fresh is best, but reheating works well if needed.
FAQ
Can I use boneless chicken thighs for this recipe?
Boneless thighs can be used, but they won’t crisp up as well because they lack the skin and bone that help retain moisture and texture. If you use boneless, consider adjusting cooking time to avoid drying out the meat and expect a different texture.
What if I don’t have an airfryer? Can I bake this in the oven?
Yes! Bake at 425°F (220°C) on a wire rack over a baking sheet for about 35-40 minutes, flipping halfway. The rack allows air circulation similar to an airfryer, helping the skin crisp. Oven times may vary so watch closely.
How do I know when the chicken is fully cooked?
The safest way is to check with a meat thermometer — the internal temperature should reach 165°F (74°C). The skin should be golden and crispy, and juices should run clear when pierced.
Can I prepare the garlic butter ahead of time?
You can make the garlic butter a few hours ahead and refrigerate it, but reheat gently before drizzling. Freshly made garlic butter has the best flavor and aroma, so try to prepare it close to serving time.
What sides pair well with this chicken?
Roasted vegetables, mashed potatoes, steamed greens, or a crisp salad all complement the rich garlic butter chicken nicely. The buttery sauce also works well drizzled over rice or pasta.
Is it necessary to flip the chicken during airfrying?
Flipping ensures even cooking and browning on both sides. If you skip flipping, one side may be crisp while the other stays soggy or undercooked, so it’s highly recommended.
How can I make the chicken spicier?
Add cayenne pepper, chili powder, or red pepper flakes to the seasoning mix. You can also infuse the garlic butter with hot sauce. Adjust amounts to your heat preference to avoid overpowering the garlic flavor.
Will the skin stay crispy if I store leftovers?
The skin tends to soften in the fridge. To restore crispiness, reheat in the airfryer or oven rather than the microwave. This reheating method crisps the skin back up nicely.
Final Thoughts
Give this quick airfryer crispy chicken thighs with garlic butter a try—you’ll love how easy and delicious it is. Don’t forget to share your results; I can’t wait to hear what you think!