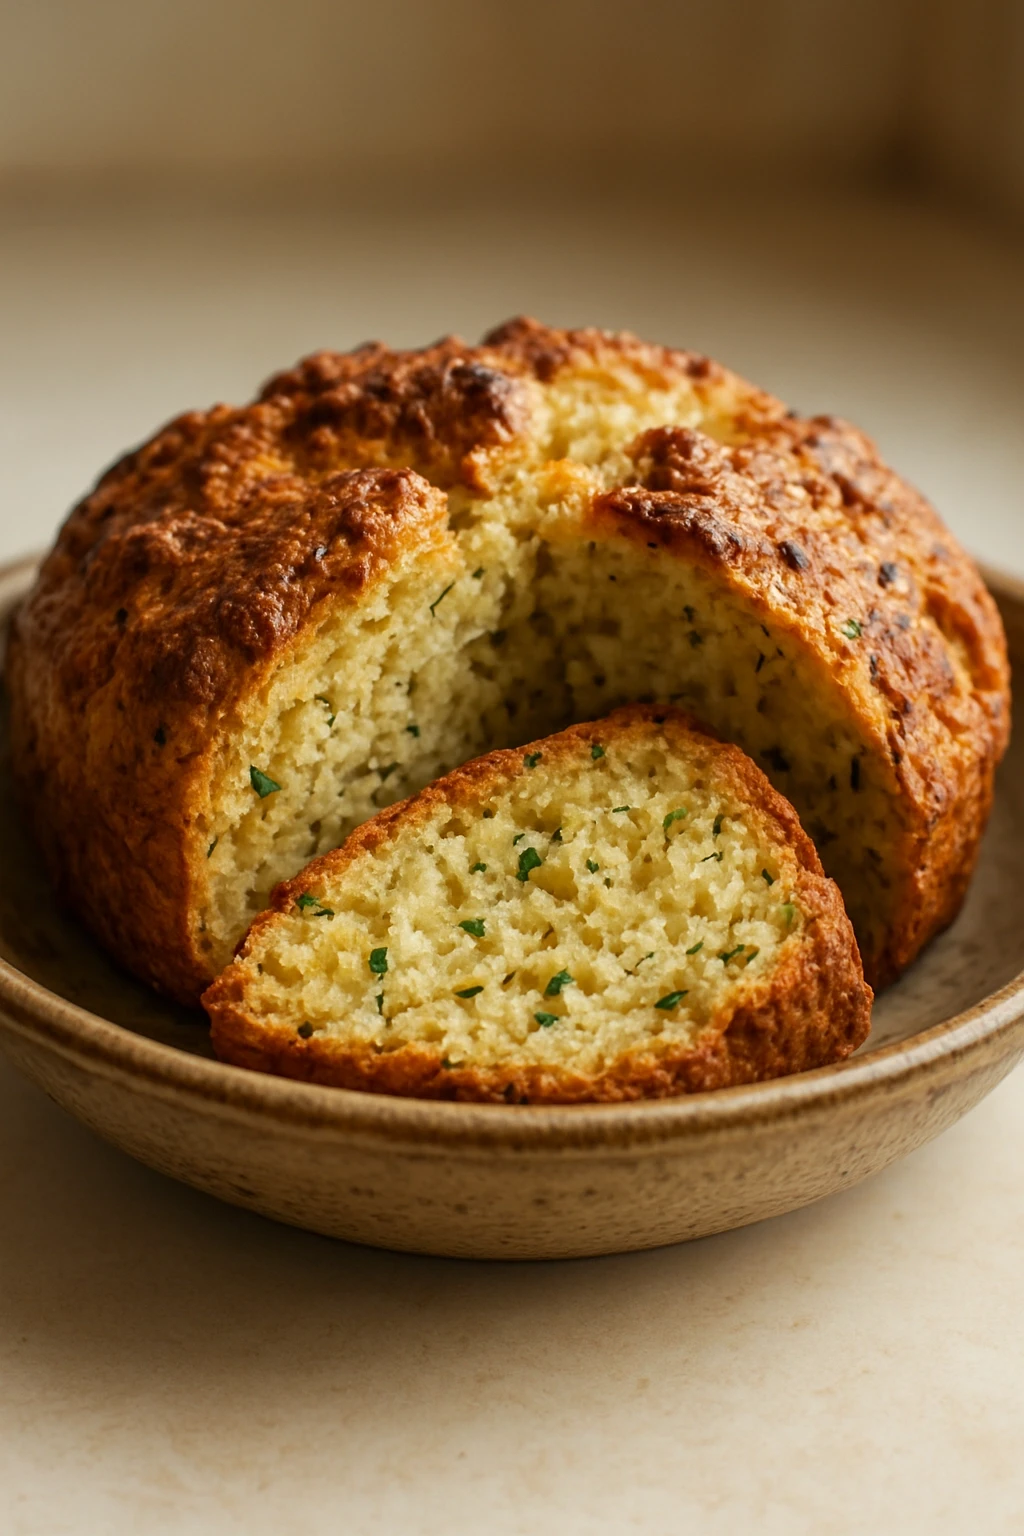
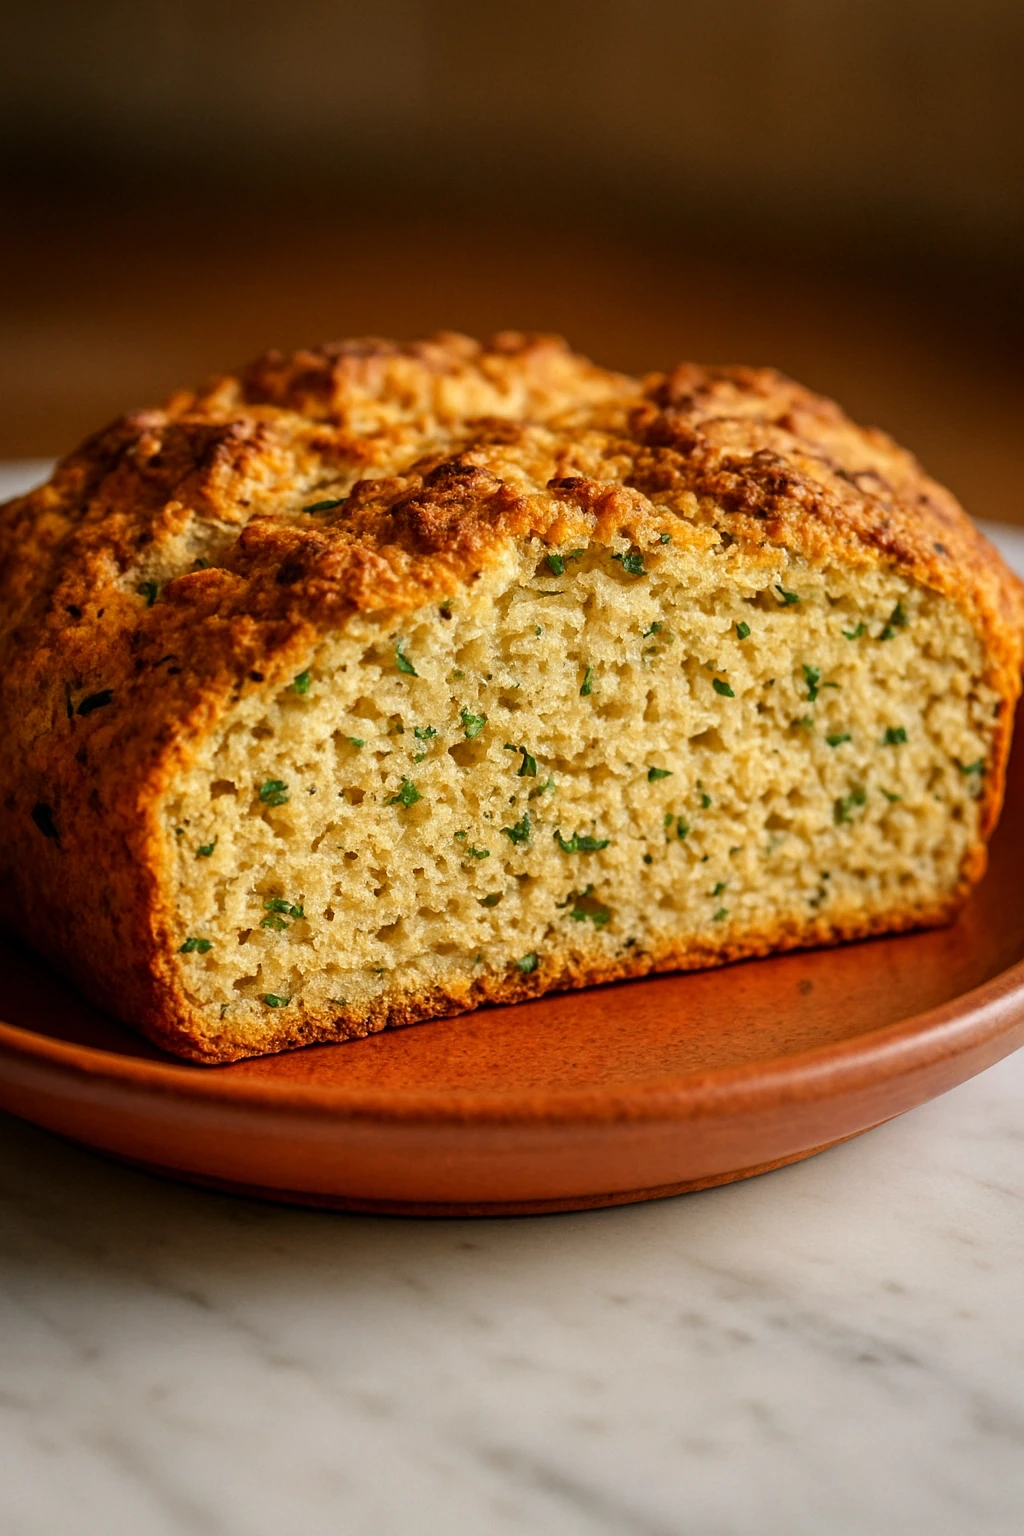
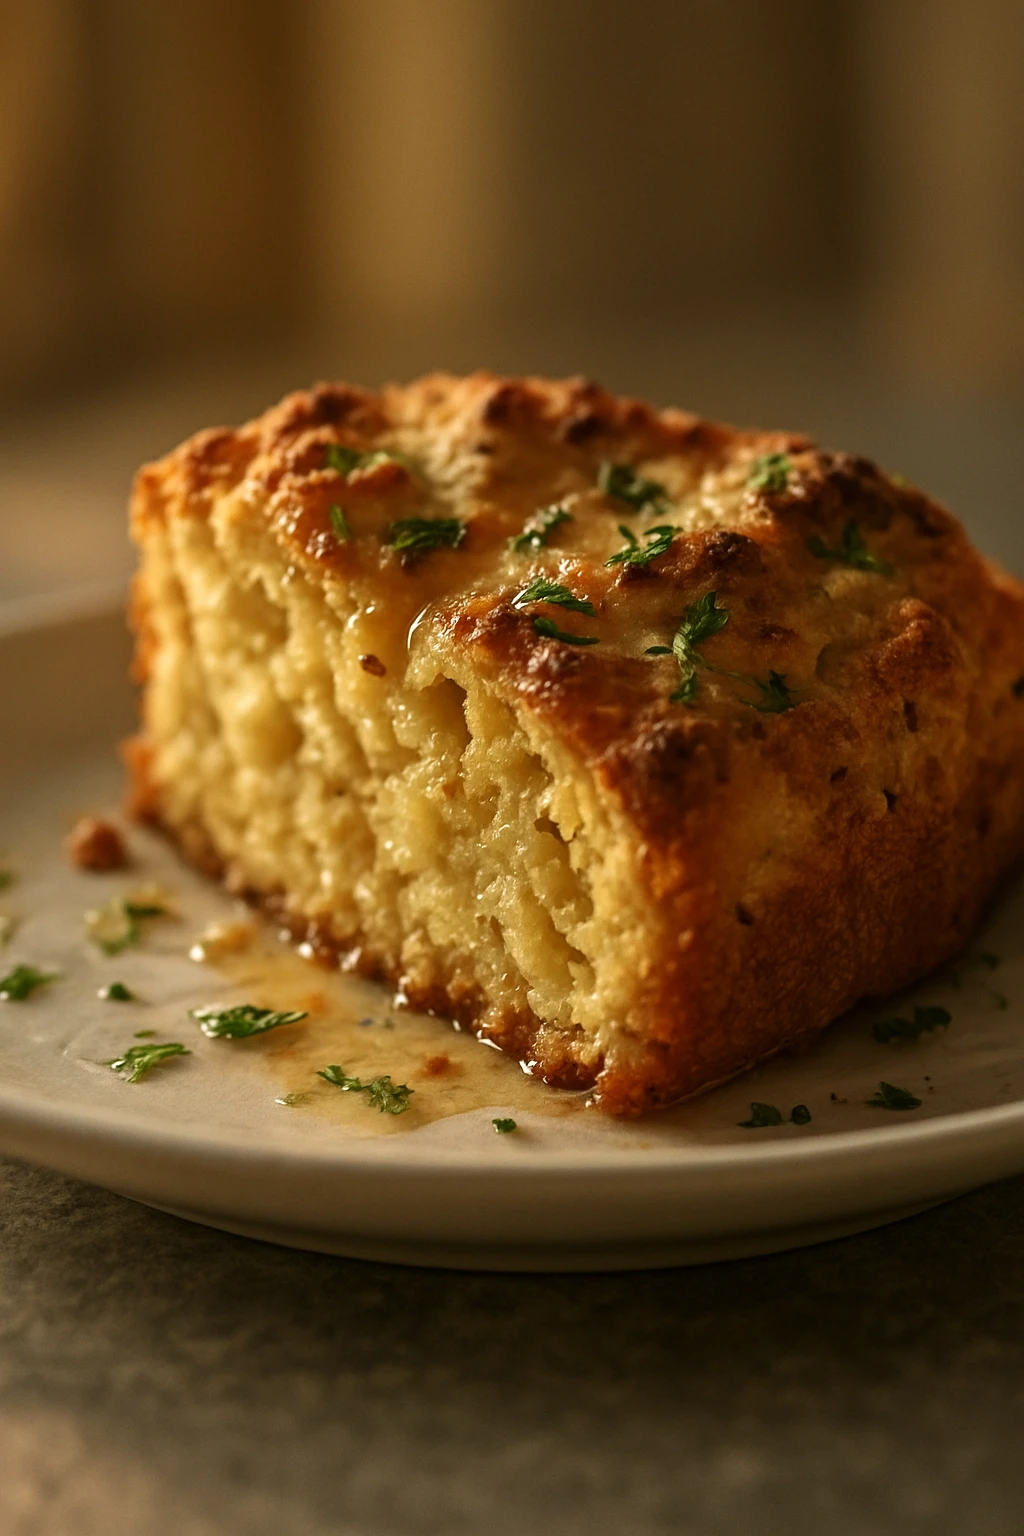
This Irish soda bread is a delightful treat that's both simple and delicious. With just a few ingredients and no yeast, it's perfect for St. Patrick's Day or any day of the year!
Introduction
I first stumbled upon Irish soda bread during a St. Patrick's Day celebration years ago. The warm, comforting aroma filled the kitchen, and I knew I had to try making it myself. What I love about this recipe is how quick and easy it is—no yeast, no waiting for dough to rise! Just mix, shape, and bake. The secret to getting that perfect crust is a hot oven and a quick bake, which gives the bread a beautiful golden color. You'll end up with a loaf that's crusty on the outside and soft on the inside, perfect for slathering with butter or enjoying alongside a hearty stew.
What You'll Need
1 loaf, approximately 8 slices
- 4 cups all-purpose flour
- 1 teaspoon baking soda
- 1 teaspoon salt
- 1 3/4 cups buttermilk
How To Do It
Step 1
Preheat your oven to 425°F (220°C). This step is crucial because a hot oven helps develop that lovely crust we all crave. If you skip this, your bread may not rise properly, leading to a denser texture. Make sure to give your oven enough time to reach the right temperature before you put the bread in.
⏱ Time: 10 minutes
✓ Doneness: The oven should be hot enough that you can feel the heat radiating when you open the door.
Step 2
In a large mixing bowl, combine the flour, baking soda, and salt. Whisk them together until they're evenly mixed. This step is important because it ensures the baking soda is distributed evenly throughout the flour, which helps the bread rise properly. A common mistake is to skip this step and just dump everything in, which can lead to uneven rising.
⏱ Time: 5 minutes
✓ Doneness: The mixture should look uniform with no clumps.
Step 3
Make a well in the center of the dry ingredients and pour in the buttermilk. Using a wooden spoon or your hands, mix until the dough just comes together. It's okay if it's a little sticky; that's what makes it tender. Be careful not to overmix, as this can lead to a tough loaf. You want to stop as soon as the flour is incorporated.
⏱ Time: 5 minutes
✓ Doneness: The dough should be sticky but hold together when formed into a ball.
Step 4
Turn the dough out onto a lightly floured surface and gently knead it for about 1 minute, just until it forms a cohesive ball. This is a quick knead—don't overdo it! Overworking the dough can make your bread tough, and nobody wants that. Just enough kneading to bring it together is all you need.
⏱ Time: 1 minute
✓ Doneness: The dough should be smooth and no longer sticky.
Step 5
Shape the dough into a round loaf and place it on a baking sheet lined with parchment paper. Use a sharp knife to score a deep cross on top of the loaf. This not only looks beautiful but also helps the bread cook evenly. If you skip this, the bread might crack in unexpected places, leading to an uneven texture.
⏱ Time: 5 minutes
✓ Doneness: The loaf should look rounded and the scoring should be deep but not cutting through completely.
Step 6
Bake in the preheated oven for about 25-30 minutes, or until the bread is golden brown and sounds hollow when tapped on the bottom. This is the moment of truth! If you pull it out too early, it might be doughy inside, so make sure to listen for that hollow sound and check for a nice golden crust.
⏱ Time: 30 minutes
✓ Doneness: The bread should be golden brown and sound hollow when tapped.
Step 7
Remove the bread from the oven and let it cool on a wire rack for at least 10 minutes before slicing. This helps the interior set and makes slicing easier. If you cut it while it's still hot, the steam escapes too quickly, and you might end up with a gummy texture. Patience is key here!
⏱ Time: 10 minutes
✓ Doneness: The bread should feel firm to the touch and not too hot.
Pro Tips
Use fresh buttermilk for the best flavor.
Fresh buttermilk adds a lovely tang that enhances the flavor of the bread. If you use old buttermilk, it can lead to off-flavors and affect the overall taste.
Don't over-knead the dough.
Over-kneading can develop gluten too much, resulting in a tough loaf. You want a tender texture, so stop kneading as soon as the dough comes together.
Let the bread cool before slicing.
Cooling allows the steam to escape slowly, which helps set the crumb and prevents a gummy texture. Cutting too soon can ruin the perfect loaf you've just baked!
Experiment with add-ins like raisins or herbs.
Adding ingredients like raisins or fresh herbs can elevate the flavor profile of your soda bread. Just remember to adjust the flour slightly to accommodate the extra moisture.
Store bread properly to maintain freshness.
Keeping the bread in a paper bag helps it breathe and stay crusty. Avoid plastic bags, as they can make the crust soggy.
Common Mistakes to Avoid
Not preheating the oven.
Why it happens Many home cooks underestimate the importance of a hot oven. They think it won't make a difference, but it really does!
Fix Always preheat your oven for at least 10-15 minutes before baking. This ensures the bread rises properly and develops a nice crust.
Using cold buttermilk.
Why it happens Some may forget to take their buttermilk out ahead of time and use it cold, thinking it won't matter.
Fix Allow your buttermilk to sit at room temperature for about 30 minutes before using it. This helps the dough come together more easily.
Skipping the scoring step.
Why it happens It might seem unnecessary, but scoring is vital for proper expansion.
Fix Always score the top of your loaf with a sharp knife to allow steam to escape and help the loaf rise evenly.
Variations
Cheddar and Chive Soda Bread
Add 1 cup of shredded sharp cheddar cheese and 1/4 cup of chopped fresh chives to the dough for a savory twist. This variation is perfect for serving alongside soups or stews.
Note: You may need to add a bit more flour to account for the moisture from the cheese.
Raisin and Cinnamon Soda Bread
Mix in 1 cup of raisins and 1 teaspoon of ground cinnamon for a sweet version. This makes for a delightful breakfast bread or a lovely snack with tea.
Note: Consider reducing the sugar slightly to balance the sweetness of the raisins.
Herbed Soda Bread
Incorporate 2 tablespoons of your favorite fresh herbs, such as rosemary or thyme, into the dough for a fragrant bread that pairs beautifully with roasted meats.
Note: Fresh herbs add moisture, so adjust the flour accordingly to maintain the right dough consistency.
Nutrition
Per Serving:
Nutritional values are estimates and may vary based on specific ingredients used.
Storage & Tips
Room Temperature
Irish soda bread keeps well at room temperature for up to 2 days. Store it in a paper bag or wrapped in a clean kitchen towel to maintain its crust.
Refrigerator
You can store soda bread in an airtight container in the fridge for up to 5 days. However, the texture may change, becoming denser when cold. It’s best served warm.
Freezer
Freeze soda bread for up to 3 months. Wrap it tightly in plastic wrap and then in aluminum foil to prevent freezer burn. To thaw, place it in the fridge overnight.
Reheating
For the best results, reheat slices in a toaster or on a skillet for a few minutes. You can add a splash of water in the pan to create steam, which helps revive the bread’s texture.
Make Ahead
You can prepare the dough a day ahead and shape it into a loaf. Wrap it tightly and keep it in the fridge. Bake it fresh the next day for a warm treat!
FAQ
Can I use regular milk instead of buttermilk?
Yes, you can substitute regular milk by adding 1 tablespoon of vinegar or lemon juice to it. Let it sit for about 5 minutes to sour it before using. This helps mimic the acidity of buttermilk, which is crucial for the bread's rise.
What can I do if my bread is too dense?
If your bread turns out dense, it likely means the baking soda wasn't evenly mixed or the dough was overworked. Make sure to whisk the dry ingredients thoroughly and knead gently next time to avoid this issue.
How can I tell when the bread is done baking?
The best way to check is by tapping the bottom of the loaf; it should sound hollow. Additionally, the crust should be a beautiful golden brown. If you're unsure, you can use a toothpick to check the center.
Can I add different flavors to the dough?
Absolutely! You can experiment by adding herbs, spices, or even cheese to the dough. Just remember to adjust the flour if necessary to maintain the right texture.
How should I store leftover soda bread?
Store leftover soda bread in a paper bag at room temperature for up to 2 days. For longer storage, wrap it tightly in plastic wrap and freeze it. Just remember to thaw it before serving for the best texture.
Final Thoughts
I hope you give this Irish soda bread a try! It's a simple yet satisfying recipe that brings a taste of Ireland to your kitchen. Don’t forget to share your results with me!