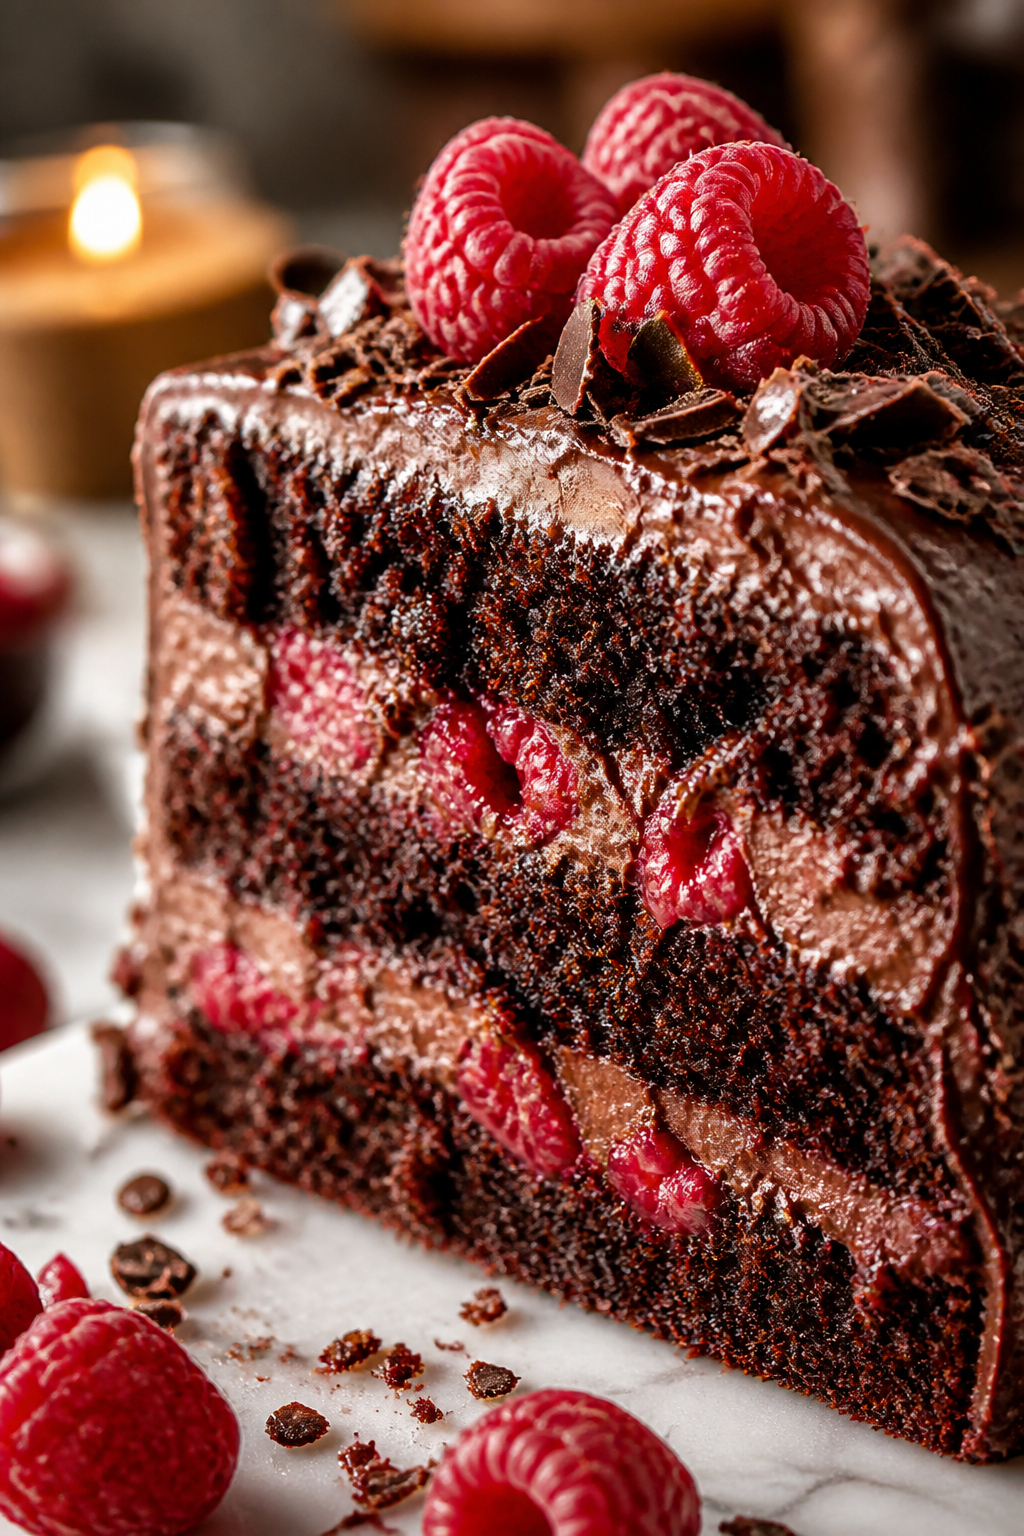
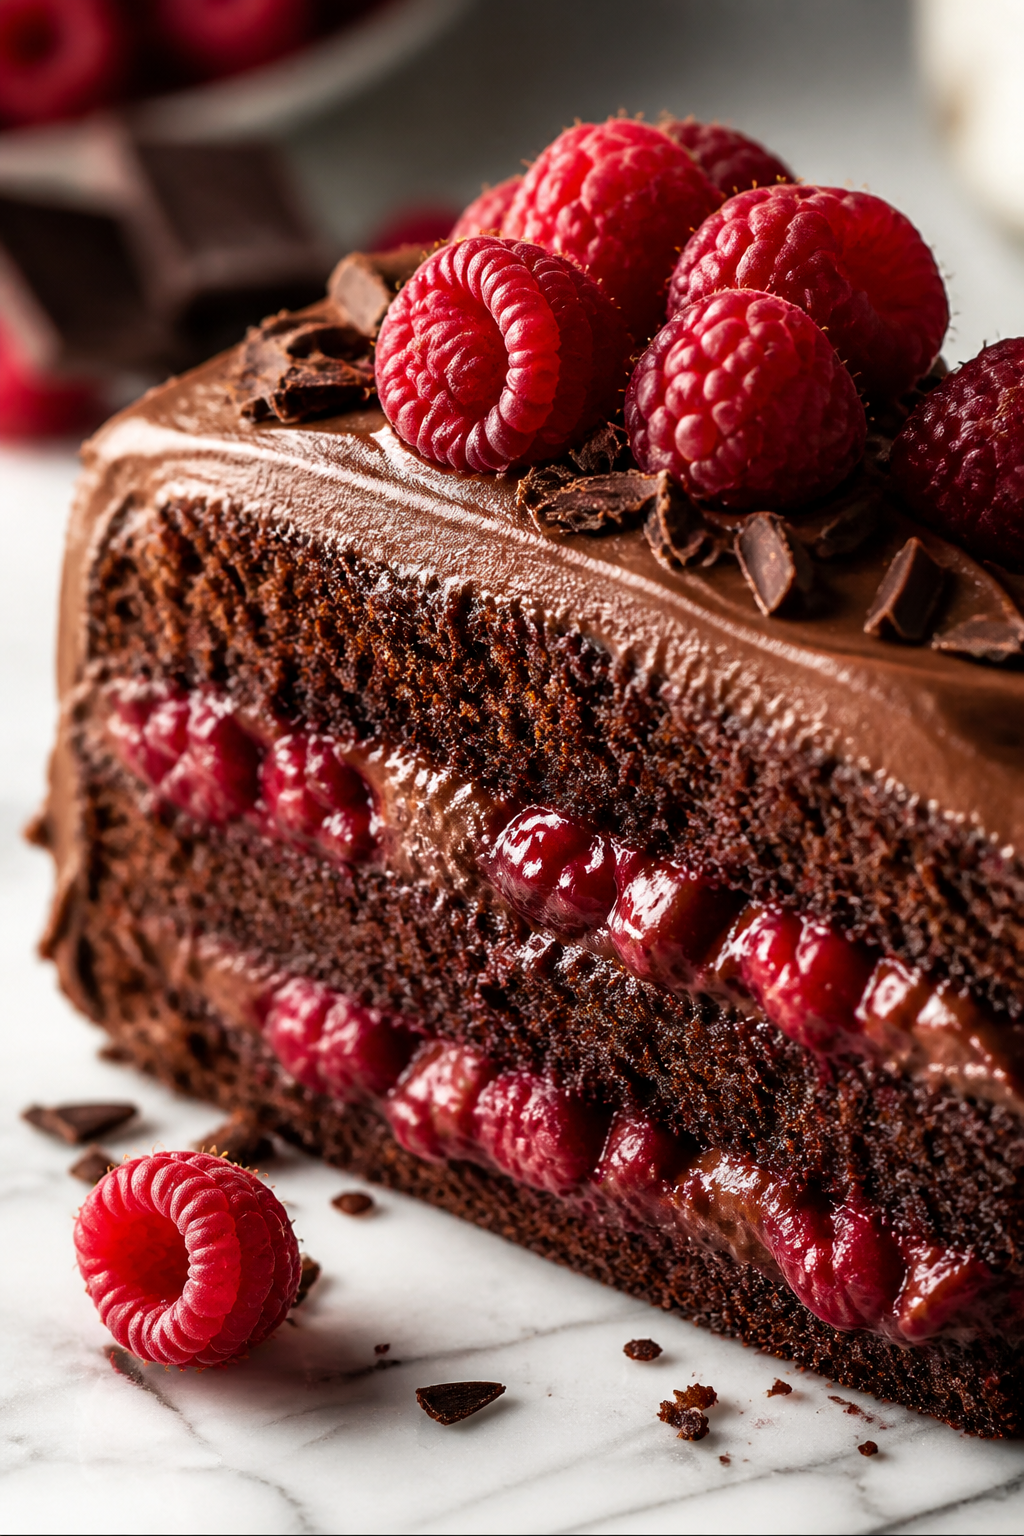
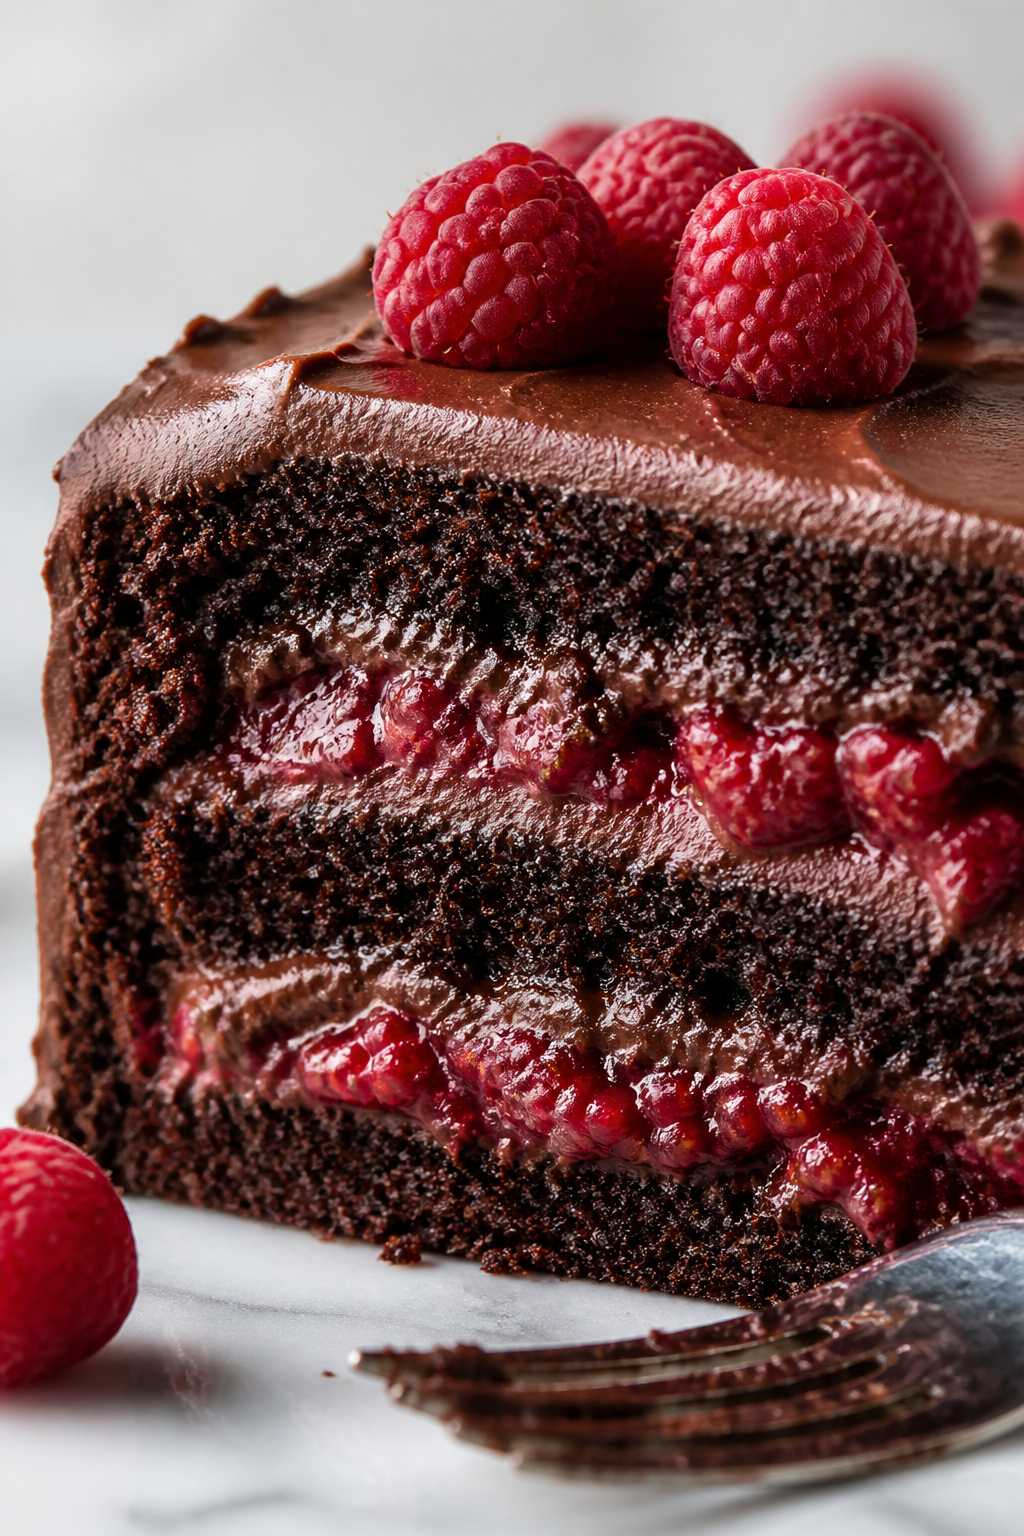
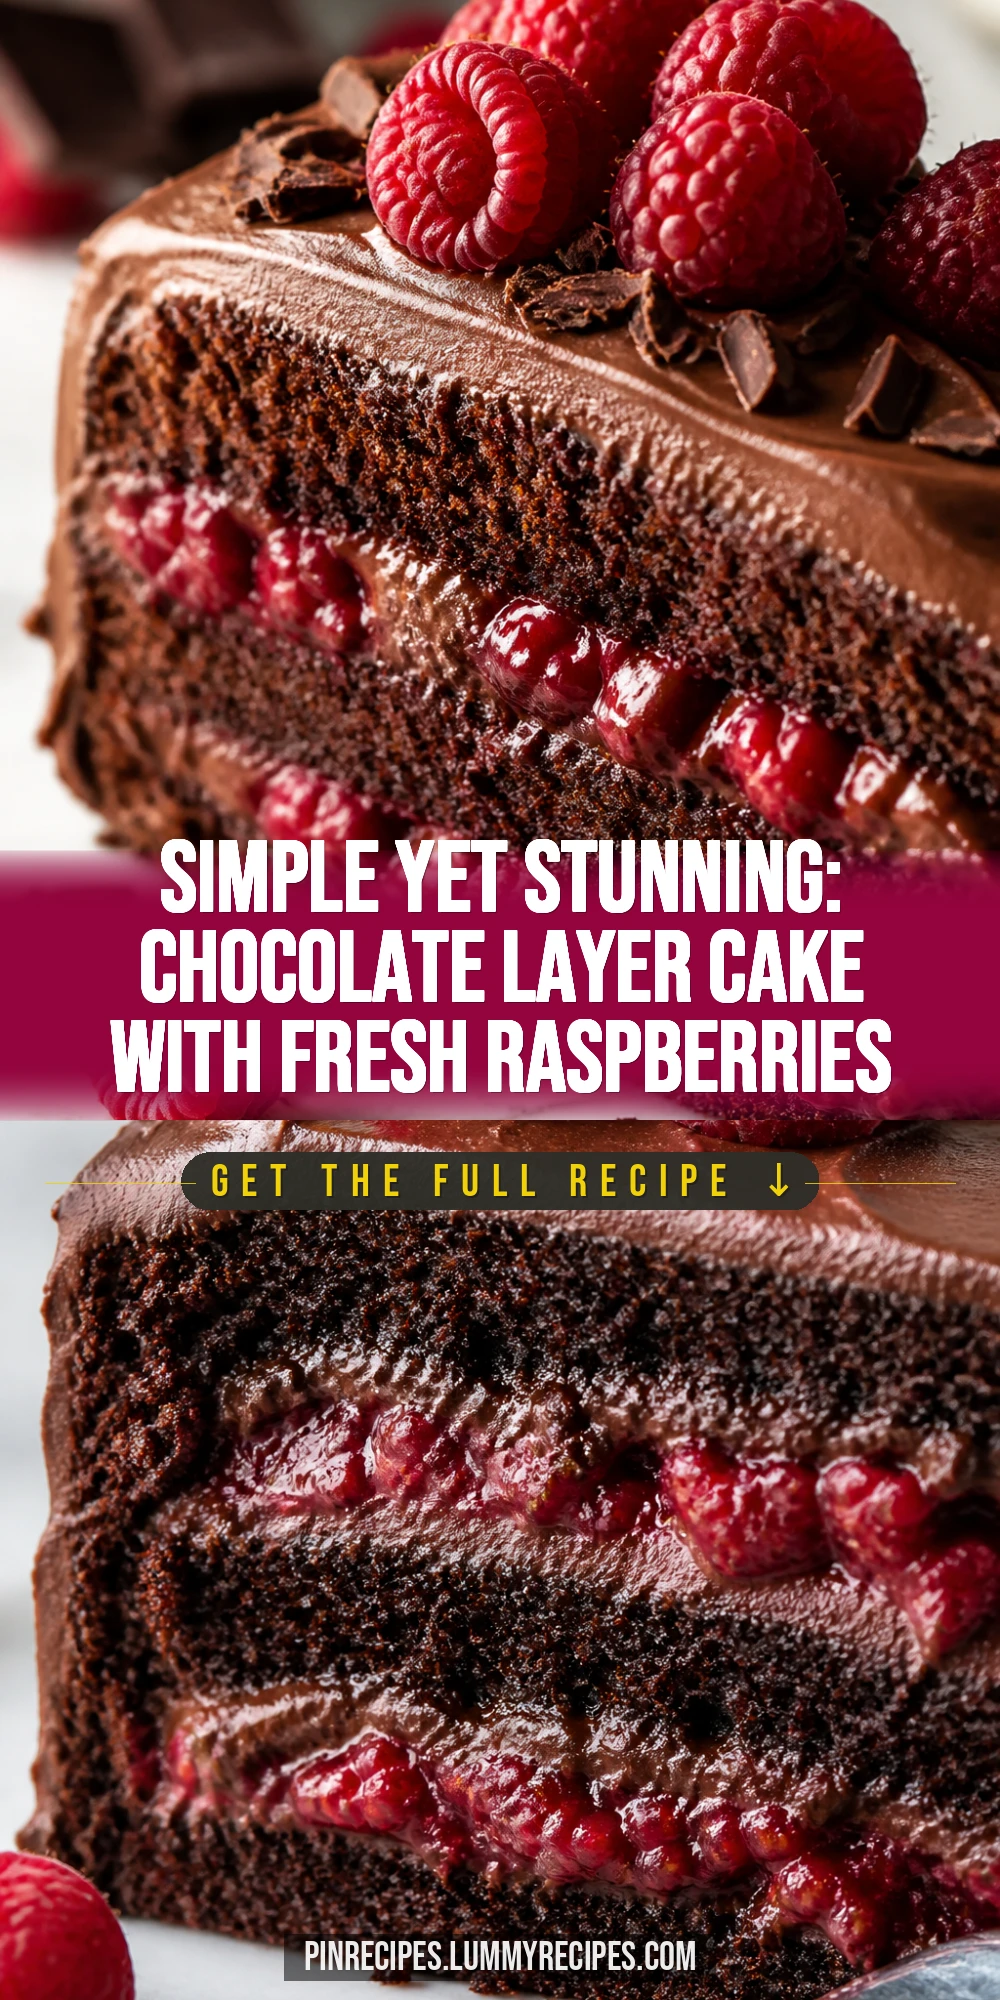
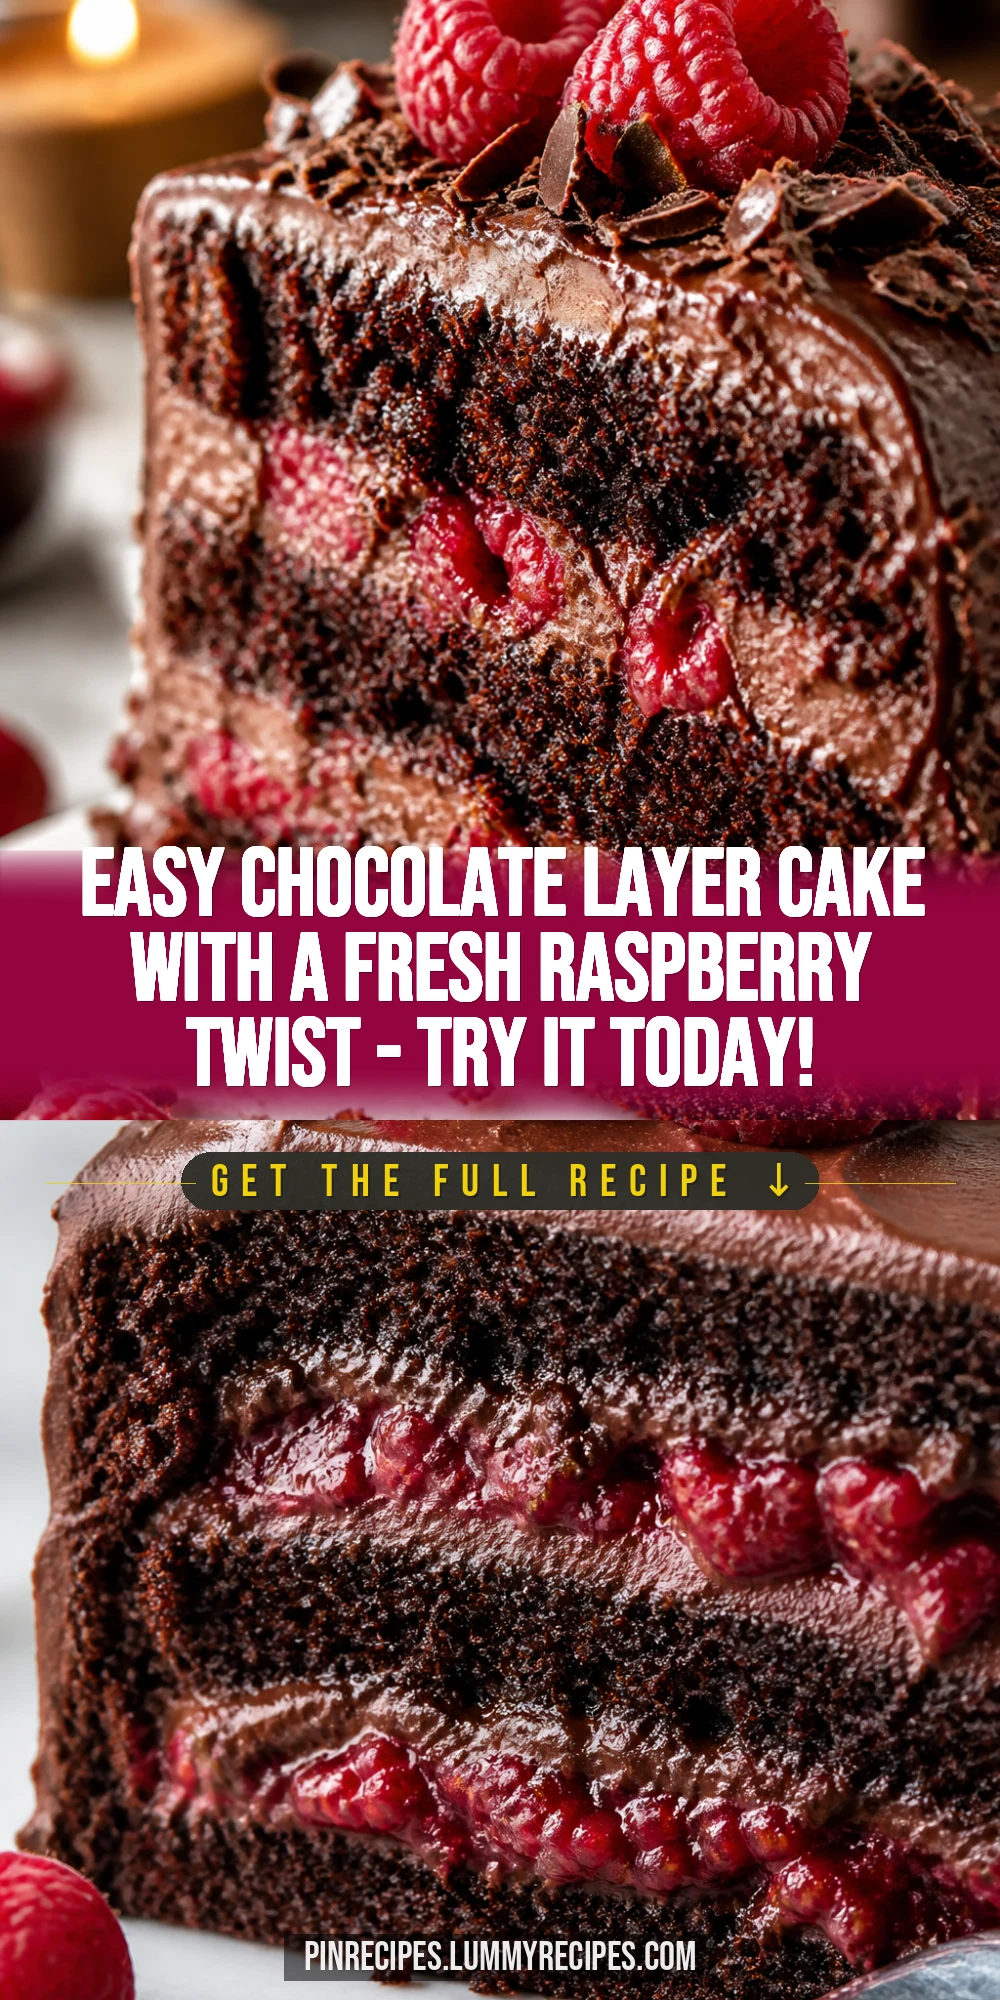
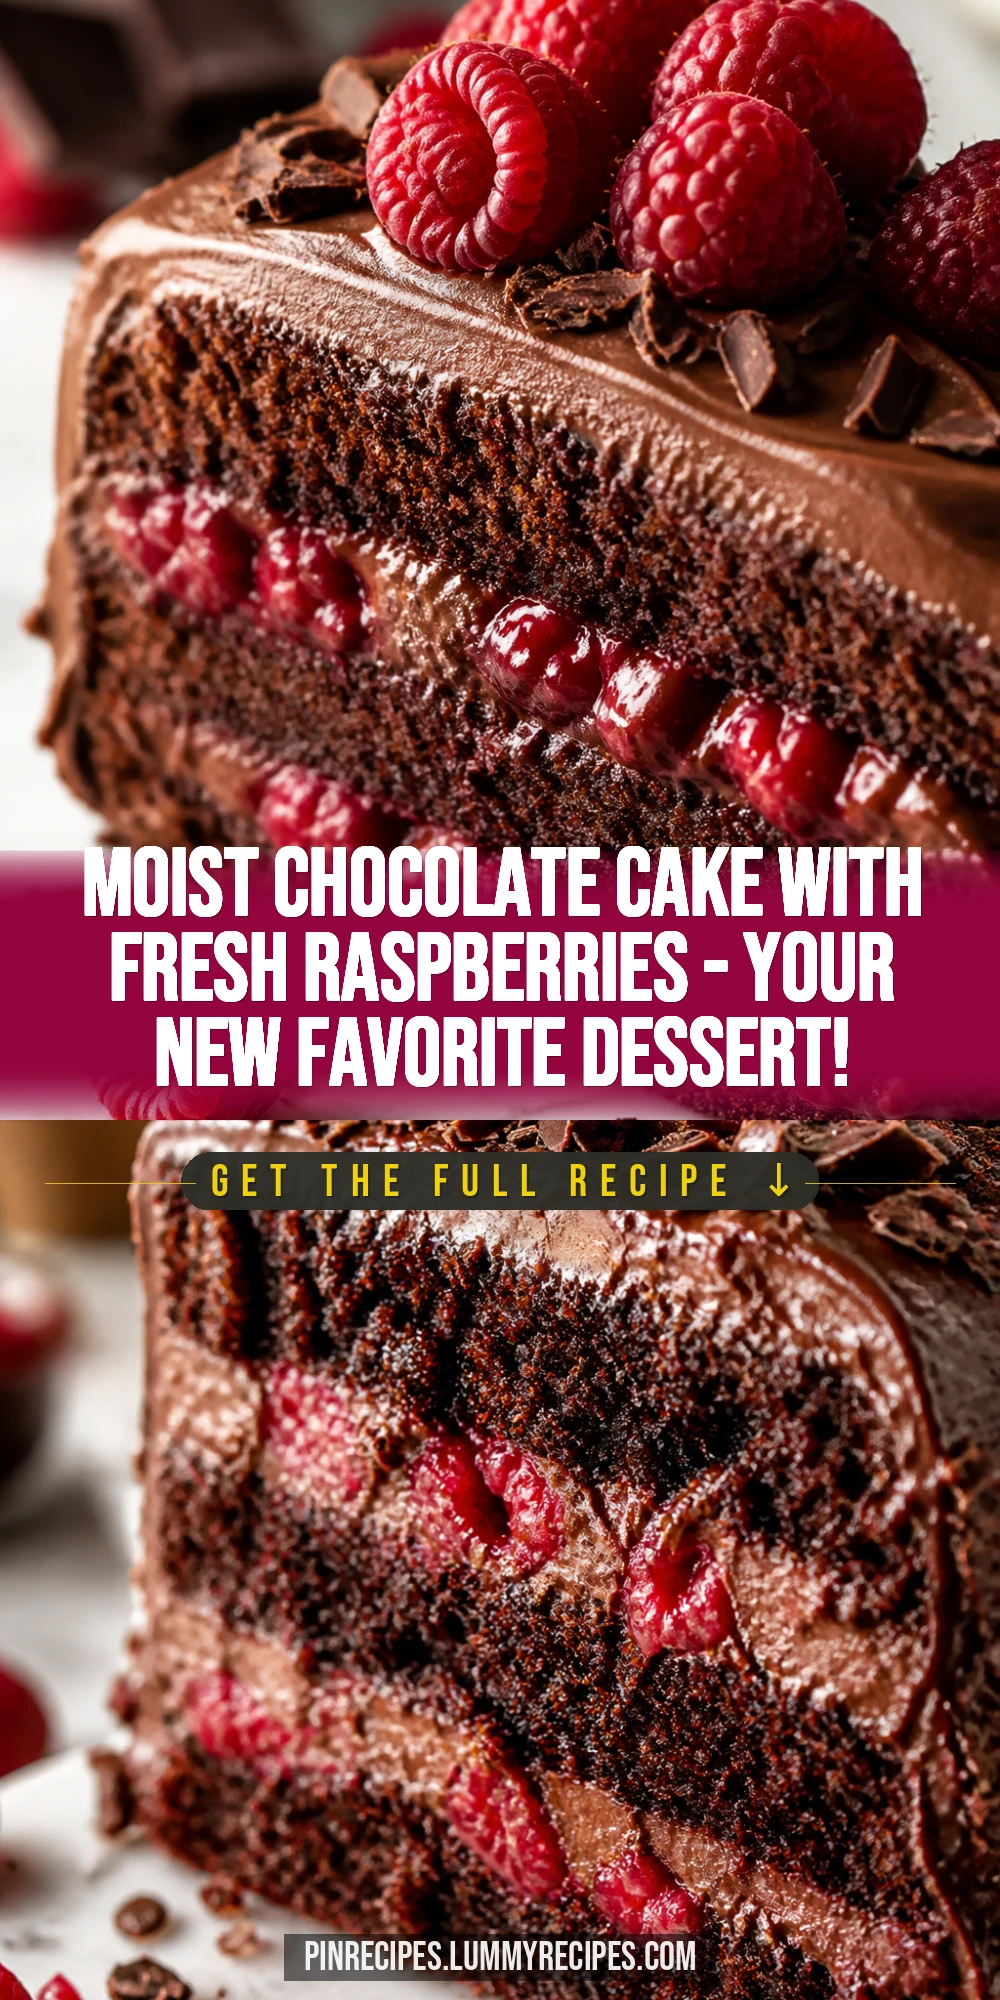
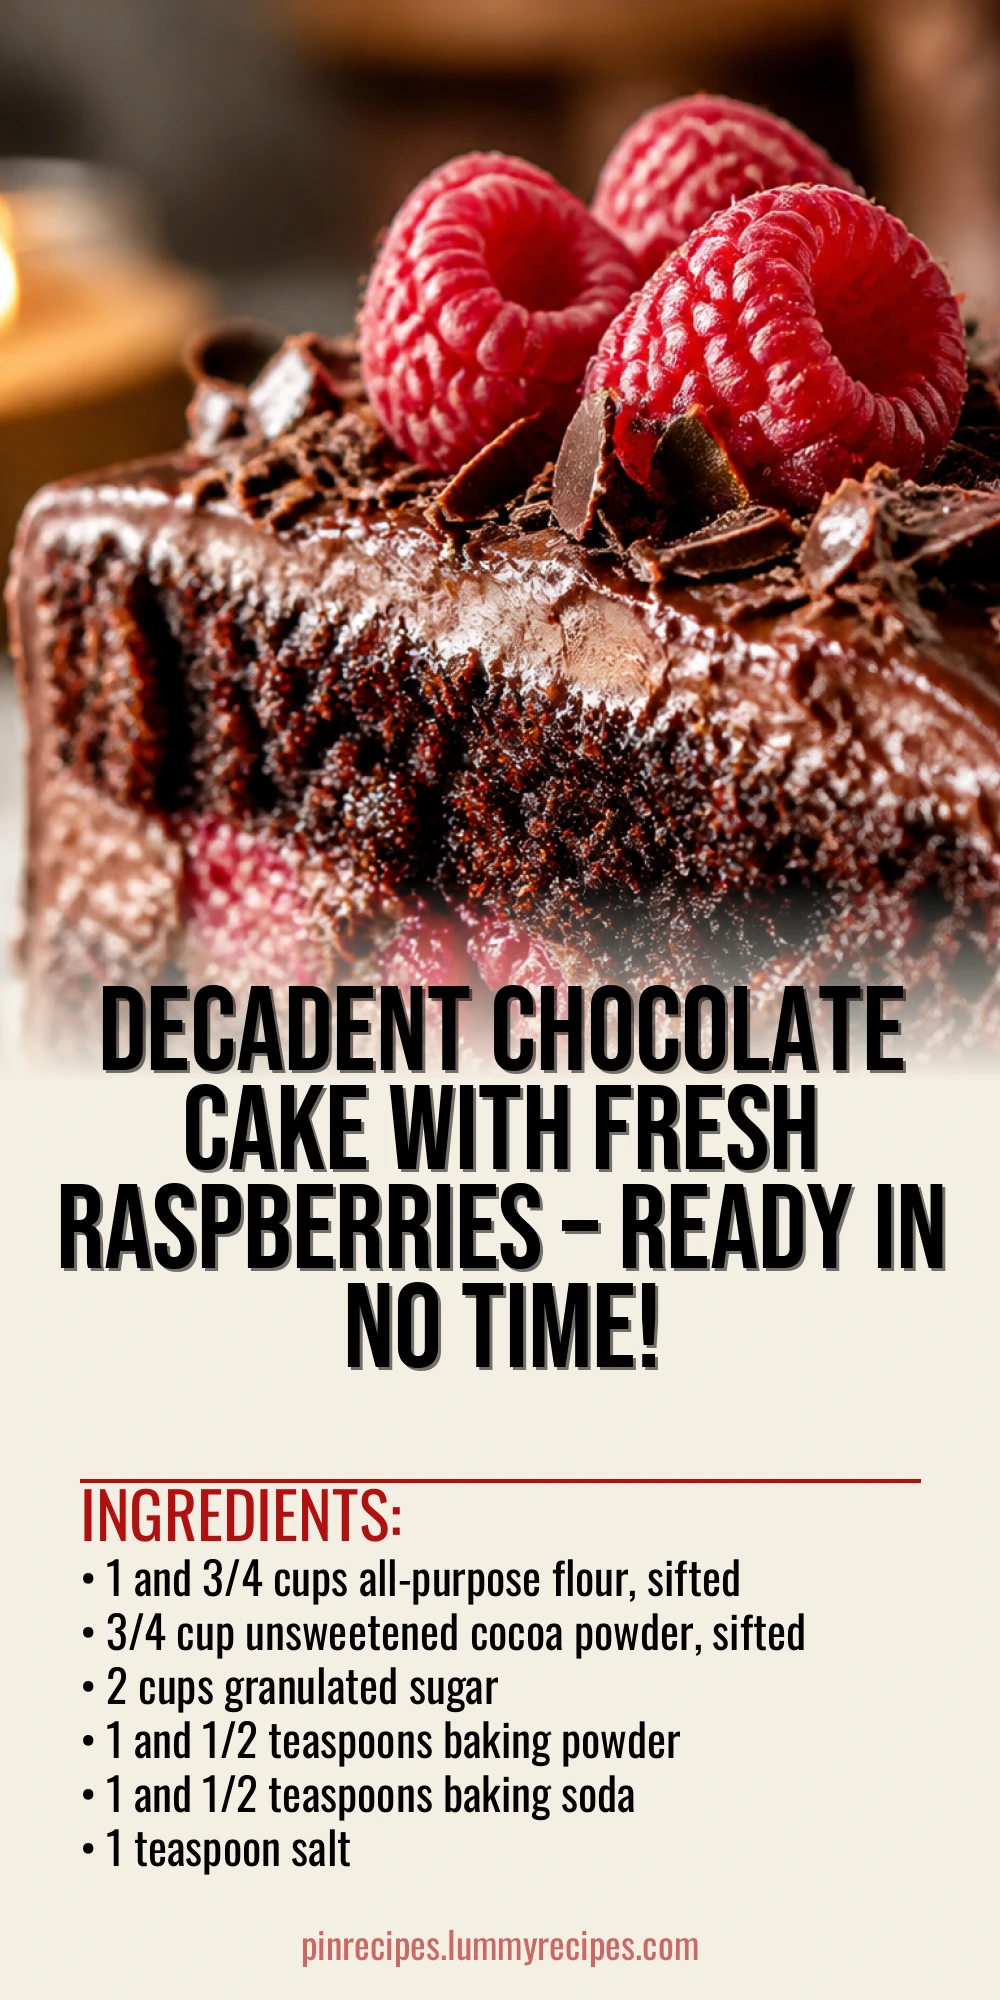
This chocolate layer cake is a fast, no-fuss dessert that still feels special. The fresh raspberries add a bright, juicy pop that balances the rich cocoa. Great for last-minute celebrations or a cozy weekend treat.
Introduction
I stumbled upon this quick chocolate layer cake recipe a few years ago when I needed a dessert in a pinch for a family gathering. I was skeptical at first because most quick cakes don't taste quite right to me — they can be dry or overly dense. But this one surprised me with its moist crumb and deep chocolate flavor, thanks to the boiling water step that really blooms the cocoa powder. What makes this cake stand out is the simple addition of fresh raspberries between the layers and on top. It adds a subtle tartness that balances the sweetness and richness perfectly. I love that it’s not fussy but still feels like a special treat. Plus, whipping up fresh cream with just a touch of powdered sugar makes it feel homemade and indulgent without much effort. This cake is perfect for those moments when you want to impress without spending hours in the kitchen. I’ve made it for birthdays, casual Sunday dinners, and even for myself on a quiet evening. The trick I’ve learned is to be gentle folding in the boiling water — it keeps the batter light and airy. When it’s done, you get a tender, chocolatey cake with juicy raspberries that make every bite worth it. It’s a simple recipe but one that feels like a hug from the inside out.
What You'll Need
One 9-inch two-layer cake, 8 servings
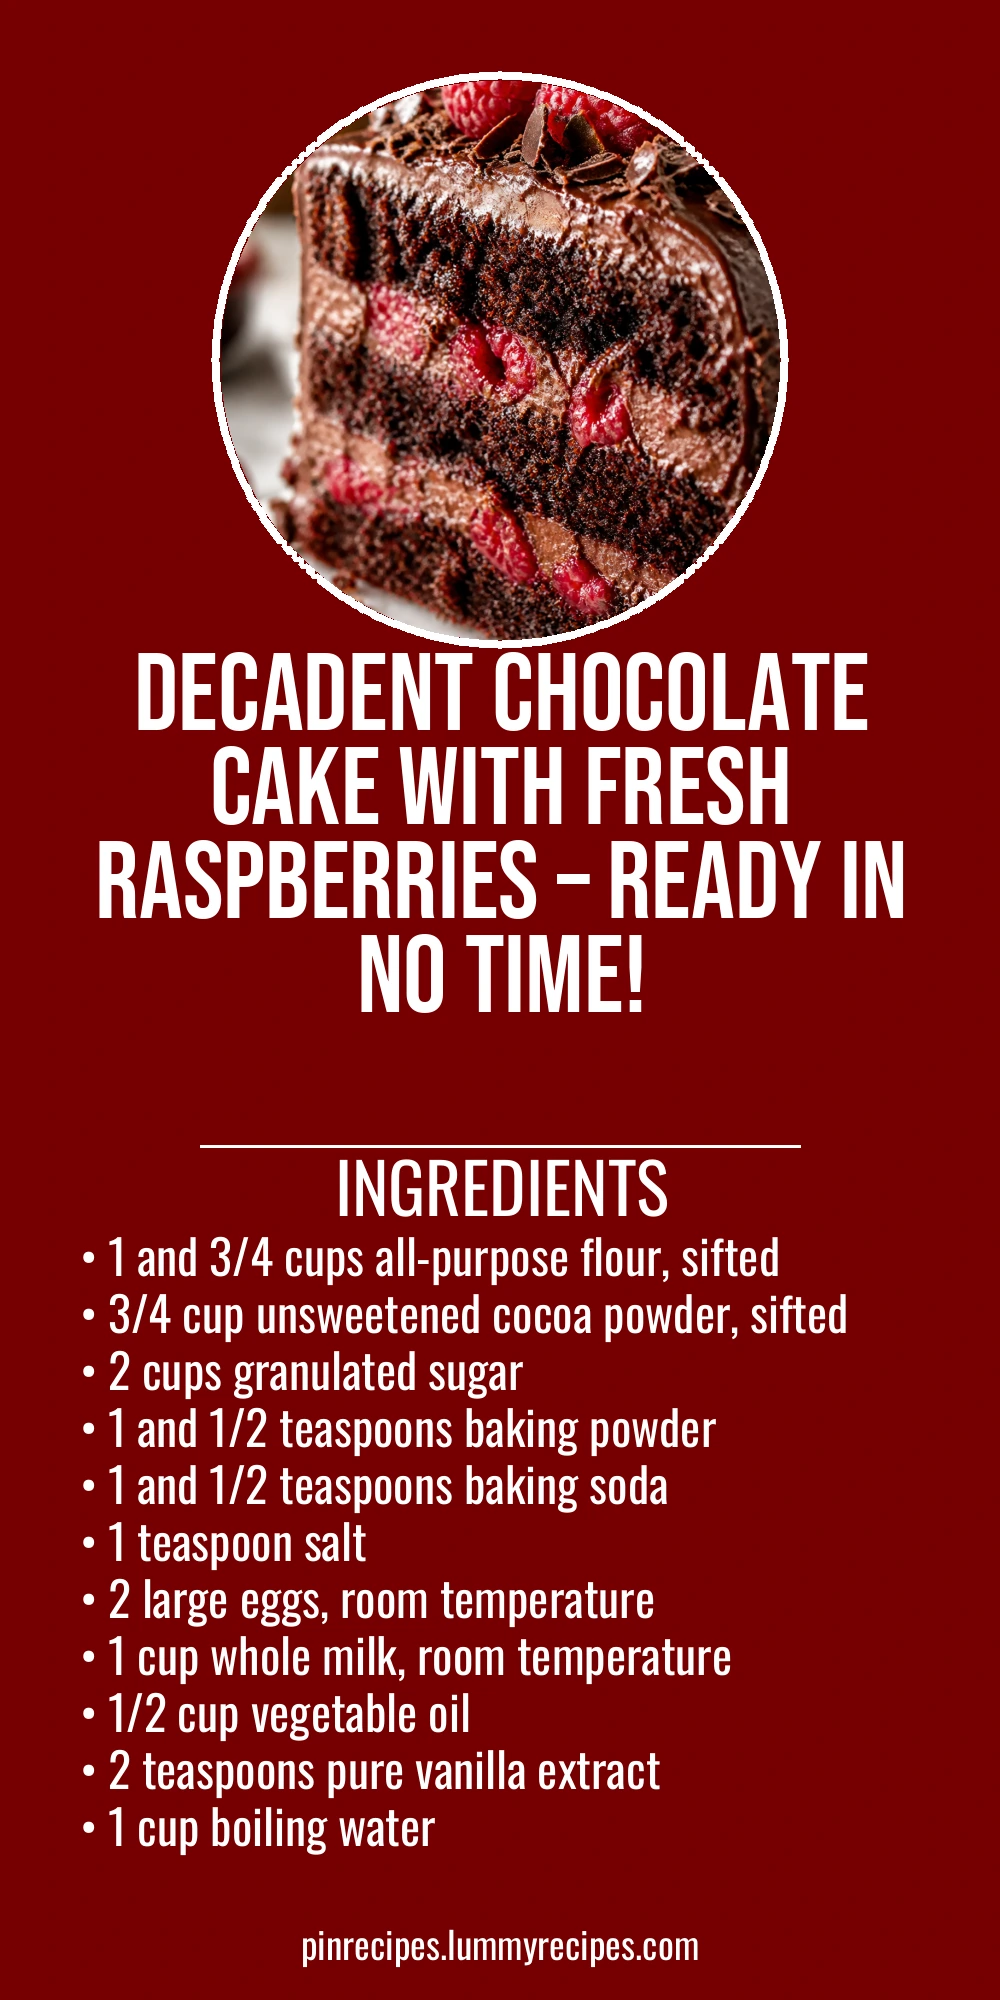
- 1 and 3/4 cups all-purpose flour, sifted
- 3/4 cup unsweetened cocoa powder, sifted
- 2 cups granulated sugar
- 1 and 1/2 teaspoons baking powder
- 1 and 1/2 teaspoons baking soda
- 1 teaspoon salt
- 2 large eggs, room temperature
- 1 cup whole milk, room temperature
- 1/2 cup vegetable oil
- 2 teaspoons pure vanilla extract
- 1 cup boiling water
- 1 and 1/2 cups fresh raspberries
- 1 cup heavy cream
- 2 tablespoons powdered sugar
How To Do It
Step 1
Preheat your oven to 350°F (175°C). Grease two 9-inch round cake pans and lightly dust them with cocoa powder to prevent sticking. This step is crucial because it ensures your cake layers come out clean and intact, which is especially important for a layered cake. If you skip this or don’t grease well, the cake can stick and break apart when you try to remove it. Take your time here to avoid any frustration later.
⏱ Time: 10 minutes
✓ Doneness: Pans are evenly greased and dusted with no clumps of flour or cocoa powder
Step 2
In a large mixing bowl, sift together the flour, cocoa powder, sugar, baking powder, baking soda, and salt. Sifting helps to remove lumps and aerates the dry ingredients, which results in a lighter cake texture. Mixing these dry ingredients thoroughly ensures even distribution of leavening agents, so your cake rises uniformly. Don’t rush this step; a well-mixed base is the backbone of a great cake.
⏱ Time: 5 minutes
✓ Doneness: Dry ingredients form a smooth, uniform mixture with no visible clumps
Step 3
Add the eggs, milk, vegetable oil, and vanilla extract to the dry ingredients. Beat on medium speed for about 2 minutes until the batter is smooth and well combined. The eggs provide structure, while the oil keeps the cake moist. Mixing at medium speed helps incorporate air without overbeating, which can make the cake tough. The batter should be silky and slightly thick at this point.
⏱ Time: 3 minutes
✓ Doneness: Batter is smooth, homogenous, and slightly thick but pourable
Step 4
Carefully add the boiling water to the batter while mixing on low speed. The batter will thin out — this is expected. The hot water intensifies the cocoa flavor and helps dissolve the sugar and cocoa, resulting in a moist, tender crumb. Be gentle mixing to avoid splashing and to keep the batter light. If you add the water too quickly or mix too vigorously, you risk overworking the batter and losing air.
⏱ Time: 2 minutes
✓ Doneness: Batter is thin and smooth with no lumps, ready to pour
Step 5
Divide the batter evenly between the prepared pans. Use a spatula to spread it out and smooth the surface. This ensures even baking and uniform layers. Tap the pans gently on the counter to release any large air bubbles that could cause holes or tunnels in the cake. Evenness here helps the cake layers stack nicely without tilting or sliding.
⏱ Time: 5 minutes
✓ Doneness: Batter is evenly spread with smooth surfaces and no large bubbles
Step 6
Bake the cakes in the preheated oven for 30 to 35 minutes. Start checking around 30 minutes by inserting a toothpick into the center; it should come out with a few moist crumbs but no wet batter. Avoid opening the oven door too often, as this can cause the cake to sink. When done, the cakes will spring back lightly when pressed and have pulled slightly away from the pan edges.
⏱ Time: 30-35 minutes
✓ Doneness: Toothpick inserted in center comes out mostly clean with moist crumbs
Step 7
Let the cakes cool in the pans for 10 minutes, then run a knife around the edges and turn them out onto wire racks to cool completely. Cooling in the pan too long can cause sogginess, while removing too soon risks breaking the cake. The wire rack allows air circulation, preventing condensation and soggy bottoms. Patience here pays off with clean, firm layers ready to assemble.
⏱ Time: 40 minutes
✓ Doneness: Cakes feel cool to the touch and are firm enough to handle without crumbling
Step 8
While the cakes cool, whip the heavy cream with powdered sugar until soft peaks form. Whipping cream adds a light, creamy layer that balances the dense cake. Soft peaks mean the cream holds its shape but still has a gentle wobble, perfect for spreading without breaking the cake layers. Overwhipping can turn cream grainy or into butter, so watch closely.
⏱ Time: 5 minutes
✓ Doneness: Whipped cream forms soft peaks that hold shape but are still smooth
Step 9
To assemble, place one cake layer on your serving plate. Spread half the whipped cream evenly over it, then scatter half the fresh raspberries on top. Add the second cake layer and repeat with remaining cream and raspberries. The fresh berries add a juicy burst and a pretty contrast to the dark cake. Chill the assembled cake for at least 30 minutes before serving to let the flavors meld and the cream set.
⏱ Time: 15 minutes plus chilling
✓ Doneness: Cake layers are stacked neatly with visible cream and raspberry layers, cream is set
Pro Tips
Always sift your dry ingredients before mixing.
Sifting helps remove lumps and adds air to the flour and cocoa powder, resulting in a lighter, more even batter. It also ensures the leavening agents are evenly distributed, which is key for a consistent rise and texture.
Use room temperature eggs and milk.
Cold ingredients can cause the batter to seize or mix unevenly, leading to a less tender crumb. Room temperature ingredients blend more smoothly and trap air better, helping the cake rise nicely.
Add boiling water slowly and mix gently.
The boiling water blooms the cocoa and thins the batter, but adding it too quickly or mixing vigorously can deflate the air bubbles and result in a dense cake. Gentle mixing preserves the light texture.
Don’t overbake the cake layers.
Overbaking dries out the cake and makes it crumbly. Check for doneness early by inserting a toothpick; a few moist crumbs are better than a completely dry toothpick for a moist cake.
Cool cakes completely before frosting.
If the cake is too warm, the whipped cream will melt and slide off, ruining the appearance and texture. Cooling ensures the frosting sets nicely and layers stay neat.
Use fresh, firm raspberries for layering.
Ripe but firm berries hold their shape and add fresh flavor without leaking too much juice, which can make the cake soggy. If berries are too soft, pat dry or lightly dust with flour before layering.
Whip cream just to soft peaks.
Overwhipping turns cream grainy or into butter. Soft peaks hold shape but are still smooth and easy to spread, giving a light, fluffy frosting that complements the cake.
Common Mistakes to Avoid
Skipping the sifting of dry ingredients
Why it happens Many home cooks want to save time or don’t realize the impact of sifting on texture.
Fix Take the extra few minutes to sift flour, cocoa, and leavening agents together. This prevents lumps and ensures even rising, resulting in a lighter cake.
Adding boiling water too quickly or mixing too hard
Why it happens In a hurry, some mix vigorously or pour water all at once, not realizing it affects texture.
Fix Slowly add boiling water while mixing gently on low speed. This blooms the cocoa and thins the batter without deflating it.
Not greasing and dusting pans properly
Why it happens Rushing or assuming a non-stick pan is enough can lead to sticking.
Fix Grease pans well and dust with cocoa powder (not flour) for chocolate cakes. This helps cakes release cleanly without tearing.
Overbaking the cake layers
Why it happens Leaving cakes in too long thinking it ensures doneness.
Fix Check for doneness starting at 30 minutes with a toothpick. Pull the cakes out when a few moist crumbs cling to the toothpick for best moisture.
Frosting warm cakes
Why it happens Impatience or misjudging cooling time.
Fix Wait until cakes are completely cool before frosting. Otherwise, the cream will melt and slide off, ruining the look and texture.
Variations
Raspberry Chocolate Ganache Cake
Swap the whipped cream for a rich chocolate ganache made with heavy cream and dark chocolate. Layer fresh raspberries between the ganache layers for an extra decadent treat. The ganache adds a glossy finish and intense chocolate flavor.
Note: Ganache needs to cool slightly before spreading to avoid melting the cake. It sets firmer than whipped cream, so chilling time may be longer.
Chocolate Layer Cake with Raspberry Jam
Instead of fresh raspberries, spread a thin layer of raspberry jam between the cake layers and top with whipped cream. This is a great option when fresh berries aren’t in season and adds a concentrated fruity sweetness.
Note: Use a good-quality seedless jam to avoid seeds in the frosting. Warm the jam slightly to spread easily.
Gluten-Free Chocolate Raspberry Cake
Replace the all-purpose flour with a gluten-free flour blend suitable for baking. The texture will be slightly different but still moist and delicious. Keep the rest of the recipe the same for an allergy-friendly dessert.
Note: Gluten-free flours absorb moisture differently; you may need to add an extra tablespoon of milk if the batter seems too thick.
Vegan Chocolate Raspberry Cake
Use flax eggs (1 tablespoon flaxseed meal + 3 tablespoons water per egg) and a plant-based milk like almond or oat milk. Substitute oil with coconut oil and use coconut cream whipped with powdered sugar for frosting. Fresh raspberries add natural brightness.
Note: Baking times may vary slightly; check for doneness carefully. Coconut cream whips differently than dairy cream, so chill it thoroughly before whipping.
Chocolate Raspberry Cake with Espresso
Add 1 tablespoon of instant espresso powder to the boiling water to deepen the chocolate flavor. The espresso enhances the cocoa without making the cake taste like coffee, creating a richer, more complex dessert.
Note: Dissolve espresso powder completely in boiling water before adding to batter to avoid grainy texture.
Nutrition
Per Serving:
Nutritional values are estimates and may vary based on specific ingredients used.
Storage & Tips
Room Temperature
This cake can safely sit covered at room temperature for up to 2 days. Keep it covered with a cake dome or plastic wrap to prevent it from drying out or absorbing odors. Fresh raspberries may soften over time, so it’s best enjoyed within this window.
Refrigerator
Store the cake in an airtight container or covered with plastic wrap in the refrigerator for up to 4 days. The whipped cream will firm up and the raspberries may release some juice, slightly softening the cake but enhancing flavor. Serve chilled or bring to room temperature before serving for best texture.
Freezer
You can freeze the unfrosted cake layers wrapped tightly in plastic wrap and aluminum foil for up to 3 months. Thaw in the refrigerator overnight before frosting and assembling. Freezing the assembled cake with whipped cream and fresh berries is not recommended due to texture changes.
Reheating
This cake is best served at room temperature or chilled. If you prefer it slightly warm, gently microwave a single slice for 10-15 seconds. Avoid reheating the whole cake to prevent melting the cream and softening the berries.
Make Ahead
Bake the cake layers up to 2 days ahead and store wrapped at room temperature or refrigerated. Whip the cream and assemble the cake on the day you plan to serve it to keep the fresh raspberries firm and the cream fluffy.
FAQ
Can I use frozen raspberries instead of fresh?
You can, but frozen raspberries tend to release more juice, which can make the cake soggy. If you use frozen, thaw them completely and drain any excess liquid before layering. You might also dust them lightly with flour to absorb moisture.
Why is boiling water added to the batter?
Boiling water helps bloom the cocoa powder, which intensifies the chocolate flavor and dissolves the dry ingredients better. It also thins the batter, resulting in a moist, tender crumb instead of a dense cake.
Can I substitute oil with butter?
Butter can be used but it will change the texture and moisture level. Oil keeps the cake moist longer because it stays liquid at room temperature. If you use butter, melt it first and use the same amount, but expect a slightly firmer cake.
How do I know when the cake is done baking?
Insert a toothpick into the center of the cake around 30 minutes. It should come out with a few moist crumbs but no wet batter. The cake should also spring back lightly when pressed and slightly pull away from the pan edges.
Can I make this cake gluten-free?
Yes, by using a gluten-free flour blend designed for baking. Keep an eye on the batter consistency; you may need to add a little extra liquid. The texture will be slightly different but still delicious.
What’s the best way to store leftovers?
Store the cake covered in the refrigerator for up to 4 days. The whipped cream will firm up and the raspberries might soften, so bringing slices to room temperature before serving improves texture and flavor.
Can I freeze the assembled cake?
It’s not recommended to freeze the cake once it’s assembled with whipped cream and fresh raspberries because the texture of the cream and berries will degrade. Freeze only the unfrosted cake layers for best results.
How do I prevent the cake from sticking to the pan?
Grease the pans well and dust them with cocoa powder instead of flour. This prevents a white residue and helps the cake release cleanly. Let the cake cool slightly before removing it from the pan.
Final Thoughts
I hope you enjoy making this quick chocolate layer cake with fresh raspberries as much as my family does. It’s an easy, comforting dessert that’s sure to become a favorite—give it a try and let me know how it turns out!