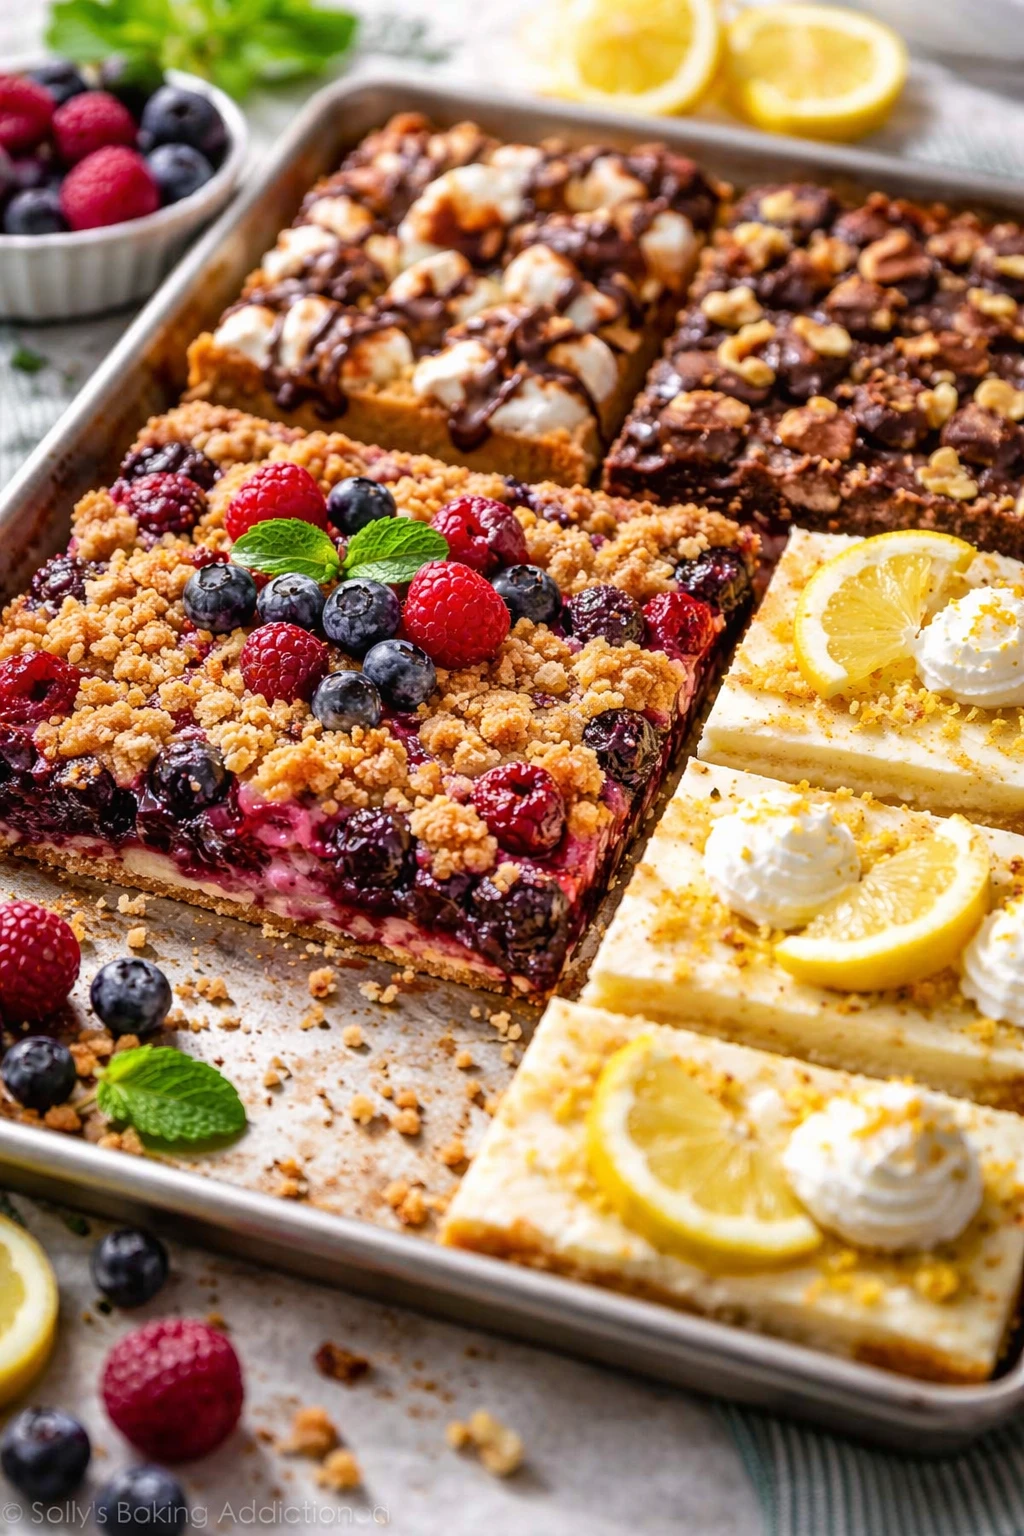
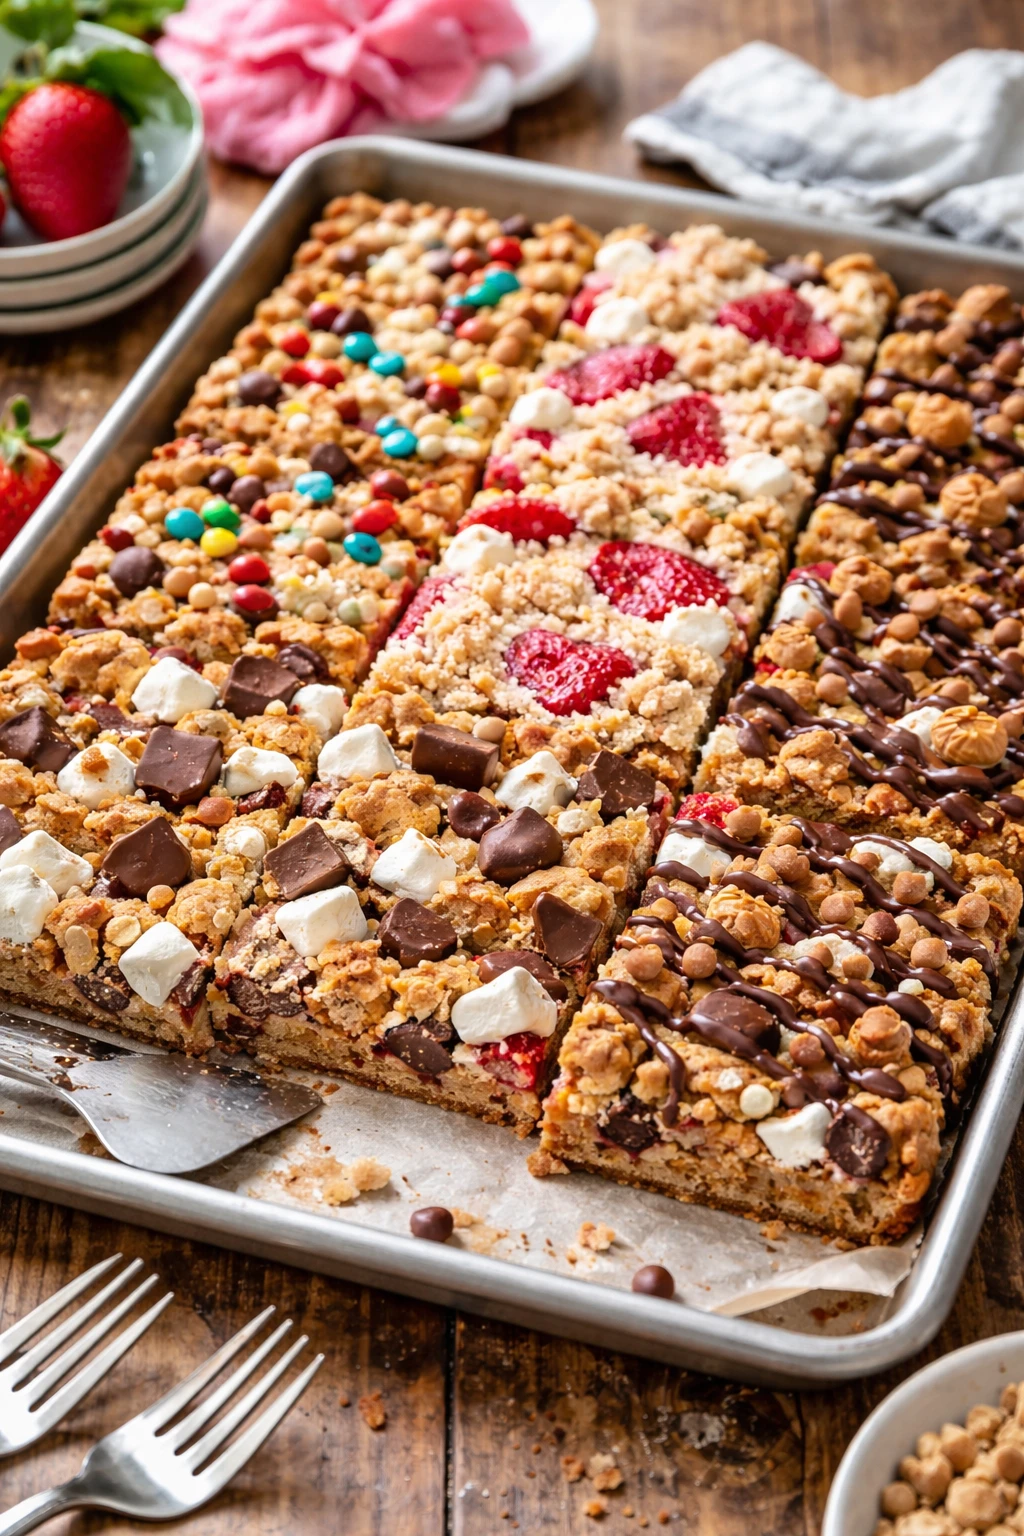
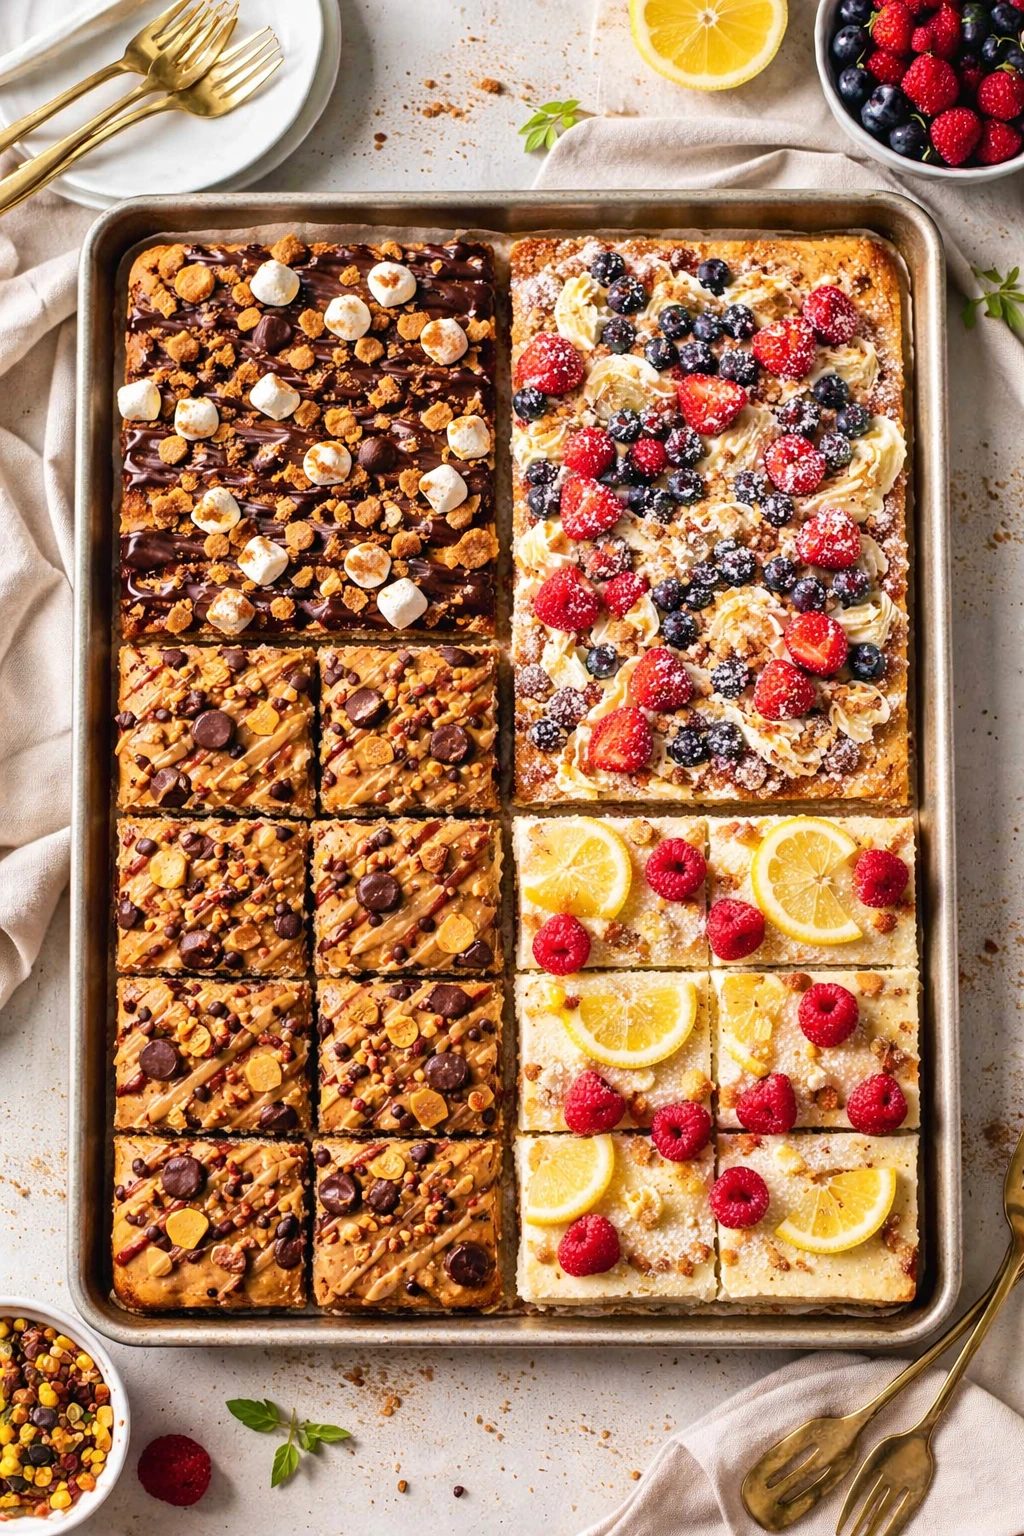
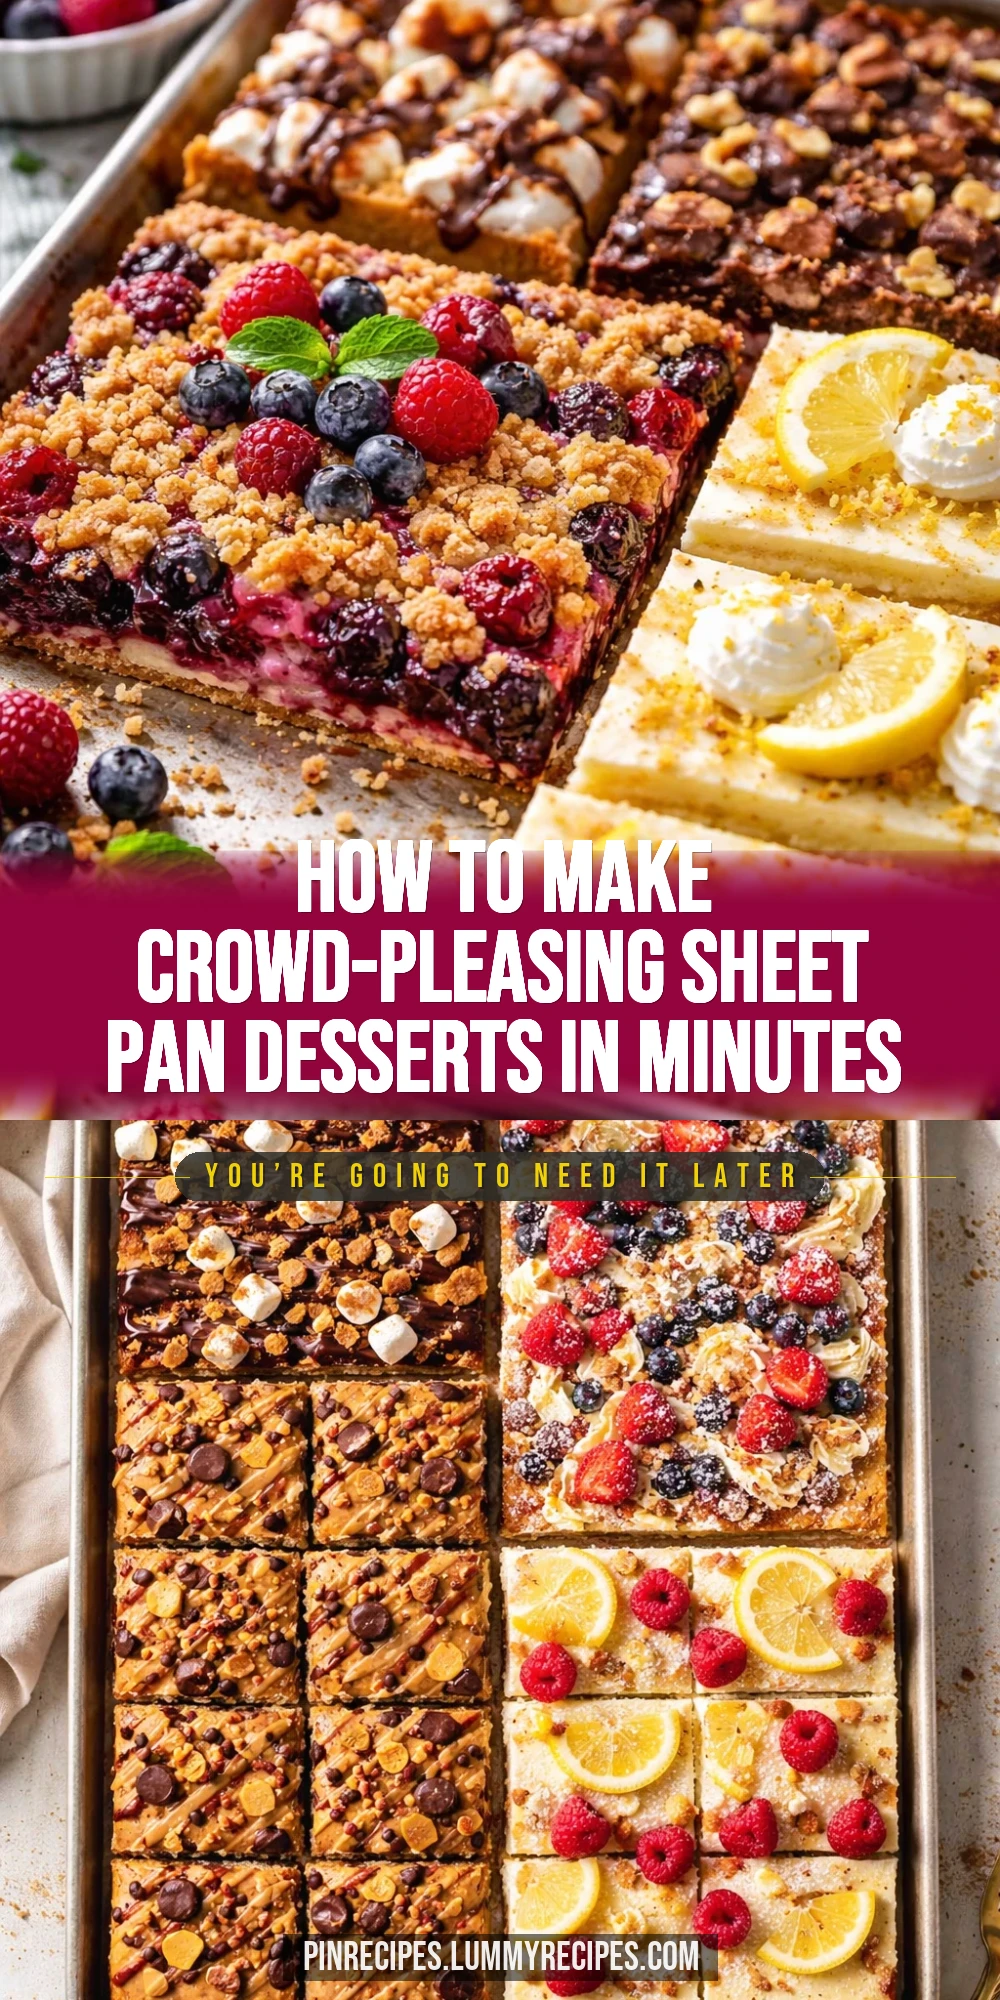
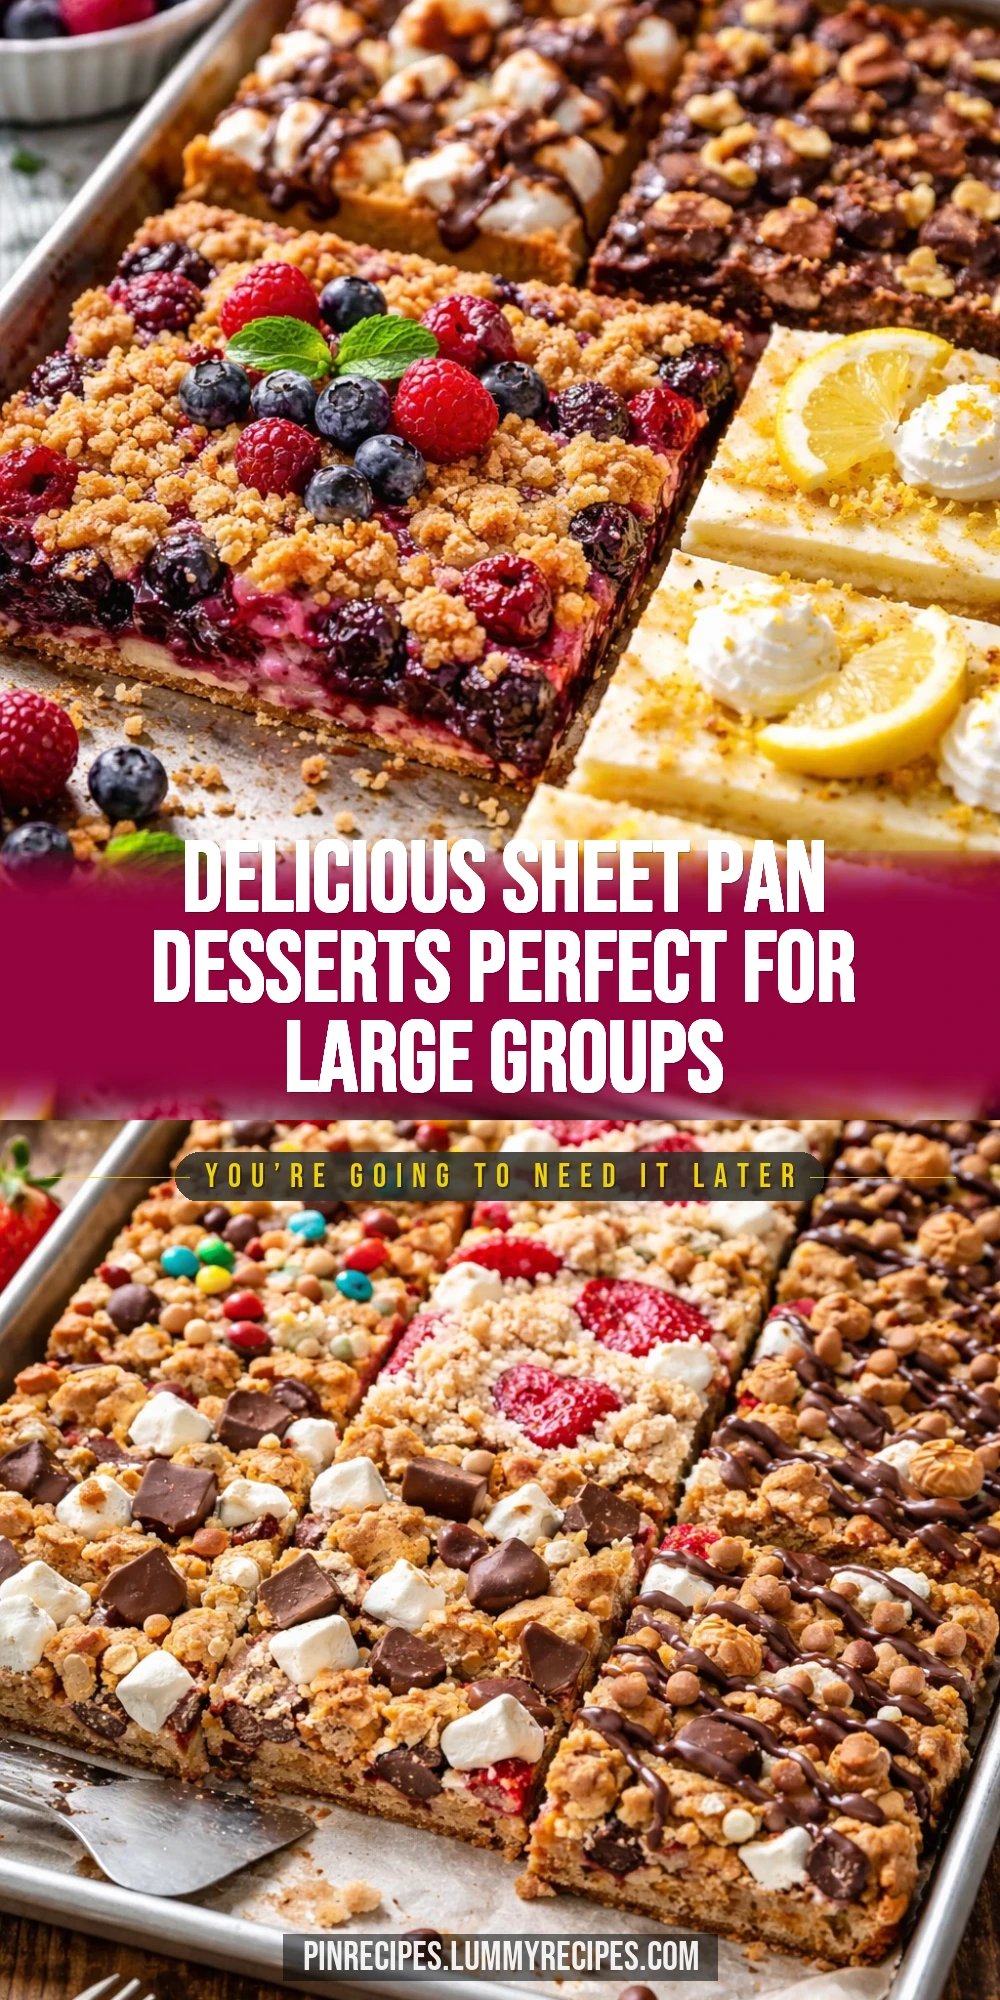
This sheet pan dessert is a simple, crowd-pleasing treat perfect for parties or family gatherings. It’s easy to make with layers of chocolate, fruit, or nuts baked all together. Great for sharing and super comforting!
Introduction
I first stumbled upon sheet pan desserts a few years ago when I needed a quick, fuss-free way to feed a big group. I was hosting a family gathering and didn’t want to be stuck in the kitchen all day. This recipe quickly became my favorite because it’s so versatile and forgiving. What sets this version apart is the layering technique — it creates a perfect balance of textures and flavors, from the tender cake base to the juicy berries and melty chocolate on top. Plus, using a sheet pan means you get an even bake and a beautiful golden crust all around. I’ve tried countless variations, but this one with berries and chocolate chips always gets the biggest smiles. It’s sweet but not too heavy, and the nuts add a lovely crunch if you’re into that. When it’s done, the dessert looks rustic and inviting, perfect for casual get-togethers or potlucks. Honestly, it’s one of those recipes I keep coming back to because it’s easy enough for a weeknight treat but impressive enough for company. I hope you love it as much as my family does!
What You'll Need
One 9x13 inch sheet pan, 8 servings
- 2 cups all-purpose flour, sifted
- 1 cup granulated sugar
- 1/2 cup unsalted butter, melted
- 1 teaspoon baking powder
- 1/4 teaspoon salt
- 2 large eggs
- 1 teaspoon vanilla extract
- 1 cup mixed berries (fresh or frozen)
- 1/2 cup chocolate chips
- Optional: 1/4 cup chopped nuts
How To Do It
Step 1
Preheat your oven to 350°F (175°C). This step is crucial because starting with a hot oven ensures even baking and a nice golden crust. While the oven heats, prepare your sheet pan by lightly greasing it or lining it with parchment paper to prevent sticking. Avoid skipping this or your dessert might stick and break apart when you try to serve it.
⏱ Time: 10 minutes
✓ Doneness: Oven reaches 350°F and pan is fully greased or lined
Step 2
In a large bowl, whisk together the flour, baking powder, salt, and sugar until well combined. This dry mix forms the base of your dessert and ensures your leavening is evenly distributed, which helps the dessert rise properly. Take your time here to avoid clumps that can cause uneven texture.
⏱ Time: 5 minutes
✓ Doneness: Dry ingredients are evenly mixed with no lumps
Step 3
In a separate bowl, beat the eggs lightly then add the melted butter and vanilla extract. Mixing wet ingredients separately before combining with dry helps prevent overmixing, which can make the dessert tough. The vanilla adds a subtle warmth and depth of flavor that complements the berries and chocolate.
⏱ Time: 5 minutes
✓ Doneness: Wet ingredients are smooth and well combined
Step 4
Slowly pour the wet ingredients into the dry ingredients, stirring gently with a spatula until just combined. It’s important not to overmix here; a few lumps are okay. Overmixing activates gluten in the flour, making the dessert dense instead of tender and fluffy.
⏱ Time: 3 minutes
✓ Doneness: Batter is combined but still slightly lumpy
Step 5
Spread the batter evenly into the prepared sheet pan using an offset spatula or the back of a spoon. Getting an even layer ensures your dessert bakes uniformly without some parts drying out or others staying undercooked. Don’t press too hard—just smooth it out gently.
⏱ Time: 5 minutes
✓ Doneness: Batter covers the pan evenly with a smooth surface
Step 6
Scatter the mixed berries evenly over the batter. If using frozen berries, do not thaw them first to avoid excess moisture. The berries will bake into the batter, releasing juices that keep the dessert moist and add a fresh, tangy contrast to the sweet base.
⏱ Time: 3 minutes
✓ Doneness: Berries are distributed evenly across the batter
Step 7
Sprinkle chocolate chips and optional chopped nuts on top of the berries. This adds texture and bursts of melty chocolate flavor in every bite. The nuts bring a pleasant crunch and a toasty note that balances the sweetness nicely.
⏱ Time: 2 minutes
✓ Doneness: Chocolate chips and nuts cover the berries evenly
Step 8
Bake in the preheated oven for 25-30 minutes, or until a toothpick inserted in the center comes out with a few moist crumbs but no wet batter. Baking time can vary depending on your oven, so start checking around 25 minutes. The dessert should be golden brown on top and fragrant with baked fruit and chocolate aromas.
⏱ Time: 25-30 minutes
✓ Doneness: Toothpick test passes and top is golden brown
Step 9
Remove the sheet pan from the oven and let it cool completely on a wire rack before slicing. Cooling allows the dessert to set, making it easier to cut clean squares without crumbling. If you slice too soon, the dessert might fall apart or be gooey in the center.
⏱ Time: 30 minutes
✓ Doneness: Dessert is cool to the touch and firm enough to cut
Pro Tips
Don’t overmix the batter once you combine wet and dry ingredients.
Overmixing activates too much gluten in the flour, resulting in a tough, dense texture instead of a tender crumb. Mixing just until ingredients are combined keeps the dessert soft and fluffy.
Use an offset spatula to spread the batter evenly in the pan.
An offset spatula allows you to smooth the batter without compressing it, which helps the dessert bake evenly and prevents dense spots or uneven rising.
Sprinkle the berries and chocolate chips evenly across the batter.
Even distribution ensures every bite has a good mix of fruit and chocolate. Clumping toppings can cause uneven baking and soggy or burnt spots.
Bake in the center rack of the oven for best heat circulation.
The middle rack receives the most consistent heat, which helps the dessert bake evenly and develop a golden crust without burning the edges.
Cool the dessert completely before slicing.
Cooling lets the structure set, making clean cuts possible. Cutting while warm can cause crumbling or a gooey center.
Use parchment paper to line the pan for easy removal.
Parchment prevents sticking and makes it easier to lift the entire dessert out for slicing, reducing the risk of breaking or uneven pieces.
If using frozen berries, add them directly without thawing.
Thawing releases excess water, which can make the dessert soggy. Frozen berries bake into the batter nicely and keep the texture intact.
Common Mistakes to Avoid
Overmixing the batter
Why it happens Many cooks think mixing until perfectly smooth is better, but this activates gluten too much.
Fix Mix just until the dry ingredients are moistened. It’s okay if the batter looks a bit lumpy to keep the dessert tender.
Not greasing or lining the pan properly
Why it happens Sometimes people skip this step assuming the dessert won’t stick.
Fix Always grease well or use parchment paper to prevent sticking and make removal easier.
Thawing frozen berries before baking
Why it happens People want to avoid cold fruit in batter but thawing releases water.
Fix Add frozen berries directly to keep the dessert from becoming soggy.
Cutting dessert before it cools
Why it happens Eager to serve, some slice while still warm.
Fix Wait at least 30 minutes for the dessert to set for clean slices.
Using expired baking powder
Why it happens Baking powder loses potency over time, often overlooked.
Fix Check the date and replace if old to ensure proper rise.
Variations
Peach and Almond Sheet Pan Dessert
Swap mixed berries for sliced fresh peaches and sprinkle sliced almonds on top. This variation offers a summery, nutty twist with juicy fruit and crunchy nuts. The almonds toast beautifully during baking, adding aroma and texture.
Note: Peaches release more juice than berries, so bake a few minutes longer and watch for sogginess.
Apple Cinnamon Sheet Pan Dessert
Use diced apples tossed in cinnamon and a bit of brown sugar instead of berries. This gives a warm, cozy flavor perfect for fall. Adding a drizzle of caramel after baking takes it to the next level.
Note: Apples take longer to soften, so toss in lemon juice and bake until tender but not mushy.
Vegan Sheet Pan Dessert
Replace eggs with flax eggs and use coconut oil instead of butter. Choose dairy-free chocolate chips and plant-based milk if needed. This keeps the dessert moist and delicious while fitting vegan diets.
Note: Flax eggs can make batter slightly denser; don’t overmix and bake a bit longer if needed.
Tropical Sheet Pan Dessert
Add chopped pineapple, shredded coconut, and macadamia nuts for a tropical vibe. This combo brings bright, sweet flavors and a chewy texture from the coconut, perfect for summer gatherings.
Note: Pineapple adds moisture; reduce other liquids slightly to balance texture.
Chocolate Peanut Butter Sheet Pan Dessert
Swirl peanut butter into the batter before baking and top with chocolate chips. This variation is rich and indulgent, combining two classic flavors everyone loves.
Note: Swirling creates marbled texture; don’t overmix to keep distinct pockets.
Nutrition
Per Serving:
Nutritional values are estimates and may vary based on specific ingredients used.
Storage & Tips
Room Temperature
Store the dessert covered loosely at room temperature for up to 24 hours. Keep it in a cool, dry place away from direct sunlight to prevent it from drying out or becoming stale.
Refrigerator
Keep in an airtight container in the fridge for up to 4 days. The dessert may firm up when cold, so bring it to room temperature or warm slightly before serving for the best texture and flavor.
Freezer
Wrap the cooled dessert tightly in plastic wrap and foil, then freeze for up to 2 months. To thaw, transfer to the fridge overnight and warm gently in the oven or microwave to restore softness.
Reheating
Reheat slices in a 325°F oven for 10-15 minutes or microwave for 20-30 seconds with a damp paper towel to prevent drying. Avoid overheating, which can dry out the dessert or melt toppings excessively.
Make Ahead
Prepare the batter and layer the toppings up to 1 day ahead, cover tightly with plastic wrap, and refrigerate. Bake fresh on serving day for the best texture and flavor.
FAQ
Can I use gluten-free flour in this sheet pan dessert?
Yes, you can substitute a gluten-free all-purpose blend, but results may vary. Gluten-free flours often need additional binding agents like xanthan gum to mimic gluten’s structure. Expect a slightly different texture, usually more crumbly or dense.
What if I don’t have fresh berries? Can I use frozen?
Frozen berries work great and are actually preferred because they hold up well during baking. Just add them frozen directly to the batter to avoid extra moisture that can cause sogginess.
How do I know when the dessert is fully baked?
Insert a toothpick into the center; it should come out with a few moist crumbs but no wet batter. The top should be golden brown and fragrant. Baking times can vary, so start checking around 25 minutes.
Can I make this dessert vegan?
Absolutely! Replace eggs with flax or chia eggs and use coconut oil or vegan butter instead of dairy butter. Use dairy-free chocolate chips and plant-based milk if needed. The texture may be slightly different but still delicious.
What’s the best way to store leftovers?
Store leftovers in an airtight container in the fridge for up to 4 days. Bring to room temperature or warm slightly before serving to restore softness and flavor.
Can I double the recipe for a larger crowd?
Yes, you can double the ingredients and bake in two sheet pans or a larger pan. Keep an eye on baking time as it may increase slightly, and ensure even spreading for uniform baking.
Is it okay to add nuts if someone has allergies?
If guests have nut allergies, it’s best to omit nuts or substitute with seeds like pumpkin or sunflower seeds for crunch. Always check with your guests to be safe.
Can I prepare this dessert ahead and freeze before baking?
Yes, you can assemble the dessert in the pan, cover tightly, and freeze before baking. When ready, bake from frozen, adding a few extra minutes to the baking time.
Final Thoughts
I hope you give this sheet pan dessert a try soon — it’s a simple way to wow a crowd with minimal effort. Let me know how it turns out and what variations you love!