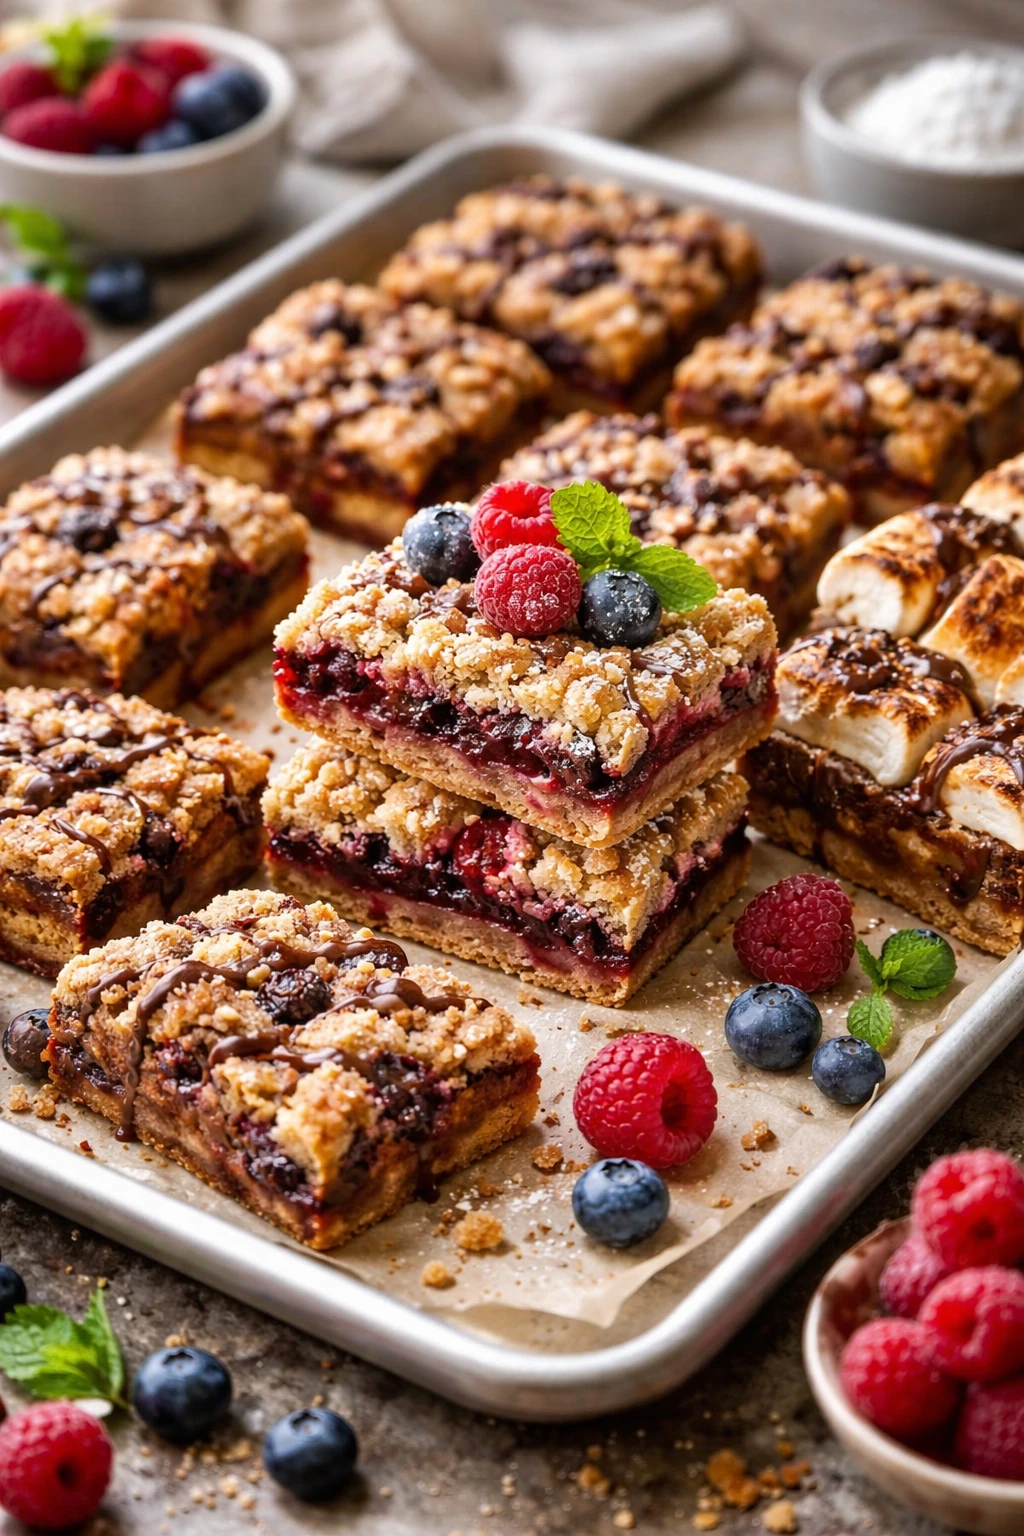
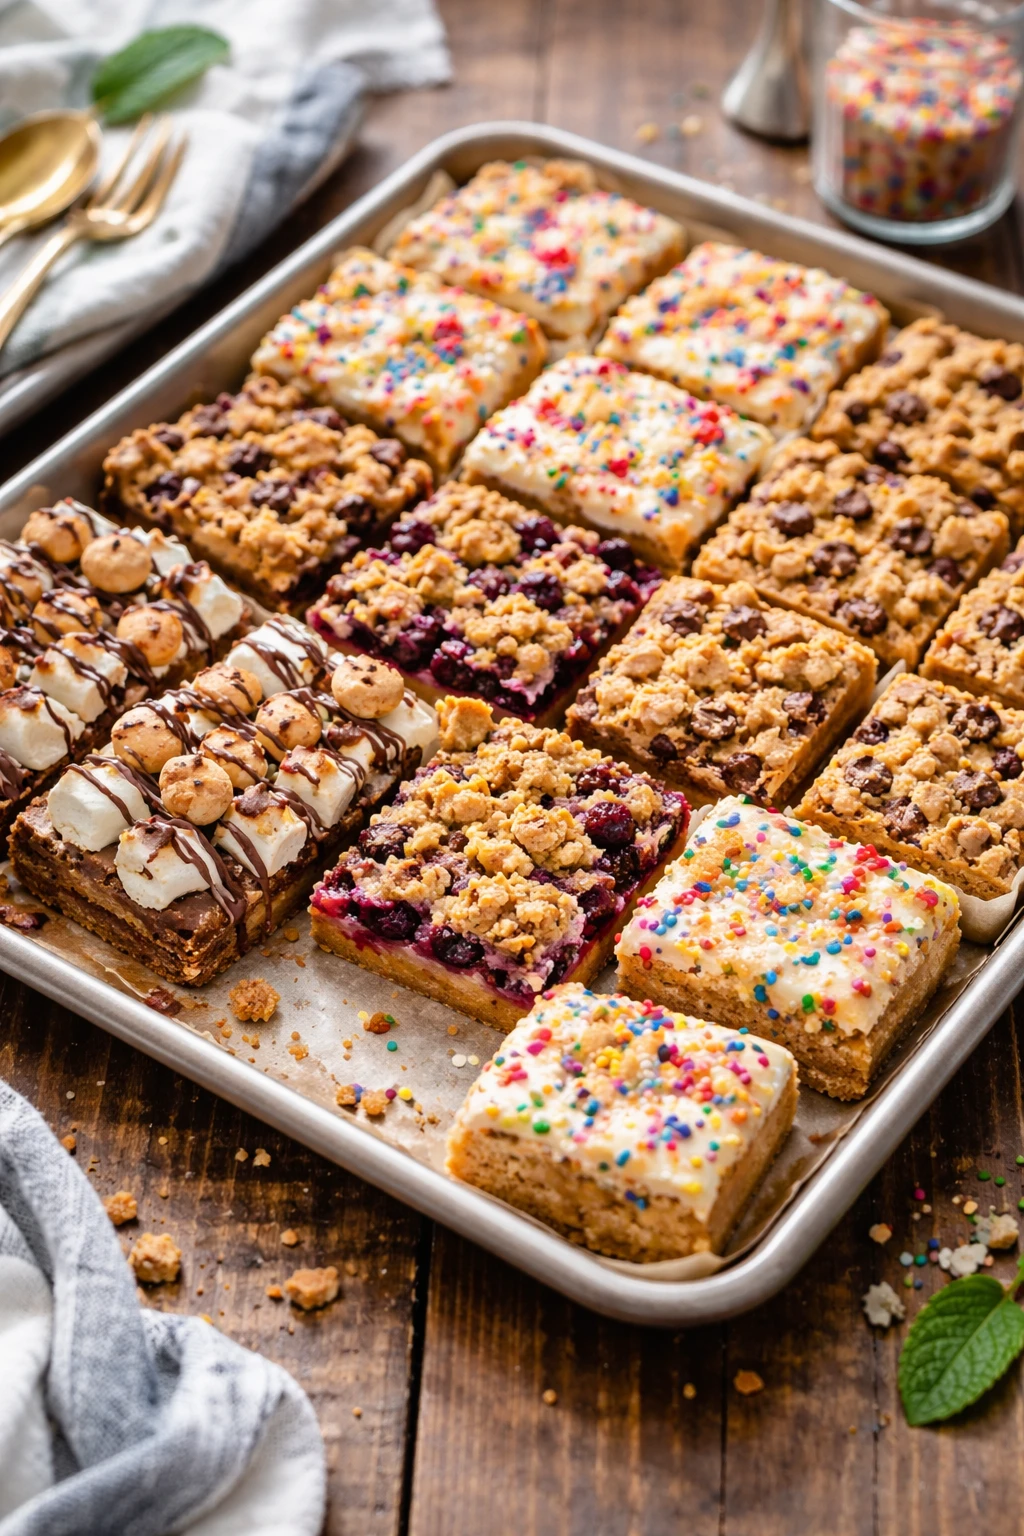
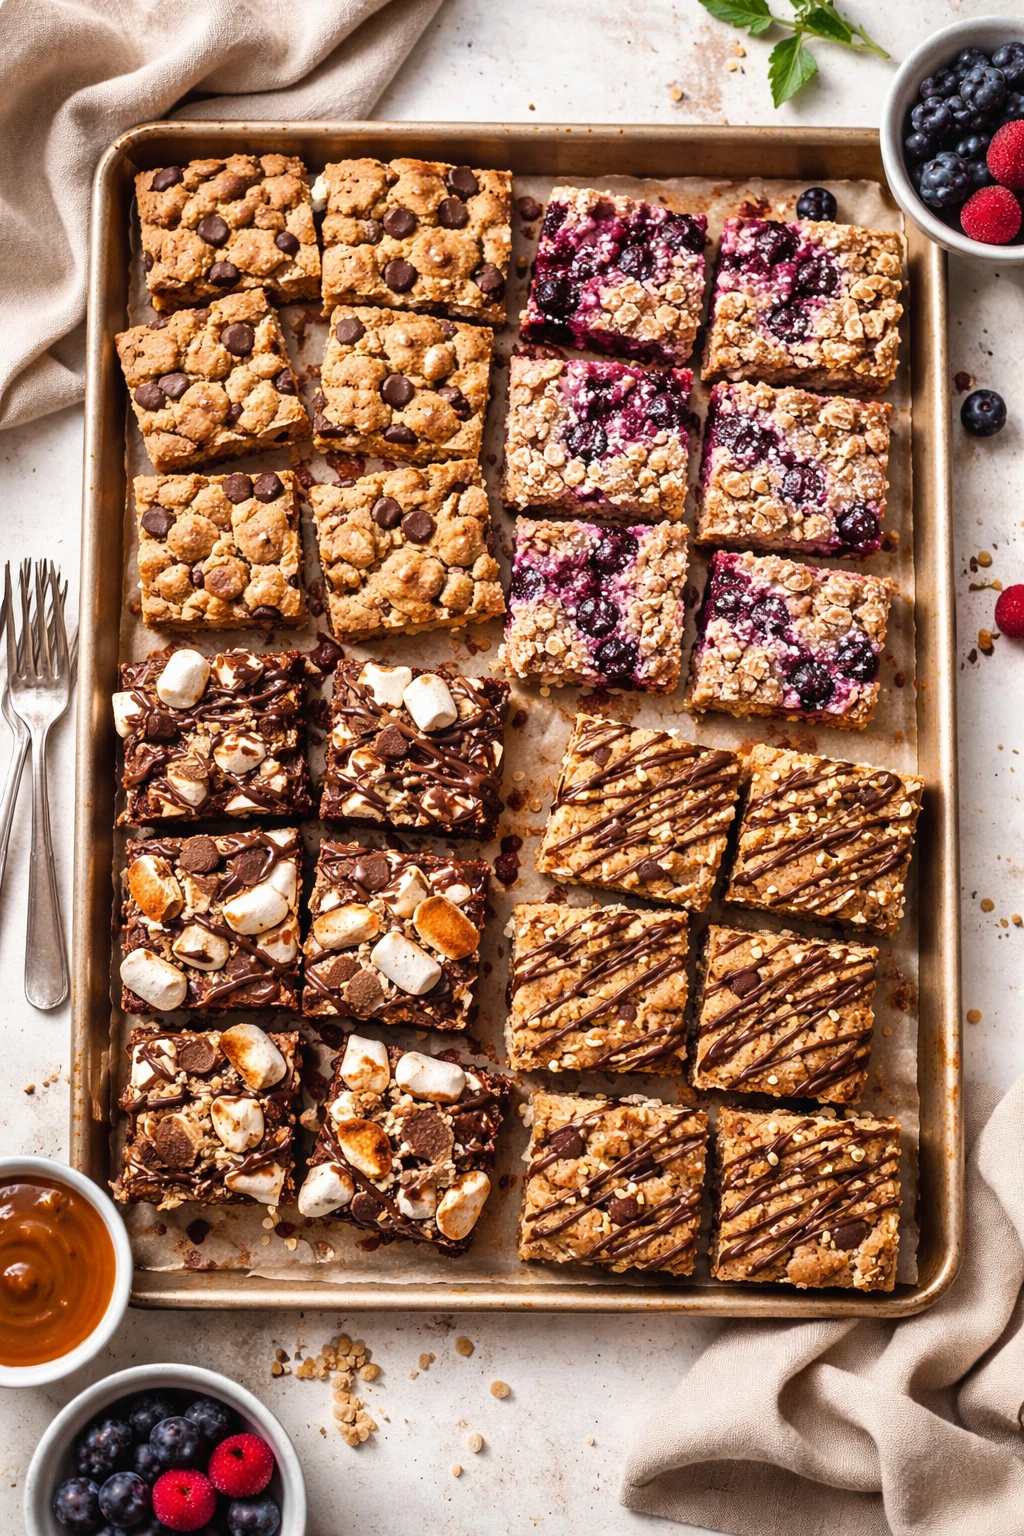
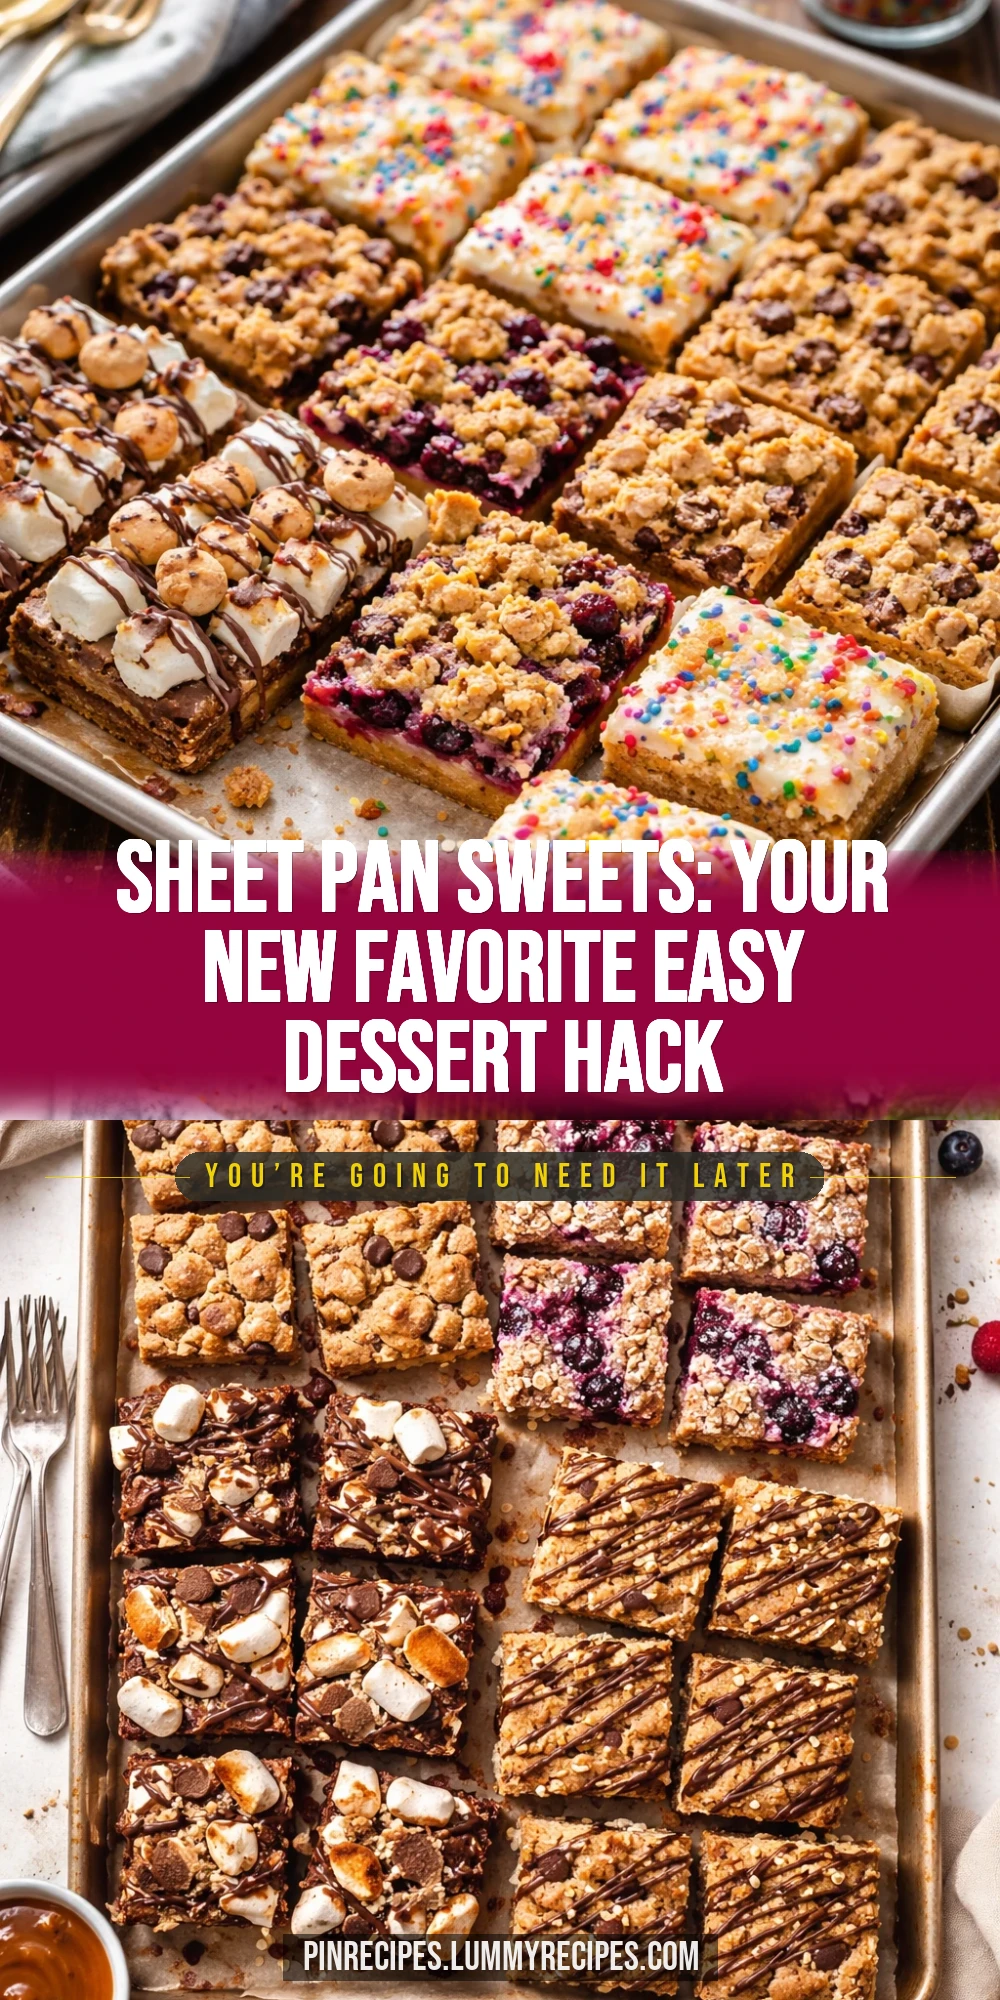
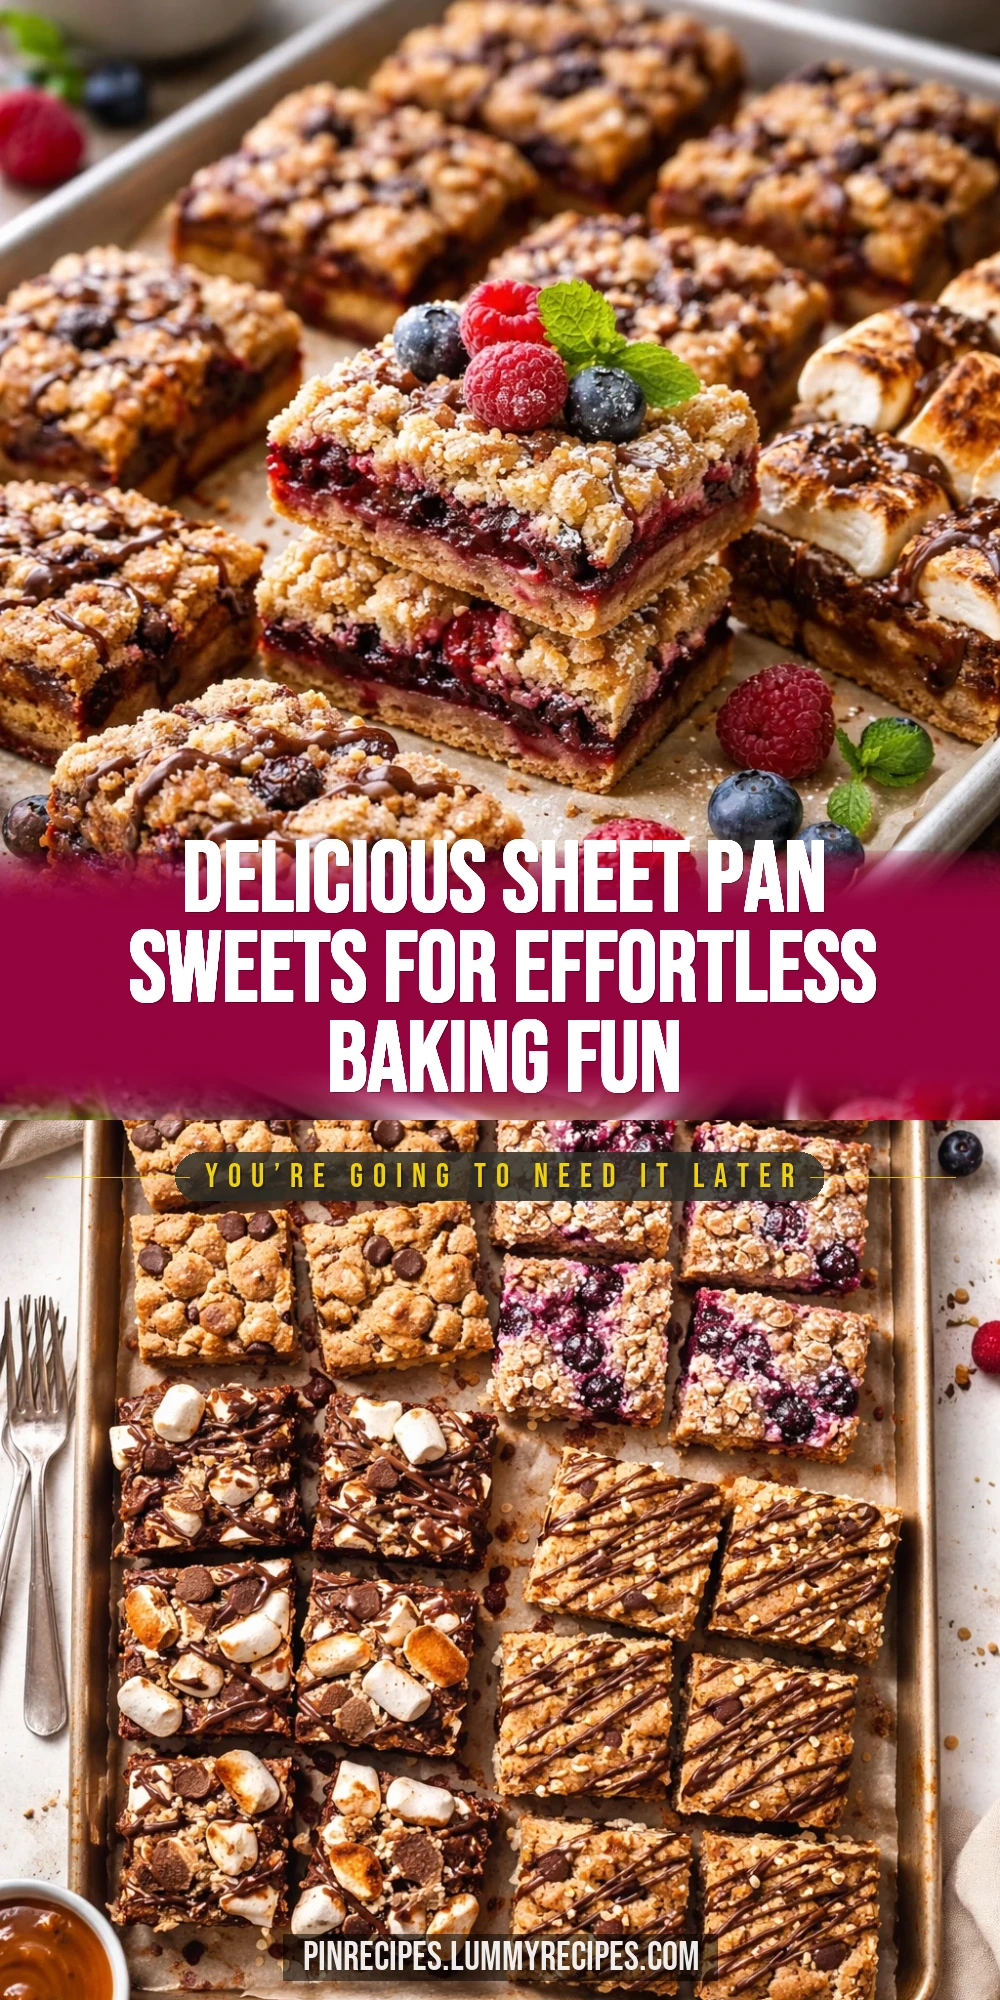
These sheet pan sweets are a game-changer for dessert lovers. Using one pan means less cleanup and a perfect mix of flavors baked together. Great for casual get-togethers or a cozy night in!
Introduction
I first stumbled upon sheet pan sweets when I was desperate for a quick dessert that didn’t involve multiple bowls or complicated steps. I remember trying a traditional cookie recipe and ending up with a huge mess, but these sweets changed the game. What makes this recipe special is that everything bakes together on one pan, so the flavors meld beautifully while cutting down on cleanup time — a win-win in my book. I also love how the mix of chocolate chips, nuts, and dried fruit adds texture and bursts of flavor in every bite. The trick I learned is to press the dough evenly and not overbake to keep the treats soft and chewy. When you pull them out of the oven, they’re golden around the edges but still tender inside, with a delightful mix of sweet and nutty notes. It’s perfect for casual family gatherings or a simple treat after a long day. Honestly, it’s become one of my go-to recipes when I want something homemade but fuss-free, and I think you’ll love it too!
What You'll Need
Approximately 12 large squares, 8 servings
- 2 cups all-purpose flour, sifted
- 1 cup granulated sugar
- 1/2 cup unsalted butter, softened
- 1 large egg
- 1 teaspoon vanilla extract
- 1/2 teaspoon baking powder
- 1/4 teaspoon salt
- 1 cup mixed chocolate chips and chopped nuts
- 1/2 cup dried cranberries or raisins
How To Do It
Step 1
Start by preheating your oven to 350°F (175°C) and lining a sheet pan with parchment paper. This step is crucial because it ensures your sweets won’t stick and helps with even baking. Make sure the parchment covers the edges well so you can lift the whole batch out easily later. Avoid skipping this or using just a greased pan, as it can cause uneven cooking or sticking.
⏱ Time: 10 minutes
✓ Doneness: Oven is preheated and parchment is securely in place without wrinkles.
Step 2
In a large bowl, cream the softened butter with the granulated sugar until the mixture is light and fluffy. This aeration step is important because it creates a tender texture in the final sweets. Use a hand mixer or stand mixer on medium speed and don’t rush it — about 3 to 5 minutes. If you skip this, your treats might turn out dense and less tender.
⏱ Time: 5 minutes
✓ Doneness: Butter and sugar mixture looks pale and fluffy with no visible sugar granules.
Step 3
Add the egg and vanilla extract to the creamed butter mixture, beating until fully incorporated. The egg adds moisture and helps bind everything together, while the vanilla gives a lovely aroma. Mix just until combined to avoid overworking the dough, which can make the sweets tough.
⏱ Time: 2 minutes
✓ Doneness: Mixture is smooth and glossy with no streaks of egg.
Step 4
In a separate bowl, whisk together the sifted flour, baking powder, and salt. This ensures even distribution of leavening agents and seasoning, which is key for consistent texture and flavor. Don’t skip sifting if possible, as it helps avoid lumps and makes the dough lighter.
⏱ Time: 3 minutes
✓ Doneness: Dry ingredients are well combined and free of clumps.
Step 5
Gradually add the dry ingredients to the wet mixture, folding gently with a spatula or mixing on low speed. This slow incorporation prevents overmixing, which can develop gluten and make the sweets tough. Stop mixing as soon as the flour disappears.
⏱ Time: 4 minutes
✓ Doneness: Dough is uniform with no visible flour streaks, slightly sticky but manageable.
Step 6
Fold in the chocolate chips, chopped nuts, and dried cranberries evenly throughout the dough. This adds texture and bursts of flavor in every bite. Be gentle to avoid breaking the mix-ins and keep the dough intact.
⏱ Time: 2 minutes
✓ Doneness: Mix-ins are evenly distributed without clumps or heavy pockets.
Step 7
Transfer the dough to the prepared sheet pan and press it evenly into a rectangular shape about 1/2 inch thick. Pressing evenly ensures uniform baking and prevents some parts from drying out while others stay undercooked. Use a spatula or your hands dipped in flour to avoid sticking.
⏱ Time: 5 minutes
✓ Doneness: Dough surface is smooth and evenly spread with no thick or thin spots.
Step 8
Bake in the preheated oven for 25 to 30 minutes. Keep an eye on the edges—they should be golden brown while the center remains slightly soft. Overbaking will dry out the treats, so start checking around 25 minutes. The baking time can vary depending on your oven, so trust your senses.
⏱ Time: 25-30 minutes
✓ Doneness: Edges are golden and center springs back slightly when touched.
Step 9
Remove the sheet pan from the oven and let it cool completely on a wire rack before slicing into squares. Cooling allows the sweets to set properly, so they don’t crumble when cut. If you try cutting them warm, they’ll likely fall apart. Patience here pays off with neat, tidy squares.
⏱ Time: 30 minutes
✓ Doneness: Sweets are firm to the touch and cool to room temperature.
Pro Tips
Don’t skip sifting the flour and baking powder together.
Sifting ensures even distribution of leavening agents and removes lumps, which helps the dough rise uniformly and prevents dense patches.
Press the dough evenly into the pan using a spatula dipped in flour.
This prevents sticking and ensures the sweets bake evenly, avoiding thin edges that burn or thick centers that stay raw.
Use room temperature butter for creaming.
Soft butter blends smoothly with sugar, trapping air that creates a light texture. Cold butter won’t mix well, and melted butter changes the dough consistency.
Let the baked sweets cool completely before slicing.
Cooling allows the structure to set, so the squares cut cleanly without crumbling or sticking to the knife.
Toast nuts lightly before folding into the dough.
Toasting enhances nutty flavors and adds crunch, but be careful not to over-toast, which can cause bitterness.
Check the oven temperature with an oven thermometer.
Many ovens run hot or cold; accurate temperature ensures even baking and prevents over or undercooking.
Mix in chocolate chips and dried fruit gently.
Overmixing can break these ingredients down and affect texture and appearance, so fold them in carefully.
Common Mistakes to Avoid
Overmixing the dough after adding flour
Why it happens Many people think mixing longer makes the dough smoother, but it actually develops gluten and toughens the sweets.
Fix Mix just until the flour disappears; stop immediately to keep texture tender and soft.
Baking at too high a temperature
Why it happens Rushing the bake or using an inaccurate oven can cause the edges to burn before the center is done.
Fix Use an oven thermometer and bake at 350°F, checking early to avoid overbaking.
Cutting the sweets while still warm
Why it happens Impatience leads to crumbling and messy slices because the structure hasn’t set.
Fix Allow at least 30 minutes cooling on a rack before slicing for clean edges.
Not lining the pan properly
Why it happens Skipping parchment or greasing unevenly causes sticking and uneven baking.
Fix Line the pan fully with parchment paper, covering edges for easy removal.
Using cold butter in creaming step
Why it happens Cold butter doesn’t mix well with sugar, leading to dense texture and poor rise.
Fix Let butter soften at room temperature before starting the recipe.
Variations
Gluten-Free Sheet Pan Sweets
Swap the all-purpose flour for a gluten-free blend designed for baking. Add a teaspoon of xanthan gum if your blend doesn’t contain it to help with structure. Expect a slightly different texture—still chewy but a bit more delicate.
Note: Monitor baking time closely as gluten-free dough may brown faster; adjust oven temperature if needed.
Vegan Sheet Pan Sweets
Replace butter with vegan margarine or coconut oil and use a flax egg (1 tbsp ground flaxseed + 3 tbsp water) instead of the egg. Use dairy-free chocolate chips. The result is just as tasty with a subtle coconut note and slightly softer texture.
Note: Vegan fats melt differently, so dough might be a bit softer; chill briefly before baking if needed.
Spiced Sheet Pan Sweets
Add 1 teaspoon cinnamon and 1/4 teaspoon nutmeg to the dry ingredients for a warm, cozy flavor. This variation pairs wonderfully with autumn gatherings or holiday treats.
Note: Spices can brown quickly; watch the sweets closely towards the end of baking.
Nut-Free Sheet Pan Sweets
Omit nuts and increase dried fruit or chocolate chips for texture. You can also add seeds like pumpkin or sunflower for crunch. Perfect for nut allergies without sacrificing flavor.
Note: Without nuts, texture is softer; consider adding a tablespoon of oats for chewiness.
Citrus-Infused Sheet Pan Sweets
Add zest of one orange or lemon to the dough for a fresh twist. The citrus brightens the flavor and complements the sweetness beautifully, making it a refreshing dessert option.
Note: Add zest with the dry ingredients to distribute evenly without clumping.
Nutrition
Per Serving:
Nutritional values are estimates and may vary based on specific ingredients used.
Storage & Tips
Room Temperature
Store the sheet pan sweets in an airtight container at room temperature for up to 2 days. Keep them away from direct sunlight or heat to prevent melting of chocolate chips. They remain soft and chewy when stored properly.
Refrigerator
You can refrigerate in a sealed container for up to 5 days. The sweets may firm up and become slightly less chewy when cold, so bring to room temperature or warm briefly before serving.
Freezer
Freeze in an airtight container or wrapped tightly in plastic wrap and foil for up to 3 months. To thaw, leave at room temperature for a few hours or warm gently in the oven to restore softness.
Reheating
Warm slices in a 300°F oven for 5-7 minutes or microwave for 15-20 seconds. Adding a small splash of milk or water before warming can help maintain moisture. Avoid overheating to prevent drying out.
Make Ahead
Prepare the dough up to 24 hours ahead, wrap tightly, and refrigerate. When ready, press into the pan and bake fresh. This saves time and helps flavors develop.
FAQ
Can I use brown sugar instead of granulated sugar?
Yes, you can swap granulated sugar for brown sugar for a moister and slightly caramel-flavored sweet. Keep in mind that brown sugar adds more moisture, which may slightly change texture, so monitor baking time closely to avoid sogginess.
What if I don’t have parchment paper?
You can grease the pan thoroughly with butter or non-stick spray, but parchment is highly recommended as it makes removing the sweets easier and prevents sticking. If you skip it, be extra careful when removing and consider dusting with flour.
How do I know when the sheet pan sweets are done baking?
Look for golden edges and a center that springs back slightly when touched. The center should not be wet or gooey. Overbaking dries them out, so start checking at 25 minutes.
Can I add other mix-ins like coconut or seeds?
Absolutely! Feel free to customize with shredded coconut, pumpkin seeds, or sunflower seeds. Just keep the total volume of mix-ins similar to maintain balance and texture.
Is it possible to make this gluten-free?
Yes, use a gluten-free all-purpose flour blend and add xanthan gum if your mix doesn’t include it. Baking time might vary slightly, so watch closely to avoid overbaking.
Can I double the recipe for a larger batch?
You can double the ingredients, but use two sheet pans rather than one to ensure even baking. Overcrowding a single pan can lead to uneven cooking.
Why is my dough crumbly and hard to press?
If your dough is too dry, it might be due to flour measurement or butter temperature. Try adding a teaspoon of milk or water and soften the butter properly before mixing next time.
Can I freeze the baked sweets?
Yes, baked and cooled sweets freeze well for up to 3 months. Wrap tightly to prevent freezer burn and thaw at room temperature before serving.
Final Thoughts
I hope you enjoy making and sharing these sheet pan sweets as much as I do! Let me know how yours turn out and what mix-ins you tried.