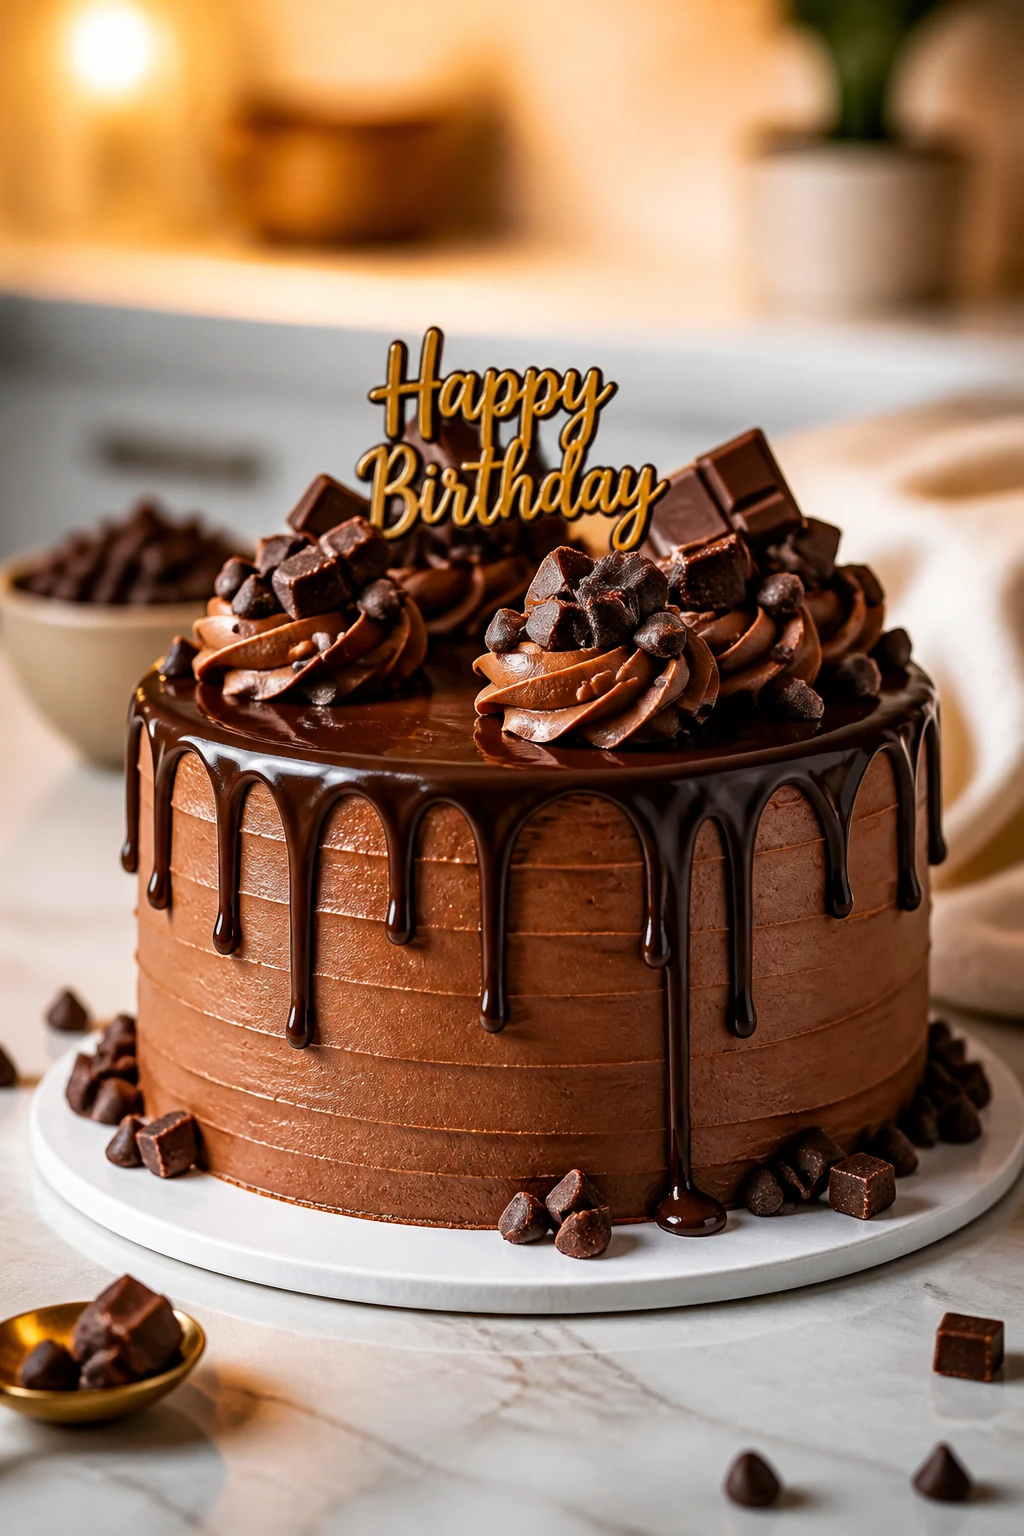
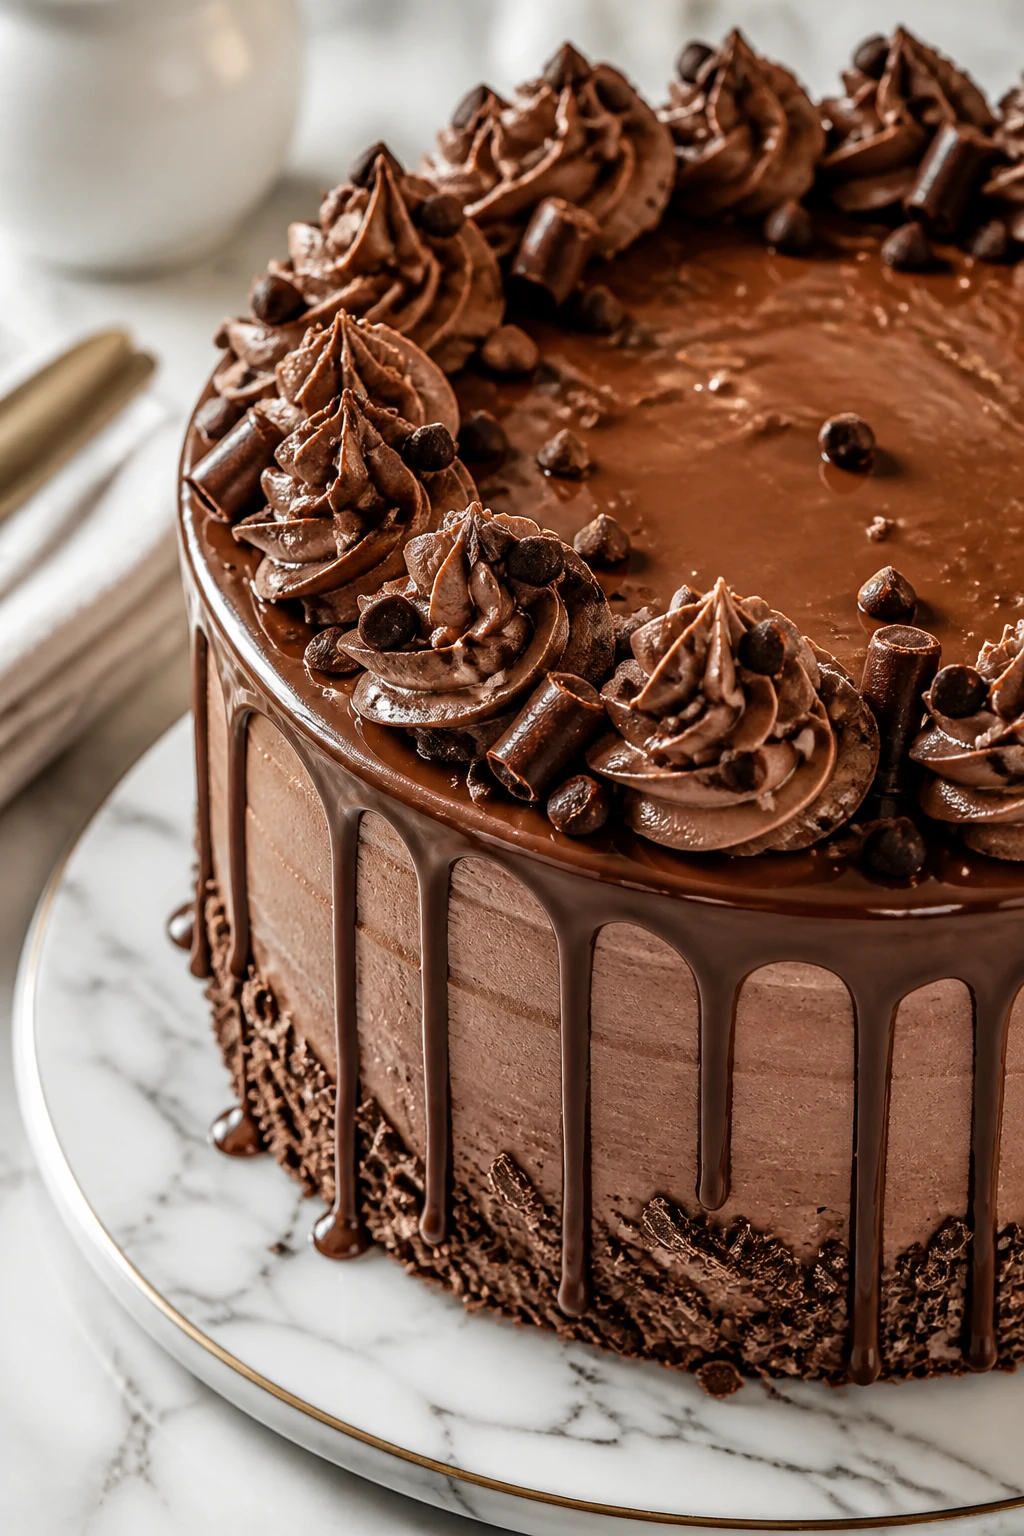
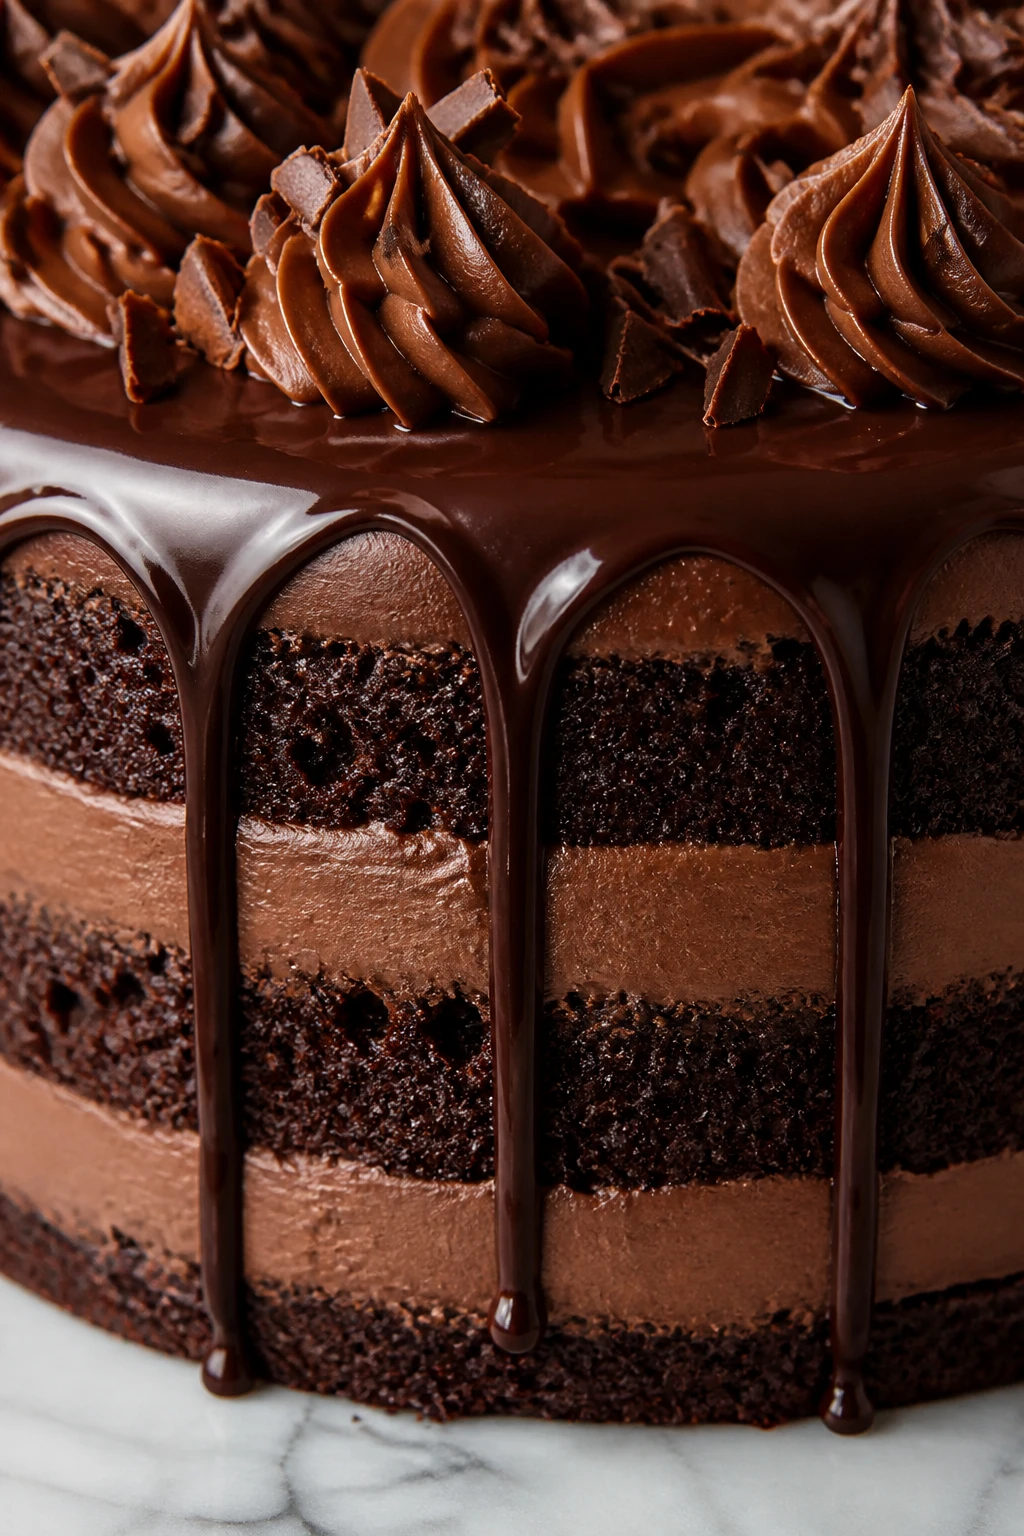
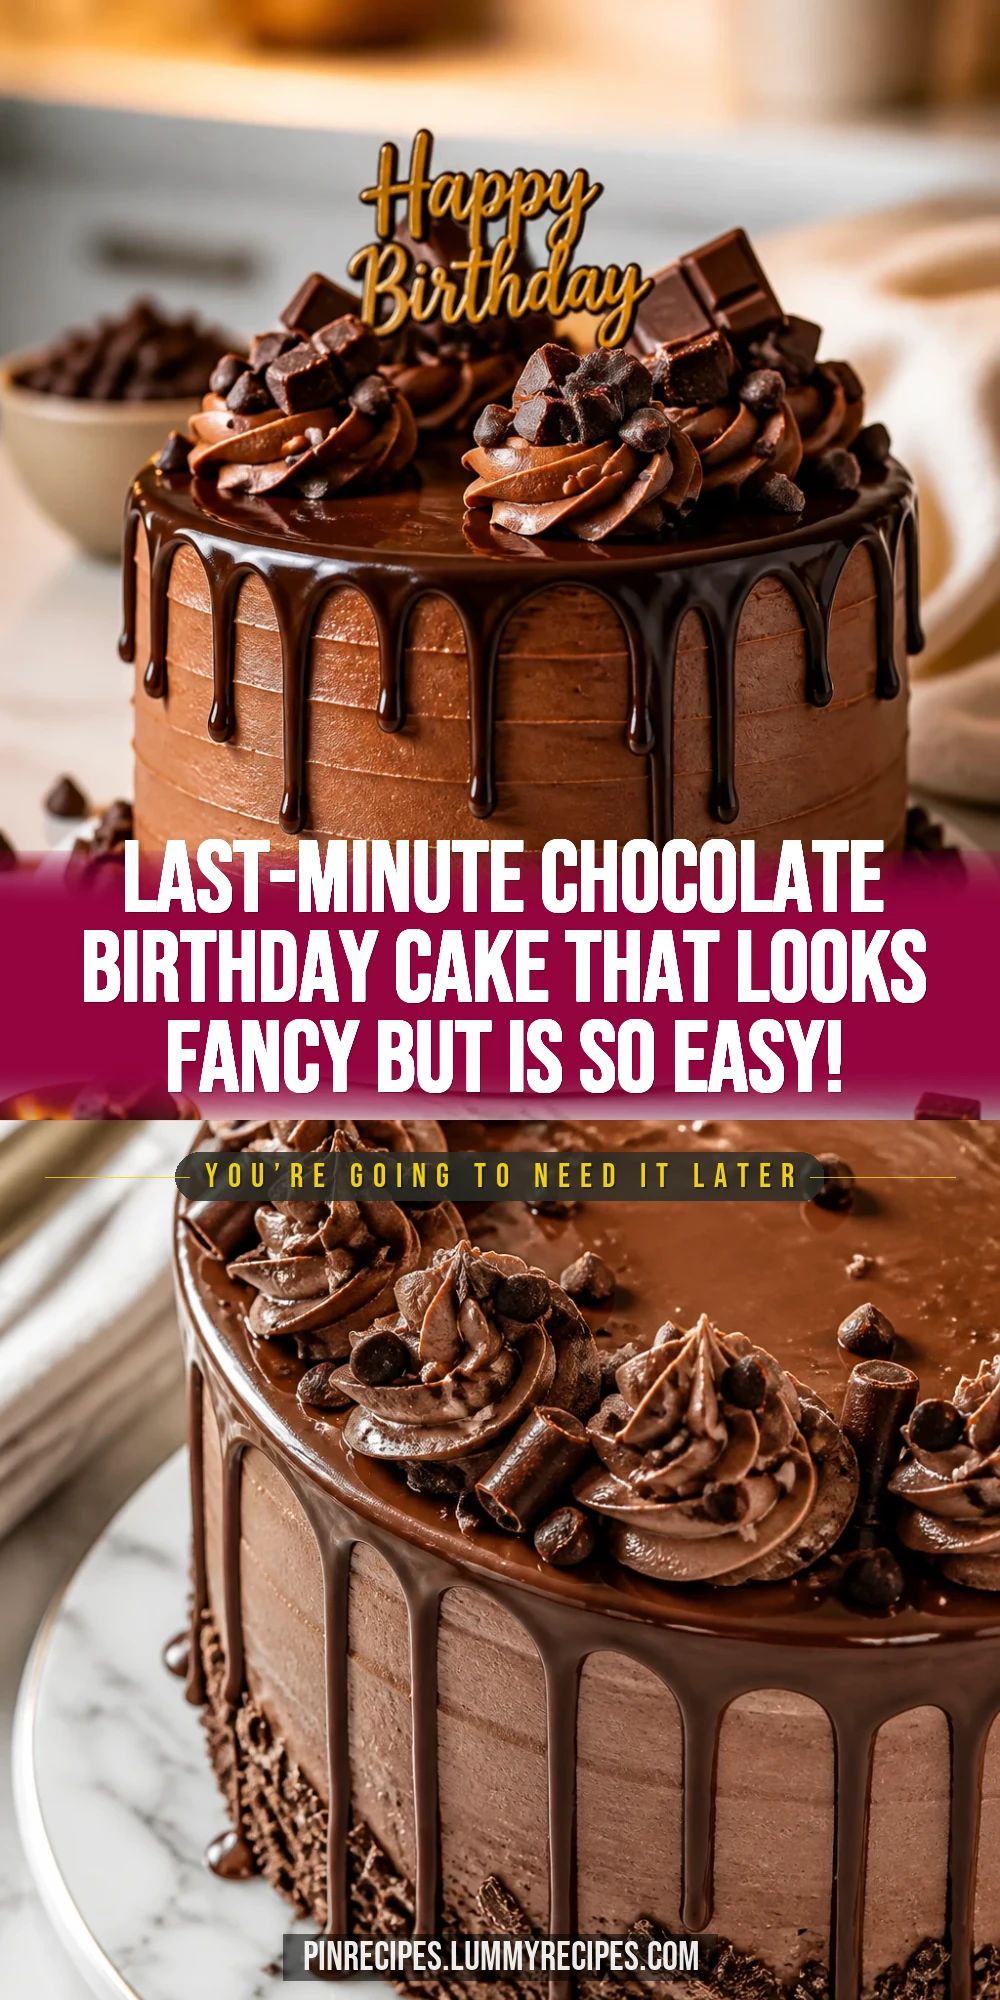
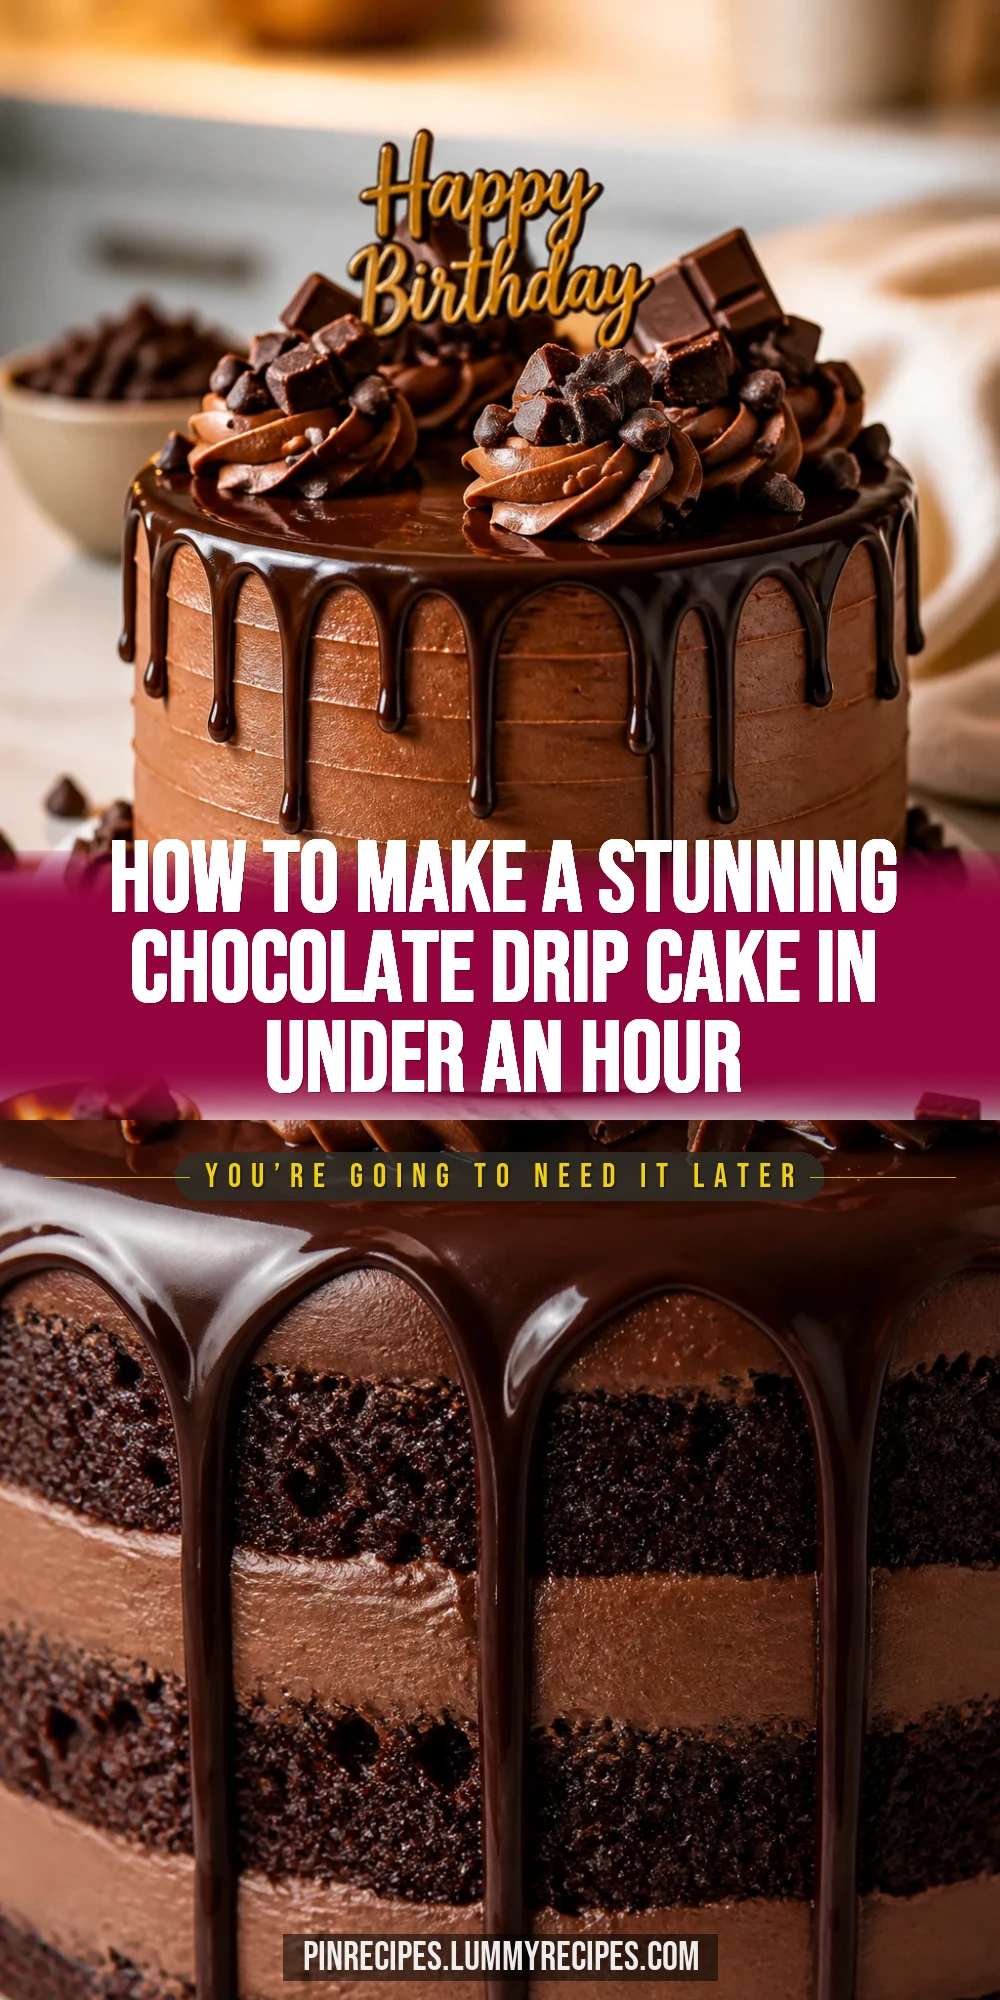
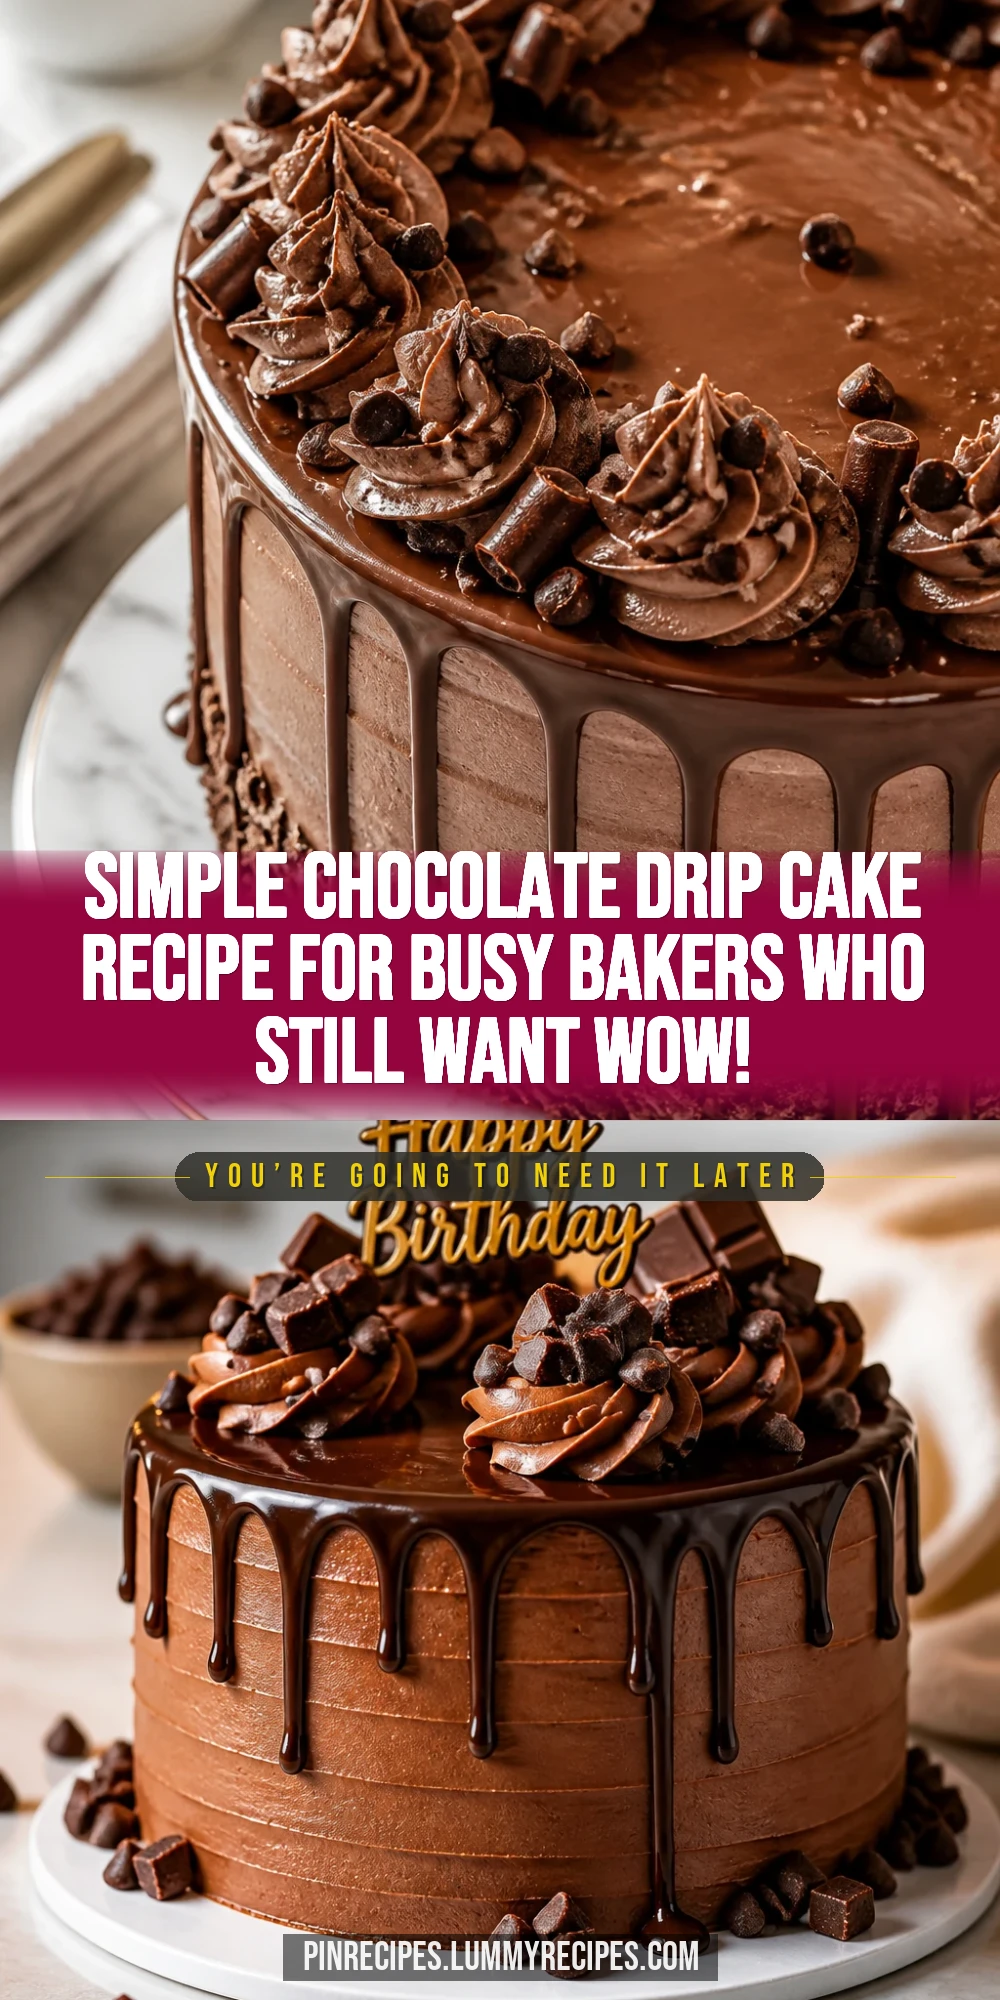
This chocolate drip birthday cake is a lifesaver when you need a quick yet stunning dessert. The rich ganache drip adds that wow factor without fuss. Perfect for last-minute celebrations or spontaneous sweet cravings!
Introduction
I stumbled upon this simple chocolate drip birthday cake recipe during a hectic week when I realized I forgot to plan a dessert for my kid’s birthday party. I needed something quick, easy, and impressive — and this cake delivered on all fronts. What makes it stand out is the silky chocolate ganache that drips perfectly down the sides, giving it that bakery-style look without the fuss. I’ve tried other drip cakes before, but often the ganache is too thick or too runny. The trick I learned here is balancing the cream and chocolate just right to get that smooth, glossy drip. Plus, the cake layers stay moist and tender even a day after baking, which is a huge win for me since I like to prep ahead sometimes. When you slice into it, you get that rich chocolate flavor with a silky finish that feels like a treat but isn’t overwhelming. This cake is perfect for last-minute parties, casual celebrations, or whenever you want to impress without spending hours in the kitchen. Trust me, once you try this recipe, it’ll be your go-to for chocolate birthdays!
What You'll Need
One 9-inch two-layer cake, 8 servings
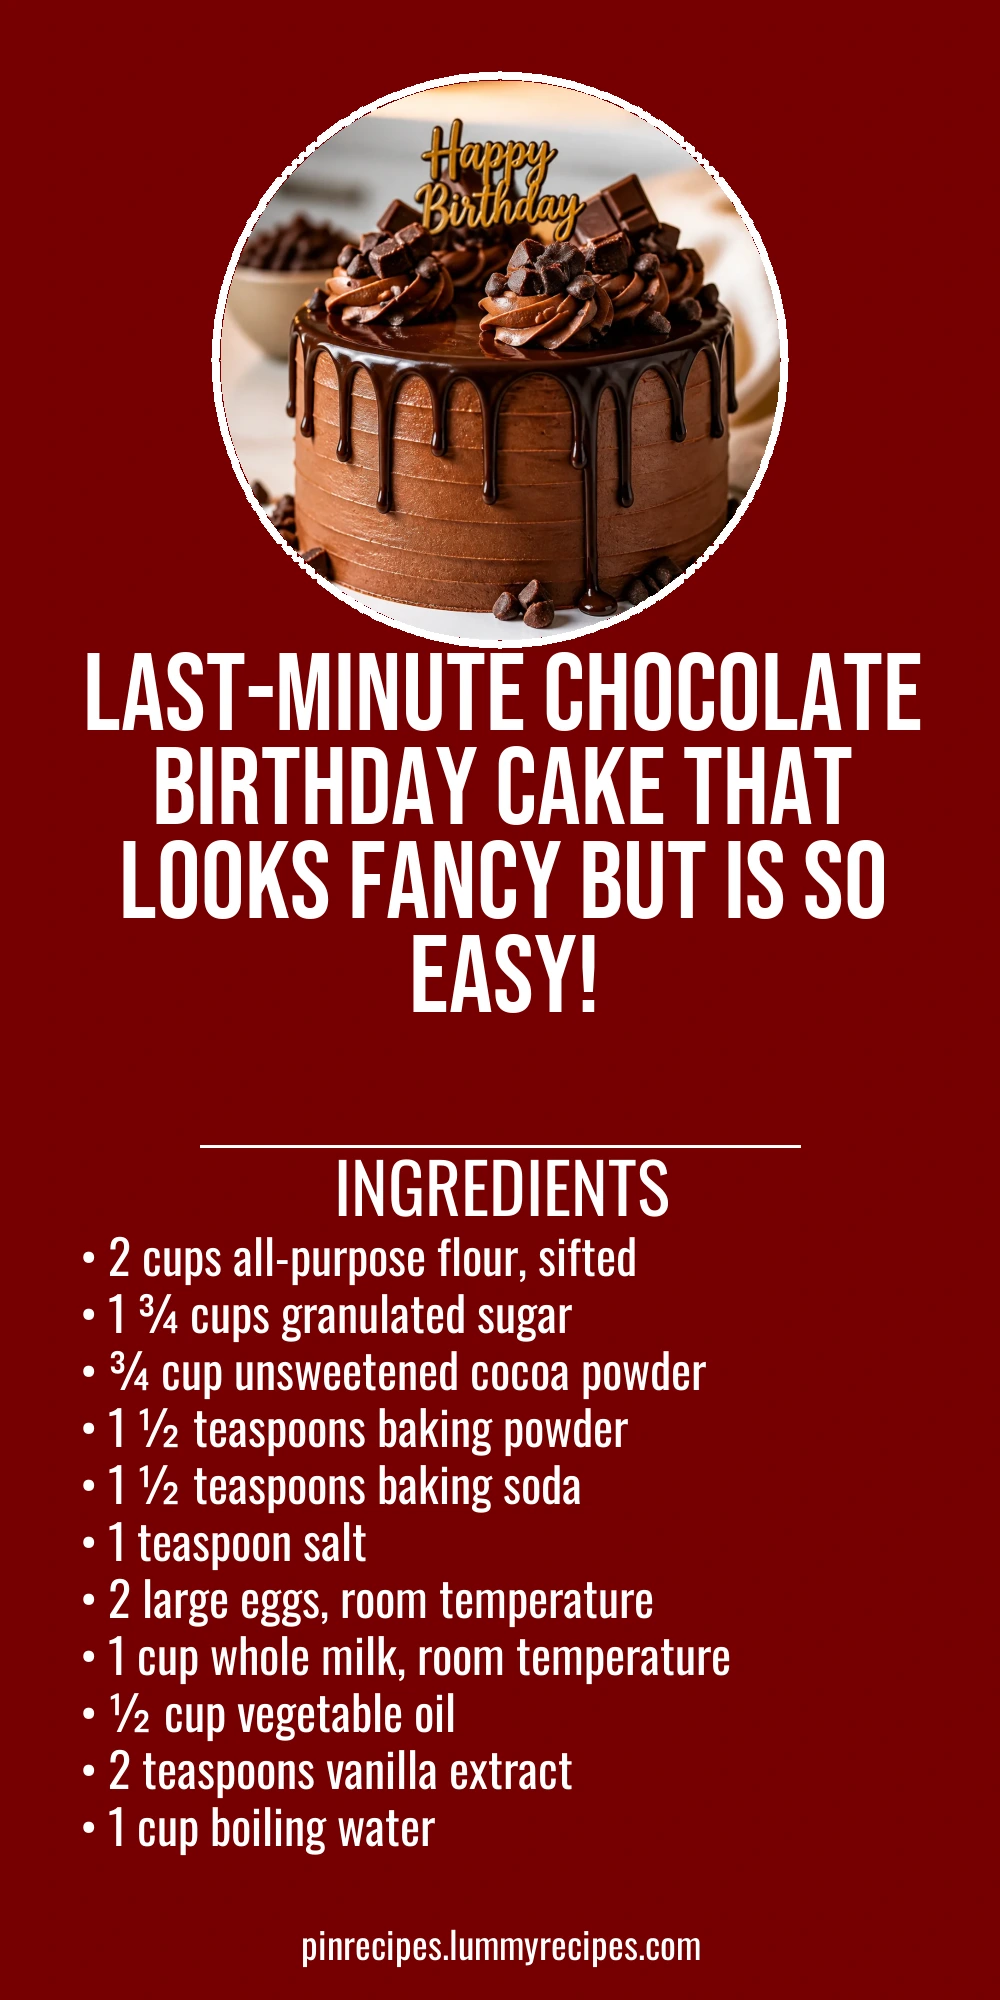
- 2 cups all-purpose flour, sifted
- 1 ¾ cups granulated sugar
- ¾ cup unsweetened cocoa powder
- 1 ½ teaspoons baking powder
- 1 ½ teaspoons baking soda
- 1 teaspoon salt
- 2 large eggs, room temperature
- 1 cup whole milk, room temperature
- ½ cup vegetable oil
- 2 teaspoons vanilla extract
- 1 cup boiling water
- 1 ½ cups heavy cream
- 12 ounces semi-sweet chocolate, chopped
How To Do It
Step 1
Preheat your oven to 350°F (175°C) and grease two 9-inch round cake pans. Line the bottoms with parchment paper to prevent sticking. Sifting the dry ingredients—flour, sugar, cocoa powder, baking powder, baking soda, and salt—ensures there are no lumps and helps the cake rise evenly. Mixing these dry ingredients well at this stage is crucial for a uniform crumb and balanced flavor throughout the cake layers.
⏱ Time: 15 minutes
✓ Doneness: Dry ingredients are fully combined and smooth with no clumps.
Step 2
In a large bowl, whisk together the eggs, milk, vegetable oil, and vanilla extract until well combined. Slowly add the dry ingredients to the wet mixture, stirring gently to avoid overmixing, which can make the cake dense. The batter will be thick but smooth. Finally, carefully pour in the boiling water and mix until fully incorporated. This step thins the batter and helps bloom the cocoa powder, intensifying the chocolate flavor and resulting in a moist cake.
⏱ Time: 10 minutes
✓ Doneness: Batter is smooth, slightly thin, and evenly mixed without lumps.
Step 3
Divide the batter evenly between the prepared pans and tap gently on the counter to release any air bubbles. Bake for 28-32 minutes, rotating the pans halfway through for even baking. Avoid opening the oven door too early as this can cause the cakes to sink. The cakes are done when a toothpick inserted in the center comes out clean or with just a few moist crumbs attached.
⏱ Time: 30 minutes
✓ Doneness: Toothpick comes out clean; cake springs back when gently pressed.
Step 4
Remove the cakes from the oven and let them cool in the pans for 10 minutes. Then, run a knife around the edges and invert them onto wire racks to cool completely. Cooling the cakes fully before frosting is important to prevent the frosting from melting or sliding off.
⏱ Time: 30 minutes
✓ Doneness: Cakes are completely cool to touch and firm.
Step 5
To make the chocolate ganache drip, heat the heavy cream in a small saucepan until it just begins to simmer—don't let it boil as this can affect the texture. Pour the hot cream over the chopped semi-sweet chocolate in a heatproof bowl. Let it sit for a minute to soften the chocolate, then stir gently until smooth and glossy. If the ganache is too thick, add a teaspoon of warm cream; if too runny, chill briefly to thicken.
⏱ Time: 10 minutes
✓ Doneness: Ganache is smooth, shiny, and pourable but not too thin.
Step 6
Place one cake layer on your serving plate and spread a thin layer of ganache or frosting on top to act as glue. Carefully place the second cake layer on top. Chill the assembled cake for 15 minutes to set the layers and make the surface firm for the drip.
⏱ Time: 15 minutes
✓ Doneness: Cake layers are set and stable for decorating.
Step 7
Using a spoon or a piping bag with a small opening, drizzle the ganache around the edges of the cake, letting it drip naturally down the sides. The key is to work slowly and control the drip length by adding more or less ganache. Once edges are done, pour the remaining ganache on top and spread evenly with an offset spatula for a smooth finish.
⏱ Time: 15 minutes
✓ Doneness: Even, glossy ganache drips down the sides with no gaps.
Step 8
Let the ganache set at room temperature for about 20 minutes before serving. This allows the drip to firm up slightly without losing its shine. If you prefer a firmer finish, chill the cake for 10-15 minutes but avoid long refrigeration as it can dull the ganache’s gloss.
⏱ Time: 20 minutes
✓ Doneness: Ganache is set but still shiny and slightly soft to touch.
Step 9
Slice the cake using a sharp knife dipped in hot water and wiped dry between cuts for clean slices. Serve as is or with a scoop of vanilla ice cream for extra indulgence. Enjoy the moist layers and rich chocolate ganache that make this cake a crowd-pleaser.
⏱ Time: 5 minutes
✓ Doneness: Clean, neat cake slices with visible ganache drip.
Pro Tips
Always sift your dry ingredients to avoid lumps and ensure even mixing.
Sifting aerates the flour and cocoa powder, which helps the cake rise better and results in a lighter texture. It also removes any clumps that could cause uneven baking or dense spots.
Use room temperature eggs and milk for smoother batter emulsification.
Cold eggs or milk can cause the batter to curdle or mix unevenly, leading to dense or uneven cake layers. Room temperature ingredients blend better, trapping air for a fluffier cake.
Let the cake layers cool completely before frosting or applying ganache drip.
Warm cake layers can melt frosting or ganache, causing the drip to slide off or become uneven. Cooling ensures the frosting sets properly and the drip holds its shape.
Heat cream just to a simmer, not a boil, when making ganache.
Boiling cream can scorch the chocolate or cause the ganache to separate. Simmering gently melts the chocolate smoothly, resulting in a glossy, stable ganache.
Chill the assembled cake briefly before adding ganache drip.
A chilled cake surface helps the ganache set quickly and prevents it from running too far down the sides, creating perfect drips.
Use a spoon or piping bag with a small tip to control ganache drips.
Controlling the amount and placement of ganache lets you create consistent drips and avoid overpouring, which can look messy.
Dip your knife in hot water and wipe between slices for clean cuts.
Chocolate ganache can stick to the knife, causing ragged edges. Warming the knife slightly helps it glide through the cake cleanly.
Common Mistakes to Avoid
Skipping sifting dry ingredients
Why it happens Many assume sifting is unnecessary or time-consuming, but lumps in cocoa or flour can cause uneven texture.
Fix Always sift flour, cocoa, and leavening agents before mixing to ensure smooth batter and even rise.
Adding boiling water too quickly
Why it happens Rushing this step can cause splashing or uneven mixing, affecting batter texture.
Fix Add boiling water slowly while stirring gently to fully incorporate and bloom the cocoa.
Applying ganache drip on warm cake
Why it happens Impatience or lack of planning leads to melted frosting and dripping ganache running off.
Fix Chill cake layers until completely cool and firm before decorating.
Overheating cream for ganache
Why it happens Boiling cream can scorch chocolate causing grainy texture or separation.
Fix Heat cream just until it simmers, then pour over chocolate and let sit before stirring.
Using chocolate chips instead of baking chocolate
Why it happens Chocolate chips contain stabilizers that prevent smooth melting.
Fix Use chopped semi-sweet baking chocolate for silky ganache.
Variations
Vanilla Cake with Chocolate Drip
Swap the cocoa powder in the batter for extra flour and add vanilla bean paste for a fragrant vanilla cake base. The chocolate drip adds a rich contrast to the light vanilla layers, perfect for those who want a twist on classic chocolate cake.
Note: Baking time remains similar, but watch for doneness as vanilla cakes can brown faster.
Mocha Chocolate Drip Cake
Add 2 tablespoons of instant espresso powder dissolved in the boiling water to the batter. This boosts the chocolate flavor with a subtle coffee kick, making the cake more complex and perfect for coffee lovers.
Note: Espresso powder dissolves easily in hot water, so no texture changes occur.
Gluten-Free Chocolate Drip Cake
Use a gluten-free all-purpose flour blend in place of regular flour. The texture will be slightly different but still moist and delicious. Make sure your blend contains xanthan gum or add 1 teaspoon for structure.
Note: Baking time may vary slightly; check doneness with a toothpick.
Nutty Chocolate Drip Cake
Fold ½ cup finely chopped toasted hazelnuts or walnuts into the batter for added crunch and flavor. This variation adds texture and a nutty aroma that pairs wonderfully with chocolate.
Note: Add nuts after mixing wet and dry ingredients to avoid overmixing.
Fruity Chocolate Drip Cake
Add a layer of raspberry or cherry jam between cake layers before the ganache drip. The tart fruit balances the rich chocolate and adds a pop of color and flavor.
Note: Spread jam thinly to avoid soggy layers; chill cake before adding drip.
Nutrition
Per Serving:
Nutritional values are estimates and may vary based on specific ingredients used.
Storage & Tips
Room Temperature
This cake can be kept covered at room temperature for up to 1 day. Use a cake dome or airtight container to protect it from drying out and odors. Avoid direct sunlight or heat to maintain ganache texture.
Refrigerator
Store the cake in an airtight container or cake box for up to 4 days. The ganache may firm up and lose some shine when chilled but the flavor remains excellent. Bring to room temperature before serving for best texture.
Freezer
Wrap the cake tightly in plastic wrap and then foil to freeze for up to 2 months. Thaw overnight in the refrigerator wrapped, then bring to room temperature before serving to restore softness and ganache shine.
Reheating
Reheat slices gently in a microwave for 10-15 seconds to soften ganache if chilled. Avoid overheating as it can melt the ganache too much. Alternatively, serve at room temperature for best texture.
Make Ahead
Bake and cool the cake layers 1-2 days ahead and store wrapped tightly. Assemble and apply ganache drip on the day of serving for freshest look and texture. Ganache can be made a day ahead and gently warmed before use.
FAQ
Can I use butter instead of vegetable oil in this cake?
Yes, you can substitute melted butter for vegetable oil in equal amounts. Butter will add a richer flavor but may make the cake slightly denser. Make sure to melt and cool the butter before adding to avoid cooking the eggs.
How do I fix ganache that is too runny for dripping?
If your ganache is too thin, chill it in the refrigerator for 10-15 minutes to thicken. Stir occasionally to check consistency. If it becomes too thick, gently warm it again in short bursts until pourable.
Can I make this cake gluten-free?
Absolutely! Use a gluten-free all-purpose flour blend that includes xanthan gum or add it separately. Baking times might vary slightly, so keep an eye on the cake and test doneness with a toothpick.
What’s the best way to store leftover cake?
Store leftovers in an airtight container in the refrigerator for up to 4 days. Let the cake come to room temperature before serving to enjoy the best texture and flavor.
Can I prepare the ganache in advance?
Yes, ganache can be made 1-2 days ahead. Store it covered at room temperature or in the fridge. Warm gently before using if it firms up too much.
Why is my cake dense instead of fluffy?
Overmixing the batter or using cold ingredients can cause a dense cake. Mix just until combined and use room temperature eggs and milk for best rise and texture.
How do I get the perfect drip effect?
Chill your cake layers well before dripping and use ganache that’s pourable but not too thin. Apply slowly and control drip length with a spoon or piping bag.
Can I use milk chocolate instead of semi-sweet for ganache?
You can, but milk chocolate contains more sugar and milk solids, resulting in a sweeter and softer ganache. Adjust cream quantity slightly to achieve the right drip consistency.
Final Thoughts
I hope you give this simple chocolate drip birthday cake a try and enjoy the compliments it brings! Don’t forget to share your results — I’d love to see how your cake turns out.