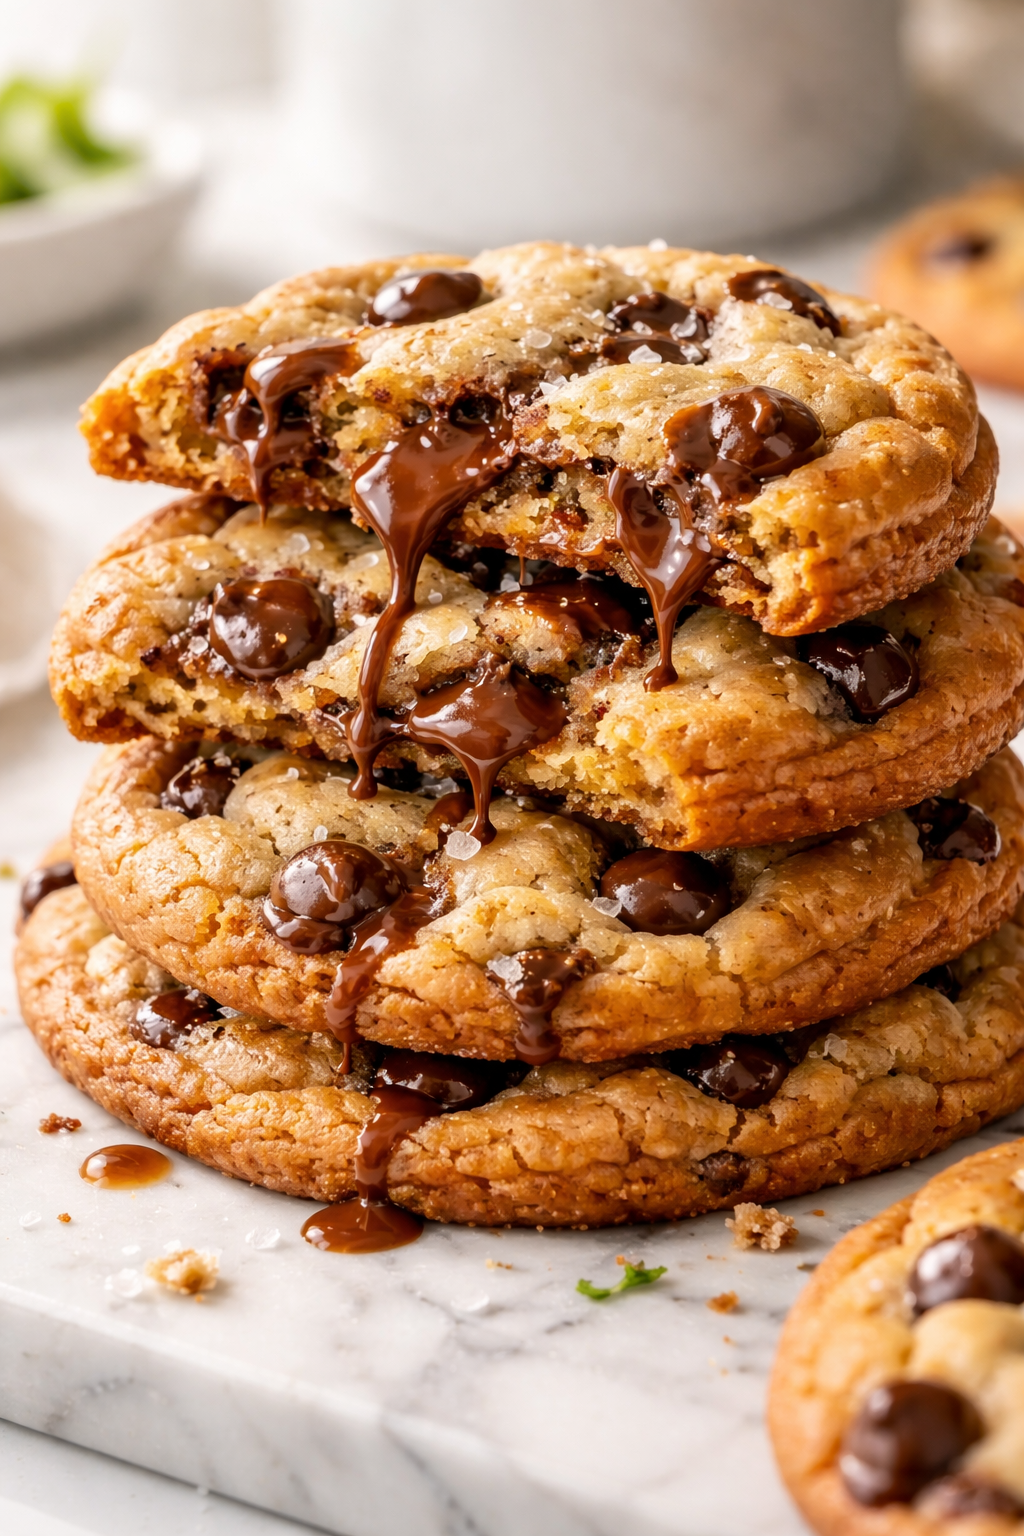
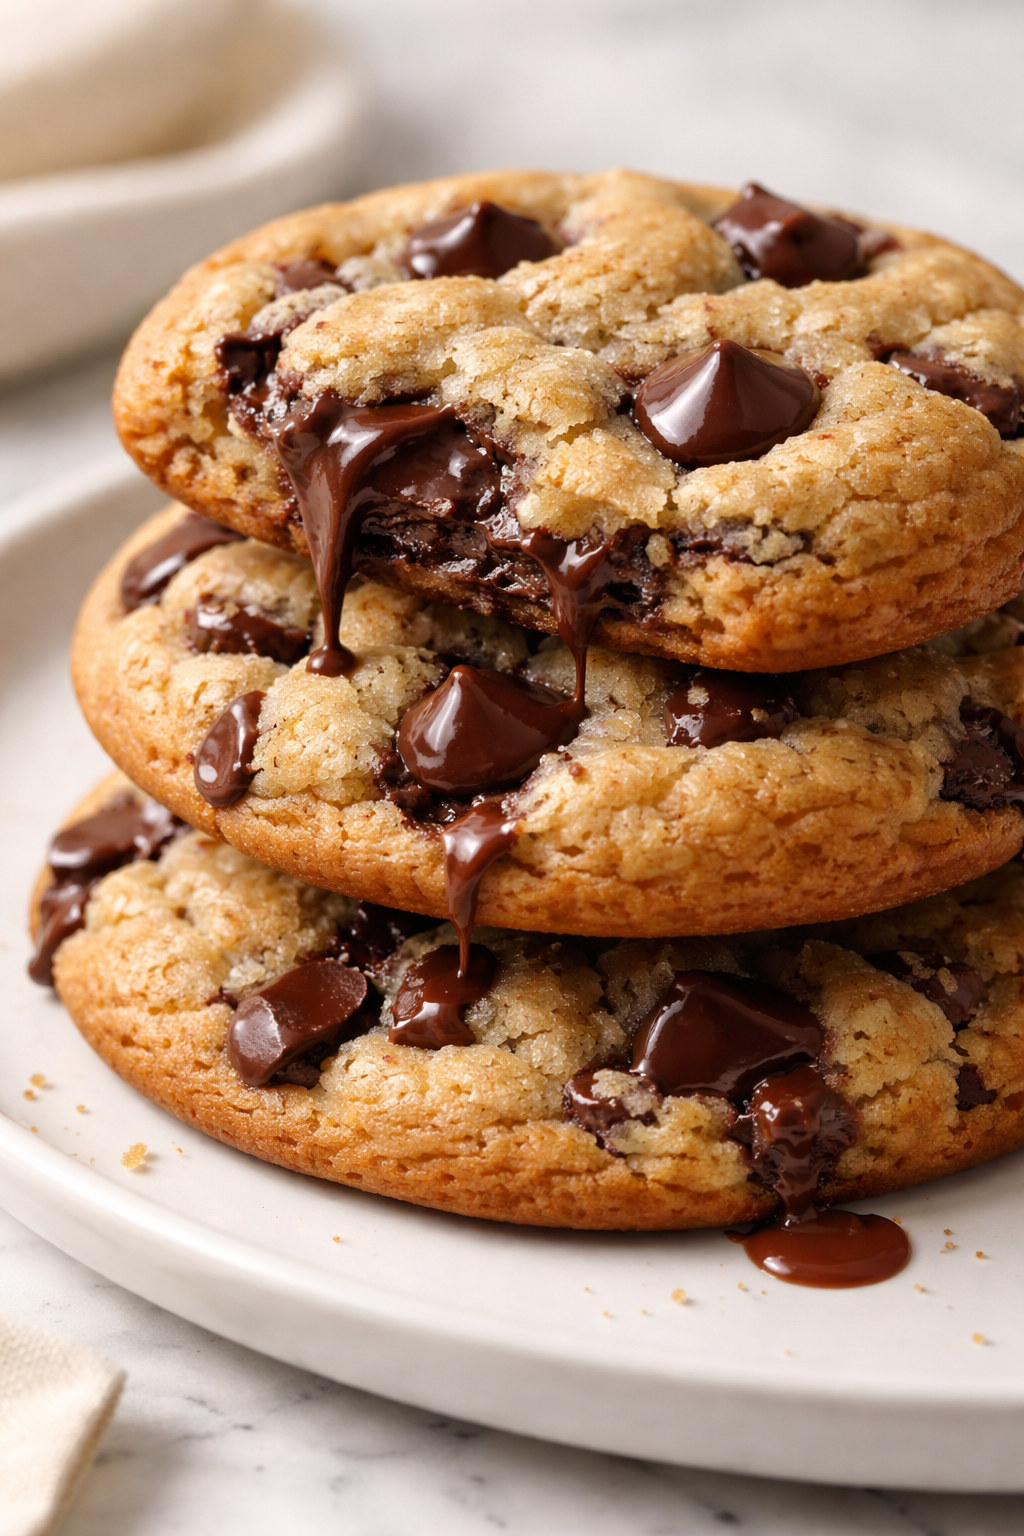
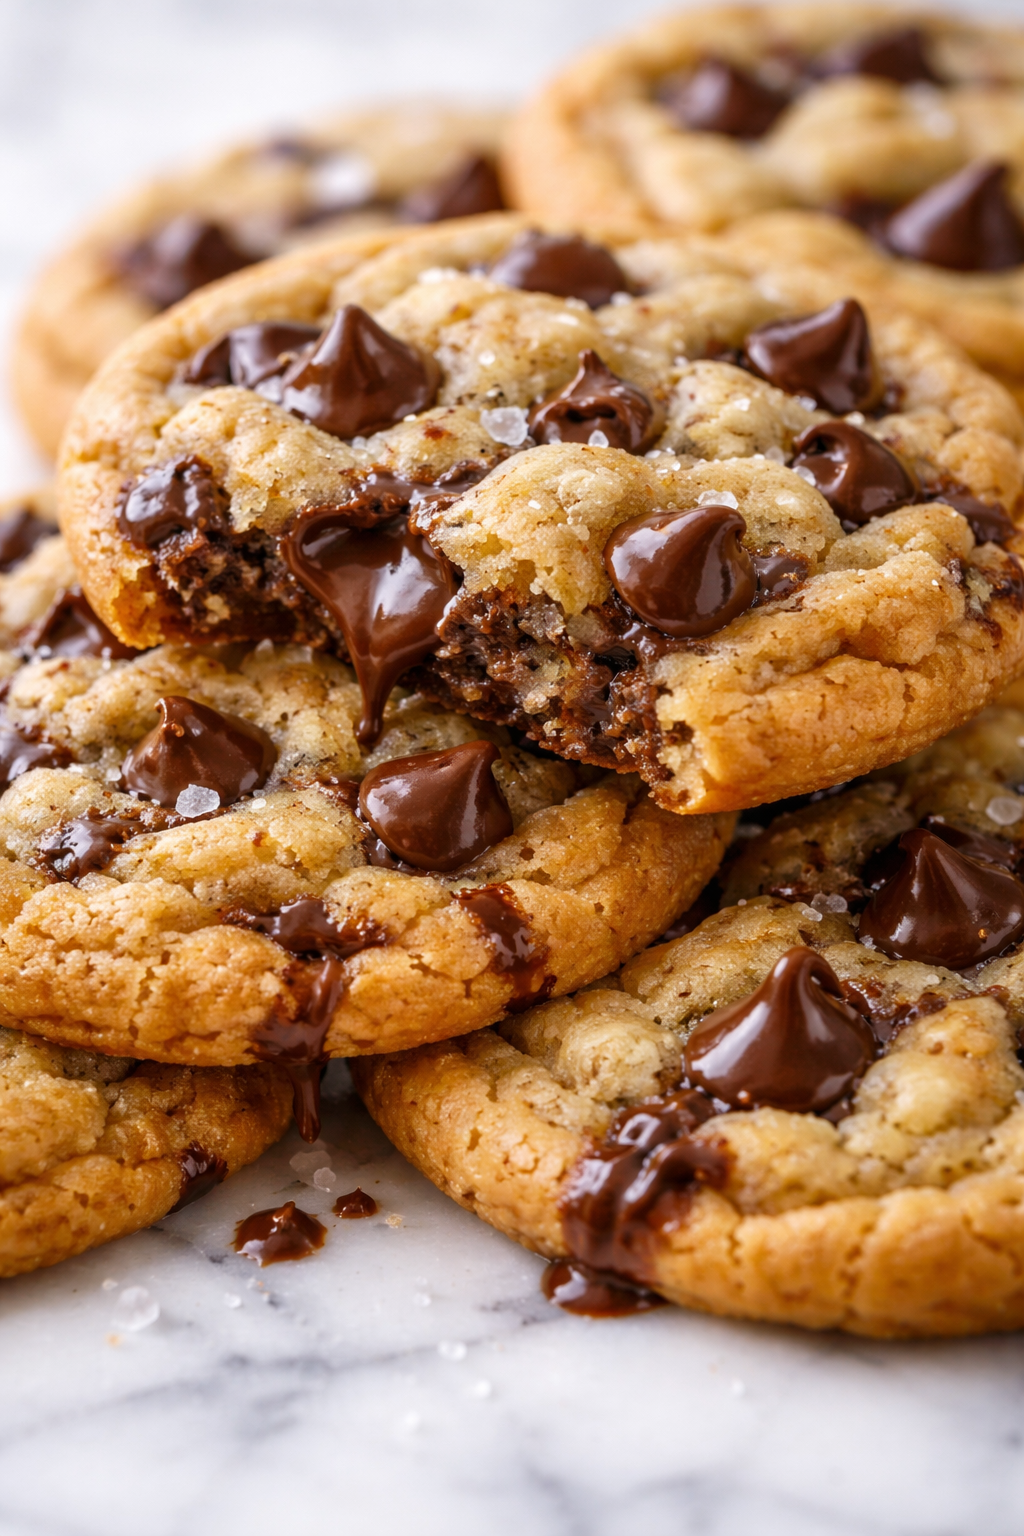
These chocolate chip cookies are my go-to when time’s tight but I crave something soft and chewy. With just five simple ingredients, they come together fast and taste like a warm hug. Perfect for a quick after-dinner treat or a cozy snack.
Introduction
I’ve been making these soft, chewy chocolate chip cookies for years now—especially on those busy weeknights when I want something homemade but don’t have hours to bake. What makes this recipe stand out is its simplicity: just five ingredients that you probably already have in your pantry. No fancy additions, no complicated steps. It’s the kind of recipe that feels like a little kitchen victory after a hectic day. I remember the first time I made these; I was worried they'd be too plain, but they turned out perfectly soft and chewy, with just the right amount of sweetness. The trick I learned is to cream the butter and sugar really well, which gives the cookies their tender texture. Also, chilling the dough for a bit helps keep them from spreading too much. The result is a batch of cookies that look golden around the edges and stay soft in the middle—exactly how I like them. They’re perfect for sharing with family or just sneaking a few when no one’s watching!
How To Do It
Step 1
Begin by preheating your oven to 350°F (175°C) and lining two baking sheets with parchment paper. This ensures your cookies bake evenly and don’t stick, making cleanup easier. Don’t skip the parchment—it helps the cookies develop a nice golden bottom without burning. While the oven heats, gather all your ingredients so you’re ready to go. Having everything measured out ahead of time keeps the process smooth and prevents overmixing later.
⏱ Time: 10 minutes
✓ Doneness: Oven preheated to 350°F and baking sheets lined with parchment
Step 2
In a large bowl, cream together the softened butter and brown sugar using a hand mixer or stand mixer on medium speed. This step is crucial because creaming incorporates air into the mixture, giving your cookies a light texture and helping them rise slightly. Beat for about 3-5 minutes until the mixture is pale and fluffy. If you rush this or don’t cream long enough, your cookies might turn out dense or flat.
⏱ Time: 5 minutes
✓ Doneness: Butter and sugar mixture is light in color and fluffy in texture
Step 3
Add the egg to the creamed butter and sugar, and beat until fully combined. The egg adds moisture and helps bind everything together. Make sure to mix well so the egg is fully incorporated, but don’t overbeat here or the dough might become too soft and spread too much during baking.
⏱ Time: 2 minutes
✓ Doneness: Smooth, uniform batter with no visible streaks of egg
Step 4
Slowly add the all-purpose flour to the wet ingredients, mixing on low speed or folding in by hand with a spatula. Adding the flour gradually helps prevent a flour cloud and ensures even distribution without overmixing. Overmixing at this stage can develop gluten, leading to tougher cookies, so mix just until you don’t see any flour patches.
⏱ Time: 3-4 minutes
✓ Doneness: Dough comes together and is slightly sticky but holds shape
Step 5
Fold in the chocolate chips evenly throughout the dough using a spatula. This ensures every cookie has a good amount of chocolate without breaking the dough’s texture. If you add the chips too early or beat them in, they can melt or break, affecting the cookie’s look and bite.
⏱ Time: 1-2 minutes
✓ Doneness: Chocolate chips are evenly distributed but dough texture remains intact
Step 6
Chill the dough in the refrigerator for at least 20 minutes. This step firms up the butter again, preventing the cookies from spreading too much while baking. It also helps the flavors meld together. If you skip chilling, the cookies may end up thin and crispy instead of soft and chewy.
⏱ Time: 20 minutes
✓ Doneness: Dough is firm and slightly chilled to the touch
Step 7
Using a cookie scoop or tablespoon, drop rounded balls of dough about 2 inches apart on the prepared baking sheets. Leaving space allows the cookies to spread without merging into each other. If you place them too close, you’ll end up with one big cookie sheet instead of individual treats.
⏱ Time: 5 minutes
✓ Doneness: Evenly spaced dough balls on baking sheets
Step 8
Bake the cookies in the preheated oven for 10-12 minutes. Keep a close eye starting at 10 minutes—the edges should be lightly golden while the centers still look soft and slightly underbaked. This is key for that chewy texture. Overbaking will dry them out and make them crispier than intended.
⏱ Time: 10-12 minutes
✓ Doneness: Edges are golden, centers look set but soft
Step 9
Let the cookies cool on the baking sheet for 5 minutes before transferring them to a wire rack. Cooling on the sheet allows the cookies to finish setting without breaking apart. Moving them too soon can cause them to fall apart, while letting them cool fully on the rack ensures they keep their soft and chewy texture.
⏱ Time: 5-10 minutes
✓ Doneness: Cookies are firm enough to handle but still soft in the center
Pro Tips
Don’t skip chilling the dough.
Chilling the dough solidifies the butter, which prevents the cookies from spreading too thin during baking. This step also enhances flavor by allowing the ingredients to meld. If you skip this, your cookies might spread too much and bake up crispier than you want.
Use room temperature butter for creaming.
Butter that’s too cold won’t cream properly with sugar, and melted butter will create greasy dough. Room temperature butter traps air when beaten with sugar, creating a fluffy base that leads to lighter, softer cookies.
Measure flour correctly by spooning and leveling.
Scooping flour directly with a measuring cup packs it down, which can lead to dry, dense cookies. Spoon the flour into your measuring cup and level it off with a knife for the best texture.
Don’t overbake the cookies.
Cookies continue to cook slightly after being removed from the oven due to residual heat. Taking them out when edges are golden but centers look soft ensures they stay chewy instead of drying out.
Use parchment paper or silicone mats on baking sheets.
These liners prevent sticking and promote even baking, which helps the cookies develop a nice texture and color without burning on the bottoms.
Mix chocolate chips in gently.
Overmixing chocolate chips can cause them to break down or melt into the dough, changing the texture and appearance of your cookies. Folding them in preserves their shape and creates pockets of melty chocolate.
Let cookies cool on the baking sheet before transferring.
Cooling on the sheet allows cookies to firm up and finish setting without breaking apart. Moving them too soon can cause them to crumble or lose shape.
Common Mistakes to Avoid
Using melted butter instead of softened butter
Why it happens Some people think melted butter is easier to mix, but it changes the dough’s texture and spread.
Fix Always use butter softened to room temperature—not melted. This allows proper creaming with sugar, trapping air for a soft, fluffy cookie texture.
Overmixing the dough after adding flour
Why it happens It’s tempting to mix thoroughly, but too much mixing develops gluten, making cookies tough.
Fix Mix just until the flour disappears. Use a spatula to fold in flour gently and stop as soon as combined.
Skipping the chilling step
Why it happens Rushing to bake without chilling saves time but affects texture and spread.
Fix Plan ahead to chill dough at least 20 minutes; it firms butter and controls spreading.
Baking at too high a temperature
Why it happens Some ovens run hot or you might set the temp too high, causing cookies to brown too fast.
Fix Use an oven thermometer to check temperature and bake at 350°F for best results.
Not spacing cookies properly on baking sheet
Why it happens Crowding cookies causes them to merge into one big cookie.
Fix Leave about 2 inches between dough balls to allow for spreading.
Variations
Add a pinch of cinnamon
Sprinkle a teaspoon of ground cinnamon into the dough for a warm, cozy twist. It pairs beautifully with the chocolate chips and adds a subtle spice that’s perfect for fall or winter treats.
Note: Add cinnamon with the flour and mix gently to avoid overworking the dough.
Use white chocolate chips
Swap semisweet chips for white chocolate for a sweeter, creamier cookie. This variation is great if you want a milder chocolate flavor and a different look with white pockets throughout.
Note: White chocolate melts faster, so watch baking time closely to avoid overbrowning.
Mix in chopped nuts
Add 1/2 cup chopped walnuts or pecans for extra crunch and nutty flavor. Nuts add texture contrast and make the cookies feel a bit more special without complicating the recipe.
Note: Fold nuts in along with the chocolate chips to ensure even distribution.
Make them gluten-free
Replace all-purpose flour with a gluten-free baking blend to accommodate dietary needs. The texture might be slightly different but still soft and delicious.
Note: Check your gluten-free flour blend for xanthan gum; add 1/4 teaspoon if it’s missing to help with structure.
Use brown butter instead of softened butter
Brown the butter first for a nutty, caramel-like flavor that deepens the cookie’s taste. It’s a small step that makes a big difference in richness.
Note: Cool browned butter completely before mixing with sugar to avoid cooking the egg.
Nutrition
Per Serving:
Nutritional values are estimates and may vary based on specific ingredients used.
Storage & Tips
Room Temperature
Cookies keep well at room temperature for up to 2 days when stored in an airtight container. Make sure to cool them completely before storing to avoid condensation, which can make them soggy.
Refrigerator
Store cookies in an airtight container in the fridge for up to 5 days. They may firm up and lose some softness; let them come to room temperature before serving or warm briefly in the microwave to restore chewiness.
Freezer
Freeze cookies in a single layer on a baking sheet, then transfer to a freezer bag or container for up to 3 months. Wrap tightly to prevent freezer burn. Thaw at room temperature for about an hour before eating.
Reheating
Warm cookies in the microwave for 10-15 seconds or in a 300°F oven for 5 minutes to refresh softness. Avoid overheating, which can dry them out. A splash of milk or a small pat of butter melted on top can add moisture if needed.
Make Ahead
You can prepare the dough up to 2 days ahead and keep it refrigerated. When ready to bake, scoop and chill again briefly before baking. This makes weeknight baking even quicker and ensures consistent cookie texture.
FAQ
Can I use white sugar instead of brown sugar?
You can substitute white sugar, but your cookies will be crisper and less chewy since brown sugar adds moisture and softness. For best results, stick to brown sugar for that classic chewy texture.
Why do my cookies spread too much?
Too much spreading usually happens if the dough is too warm or if you used melted butter instead of softened. Chilling the dough before baking helps control spread and keeps cookies thick and chewy.
Can I add nuts or other mix-ins?
Absolutely! Chopped nuts, oats, or different types of chocolate chips can be folded in with the chocolate chips. Just be careful not to add too much or it can affect the cookie’s structure.
How do I keep my cookies soft longer?
Store cookies in an airtight container with a slice of bread or a piece of apple. The moisture from these helps keep cookies soft for several days.
Can I make these cookies vegan?
This recipe uses butter and egg, so to make it vegan, substitute with vegan butter and an egg replacer like flax egg. Keep in mind texture and flavor might differ slightly.
What’s the best way to measure flour?
Spoon flour lightly into your measuring cup and level it off with a knife. Scooping directly can pack flour and lead to dense cookies.
Why does my dough feel dry or crumbly?
If your butter isn’t soft enough or you added too much flour, the dough can be dry. Make sure butter is room temperature and measure flour carefully.
Can I freeze the dough instead of baked cookies?
Yes! Scoop dough balls onto a tray, freeze until solid, then store in a bag. Bake from frozen, adding a couple extra minutes to baking time.
Final Thoughts
I hope you enjoy these soft, chewy chocolate chip cookies as much as my family does! Give them a try and let me know how they turn out—there’s nothing like a homemade cookie to brighten a busy night.