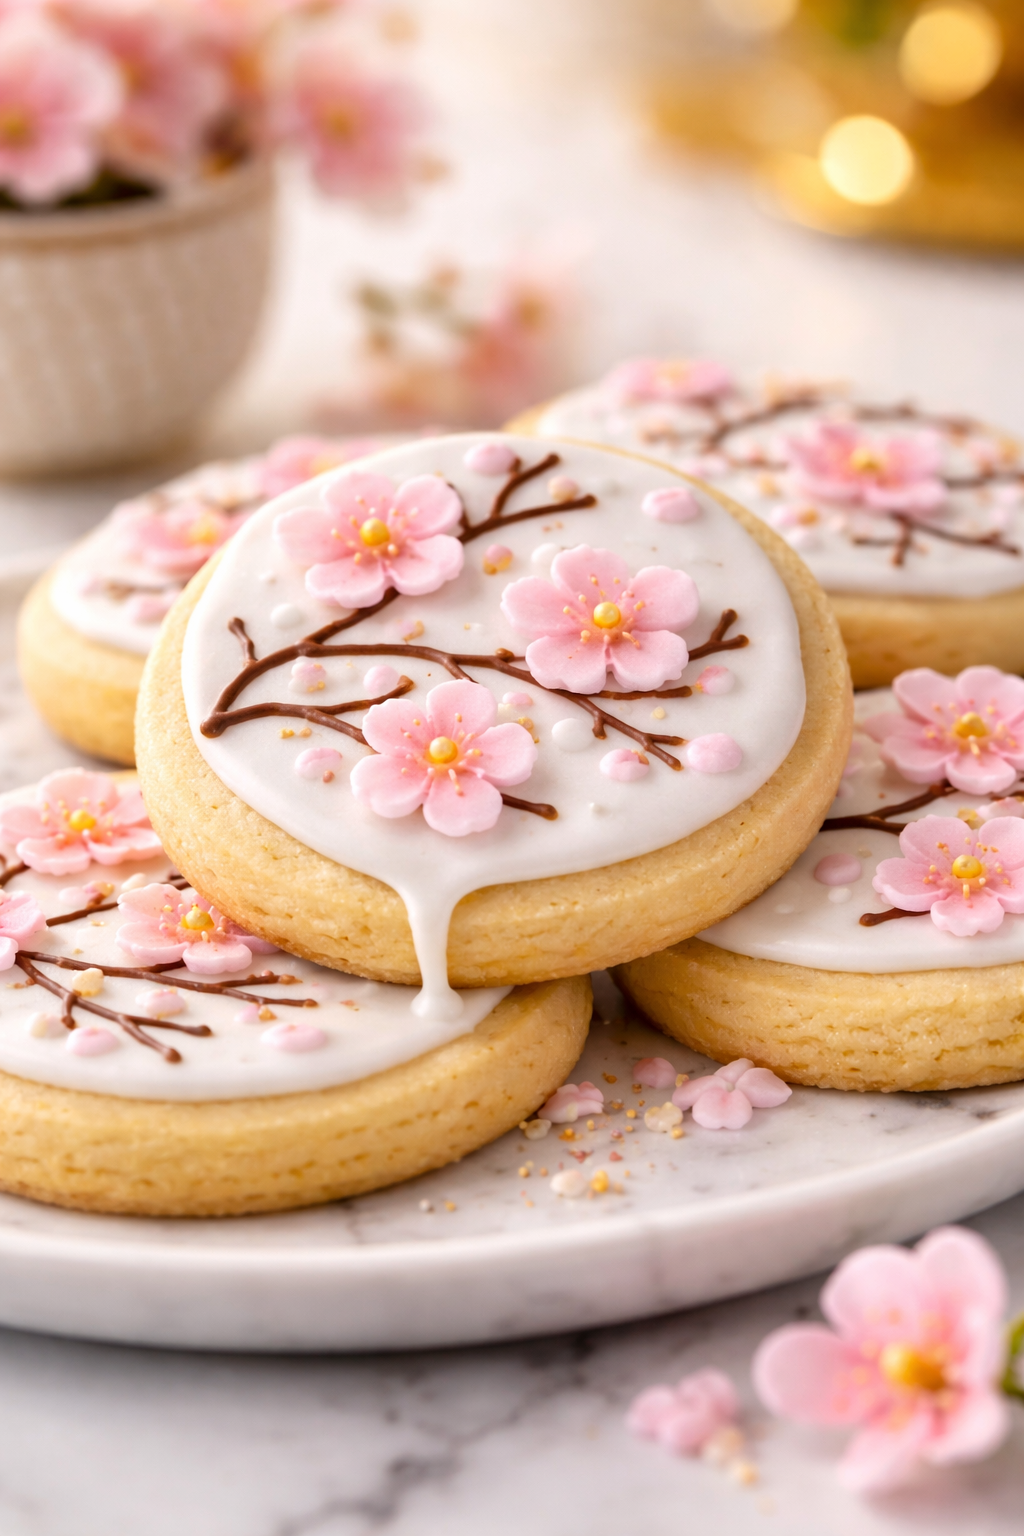
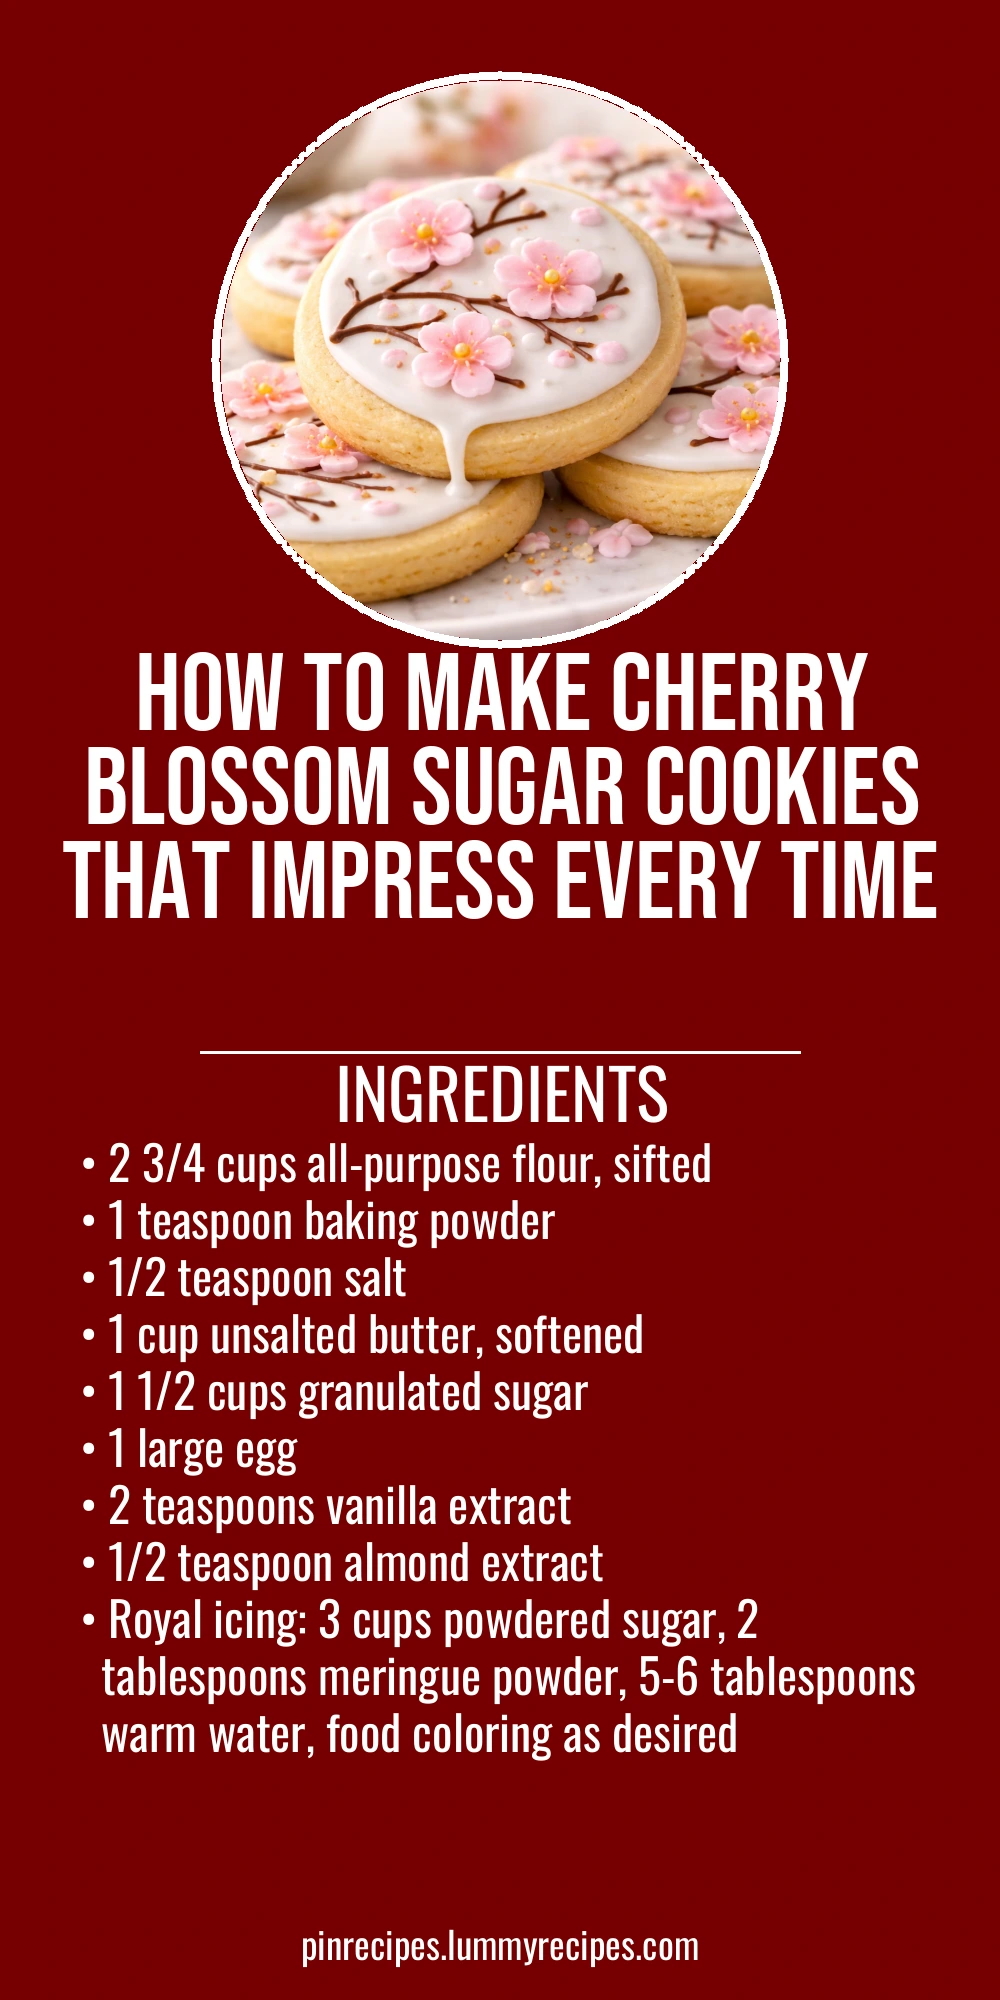
These delicate sugar cookies are inspired by cherry blossoms, iced with smooth royal icing that hardens perfectly. They're light, buttery, and a joy to decorate, making them ideal for springtime treats or celebrations!
Introduction
I first baked these spring cherry blossom sugar cookies a few years ago when I wanted to celebrate the season with something pretty and delicious. The idea came to me while watching the cherry trees bloom outside my window — I wanted to capture that delicate beauty in a cookie. This recipe quickly became a favorite because it balances a tender, buttery sugar cookie base with royal icing that hardens just right for decorating. What makes this version special is the touch of almond extract in the dough, which adds a subtle floral note that pairs perfectly with the cherry blossom theme. Also, I’ve learned that chilling the dough before cutting out shapes helps keep the cookies from spreading too much, resulting in crisp edges and a soft center. When baked, these cookies have a light golden hue and a melt-in-your-mouth texture. The royal icing dries smooth and glossy, perfect for piping cherry blossom petals or simple designs. Whether you’re making these for a spring party, a thoughtful gift, or just because, they bring a little seasonal joy to any day. Honestly, the first time I tried piping the blossoms, it was a bit messy, but that’s part of the fun — each cookie ends up unique and charming. I hope you enjoy baking and decorating these as much as I do!
How To Do It
Step 1
In a medium bowl, whisk together the sifted flour, baking powder, and salt. This ensures the leavening is evenly distributed and prevents clumps, which helps the cookies rise evenly and have a tender crumb. Sifting also aerates the flour, contributing to a lighter texture. Mixing these dry ingredients separately before combining with wet ingredients saves you from overworking the dough later, which can make cookies tough.
⏱ Time: 5 minutes
✓ Doneness: Dry ingredients are well combined with no visible clumps or streaks.
Step 2
In a large bowl, beat the softened butter and granulated sugar together on medium speed until pale and fluffy, about 3-4 minutes. This creaming step is crucial because it incorporates air into the butter, which helps the cookies rise and gives them a light texture. If you rush this step or skip it, the cookies may turn out dense and heavy. Be sure the butter is softened but not melted to trap air effectively.
⏱ Time: 4 minutes
✓ Doneness: Butter and sugar mixture is light in color and fluffy in texture.
Step 3
Add the egg, vanilla extract, and almond extract to the butter-sugar mixture. Beat on low speed until combined, scraping down the bowl as needed. The egg adds moisture and structure, while the extracts provide flavor depth — almond extract especially enhances the floral cherry blossom theme. Mixing gently prevents over-developing gluten later, which keeps cookies tender.
⏱ Time: 2 minutes
✓ Doneness: Wet ingredients are fully incorporated with a smooth, even batter.
Step 4
Gradually add the dry ingredients to the wet mixture, mixing on low speed until just combined. Overmixing here can develop gluten, resulting in tough cookies, so stop as soon as the flour disappears. The dough should be soft but not sticky. If it feels too sticky, chill it slightly before rolling out.
⏱ Time: 3 minutes
✓ Doneness: Dough forms a cohesive ball without streaks of flour.
Step 5
Wrap the dough in plastic wrap and chill it in the refrigerator for at least 1 hour. Chilling firms up the butter, making the dough easier to roll and cut, and helps prevent the cookies from spreading too much during baking. This step also improves flavor by allowing the ingredients to meld. If you skip chilling, the cookies may lose their shape and become flat.
⏱ Time: 60 minutes
✓ Doneness: Dough is firm and cool to the touch.
Step 6
Preheat your oven to 350°F (175°C). On a lightly floured surface, roll out the chilled dough to about 1/4 inch thickness. Use cherry blossom-shaped cookie cutters to cut out shapes and place them on parchment-lined baking sheets. Rolling evenly ensures uniform baking, while parchment prevents sticking and promotes even heat distribution.
⏱ Time: 10 minutes
✓ Doneness: Cookies are cut cleanly with sharp edges and spaced about 1 inch apart on the sheet.
Step 7
Bake the cookies for 10-12 minutes, or until the edges just start to turn a very light golden color. Keep a close eye because overbaking will dry them out and make the cookies hard. The goal is a soft, tender cookie with a slight crisp on the edges. Rotate the baking sheet halfway through for even cooking.
⏱ Time: 12 minutes
✓ Doneness: Edges are lightly golden; centers look set but still soft.
Step 8
Remove cookies from the oven and let them cool on the baking sheet for 5 minutes before transferring to a wire rack to cool completely. This resting time allows the cookies to firm up slightly, making them easier to handle without breaking. Cooling completely is essential before decorating so the royal icing doesn’t melt or slide off.
⏱ Time: 15 minutes
✓ Doneness: Cookies are fully cooled and firm to the touch.
Step 9
Prepare the royal icing by mixing powdered sugar, meringue powder, and warm water until you reach a smooth, pipeable consistency. Divide and color as desired. Use piping bags to decorate the cookies with cherry blossom designs. Let the icing dry completely, ideally overnight, to form a hard shell. Properly mixed and dried royal icing provides a beautiful, glossy finish that holds its shape well.
⏱ Time: 20 minutes prep + drying time
✓ Doneness: Icing is smooth, shiny, and hardened to the touch.
Pro Tips
Chill your dough for at least an hour before rolling.
Chilling firms the butter in the dough, which prevents cookies from spreading too much during baking. It also makes the dough easier to handle and roll out evenly, which is essential for keeping the delicate cherry blossom shapes intact.
Use parchment paper or silicone mats on your baking sheets.
This prevents sticking and promotes even baking. It also protects the bottoms of your cookies from getting too dark or burnt, ensuring a uniform golden color and tender texture.
Beat butter and sugar until pale and fluffy.
This creaming step incorporates air into the dough, contributing to a lighter texture and better rise. Rushing or skipping this step can result in dense, heavy cookies.
Let your cookies cool completely before decorating.
Applying royal icing to warm cookies can cause it to melt or slide off, ruining your decoration. Cooling ensures the icing sets properly and dries with a smooth surface.
Adjust royal icing consistency for outlining and flooding.
Thicker icing works well for outlines to hold shape, while thinner icing floods the cookie surface smoothly. Getting the right consistency is key to professional-looking decoration.
Store decorated cookies in an airtight container with parchment layers.
This prevents the cookies from sticking together and keeps the royal icing crisp and intact. It also helps maintain freshness and flavor.
Use a light hand when rolling out dough.
Pressing too hard can cause the dough to become tough and the cookies to lose their delicate texture. Gentle, even pressure helps keep the cookies tender and the shapes precise.
Common Mistakes to Avoid
Skipping the chilling step
Why it happens Many bakers want to speed up the process and skip chilling, assuming it’s unnecessary.
Fix Always chill the dough for at least an hour. This prevents spreading and helps maintain cookie shape, resulting in crisp edges and soft centers.
Overmixing the dough after adding flour
Why it happens It’s easy to keep mixing to combine everything, but this develops gluten.
Fix Mix only until just combined after adding dry ingredients to keep cookies tender and avoid toughness.
Baking cookies at too high a temperature
Why it happens Some ovens run hotter than expected or bakers increase temperature to save time.
Fix Preheat oven to 350°F and bake for 10-12 minutes. Watch closely for light golden edges to avoid drying out cookies.
Decorating warm cookies
Why it happens Impatience leads to icing on warm cookies, causing smudging.
Fix Allow cookies to cool completely on a wire rack before applying royal icing to ensure it sets smoothly.
Using royal icing that’s too runny or too thick
Why it happens Inexperience with icing consistency can cause frustration.
Fix Test icing by dripping it from a spoon — it should flow slowly but hold shape. Adjust powdered sugar or water to get the right texture.
Variations
Lemon Zest Sugar Cookies
Swap almond extract for fresh lemon zest and a bit of lemon juice for a bright, citrusy twist that pairs wonderfully with royal icing. These cookies will have a refreshing tang and a slightly crisper texture.
Note: Add zest to the dough before mixing, and reduce liquid slightly to compensate for the juice.
Gluten-Free Cherry Blossom Cookies
Use a 1-to-1 gluten-free baking flour blend to make these cookies safe for gluten-sensitive friends. The texture will be slightly different but still tender and delicious with the same beautiful look.
Note: Chill dough longer if sticky, and handle gently to avoid crumbling.
Vegan Sugar Cookies with Aquafaba Icing
Replace butter with vegan margarine and egg with a flax egg. Use aquafaba (chickpea water) instead of meringue powder in the royal icing for a vegan-friendly version that still pipes beautifully.
Note: Expect a slightly softer cookie and allow extra drying time for the icing.
Chocolate Cherry Blossom Cookies
Add 1/4 cup unsweetened cocoa powder to the dough for a rich chocolate base. The floral almond flavor contrasts nicely with the chocolate, and you can tint icing pink or white for pretty blossoms.
Note: Reduce flour by 2 tablespoons to balance the cocoa addition.
Sprinkle-Topped Cherry Blossom Cookies
After flooding the cookies with royal icing, sprinkle edible pearl dust or pastel sugar crystals on top for extra sparkle and texture. Great for festive occasions or gifts.
Note: Apply sprinkles while icing is still wet for best adhesion.
Nutrition
Per Serving:
Nutritional values are estimates and may vary based on specific ingredients used.
Storage & Tips
Room Temperature
Store cookies in an airtight container at room temperature for up to 3 days. Keep them away from direct sunlight or heat to avoid melting the royal icing. Layer cookies with parchment paper to prevent sticking.
Refrigerator
You can refrigerate cookies in an airtight container for up to 7 days. Keep in mind that refrigeration may slightly soften the icing. Let cookies come to room temperature before serving for best texture and flavor.
Freezer
Freeze undecorated cookies in a single layer on a baking sheet, then transfer to a freezer-safe container or bag for up to 3 months. Thaw at room temperature before icing. For decorated cookies, freeze in an airtight container with parchment between layers to prevent damage.
Reheating
Sugar cookies are best served at room temperature; reheating is not recommended as it can soften the icing and change texture. If desired, warm briefly (10-15 seconds) in a microwave but watch carefully to avoid melting.
Make Ahead
You can prepare and chill the dough up to 2 days in advance, then roll and cut right before baking. Cookies can also be baked and stored undecorated for a few days, then decorated on the day you plan to serve them for the freshest look.
FAQ
Can I use salted butter instead of unsalted?
Yes, you can use salted butter, but reduce or omit the added salt in the recipe to avoid overly salty cookies. Unsalted butter gives you better control over seasoning, but salted butter works fine if that’s what you have.
How do I know when royal icing is the right consistency?
The icing should be thick enough to hold its shape when piped but thin enough to flood cookie surfaces smoothly. Test by dripping a spoonful; it should flow slowly and level out without running off the cookie edges.
Why are my cookies spreading too much during baking?
This often happens if the dough is too warm or not chilled long enough. Make sure to chill the dough for at least an hour and avoid letting it sit at room temperature before baking.
Can I make these cookies gluten-free?
Yes, using a 1-to-1 gluten-free flour blend works well. The texture might be slightly different, so handle the dough gently and chill it longer to prevent crumbling.
How long does royal icing take to dry completely?
Royal icing usually dries to the touch within 1-2 hours, but for a hard, fully set finish, especially on thicker layers, it’s best to let it dry overnight at room temperature.
Can I freeze decorated cookies?
Yes, freeze decorated cookies in an airtight container with parchment paper between layers to protect the icing. Thaw at room temperature before serving to avoid condensation.
What if I don’t have almond extract?
You can substitute with vanilla extract or a small amount of rose water to keep a floral note. Almond extract adds a unique flavor but isn’t absolutely necessary.
Why did my royal icing crack after drying?
Cracking can occur if the icing is too thick or dries too quickly in a dry environment. Try adding a little more water to your icing and let it dry in a slightly humid room to prevent cracks.
Final Thoughts
I hope you enjoy making these charming spring cherry blossom sugar cookies as much as I do. Don’t forget to share your creations — I’d love to see how your cookies bloom!