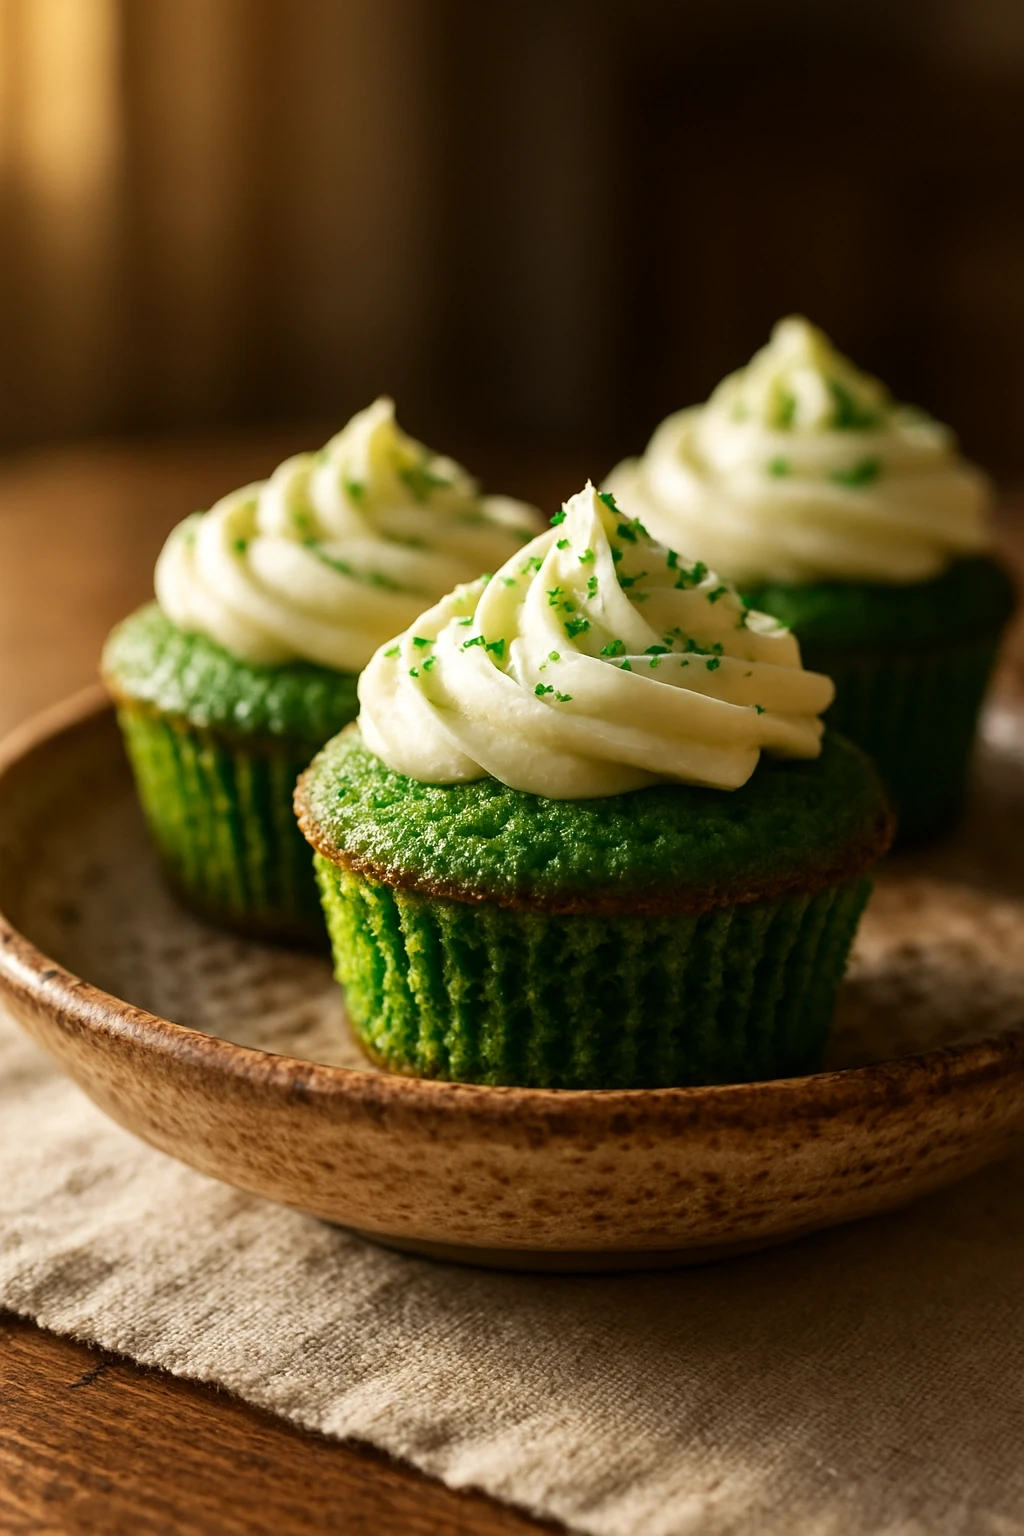
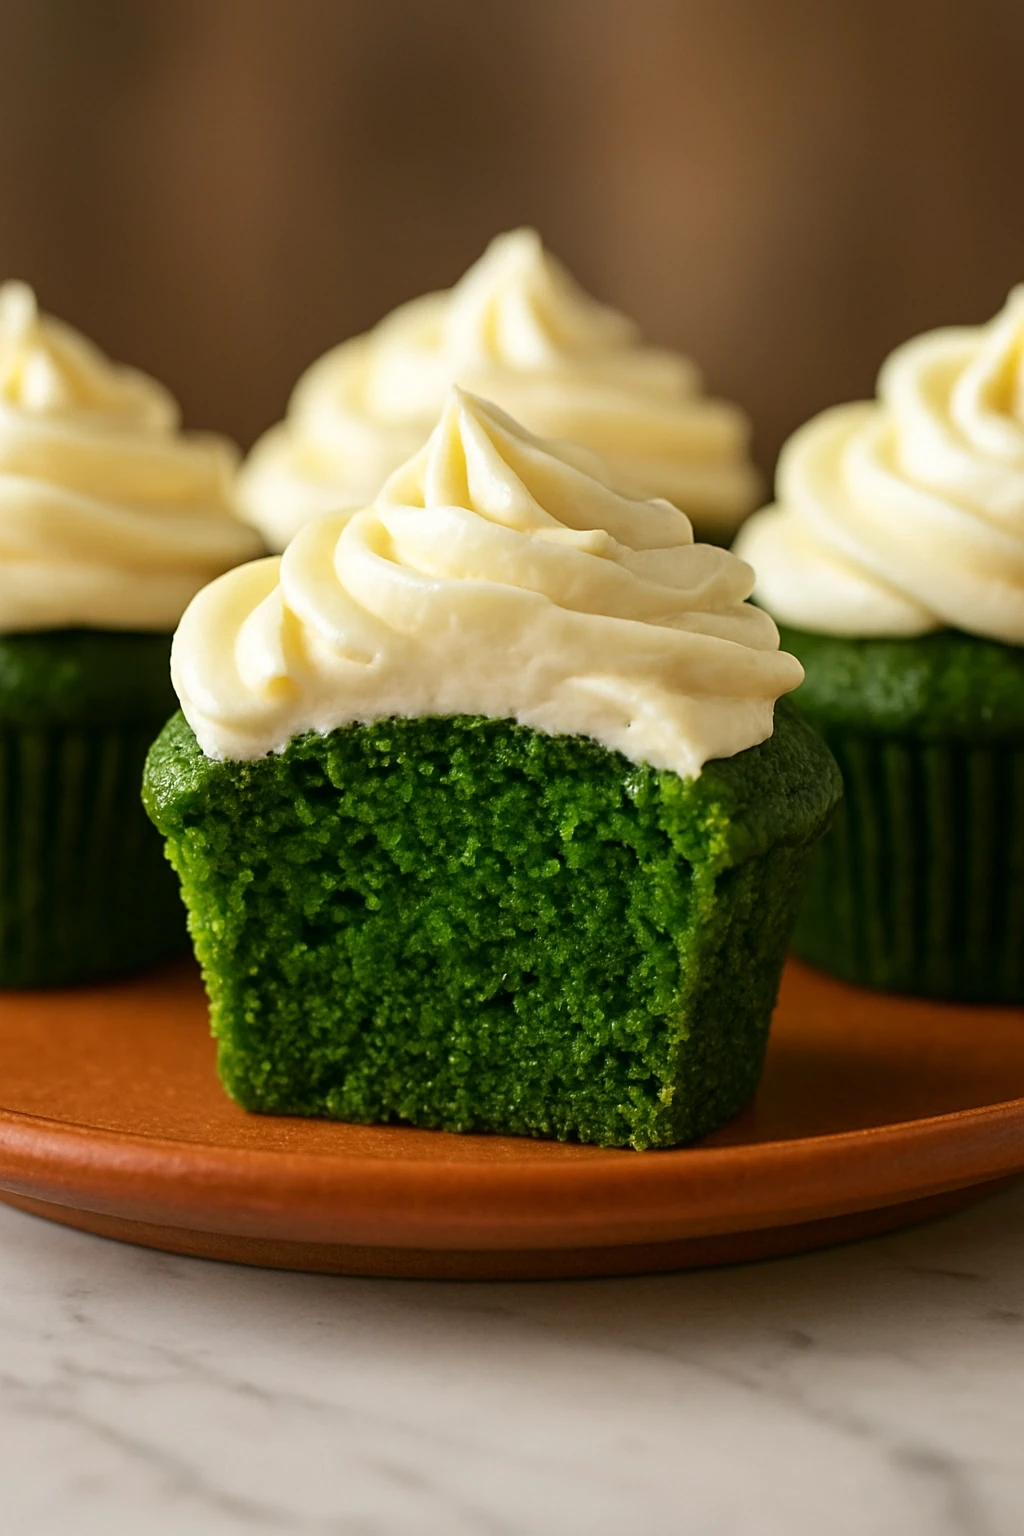
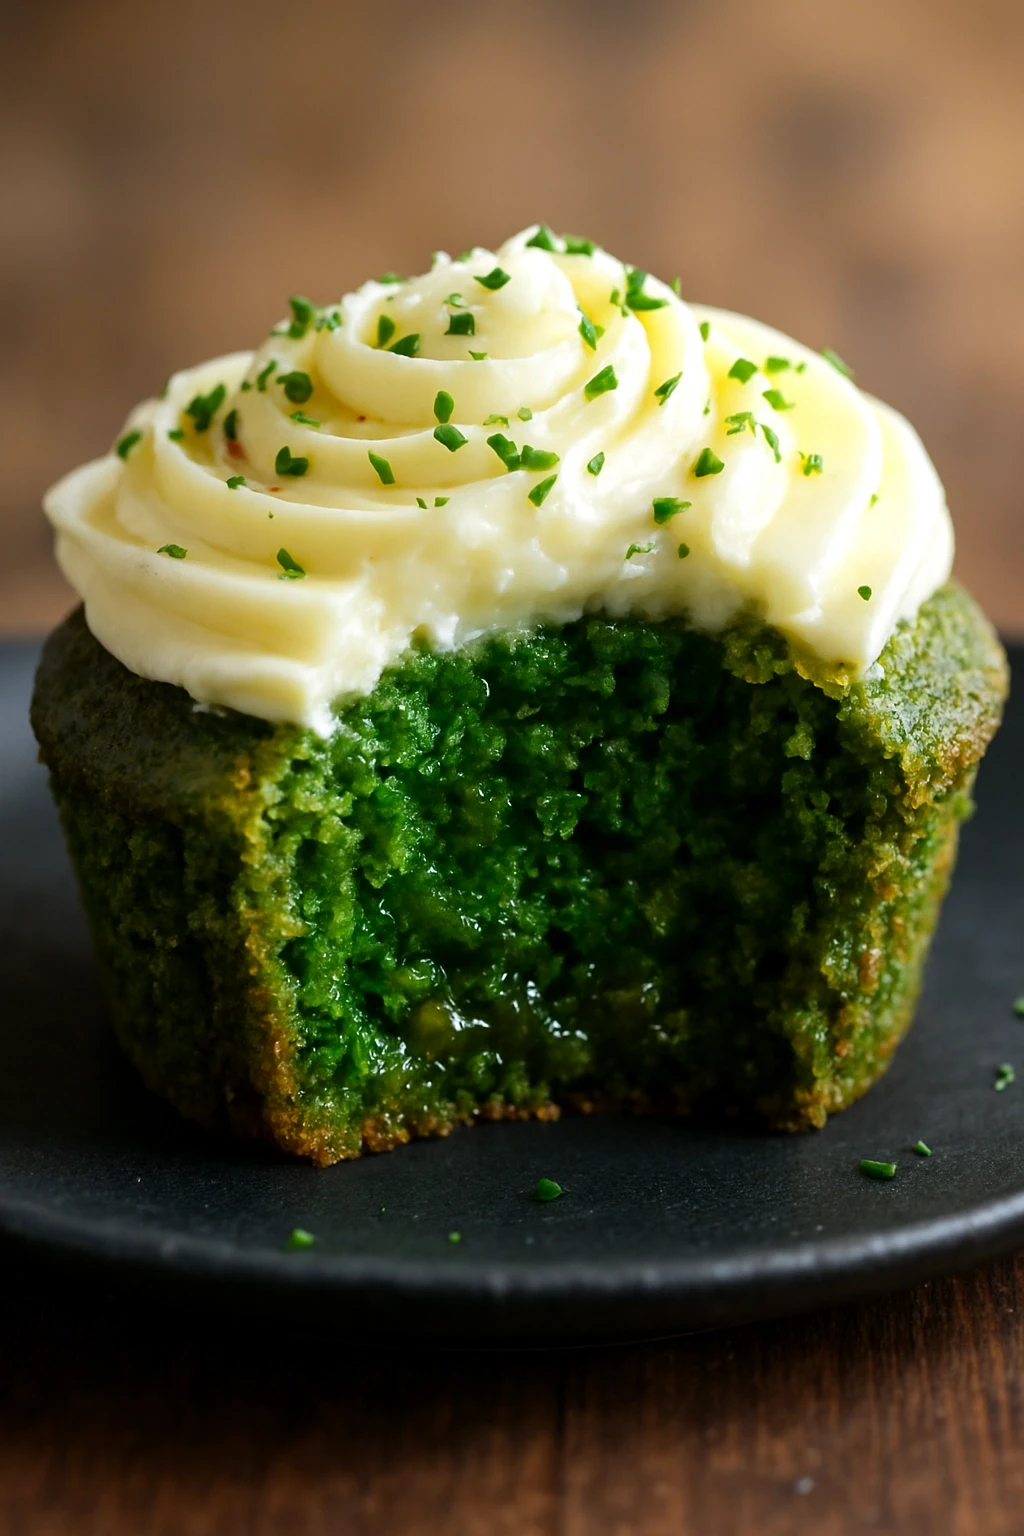
These green velvet cupcakes are a festive treat for St. Patrick's Day! With a rich cocoa flavor and tangy cream cheese frosting, they’re perfect for celebrations.
Introduction
I've always had a soft spot for cupcakes, but these green velvet beauties hold a special place in my heart. I first made them for a St. Patrick's Day gathering a few years ago, and they were an instant hit! What makes these cupcakes stand out is their vibrant color and the delightful combination of cocoa and cream cheese frosting. The trick I learned is to use buttermilk for that extra moisture and tenderness. Trust me, the result is a cupcake that’s not only visually stunning but also incredibly delicious and soft. You’ll love how they look on the dessert table and how they taste with every bite!
How To Do It
Step 1
Preheat your oven to 350°F (175°C) and line a cupcake tin with paper liners. This step is crucial because a properly preheated oven ensures even baking. If the oven isn't hot enough, the cupcakes may not rise well. Keep an eye on the temperature; if it fluctuates, your cupcakes might end up dense instead of fluffy.
⏱ Time: 10 minutes
✓ Doneness: The oven should be at the right temperature before placing the cupcakes in.
Step 2
In a large bowl, whisk together the flour, sugar, cocoa powder, baking soda, and salt. This helps to evenly distribute the dry ingredients, ensuring your cupcakes are light and fluffy. A common mistake here is not whisking enough, which can lead to clumps in your batter. Make sure everything is well combined before moving on.
⏱ Time: 5 minutes
✓ Doneness: The mixture should be uniform in color and texture.
Step 3
In another bowl, mix the vegetable oil, buttermilk, eggs, green food coloring, vanilla extract, and vinegar. This combination not only adds flavor but also helps to create that beautiful green hue. The vinegar reacts with the baking soda, giving your cupcakes a nice lift. Don’t skip this step; it’s what makes them so moist!
⏱ Time: 5 minutes
✓ Doneness: The mixture should be smooth and well-blended with a bright green color.
Step 4
Gradually add the wet ingredients to the dry ingredients, mixing until just combined. Overmixing can lead to tough cupcakes, so stop as soon as you see no dry flour. A few lumps are perfectly fine, and they’ll bake out. This is where patience is key; gentle folding creates a light texture.
⏱ Time: 3 minutes
✓ Doneness: The batter should be smooth but still slightly lumpy.
Step 5
Spoon the batter into the prepared cupcake liners, filling each about two-thirds full. This allows room for the cupcakes to rise without overflowing. A common mistake is overfilling, which can lead to messy cupcakes. Use a cookie scoop for even portions if you have one!
⏱ Time: 5 minutes
✓ Doneness: Cupcakes should be filled evenly to ensure uniform baking.
Step 6
Bake in the preheated oven for 20-25 minutes, or until a toothpick inserted into the center comes out clean. Baking times can vary, so check them at the 20-minute mark. If you pull them out too soon, they might collapse, so trust your instincts and the toothpick test!
⏱ Time: 25 minutes
✓ Doneness: Cupcakes should spring back when touched and the toothpick should come out clean.
Step 7
Let the cupcakes cool in the pan for 5 minutes before transferring them to a wire rack to cool completely. This step is vital because cooling them too quickly can make them dense. The wire rack allows air to circulate, preventing sogginess. Once cooled, you can frost them with your cream cheese frosting.
⏱ Time: 10 minutes
✓ Doneness: Cupcakes should be cool to the touch before frosting.
Step 8
To make the frosting, beat the cream cheese and butter together until smooth. Gradually add the powdered sugar and vanilla extract, mixing until fluffy. This creates a rich, tangy frosting that pairs perfectly with the sweet cupcakes. A common mistake is adding the sugar too quickly, which can create a lumpy texture. Take your time here!
⏱ Time: 10 minutes
✓ Doneness: Frosting should be smooth and spreadable without lumps.
Pro Tips
Use room temperature ingredients.
Room temperature eggs and buttermilk mix more easily into the batter, leading to a smoother texture. Cold ingredients can cause the batter to seize up, affecting the final rise and texture of your cupcakes.
Don’t overmix the batter.
Overmixing can develop gluten in the flour, resulting in dense cupcakes. Mix until just combined to keep them light and fluffy. Remember, a few lumps are okay!
Invest in a good quality food coloring.
Using a high-quality gel food coloring will give you a vibrant green without altering the flavor. Liquid food coloring can dilute the batter and affect the texture, so stick with gel for the best results.
Let the cupcakes cool completely before frosting.
If you frost warm cupcakes, the frosting can melt and slide off. Cooling them on a wire rack ensures the frosting stays put and looks beautiful.
Taste your frosting before spreading.
Adjust the sweetness or tanginess to your liking. If it’s too sweet, adding a pinch of salt can help balance the flavors, making it even more delicious!
Common Mistakes to Avoid
Overfilling the cupcake liners.
Why it happens Many home bakers want big cupcakes, but overfilling can lead to overflowing messes. It's a common misconception that more batter means bigger cupcakes.
Fix Fill each liner only two-thirds full to allow room for rising. This will give you perfectly dome-shaped cupcakes without the overflow.
Using cold ingredients.
Why it happens Many cooks forget to take ingredients out ahead of time, leading to a less homogenous batter. Cold ingredients can cause the batter to seize.
Fix Always plan ahead and allow eggs and buttermilk to reach room temperature. This small step can make a significant difference in texture.
Not checking for doneness.
Why it happens It's easy to lose track of time while baking, especially with the excitement of the aroma wafting through the kitchen.
Fix Use a toothpick to check for doneness. Insert it into the center of a cupcake; if it comes out clean or with a few crumbs, they’re ready!
Frosting while cupcakes are warm.
Why it happens The eagerness to taste can lead to this rookie mistake, but it can ruin your frosting.
Fix Always let cupcakes cool completely on a wire rack before frosting. This will ensure your frosting stays intact and looks beautiful.
Variations
Chocolate Chip Green Velvet Cupcakes
Add 1/2 cup of mini chocolate chips to the batter for a delightful surprise in every bite. The chocolate pairs beautifully with the cocoa flavor and adds a fun texture.
Note: Fold the chocolate chips in gently to avoid breaking them up, and reduce the mixing time to keep the cupcakes light.
Lemon Cream Cheese Frosting
For a zesty twist, replace half of the vanilla extract in the frosting with fresh lemon juice and zest. This brightens the flavor and adds a refreshing note.
Note: Keep an eye on the consistency; you may need to adjust the powdered sugar to maintain the right texture.
Gluten-Free Option
Substitute all-purpose flour with a gluten-free blend to make these cupcakes gluten-free. Ensure the blend contains xanthan gum for structure.
Note: Baking times may vary slightly, so keep an eye on them as they bake.
Mini Green Velvet Cupcakes
Make mini versions of these cupcakes by using a mini cupcake tin. They’re perfect for parties and bite-sized treats!
Note: Bake for about 12-15 minutes, checking for doneness with a toothpick.
Nutrition
Per Serving:
Nutritional values are estimates and may vary based on specific ingredients used.
Storage & Tips
Room Temperature
Cupcakes can be kept at room temperature for up to 2 days in an airtight container. Make sure to keep them covered to prevent drying out.
Refrigerator
Store in an airtight container for up to 5 days. The flavor may intensify, but the texture will be a bit firmer when served cold. You can enjoy them straight from the fridge or let them sit at room temperature for a bit.
Freezer
Freeze for up to 3 months. Wrap each cupcake individually in plastic wrap and then in aluminum foil to prevent freezer burn. Thaw in the fridge overnight before serving.
Reheating
If you prefer them warm, pop them in the microwave for about 10-15 seconds. Be careful not to overheat, as they can become dry. Adding a splash of milk can help retain moisture.
Make Ahead
You can bake the cupcakes a day in advance and store them in an airtight container. Frost them on the day of serving to keep the frosting fresh and beautiful.
FAQ
Can I use liquid food coloring instead of gel?
While you can use liquid food coloring, it’s best to stick with gel for more vibrant color without affecting the batter’s consistency. Liquid food coloring can dilute the batter, resulting in a less intense green. If you do use liquid, you may need to adjust the amount to achieve the desired color.
What can I substitute for buttermilk?
If you don’t have buttermilk, you can make a quick substitute by adding 1 tablespoon of vinegar or lemon juice to 1 cup of milk. Let it sit for about 5 minutes to curdle. This will mimic the acidity of buttermilk and help keep your cupcakes tender.
How can I make the frosting less sweet?
If you find the cream cheese frosting too sweet, you can add a pinch of salt to balance the flavors. Alternatively, adding a bit of sour cream can also reduce sweetness while maintaining creaminess. Just mix it in gradually until you reach the desired taste.
Can I make these cupcakes ahead of time?
Absolutely! You can bake the cupcakes a day or two in advance and store them in an airtight container. Just frost them on the day you plan to serve for the best texture and flavor. This makes them perfect for parties or gatherings!
Why did my cupcakes sink in the middle?
Cupcakes can sink if they’re underbaked or if the oven temperature is too low. Always check for doneness with a toothpick and ensure your oven is properly calibrated. If you’re unsure, an oven thermometer can help you get accurate readings.
Final Thoughts
I hope you give these green velvet cupcakes a try! They're not only festive but also deliciously moist and flavorful. Share your baking adventures with me!