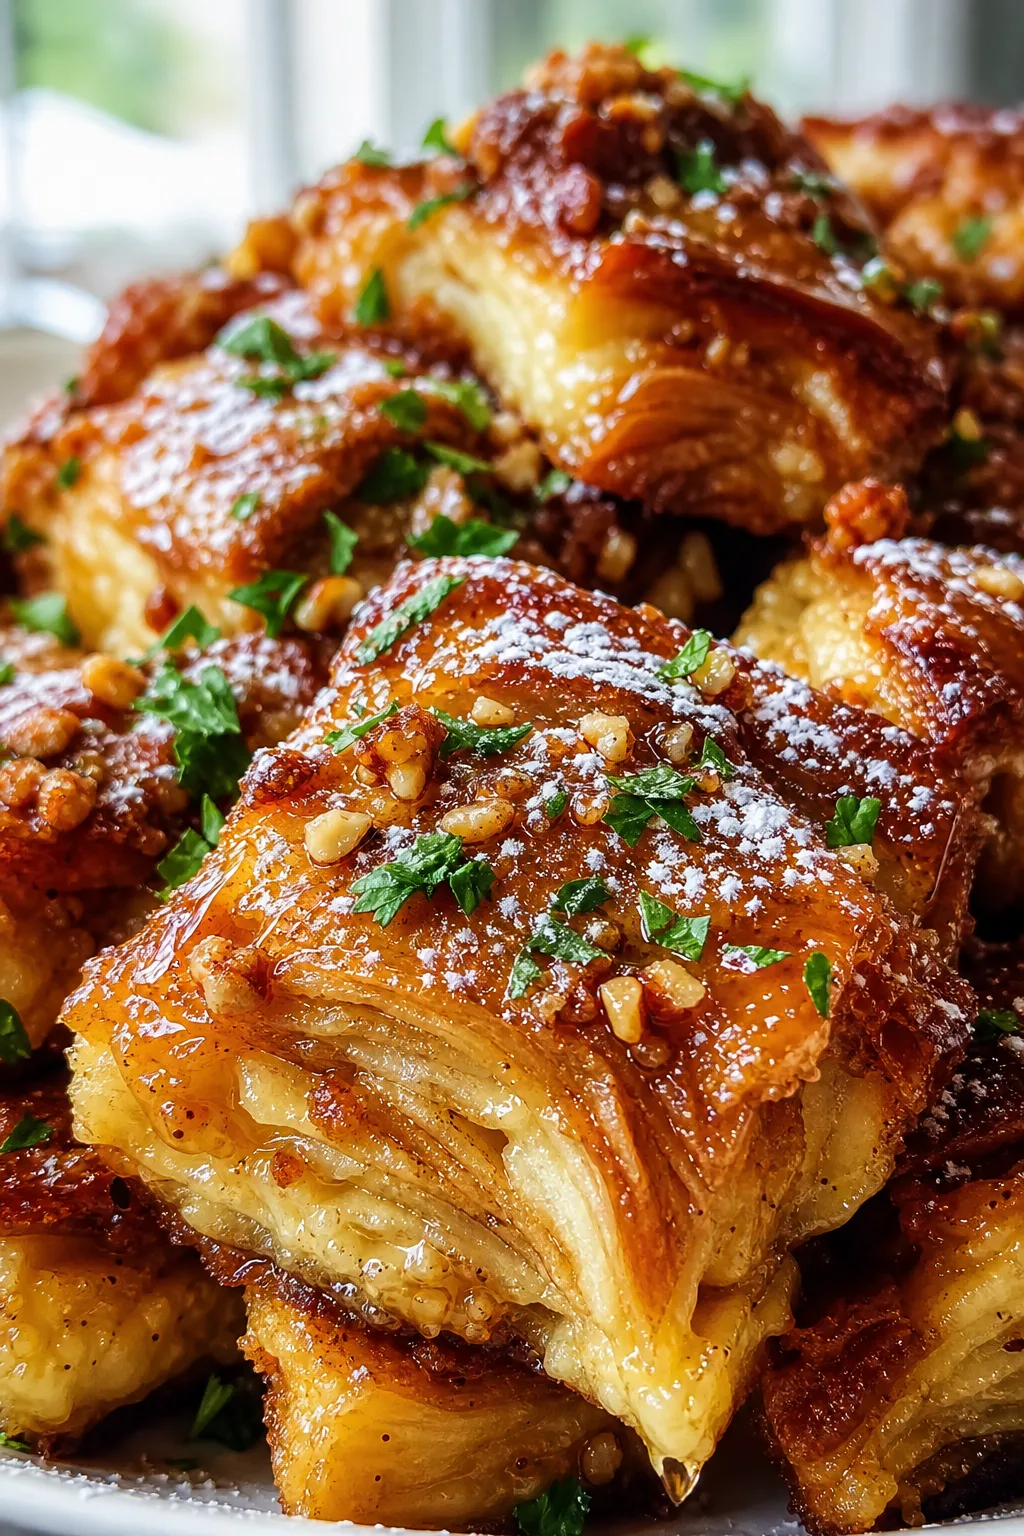
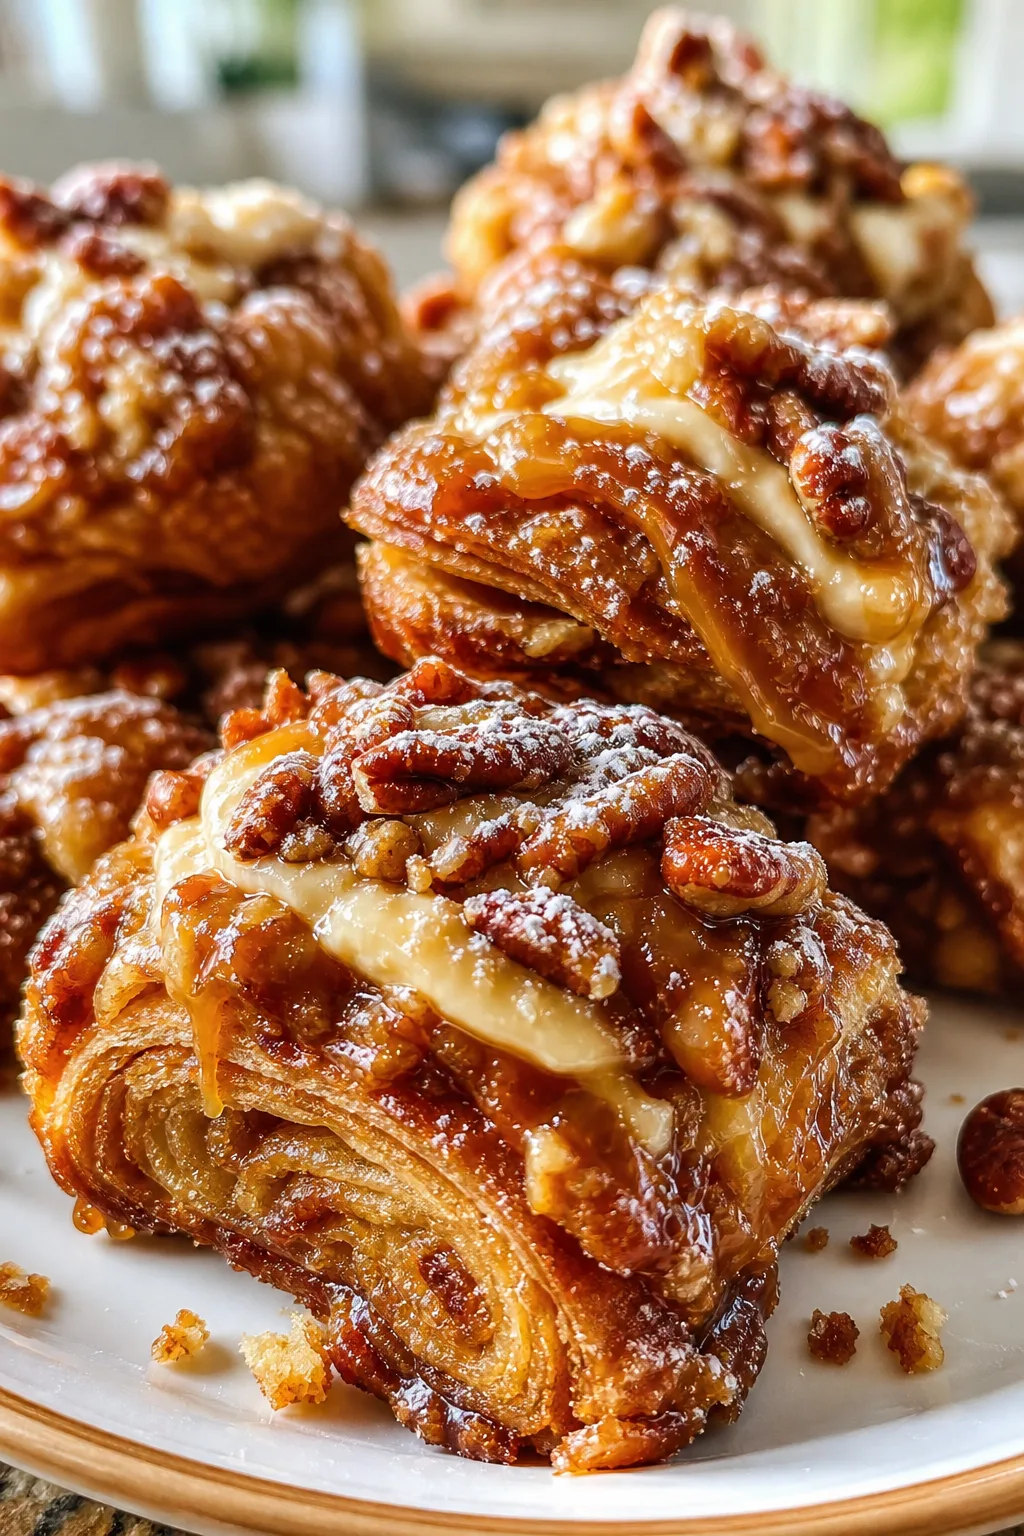
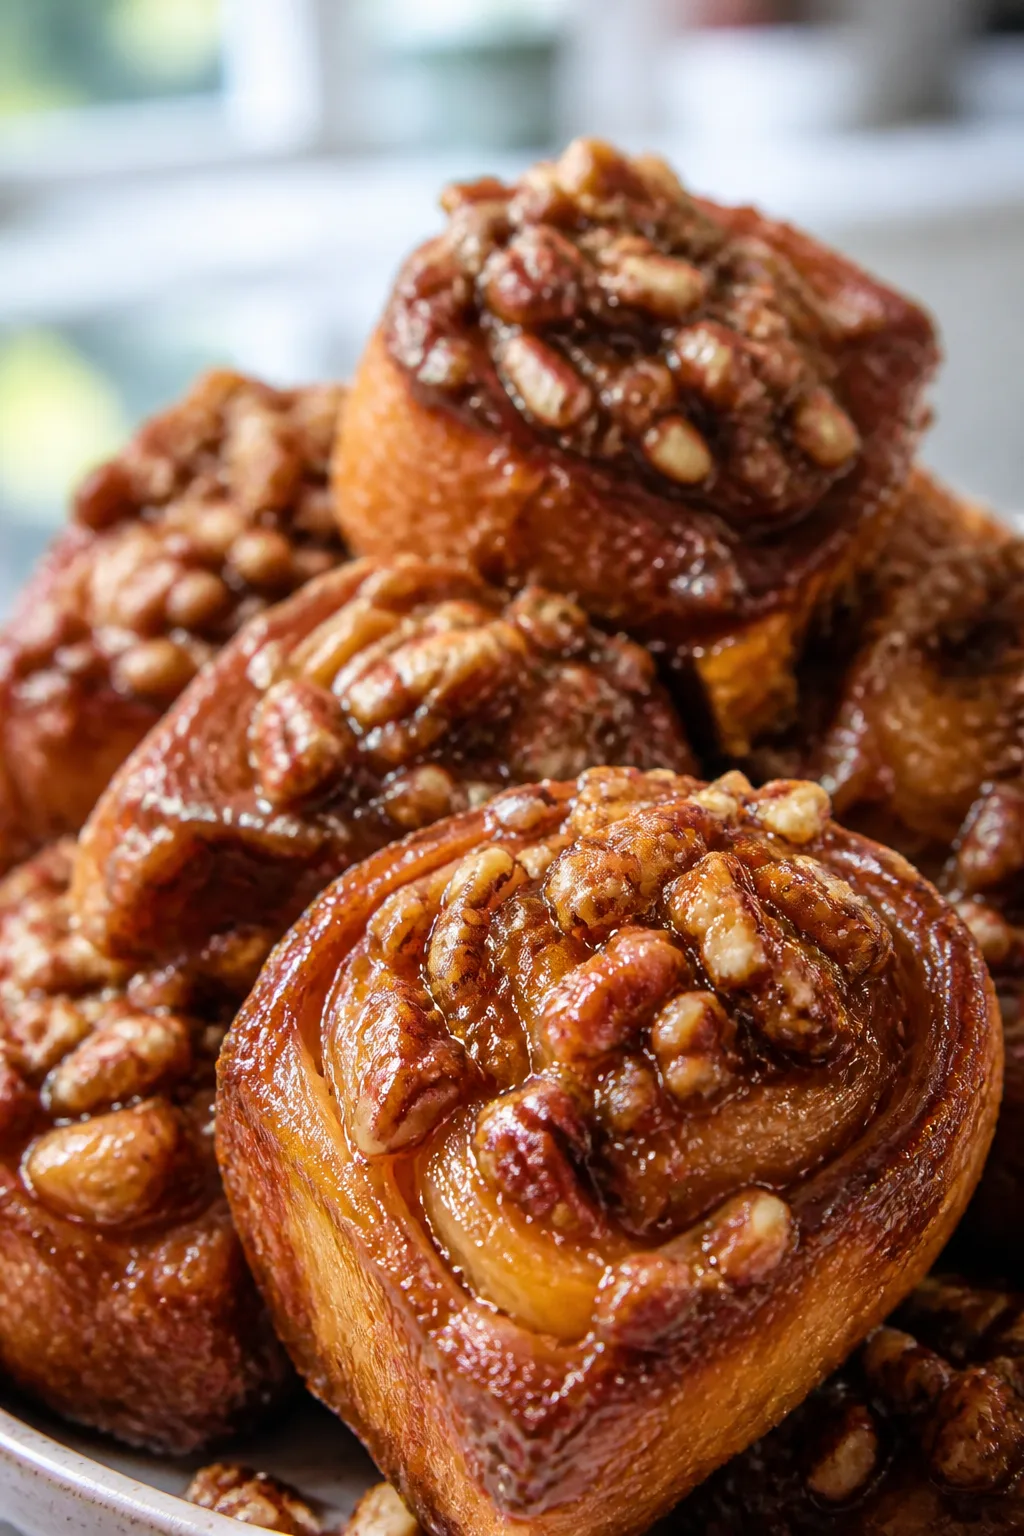
Cake pops are those charming little bites of cake on a stick that everyone loves. Their history is surprisingly rich, blending creativity and convenience. I found the story behind these treats fascinating and perfect for sharing at parties or just a sweet afternoon snack.
Introduction
I first stumbled upon cake pops a few years ago at a friend's birthday party, and I was instantly charmed by their cute, bite-sized appeal. Unlike a traditional slice of cake, these little treats combine cake crumbs with frosting, molded onto sticks, then dipped in chocolate or candy coating. What makes my version special is using just the right balance of cake to frosting so the pops hold together without being too dense or too soft. I also like to chill them before dipping, which helps the coating set beautifully without cracking. When you bite into one, you get that perfect mix of moist cake and smooth coating, making them both fun to eat and visually irresistible. They’re perfect for celebrations or even just a sweet afternoon pick-me-up. Plus, they’re surprisingly easy to make once you get the hang of it!
What You'll Need
Approximately 12 cake pops
- 2 cups crumbled baked vanilla or chocolate cake
- 1/2 cup frosting (any flavor)
- 1 cup candy melts or chocolate for coating
- Sprinkles or decorations (optional)
- 12 lollipop sticks
How To Do It
Step 1
Start by crumbling your baked cake into fine crumbs using your hands or a food processor. The finer the crumbs, the smoother your cake pops will be. This step is crucial because large chunks can make shaping difficult and cause the pops to fall apart. Aim for a texture similar to wet sand. Avoid using freshly baked cake that’s too warm, as it won’t bind well with the frosting.
⏱ Time: 10
✓ Doneness: Cake crumbs should be fine and evenly sized without large chunks.
Step 2
Mix the cake crumbs with about half a cup of frosting. Add the frosting gradually, mixing gently until the mixture holds together when pressed but isn’t overly sticky. The frosting acts as a binder, so this ratio is key to shaping the cake pops without them crumbling or becoming too dense.
⏱ Time: 5
✓ Doneness: The mixture holds together when squeezed into a ball without falling apart.
Step 3
Roll the mixture into 1-inch balls and place them on a parchment-lined baking sheet. Chill the balls in the refrigerator for at least 30 minutes. Chilling firms them up, which helps them stay intact when you insert the sticks and dip them in coating.
⏱ Time: 30
✓ Doneness: Balls should be firm and hold their shape when handled.
Step 4
Melt your candy melts or chocolate in a microwave-safe bowl in 30-second intervals, stirring well between each until smooth. Using a microwave prevents overheating and burning. If the coating is too thick, add a teaspoon of vegetable oil to thin it slightly for easier dipping.
⏱ Time: 5
✓ Doneness: Coating is smooth, shiny, and fluid enough to coat evenly.
Step 5
Dip the tip of each lollipop stick into the melted coating, then insert it halfway into a chilled cake ball. This helps secure the stick inside the pop. Return the cake balls to the fridge for 10 minutes to set before dipping fully.
⏱ Time: 10
✓ Doneness: Sticks are firmly anchored in the cake balls without wobbling.
Step 6
Dip each cake pop into the melted coating, gently tapping off excess. Rotate the pop to cover evenly. Work quickly before the coating hardens. If the coating thickens too much, reheat briefly to maintain a smooth texture.
⏱ Time: 10
✓ Doneness: Cake pops are fully coated with a smooth, even layer of chocolate.
Step 7
Immediately decorate with sprinkles or edible decorations while the coating is still wet. This adds color and texture, making your cake pops festive and fun. Avoid waiting too long, or the decorations won’t stick properly.
⏱ Time: 5
✓ Doneness: Decorations adhere firmly and look vibrant on the coating.
Step 8
Place the finished cake pops upright in a styrofoam block or cake pop stand to dry completely. This prevents smudging and ensures the coating sets evenly all around.
⏱ Time: 20
✓ Doneness: Coating is fully hardened and firm to the touch.
Step 9
Once dry, store cake pops in an airtight container in the refrigerator. Bring to room temperature before serving for the best flavor and texture. Enjoy your perfectly bite-sized, delightful treats!
⏱ Time: 5
✓ Doneness: Cake pops are firm, flavorful, and ready to enjoy.
Pro Tips
Chill the cake balls thoroughly before dipping.
Chilling firms up the cake balls, making them less fragile and easier to dip without falling apart. If you skip this step, the coating process can cause the balls to crumble or the sticks to loosen.
Use a microwave in short bursts to melt candy melts.
Melting candy melts gradually prevents overheating and burning. Stirring between bursts ensures an even melt. Overheated candy can seize or become grainy, ruining the smooth coating.
Dip the stick tip in coating before inserting into the cake ball.
This creates a glue-like bond that secures the stick inside the pop. Without this step, the cake pop may slide off the stick during dipping or handling.
Tap off excess coating gently after dipping.
Removing excess coating prevents thick, uneven layers that can crack or look messy. A smooth, thin coating sets better and looks more professional.
Decorate immediately after dipping while coating is wet.
Applying decorations while the coating is still wet ensures they stick firmly. Waiting too long means the toppings won’t adhere properly and may fall off.
Store cake pops upright to dry and set.
Upright storage prevents smudging and allows the coating to harden evenly. Laying them flat can cause uneven coating or damage the finish.
Bring cake pops to room temperature before serving.
Serving chilled cake pops can dull flavors and make the coating too hard. Room temperature enhances taste and texture for the best eating experience.
Common Mistakes to Avoid
Cake pops falling off the sticks
Why it happens Often caused by not dipping the stick tip in coating before inserting or by cake balls being too soft.
Fix Dip the stick tip in melted coating to act as glue, then insert halfway into chilled cake balls. Chill again before dipping fully. This secures the stick firmly.
Coating cracking or thick layers
Why it happens Excess coating or rapid temperature changes can cause cracking.
Fix Tap off excess coating gently and avoid sudden temperature shifts. Use room temperature cake balls and smooth, thin layers for stable coating.
Cake balls too dry or crumbly
Why it happens Too little frosting or dry cake leads to poor binding.
Fix Add frosting gradually until mixture holds together well but isn’t sticky. Use moist cake and avoid overbaking.
Coating seizing or grainy
Why it happens Overheating candy melts or moisture contact causes seizing.
Fix Melt candy melts slowly in short microwave bursts, stirring frequently. Keep utensils dry and avoid water contact.
Decorations falling off
Why it happens Applying decorations after coating sets.
Fix Add sprinkles or toppings immediately after dipping while coating is still wet for best adhesion.
Variations
Chocolate Lovers Cake Pops
Use chocolate cake and chocolate frosting for a rich, indulgent twist. Dip in dark chocolate candy melts and decorate with chocolate shavings or cocoa powder for extra decadence.
Note: Chocolate cake crumbs may be denser; adjust frosting amount slightly for easier shaping.
Red Velvet Cake Pops
Make classic red velvet cake pops with cream cheese frosting. Use white candy melts for coating and top with red sprinkles or edible glitter for a festive look.
Note: Chilling is key to prevent color bleeding from red cake crumbs.
Funfetti Cake Pops
Use funfetti cake with vanilla frosting for a colorful, playful treat. Dip in white candy melts and add rainbow sprinkles for a party-ready dessert.
Note: Choose sprinkles that won’t bleed color into the coating.
Peanut Butter Cake Pops
Mix peanut butter frosting with vanilla or chocolate cake crumbs for a nutty flavor. Dip in peanut butter-flavored candy melts or milk chocolate and garnish with chopped peanuts.
Note: Peanut butter frosting is thicker; adjust quantity for proper binding.
Vegan Cake Pops
Use vegan cake and frosting alternatives. Choose dairy-free candy melts for coating. These pops are just as tasty and perfect for plant-based diets.
Note: Ensure all ingredients are vegan-certified to maintain consistency.
Nutrition
Per Serving:
Nutritional values are estimates and may vary based on specific ingredients used.
Storage & Tips
Room Temperature
Cake pops can safely sit at room temperature for up to 4 hours if covered. Avoid prolonged exposure to heat or humidity to prevent melting or spoilage.
Refrigerator
Store cake pops in an airtight container in the refrigerator for up to 5 days. They may become firmer when cold; bring to room temperature before serving for best flavor and texture.
Freezer
Freeze cake pops wrapped individually in plastic wrap and stored in an airtight container for up to 2 months. Thaw in the refrigerator overnight and bring to room temperature before serving to restore texture.
Reheating
No reheating is needed. If desired, let refrigerated or thawed cake pops sit at room temperature for 30 minutes before serving to soften the coating and enhance flavor.
Make Ahead
Prepare cake balls and insert sticks 1-2 days ahead. Keep chilled until ready to dip. Dip and decorate on the day of serving for the freshest appearance and best texture.
FAQ
Can I use store-bought cake for cake pops?
Absolutely! Store-bought cake works well as long as it’s moist and not stale. Crumble it finely and mix with frosting to get the right consistency. Just avoid dry or overly dense cakes as they won’t bind properly.
What frosting works best for binding cake pops?
Buttercream or cream cheese frosting are ideal because they’re thick and creamy, helping the cake crumbs stick together. Avoid whipped or runny frostings as they won’t hold the mixture firmly.
How do I prevent cake pops from falling off the sticks?
Dip the tip of each stick into melted coating before inserting it into the cake ball. This acts as glue and helps secure the stick. Also, chill the cake balls well before dipping to keep them firm.
Can I make cake pops ahead of time?
Yes, you can prepare cake balls and insert sticks up to 2 days ahead. Keep them refrigerated and dip them in coating on the day you plan to serve for the best freshness and appearance.
What can I use if I don’t have candy melts?
You can use good quality chocolate, but it requires tempering for a smooth finish. Candy melts are easier because they melt smoothly and set quickly without tempering, making them perfect for beginners.
How do I fix coating that’s too thick to dip?
Add a teaspoon of vegetable oil or shortening to the melted coating and stir well. This thins it out and makes dipping easier without affecting flavor.
Why do some cake pops crack after dipping?
Cracking often happens if the cake balls are too cold or the coating is applied too thickly. Make sure to chill cake balls properly but not freeze them, and tap off excess coating for a thin, even layer.
Can I freeze cake pops?
Yes, freeze wrapped cake pops in an airtight container for up to 2 months. Thaw in the refrigerator overnight and bring to room temperature before serving for best texture.
Final Thoughts
I hope you enjoy making and sharing these delightful cake pops as much as my family and I do. They’re a fun, charming treat that’s perfect for any celebration or just a sweet moment anytime!