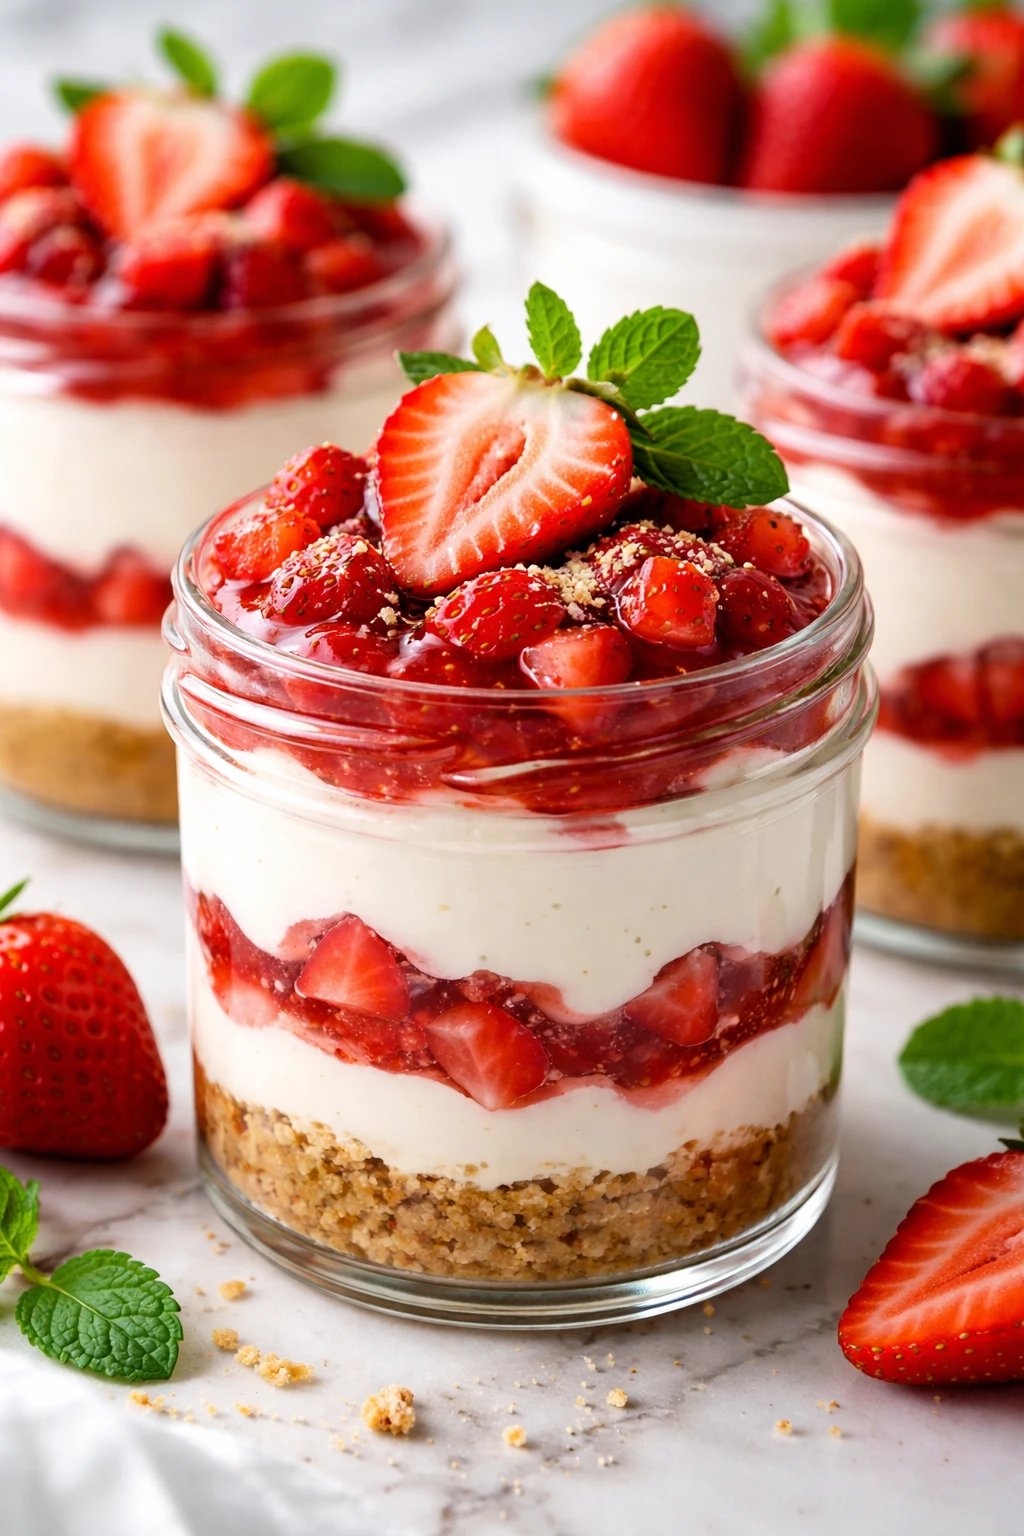
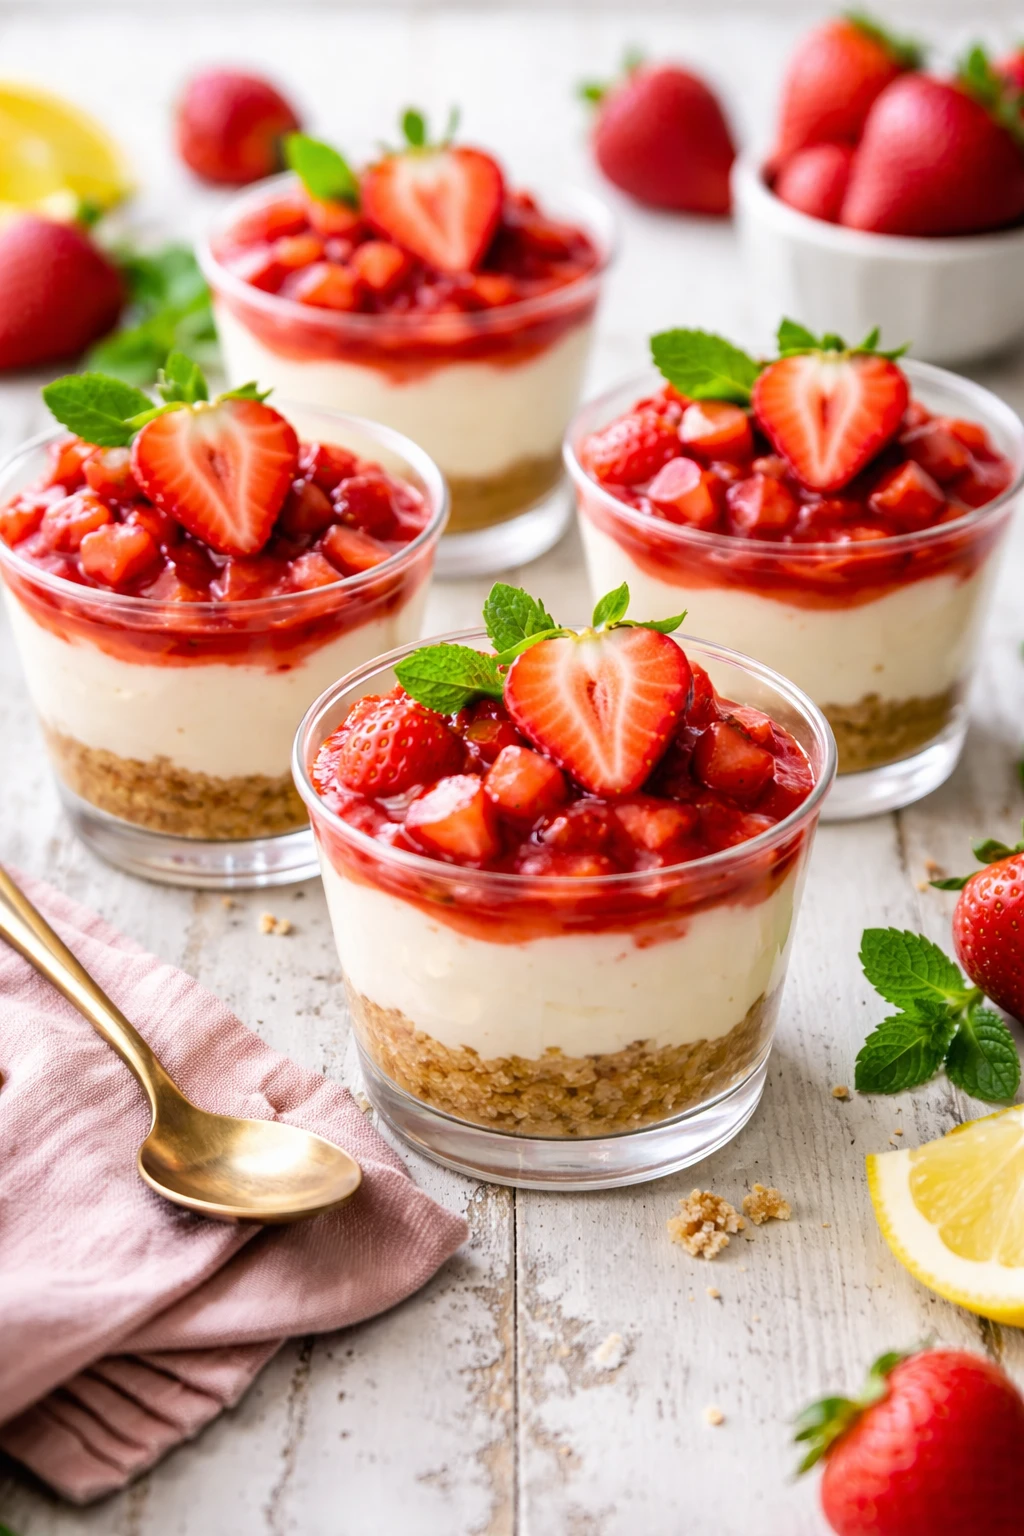
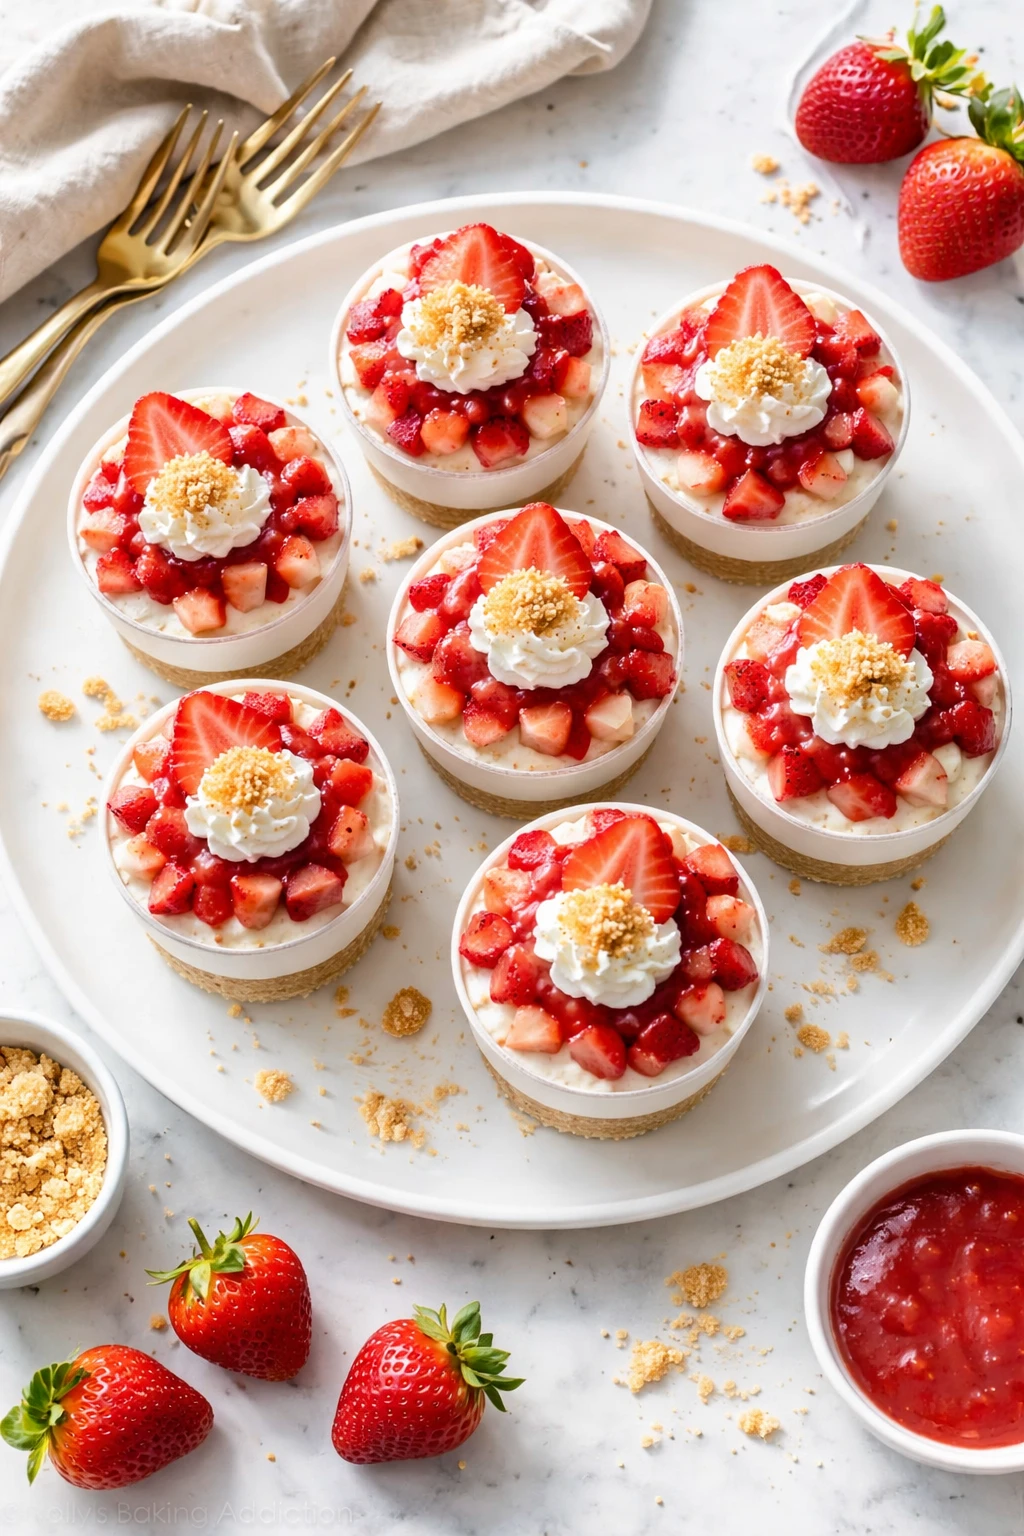
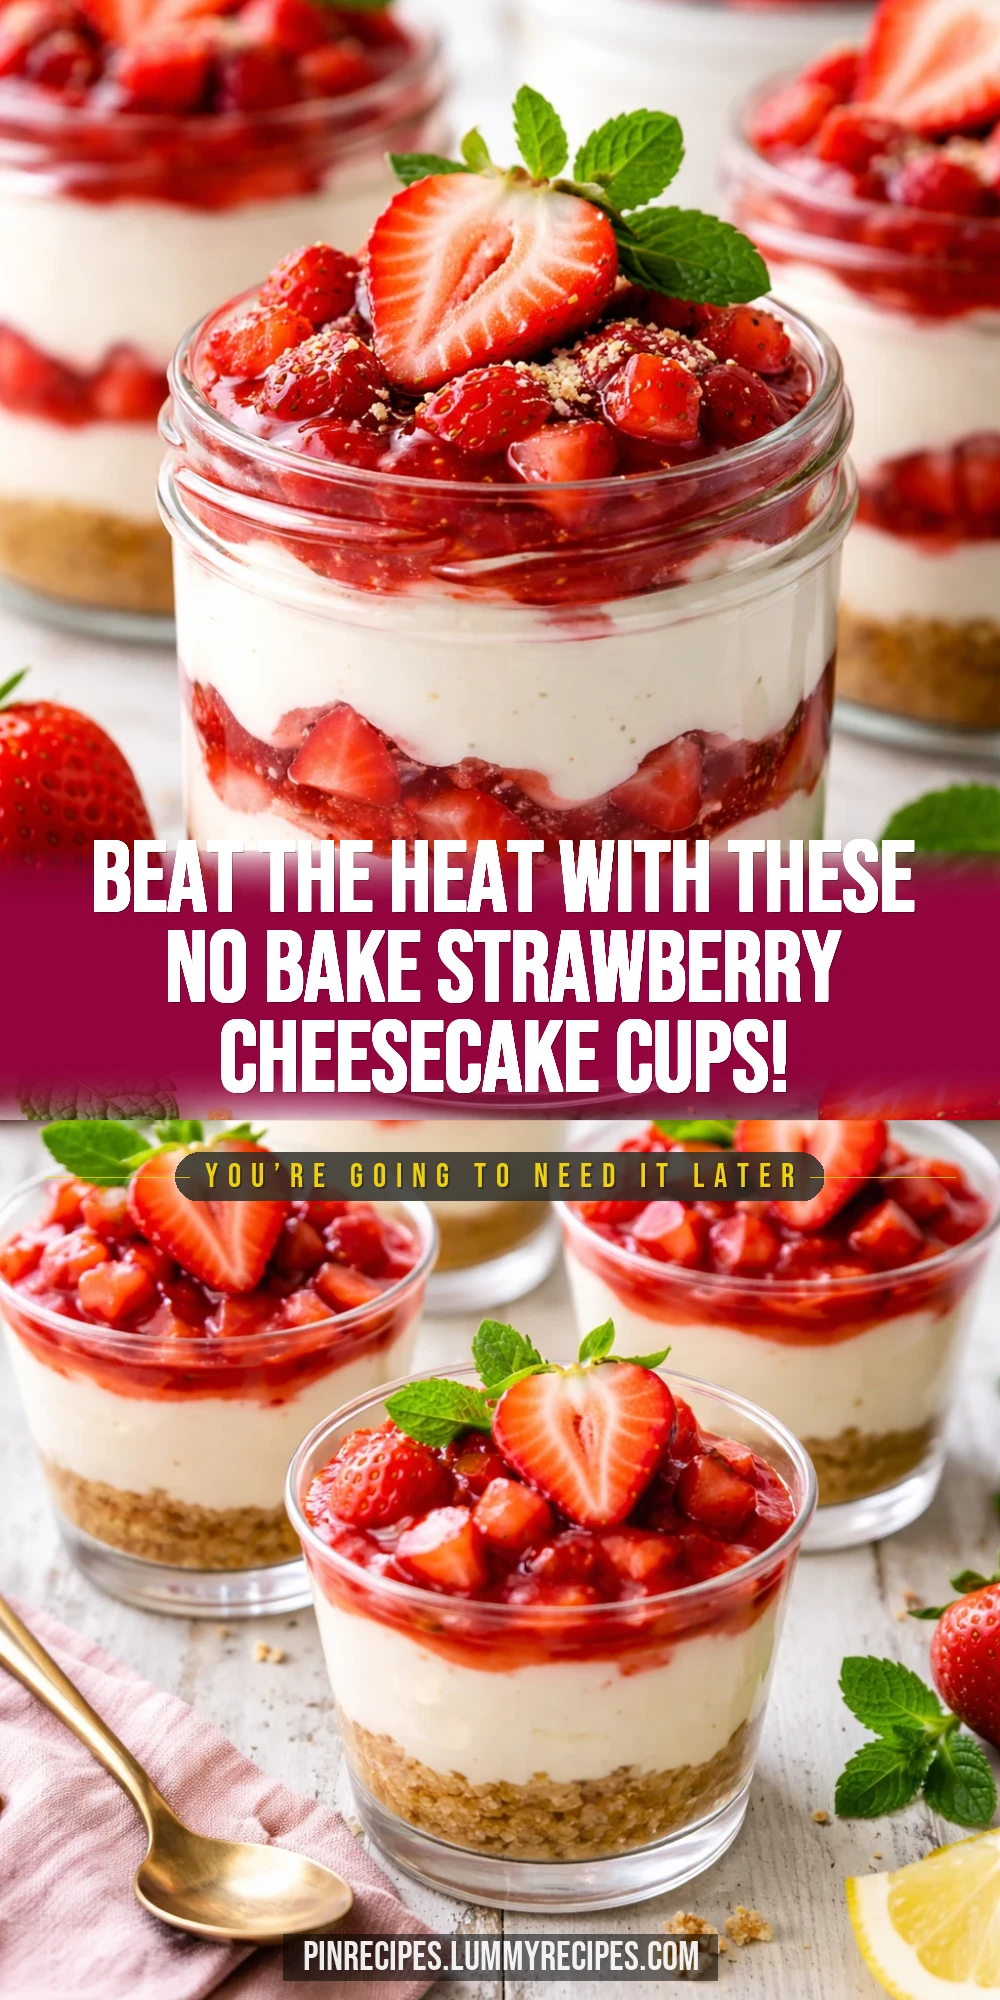
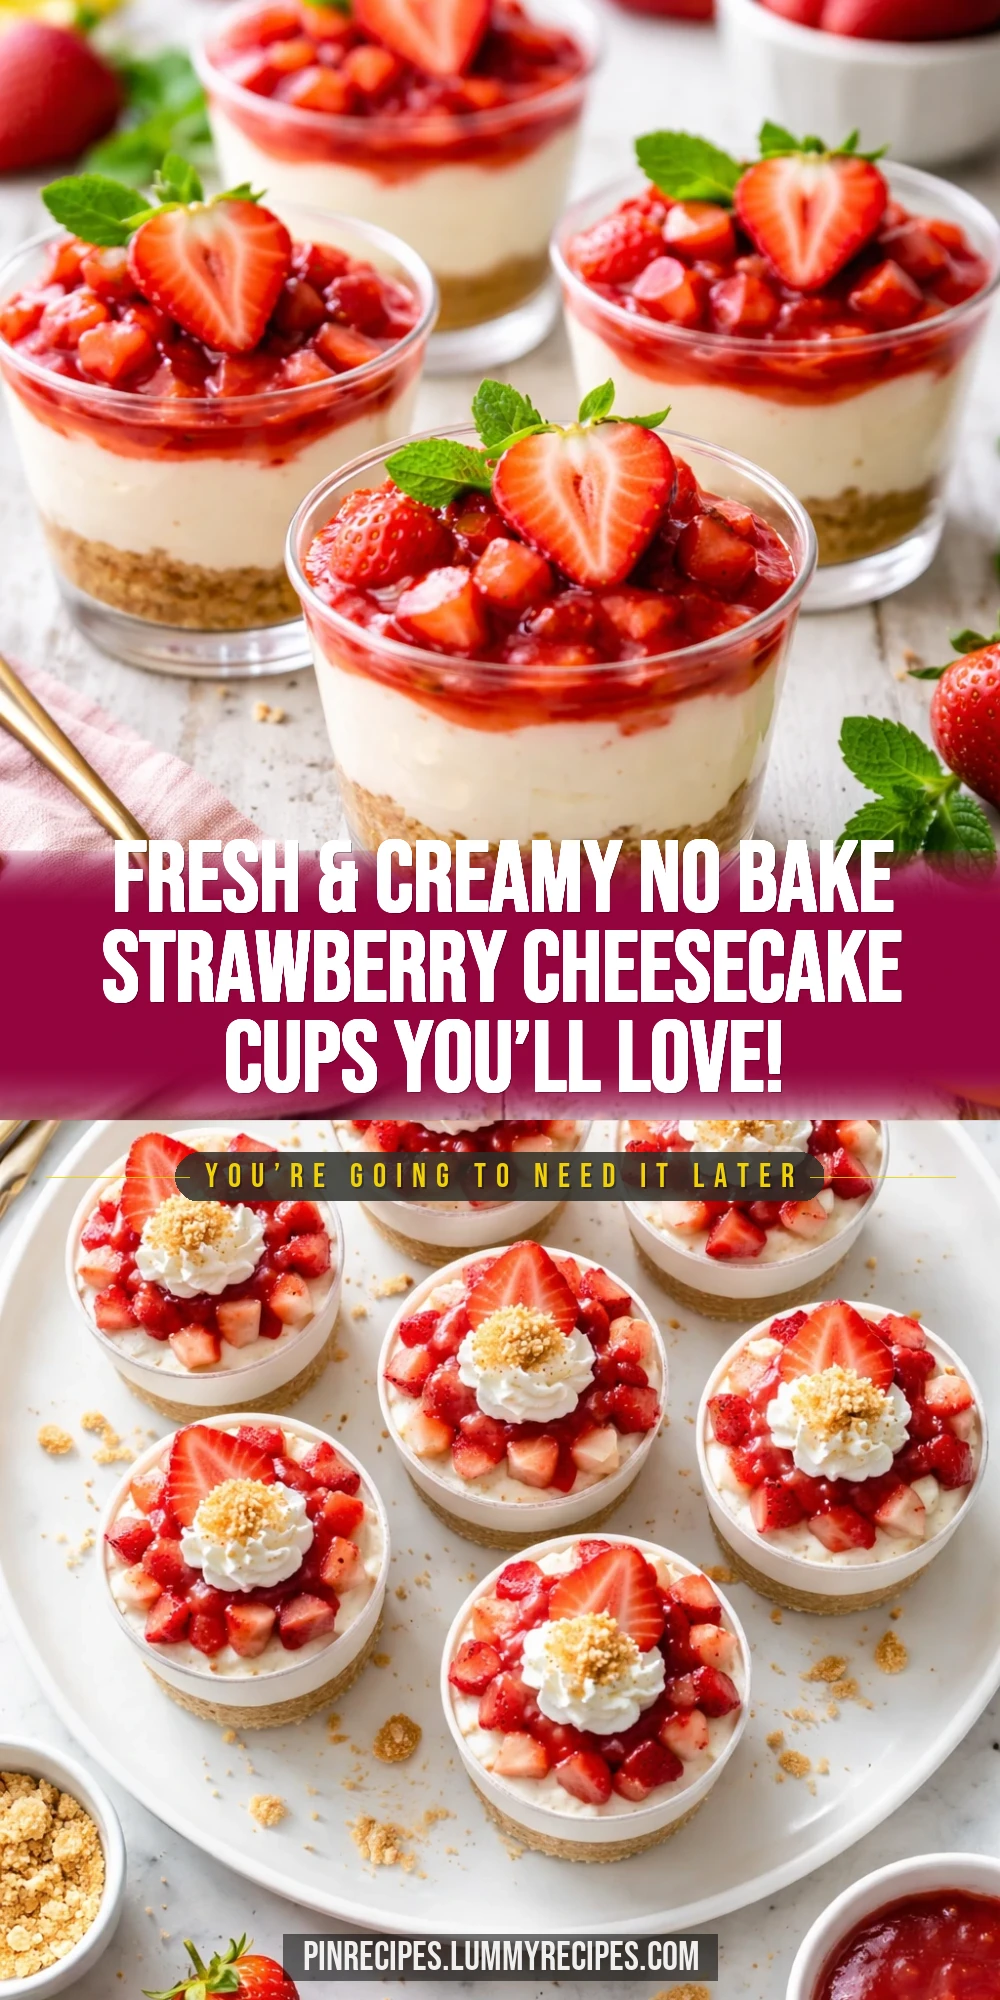
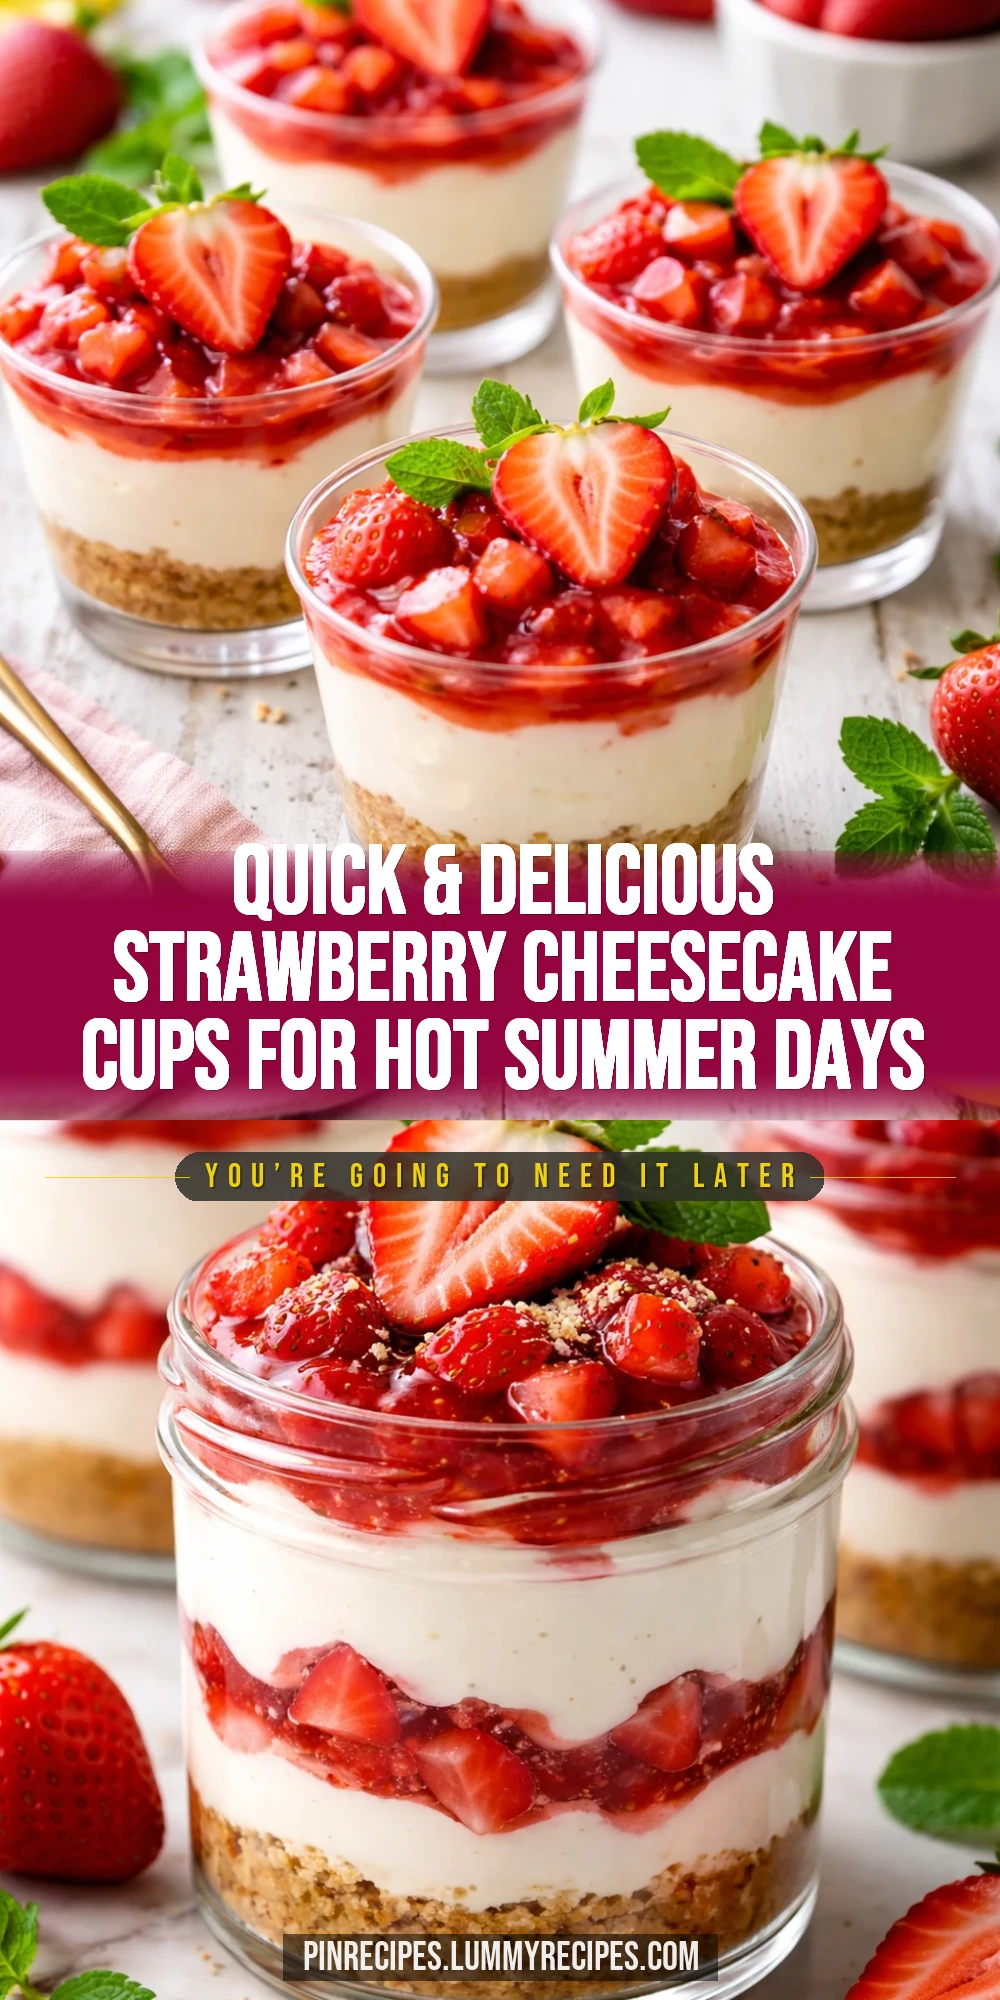
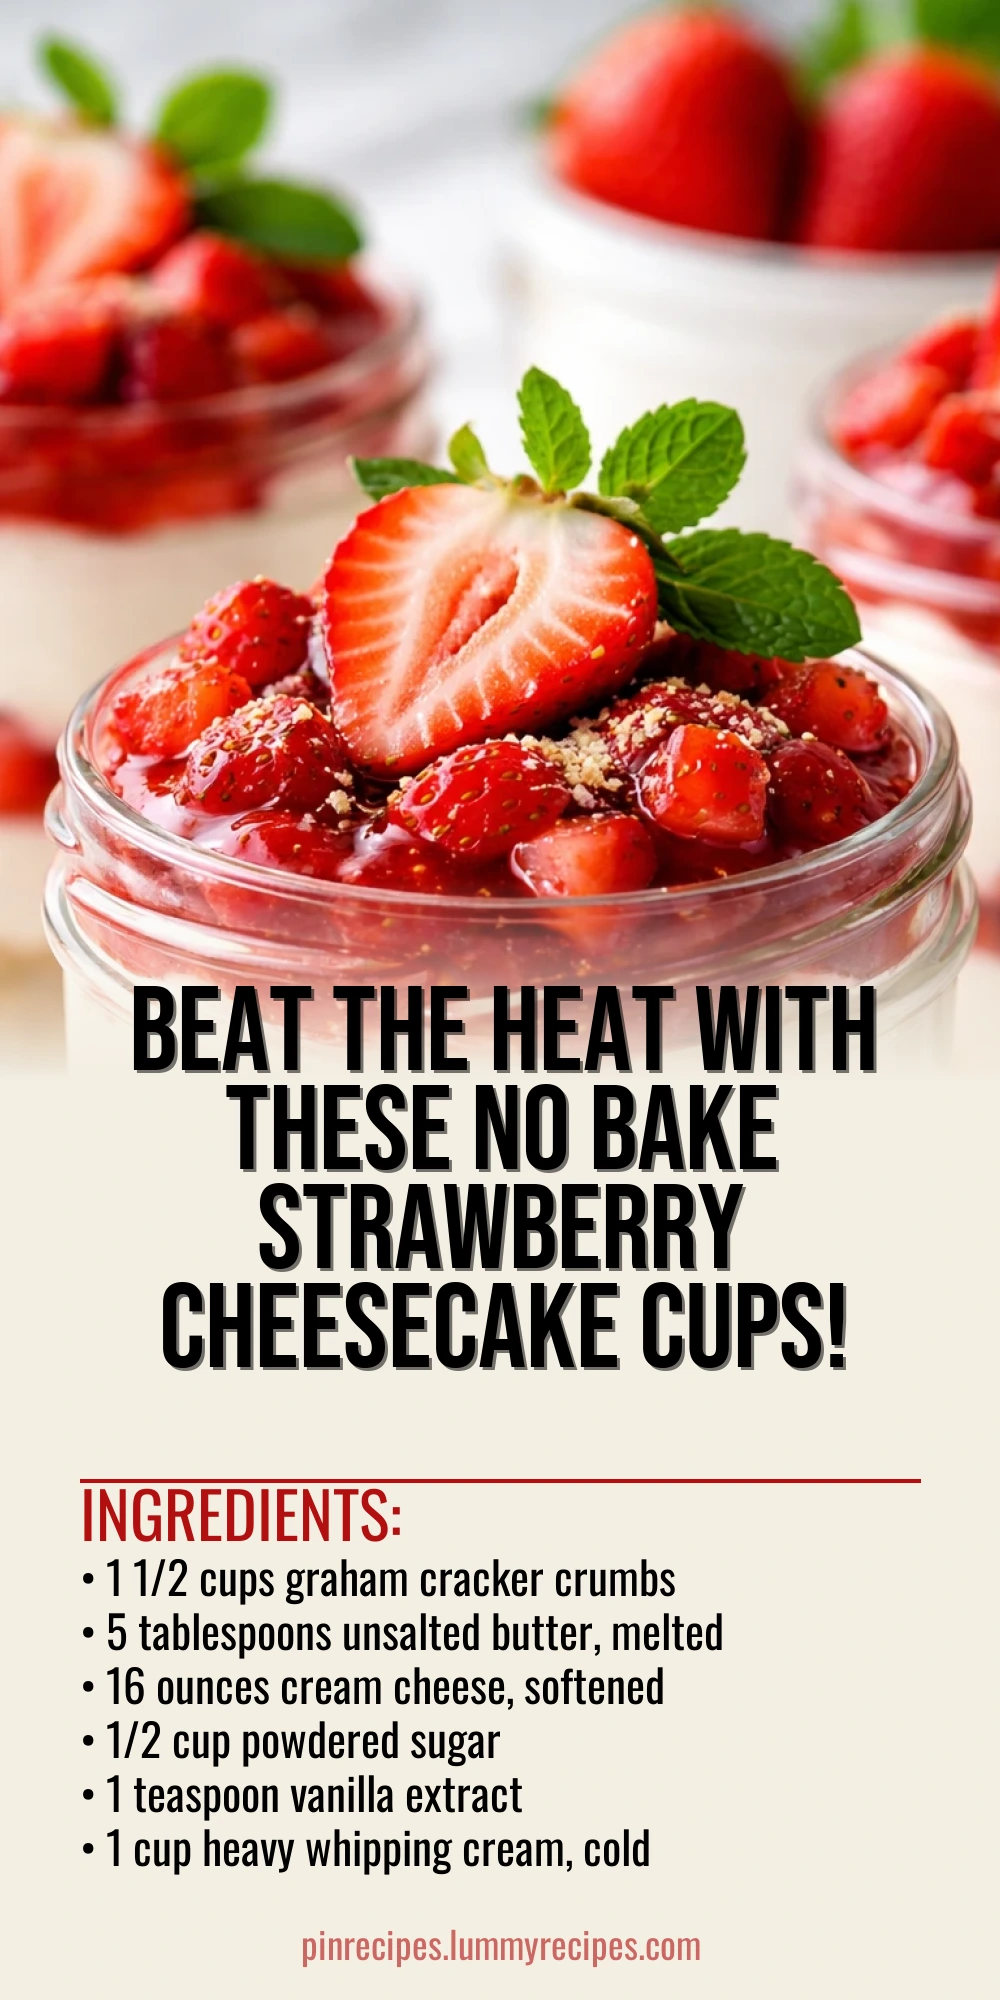
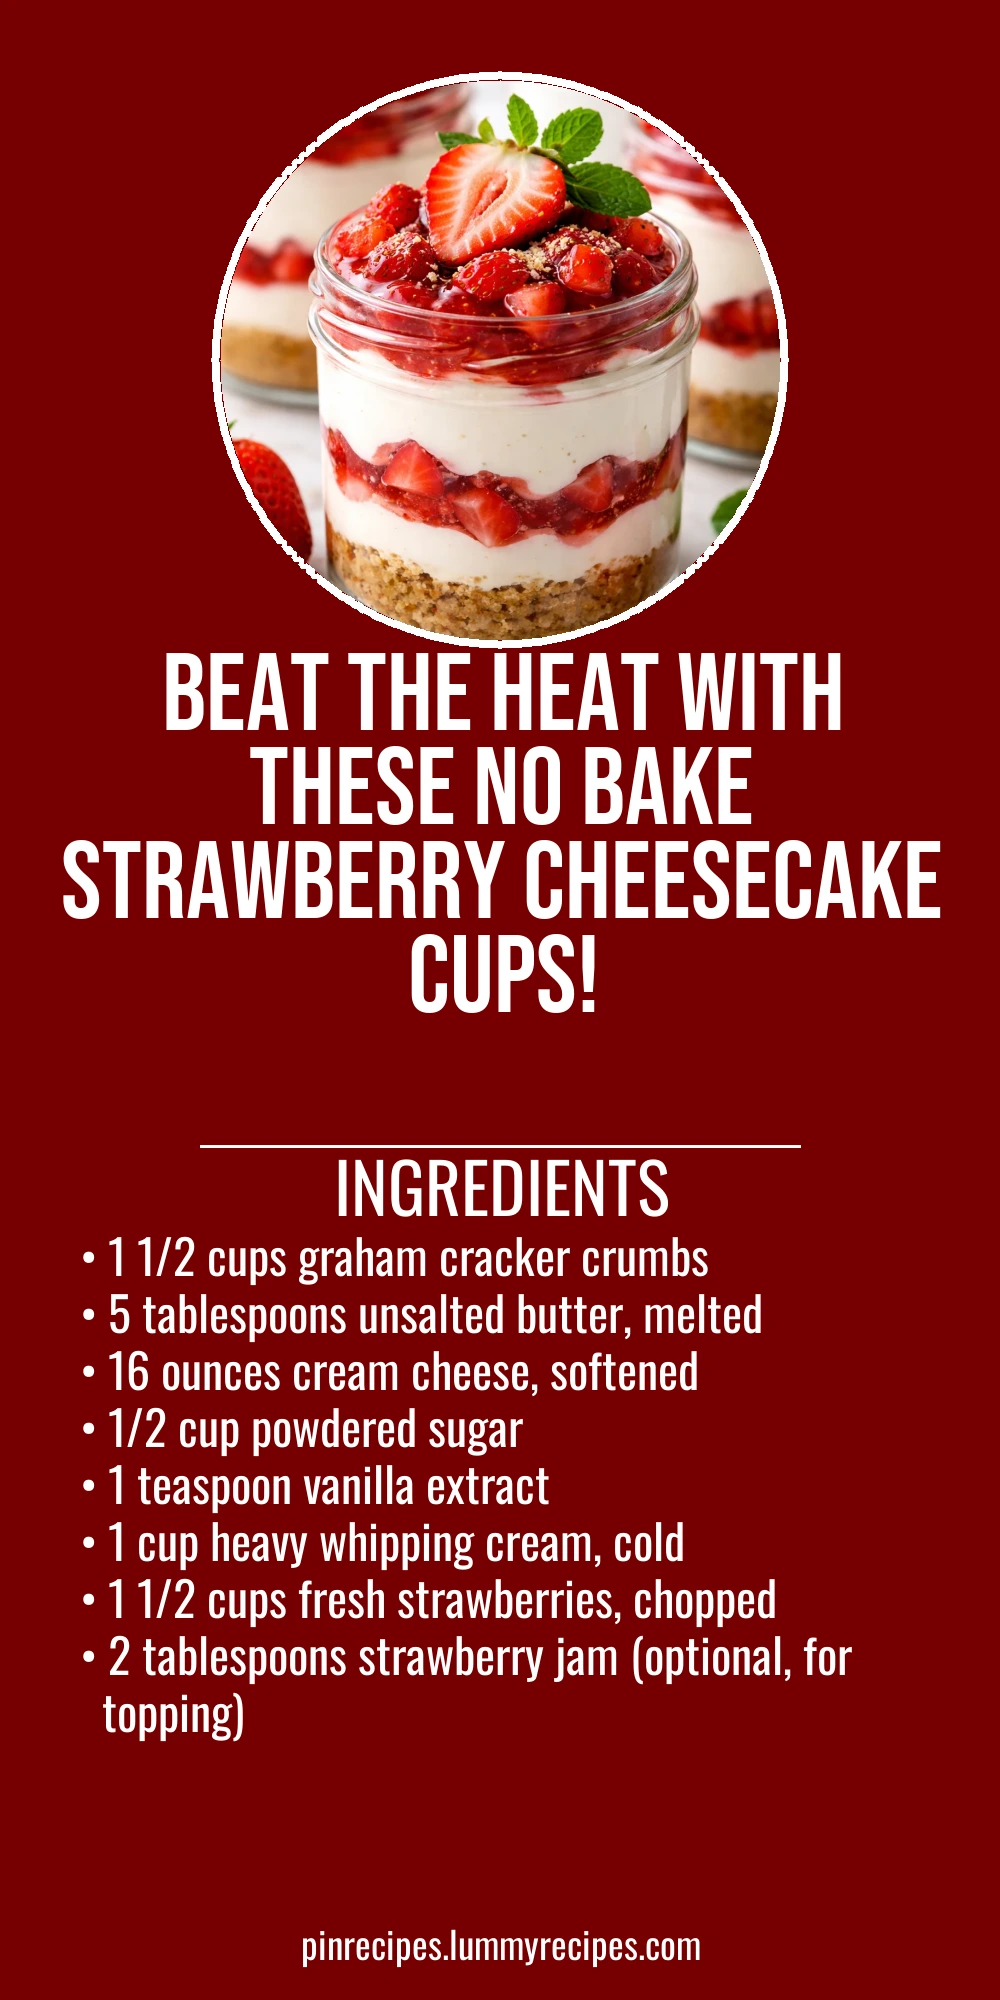
These no bake strawberry cheesecake cups are a summer dream come true. Creamy, tangy, and topped with fresh berries, they’re perfect for hot days when you want dessert without turning on the oven.
Introduction
I first stumbled upon no bake cheesecake cups a few summers ago when I needed a cool dessert that didn’t require heating up the kitchen. Since then, this recipe has become a go-to for me and my family during warm months. What I love most about these strawberry cheesecake cups is how effortlessly they come together—no oven, no complicated steps, just simple ingredients and a little chill time. This version is a bit different from the usual because I like to add a touch of strawberry jam on top for an extra burst of flavor and a glossy finish. The trick I learned is whipping the cream separately until stiff peaks form, then folding it gently into the cream cheese mixture. This gives the filling a light, airy texture that’s not too dense. When you bite into one, you get that perfect balance of creamy, sweet, and tangy with the fresh strawberries adding a refreshing pop. They’re perfect for summer picnics, casual get-togethers, or whenever you want a fuss-free dessert that feels special. Honestly, I’ve tried making this without chilling it long enough, and it just doesn’t hold up as well, so patience here really pays off. Once you try them, I think you’ll be hooked too!
How To Do It
Step 1
Start by making the crust. Combine the graham cracker crumbs and melted butter in a bowl, mixing well until the crumbs are evenly coated and hold together when pressed. This step is crucial because the butter acts as a binder, giving the crust structure without baking. Press the mixture firmly into the bottom of your serving cups or jars. Use the back of a spoon or your fingers to compact it tightly; this prevents the crust from crumbling when you eat it later. Avoid pressing too hard or the crust might become too dense and hard to dig into.
⏱ Time: 5 minutes
✓ Doneness: Crust is evenly packed and holds shape when pressed
Step 2
In a large bowl, beat the softened cream cheese with powdered sugar and vanilla extract until smooth and creamy. Make sure your cream cheese is at room temperature to avoid lumps and achieve a silky texture. This mixture forms the rich base of your cheesecake filling, so take your time to beat it well for a light consistency. If you rush or use cold cream cheese, the filling might be lumpy or stiff, which affects the final mouthfeel.
⏱ Time: 3-4 minutes
✓ Doneness: Mixture is smooth, creamy, and free of lumps
Step 3
In a separate chilled bowl, whip the cold heavy cream using a hand mixer or stand mixer until stiff peaks form. This means when you lift the beaters, the cream holds its shape firmly without collapsing. Whipping the cream separately is key to achieving a fluffy texture in the filling. If you under-whip, the filling will be too runny; over-whip and it can turn grainy or even start to separate into butter and liquid.
⏱ Time: 5-7 minutes
✓ Doneness: Cream forms stiff peaks and is light and airy
Step 4
Gently fold the whipped cream into the cream cheese mixture using a spatula. Use a light hand and fold slowly to keep as much air as possible in the filling. This folding technique is essential because it maintains the lightness of the whipped cream while evenly incorporating it into the denser cream cheese base. Stirring too vigorously will deflate the mixture, resulting in a heavier, less creamy texture.
⏱ Time: 2-3 minutes
✓ Doneness: Filling is smooth, light, and airy with no streaks of cream
Step 5
Fold in the chopped fresh strawberries gently into the filling, reserving a few pieces for topping. This adds a fresh, juicy burst of flavor and a bit of texture contrast. Be careful not to overmix here to avoid breaking down the berries and turning the filling pink or watery.
⏱ Time: 1-2 minutes
✓ Doneness: Strawberries are evenly distributed without crushing
Step 6
Spoon the cheesecake filling over the prepared graham cracker crust in each cup, filling them almost to the top. Smooth the surface gently with the back of a spoon or a small spatula. This step ensures each cup has a balanced ratio of crust to filling, which is key for the perfect bite. Overfilling can cause spills when serving.
⏱ Time: 5 minutes
✓ Doneness: Filling is evenly layered and smooth on top
Step 7
Top each cup with the reserved fresh strawberries and a small dollop of strawberry jam if you like. The jam adds a shiny, sweet finish and enhances the strawberry flavor. Use a small spoon or piping bag for a neat presentation. This final touch makes the cups look inviting and adds a bit of extra sweetness.
⏱ Time: 3 minutes
✓ Doneness: Cups are attractively topped and ready for chilling
Step 8
Cover the cups tightly with plastic wrap or lids and refrigerate for at least 3 hours, preferably overnight. Chilling is essential because it allows the filling to set and the flavors to meld. If you skip this or chill for too short a time, the cups won’t hold their shape and the texture will be too soft.
⏱ Time: 180+ minutes
✓ Doneness: Filling is firm to the touch and cups hold shape when moved
Step 9
When ready to serve, remove the cups from the fridge and let them sit at room temperature for about 5 minutes to soften slightly for the best mouthfeel. Serve chilled and enjoy immediately. This brief rest helps the flavors open up and makes the texture creamier on the palate.
⏱ Time: 5 minutes
✓ Doneness: Filling is creamy but firm and flavors are vibrant
Pro Tips
Make sure your cream cheese is fully softened before mixing.
Cold cream cheese doesn’t blend smoothly and can create lumps in the filling. Softened cream cheese mixes easily with sugar and vanilla, resulting in a silky, uniform texture that’s crucial for a creamy cheesecake base.
Chill your mixing bowl and beaters before whipping the cream.
Cold equipment helps the heavy cream whip faster and hold its structure longer. Warm bowls or beaters can cause the cream to whip slowly or not reach stiff peaks, which affects the lightness and stability of the filling.
Use a gentle folding motion when combining whipped cream and cream cheese mixture.
Folding preserves the air whipped into the cream, keeping the filling light and fluffy. Stirring vigorously deflates the mixture, making the cheesecake dense and heavy, which isn’t the texture you want for these cups.
Press the graham cracker crust firmly into the base of the cups.
A compact crust holds together better when you eat the cheesecake cups. Loose crumbs will fall apart and create a mess. Firm pressing with a spoon or fingers ensures a sturdy base that contrasts nicely with the creamy filling.
Add a dollop of strawberry jam on top for extra flavor and shine.
The jam enhances the fresh strawberry flavor and adds a glossy, appetizing finish. It also introduces a bit of sweetness and moisture that complements the tangy cream cheese filling beautifully.
Chill the cups for at least 3 hours before serving.
Chilling allows the filling to set properly and the flavors to meld. Serving too soon means the filling won’t hold its shape and will be too soft, making the dessert less enjoyable and harder to eat.
Serve the cheesecake cups slightly chilled, not straight from the fridge.
Letting them sit at room temperature for 5 minutes softens the filling slightly, improving the mouthfeel and intensifying the flavors. Eating them too cold can mute the taste and make the texture firmer than desired.
Common Mistakes to Avoid
Not softening the cream cheese enough before mixing
Why it happens Many assume cream cheese can be mixed straight from the fridge to save time, but this causes lumps and uneven texture in the filling.
Fix Plan ahead and leave the cream cheese out for at least 30 minutes to reach room temperature. If you’re short on time, microwave it for 10-15 seconds in short bursts, stirring in between, until softened but not melted.
Over-whipping the heavy cream
Why it happens It’s easy to get carried away whipping cream, thinking more is better, but this can quickly turn the cream grainy and separate.
Fix Stop whipping as soon as stiff peaks form. Test by lifting the beaters—if the cream holds shape without collapsing, it’s ready. If you go too far, start over with fresh cream.
Mixing whipped cream too aggressively into the cream cheese base
Why it happens Some think stirring fast saves time, but it deflates the air whipped into the cream, making the filling dense.
Fix Use a spatula and fold gently with a slow, sweeping motion. Turn the bowl as you fold to combine evenly without losing volume.
Skipping the chilling step
Why it happens Impatience or forgetting to chill leads to a runny filling that won’t set properly.
Fix Refrigerate the cups for at least 3 hours or overnight. This step is crucial for texture and flavor development.
Using overripe or watery strawberries
Why it happens People often pick strawberries based on size or color, not freshness, which affects texture.
Fix Choose firm, ripe strawberries without bruises. Wash and pat dry thoroughly before chopping to prevent excess moisture from thinning the filling.
Variations
Mixed Berry No Bake Cheesecake Cups
Swap out strawberries for a mix of blueberries, raspberries, and blackberries for a colorful twist. The combination adds varied textures and a tangy-sweet berry flavor that pairs wonderfully with the creamy filling.
Note: Use fresh, firm berries and fold gently to avoid crushing. Adjust sugar if berries are tart.
Chocolate Swirl No Bake Cheesecake Cups
Add melted dark chocolate swirled into the cream cheese mixture before folding in the whipped cream. This creates a marbled effect and a rich chocolate flavor that complements the strawberries on top.
Note: Cool melted chocolate slightly before adding to avoid curdling the cream cheese mixture.
Lemon Zest No Bake Cheesecake Cups
Add fresh lemon zest and a tablespoon of lemon juice to the cream cheese mixture for a bright, citrusy flavor that balances the sweetness and adds freshness to the dessert.
Note: Be careful not to add too much lemon juice, or the filling may become too runny.
Vegan No Bake Strawberry Cheesecake Cups
Use vegan cream cheese and coconut cream whipped to stiff peaks instead of heavy cream. Substitute graham crackers with a vegan-friendly brand. The result is a creamy, dairy-free dessert with all the summer strawberry goodness.
Note: Chill coconut cream overnight and scoop only the solid part for whipping.
Crunchy Nutty No Bake Cheesecake Cups
Add a layer of chopped toasted pecans or almonds on top of the crust before adding the filling. This adds a satisfying crunch and nutty flavor that contrasts nicely with the creamy filling and soft berries.
Note: Toast nuts lightly to enhance flavor but avoid burning which can add bitterness.
Nutrition
Per Serving:
Nutritional values are estimates and may vary based on specific ingredients used.
Storage & Tips
Room Temperature
These cheesecake cups should not be left at room temperature for more than 2 hours as the dairy filling can spoil. Keep them covered with plastic wrap or lids to prevent drying out or absorbing odors.
Refrigerator
Store in an airtight container or covered individually with plastic wrap for up to 3 days. The crust may soften slightly over time, but the flavor remains delicious. Serve chilled or allow to sit for a few minutes before eating for best texture.
Freezer
Freeze the cups uncovered for 1-2 hours to firm up, then cover tightly with foil or plastic wrap and freeze for up to 1 month. Thaw overnight in the fridge. The texture may be slightly less creamy but still enjoyable.
Reheating
No reheating is needed or recommended. Serve these cheesecake cups chilled for the best taste and texture.
Make Ahead
Prepare the crust and filling separately a day ahead. Assemble the cups and chill overnight to allow flavors to meld and the filling to set perfectly. This makes serving easy and stress-free.
FAQ
Can I make these cheesecake cups ahead of time?
Absolutely! They actually taste better after chilling overnight because the flavors meld and the filling firms up nicely. Just cover them tightly and keep refrigerated until serving.
What can I substitute for graham cracker crumbs?
You can use digestive biscuits, vanilla wafers, or even crushed pretzels for a salty-sweet twist. For gluten-free options, almond meal or gluten-free cookies work well but adjust the butter amount to get a good crust texture.
Can I use frozen strawberries?
Fresh strawberries are best because frozen ones release extra moisture that can make the filling watery. If you must use frozen, thaw and drain them very well before folding into the filling.
How do I prevent the filling from being too runny?
Make sure to whip the cream to stiff peaks and fold gently into the cream cheese mixture. Also, chilling the cups for at least 3 hours is essential to let the filling set properly.
Can I make this recipe vegan?
Yes! Use vegan cream cheese and coconut cream whipped to stiff peaks instead of dairy. Use vegan-friendly graham crackers as well. The texture and flavor will be slightly different but still delicious.
Why is my crust crumbly and falling apart?
This usually happens if there isn’t enough melted butter to bind the crumbs or if the crumbs are too coarse. Try using finely crushed crumbs and add enough butter to make the mixture hold when pressed.
Can I add other fruits besides strawberries?
Definitely! Blueberries, raspberries, or a mix of berries work beautifully. Just fold them gently into the filling to avoid crushing.
How long do these cheesecake cups last in the fridge?
They keep well for up to 3 days refrigerated. After that, the crust may soften more and the strawberries might release juice, slightly changing the texture.
Final Thoughts
I hope you enjoy making and eating these no bake strawberry cheesecake cups as much as I do! Don’t forget to share your creations – I’d love to see how yours turn out.