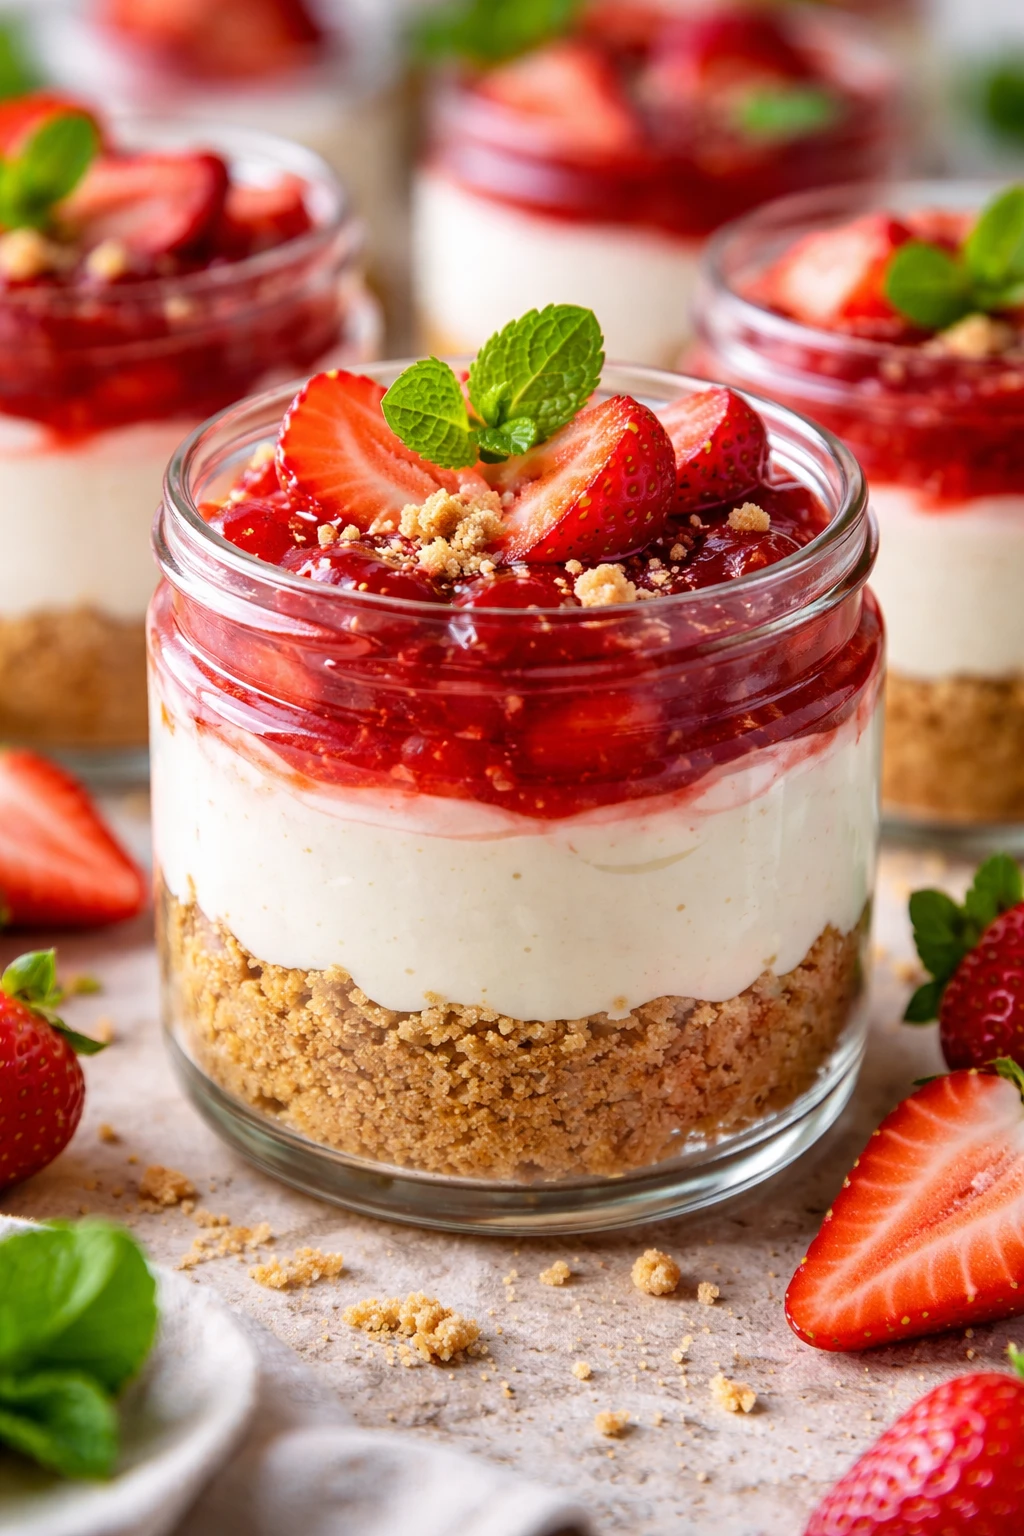
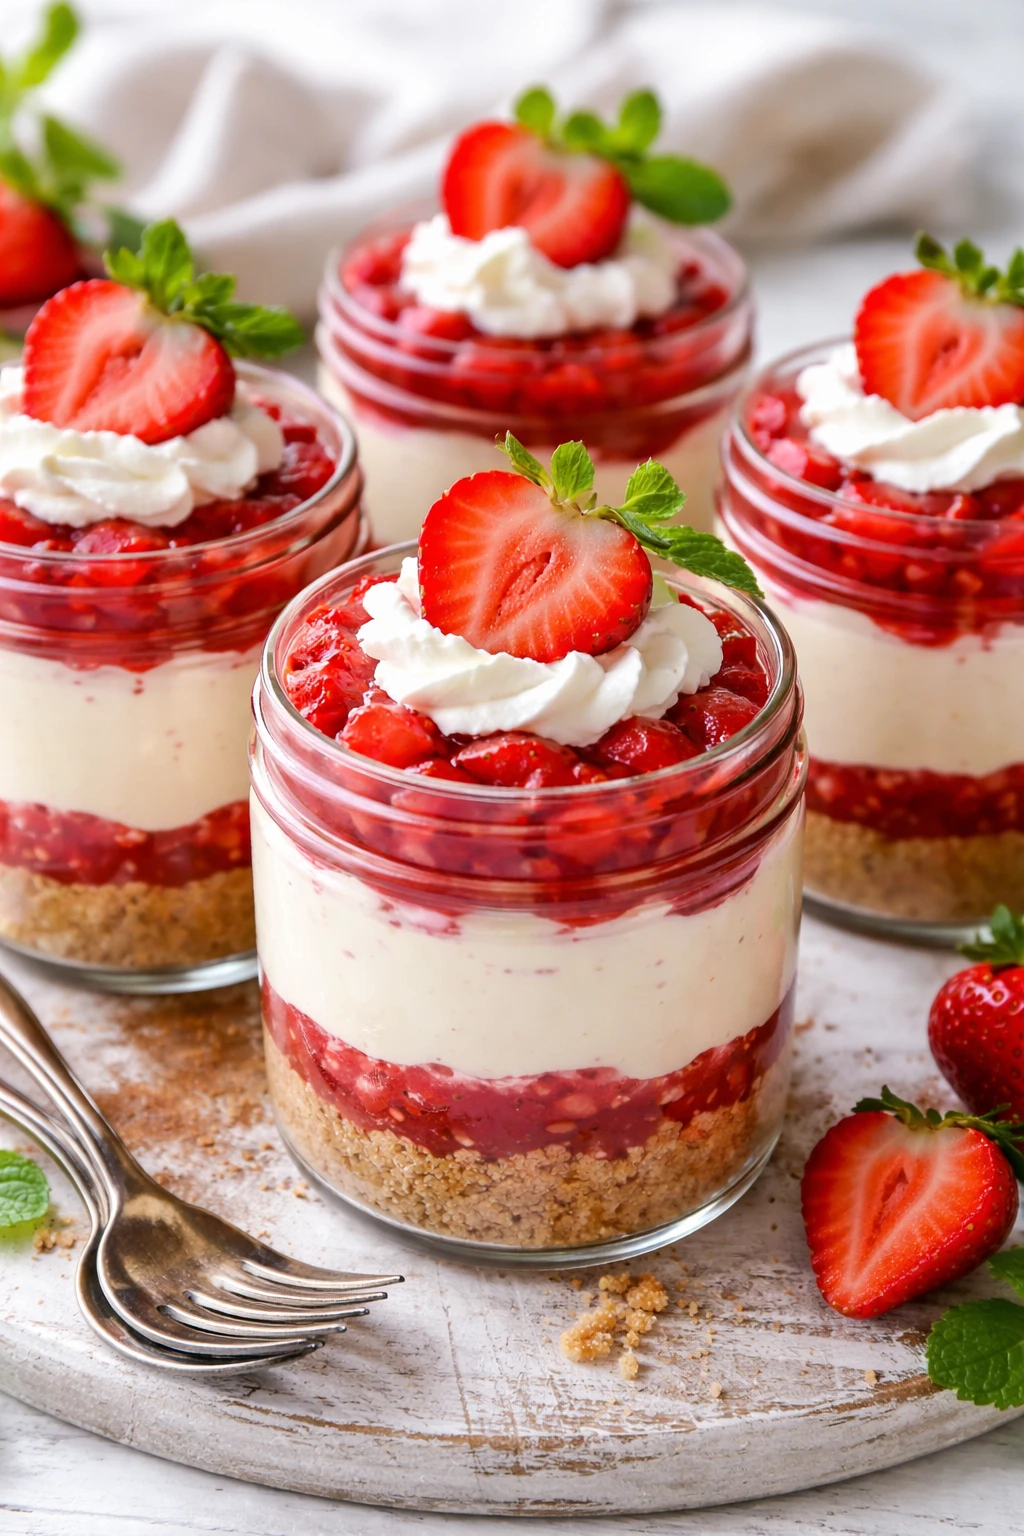
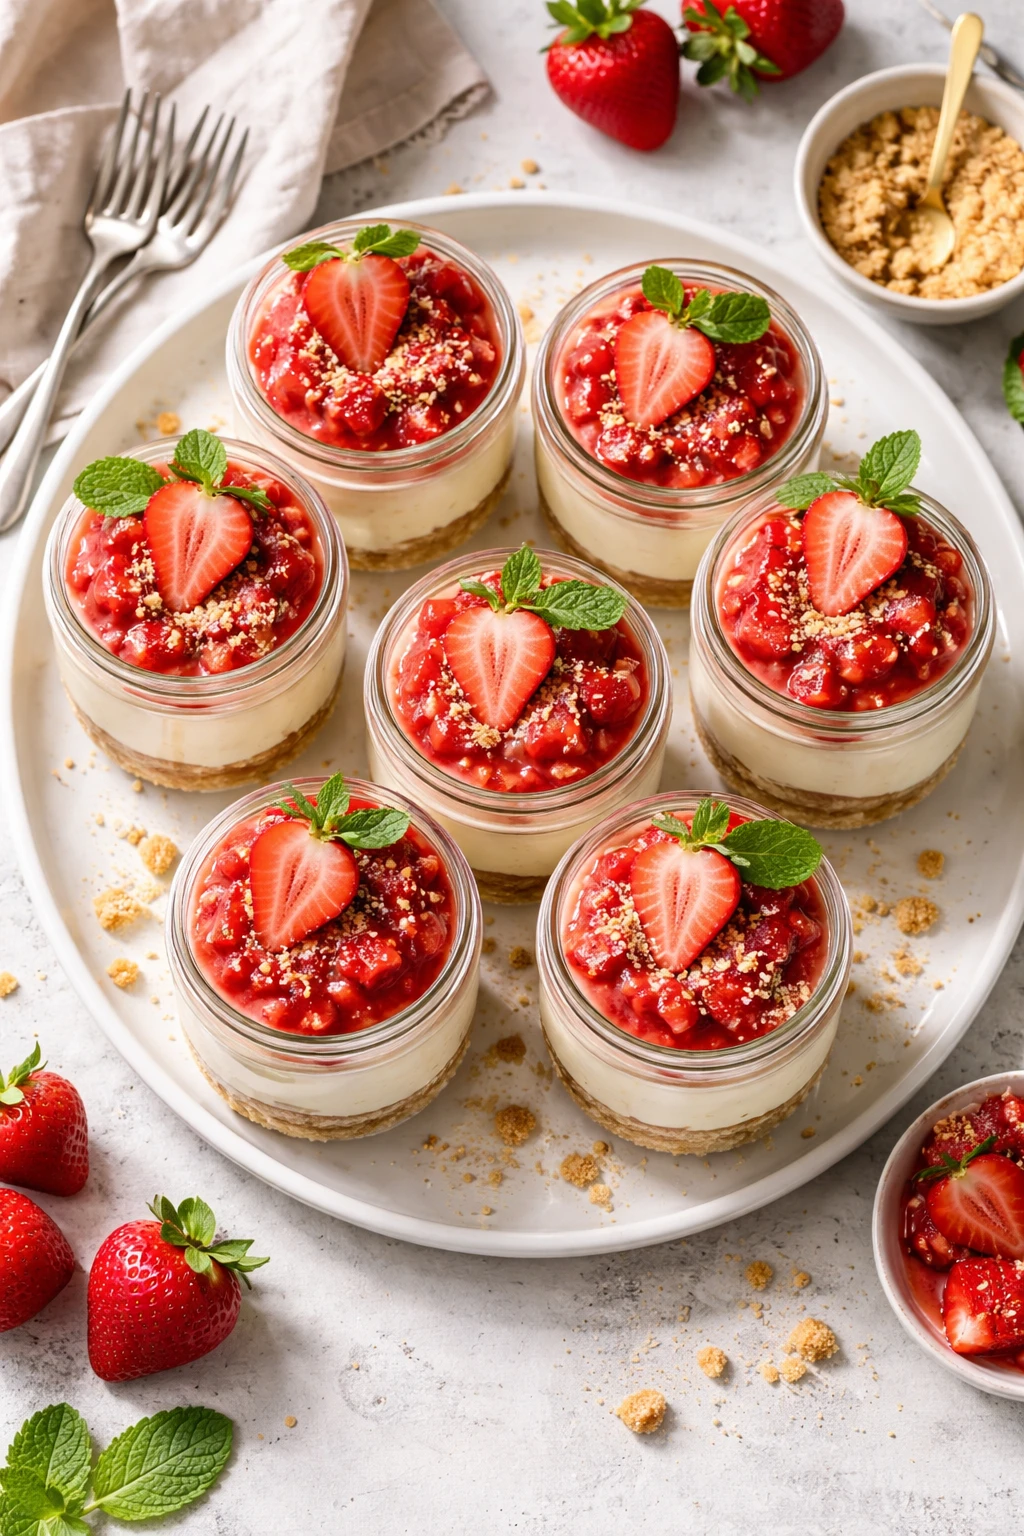
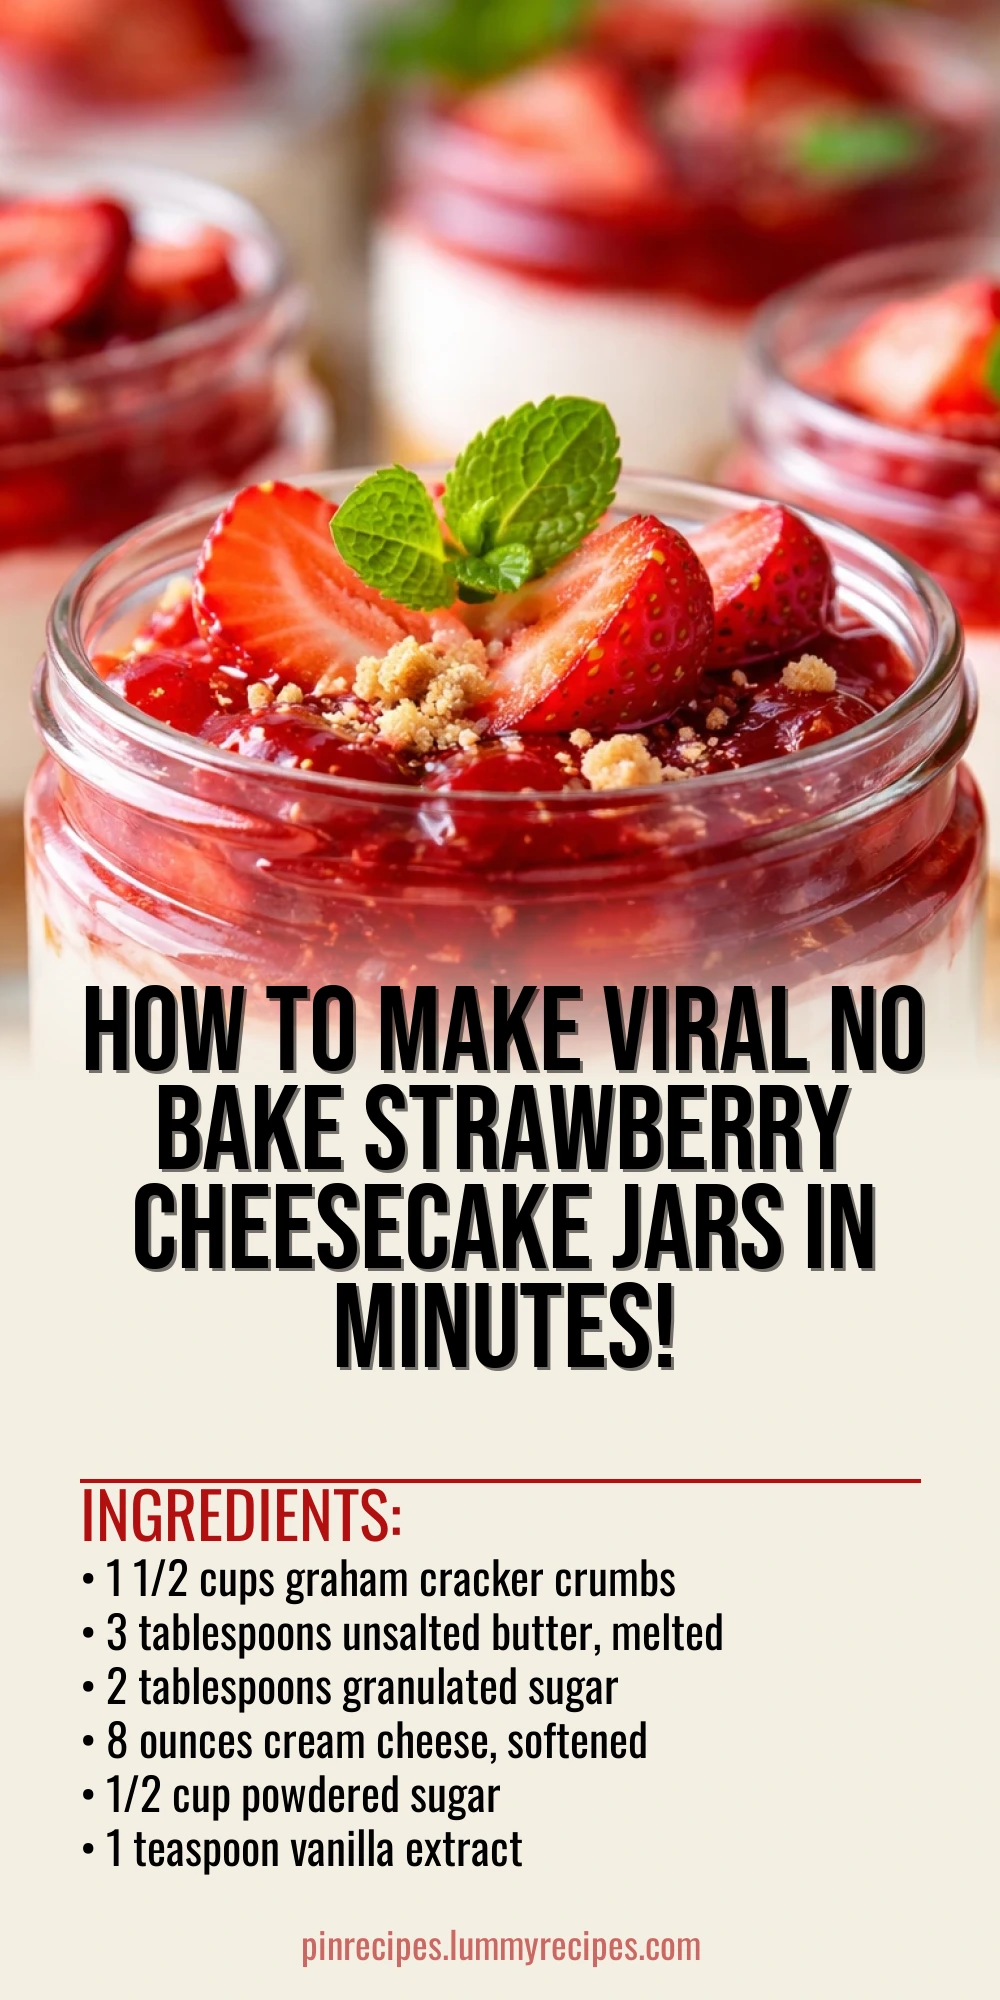
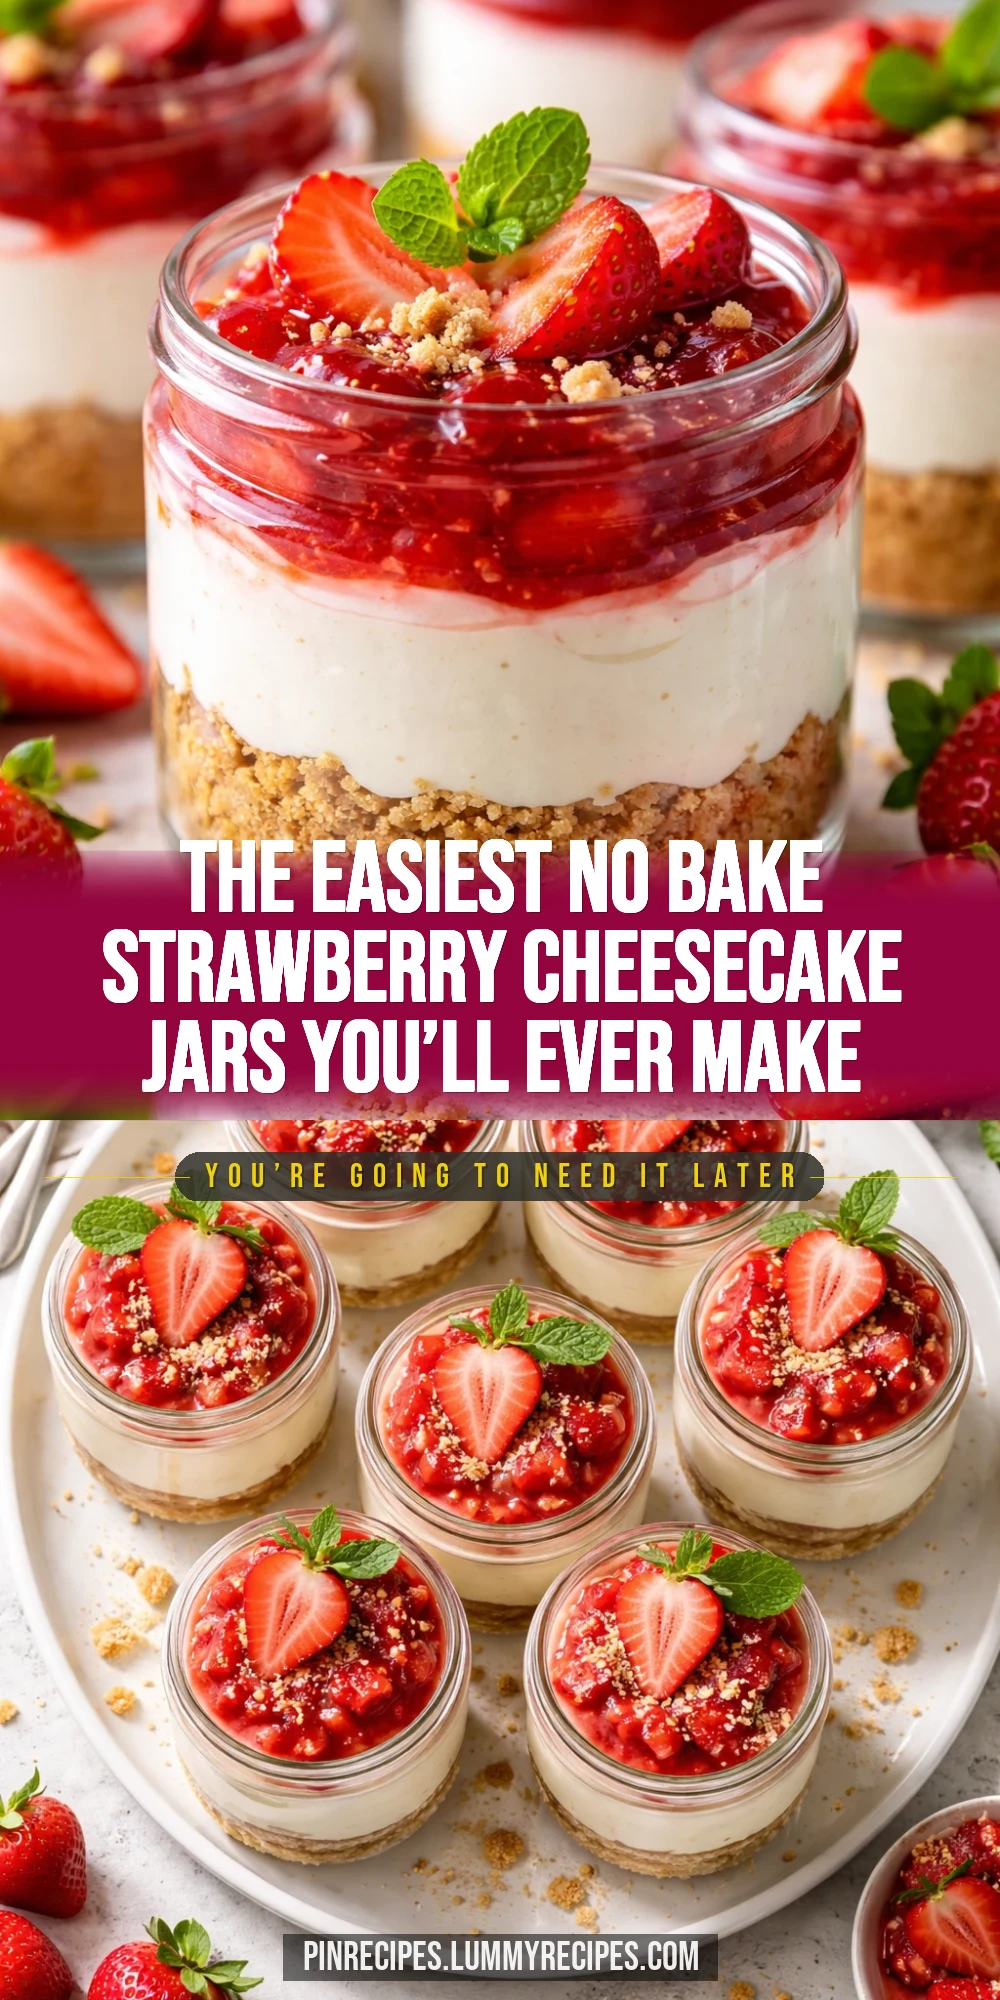
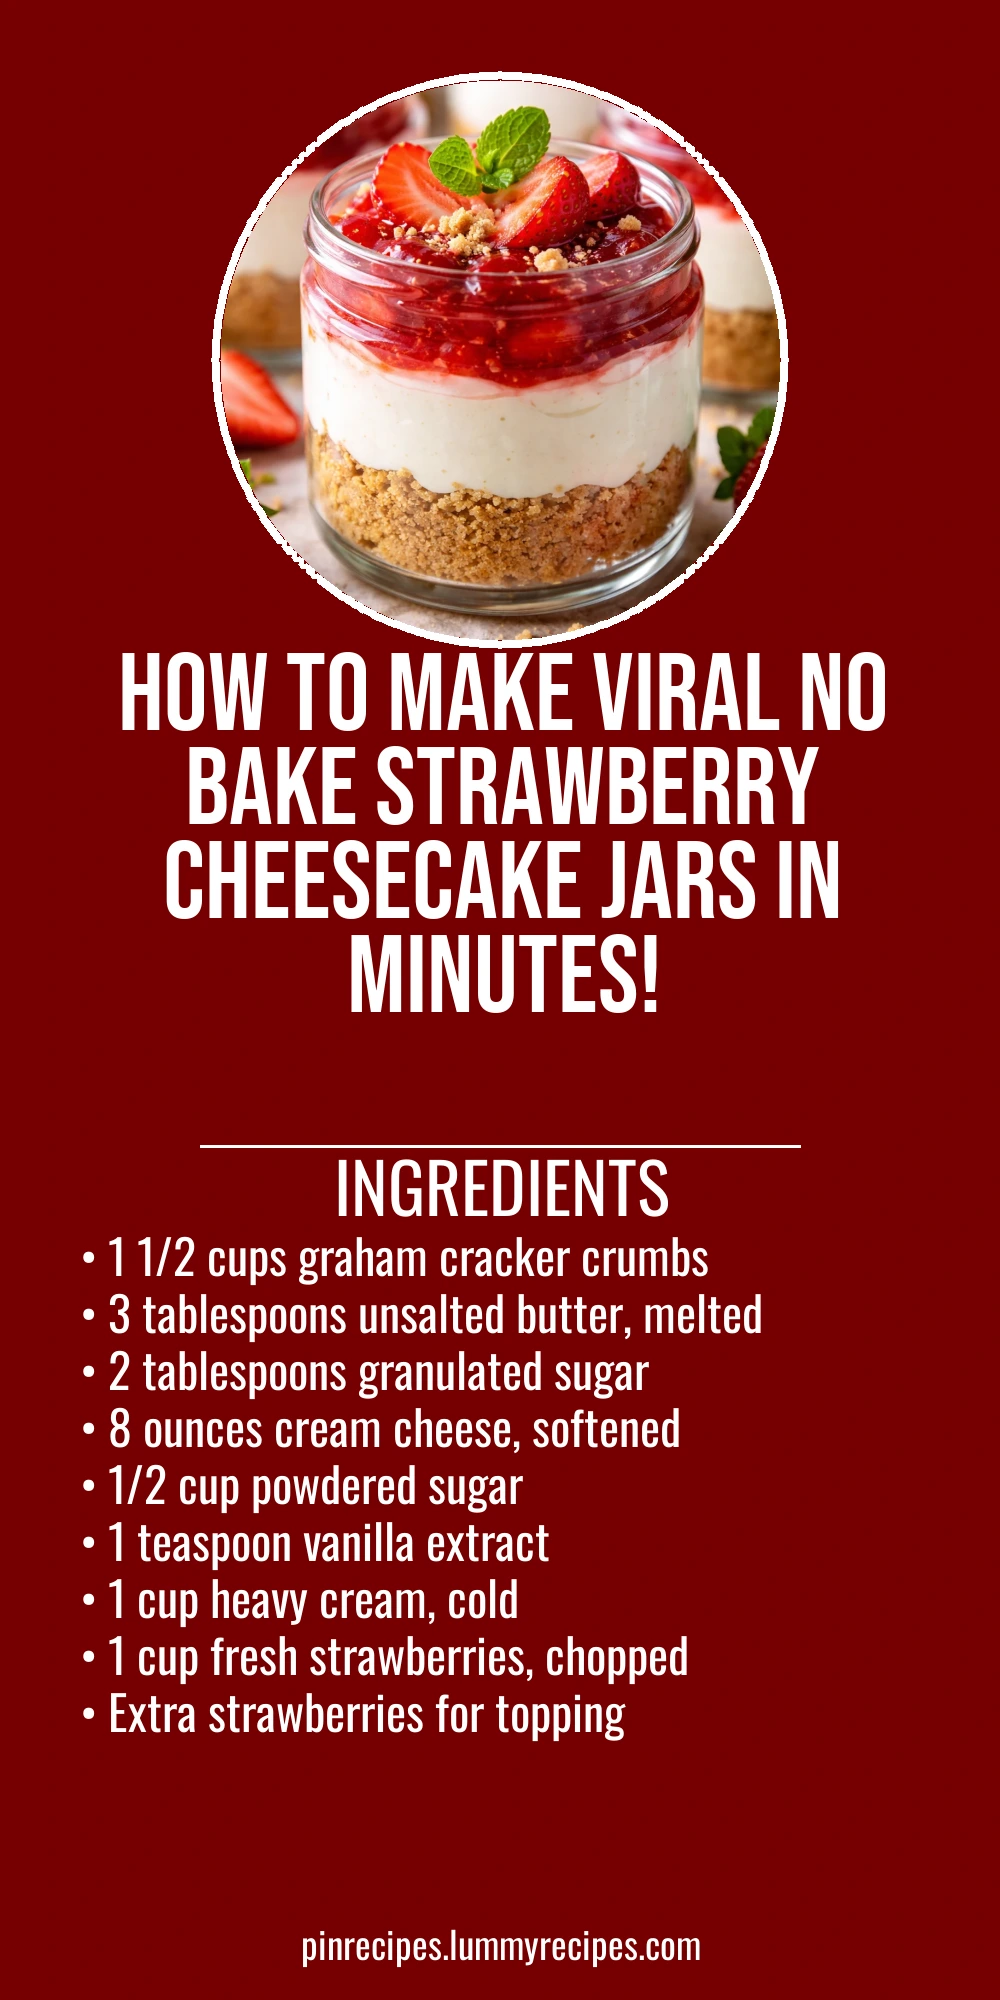
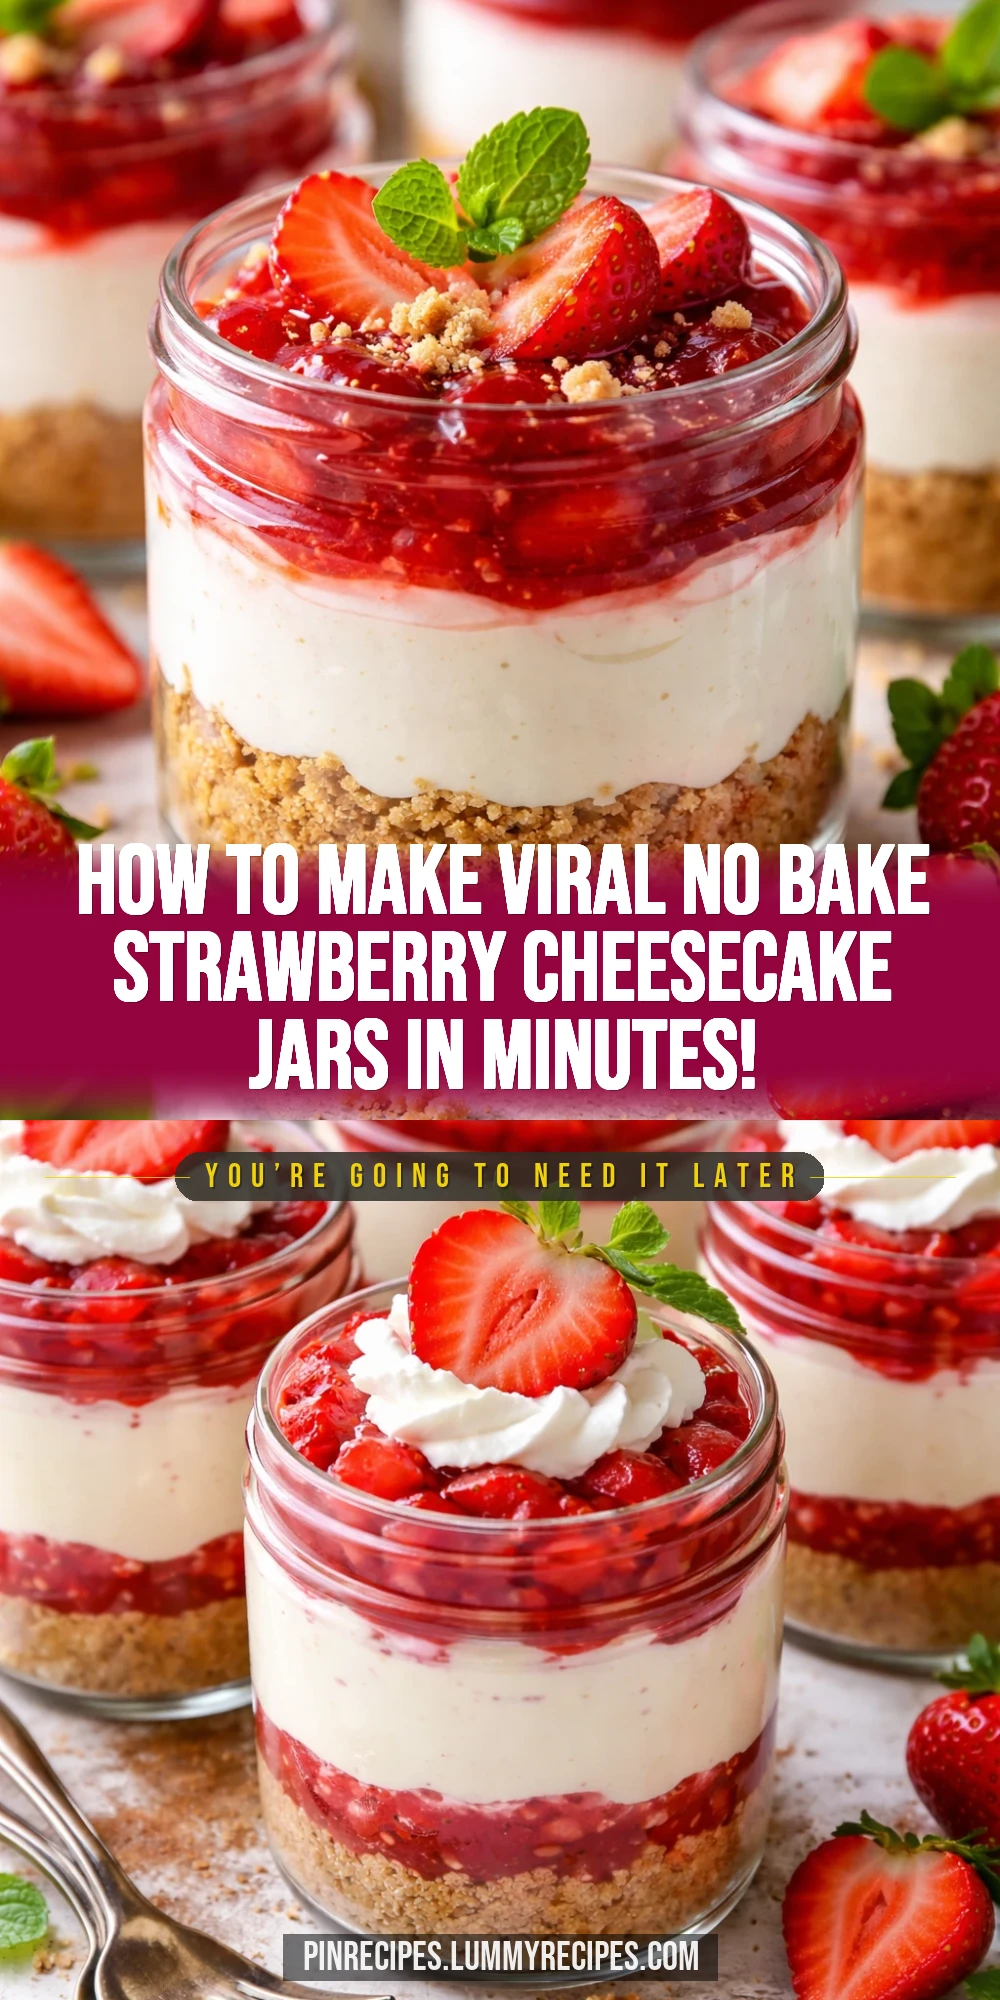
These no bake strawberry cheesecake jars are pure magic—light, creamy, and bursting with fresh berry flavor. The secret? A quick soak of graham crumbs and a silky cream cheese filling. Perfect for summer parties or anytime you want a fuss-free dessert!
Introduction
I first stumbled upon this no bake strawberry cheesecake jars recipe last summer when I wanted a quick dessert that didn’t require heating up the kitchen. What I love most about it is how simple it is—no baking, no complicated steps, just layering and chilling. My first attempt was a bit too dense because I overmixed the cream, but once I figured out to whip it just right, the texture became light and fluffy. The graham cracker crust is soaked slightly with melted butter and sugar to give it that perfect crumbly base that contrasts beautifully with the creamy filling. Plus, layering it in jars makes it feel special and portable, which is great for picnics or casual get-togethers. The fresh strawberries on top add a burst of juicy sweetness that makes this dessert feel fresh and summery. It’s definitely become a favorite in my household, especially when I want something fuss-free but impressive. Give it a try—you’ll be surprised how easy and delicious it is!
How To Do It
Step 1
Start by combining the graham cracker crumbs, melted butter, and granulated sugar in a bowl. Mix until the crumbs are evenly coated and look like wet sand. This step is crucial because the butter binds the crumbs together, giving the crust the right texture and flavor. If you skip the butter or don’t mix thoroughly, the crust will be dry and fall apart when you try to layer it. Once mixed, press about two tablespoons of the crust mixture into the bottom of each jar, creating a firm base. Use the back of a spoon or your fingers to compact it tightly so it holds up under the creamy filling.
⏱ Time: 10 minutes
✓ Doneness: Crust looks evenly packed and slightly glossy from the butter, holding shape when pressed.
Step 2
In a large bowl, beat the softened cream cheese until smooth and creamy using a hand mixer or stand mixer. Add the powdered sugar and vanilla extract, mixing until fully combined and silky. This step ensures your filling is lump-free and sweetened just right. If the cream cheese isn’t softened enough, you’ll get clumps, so make sure it’s at room temperature. Next, whip the cold heavy cream in a separate bowl until stiff peaks form—this means when you lift the whisk, the cream holds its shape firmly. Gently fold the whipped cream into the cream cheese mixture in batches, using a spatula to keep the mixture airy and light. Overmixing here will deflate the cream and make the filling dense.
⏱ Time: 15 minutes
✓ Doneness: Filling is smooth, fluffy, and holds soft peaks when scooped.
Step 3
Once the crust is set in the jars, spoon or pipe a generous layer of the cream cheese filling over the crust. Spread or smooth the top gently with the back of a spoon. This layering is where your dessert starts to come alive visually and texturally. Take care to keep the layers distinct for the prettiest presentation. After adding the filling, add a layer of chopped fresh strawberries. The fresh fruit adds a juicy, vibrant contrast to the creamy filling and buttery crust. You can add multiple layers if your jars are tall enough, alternating crust, filling, and strawberries.
⏱ Time: 10 minutes
✓ Doneness: Layers are neat, filling is thick and creamy, strawberries are fresh and vibrant.
Step 4
Repeat layering if your jars allow, finishing with a topping of whole or sliced strawberries for garnish. This final touch adds a pop of color and a fresh aroma that makes the jars irresistible. Cover the jars tightly with lids or plastic wrap and refrigerate for at least 4 hours, preferably overnight. Chilling is essential as it allows the filling to set and flavors to meld. If you try to eat it too soon, the filling will be too soft and the crust won’t hold properly.
⏱ Time: 4 hours or overnight
✓ Doneness: Filling is firm to the touch, and crust holds its shape when scooped.
Step 5
Before serving, add a final garnish of fresh strawberries or a drizzle of strawberry sauce if you like. This step is optional but adds an extra layer of freshness and visual appeal. Serve the jars chilled straight from the fridge. Because these are individual portions, they’re perfect for parties or family dinners where everyone can grab their own. The combination of crumbly crust, creamy filling, and juicy berries is a guaranteed crowd-pleaser.
⏱ Time: 5 minutes
✓ Doneness: Dessert looks fresh, colorful, and inviting.
Step 6
If you want to make the crust a little more flavorful, try adding a pinch of cinnamon or a splash of lemon zest to the graham cracker mixture before pressing it into the jars. These small additions give the crust an extra dimension without overpowering the cheesecake. Just mix them in with the crumbs and butter before pressing. This is a great way to customize the flavor to your liking or the season.
⏱ Time: 5 minutes
✓ Doneness: Crust mixture has an even distribution of added spices or zest.
Step 7
For a lighter version, swap half the cream cheese for mascarpone or Greek yogurt. This will give you a tangier, less rich filling that still whips up beautifully. When folding in the whipped cream, do so gently to maintain the airy texture. This variation is great if you want something a bit fresher or less heavy but still indulgent.
⏱ Time: 10 minutes
✓ Doneness: Filling remains smooth and fluffy with a slightly lighter texture.
Step 8
If you want to prep these jars ahead for a party, assemble everything except the fresh strawberry topping. Keep the jars covered in the fridge for up to 24 hours, then add the strawberries just before serving to keep them fresh and vibrant. This saves time on the day of your event and ensures the fruit doesn’t get soggy or watery.
⏱ Time: 5 minutes prep + chilling time
✓ Doneness: Jars are well chilled and strawberries added last for best texture.
Step 9
To serve, let the jars sit at room temperature for 5 minutes if they’re too cold from the fridge. This softens the filling slightly and helps the flavors become more pronounced. Use a small spoon to dig in and enjoy the layers of crust, filling, and fresh fruit. The contrast of textures and flavors is what makes this dessert so delightful and addictive.
⏱ Time: 5 minutes
✓ Doneness: Filling is creamy but not too cold or hard.
Pro Tips
Use room temperature cream cheese for a smooth filling.
Cold cream cheese is stiff and difficult to mix, leading to lumps. Letting it soften allows it to blend seamlessly with sugar and vanilla, creating a smooth base that whips up nicely with the cream.
Whip the heavy cream separately to stiff peaks before folding in.
Whipping cream separately traps air, making the filling light and fluffy. Folding gently preserves this air, preventing the filling from becoming dense or heavy.
Compact the graham cracker crust firmly in the jars.
Pressing the crust tightly helps it hold together when chilled, preventing it from crumbling when you eat the cheesecake.
Chill the jars for at least 4 hours before serving.
Chilling allows the crust to set and the filling to firm, resulting in perfect texture and flavor melding.
Add fresh strawberries just before serving.
Adding berries too early can release moisture and make the filling soggy. Fresh fruit on top stays vibrant and juicy.
Use a spatula to fold whipped cream gently into the cream cheese mixture.
Folding preserves the air bubbles in whipped cream, keeping the filling airy. Stirring too vigorously deflates the cream, making the dessert dense.
Try adding a pinch of cinnamon or lemon zest to the crust.
These add subtle flavor complexity without overpowering the dessert, making it more interesting and seasonal.
Common Mistakes to Avoid
Using cold cream cheese straight from the fridge.
Why it happens Many people rush the recipe and skip softening the cream cheese, thinking it will mix easier.
Fix Always let cream cheese sit at room temperature for at least 30 minutes before mixing. This prevents lumps and ensures a smooth filling.
Overwhipping the heavy cream.
Why it happens It’s easy to go too far when whipping cream, turning it grainy or into butter.
Fix Stop whipping as soon as stiff peaks form—when the cream holds shape but is still smooth. Check frequently to avoid overwhipping.
Not pressing the crust firmly enough.
Why it happens Rushing the crust step or using loose crumbs leads to a crumbly base.
Fix Use the back of a spoon or fingers to compact the crust firmly in the jars to prevent it from falling apart.
Adding strawberries too early.
Why it happens Some add berries before chilling, causing moisture to seep into the filling.
Fix Add fresh strawberries just before serving to keep the layers intact and avoid sogginess.
Mixing whipped cream too vigorously into the cream cheese.
Why it happens Trying to combine quickly can deflate the whipped cream.
Fix Fold gently with a spatula in batches to keep the filling light and airy.
Variations
Lemon Blueberry Cheesecake Jars
Swap strawberries for fresh blueberries and add lemon zest to the filling for a bright, tangy twist. The citrus complements the creamy filling and juicy berries perfectly, giving a refreshing flavor profile.
Note: Add lemon zest with the powdered sugar and fold blueberries gently into the filling to avoid crushing.
Chocolate Hazelnut No Bake Cheesecake
Mix cocoa powder into the crust and swirl in some hazelnut spread into the cream cheese mixture. Top with chopped toasted hazelnuts for a rich, nutty dessert that feels indulgent but still easy.
Note: Adjust sugar slightly to balance cocoa bitterness and fold hazelnut spread carefully to keep texture smooth.
Vegan No Bake Strawberry Cheesecake
Use vegan cream cheese and coconut cream whipped to stiff peaks. Replace butter with coconut oil in the crust. This version is dairy-free but still creamy and delicious, perfect for plant-based diets.
Note: Chill coconut cream overnight and whip cold; press crust firmly as coconut oil solidifies when chilled.
Peach and Ginger Cheesecake Jars
Replace strawberries with diced fresh peaches and add a pinch of ground ginger to the filling. This combo gives a warm, fruity flavor great for late summer or early fall.
Note: Fold ginger into cream cheese mixture before adding whipped cream; use ripe but firm peaches to avoid excess moisture.
Salted Caramel Pretzel Cheesecake
Add crushed pretzels to the crust for crunch and swirl salted caramel sauce into the filling. Top with more caramel and pretzel pieces for a sweet and salty treat.
Note: Be gentle folding in caramel to keep filling light; press pretzels firmly into crust to avoid sogginess.
Nutrition
Per Serving:
Nutritional values are estimates and may vary based on specific ingredients used.
Storage & Tips
Room Temperature
These cheesecake jars should not be left at room temperature for more than 2 hours. Cover them with lids or plastic wrap if you need to keep them out briefly, but refrigeration is best to maintain texture and safety.
Refrigerator
Store the jars in airtight containers or with lids in the fridge for up to 3 days. The crust may soften slightly but the filling will stay creamy. Serve chilled or let sit 5 minutes at room temp before eating for best texture.
Freezer
You can freeze the jars for up to 1 month. Wrap tightly with plastic wrap and place in a freezer-safe container to prevent freezer burn. Thaw overnight in the fridge and stir gently before serving to restore creaminess.
Reheating
No reheating is needed or recommended. Serve these cheesecake jars cold or slightly softened at room temperature. Avoid microwaving as it will melt the filling and ruin the texture.
Make Ahead
Assemble the crust and filling layers up to 24 hours ahead and refrigerate. Add fresh strawberries just before serving to keep them vibrant and prevent sogginess.
FAQ
Can I make these cheesecake jars ahead of time?
Yes! You can prepare the crust and filling layers up to 24 hours in advance and keep them refrigerated. Add the fresh strawberries right before serving to keep them fresh and prevent the dessert from becoming soggy.
What can I use instead of graham cracker crumbs?
If you don’t have graham crackers, crushed digestive biscuits or vanilla wafers work well. Just make sure to finely crush them and mix with melted butter to create a solid crust base.
How do I prevent the cream cheese filling from being lumpy?
Make sure your cream cheese is fully softened to room temperature before mixing. Beat it well until smooth before adding powdered sugar and vanilla. This helps avoid lumps and creates a silky texture.
Can I use frozen strawberries?
It’s best to use fresh strawberries because frozen ones release extra moisture, which can make the filling watery and the crust soggy. If you must use frozen, thaw and drain them thoroughly before adding.
What if I don’t have heavy cream?
Heavy cream is important for whipping to create a light filling. You can substitute with whipping cream if it has at least 30% fat, but lower fat creams won’t whip as well and the filling may be denser.
Can I make this recipe dairy-free?
Yes! Use vegan cream cheese and coconut cream whipped to stiff peaks. Replace butter in the crust with coconut oil. This version is delicious and suitable for dairy-free diets.
How long do these jars keep in the fridge?
They keep well for up to 3 days in the refrigerator when covered properly. The crust may soften a bit but the flavor remains great. Always keep refrigerated to maintain freshness and safety.
Why does my crust fall apart when I eat it?
This usually happens if the crust isn’t packed tightly or if there isn’t enough butter to bind the crumbs. Make sure to mix crumbs thoroughly with melted butter and press firmly into the jars.
Final Thoughts
I hope you give these viral no bake strawberry cheesecake jars a try—they’re simple, delicious, and sure to impress. Don’t forget to share how yours turn out!