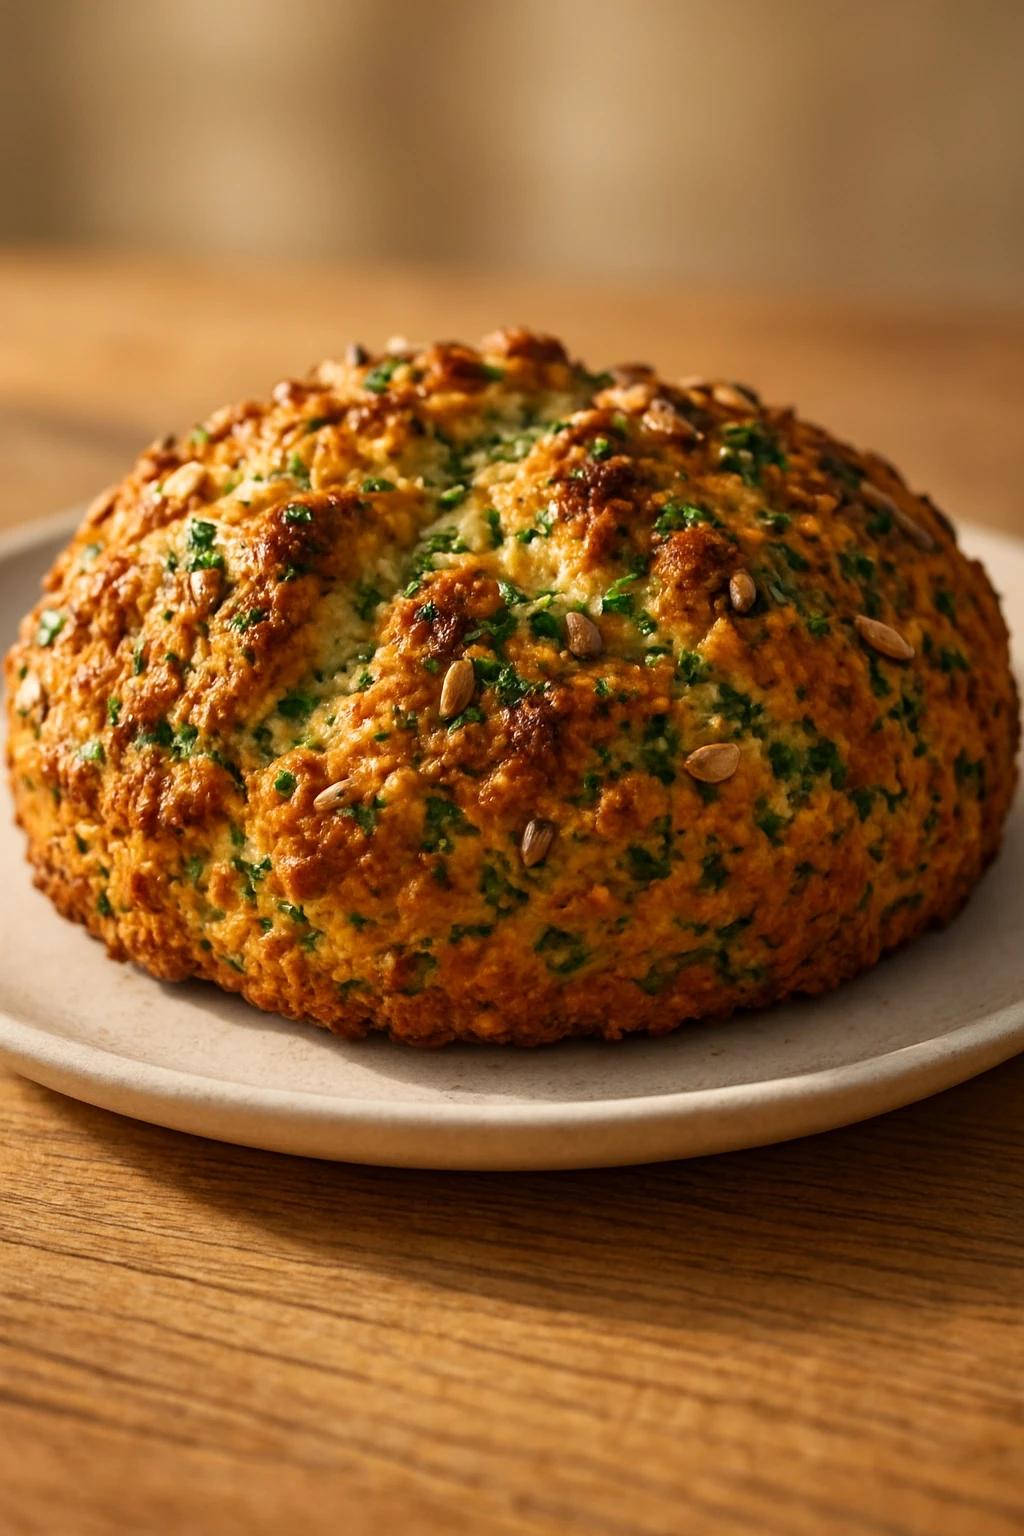
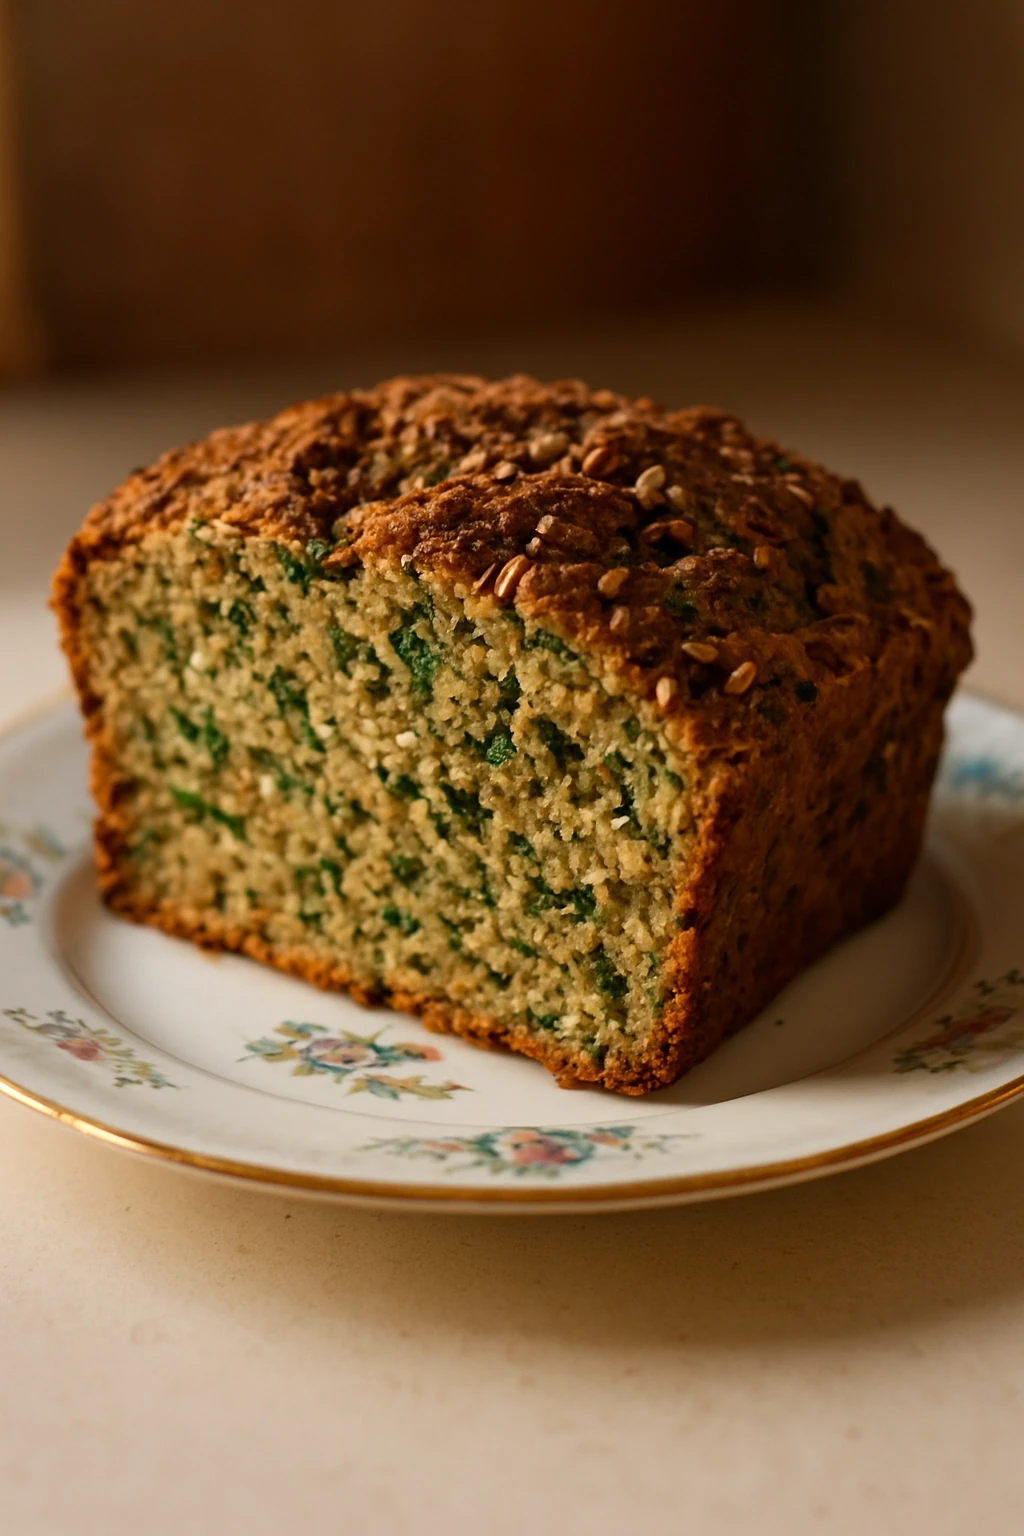
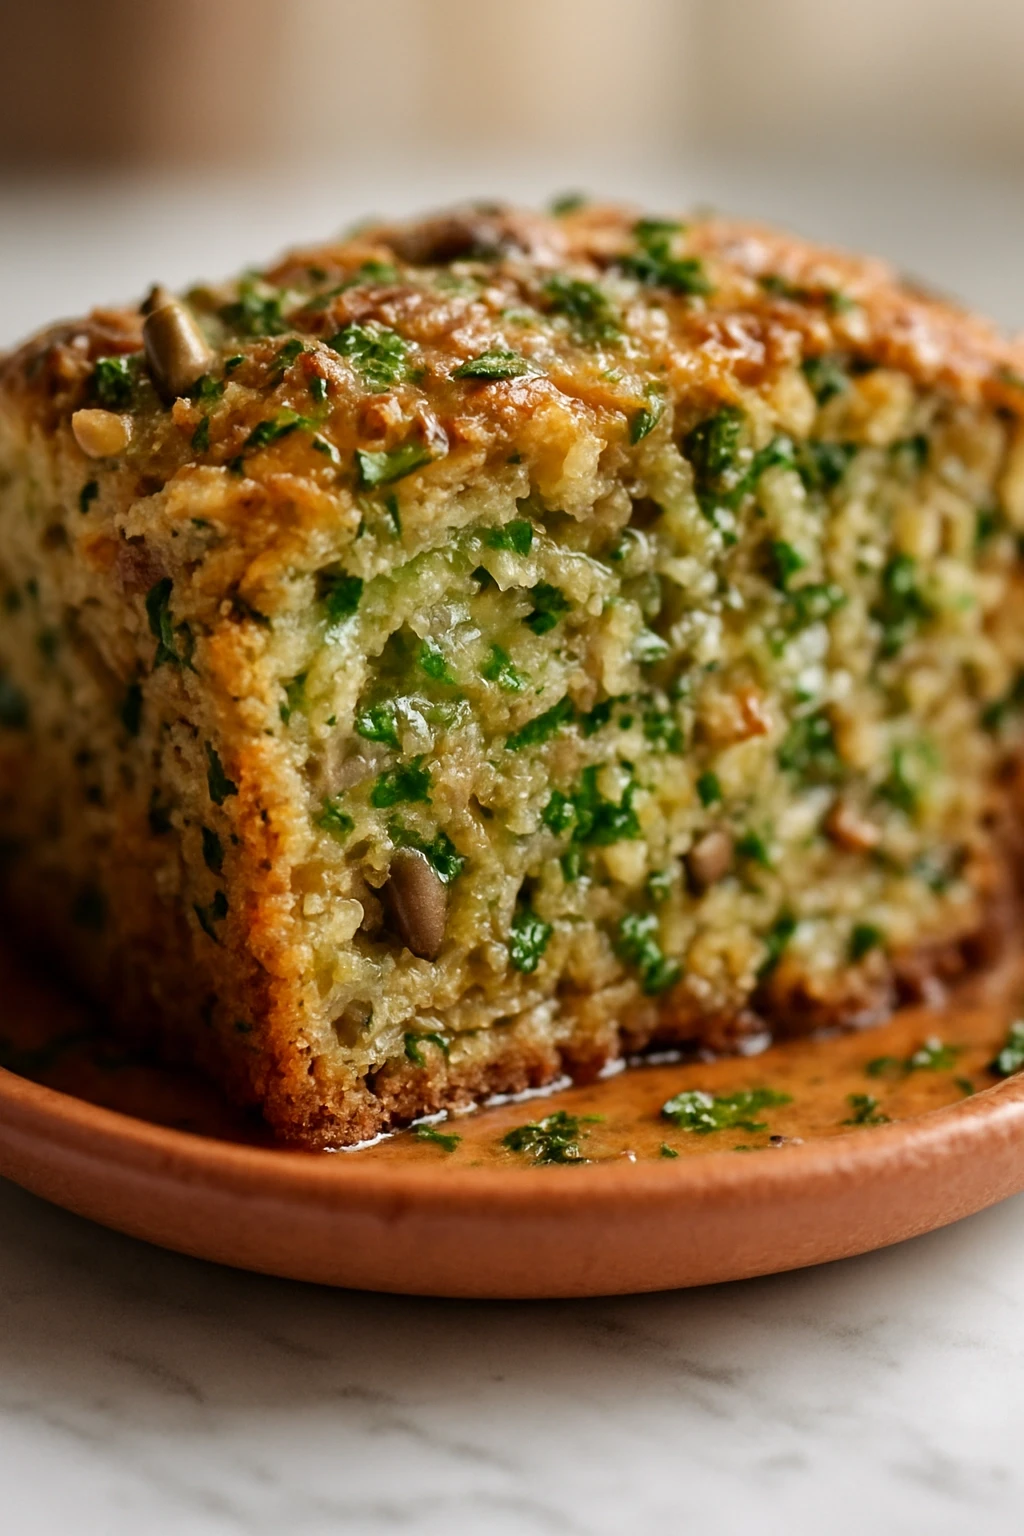
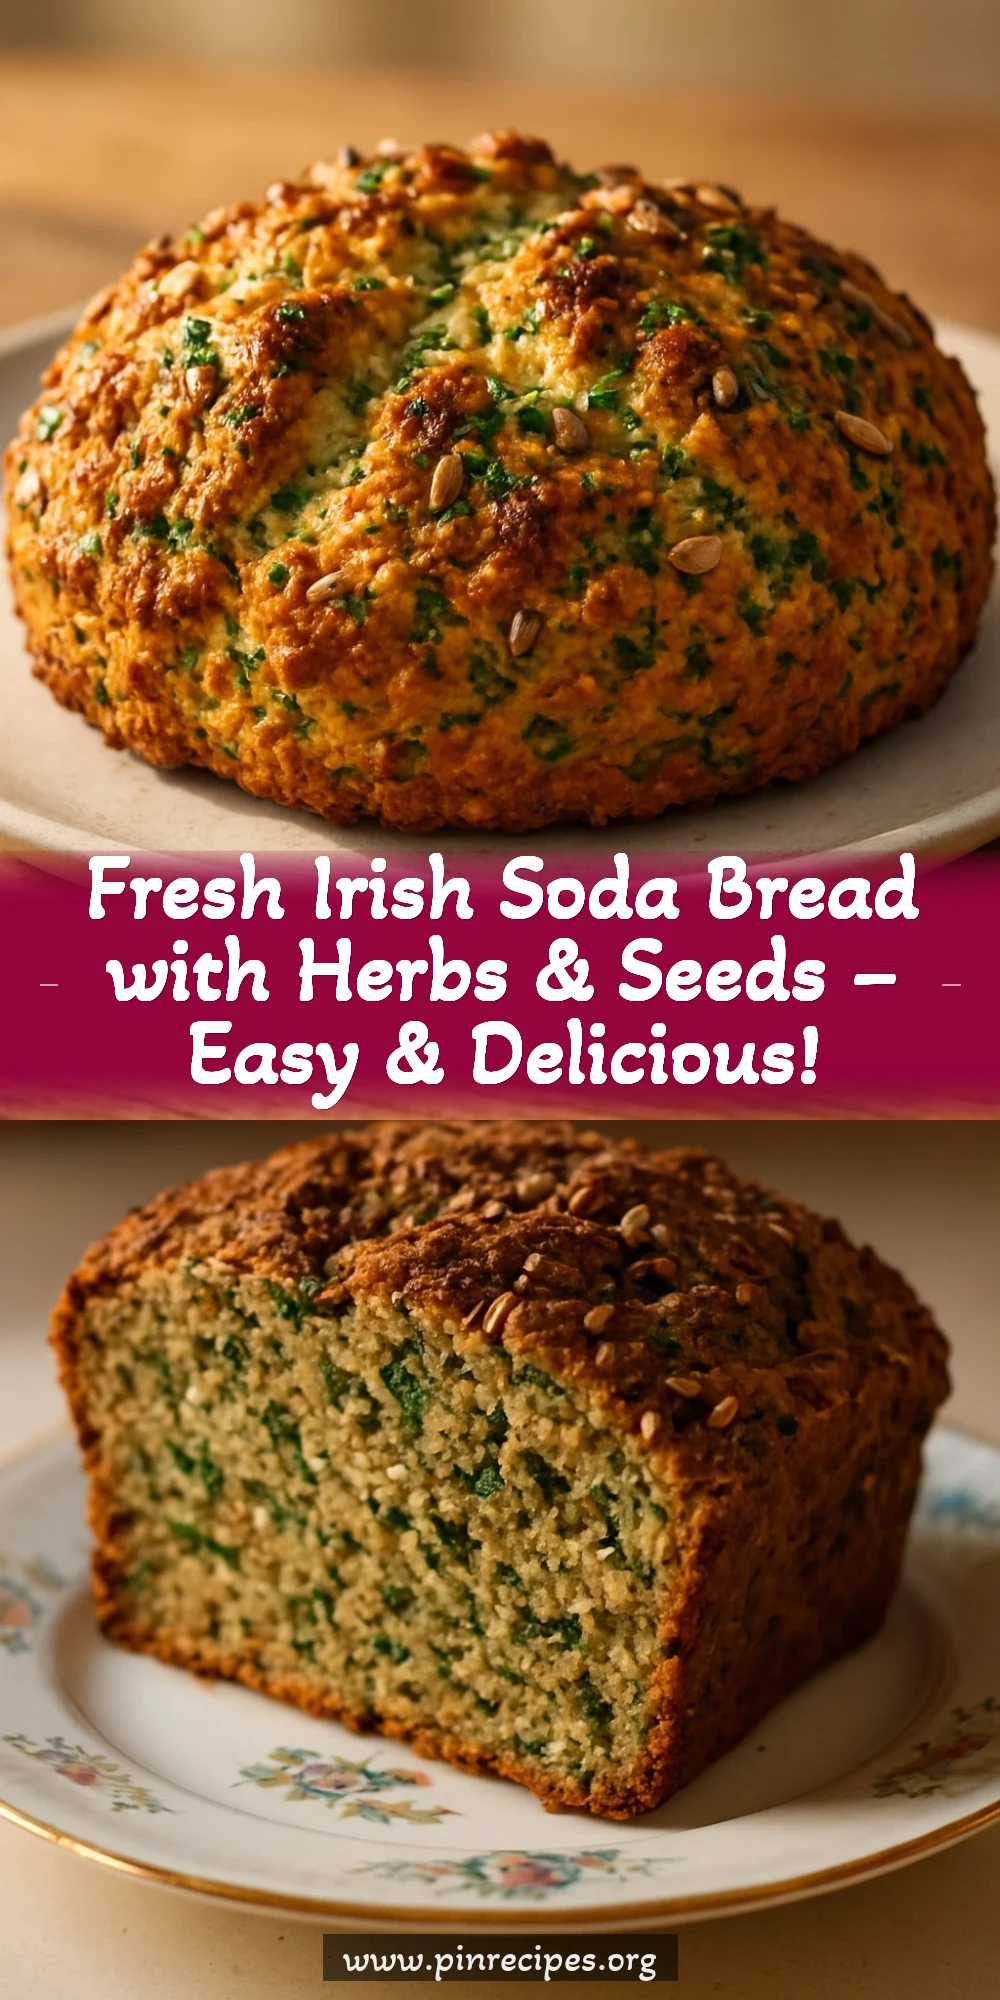
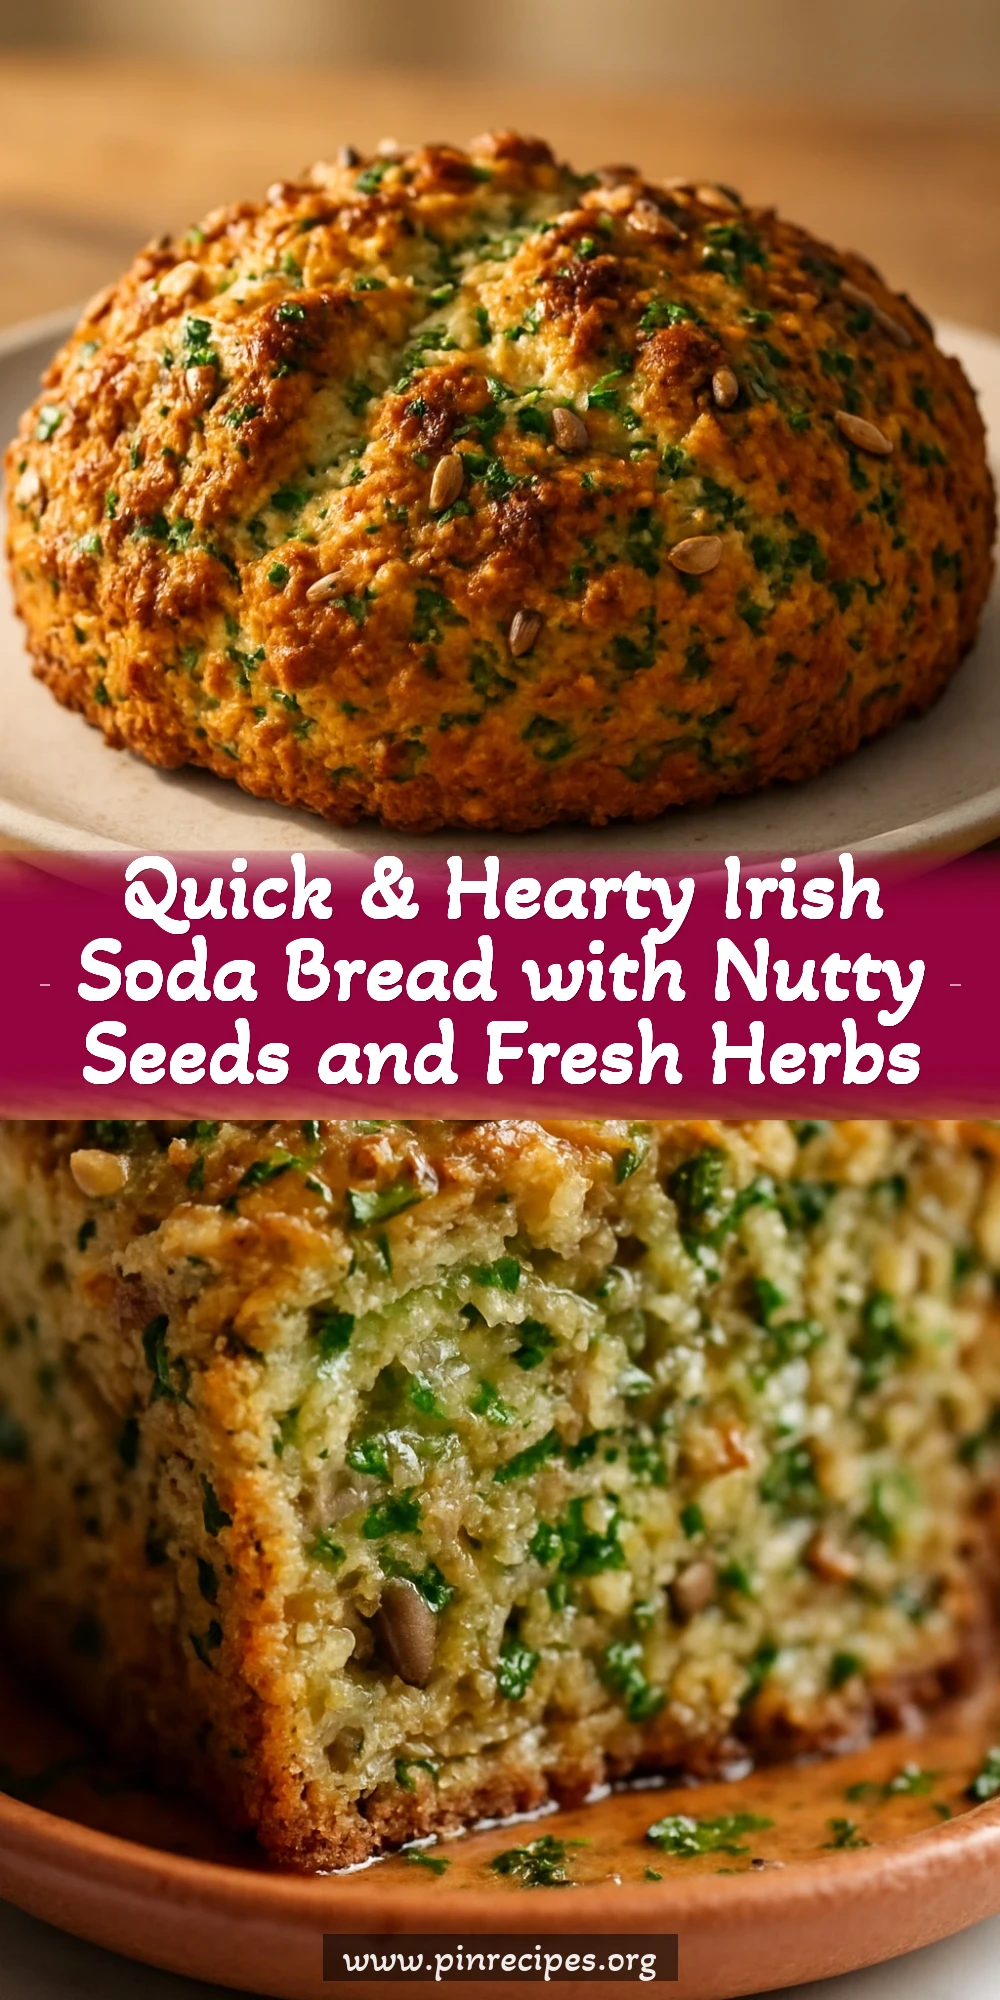
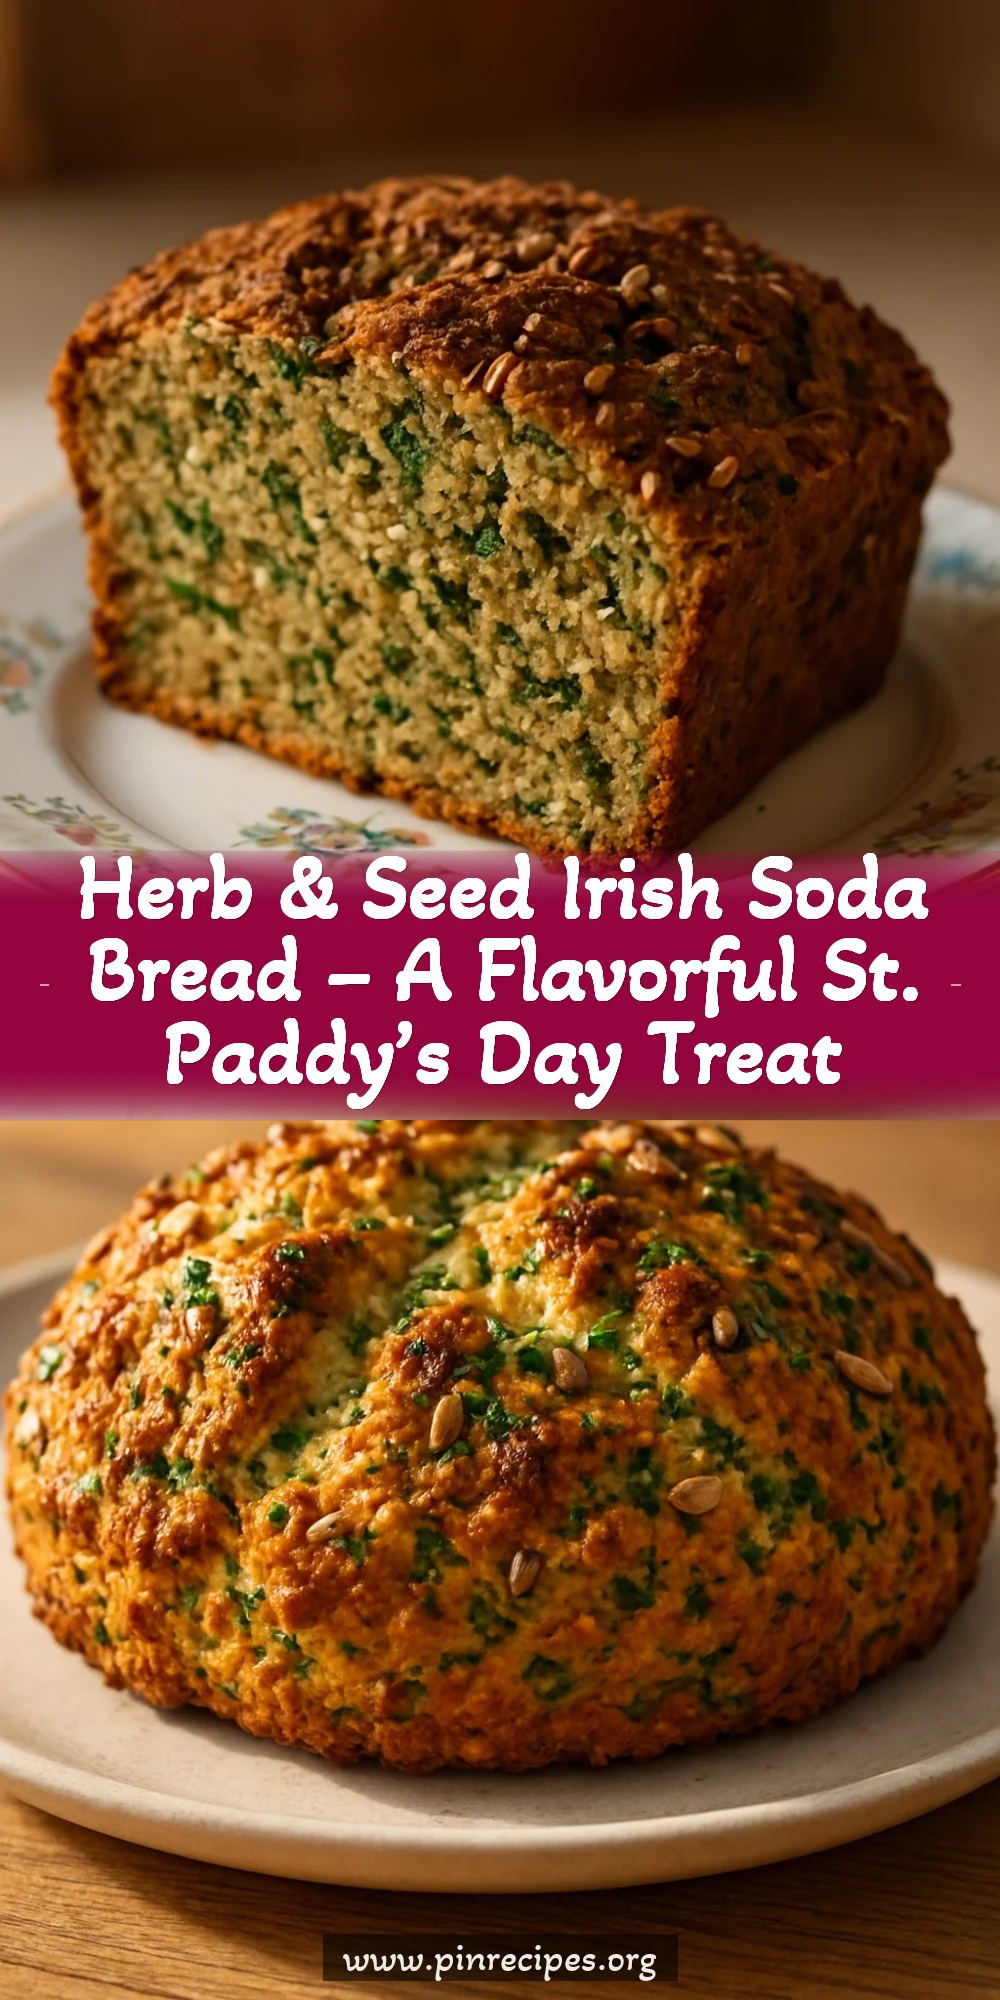
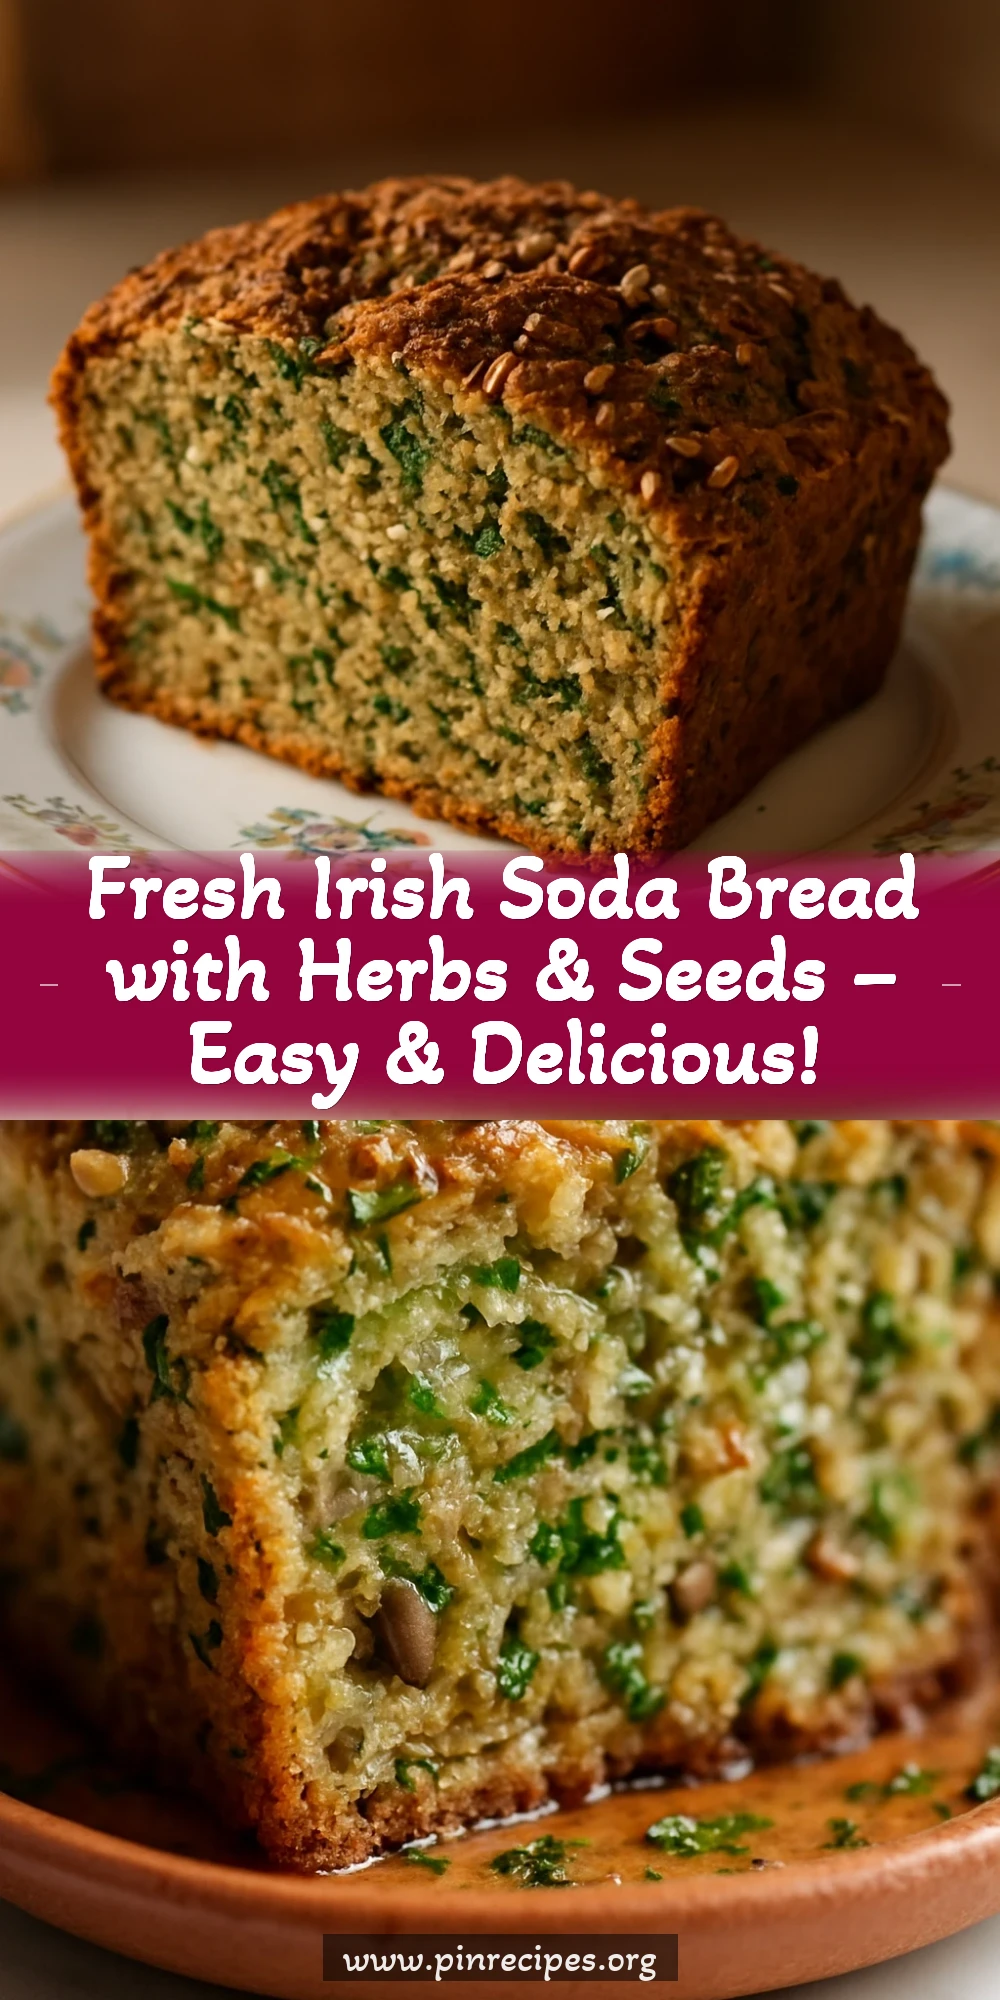
This hearty Irish soda bread is packed with fresh herbs and nutty seeds, making it a fresh take on a classic. It’s quick to whip up and perfect for St. Paddy’s Day brunch or any cozy weekend breakfast.
Introduction
Irish soda bread has always been one of those comforting breads I turn to when I want something rustic and quick without the fuss of yeast. I first tried making it years ago when my Irish friend invited me over for a St. Patrick’s Day celebration. Her version was simple but delicious, and I wanted to put my own spin on it. Adding fresh herbs like parsley and chives gives the bread a bright, fresh flavor that cuts through the dense crumb. Plus, the seeds add a lovely crunch and nuttiness that makes each bite more interesting. I’ve found that using cold buttermilk helps activate the baking soda just right, so the bread rises beautifully with a tender crumb. It’s perfect served warm with butter or alongside a hearty stew. This bread is a little different from the usual soda bread you see because it feels lighter and fresher, making it a crowd-pleaser even for those who don’t usually love dense breads. I hope you enjoy baking and sharing this one as much as I do!
What You'll Need
One 9-inch round loaf, about 8 servings
- 3 1/2 cups all-purpose flour, sifted
- 1 teaspoon baking soda
- 1 teaspoon salt
- 2 tablespoons sugar
- 1 1/2 cups buttermilk, cold
- 1/4 cup fresh parsley, finely chopped
- 2 tablespoons fresh chives, finely chopped
- 2 tablespoons mixed seeds (pumpkin, sunflower, sesame)
- 1 tablespoon melted butter, for brushing
How To Do It
Step 1
Preheat your oven to 425°F (220°C) and line a baking sheet with parchment paper. In a large mixing bowl, whisk together the sifted flour, baking soda, salt, and sugar. This step is crucial because evenly distributing the baking soda ensures the bread rises uniformly. Sifting helps aerate the flour, resulting in a lighter crumb. Avoid skipping sifting, as it can cause lumps and uneven texture.
⏱ Time: 10 minutes
✓ Doneness: Dry, evenly mixed flour mixture with no clumps
Step 2
Add the chopped parsley, chives, and mixed seeds to the dry ingredients and stir well to combine. The herbs will infuse the bread with a fresh aroma, while the seeds add texture. Mixing them in now ensures even distribution throughout the dough, so every slice has a bit of green and crunch.
⏱ Time: 5 minutes
✓ Doneness: Evenly speckled dry mix with herbs and seeds
Step 3
Make a well in the center of the dry ingredients and pour in the cold buttermilk. Using a wooden spoon or your hand, gently mix until a sticky dough forms. Don’t overmix here; overworking the dough can make the bread tough. The buttermilk reacts with baking soda to create bubbles that help the bread rise quickly without yeast.
⏱ Time: 5 minutes
✓ Doneness: Sticky, shaggy dough that holds together but is not smooth
Step 4
Turn the dough out onto a lightly floured surface and gently knead it just 3-4 times to bring it together. The trick is to handle it lightly — too much kneading will develop gluten and make it chewy rather than tender. Shape the dough into a round loaf about 7 inches in diameter.
⏱ Time: 5 minutes
✓ Doneness: Rounded dough ball that’s cohesive but still soft
Step 5
Place the loaf onto the prepared baking sheet. Using a sharp knife, score a deep cross about 1/2 inch deep on top of the dough. This traditional step helps the bread bake evenly and allows steam to escape, so you get a nice crust without cracks. It’s also a fun nod to Irish heritage.
⏱ Time: 5 minutes
✓ Doneness: Clearly scored cross on dough surface
Step 6
Brush the top of the loaf lightly with melted butter to encourage a golden crust. This step also adds a subtle richness to the flavor. Avoid brushing too heavily, as it can weigh down the crust and make it soggy.
⏱ Time: 2 minutes
✓ Doneness: Even sheen of butter on dough surface
Step 7
Bake in the preheated oven for about 35-40 minutes, until the crust is deep golden brown and the loaf sounds hollow when tapped on the bottom. The high temperature helps set the crust quickly, trapping moisture inside for a soft interior. Don’t open the oven door too often, or the temperature will drop and affect rising.
⏱ Time: 35-40 minutes
✓ Doneness: Golden brown crust with hollow sound on tapping
Step 8
Remove the bread from the oven and transfer it to a wire rack to cool for at least 30 minutes before slicing. This resting time lets the crumb set properly. Cutting too soon can make the bread gummy or crumbly. Patience here really pays off.
⏱ Time: 30 minutes
✓ Doneness: Loaf cooled to room temperature with set crumb
Step 9
Serve warm or at room temperature with butter, jam, or alongside soups and stews. The fresh herbs and seeds make this bread versatile for many meals. Leftovers toast beautifully, bringing out the nutty flavors even more.
⏱ Time: 0 minutes
✓ Doneness: Warm, fragrant slices ready to enjoy
Pro Tips
Always sift your flour and baking soda together.
Sifting aerates the flour and evenly distributes the baking soda, which is crucial for uniform rising. Without sifting, you risk clumps of baking soda that can cause bitter spots or uneven texture.
Use cold buttermilk straight from the fridge.
Cold buttermilk slows down the chemical reaction with baking soda, giving you more time to mix and shape the dough before it starts to rise. Warm buttermilk can cause premature rising and a dense loaf.
Don’t overknead the dough.
Minimal kneading prevents too much gluten development, which keeps the bread tender and crumbly rather than tough and chewy. Gentle handling is key to the right texture.
Score the loaf deeply before baking.
Scoring allows steam to escape and helps the bread expand evenly. It prevents random cracks and creates that classic rustic look.
Brush the loaf with melted butter before baking.
This encourages a beautiful golden crust through the Maillard reaction, adding flavor and a slight richness to the bread’s exterior.
Cool the bread completely before slicing.
Resting lets the crumb set properly. Cutting too soon can make the bread gummy or crumbly because the interior hasn’t finished firming up.
Use a baking stone or preheated sheet if possible.
A hot surface helps the bread rise quickly from the bottom, promoting a crisp crust and even bake. If you don’t have one, a parchment-lined baking sheet works fine.
Common Mistakes to Avoid
Using expired baking soda
Why it happens Many home cooks don’t check the freshness of their baking soda, assuming it’s always good. Over time, baking soda loses its leavening power.
Fix Test baking soda by adding a small pinch to vinegar; it should fizz vigorously. Replace if it doesn’t. Using fresh baking soda ensures the bread rises properly and isn’t dense.
Overmixing the dough
Why it happens It’s natural to want to knead dough thoroughly, but with soda bread, too much mixing develops gluten, making the bread tough.
Fix Mix just until ingredients come together and knead gently 3-4 times. This keeps the crumb tender and light.
Not scoring the dough
Why it happens Some skip scoring because it seems unnecessary or time-consuming.
Fix Use a sharp knife to cut a deep cross on top. It helps the bread expand evenly and prevents cracks.
Using warm buttermilk
Why it happens Some think warm liquids speed up baking, but here it causes premature reaction.
Fix Always use cold buttermilk to slow the reaction and give you time to shape and bake.
Cutting bread too soon
Why it happens It’s tempting to slice fresh bread immediately, but the crumb needs time to set.
Fix Wait at least 30 minutes after baking for the bread to cool completely for best texture.
Variations
Cheddar and Chive Soda Bread
Add 1 cup of shredded sharp cheddar cheese to the dough along with the chives for a savory, cheesy twist. It’s great for serving with soups or as a snack.
Note: Cheese adds moisture and fat, so reduce buttermilk slightly if dough feels too wet. Bake until cheese is melted and crust is golden.
Whole Wheat and Oat Soda Bread
Replace half the all-purpose flour with whole wheat and add 1/2 cup rolled oats for a nuttier, heartier loaf. This variation is more filling and has a denser texture.
Note: Whole wheat absorbs more liquid; you may need to add an extra tablespoon of buttermilk to keep dough moist.
Sweet Raisin and Herb Soda Bread
Add 1/2 cup raisins and 1 tablespoon honey to the dough for a subtly sweet bread with herbal notes. Perfect for breakfast or tea time.
Note: Honey adds sugar which browns faster, so watch the crust to avoid overbaking.
Gluten-Free Herb Soda Bread
Use a gluten-free all-purpose flour blend and xanthan gum to replace regular flour. The texture will be slightly different but still tasty and herbaceous.
Note: Gluten-free dough is wetter and more fragile; handle gently and consider baking in a loaf pan for support.
Spicy Jalapeño and Herb Soda Bread
Fold in 1-2 finely chopped jalapeños with the herbs and seeds for a spicy kick. Great paired with chili or Mexican dishes.
Note: Spicy peppers add moisture; reduce buttermilk slightly to keep dough consistency right.
Nutrition
Per Serving:
Nutritional values are estimates and may vary based on specific ingredients used.
Storage & Tips
Room Temperature
Store the bread covered loosely with a clean kitchen towel at room temperature for up to 2 days. This keeps the crust from getting too hard while preserving moisture inside.
Refrigerator
Keep in an airtight container or wrapped tightly in plastic wrap for up to 5 days. Refrigeration may dry the bread out, so reheat slightly before serving to restore softness.
Freezer
Wrap the cooled bread tightly in plastic wrap and then foil, freeze for up to 3 months. Thaw at room temperature wrapped in foil to retain moisture, then warm in the oven to refresh the crust.
Reheating
Reheat slices in a toaster or oven at 350°F (175°C) for 5-7 minutes. For whole loaf, wrap in foil and warm for 10-15 minutes. Avoid microwave reheating which can make the bread rubbery.
Make Ahead
You can mix and shape the dough up to 12 hours ahead and refrigerate it covered. Bring to room temperature before baking to ensure even rising and bake as directed.
FAQ
Can I substitute milk for buttermilk?
Yes, but to mimic buttermilk’s acidity, add 1 tablespoon of lemon juice or vinegar per cup of milk and let it sit for 5-10 minutes before using. This acidity activates the baking soda, helping the bread rise properly.
What if my bread turns out dense or flat?
This usually happens if the baking soda is old or if the dough was overmixed or sat too long before baking. Use fresh baking soda, mix gently, and bake immediately after mixing to ensure a good rise.
Can I make this bread vegan?
You can substitute buttermilk with a plant-based milk plus 1 tablespoon lemon juice or vinegar. Use vegan butter or oil for brushing. The texture might be slightly different but still tasty.
How do I know when the bread is done baking?
The crust should be golden brown and the loaf should sound hollow when tapped on the bottom. An internal temperature of about 200°F (93°C) also indicates doneness.
Can I add other herbs or spices?
Absolutely! Rosemary, thyme, or dill work well. Just chop finely and add with the other herbs. Spices like caraway or fennel seeds also complement the bread nicely.
Why do I need to score the bread?
Scoring allows steam to escape and helps the bread expand evenly in the oven. It prevents random cracks and gives the bread a classic rustic look.
Can I freeze leftover bread?
Yes, wrap it tightly in plastic and foil to prevent freezer burn. Thaw wrapped at room temperature and refresh in the oven before serving.
Is it okay if the bread cracks on top?
Some cracking is normal due to steam escaping. Deep scoring helps control where cracks appear, but minor cracks don’t affect taste or texture.
Final Thoughts
I hope you give this herb-infused Irish soda bread a try—it’s such a satisfying homemade treat. Let me know how yours turns out and what variations you love!