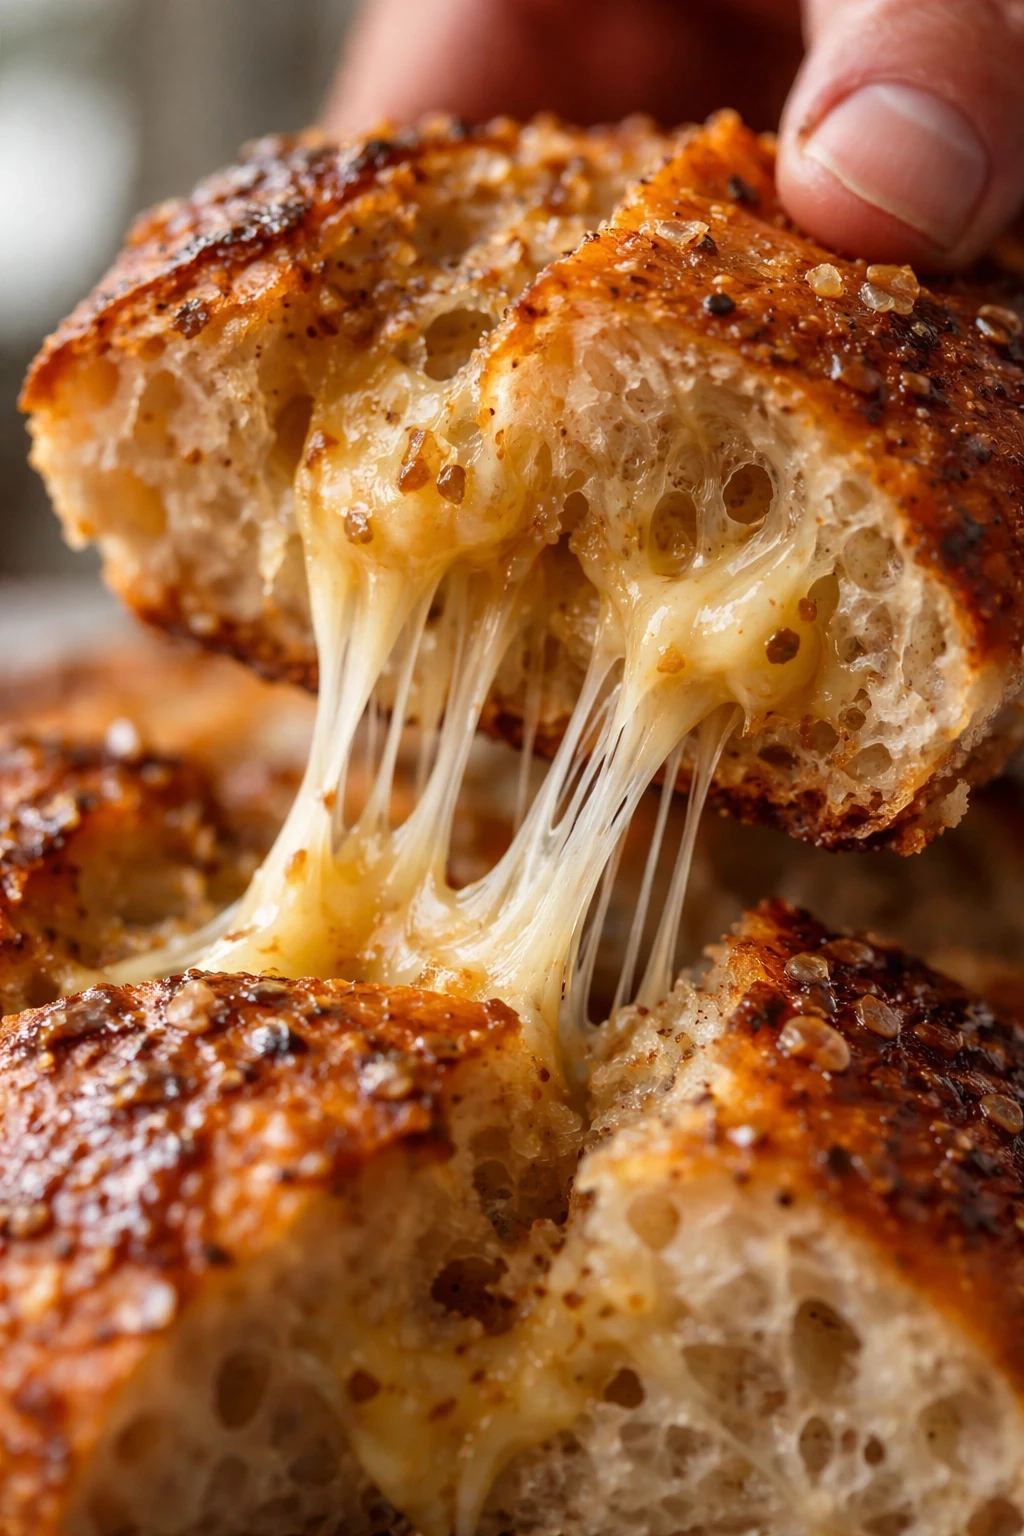
This no-knead artisan bread is a game changer—crispy crust, chewy crumb, and so simple to make. Just mix, wait, and bake! Perfect for weekend baking or impressing guests with minimal effort.
Introduction
I first stumbled upon this no-knead artisan bread recipe a few years ago when I was desperate for fresh bread but short on time. What hooked me instantly was how simple it was—just mix a few ingredients, let it rest overnight, and bake. No kneading, no fancy equipment. The crust comes out beautifully crisp while the inside stays chewy and moist. I’ve tried many bread recipes before, but this one is my go-to because it feels almost magical how little effort it takes for such a delicious result. The secret, I learned, is in the long fermentation with minimal yeast and the high baking temperature inside a covered pot, which traps steam and creates that perfect crust. It’s also forgiving—if you forget about it for a few extra hours, it still turns out great. This bread is perfect for weekend mornings with butter and jam or alongside soups and stews. I think you’ll love how easy it is to impress yourself with homemade bread that tastes like it came from a bakery.
What You'll Need
One 9-inch round loaf, 4 servings
- 3 cups all-purpose flour, sifted
- 1/4 teaspoon instant yeast
- 1 1/4 teaspoons salt
- 1 1/2 cups warm water (about 75°F)
How To Do It
Step 1
In a large mixing bowl, combine the flour, instant yeast, and salt. Stir them together so they’re evenly distributed. This step is important because it ensures the yeast and salt don’t clump and that the dough will rise evenly. Using instant yeast means you don’t have to proof it first, which saves time. Mix dry ingredients thoroughly before adding water to avoid uneven fermentation.
⏱ Time: 5 minutes
✓ Doneness: Dry ingredients are well combined with no visible clumps.
Step 2
Pour in the warm water and stir with a wooden spoon or spatula until a shaggy, sticky dough forms. Don’t overmix—just combine until there are no dry patches left. The dough will be quite wet and sticky; this high hydration is key for an open crumb and chewy texture. Resist the urge to add more flour!
⏱ Time: 5 minutes
✓ Doneness: Dough looks rough and sticky but fully hydrated.
Step 3
Cover the bowl tightly with plastic wrap or a clean kitchen towel. Let it rest at room temperature for 12 to 18 hours. This long, slow fermentation allows the yeast to develop flavor and texture without kneading. You’ll notice the dough will rise and become bubbly—this is a good sign that fermentation is working.
⏱ Time: 12-18 hours
✓ Doneness: Dough has doubled in size and is bubbly on the surface.
Step 4
When ready to bake, preheat your oven to 450°F (230°C) with a heavy Dutch oven or cast iron pot inside. Heating the pot creates steam which helps form the crust. Preheating the pot is crucial; skipping this step results in a less crispy crust.
⏱ Time: 30 minutes
✓ Doneness: Dutch oven is very hot to the touch (use oven mitts).
Step 5
Carefully remove the hot pot from the oven. Using floured hands or parchment paper, transfer the dough from the bowl into the pot. Shape it gently into a round loaf if needed. Cover with the lid and return to the oven. The steam trapped inside helps the bread expand and develop a crisp crust.
⏱ Time: 5 minutes
✓ Doneness: Dough is placed in pot without deflating too much.
Step 6
Bake covered for 30 minutes. This initial baking steams the bread, helping it rise and form a crust. Avoid opening the lid during this time to keep the steam trapped inside.
⏱ Time: 30 minutes
✓ Doneness: Bread has risen and crust looks set but not browned.
Step 7
Remove the lid and bake for an additional 10-15 minutes uncovered. This lets the crust brown and crisp up beautifully. Watch carefully to avoid burning. The bread should sound hollow when tapped on the bottom.
⏱ Time: 10-15 minutes
✓ Doneness: Crust is deep golden brown and firm to the touch.
Step 8
Carefully lift the bread out of the pot and place it on a cooling rack. Let it cool completely before slicing. Cooling allows the crumb to set and prevents it from becoming gummy.
⏱ Time: 1 hour
✓ Doneness: Bread is cool to the touch and slices cleanly.
Step 9
Slice and serve with butter, olive oil, or your favorite toppings. This bread is perfect for sandwiches, toasts, or alongside soups. Store leftovers wrapped in a tea towel to maintain crust crispness.
⏱ Time: Immediate serving
✓ Doneness: Bread slices easily with a crisp crust and chewy interior.
Pro Tips
Use room temperature ingredients for consistent fermentation.
Yeast activity is sensitive to temperature. Using ingredients at room temperature ensures predictable fermentation times. Cold ingredients slow yeast down, causing longer rises, while hot ingredients can kill yeast, preventing the dough from rising properly.
Don’t skip preheating your Dutch oven for the best crust.
Preheating the pot creates an initial burst of steam that’s crucial for crust development. Without it, the bread won’t rise as well and the crust will be less crispy. The hot surface also helps with oven spring, giving the loaf a better shape.
Handle the dough gently when transferring to the pot.
Because the dough is wet and delicate, rough handling can deflate the air bubbles you’ve worked so hard to develop during fermentation. Gently shaping and transferring preserves those bubbles, resulting in a lighter crumb and better texture.
Allow the bread to cool completely before slicing.
Cutting bread while it’s still hot can cause the crumb to become gummy or tear. Cooling allows moisture inside to redistribute and the crumb to set properly, giving you clean slices and the best texture.
Use parchment paper to easily transfer dough into the hot pot.
Parchment paper prevents sticking and makes it safer to transfer the sticky dough without deflating it. It also helps avoid burns and makes cleanup easier.
Adjust resting time based on room temperature.
Warmer kitchens speed up fermentation, so dough may be ready in less than 12 hours. Cooler environments slow yeast activity, requiring longer rests. Watch the dough’s rise and bubbles as your guide rather than the clock.
Try adding herbs or garlic to the dough for extra flavor.
Incorporating fresh or dried herbs, garlic powder, or olives adds a delicious twist to the basic recipe. Since the dough is simple, these additions stand out without complicating the process.
Common Mistakes to Avoid
Using too much flour when mixing the dough
Why it happens Many think adding more flour will make the dough easier to handle, but this dries it out and leads to a dense crumb.
Fix Stick to the recipe’s hydration level; the dough should be sticky and wet. Use wet hands or a spatula to mix and handle the dough gently. This moisture is key for the open crumb and crust.
Skipping the long fermentation or shortening it drastically
Why it happens Impatience or misunderstanding yeast performance leads to rushing the rise, resulting in bland flavor and poor texture.
Fix Allow the full 12-18 hour rise at room temperature. This slow fermentation develops flavor and gluten naturally without kneading.
Not preheating the Dutch oven
Why it happens Some skip this step to save time, but it prevents proper steam formation and crust development.
Fix Preheat your covered pot for at least 30 minutes in the oven before baking. This ensures a crispy crust and good oven spring.
Cutting bread before it cools
Why it happens Excited to eat, many slice hot bread, causing a gummy texture.
Fix Wait at least an hour for the bread to cool on a rack. This sets the crumb and improves sliceability.
Using active dry yeast without adjustments
Why it happens Active dry yeast requires proofing and different amounts, so using it as instant yeast can cause poor rise.
Fix Either use instant yeast as called for or proof active dry yeast in warm water first and adjust quantity accordingly.
Variations
Whole Wheat No-Knead Bread
Swap half of the all-purpose flour for whole wheat flour for a nuttier, heartier loaf. The dough will be denser and may need a bit more water to stay sticky. Expect a richer flavor and slightly heavier texture.
Note: Whole wheat flour absorbs more water, so increase hydration slightly and extend fermentation by 1-2 hours for best rise.
Garlic and Herb No-Knead Bread
Add minced garlic, rosemary, thyme, or other fresh herbs to the dough before the long rest. This gives the bread an aromatic boost that pairs great with soups and salads.
Note: Add herbs in small amounts so they don’t weigh down the dough. Avoid fresh garlic in large quantities as it can slow yeast activity.
Olive and Sun-Dried Tomato Bread
Fold chopped olives and sun-dried tomatoes into the dough after mixing. This savory variation adds bursts of flavor and a Mediterranean twist without extra steps.
Note: Add mix-ins gently after initial mixing to avoid deflating the dough. Soak sun-dried tomatoes if dry to soften before adding.
Gluten-Free No-Knead Bread
Use a gluten-free flour blend with xanthan gum and increase hydration. The texture will be different—more crumbly and less chewy—but still tasty and crusty.
Note: Gluten-free doughs require different handling; mix thoroughly and bake immediately after rising without shaping.
Sourdough Starter No-Knead Bread
Replace the instant yeast with a mature sourdough starter for tangy flavor and natural fermentation. This adds complexity but requires longer fermentation times and more attention.
Note: Adjust hydration and fermentation times based on starter activity; expect 18-24 hour rise for best results.
Nutrition
Per Serving:
Nutritional values are estimates and vary based on specific ingredients used.
Storage & Tips
Room Temperature
Store the bread loosely wrapped in a clean kitchen towel or paper bag at room temperature for up to 2 days. Avoid plastic wrap as it traps moisture and softens the crust. Bread is best eaten fresh but keeps well for a couple of days.
Refrigerator
Refrigeration can dry out bread quickly and soften the crust, so it’s not recommended. If you must refrigerate, store in an airtight container and reheat before serving to refresh the crust.
Freezer
Freeze the bread whole or sliced in a heavy-duty freezer bag for up to 3 months. Wrap tightly in plastic wrap then foil to prevent freezer burn. Thaw at room temperature and reheat in a hot oven to restore crustiness.
Reheating
Reheat slices in a toaster or oven at 350°F for 5-10 minutes. For whole loaves, heat covered with foil to prevent drying, then uncover at the end to crisp the crust. Avoid microwaving as it softens the crust.
Make Ahead
Mix and let the dough ferment overnight. You can refrigerate the dough after the initial rise for up to 24 hours, then bring to room temperature before baking. This flexibility helps fit baking into your schedule.
FAQ
Can I use active dry yeast instead of instant yeast?
Yes, but you’ll need to proof active dry yeast first by dissolving it in warm water with a pinch of sugar for 5-10 minutes until bubbly. Use about 25% more active dry yeast than instant yeast. This ensures the yeast is alive and will ferment properly.
What if my dough doesn’t rise after 18 hours?
If your dough hasn’t risen, your yeast might be old or the room too cold. Try placing the bowl in a warmer spot (around 75°F). Also, check your yeast’s expiration date. Using fresh yeast and the right temperature is key for fermentation.
Can I shorten the fermentation time?
Shortening fermentation reduces flavor and texture development. While you can do a 6-8 hour rise in a warmer place, the bread won’t have the same depth of flavor or open crumb. Patience really pays off here.
How do I know when the bread is done baking?
The bread is done when it’s a deep golden brown and sounds hollow when tapped on the bottom. Using a thermometer, an internal temperature of 200-210°F indicates it’s fully baked.
Can I add seeds or nuts to the dough?
Yes, you can fold in seeds or nuts after mixing the dough. Add about 1/4 to 1/2 cup. Be gentle to avoid deflating the dough. This adds texture and flavor without changing the method.
Why is my bread crust not crispy?
Not preheating the Dutch oven or baking without the lid can cause a soft crust. Steam trapped under the lid is essential for crispiness. Also, letting bread cool uncovered helps the crust stay crisp.
Can I use bread flour instead of all-purpose?
Absolutely! Bread flour has more protein, which can create a chewier texture and better rise. You might need slightly more water with bread flour, so adjust hydration if the dough feels dry.
How do I store leftover bread without losing crust?
Store bread loosely wrapped in a paper bag or kitchen towel at room temperature. Avoid plastic, which traps moisture and softens crust. For longer storage, freeze and reheat to refresh crust.
Final Thoughts
Give this no-knead artisan bread a try—you’ll be amazed at how easy and delicious homemade bread can be. Don’t forget to share your baking wins!