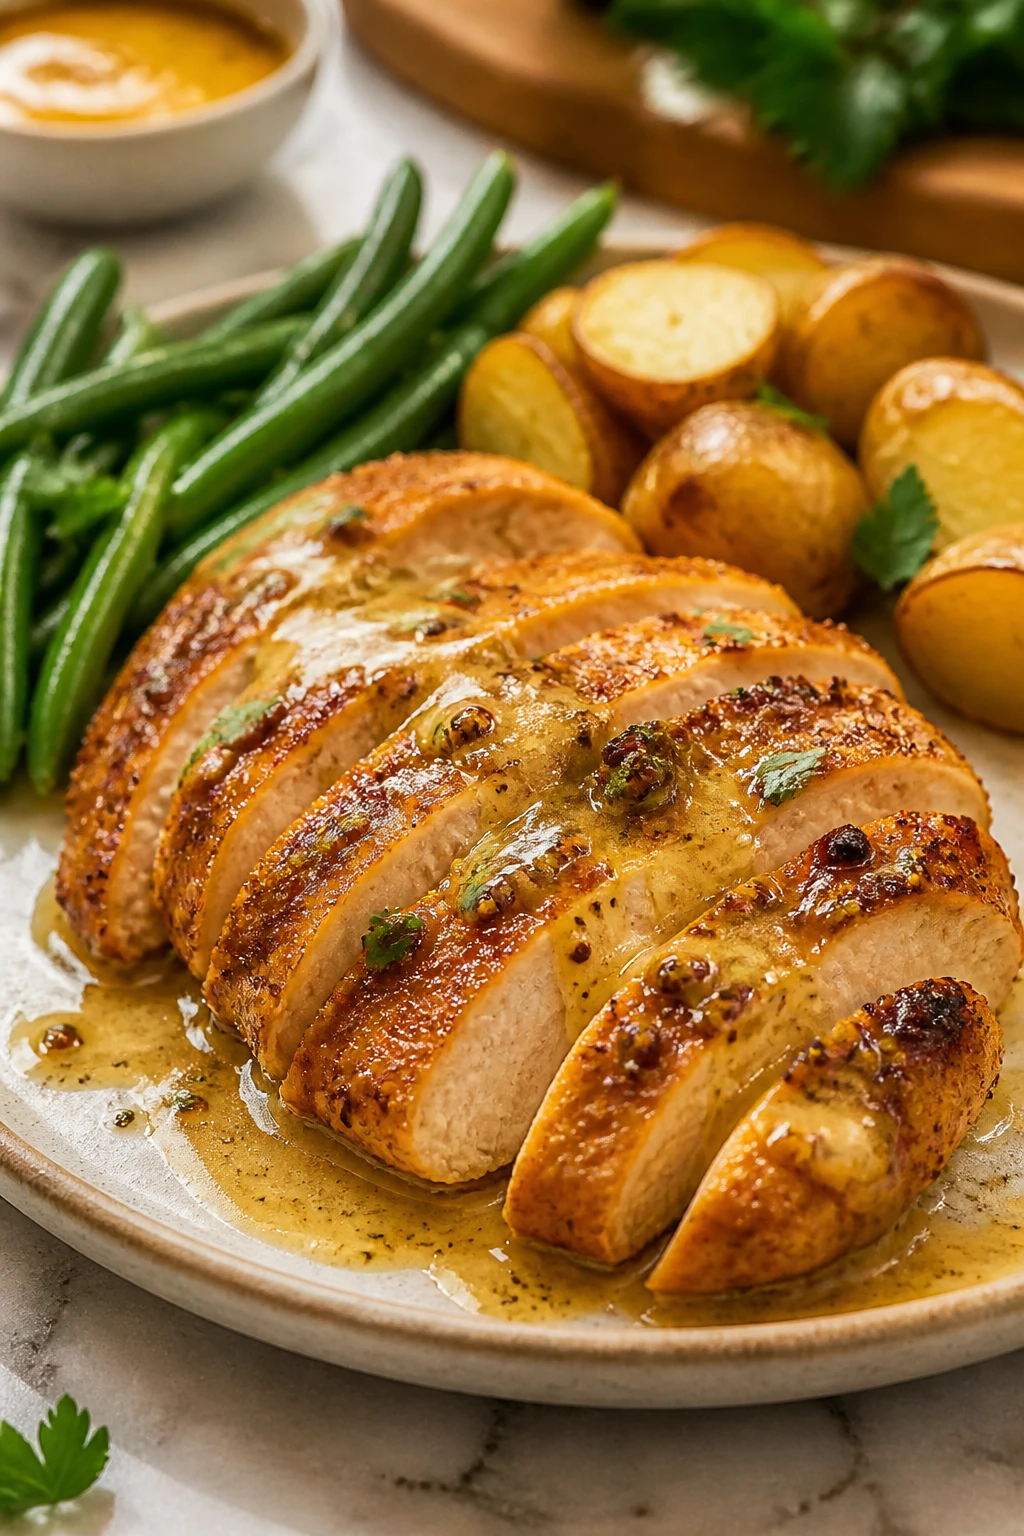
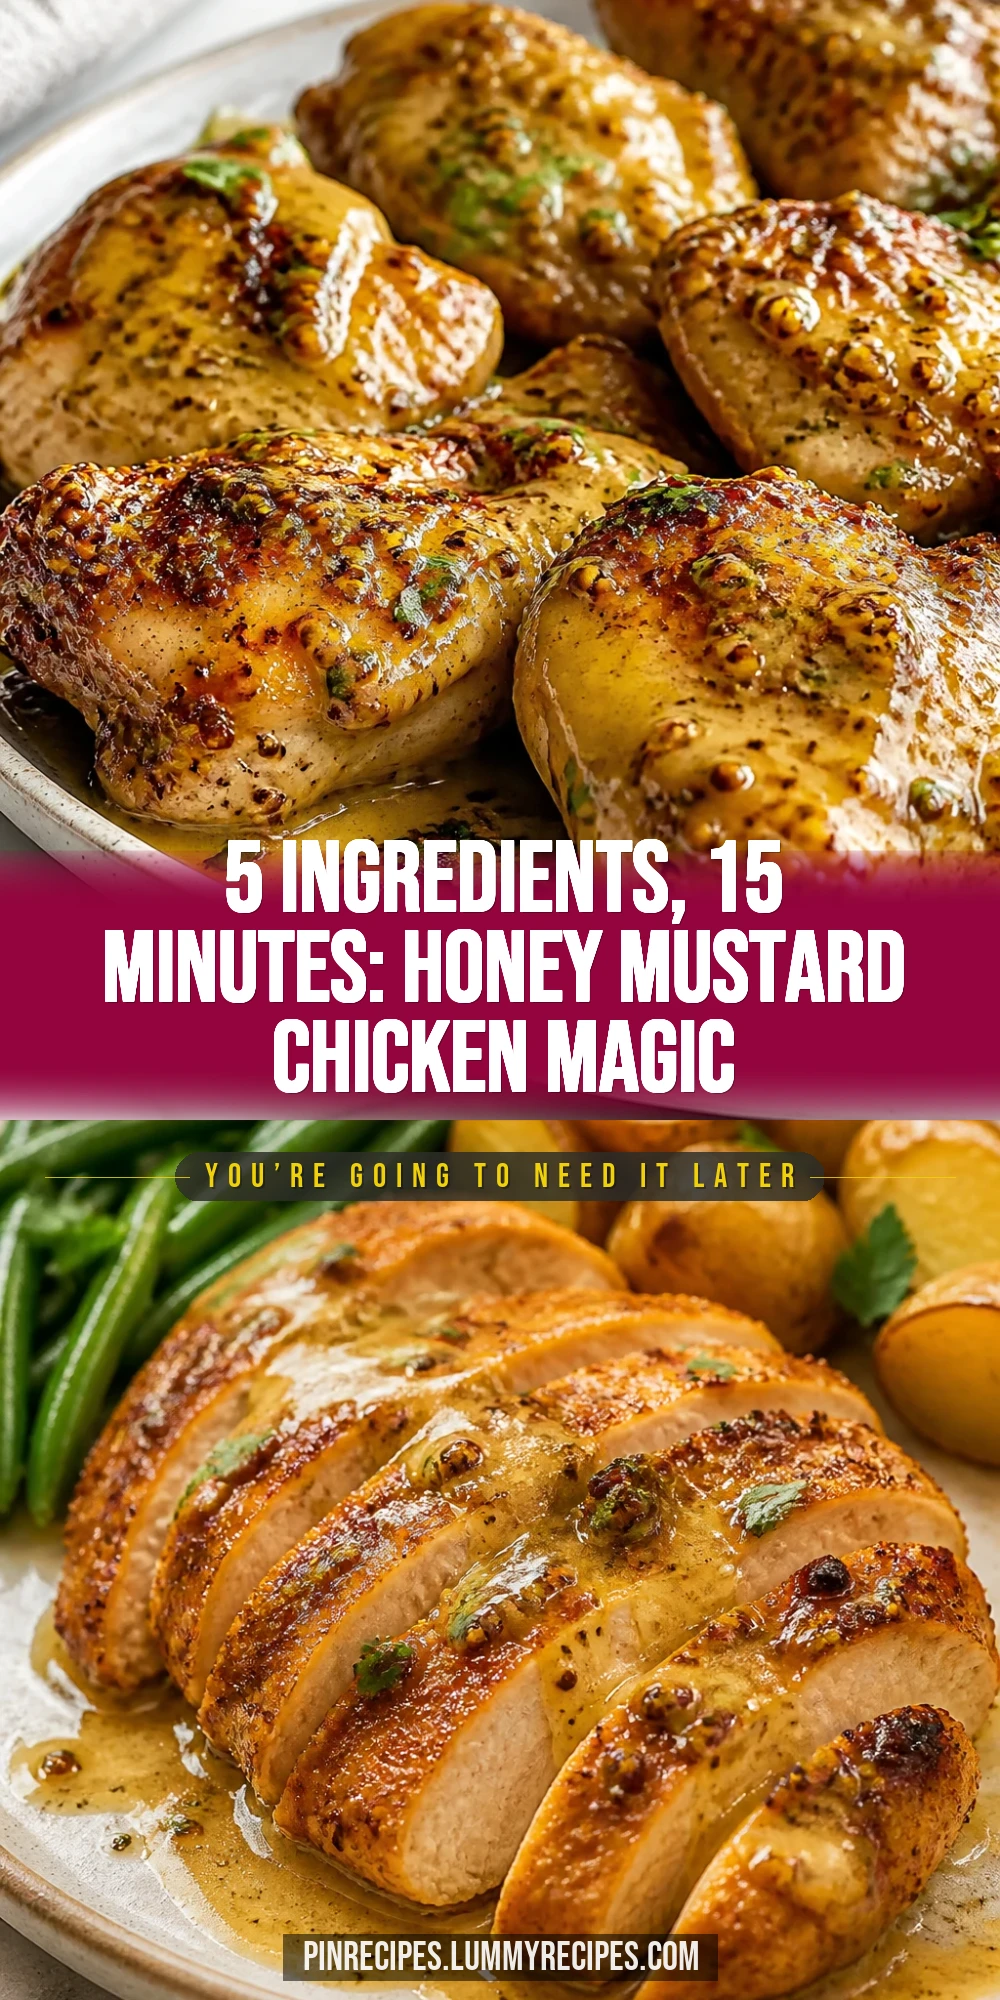
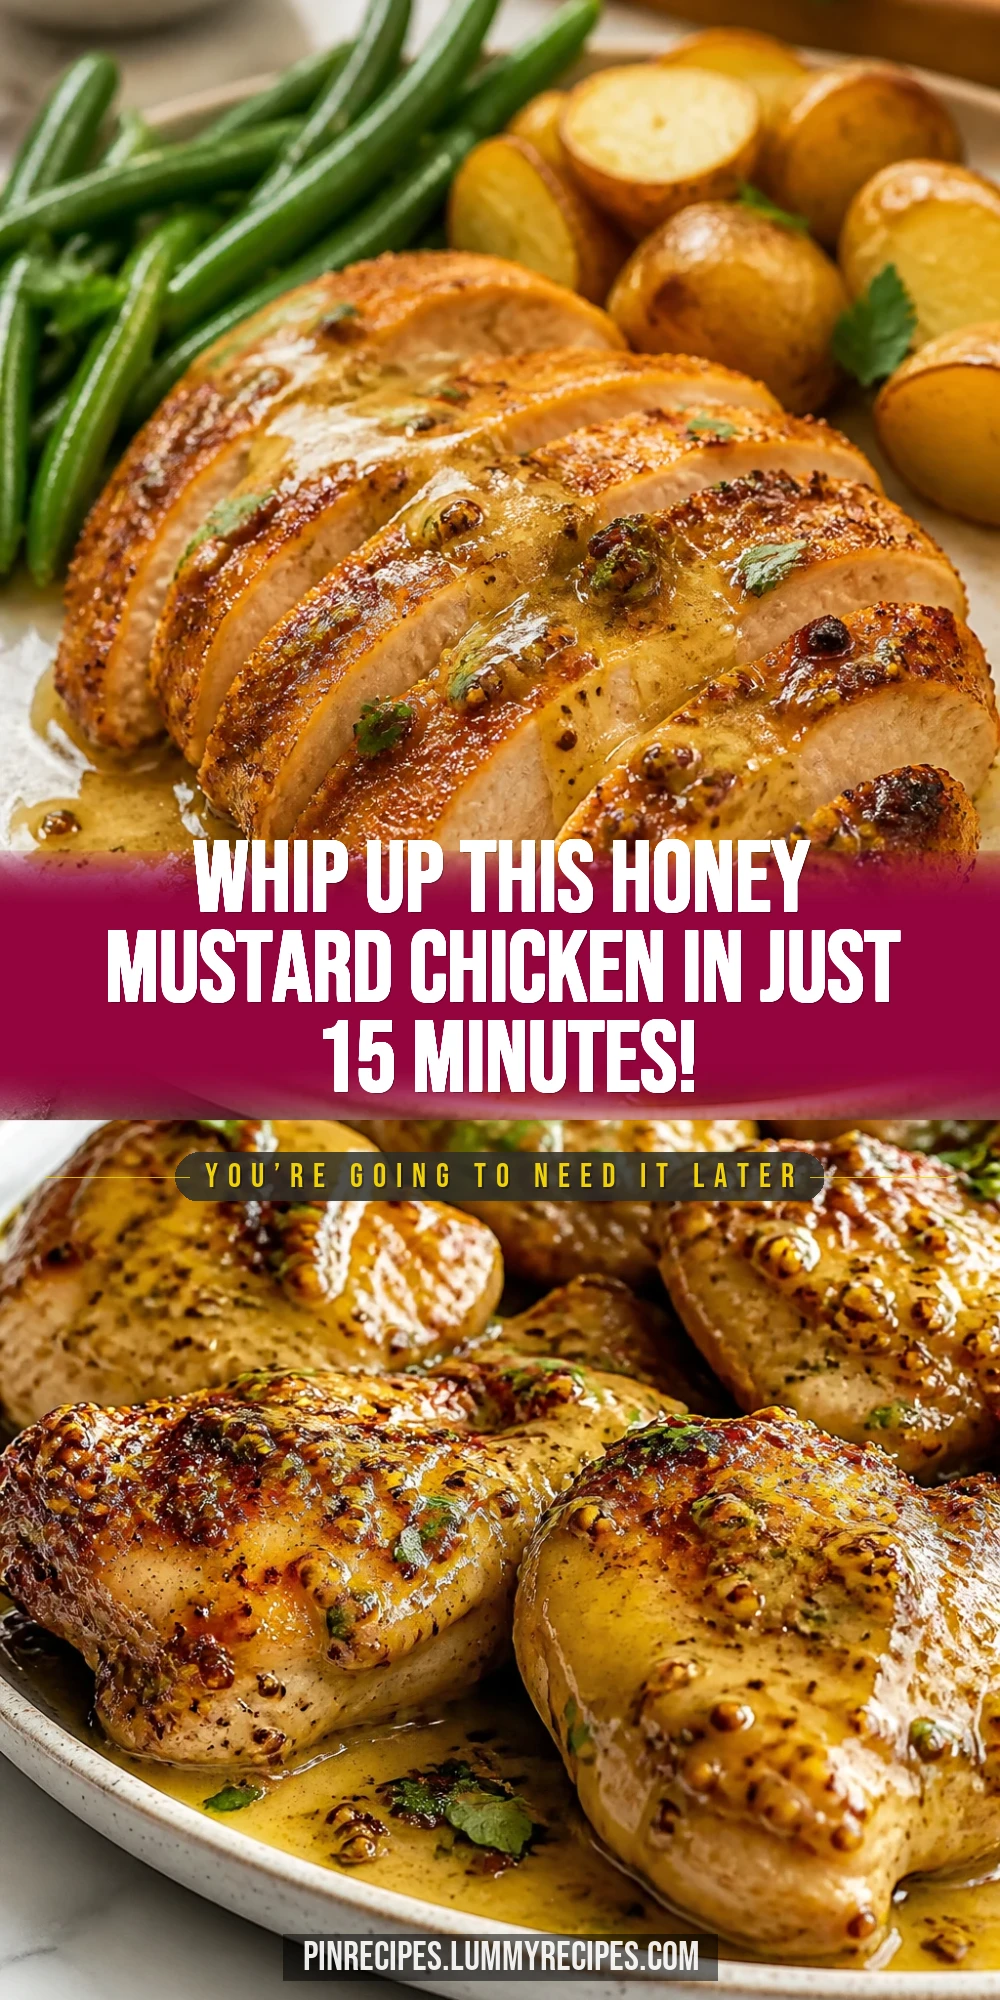
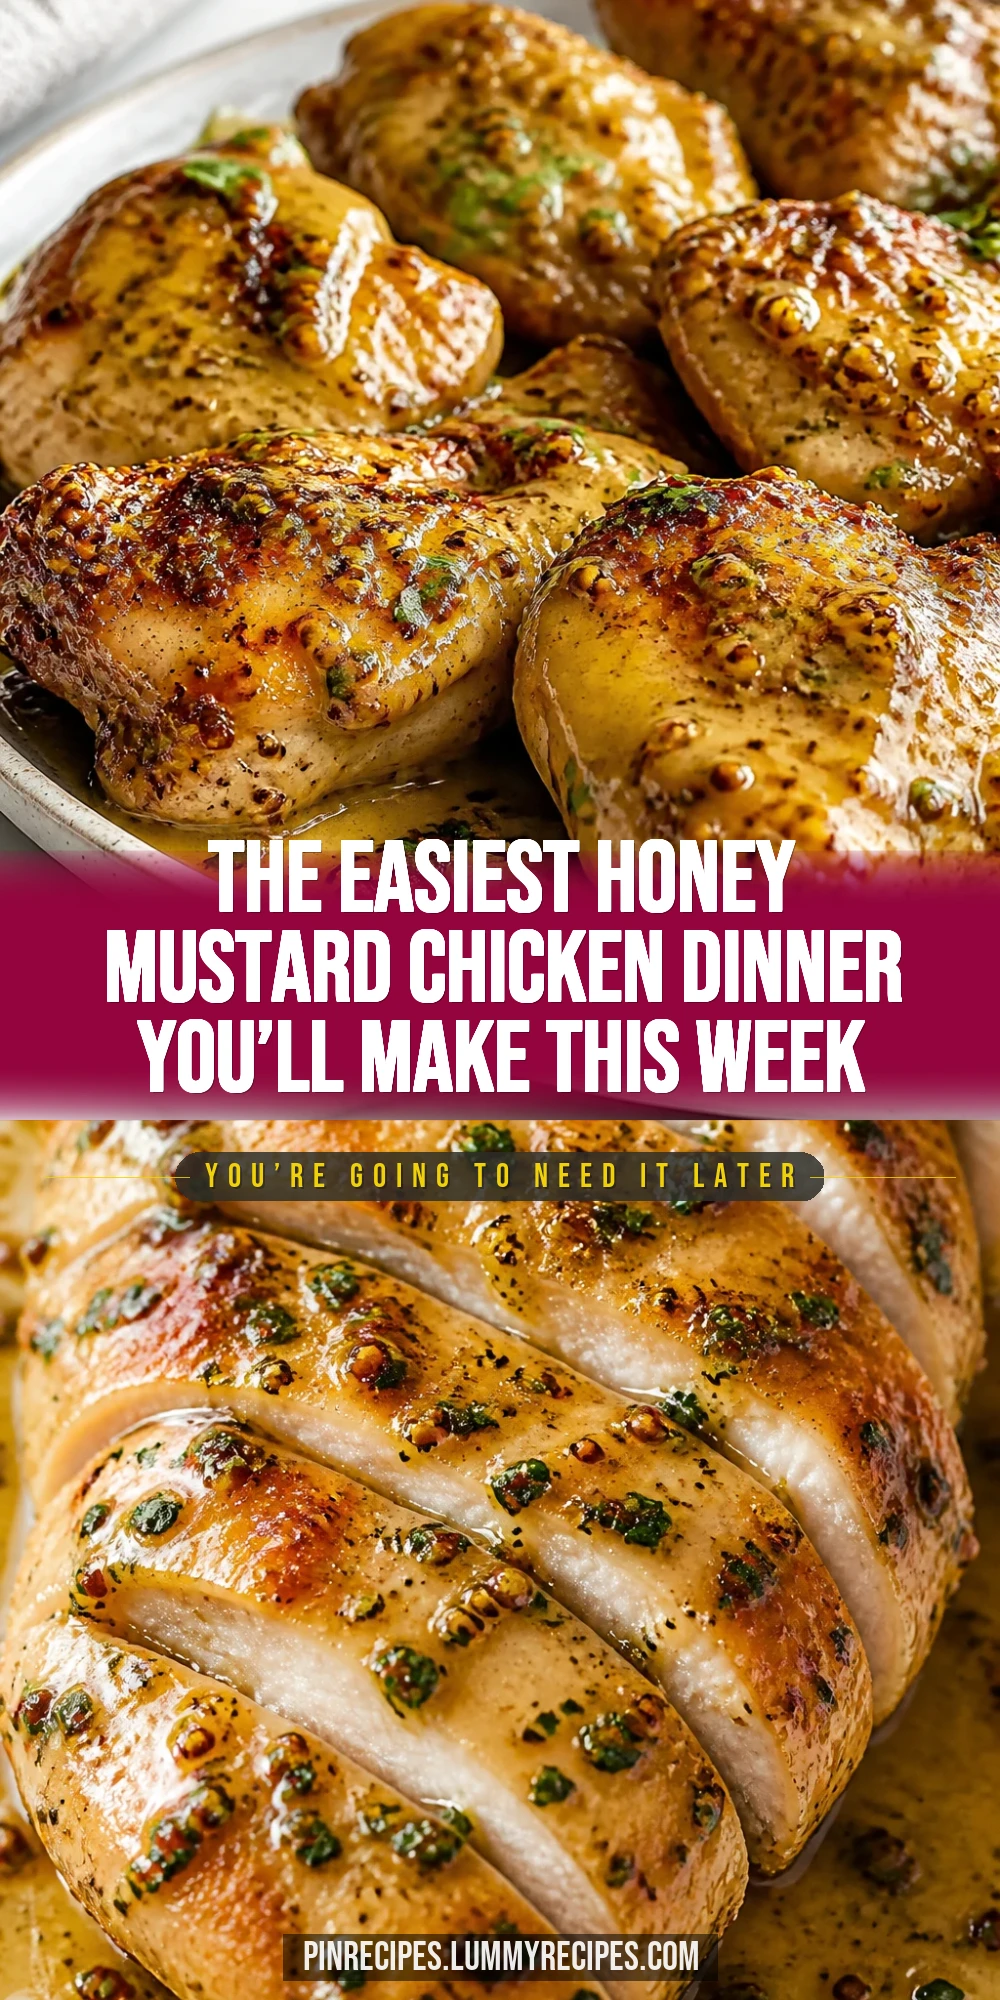
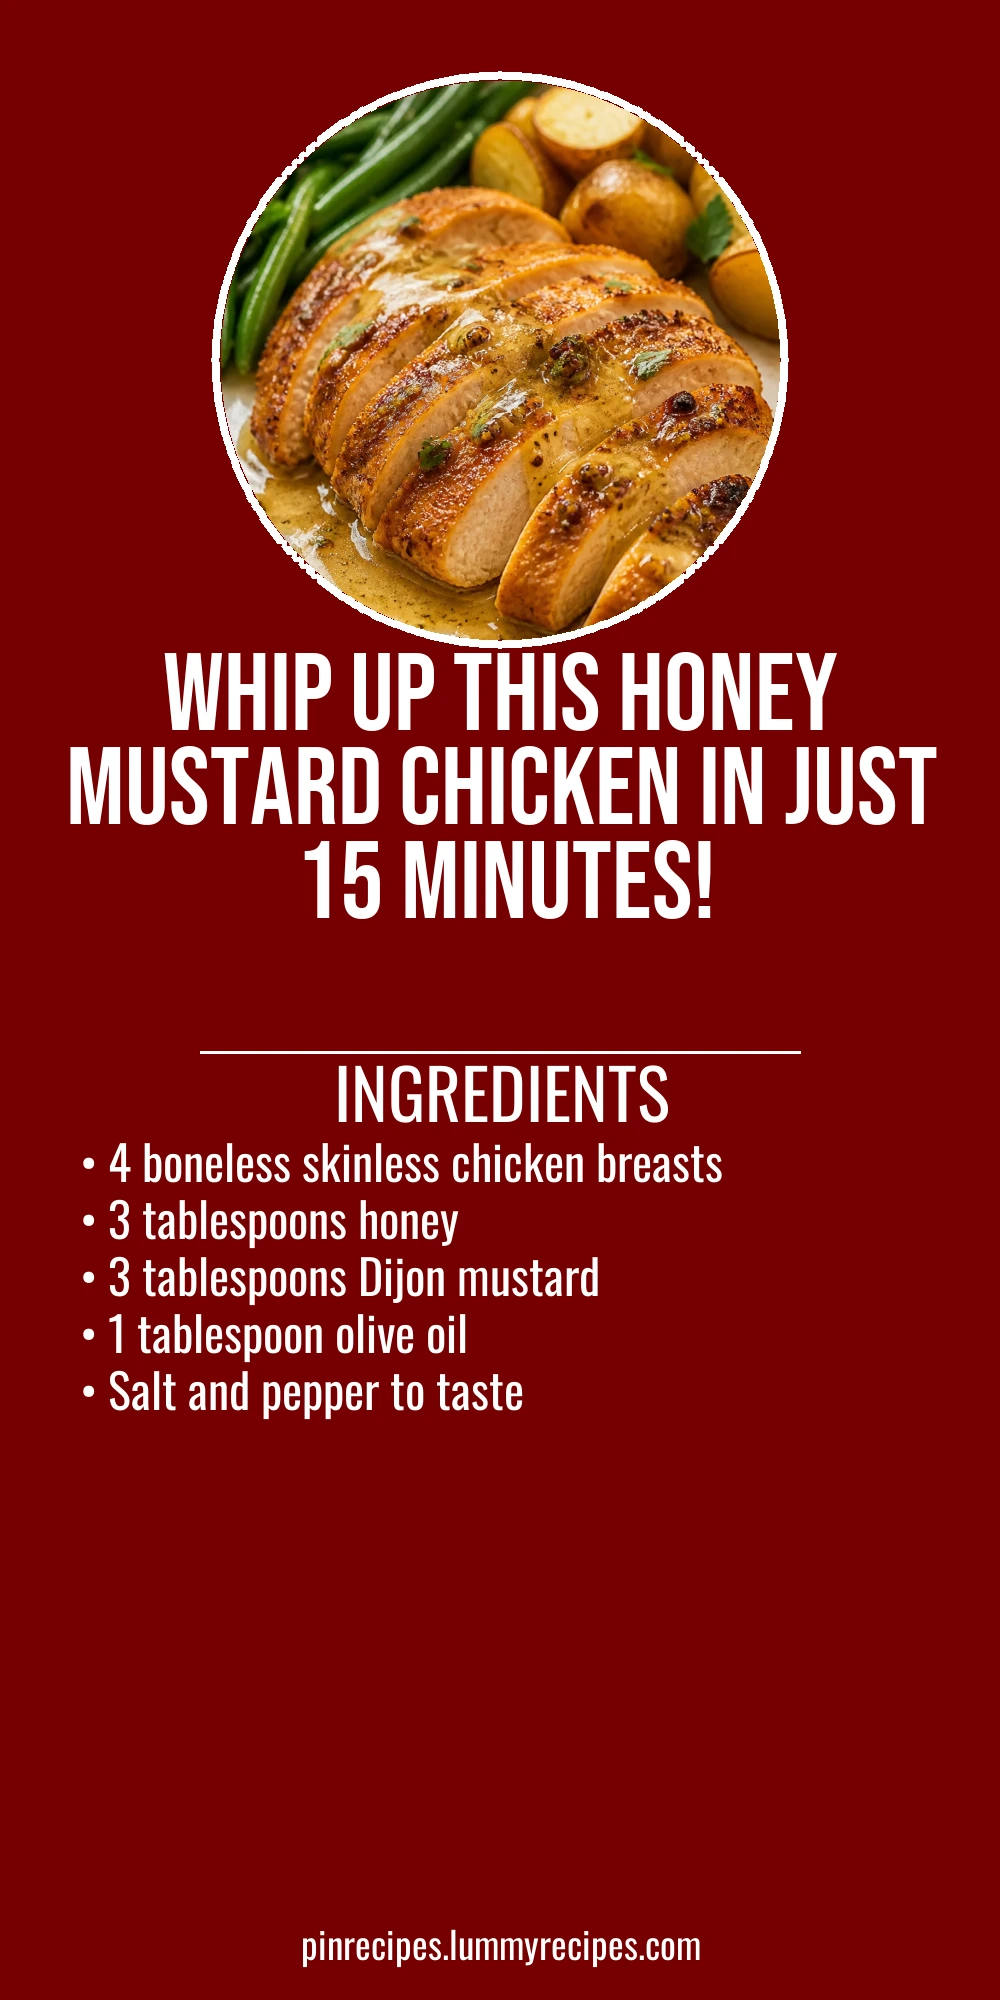
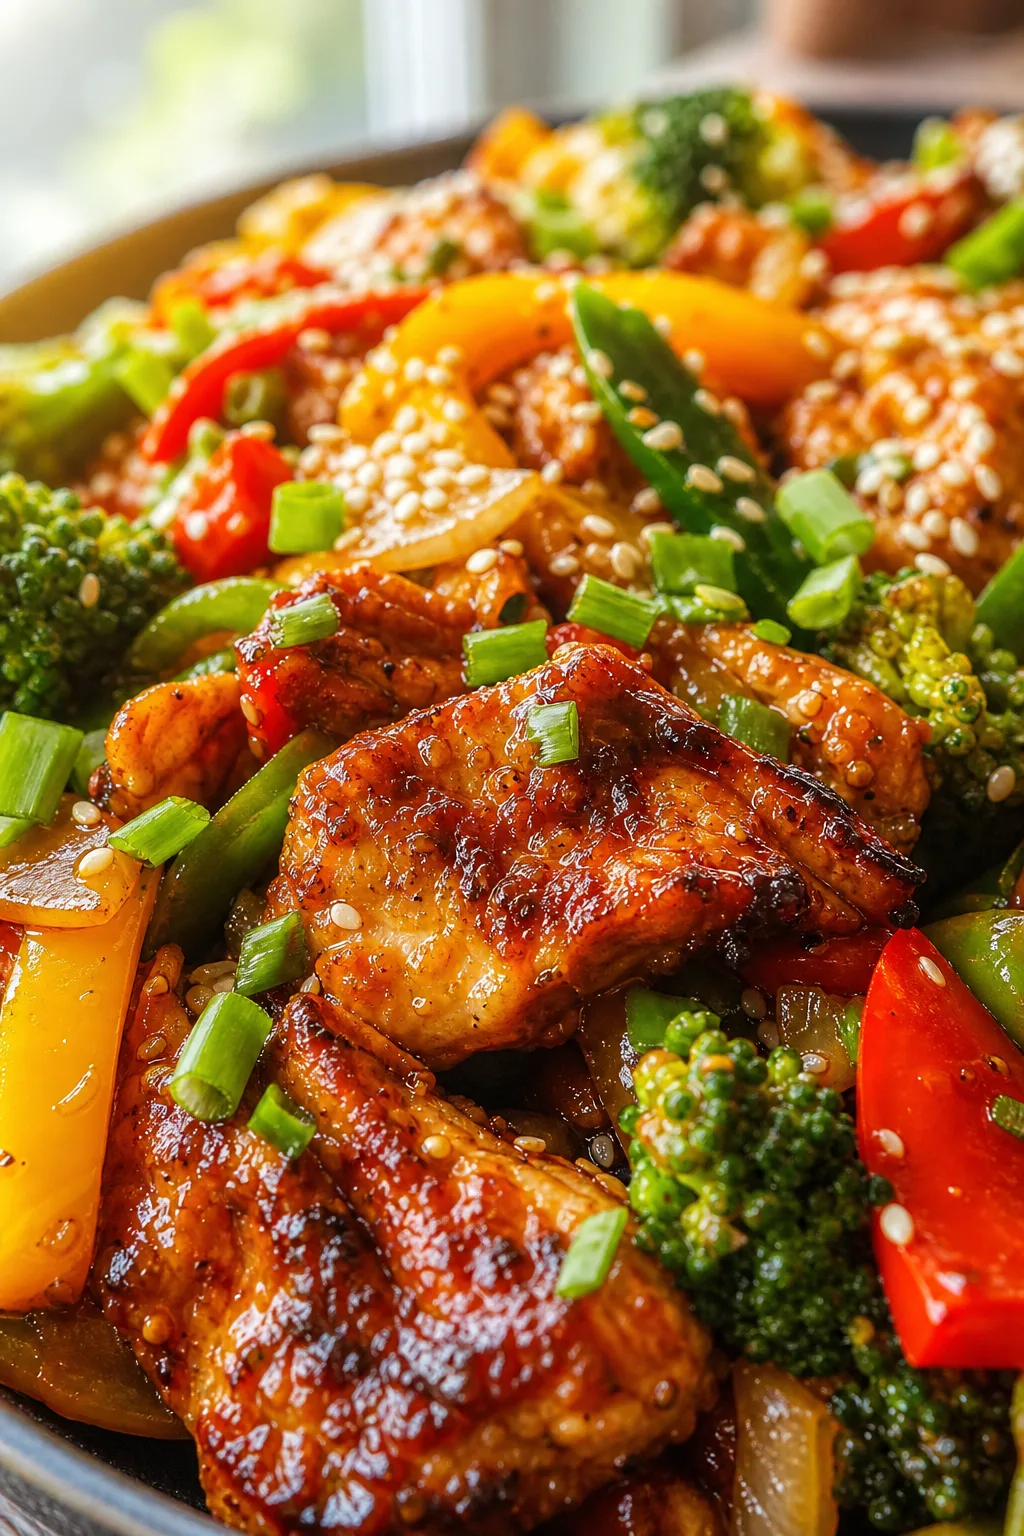
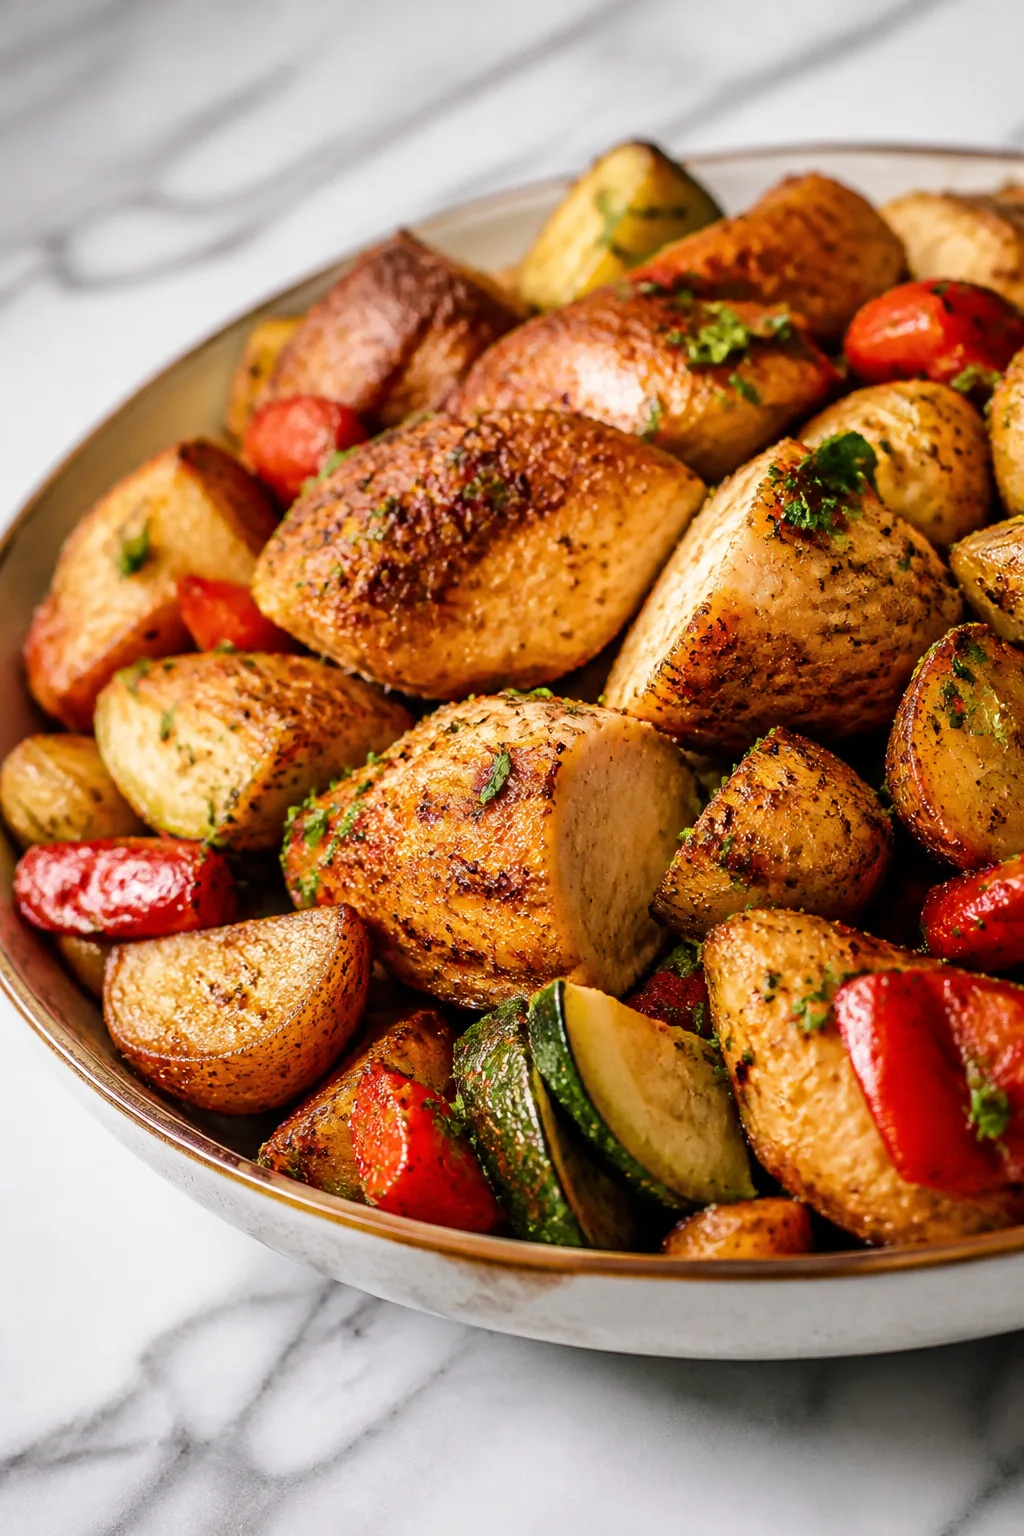
This honey mustard chicken is a lifesaver on busy nights—just five ingredients and 15 minutes to a juicy, flavorful dinner. The honey adds a perfect touch of sweetness that balances the tangy mustard, making it a family favorite any night of the week.
Introduction
I first tried this honey mustard chicken on a hectic weeknight when I needed dinner fast but still wanted something homemade and satisfying. Most recipes I found had tons of ingredients or long cooking times, which wasn’t going to work for my busy schedule. So, I experimented with just five simple ingredients and kept the prep minimal. The trick I learned was to combine the honey and mustard into a quick glaze that coats the chicken perfectly, locking in moisture and flavor. It’s sweet, tangy, and a little bit sticky in the best way. The chicken cooks quickly in a hot skillet, so you get a golden crust without drying it out. What’s great is that it feels special enough for a weekend dinner but is easy enough for a last-minute meal. Every time I make it, my family asks for seconds, and I love how simple it is to whip up. You’ll end up with juicy chicken that’s bursting with honey mustard goodness—definitely a new staple in my kitchen!
How To Do It
Step 1
Start by patting the chicken breasts dry with paper towels. This step is crucial because removing excess moisture helps the chicken brown nicely instead of steaming. Season both sides generously with salt and pepper. Heating the pan well before adding the chicken will also help develop a beautiful golden crust. Use a medium-high heat skillet and add the olive oil, swirling to coat the bottom evenly. You'll want the oil hot but not smoking to avoid burning. When you place the chicken in the pan, listen for that satisfying sizzle—that's how you know the sear is working.
⏱ Time: 5 minutes
✓ Doneness: Chicken edges turn golden brown and release easily from the pan without sticking
Step 2
Cook the chicken breasts for about 4-5 minutes on one side without moving them. This undisturbed cooking allows a crust to form. Flip and cook the other side for another 4 minutes or until the internal temperature reaches 165°F (74°C). If your chicken breasts are on the thicker side, you might want to lower the heat slightly and cover the pan for a minute or two to ensure thorough cooking without burning the outside. Avoid cutting into the chicken to check doneness too early, as this releases juices and dries the meat.
⏱ Time: 8-10 minutes
✓ Doneness: Juices run clear when pierced and internal temperature reads 165°F
Step 3
While the chicken cooks, whisk together the honey and Dijon mustard in a small bowl. This simple glaze is the star of the dish, balancing sweetness with a bit of tang. Make sure the mixture is smooth and well combined to coat the chicken evenly later.
⏱ Time: 2 minutes
✓ Doneness: Honey and mustard fully blended into a smooth sauce with no lumps
Step 4
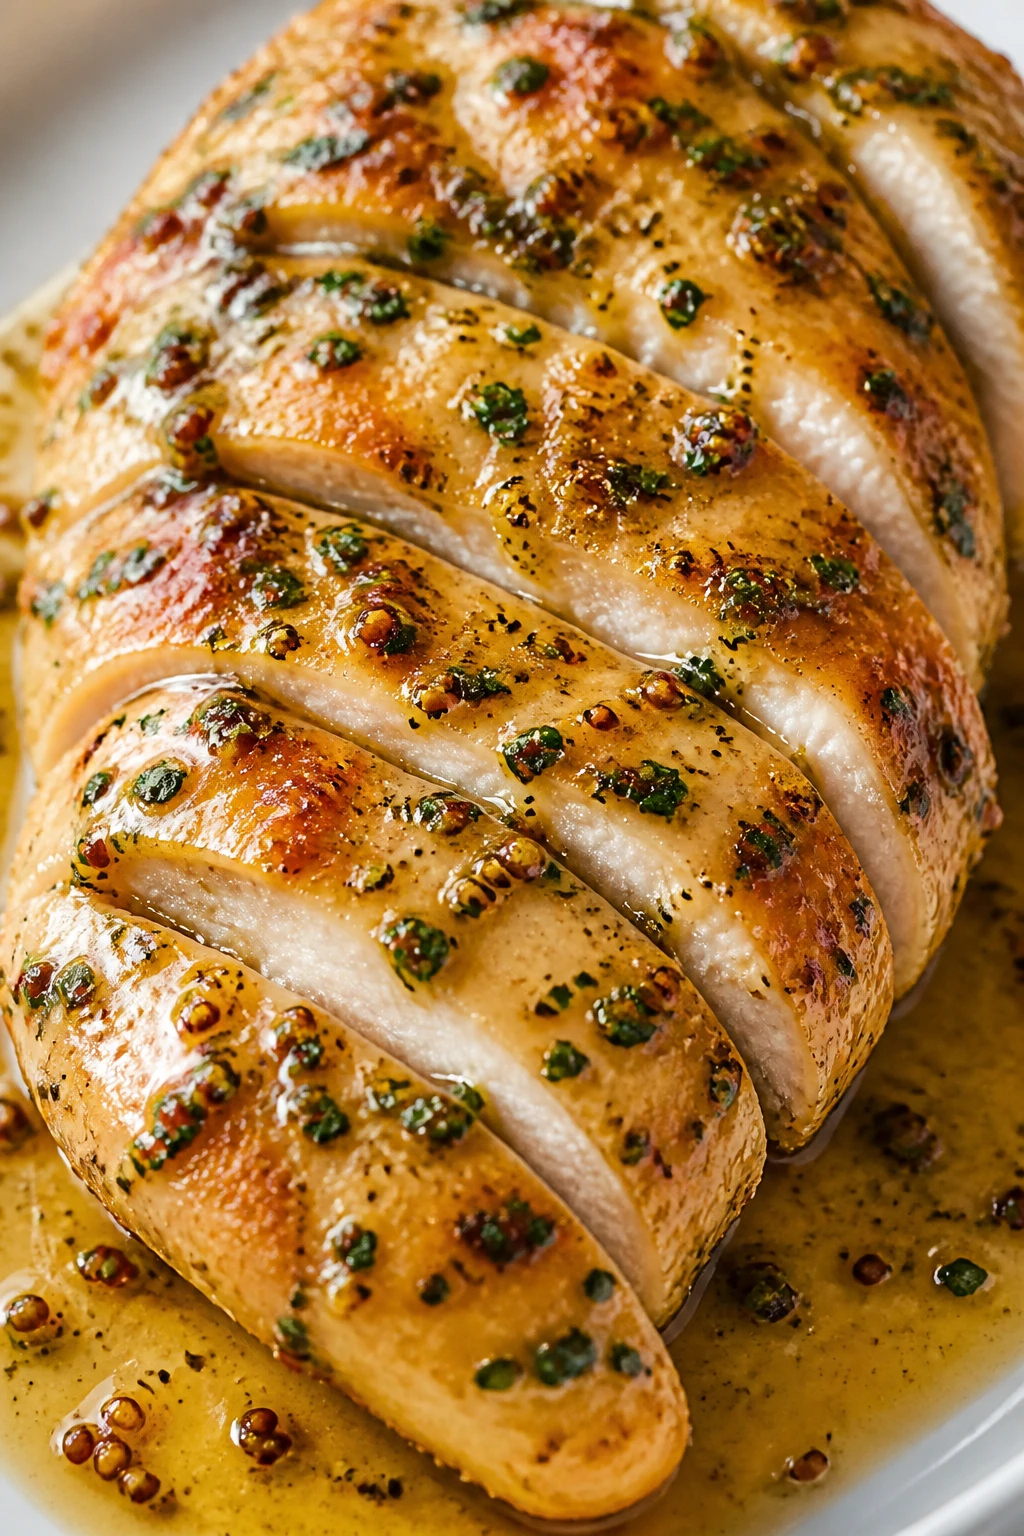
Once the chicken is nearly done, reduce the heat to low and brush the honey mustard glaze generously over each piece. Let it cook for another minute or two, spooning the glaze over the chicken as it thickens slightly. This step caramelizes the sugars in the honey, giving the chicken a shiny, sticky coating that tastes amazing. Be careful not to burn it—low heat is key here.
⏱ Time: 2 minutes
✓ Doneness: Glaze thickens and clings to the chicken with a glossy finish
Step 5
Remove the chicken from the pan and let it rest on a plate for 5 minutes before slicing. Resting allows the juices to redistribute, keeping the meat tender and juicy. If you cut into the chicken immediately, the juices will run out and the chicken can become dry.
⏱ Time: 5 minutes
✓ Doneness: Chicken feels firm but springy to the touch and juices settle inside
Step 6
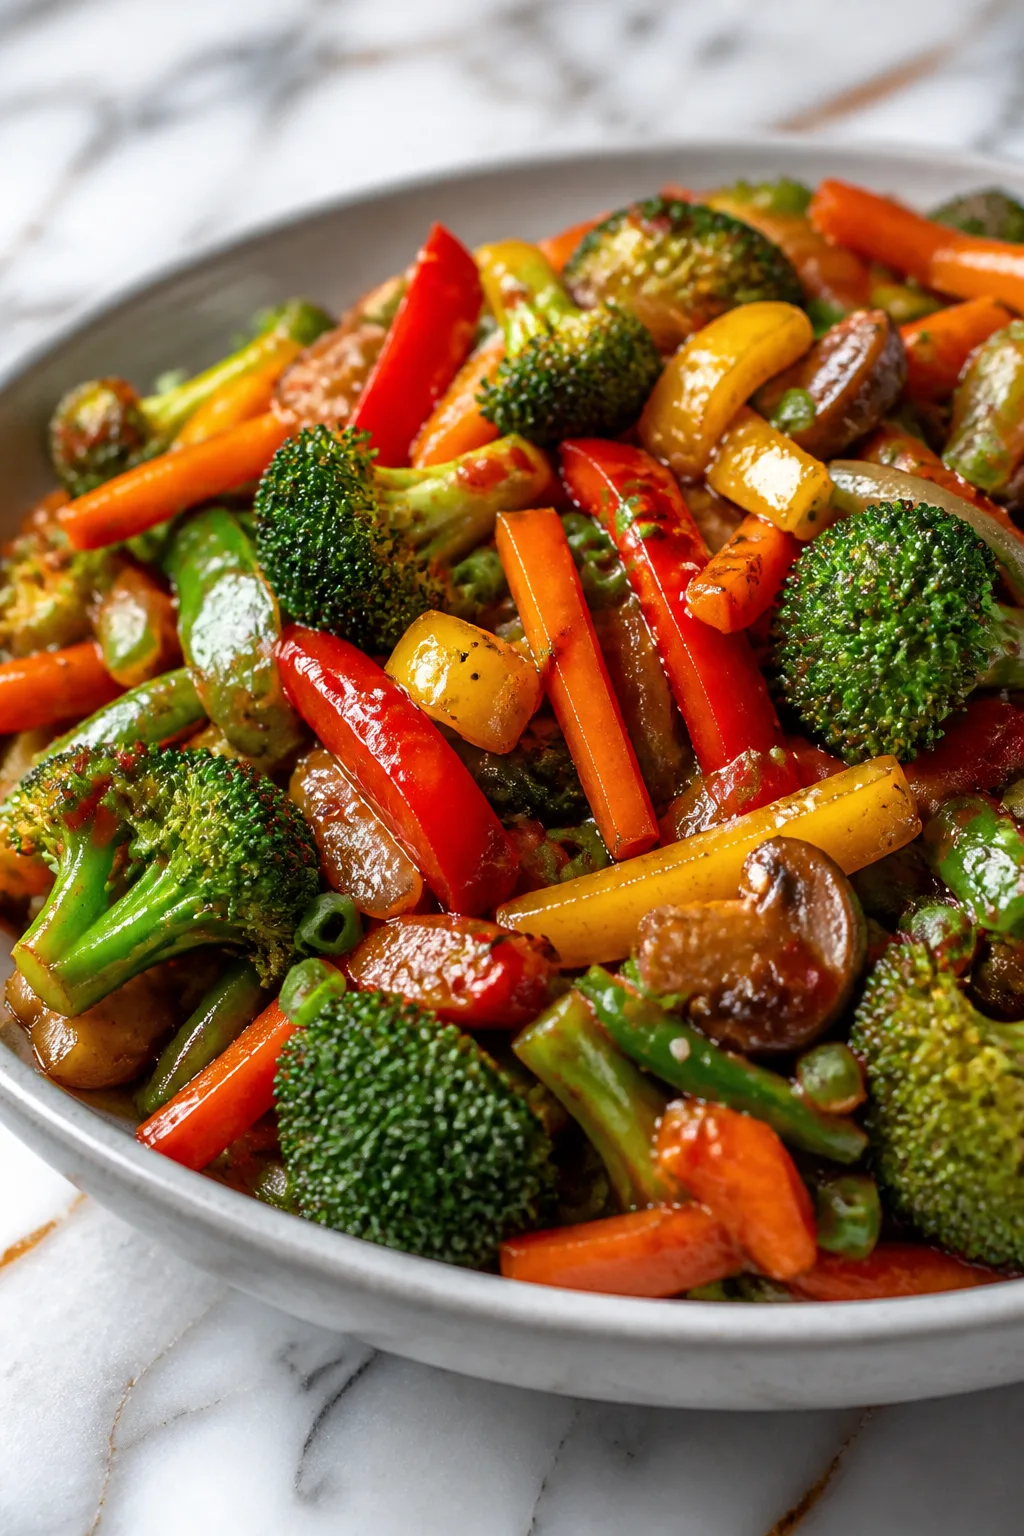
Slice the chicken against the grain to maximize tenderness and arrange on a serving platter. Drizzle any remaining glaze from the pan over the top for extra flavor. Serving it over rice, steamed veggies, or a fresh salad makes a complete meal.
⏱ Time: 3 minutes
✓ Doneness: Slices reveal moist, juicy interior with a golden crust
Step 7
If you'd like, garnish with freshly chopped parsley or a squeeze of lemon to brighten the flavors. These little touches add freshness and a pop of color that makes the dish feel even more inviting.
⏱ Time: 1 minute
✓ Doneness: Fresh herbs look vibrant and lemon juice adds a subtle zing
Step 8
Clean your pan while the chicken rests to prepare for any side dishes you want to make in the same skillet, like sautéed greens or quick garlic rice. Using the same pan helps incorporate those delicious browned bits into your sides.
⏱ Time: 5 minutes
✓ Doneness: Pan is wiped clean but retains some fond for flavor
Step 9
Serve immediately while warm and enjoy the perfect balance of sweet and tangy flavors. This dish pairs wonderfully with simple sides and is sure to become a weeknight favorite because it’s so quick and satisfying.
⏱ Time: Immediate
✓ Doneness: Dish is hot and aromatic, ready to enjoy
Pro Tips
Pat the chicken dry before cooking.
Removing moisture from the chicken surface helps achieve a better sear. Moisture creates steam in the pan, which prevents browning and leads to a less flavorful crust. A dry surface promotes the Maillard reaction, giving you that golden, tasty exterior.
Use medium-high heat for searing.
Cooking at medium-high heat encourages browning without burning. Too low heat results in pale, steamed chicken, while too high heat can burn the glaze’s sugars. This balance ensures a flavorful crust and juicy interior.
Don’t move the chicken too soon after placing it in the pan.
Letting the chicken cook undisturbed allows a crust to form, which naturally releases from the pan when ready. Moving it too early can tear the surface and prevent proper browning.
Apply the honey mustard glaze near the end of cooking.
Honey sugars can burn if exposed to high heat for too long. Adding the glaze at the last few minutes lets it caramelize gently, creating a sticky, flavorful coating without bitterness.
Let the chicken rest before slicing.
Resting allows juices to redistribute inside the meat, resulting in tender, juicy chicken. Cutting too soon causes the juices to escape, making the meat dry.
Use a meat thermometer to check doneness.
Chicken is perfectly cooked at 165°F. Using a thermometer prevents overcooking, which dries out the meat, or undercooking, which is unsafe.
Slice against the grain.
Cutting against the grain shortens muscle fibers, making the chicken easier to chew and more tender.
Common Mistakes to Avoid
Skipping the pat-dry step
Why it happens Many cooks overlook drying the chicken because it feels like an extra step, or they assume it won’t affect the outcome much.
Fix Always use paper towels to thoroughly dry the chicken before seasoning. This ensures a better sear and prevents steaming, which leads to soggy texture and less flavor.
Cooking chicken on too low heat
Why it happens Some think low heat is safer to avoid burning, but it prevents proper browning and can make the chicken rubbery.
Fix Use medium-high heat to get that golden crust quickly. Adjust if the pan starts smoking, but don’t lower heat too much or you’ll lose flavor development.
Applying glaze too early
Why it happens Rushing the process and adding honey mustard glaze at the start can cause it to burn and taste bitter.
Fix Wait until the chicken is mostly cooked, then brush on the glaze. Cook on low heat briefly to caramelize sugars gently.
Cutting chicken immediately after cooking
Why it happens Impatience leads to slicing hot chicken right away, causing juices to run out and dry meat.
Fix Let chicken rest for 5 minutes before slicing to keep it juicy and tender.
Uneven chicken thickness
Why it happens Not pounding or trimming chicken breasts causes uneven cooking, leaving some parts undercooked or overcooked.
Fix If breasts are thick, gently pound them to even thickness for consistent cooking.
Variations
Spicy Honey Mustard Chicken
Add a teaspoon of chili flakes or a dash of hot sauce to the honey mustard glaze for a spicy kick. This variation adds warmth and depth without overpowering the sweet and tangy balance. Perfect if you like a little heat.
Note: Adjust cooking time slightly if using thicker chicken to ensure it cooks through without burning the spicy glaze.
Herbed Honey Mustard Chicken
Mix fresh chopped herbs like thyme or rosemary into the glaze before brushing it on the chicken. The herbs add an earthy aroma and complexity that pairs beautifully with the sweetness of honey and tang of mustard.
Note: Add herbs at the end to preserve their fresh flavor and avoid bitterness from overheating.
Honey Mustard Chicken with Garlic
Sauté minced garlic in olive oil before adding the chicken to infuse the dish with a rich, savory layer. Garlic complements the honey mustard glaze and elevates the overall flavor profile.
Note: Be careful not to burn the garlic; cook it just until fragrant before adding chicken.
Baked Honey Mustard Chicken
Instead of pan-searing, bake the chicken breasts in the oven at 400°F for 20 minutes after brushing with the honey mustard glaze. This hands-off method is great for busy days and yields tender chicken with a slightly different texture.
Note: Check internal temperature to avoid overcooking; baking times may vary with breast size.
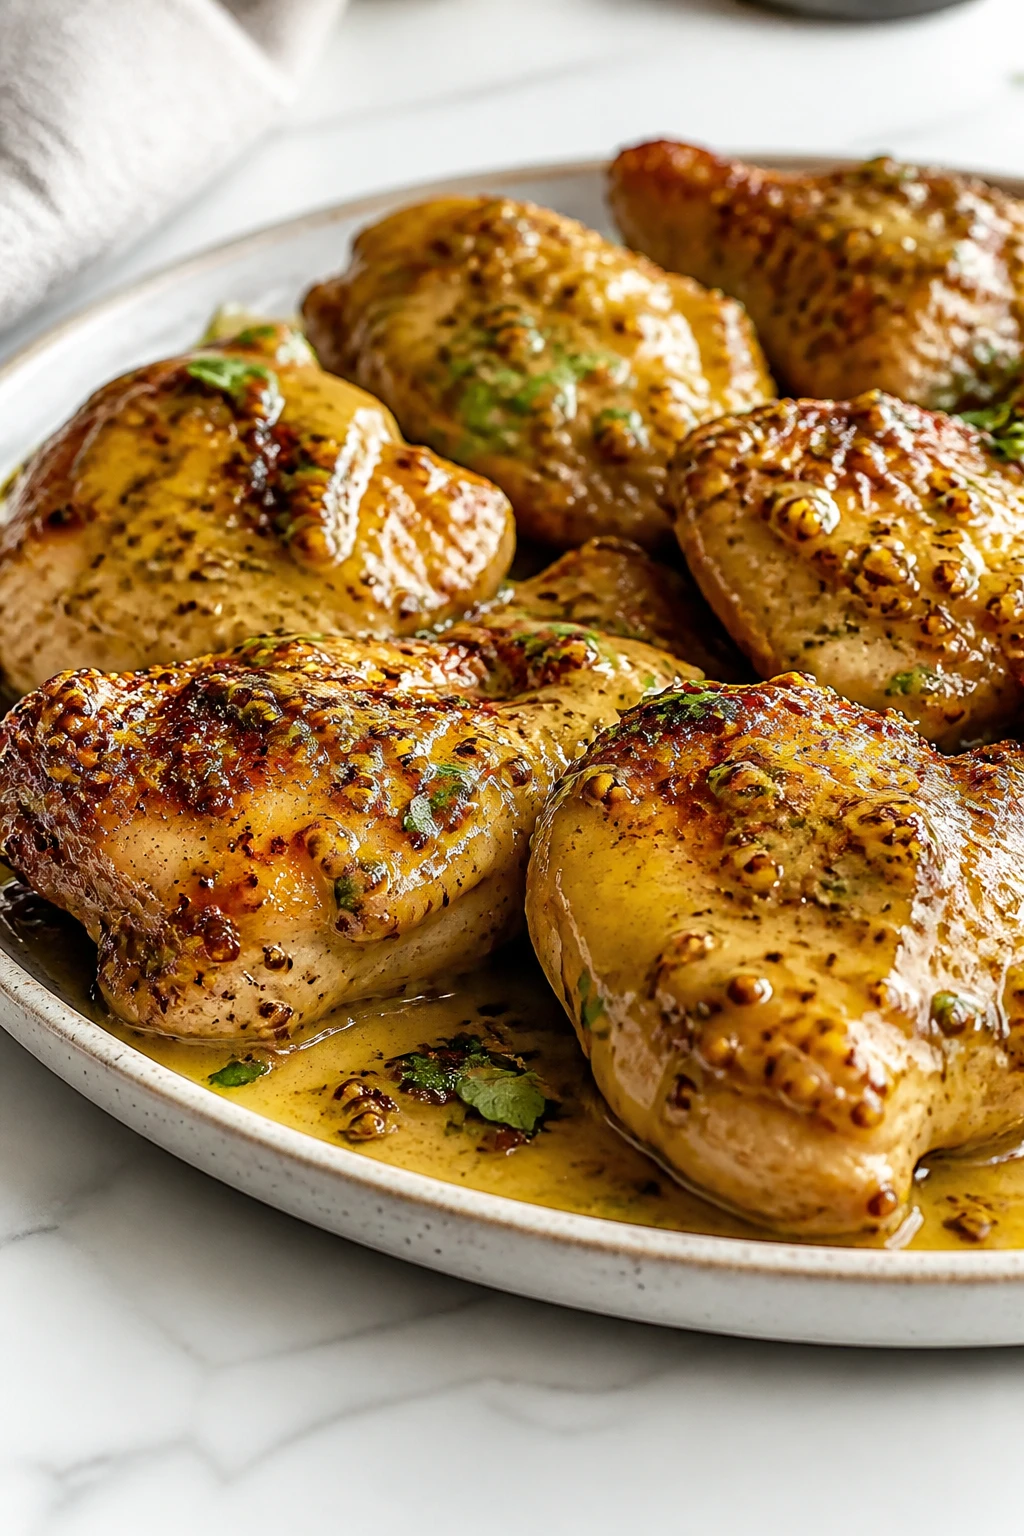
Honey Mustard Chicken Thighs
Swap chicken breasts for boneless, skinless chicken thighs for a juicier, more flavorful dish. Thighs have more fat, which keeps them moist and tender, especially with the sticky glaze.
Note: Cook thighs a bit longer than breasts to ensure they’re fully cooked and tender.
Nutrition
Per Serving:
Nutritional values are estimates and may vary based on specific ingredients used.
Storage & Tips
Room Temperature
You can keep the cooked chicken covered at room temperature for up to 2 hours safely. Beyond that, bacteria growth increases, so refrigerate promptly. Cover with foil or a clean cloth to prevent drying out.
Refrigerator
Store leftover chicken in an airtight container for up to 3 days. The honey mustard glaze may thicken or darken slightly but reheats well. For best texture, reheat gently to avoid drying the chicken.
Freezer
Freeze cooked chicken in a freezer-safe container or wrapped tightly in plastic wrap and foil for up to 3 months. Thaw overnight in the refrigerator before reheating to preserve texture and flavor.
Reheating
Reheat on the stovetop over low heat or in the microwave at medium power to warm evenly without drying out. Add a splash of water or broth if the glaze seems too thick. Avoid high heat which can toughen the chicken.
Make Ahead
You can prepare the honey mustard glaze and season the chicken breasts a day ahead, storing them covered in the fridge. When ready to cook, simply sear and glaze as directed for a quick dinner.
FAQ
Can I use chicken thighs instead of breasts?
Absolutely! Chicken thighs are juicier and more forgiving if slightly overcooked. Just adjust cooking time to about 6-7 minutes per side depending on thickness. The honey mustard glaze works beautifully on thighs as well.
What can I serve with this honey mustard chicken?
This chicken pairs wonderfully with simple sides like steamed vegetables, rice, quinoa, or a fresh green salad. Roasted potatoes or a crusty bread also complement the sweet and tangy flavors nicely.
Can I make this recipe gluten-free?
Yes! All the main ingredients are naturally gluten-free. Just double-check that your mustard brand doesn’t contain any gluten additives. Most Dijon mustards are safe, but it’s always good to verify.
How do I know when the chicken is fully cooked?
The safest way is to use a meat thermometer. Chicken should reach an internal temperature of 165°F (74°C). If you don’t have a thermometer, cut into the thickest part and check that the juices run clear, not pink.
Can I prepare this recipe ahead of time?
You can mix the honey mustard glaze and season the chicken up to a day in advance, storing it covered in the fridge. Cook it fresh when you’re ready for dinner to keep the best texture and flavor.
What if I don’t have Dijon mustard?
You can substitute with yellow mustard for a milder taste, though the flavor will be less sharp. Avoid spicy or whole grain mustards unless you want a different texture or heat level.
How do I prevent the honey from burning?
Add the honey mustard glaze towards the end of cooking on low heat. Honey sugars burn quickly at high temperatures, causing bitterness. Cooking the glaze briefly just to caramelize it is key.
Is olive oil necessary, or can I use butter?
Olive oil is preferred for its higher smoke point and neutral flavor. Butter can burn easily at the searing temperature needed. If using butter, consider combining it with oil or lowering the heat.
Final Thoughts
I hope you enjoy making this quick and flavorful honey mustard chicken as much as I do! Let me know how it turns out and what sides you paired it with.