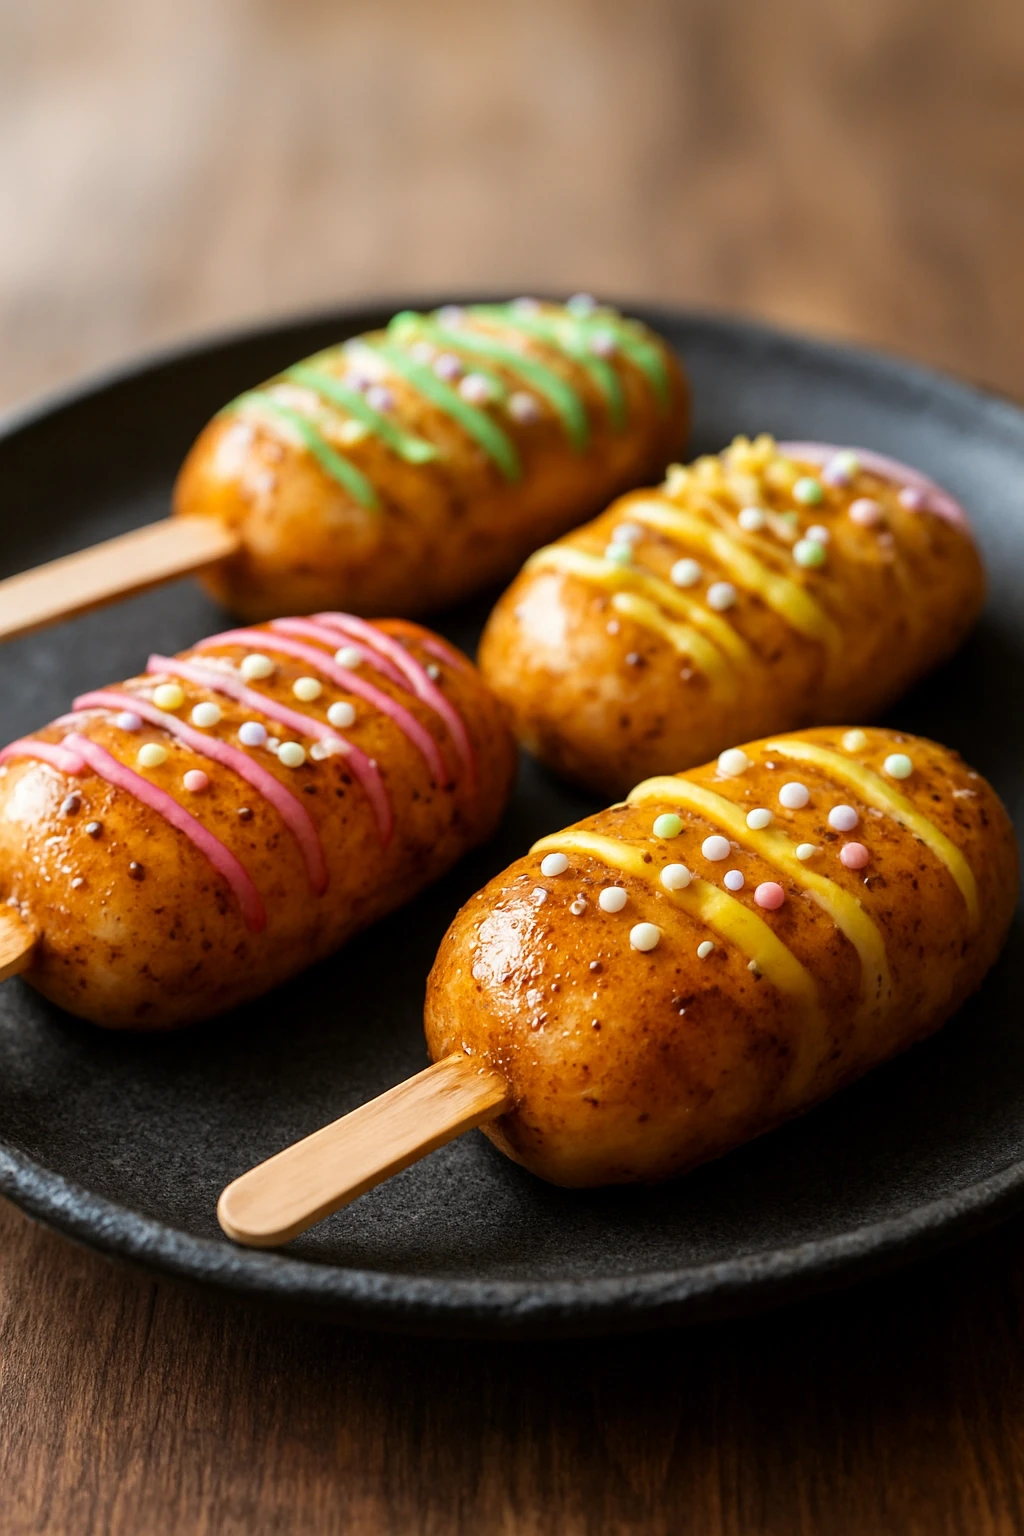
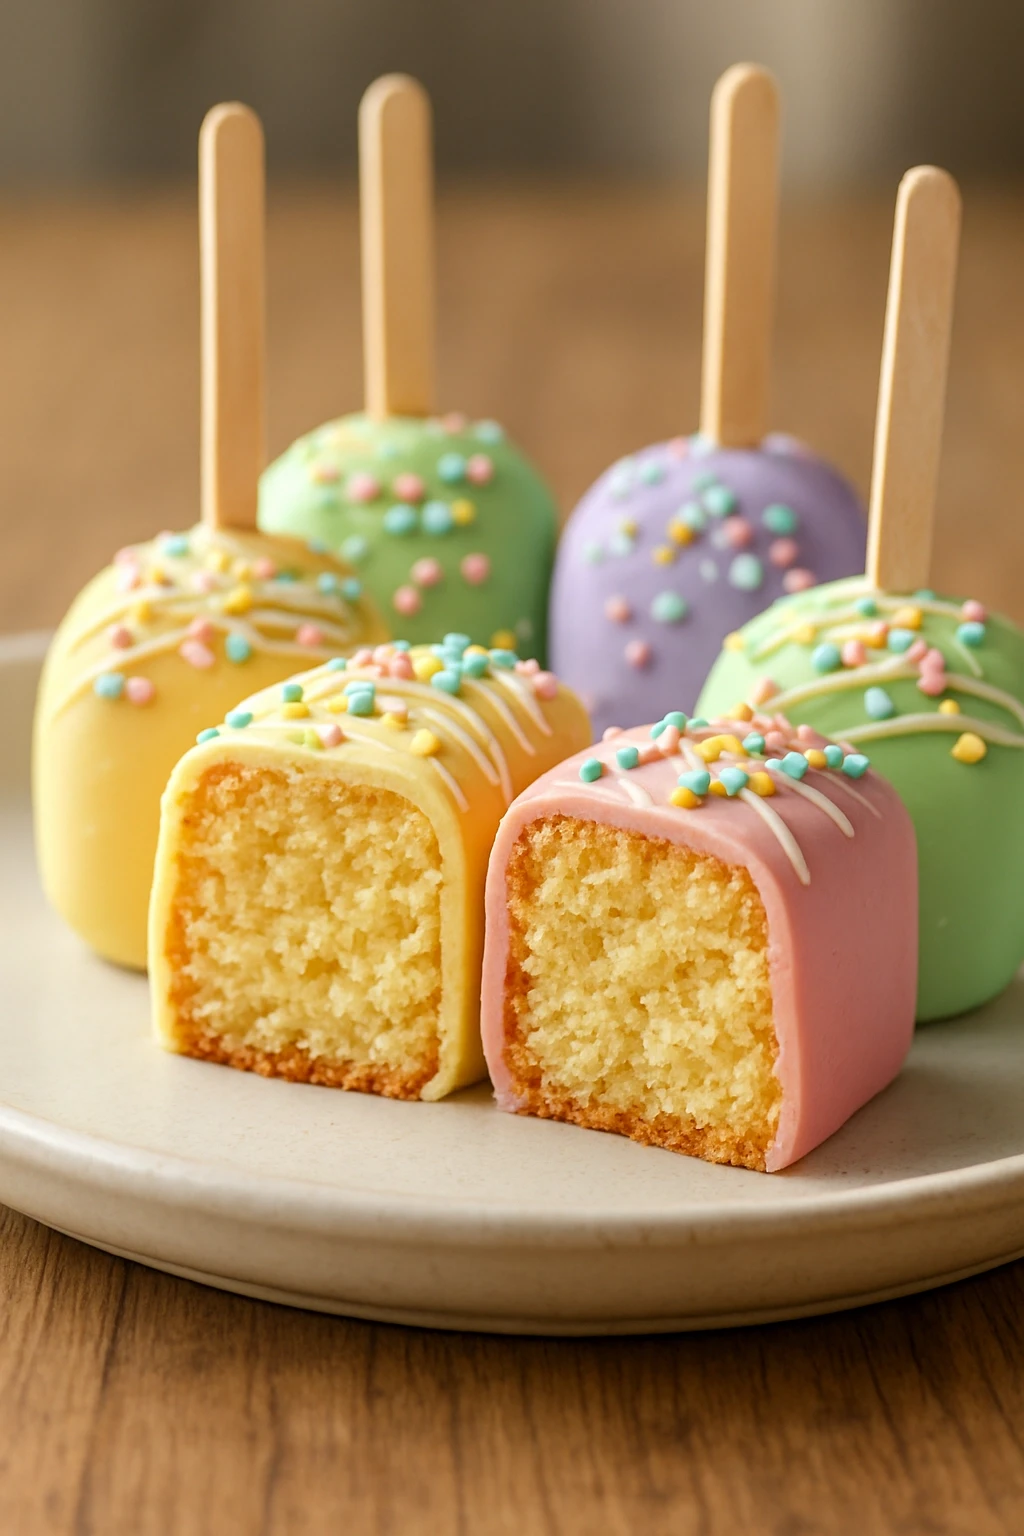
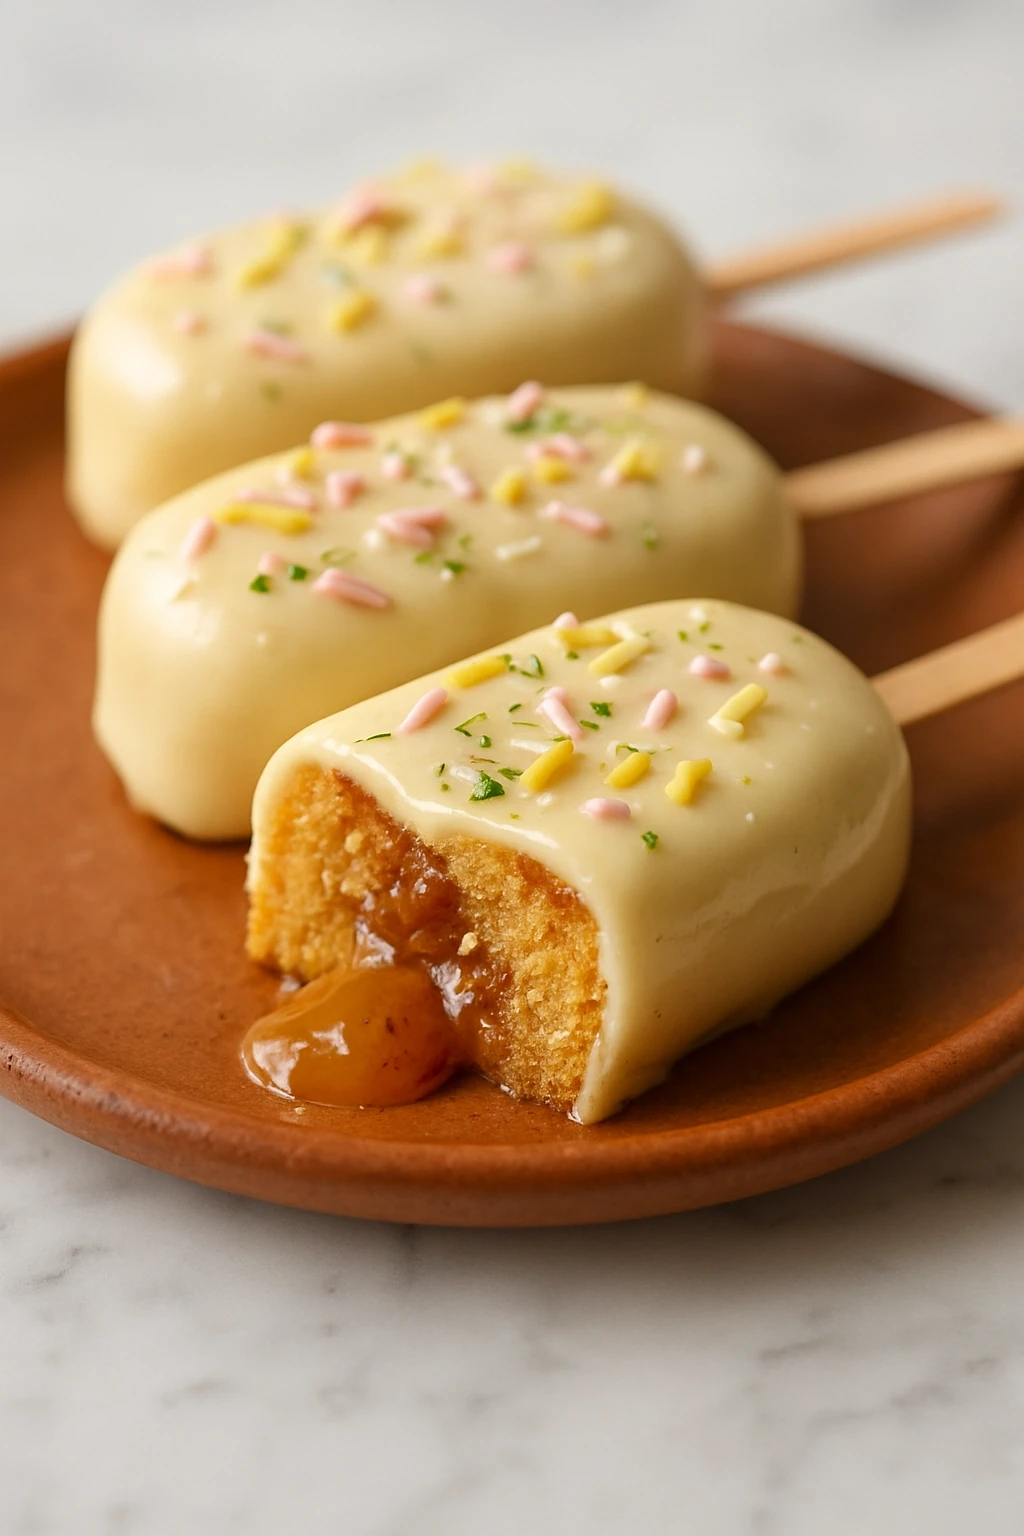
These Easter cakesicles are such a fun treat—moist cake crumbled and mixed with creamy frosting, shaped into cute eggs and dipped in colorful chocolate. They’re perfect for gifting or brightening up your spring dessert table!
Introduction
I first made these Easter cakesicles a couple of years ago when I wanted a festive treat that was both cute and easy to share with friends and family. Honestly, I was a bit skeptical about shaping cake into pops, but the trick is using just the right amount of frosting to get a moldable dough that’s moist but firm. What sets my version apart is using cream cheese frosting instead of buttercream—it adds a subtle tang and helps the cakesicles hold their shape better. Plus, dipping them in colored white chocolate instead of regular candy melts gives a smoother, shinier finish. They look so charming decorated with pastel sprinkles, and they’re a hit at Easter gatherings or as thoughtful gifts. These little delights taste like a bite of spring and always bring a smile!
What You'll Need
Makes approximately 12 cakesicles
- 2 cups crumbled vanilla cake, cooled
- 1/2 cup cream cheese frosting, softened
- 12 oz white chocolate melts, divided colors as desired
- Sprinkles or edible decorations, optional
- 12 lollipop sticks
How To Do It
Step 1
Start by crumbling your cooled vanilla cake into a large mixing bowl. The cake should be fine crumbs but not powdery. If your cake is too fresh or moist, it might get soggy when mixed with frosting, so day-old cake works best. Crumbling it evenly ensures the cakesicles have a consistent texture and hold together well once shaped.
⏱ Time: 5
✓ Doneness: Cake crumbs are uniform and loose but not clumpy
Step 2
Add the softened cream cheese frosting to the cake crumbs and gently fold together until the mixture holds together when pressed. Be careful not to overmix; you want a dough-like consistency that’s moist but firm enough to shape. Too much frosting will make the mixture sticky and hard to handle.
⏱ Time: 5
✓ Doneness: Mixture sticks together without being overly wet or sticky
Step 3
Using your hands, form the cake mixture into oval egg shapes about 2 inches long. Place each shaped cakesicle on a parchment-lined tray. Insert a lollipop stick halfway into each one, pressing gently but firmly to secure. Chill the shaped cakesicles in the fridge for at least 30 minutes to firm up before dipping.
⏱ Time: 10
✓ Doneness: Cakesicles feel firm and hold shape without wobbling
Step 4
Melt the white chocolate melts in microwave-safe bowls, heating in 30-second bursts and stirring in between to avoid burning. Divide into separate bowls if you want different colors. The chocolate should be smooth and fluid but not too hot, as overheating can cause it to seize or lose shine.
⏱ Time: 7
✓ Doneness: Chocolate is fully melted, smooth, and glossy
Step 5
Dip each chilled cakesicle into the melted chocolate, using a spoon to help coat it evenly if needed. Tap off excess chocolate gently to avoid drips. Work quickly but carefully; if the chocolate cools too much, it will thicken and be harder to coat smoothly.
⏱ Time: 10
✓ Doneness: Cakesicle is fully coated with a smooth, even layer of chocolate
Step 6
Before the coating sets, decorate with sprinkles or edible decorations to add a festive touch. Place the dipped cakesicles upright in a styrofoam block or a lined tray to set completely at room temperature or in the fridge. Avoid stacking or touching them until fully set to keep the coating flawless.
⏱ Time: 15
✓ Doneness: Chocolate coating is firm and dry to the touch
Step 7
Once set, store the cakesicles in an airtight container in the fridge until ready to serve or gift. They taste best within a few days and are a delightful surprise for Easter baskets or spring parties. Enjoy sharing these colorful, bite-sized treats!
⏱ Time: 2
✓ Doneness: Cakesicles are firm, colorful, and ready to enjoy
Pro Tips
Use day-old cake for best texture.
Fresh cake can be too moist and crumbly, making it harder to form solid shapes. Day-old cake firms up slightly, giving you better control when mixing and shaping cakesicles.
Chill cakesicles thoroughly before dipping.
Cold cakesicles hold together better when dipped in melted chocolate, preventing breakage or crumbling. It also helps the chocolate set evenly and quickly.
Temper your chocolate melts carefully.
Properly tempered chocolate sets with a shiny finish and snap. Overheated or untempered chocolate can bloom or become dull and soft, ruining the look and texture.
Use a styrofoam block to hold cakesicles upright while drying.
This prevents them from touching surfaces or each other, keeping the coating smooth and intact without smudges or dents.
Add decorations immediately after dipping.
Chocolate sets quickly, so adding sprinkles or edible glitter right away ensures they stick well and look fresh.
Common Mistakes to Avoid
Mixture too wet or sticky to shape.
Why it happens Often caused by adding too much frosting or using very fresh cake that retains excess moisture.
Fix Add frosting gradually and use day-old cake crumbs. If mixture is sticky, chill it briefly to firm up before shaping.
Cakesicles fall apart during dipping.
Why it happens Not chilling the shaped cakesicles enough or inserting sticks loosely can cause breakage.
Fix Chill cakesicles for at least 30 minutes and insert sticks firmly halfway through the shape to stabilize.
Chocolate coating looks dull or streaky.
Why it happens Chocolate overheated or not melted evenly, causing it to seize or bloom.
Fix Melt chocolate gently in short bursts, stirring frequently. Avoid water contact and temper if possible.
Sprinkles slide off after chocolate sets.
Why it happens Sprinkles added too late when chocolate is already hard.
Fix Add decorations immediately after dipping while chocolate is still wet.
Variations
Chocolate Cake Cakesicles
Swap vanilla cake for rich chocolate cake and use milk chocolate melts for dipping. This variation is perfect for chocolate lovers and adds a deeper flavor profile.
Note: Chocolate cake crumbs may require slightly less frosting due to moisture; adjust accordingly to maintain moldable consistency.
Lemon Raspberry Cakesicles
Add lemon zest to the cake-frosting mix and dip in white chocolate tinted pale yellow. Top with freeze-dried raspberry bits for a fresh, tangy twist.
Note: Zesting and fruit bits add moisture; keep frosting amount minimal to avoid sogginess.
Peanut Butter Cakesicles
Mix peanut butter into the frosting before combining with cake crumbs, and dip in milk chocolate. A nutty, rich alternative that’s super satisfying.
Note: Peanut butter adds fat and moisture; reduce frosting slightly to keep the right texture.
Vegan Cakesicles
Use vegan cake and dairy-free frosting, plus vegan chocolate melts. These cakesicles are a great plant-based treat without compromising on taste or appearance.
Note: Plant-based frostings may behave differently; chill mixture longer before shaping for best results.
Nutrition
Per Serving:
Nutritional values are estimates and may vary based on specific ingredients used.
Storage & Tips
Room Temperature
Cakesicles can sit at room temperature for up to 2 hours if covered loosely to avoid drying. Beyond that, refrigeration is best to keep them fresh and prevent melting of chocolate coating.
Refrigerator
Store in an airtight container in the fridge for up to 4 days. The chocolate coating stays firm, but cake inside may firm up slightly. Bring to room temperature 10 minutes before serving for best flavor.
Freezer
Freeze cakesicles in a single layer on a tray, then transfer to a freezer-safe container for up to 2 months. Wrap well to prevent freezer burn. Thaw overnight in the fridge and then bring to room temperature before serving.
Reheating
No reheating needed. If chocolate coating softens, chill briefly to reset. Avoid microwaving as it can melt the coating and dry out the cake.
Make Ahead
You can prepare the cake-frosting mixture and shape cakesicles 1-2 days ahead and keep chilled. Dip in chocolate and decorate the day of serving for freshest appearance.
FAQ
Can I use store-bought cake instead of homemade?
Absolutely! Store-bought cake works well as long as it’s not too dense or filled with heavy frosting layers. Day-old cake is best to avoid excess moisture that can make shaping tricky.
What if my cake-frosting mixture is too dry and crumbly?
Add a little more frosting, a teaspoon at a time, until the mixture sticks when pressed. Avoid adding too much or it will get sticky and hard to shape.
How do I keep the chocolate coating shiny and smooth?
Melt chocolate gently and avoid overheating. Tempering the chocolate or using high-quality melts helps it set with a glossy finish. Also, let cakesicles chill before dipping to prevent melting.
Can I make cakesicles without sticks?
Yes, you can shape them as small eggs or balls and dip as usual, then place on parchment to set. Sticks make them easier to handle and look festive but aren’t required.
How long do cakesicles last once made?
Stored in the fridge, they keep well for about 4 days. The chocolate coating protects the cake inside, but for best taste, enjoy within a few days of making.
Can I freeze cakesicles for later?
Definitely! Freeze them well wrapped in an airtight container for up to 2 months. Thaw in the fridge overnight and bring to room temperature before serving for best texture.
Final Thoughts
I hope you have as much fun making these Easter cakesicles as I do! They’re a sweet, cheerful treat that’s perfect to share or gift—let me know how yours turn out!