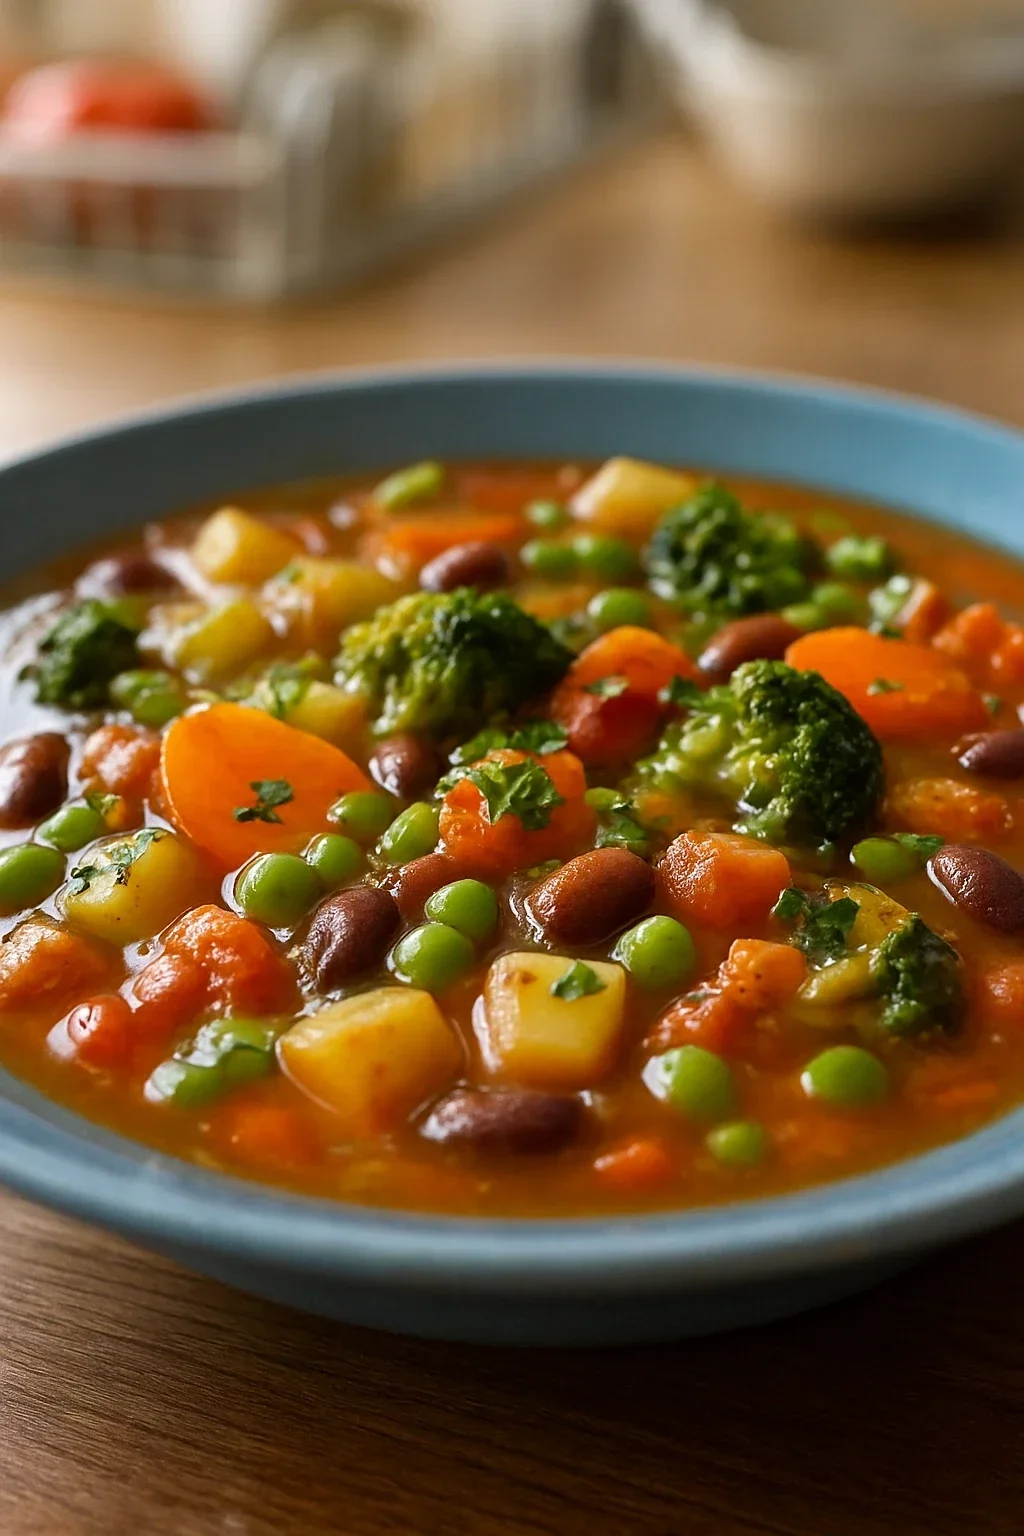
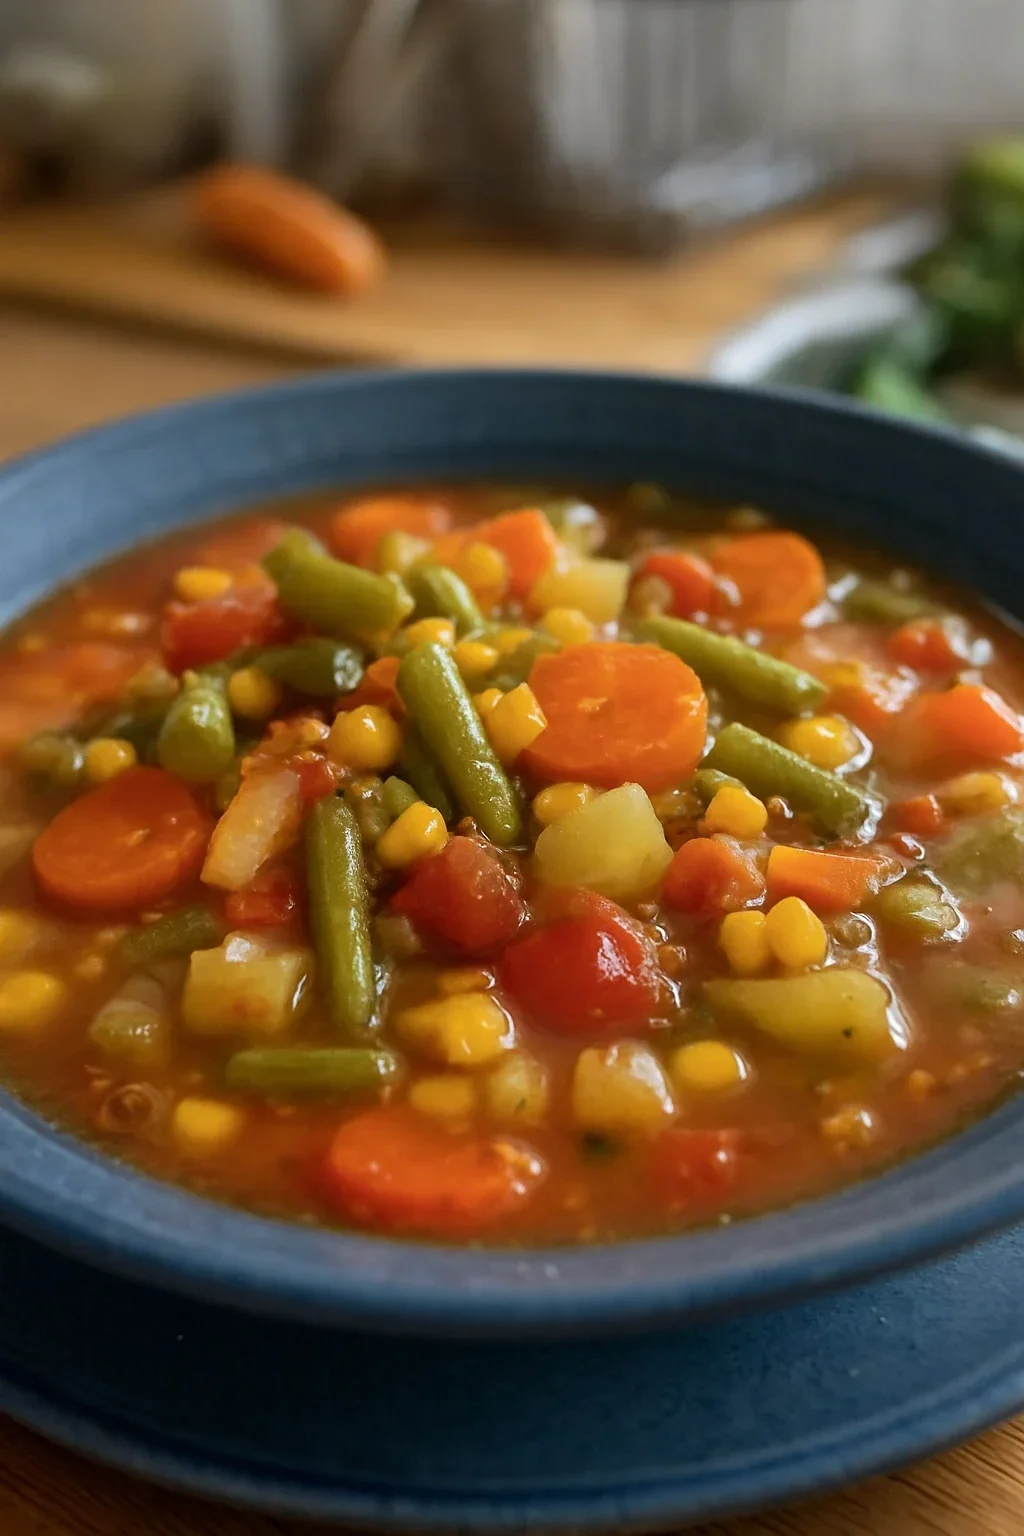
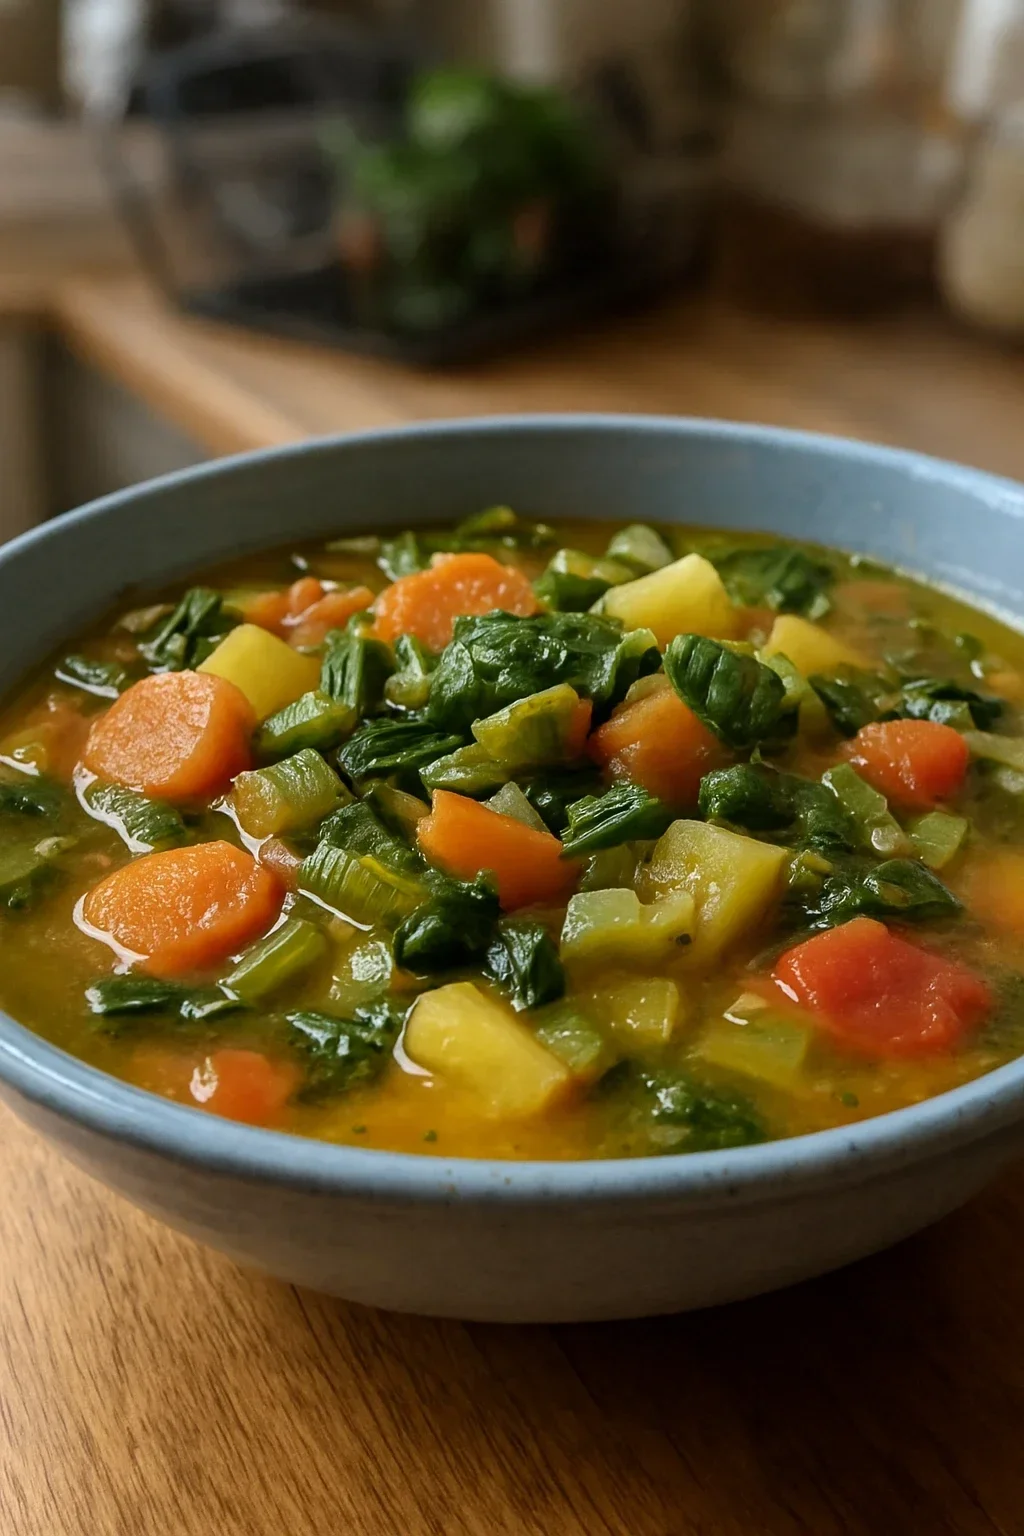
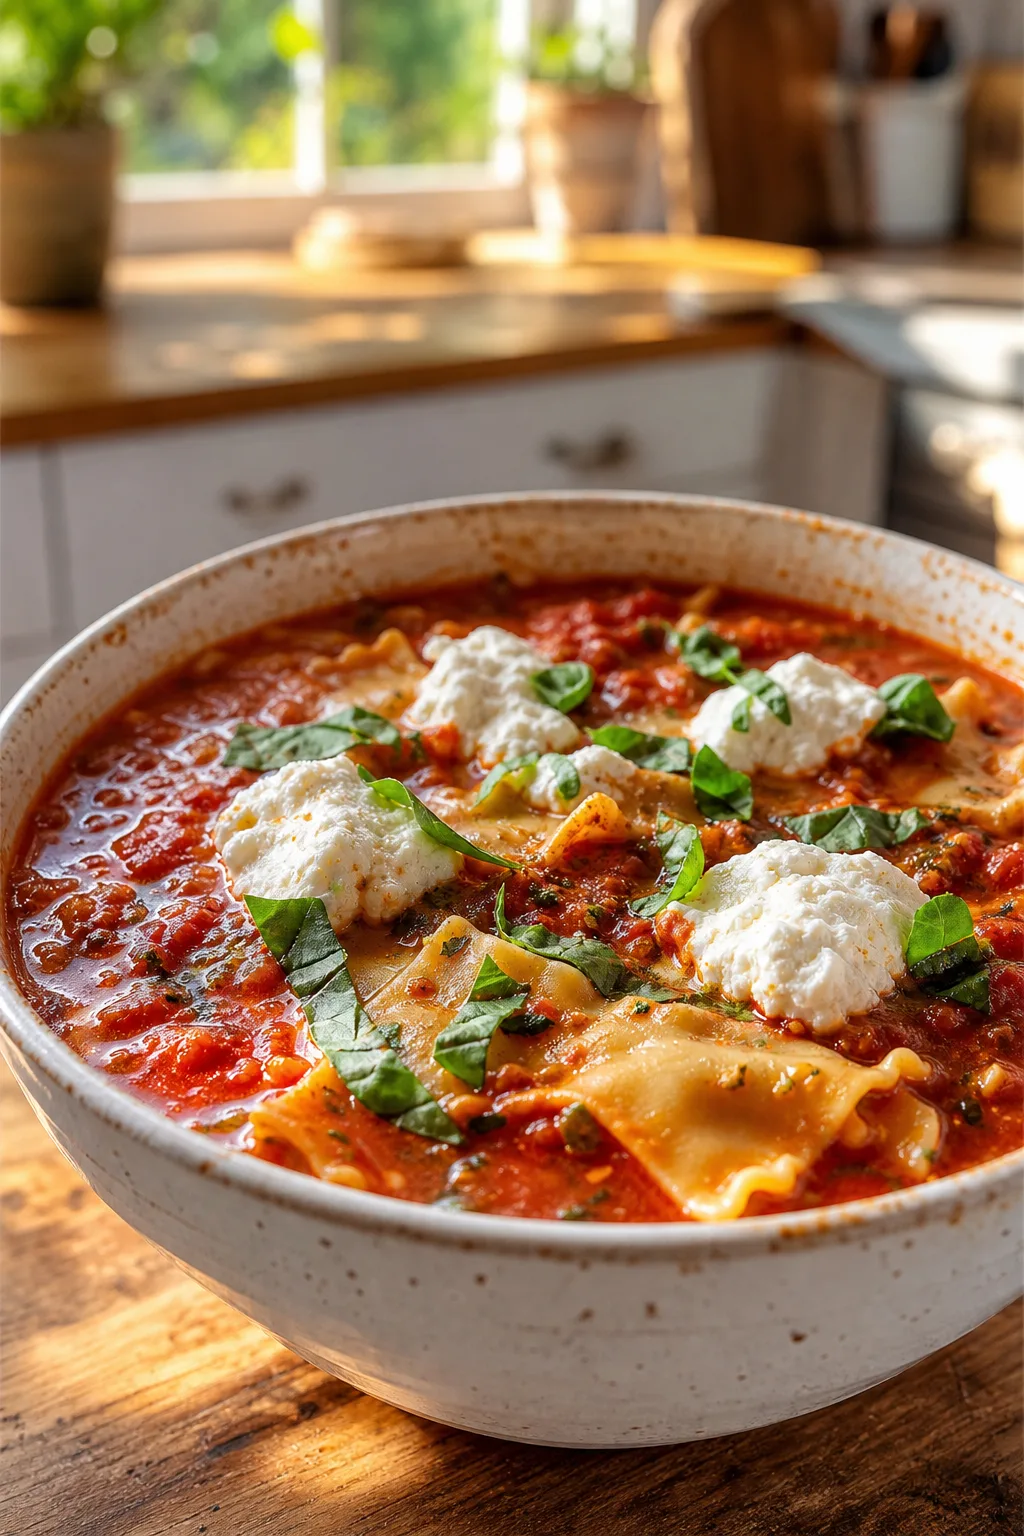
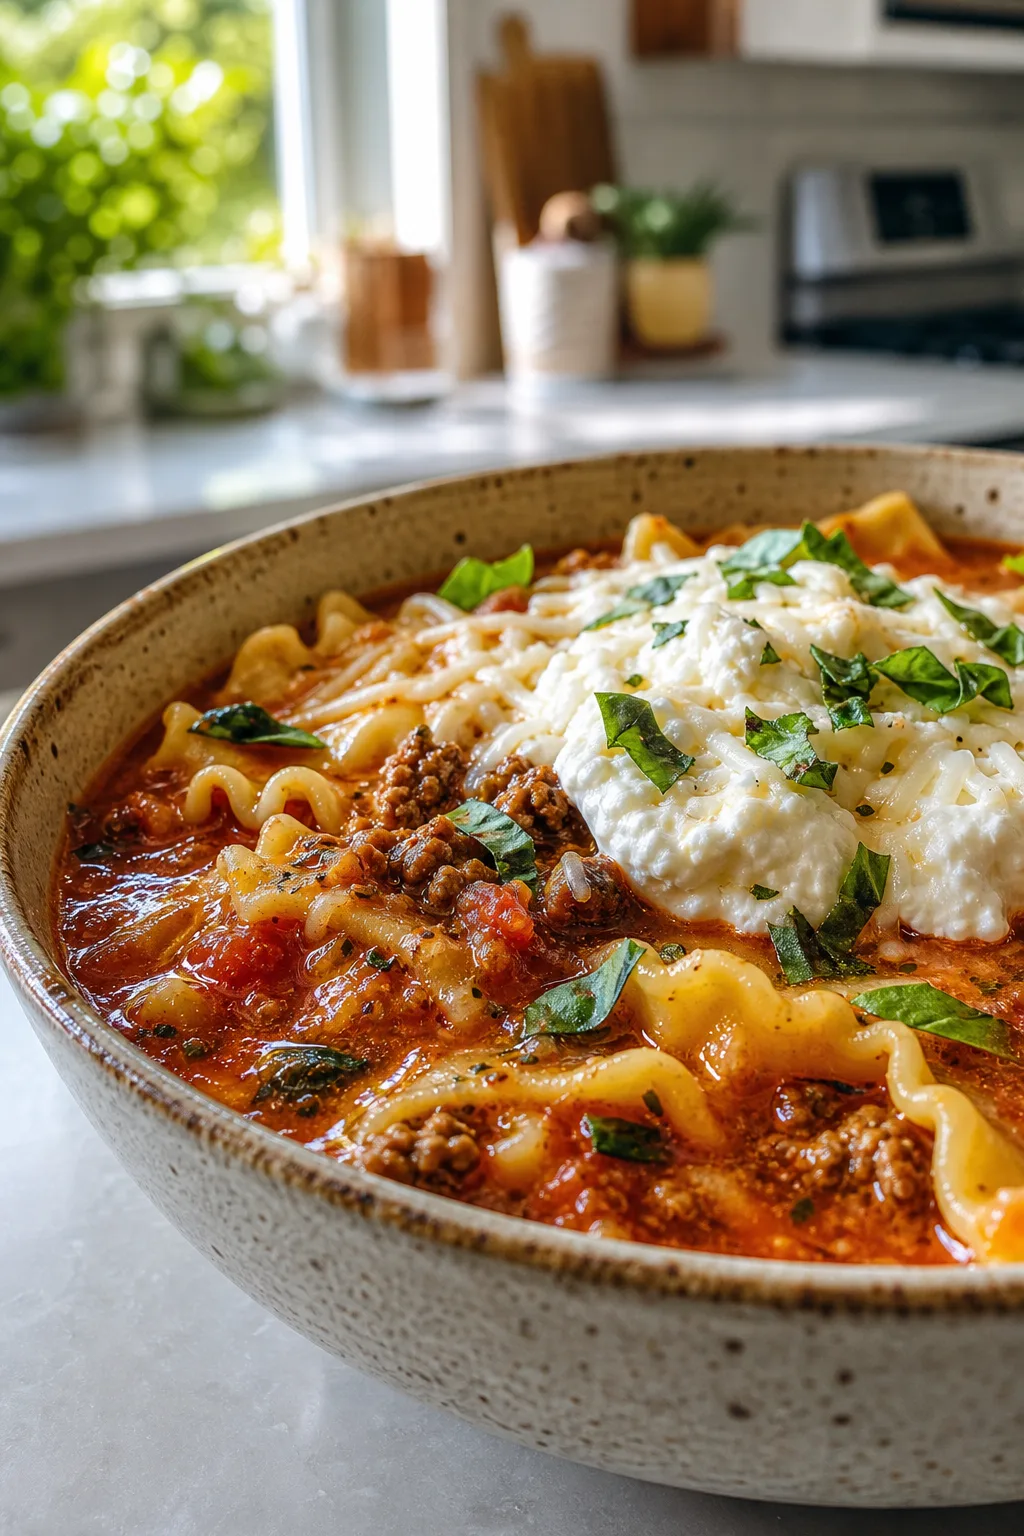
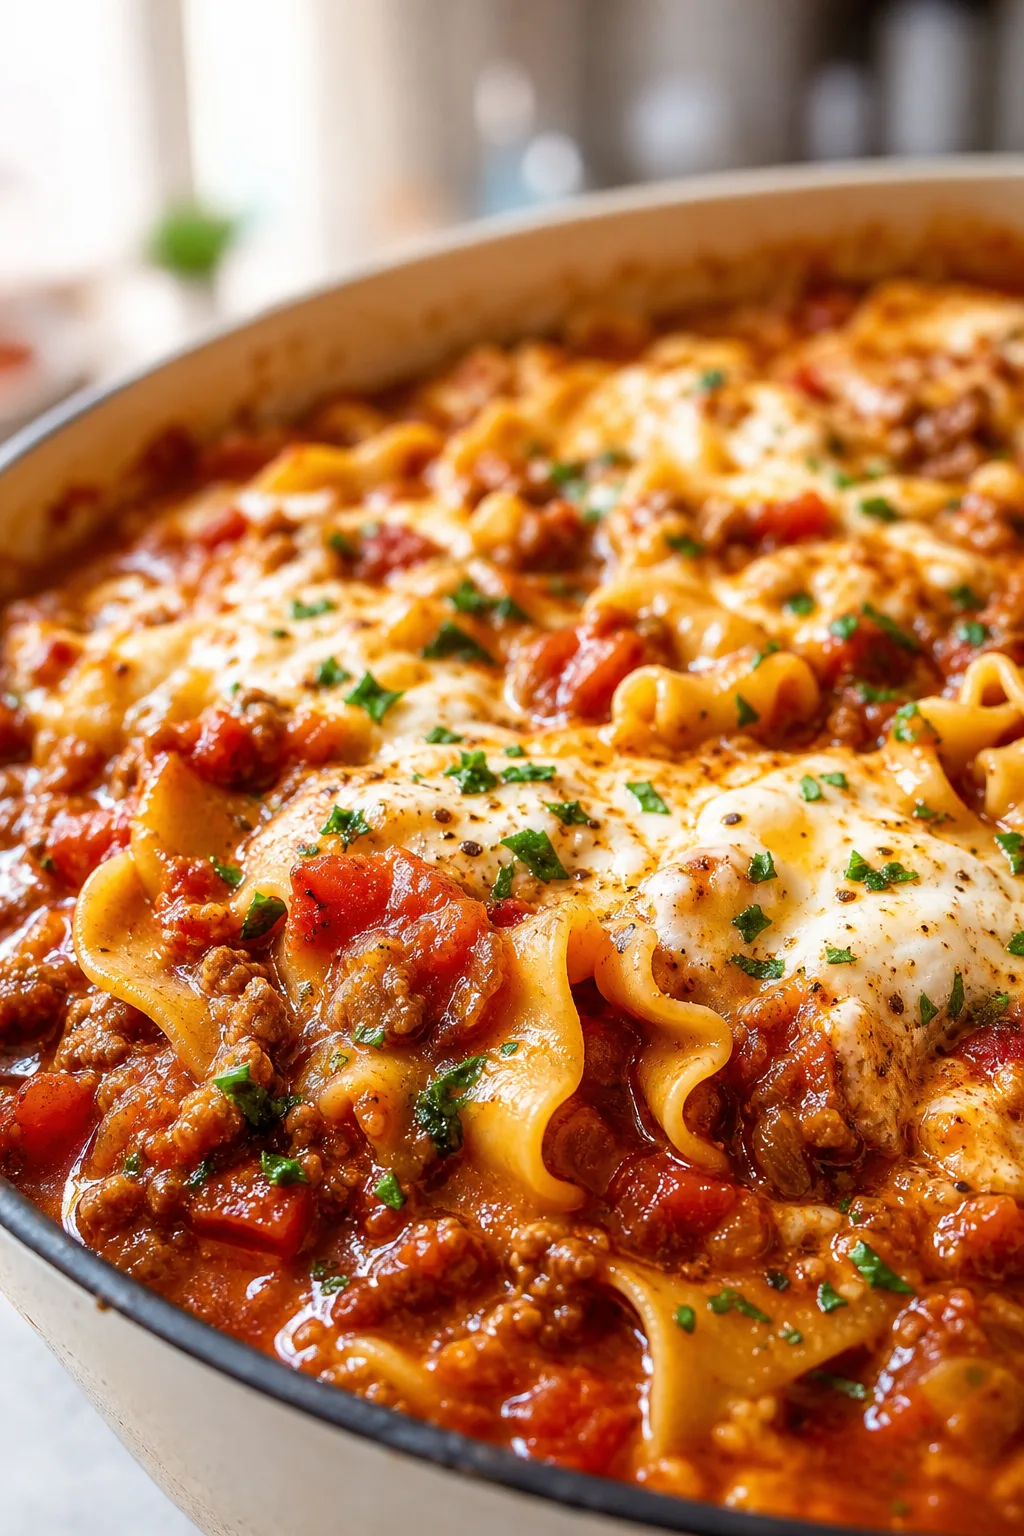
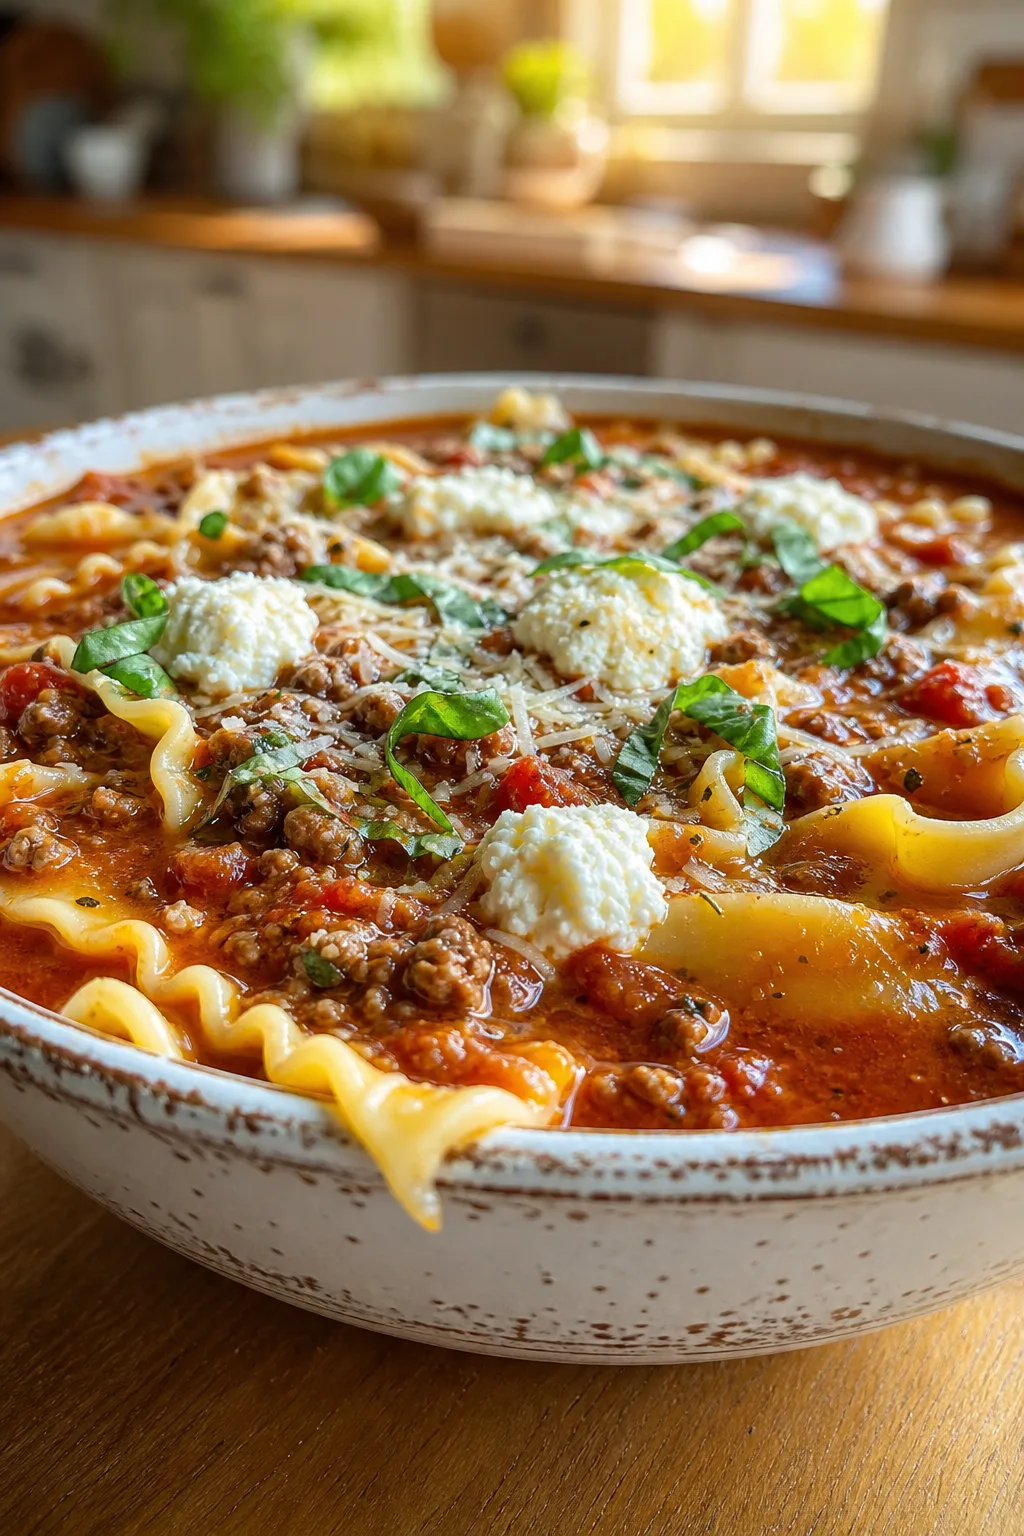
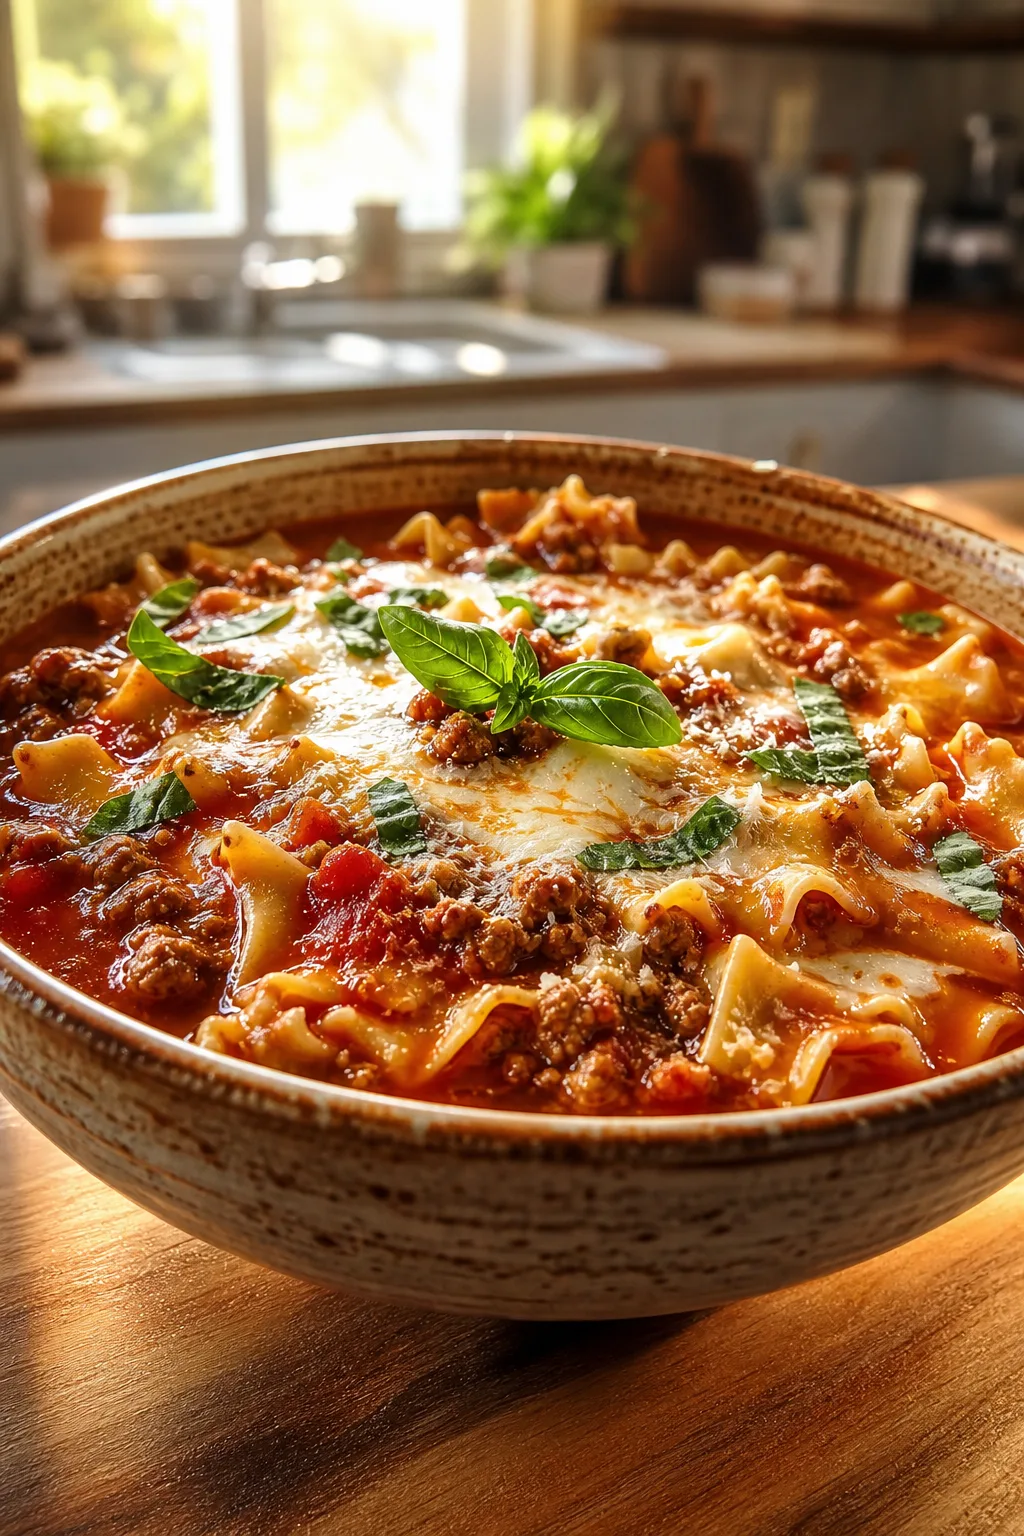
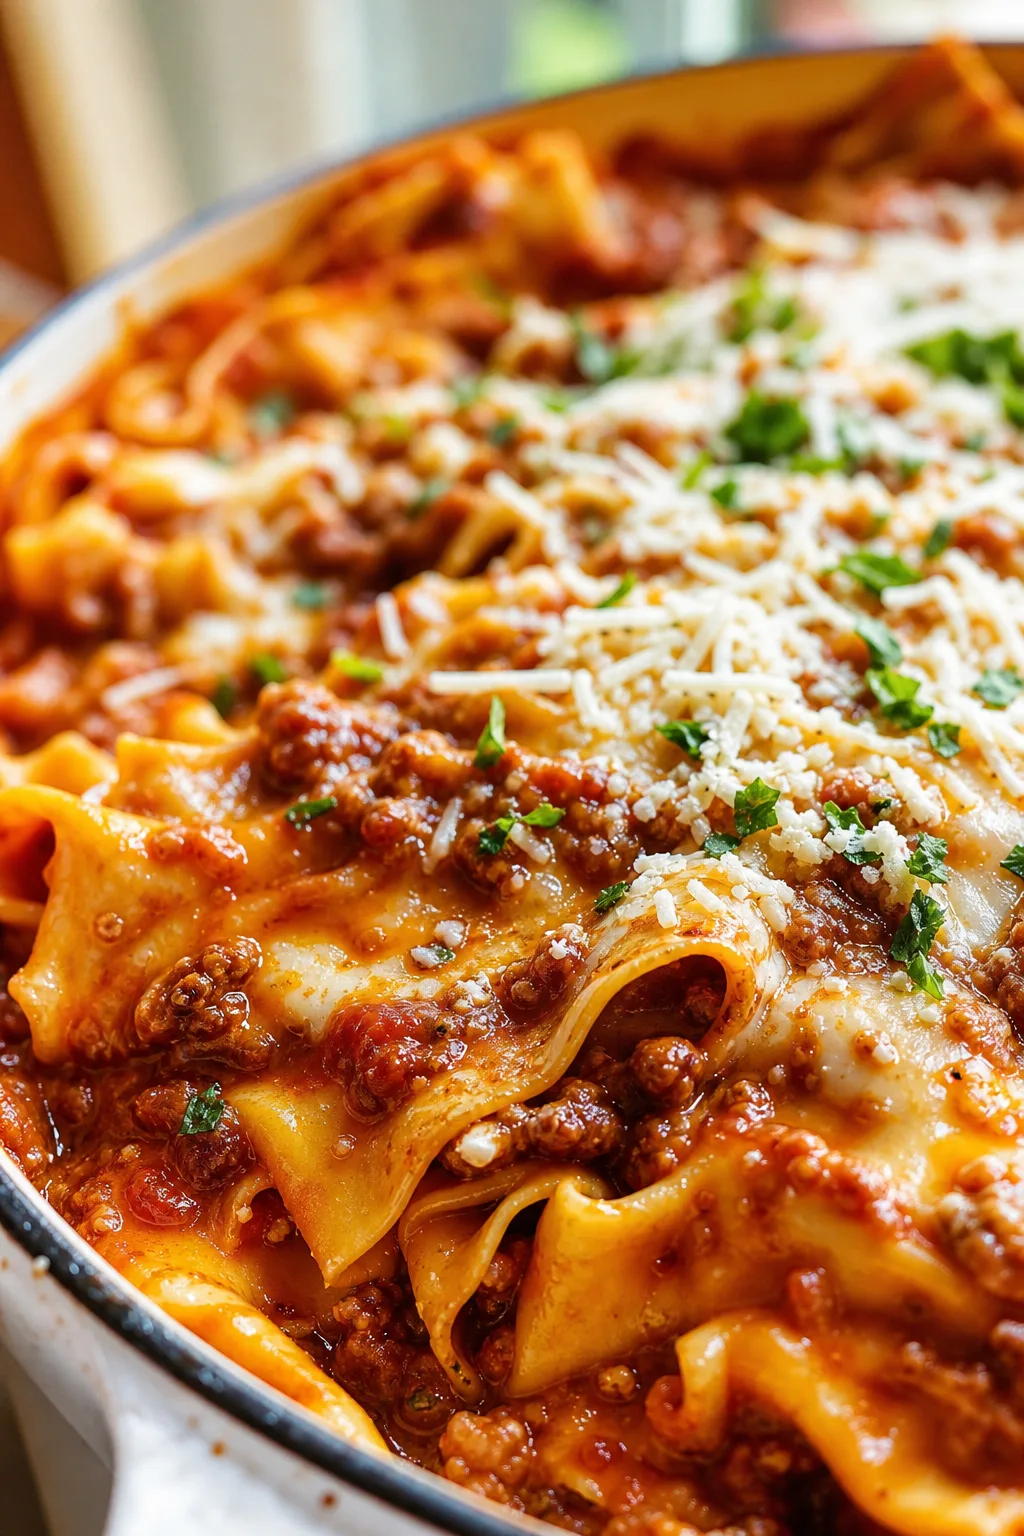
A vegetable soup that builds genuine depth through layered technique rather than long simmering. Learn why cooking aromatics slowly creates better foundation flavor, how broth quality affects the entire dish, and why vegetable timing matters for texture and color retention. Tested countless times and consistently delivers on taste and execution.
What You'll Need
Approximately 8 cups of soup, 4 servings
- 3 tablespoons (45ml) olive oil, divided
- 1 large yellow onion (300g), chopped into 1/2-inch (1.3cm) pieces
- 1 teaspoon (5g) fine sea salt, divided
- 3 cloves (15g) garlic, minced
- 2 medium carrots (200g), diced into 1/2-inch (1.3cm) pieces
- 2 stalks (100g) celery, diced into 1/2-inch (1.3cm) pieces
- 1 medium bell pepper (150g), any color, chopped into 1/2-inch (1.3cm) pieces
- 1 medium zucchini (200g), diced into 1/2-inch (1.3cm) pieces
- 1 can (14.5 oz / 411g) diced tomatoes with juice, preferably San Marzano variety
- 4 cups (960ml) vegetable broth, unsalted preferred
- 1 tablespoon (15ml) tomato paste
- 1.5 teaspoons (3g) dried oregano
- 1 teaspoon (2g) dried thyme
- 1/4 teaspoon (0.5g) black pepper, plus more to taste
- 2 tablespoons (8g) fresh parsley, chopped, for garnish
- Optional: 1 tablespoon (15ml) balsamic vinegar or fresh lemon juice for brightness
How To Do It
Step 1
Prepare your vegetables while the equipment is still cold. Chop the onion into roughly 1/2-inch pieces—uniformity matters because you want all pieces to soften at the same rate. Mince the garlic and dice the carrots, celery, bell pepper, and zucchini to approximately the same size. Cut vegetables of similar density to similar dimensions. This seems obvious until you realize carrots are denser than zucchini and will naturally require more cooking time. By standardizing size, you ensure texture parity across all vegetables. Set prepared vegetables aside in separate piles.
⏱ Time: 8-10 minutes
✓ Doneness: All vegetables prepped, garlic minced, vegetables arranged in separate prep bowls ready to add to pot
Step 2
Place a large, heavy-bottomed pot over medium heat. Add 1 tablespoon (15ml) of olive oil and let it heat until it moves easily across the pan and small wisps of heat shimmer become visible. This indicates the oil has reached approximately 300°F (150°C), hot enough to cook the onion but not so hot that it sears. Add the chopped onion and a small pinch of salt—approximately 1/4 teaspoon. Salt draws out the onion's natural moisture, helping it release its juices and soften more quickly. Do not stir constantly; instead, stir every 30-40 seconds, allowing the bottom surface of the onion pieces to make contact with the hot pot surface.
⏱ Time: 3-4 minutes
✓ Doneness: Onion pieces are translucent at the edges and visibly softened, no raw white color remains, onion has released visible moisture (liquid pooling at bottom of pot)
Step 3
Add the minced garlic, diced carrots, and diced celery. Stir everything together thoroughly so the garlic is evenly distributed and coated with oil. Garlic is vulnerable to burning if it contacts the hot pot directly without the buffer of other vegetables and oil. This combination—garlic, carrot, and celery—creates what French cooking calls a mirepoix base. The kitchen will fill with fragrance. This isn't just pleasant; it's an indicator that volatile flavor compounds are being released. Cook without stirring too frequently, about every 60 seconds, for approximately 5 minutes. You're watching for the carrots to begin softening slightly and the garlic to transition from sharp-smelling to sweet-smelling.
⏱ Time: 5 minutes
✓ Doneness: Garlic aroma transitions from pungent to sweet and caramelized, carrots show slight translucency at edges, celery begins to soften, oil is fragrant and carries visible color from the vegetables
Step 4
Add the tomato paste to the pot and stir it constantly for 1-2 minutes. This is called 'caramelizing' tomato paste, though technically it's a partial Maillard reaction at lower temperature. The paste will darken slightly in color and intensify in aroma. Do not skip this step. The umami compounds in tomato paste concentrate and deepen during this short cooking period. A soup without this step tastes flatter and less developed even if all other ingredients remain identical. The paste should coat all the aromatics evenly and shouldn't stick to the bottom of the pot.
⏱ Time: 1-2 minutes
✓ Doneness: Tomato paste darkens from bright red to deeper, rust-like color, aroma intensifies and becomes sweet-savory rather than just acidic, mixture thickens slightly and coats aromatics evenly
Step 5
Add the bell pepper and zucchini pieces and stir them together with the aromatics and tomato paste. Cook for 1 minute—just enough time to coat them with oil and aromatics. Then pour in the can of diced tomatoes with all their liquid, followed by the vegetable broth. Stir everything together, ensuring nothing is sticking to the bottom of the pot. The pot will now look full and busy, with all components beginning to intermingle. Increase the heat to medium-high and watch the pot carefully. You're waiting for the liquid to begin steaming, then for small bubbles to form around the perimeter and gradually move to the center.
⏱ Time: 5-7 minutes
✓ Doneness: Liquid is steaming, small bubbles form at the bottom edges and rise gently, surface shows consistent gentle movement but not aggressive boiling
Step 6
Once the broth is simmering steadily—visible gentle bubbles breaking the surface at a steady, calm rate—reduce the heat to medium-low. The reduction from medium-high to medium-low should happen quickly to prevent overboiling. The pot should now maintain a gentle, rolling simmer where you see small bubbles rise and break at the surface roughly every 2-3 seconds. If you see aggressive, large bubbles bursting, your heat is still too high. Reduce it further. This is the ideal cooking temperature for vegetables because heat moves through them evenly without aggressively squeezing out moisture or destroying delicate cell structures. Maintain this temperature for the next cooking phase.
⏱ Time: 1 minute
✓ Doneness: Heat reduced, pot transitions from steaming to gentle simmer, small steady bubbles visible at surface, kitchen is warm but not aggressively steamy
Step 7
Let the soup simmer gently, uncovered, for 10 minutes. Do not cover the pot. Vegetables release moisture as they cook, and an uncovered pot allows this steam to escape, which concentrates flavors in the remaining liquid. The uncovered simmer also allows you to monitor the vegetables' progress. At the 10-minute mark, test a piece of carrot with a fork by piercing it. The fork should slide through with slight resistance—the carrot should be tender but not mushy. Similarly, test a piece of zucchini; it should be soft but still hold its shape when lifted on the fork. The bell pepper should be mostly softened but retain some texture. If any vegetable still feels firm, continue simmering for 1-2 more minutes. The window between perfectly cooked and overcooked vegetables in a 30-minute soup is narrow—maybe 3-4 minutes—so checking at 10 minutes is essential.
⏱ Time: 10-12 minutes
✓ Doneness: Carrot fork-tender with slight resistance, zucchini soft but holding shape, bell pepper tender, onion has completely softened and distributed throughout broth, vegetables retain bright colors (zucchini is still green, carrots are bright orange, peppers are vibrant)
Step 8
Add the dried oregano and thyme to the pot and stir well. Dried herbs need a few minutes of contact with hot liquid to rehydrate fully and release their essential oils into the broth. Let the soup continue simmering for 2-3 minutes to allow this infusion. The aroma in the kitchen will intensify—this is the herbs releasing their volatile compounds into the steam. Now taste the soup. The broth should taste good but not yet seasoned to your preference. The vegetables have released some of their natural sodium, but the soup is still relatively neutral in salt content. Add salt in small pinches—approximately 1/4 teaspoon at a time—stirring after each addition, tasting, and then deciding whether to add more. Grind black pepper directly into the pot, approximately 1/8 teaspoon to start, then taste again. Remember you already added 1 teaspoon of salt earlier; additional salt should be conservative and gradual.
⏱ Time: 2-3 minutes
✓ Doneness: Dried herbs fully hydrated and fragrant, broth is fully hot, flavors taste integrated and developed, seasoning tasted and adjusted
Step 9
For optional brightness, add either 1 tablespoon (15ml) of balsamic vinegar or a squeeze of fresh lemon juice. This optional addition can transform the soup's character by adding acidity that brightens all the other flavors. Without it, the soup is good—warm, vegetable-forward, satisfying. With the acid, the soup becomes more dynamic and alive-tasting. Taste after adding just 1 teaspoon (5ml) of acid first; you can always add more, but you cannot remove it. If adding acid, let the soup simmer an additional minute for the acid to integrate into the broth.
⏱ Time: 1 minute
✓ Doneness: Acid added and incorporated, soup tastes bright rather than flat, all flavors feel more pronounced
Step 10
Remove from heat and ladle the soup into bowls immediately. Top each bowl with approximately 1/2 tablespoon (2g) of fresh chopped parsley. The fresh herb adds a note that no dried herb can provide—immediate, bright, fresh flavor that contrasts with the warm, developed broth. Serve while still steaming. The soup is best consumed within 20-30 minutes of completion, though it holds heat well in bowls for longer than many expect. Crusty bread or a simple green salad alongside makes this a complete meal.
⏱ Time: 2 minutes
✓ Doneness: Soup is steaming, parsley is vibrant green, soup is ready to serve immediately
Pro Tips
Taste your vegetable broth straight from the container before buying it, if possible. A weak or low-quality broth cannot be improved later. You need a broth that tastes genuinely like vegetables, not primarily salty or flat.
Broth is the liquid that comprises approximately 80% of the final soup's volume. Poor-quality broth means poor-quality soup regardless of ingredient quality or technique. This single decision—choosing excellent broth over mediocre broth—affects flavor more than any technique adjustment can compensate for.
Cut all vegetables to uniform size, roughly 1/2-inch (1.3cm) pieces. This is not about appearance; it's about ensuring all components finish cooking simultaneously.
Vegetables of different sizes cook at different rates. A carrot piece twice as large as a zucchini piece will remain firm while the zucchini becomes mushy. Uniformity ensures you can cook for a single time window rather than having to fish out pieces and set them aside as they finish.
Build your flavor foundation through layering: cook onion alone, then add garlic with carrot and celery, then add remaining vegetables. Do not dump everything in simultaneously.
Each aromatic component releases flavor compounds at different temperatures and rates. Cooking them in sequence allows each to fully develop its flavors without competing with others. A single addition results in a flatter-tasting base. This layering technique costs just 5-6 extra minutes but significantly impacts the final flavor quality.
Do not cover the pot while vegetables cook. An uncovered pot allows steam to escape, which concentrates the broth's flavors and prevents the soup from becoming watery.
Vegetables release water as they cook. If this water stays in the pot, the broth becomes diluted. An uncovered pot allows this water to evaporate, leaving behind more concentrated flavors. The uncovered surface also lets you monitor vegetables' progress visually.
Add salt early but season conservatively at the end. You add salt to the onion at the beginning, then taste and adjust after herbs are added. Avoid the temptation to salt heavily at the end.
Salt in the early phase penetrates vegetables as they cook, seasoning them throughout rather than just on the surface. Tasting at the end and adjusting allows you to dial in final flavor without oversalting. This approach gives you better control over final seasoning.
Consider adding acid at the very end. Even just a splash of balsamic vinegar or fresh lemon juice can transform a good soup into a dynamic one by brightening all the other flavors.
Acid acts as a flavor amplifier, making other tastes more pronounced without adding calories or significant volume. Adding it at the end preserves its brightness; cooking it for long periods can mute its effect.
Common Mistakes to Avoid
Dumping all vegetables and aromatics into the pot simultaneously
Why it happens It seems more efficient to prepare everything and add it all at once. This saves a few minutes of cooking time upfront but costs you significantly in flavor complexity.
Fix Commit to building your base in stages. Cook onion alone, then add garlic with slower-cooking vegetables, then add remaining vegetables. This takes just 6-7 extra minutes and produces a substantially better-tasting soup. The time investment pays for itself immediately.
Boiling the soup instead of simmering it gently
Why it happens Higher heat seems like it should cook vegetables faster and more thoroughly. Vigorous boiling also looks more active and productive than a gentle simmer.
Fix Maintain a steady, gentle simmer where you see small bubbles breaking the surface regularly but not aggressively. If you see large bubbles bursting violently, reduce heat. The vegetables will cook in the same time window but will retain better texture and brighter color.
Overcooking vegetables until they lose color and become mushy
Why it happens In a 30-minute soup, there's a limited time window. Many cooks wait too long to check vegetables, then find they're overcooked. There's also a psychology of 'the longer I cook, the better it will be,' which isn't true for vegetable soup.
Fix Set a timer for 10 minutes after bringing the soup to a simmer. Test vegetables at that point by piercing them with a fork. If firm, cook 1-2 more minutes and check again. This prevents the situation where vegetables go from perfectly cooked to mushy while you're distracted.
Using a weak or inferior vegetable broth as the foundation
Why it happens People often buy the cheapest broth option or use whatever they have in the pantry. The cost difference between mediocre broth and good broth is minimal (usually 50 cents to $1).
Fix Taste broth options if your store allows it. Buy a broth that tastes like vegetables, not primarily salt. This single ingredient decision impacts flavor more than any technique adjustment. If you're unsure about available brands, homemade broth is worth making in batches and freezing.
Forgetting to caramelize the tomato paste or omitting it entirely
Why it happens Tomato paste seems redundant when canned tomatoes are already going into the soup. Skipping it saves perhaps 2 minutes of cooking time.
Fix The tomato paste caramelization step deepens umami significantly. Soup made with this step tastes richer and more developed. The 1-2 minutes spent here pays dividends in flavor. Do not skip it.
Variations
Creamy Vegetable Soup
After cooking vegetables and herbs completely (step 8), remove the pot from heat and blend one-third to one-half of the soup using an immersion blender until smooth. The blended portion reintegrates into the whole soup, creating a naturally creamy texture without adding dairy. This variation works particularly well if your soup contains more zucchini, which naturally creates a silky consistency when blended. Alternatively, stir in 1/4 cup (60ml) of heavy cream or full-fat coconut milk at the very end. Start with 2 tablespoons (30ml) and taste; add more if you want additional richness. This transformation changes the soup from a brothy preparation to a more substantial, restaurant-quality presentation.
Note: Blending releases starch from vegetables, naturally thickening the liquid. Adding dairy at the end requires gentle reheating afterward if the soup has cooled. Avoid boiling dairy-based soup, which can cause separation and curdling. Heat gently over low to medium-low heat.
Protein-Enhanced Version
Add either 1 can (15 oz / 425g) of white beans or chickpeas, drained and rinsed, or 2 cups (280g) of shredded rotisserie chicken during the last 3 minutes of cooking. The beans or chicken need minimal cooking time—just enough to heat through in the hot broth. This variation transforms the soup from a side dish into a complete meal with meaningful protein content. The beans contribute additional texture and slight creaminess as they break down slightly. Chicken adds richness and makes the soup more substantial for heavier appetites.
Note: If using canned beans, rinsing removes excess sodium that would concentrate in the soup. Rotisserie chicken should be added only long enough to heat through; extended cooking can make it stringy. Taste the soup after adding protein and adjust seasoning—the additional ingredients may require slight salt adjustments.
Mediterranean Version with Pasta
Add 1/2 cup (50g) of small pasta shapes (orzo, ditalini, or small shells) and 1/2 cup (120ml) additional broth when you bring the soup to a simmer. Reduce simmer time to 8-10 minutes total (vegetables and pasta together cook in this time). Additionally, replace oregano and thyme with 1 teaspoon (2g) of dried Italian seasoning and add 2 tablespoons (20g) of sun-dried tomato pieces and 1/4 cup (35g) of kalamata olives, chopped. The pasta absorbs broth as it cooks, creating a thicker consistency. This variation transforms a clear soup into a minestrone-like preparation with more body and texture complexity.
Note: Pasta continues absorbing liquid after cooking, so account for thickening. The additional broth compensates for this absorption. Sun-dried tomatoes add concentrated tomato flavor and texture variation. Olives contribute saltiness—reduce added salt by half initially, then taste and adjust.
Roasted Vegetable Version
Instead of cooking vegetables raw in the pot, roast all vegetables (except onion and garlic) on a sheet pan at 425°F (220°C) for 12-15 minutes before adding to soup. Toss vegetables with 2 tablespoons (30ml) of olive oil and a pinch of salt before roasting. After roasting, add them to the pot during the last 5 minutes of cooking (after aromatics have developed). Roasting concentrates vegetable sugars through the Maillard reaction, adding caramelized depth. This version tastes richer than the fresh version despite minimal additional time investment. The finished roasted vegetables contribute a slightly different texture—firmer but more intensely flavored.
Note: Roasting happens during aromatics' development time, so total cooking time remains approximately 30 minutes. Roasted vegetables require less simmering time since they're partially cooked. Add them when you would normally add herbs (step 8). This variation requires additional oven use, which may not be practical for quick-cooking scenarios but is worth considering for flavor-focused versions.
Asian-Inspired Version
Replace oregano and thyme with 1 tablespoon (15g) of fresh ginger, minced, added with the garlic. Include 1 tablespoon (15ml) of soy sauce and 1/2 teaspoon (2.5ml) of sesame oil added at the end. Add 1 cup (150g) of sliced bok choy or similar Asian greens during the last 2 minutes of cooking. Finish with 2 tablespoons (10g) of sliced green onions and 1 teaspoon (5ml) of rice vinegar drizzled over each bowl. This variation completely transforms the flavor profile from Mediterranean/European to East Asian. The soy sauce adds umami depth; sesame oil contributes nutty aromatics. Green vegetables at the end add fresh contrast.
Note: Fresh ginger releases more complex flavors than dried ginger. Soy sauce is salty, so reduce initial salt significantly—add perhaps half the usual amount, then taste and adjust. Delicate Asian greens (bok choy, mizuna, young spinach) need only 1-2 minutes in hot broth to become tender. Rice vinegar's acidity brightens the savory soy-based broth beautifully.
Nutrition
Per Serving:
approximately 195
Calories
These values are estimates and will vary based on exact broth sodium content and specific vegetable sizes. Values calculated using medium-sized vegetables and unsalted broth. If using salted broth or adding additional salt, sodium content will increase.
Storage & Tips
Refrigerator
Store cooled soup in airtight glass or plastic containers for up to 4 days. Flavor develops and melds as the soup sits, making it taste noticeably better on day two or three than immediately after cooking. The longer the vegetables sit in the broth, the more they absorb the seasoning, creating a more cohesive flavor. Separate vegetables from broth if you prefer to prevent them from becoming overly soft during storage, though this is optional.
Freezer
Freeze soup for up to 3 months in freezer-safe containers, leaving approximately 1 inch (2.5cm) of headspace for expansion. Soups freeze exceptionally well because the liquid protects the vegetables from oxidation and texture degradation. Thaw overnight in the refrigerator before reheating. Soup that is partially thawed can be reheated directly from partial-freeze state by warming over low to medium-low heat, stirring occasionally.
Reheating
Reheat gently on the stovetop over medium-low heat, stirring occasionally, until the soup reaches serving temperature. This takes approximately 15-20 minutes depending on quantity. Avoid boiling, which can cause vegetables to break down further and broth to taste less cohesive. If reheating from frozen, add a splash of vegetable broth or water at the beginning to prevent the pot from drying before the soup thaws. Microwave reheating works but can create hot spots and uneven warming; stir frequently if using microwave. A slow cooker set to warm is ideal if reheating slowly over time without active monitoring.
Make Ahead
This soup can be assembled through step 7 (vegetables fully cooked) up to 24 hours ahead and refrigerated. Cool completely before refrigerating. The next day, reheat gently until simmering, then proceed with step 8 (adding herbs and final seasoning). Alternatively, prepare all components and store separately—aromatics in one container, cut vegetables in another, broth in a third—then combine and cook fresh when ready. This modular approach saves significant time on cooking day while maintaining maximum flavor from fresh cooking.
FAQ
Why does my vegetable soup taste flat even though I've added all the ingredients?
Flat-tasting soup typically indicates weak broth as the foundation or inadequate seasoning. Taste your broth straight from the container—if it tastes thin or primarily salty, that's your culprit. If broth is good, add acid gradually (lemon juice or balsamic vinegar) to brighten flavors. Even one tablespoon (15ml) of acid can transform a dull soup into one that tastes vibrant. Ensure you've allowed aromatics sufficient time to develop (the full 5 minutes after adding garlic, carrot, and celery) and that you've tasted and adjusted salt after herbs are added, not before.
My vegetables are mushy and have lost their color. What went wrong?
Vegetables became overcooked, which caused their cell walls to break down and their pigments to leach into the broth. This happens when soup simmers longer than needed or heat is too high, causing water to evaporate from vegetables faster than heat can penetrate them. For future batches, check vegetables at 10 minutes by piercing with a fork—if still firm, cook only 1-2 more minutes before checking again. The window between perfect tenderness and mushiness is narrow (maybe 2-3 minutes). Additionally, ensure you're maintaining a gentle simmer (small, steady bubbles) rather than a boil (aggressive, large bubbles), which cooks vegetables more gently and preserves color and texture.
Can I use frozen vegetables instead of fresh?
Yes, frozen vegetables work perfectly and actually cook faster than fresh because the freezing process partially breaks down cell walls, reducing cooking time needed. If substituting frozen vegetables, reduce the simmering time to 6-8 minutes instead of 10 minutes. Add them after aromatics have fully developed so they don't cool the pot temperature and interrupt cooking of the base. Note that frozen vegetables often release more water than fresh, potentially resulting in a thinner broth; you might need to reduce the initial broth amount slightly to 3.5 cups (840ml). Frozen vegetables work especially well for this soup because you're not eating them raw where their thawed texture would be obvious.
How can I make this recipe vegetarian or vegan?
This recipe is already fully vegetarian and vegan as written. It uses only vegetables, olive oil, vegetable broth, and dried herbs. Ensure your vegetable broth is vegan—most are, but some use chicken base or animal products. Check the label or make your own vegetable broth by simmering vegetable scraps in water. All variations and additions mentioned in the FAQ can be adapted to vegan specifications by using plant-based protein sources like beans, chickpeas, or tofu instead of chicken.
What's the best way to meal prep this soup for the week?
Cook a double or triple batch on Sunday and portion immediately after cooking into 2-cup (480ml) containers. Cool containers to room temperature, then refrigerate. Use these portions throughout the week for grab-and-heat meals. Alternatively, store the broth and vegetables separately—this prevents vegetables from overcooking during refrigeration, though it requires slightly more effort. Label containers with the date. Most people find that soup tastes noticeably better on day two or three than immediately after cooking, so don't hesitate to make it several days before you plan to eat it. If you're storing for more than 4 days, freeze portions instead of refrigerating.
Can I use a slow cooker or pressure cooker instead of stovetop?
A slow cooker fundamentally changes the approach and timing. Brown aromatics on the stovetop following steps 1-3, then transfer everything to the slow cooker on low for 4-6 hours or high for 2-3 hours. The long, gentle heat develops good flavor, but the 30-minute timing vanishes. A pressure cooker (Instant Pot) can work: brown aromatics using sauté function, add vegetables and liquid, pressure cook at high for 5 minutes, then quick-release pressure. This takes approximately 20-25 minutes total compared to 30 minutes stovetop, without saving significant time. For maximum flavor and texture retention, the stovetop method is ideal because you maintain precise heat control and can check vegetables visually as they cook.
Final Thoughts
This soup teaches that speed doesn't require sacrificing depth. Thirty minutes of intentional cooking—with proper technique, quality ingredients, and careful attention to timing—produces results that feel like much longer work. The foundations you learn here—layering aromatics, maintaining gentle heat, checking doneness precisely, adjusting seasoning thoughtfully—apply far beyond soup. These are fundamental cooking techniques that make you reliably successful in any kitchen. I hope you'll make this soup, experiment with variations, and find it becomes a regular fixture of your cooking rotation. I'd genuinely appreciate hearing how it turns out for you or what variations you've discovered work in your kitchen. Leave a comment and let me know.