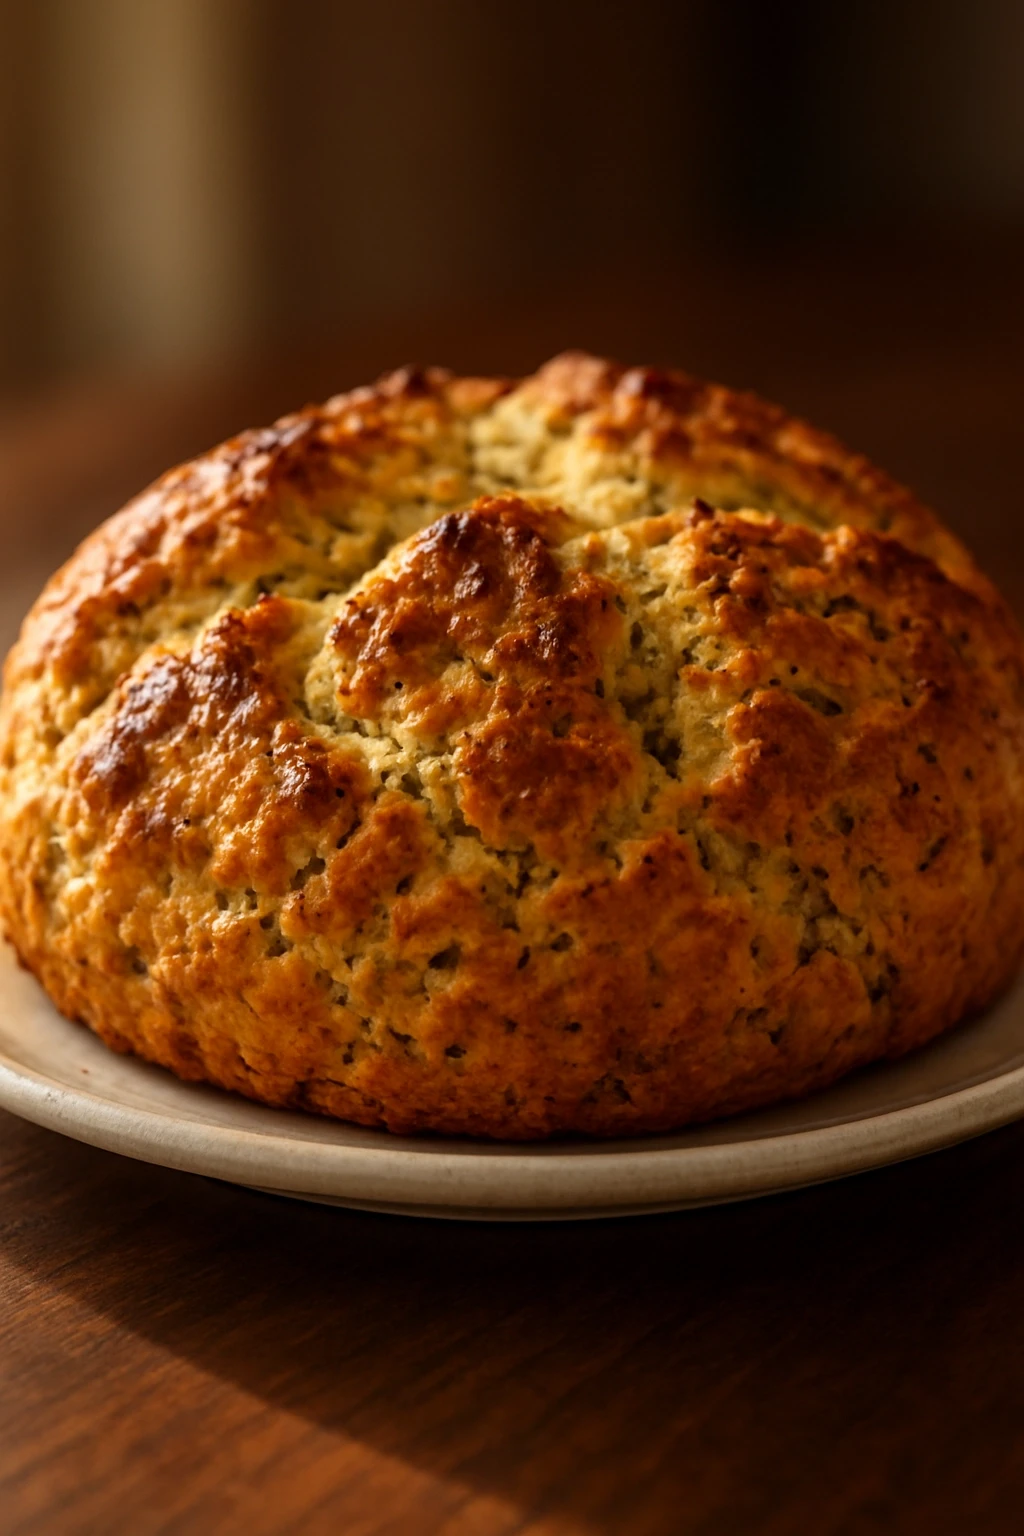
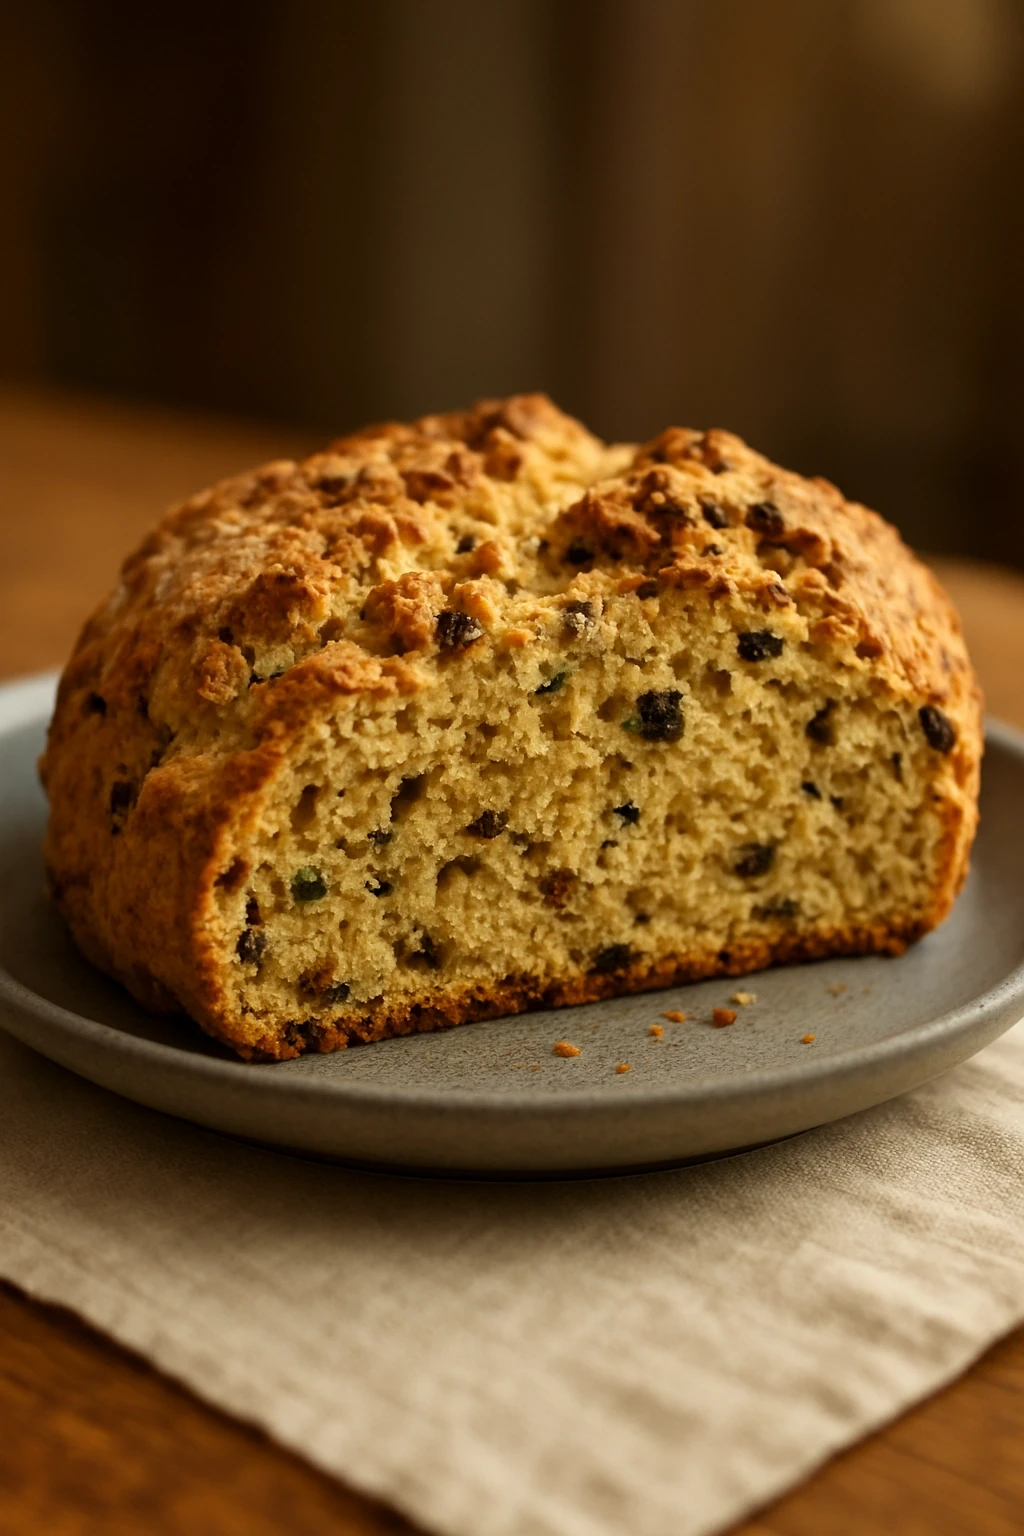
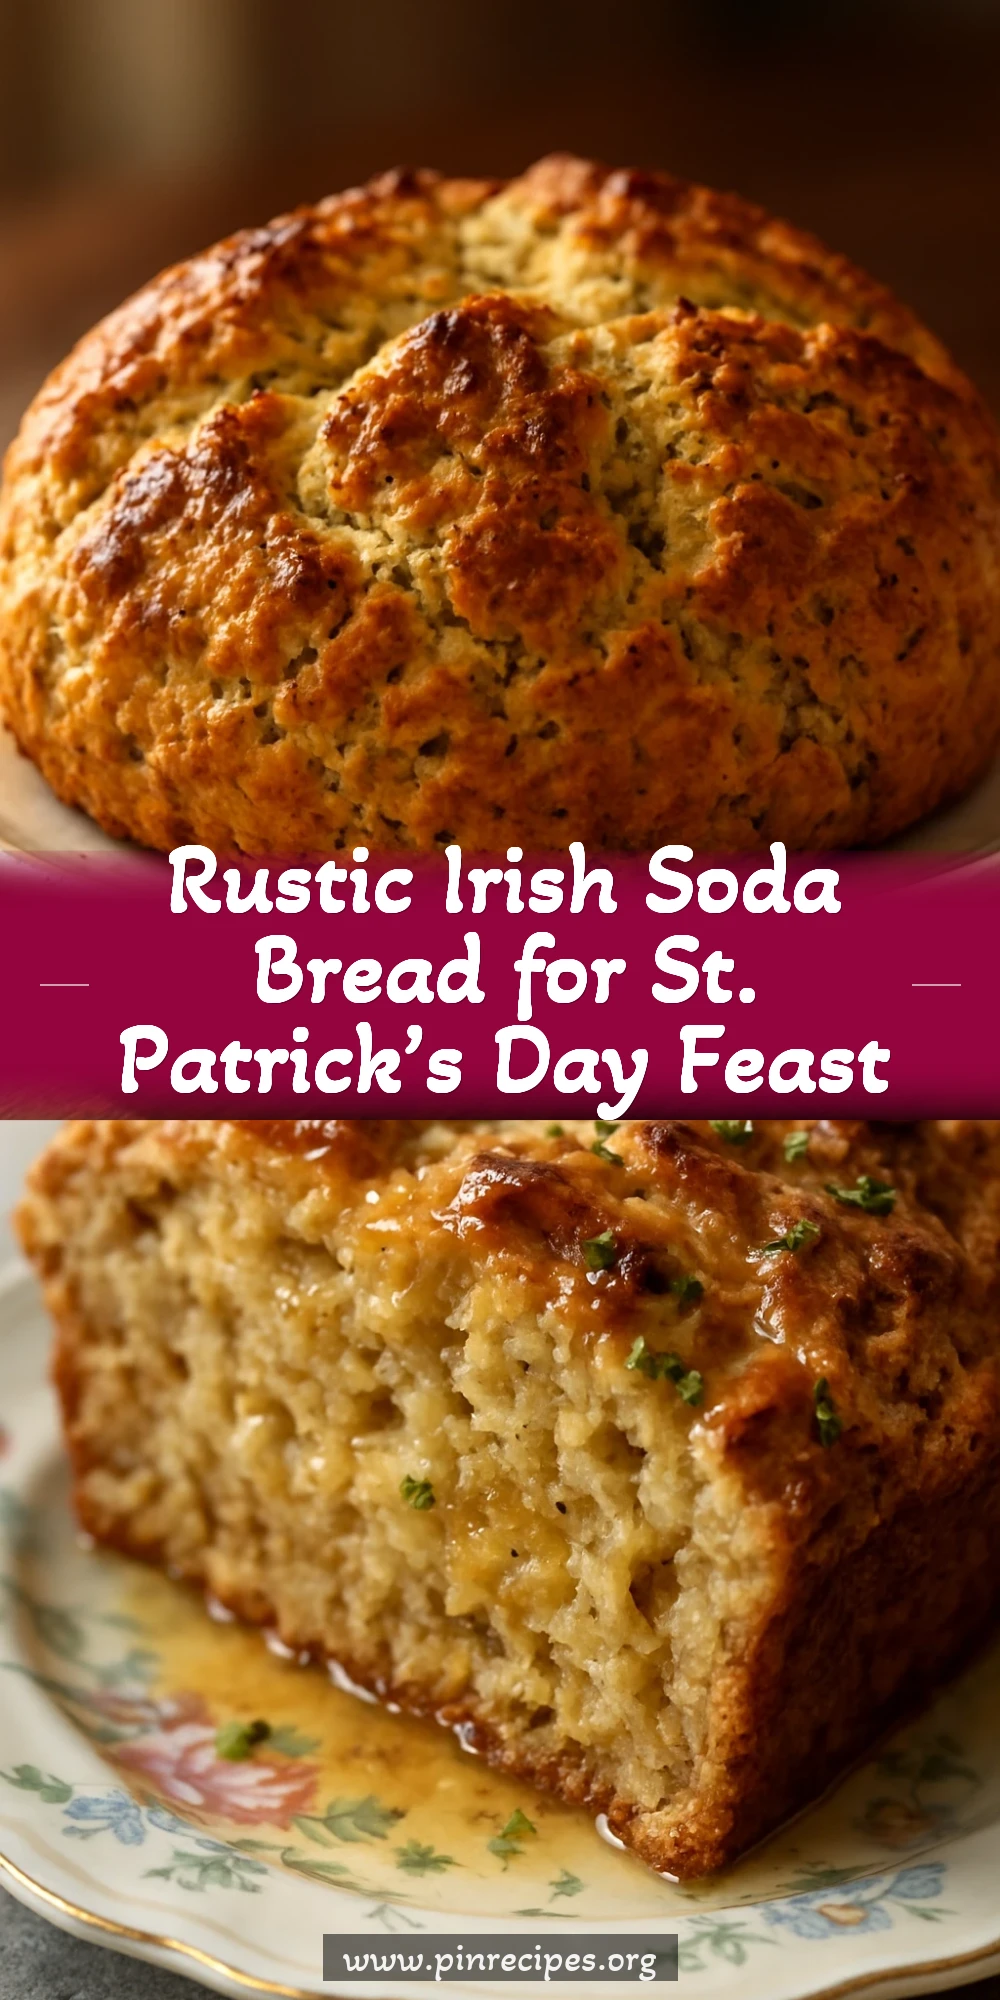
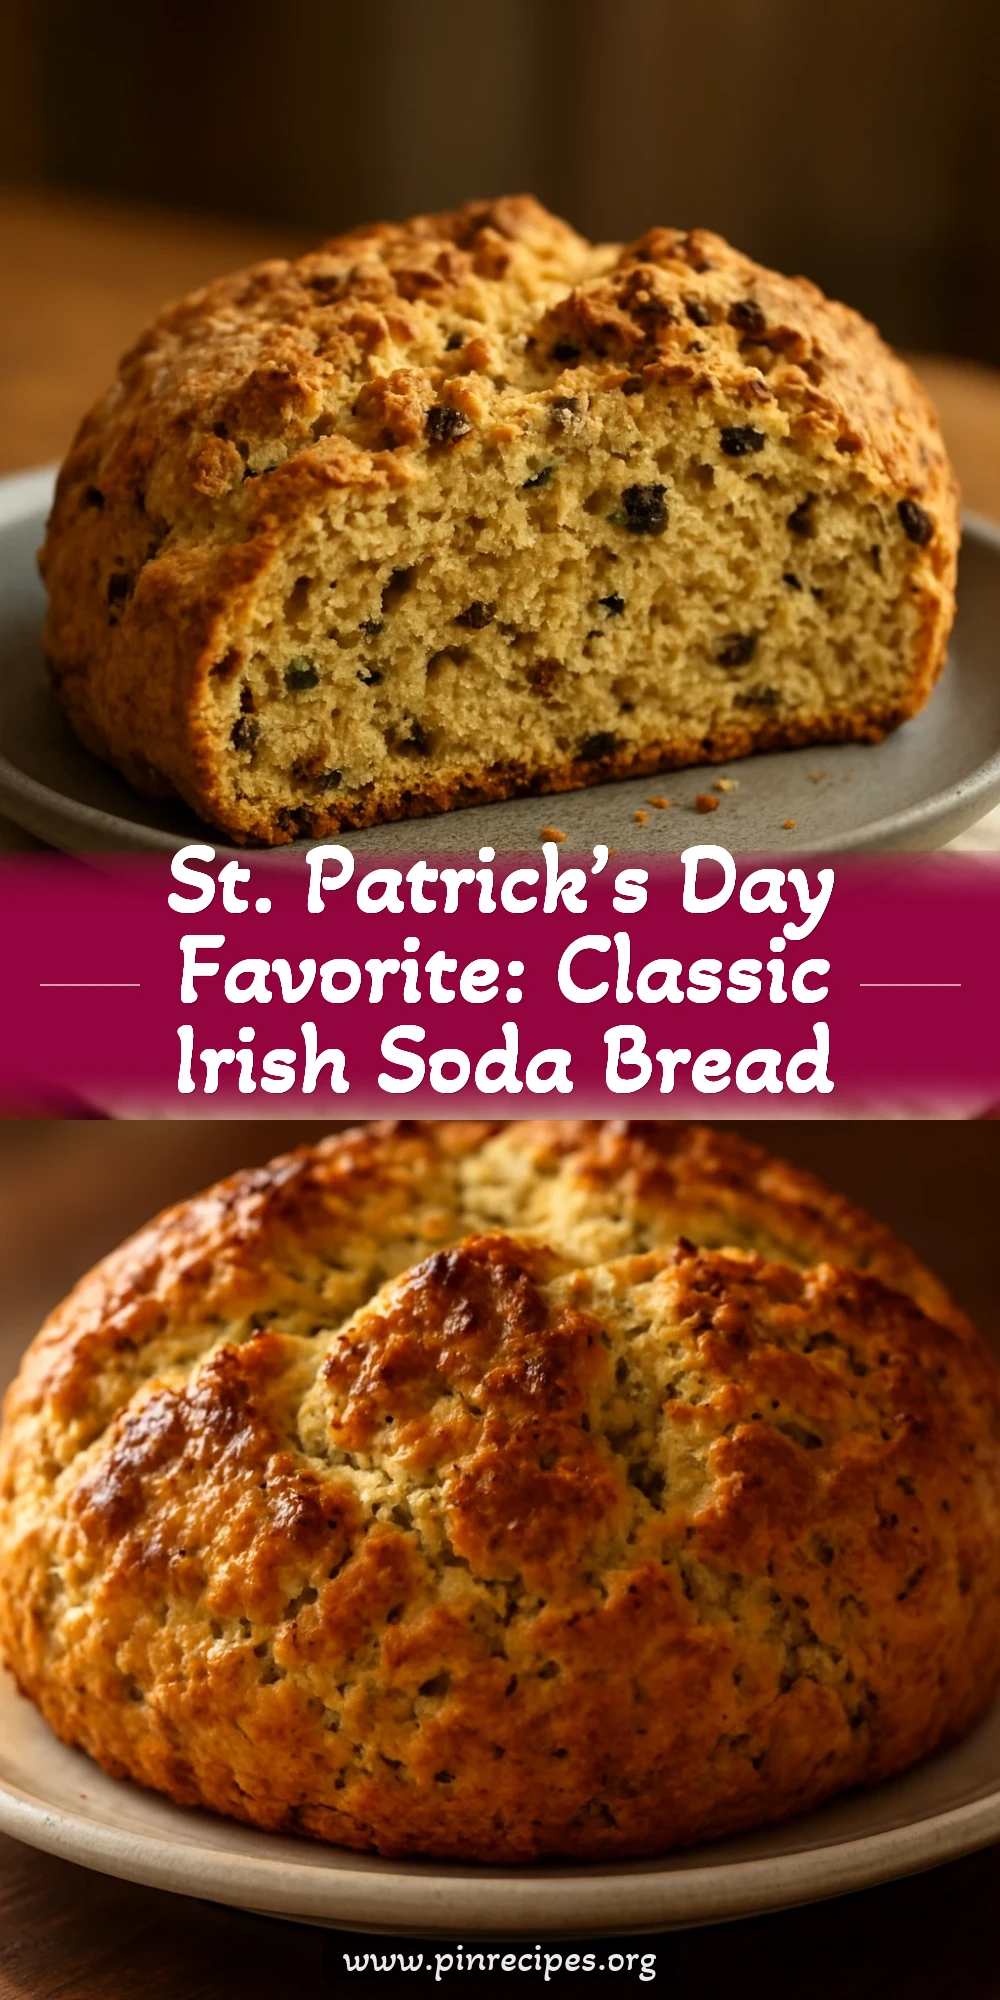
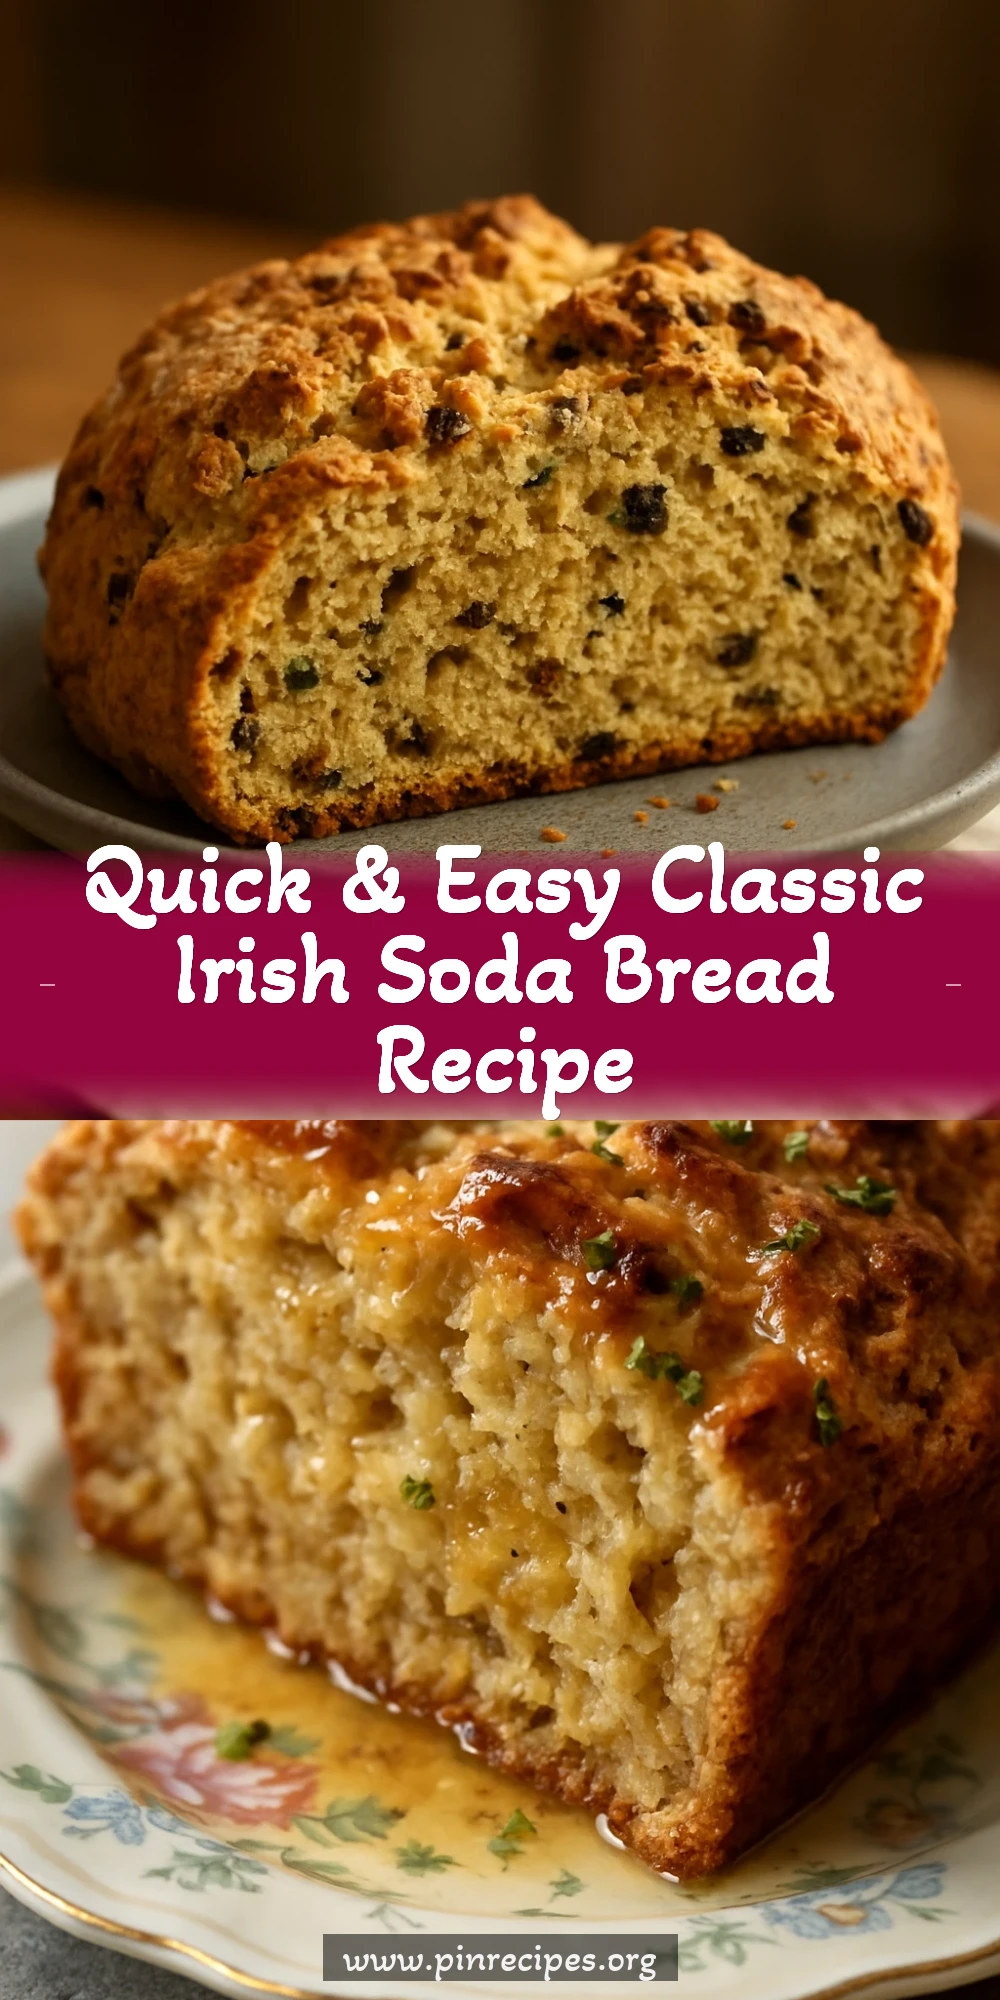
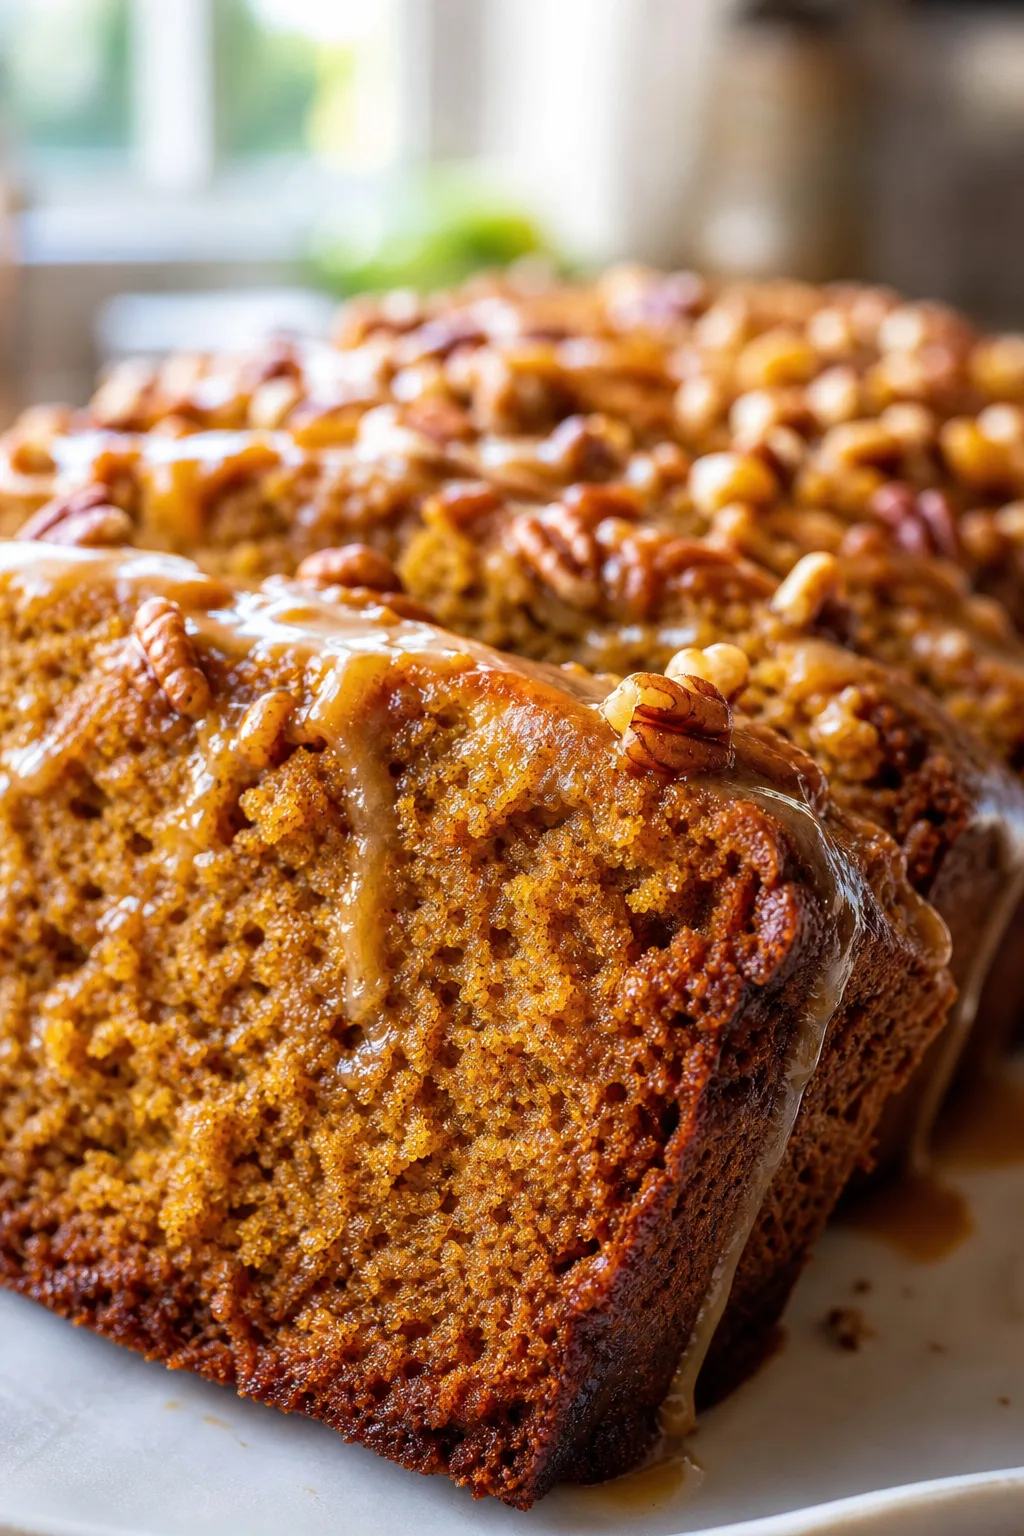
This rustic Irish soda bread is simple, hearty, and full of character. Made with baking soda instead of yeast, it’s quick to whip up and perfect alongside stews or for a cozy St. Patrick’s Day meal.
Introduction
I first tried making Irish soda bread years ago when celebrating St. Patrick’s Day with friends. It was one of those recipes that felt like a warm hug — simple, no-fuss, and deeply comforting. What I love about this bread is how quickly it comes together, no yeast or rising time needed. Just a few pantry staples and buttermilk, and you’ve got a crusty, tender loaf that’s perfect for soaking up hearty stews or enjoying with butter and jam.
Over time, I’ve tweaked the method a bit to get that perfect balance of a crunchy crust and soft crumb. The trick I learned is handling the dough gently — don’t overwork it, or it gets tough. Also, making a deep cross on top isn’t just traditional; it helps the bread cook evenly and creates that iconic look. When it’s done, you’ll have a golden, rustic loaf that’s a little crumbly but oh so satisfying. It’s truly one of those recipes that brings a bit of Irish charm to your kitchen.
What You'll Need
One 9-inch round loaf, 8 servings
- 4 cups all-purpose flour, sifted
- 1 teaspoon baking soda
- 1 teaspoon salt
- 1 3/4 cups buttermilk, cold
How To Do It
Step 1
Start by preheating your oven to 425°F (220°C) and lightly flouring a baking sheet or cast-iron skillet. This high temperature is crucial for developing a crisp crust quickly. The flour on the baking surface prevents sticking and helps the bread brown evenly. Avoid placing the dough directly on an unfloured surface, or it may stick and tear when you try to transfer it.
⏱ Time: 10 minutes
✓ Doneness: Oven fully preheated and baking surface lightly floured
Step 2
In a large bowl, whisk together the sifted flour, baking soda, and salt. Sifting aerates the flour and evenly distributes the baking soda and salt, ensuring a uniform rise and flavor. Mixing dry ingredients thoroughly is key because uneven baking soda can cause bitter spots or uneven texture in the bread.
⏱ Time: 5 minutes
✓ Doneness: Dry ingredients are well combined with no clumps
Step 3
Make a well in the center of the dry ingredients and pour in the cold buttermilk. Using cold buttermilk slows the reaction with baking soda slightly, giving you a bit more working time. Stir gently with a wooden spoon or your hand until the dough just comes together. It should be sticky but not overly wet. Overmixing here will develop gluten and make the bread tough, so be gentle.
⏱ Time: 5 minutes
✓ Doneness: Dough forms a rough ball and is slightly sticky but manageable
Step 4
Turn the dough out onto a floured surface and lightly knead it just 3-4 times to bring it into a round shape. Resist the urge to knead more; too much handling will make the bread dense. You want to keep it tender and crumbly with a soft crumb inside.
⏱ Time: 3 minutes
✓ Doneness: Dough is smooth enough to shape but still slightly rustic
Step 5
Place the dough onto your prepared baking sheet or skillet. Using a sharp knife, score a deep cross about 1/2 inch deep across the top of the dough. This isn’t just decorative — it helps the bread cook evenly and allows steam to escape, preventing the loaf from cracking randomly.
⏱ Time: 5 minutes
✓ Doneness: Visible deep cross scored on dough surface
Step 6
Bake in the preheated oven for 30-35 minutes. The high heat will give the bread a golden-brown crust while baking the inside to a tender crumb. Avoid opening the oven door early, or the bread may collapse. You can test doneness by tapping the bottom; it should sound hollow.
⏱ Time: 30-35 minutes
✓ Doneness: Loaf is golden brown and sounds hollow when tapped
Step 7
Remove the bread from the oven and transfer it to a wire rack to cool completely. Cooling prevents the crust from becoming soggy and allows the crumb to set properly. Resist slicing it while hot, as the crumb will be gummy and not fully formed.
⏱ Time: 30 minutes
✓ Doneness: Bread is cool to the touch and crust remains crisp
Step 8
Once cooled, slice with a serrated knife to preserve the crumb structure. Serve with butter, jam, or alongside your favorite Irish stew. This bread also freezes well; just wrap tightly and thaw at room temperature when needed.
⏱ Time: 5 minutes
✓ Doneness: Clean, even slices without crumbling excessively
Step 9
Enjoy your homemade Irish soda bread fresh or toasted. It’s fantastic for breakfast or as a side for dinner. The simple ingredients and quick method make it a go-to recipe when you want something authentic but fuss-free.
⏱ Time: 0 minutes
✓ Doneness: Bread served and enjoyed
Pro Tips
Don’t overmix or overknead the dough.
Since this bread uses baking soda for leavening, the dough needs to be handled gently to avoid developing too much gluten, which makes the bread tough and dense. Overmixing also causes the gas bubbles to escape before baking, reducing rise and resulting in a heavy loaf.
Use fresh baking soda for best rise.
Expired baking soda loses its potency, so the chemical reaction with buttermilk won’t produce enough carbon dioxide. This leads to a flat, dense bread. Always check the expiry date or test by mixing a small amount with vinegar to see if it bubbles.
Preheat your oven and baking surface thoroughly.
A hot oven jump-starts the rise and crust formation. Preheating the baking sheet or skillet ensures the bottom of the bread starts crisping immediately, preventing sogginess and helping the loaf hold its shape.
Make a deep cross on top before baking.
This traditional step isn’t just decorative. It allows steam to escape and gives the bread room to expand evenly. Without scoring, the loaf might crack unpredictably, affecting texture and appearance.
Let the bread cool completely before slicing.
Cutting hot soda bread can cause the crumb to become gummy and fall apart. Cooling lets the crumb set firmly while keeping the crust crisp, resulting in clean slices and better texture.
Use cold buttermilk for mixing.
Cold buttermilk slows the baking soda reaction, giving you more time to mix and shape the dough without it becoming too bubbly or sticky. Warm liquids accelerate the reaction, which can make handling difficult.
Store leftover bread wrapped in a clean kitchen towel.
Wrapping in a towel helps maintain the crust’s texture by allowing some airflow, preventing it from becoming soggy. Plastic wrap traps moisture and softens the crust too much.
Common Mistakes to Avoid
Overmixing the dough
Why it happens Many cooks assume more mixing means better texture, but with soda bread, overmixing develops gluten excessively and causes gas bubbles to escape prematurely.
Fix Mix the dough just until it comes together and knead gently only a few times. Handle the dough lightly to keep it tender and crumbly.
Using expired baking soda
Why it happens Baking soda loses potency over time, and some may not check the expiration date, thinking it’s fine because it’s a pantry staple.
Fix Test baking soda by mixing a small amount with vinegar. If it doesn’t fizz vigorously, replace it to ensure proper rise.
Not preheating the oven or baking surface
Why it happens Rushing the process or not planning ahead can lead to baking in a cold oven, which prevents proper crust formation.
Fix Always preheat oven fully and warm your baking sheet or skillet before placing the dough to get a crisp crust and even bake.
Cutting the bread too soon
Why it happens Impatience leads to slicing hot bread, which causes the crumb to be gummy and fall apart.
Fix Allow the bread to cool completely on a wire rack before slicing to let the crumb set and preserve texture.
Skipping the cross score on top
Why it happens Some skip scoring, thinking it’s just decorative, not realizing it affects baking.
Fix Use a sharp knife to cut a deep cross on top before baking to help the bread expand evenly and release steam.
Variations
Whole Wheat Irish Soda Bread
Swap half or all of the all-purpose flour for whole wheat flour for a nuttier flavor and denser texture. The bread will be heartier and slightly darker, perfect for those who enjoy a more rustic loaf.
Note: Whole wheat absorbs more liquid, so you may need to add a splash more buttermilk. Knead gently to avoid toughness.
Irish Soda Bread with Raisins
Add 1 cup of raisins or currants to the dough for a touch of sweetness and chewiness. This variation is great for breakfast or tea time, adding a lovely contrast to the savory bread.
Note: Toss the dried fruit in a bit of flour before mixing into the dough to prevent sinking.
Cheddar and Chive Soda Bread
Incorporate 1 cup of sharp cheddar cheese and 2 tablespoons of fresh chopped chives for a savory twist. This version pairs wonderfully with soups and stews.
Note: Fold cheese and herbs gently into the dough to distribute evenly without overworking.
Gluten-Free Irish Soda Bread
Use a gluten-free flour blend designed for baking, along with xanthan gum if not included, to make a gluten-free version. The texture will be more crumbly but still delicious.
Note: Adjust liquid amounts as gluten-free flours absorb differently; expect a shorter kneading time.
Sweet Honey Soda Bread
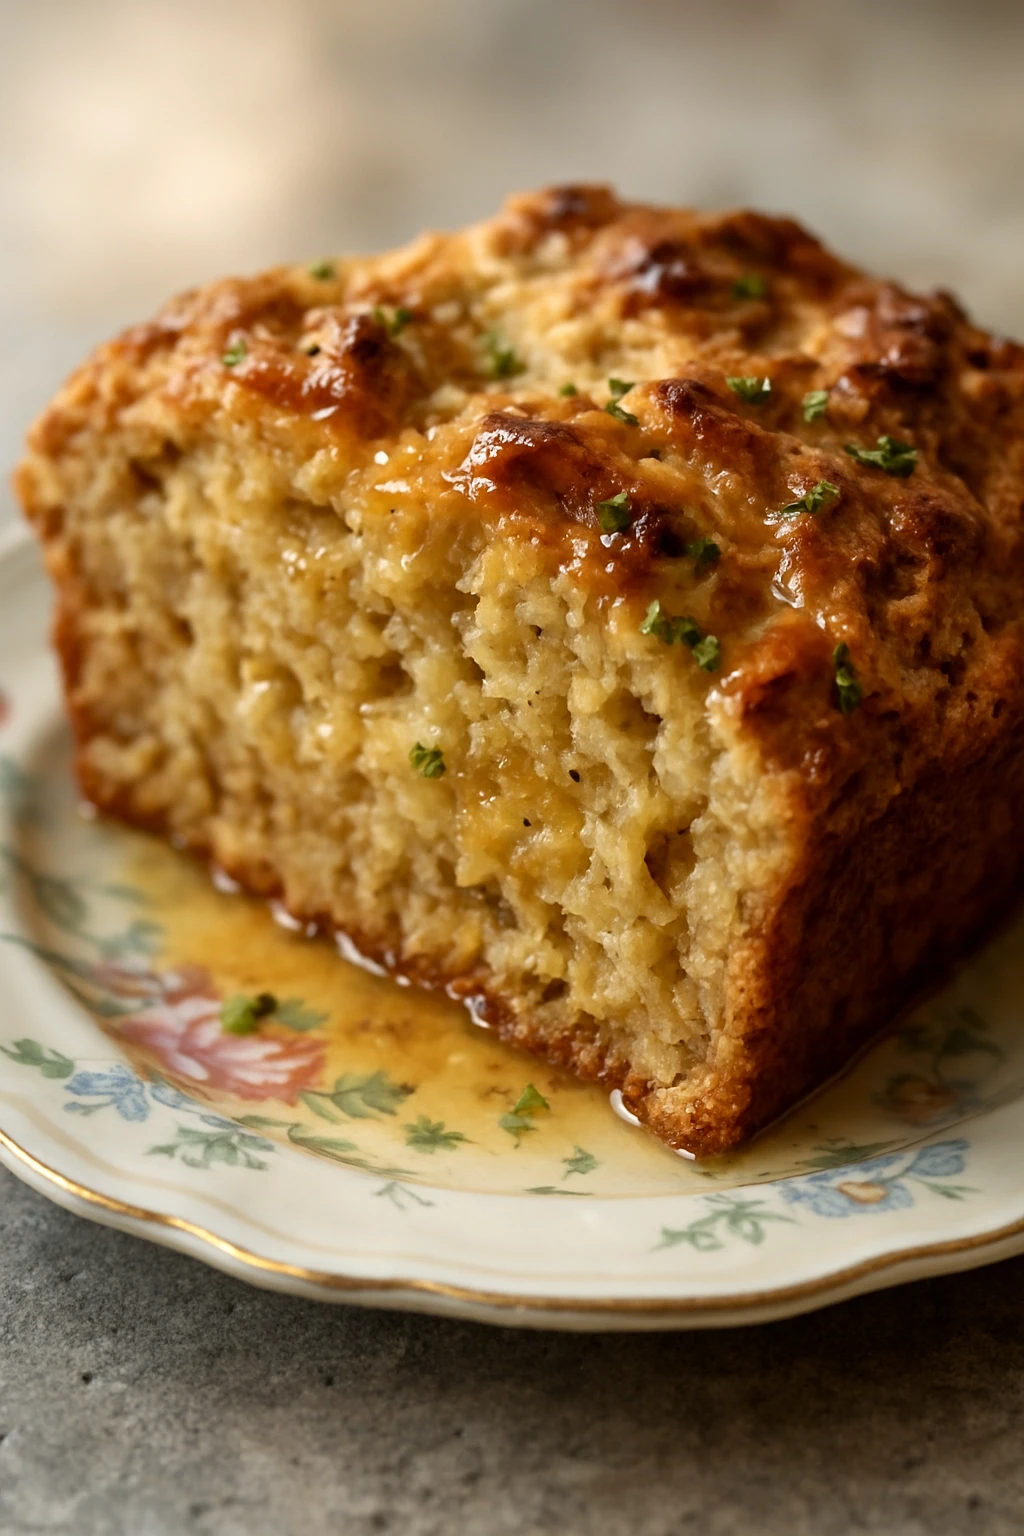
Add 2 tablespoons of honey to the buttermilk before mixing for a subtle sweetness. This bread is lovely for breakfast or as a snack with butter.
Note: Honey adds moisture, so reduce buttermilk slightly to keep dough consistency right.
Nutrition
Per Serving:
Nutritional values are estimates and may vary based on specific ingredients used.
Storage & Tips
Room Temperature
Irish soda bread keeps well at room temperature for up to 2 days when wrapped in a clean kitchen towel or paper bag to maintain crust crispness. Avoid plastic wrap at room temp as it traps moisture and softens the crust.
Refrigerator
Store in an airtight container or wrapped tightly in plastic wrap for up to 5 days. The bread will become denser and the crust softer when refrigerated, so it’s best toasted before serving.
Freezer
Freeze the bread wrapped tightly in plastic wrap and aluminum foil for up to 3 months. To thaw, leave at room temperature for a few hours or overnight. Reheat in a 350°F oven for 10-15 minutes to restore crust crispness.
Reheating
Reheat slices in a toaster or under the broiler for 2-3 minutes to crisp the crust. Avoid microwaving as it makes the bread rubbery. Adding a bit of butter while warming enhances flavor and moisture.
Make Ahead
You can mix and shape the dough a day ahead, then cover tightly and refrigerate overnight. Bake fresh the next day for best rise and crust. Alternatively, bake the bread and freeze slices for quick breakfasts or snacks.
FAQ
Can I use regular milk instead of buttermilk?
You can substitute regular milk mixed with 1 tablespoon of lemon juice or vinegar per cup to mimic buttermilk’s acidity. Let it sit for 5 minutes before using. This acidity is essential to activate the baking soda and get a good rise, so plain milk won’t work as well.
Why is my soda bread dense and heavy?
Dense bread usually means the dough was overmixed or the baking soda was old. Overmixing develops gluten and releases gas bubbles prematurely, resulting in a tight crumb. Always handle dough gently and use fresh baking soda for best results.
How do I know when the bread is fully baked?
The best test is tapping the bottom of the loaf — it should sound hollow. Also, the crust will be golden brown and firm. If you have a thermometer, the internal temperature should be around 200°F (93°C).
Can I add seeds or nuts to the bread?
Yes! Adding seeds like sunflower or pumpkin, or chopped nuts, gives extra texture and flavor. Toss them in with the flour before adding buttermilk. Just be careful not to add too much or it may affect the bread’s structure.
What’s the purpose of the cross scored on top?
The cross allows steam to escape and helps the bread expand evenly during baking. It also creates the traditional look of Irish soda bread. Without it, the loaf might crack unpredictably or cook unevenly.
Can I make soda bread without a baking sheet?
Absolutely! You can bake it in a cast-iron skillet or even on a pizza stone. Just be sure whatever you use is preheated to get that crisp crust and even bake.
Why does my bread sometimes crack apart after baking?
Cracking can happen if the dough is too dry or if the oven temperature is too high or uneven. Make sure your dough is sticky enough and that you score the top properly. Also, avoid opening the oven door during baking to maintain steady heat.
Is it better to use homemade buttermilk?
Homemade buttermilk (milk plus acid) works well and is convenient. Real cultured buttermilk can add a slightly tangier flavor and more tender crumb, but the difference is subtle. Both options activate baking soda effectively.
Final Thoughts
Give this Irish soda bread a try for your next St. Patrick’s Day or cozy dinner — it’s easy, authentic, and delicious. I’d love to hear how yours turns out!