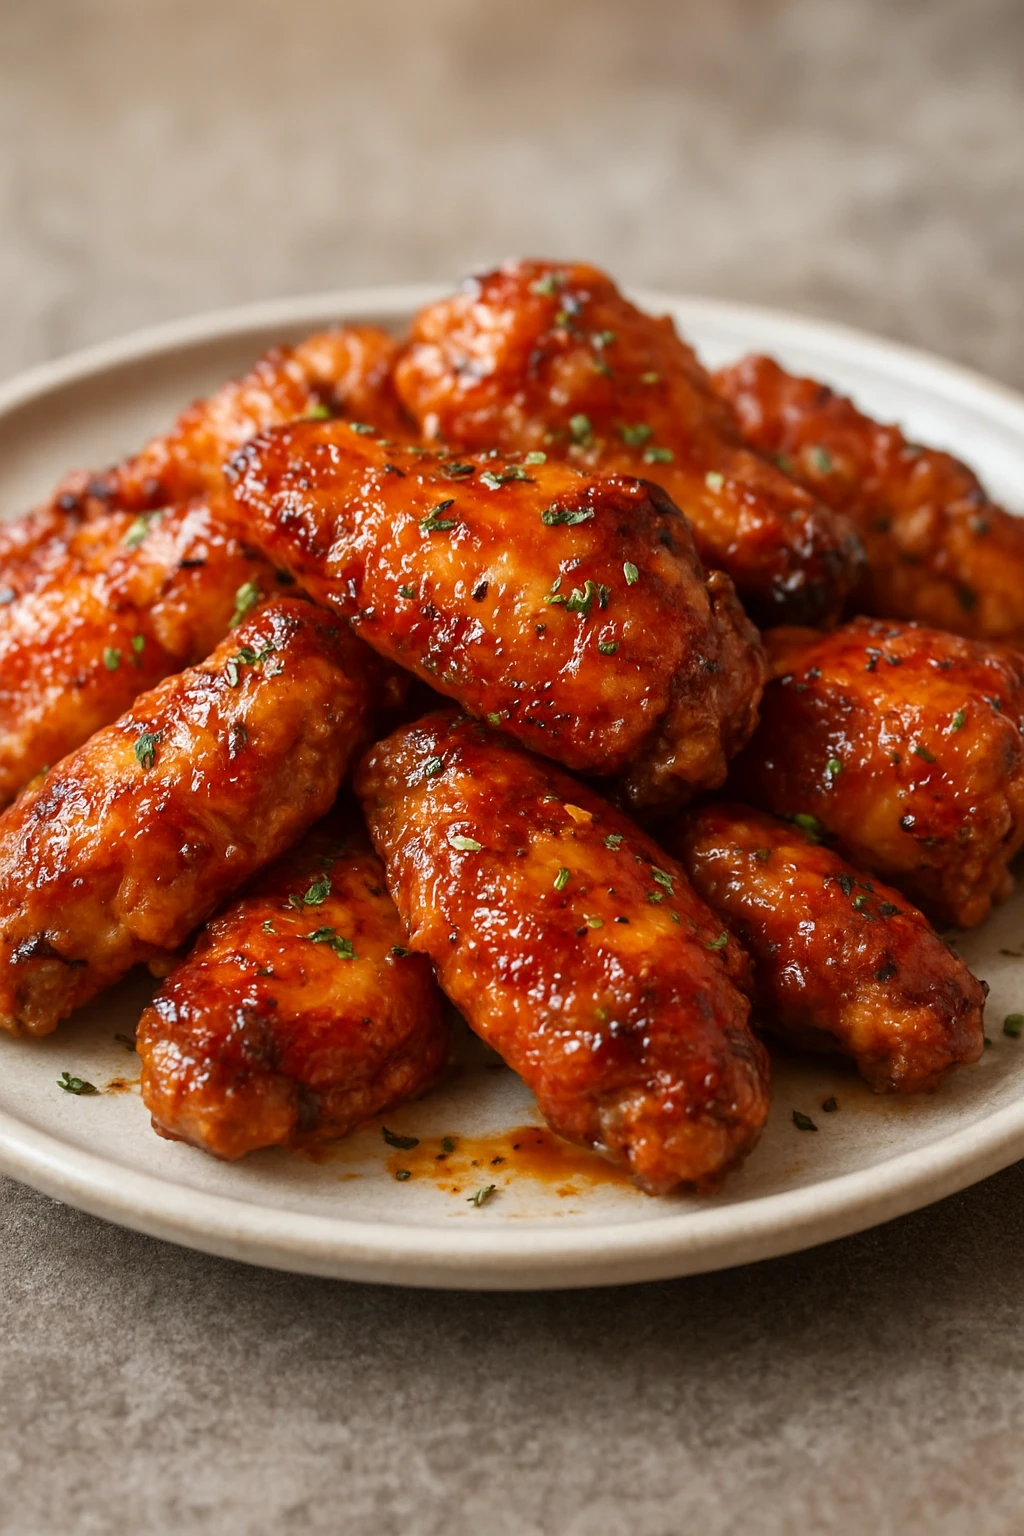
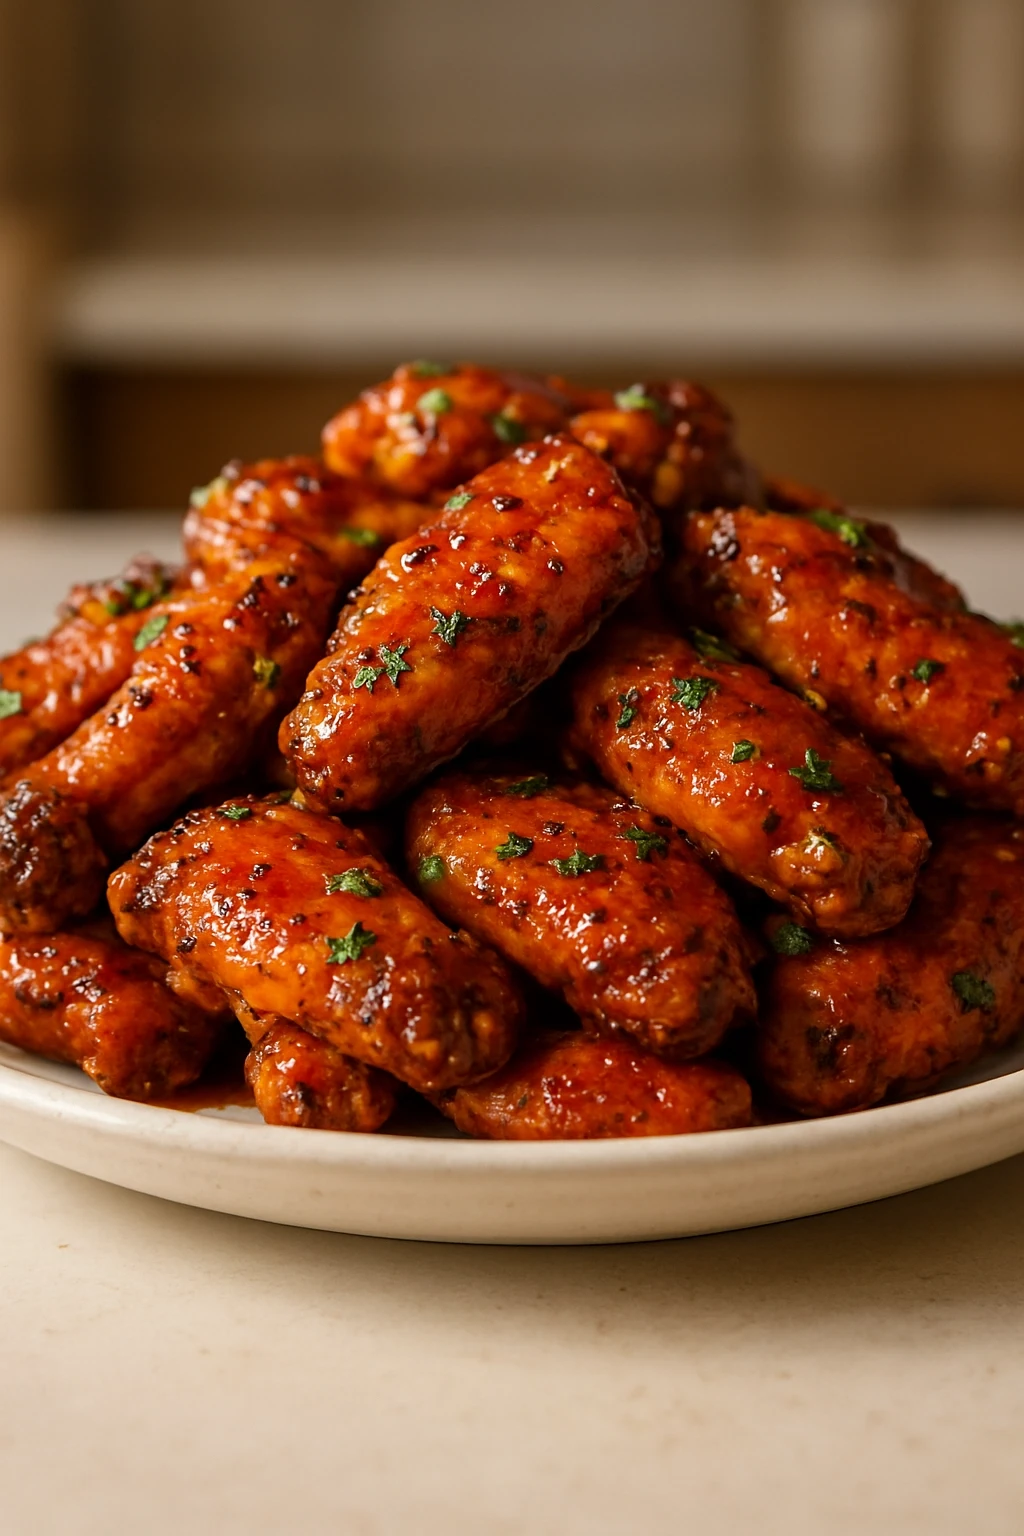
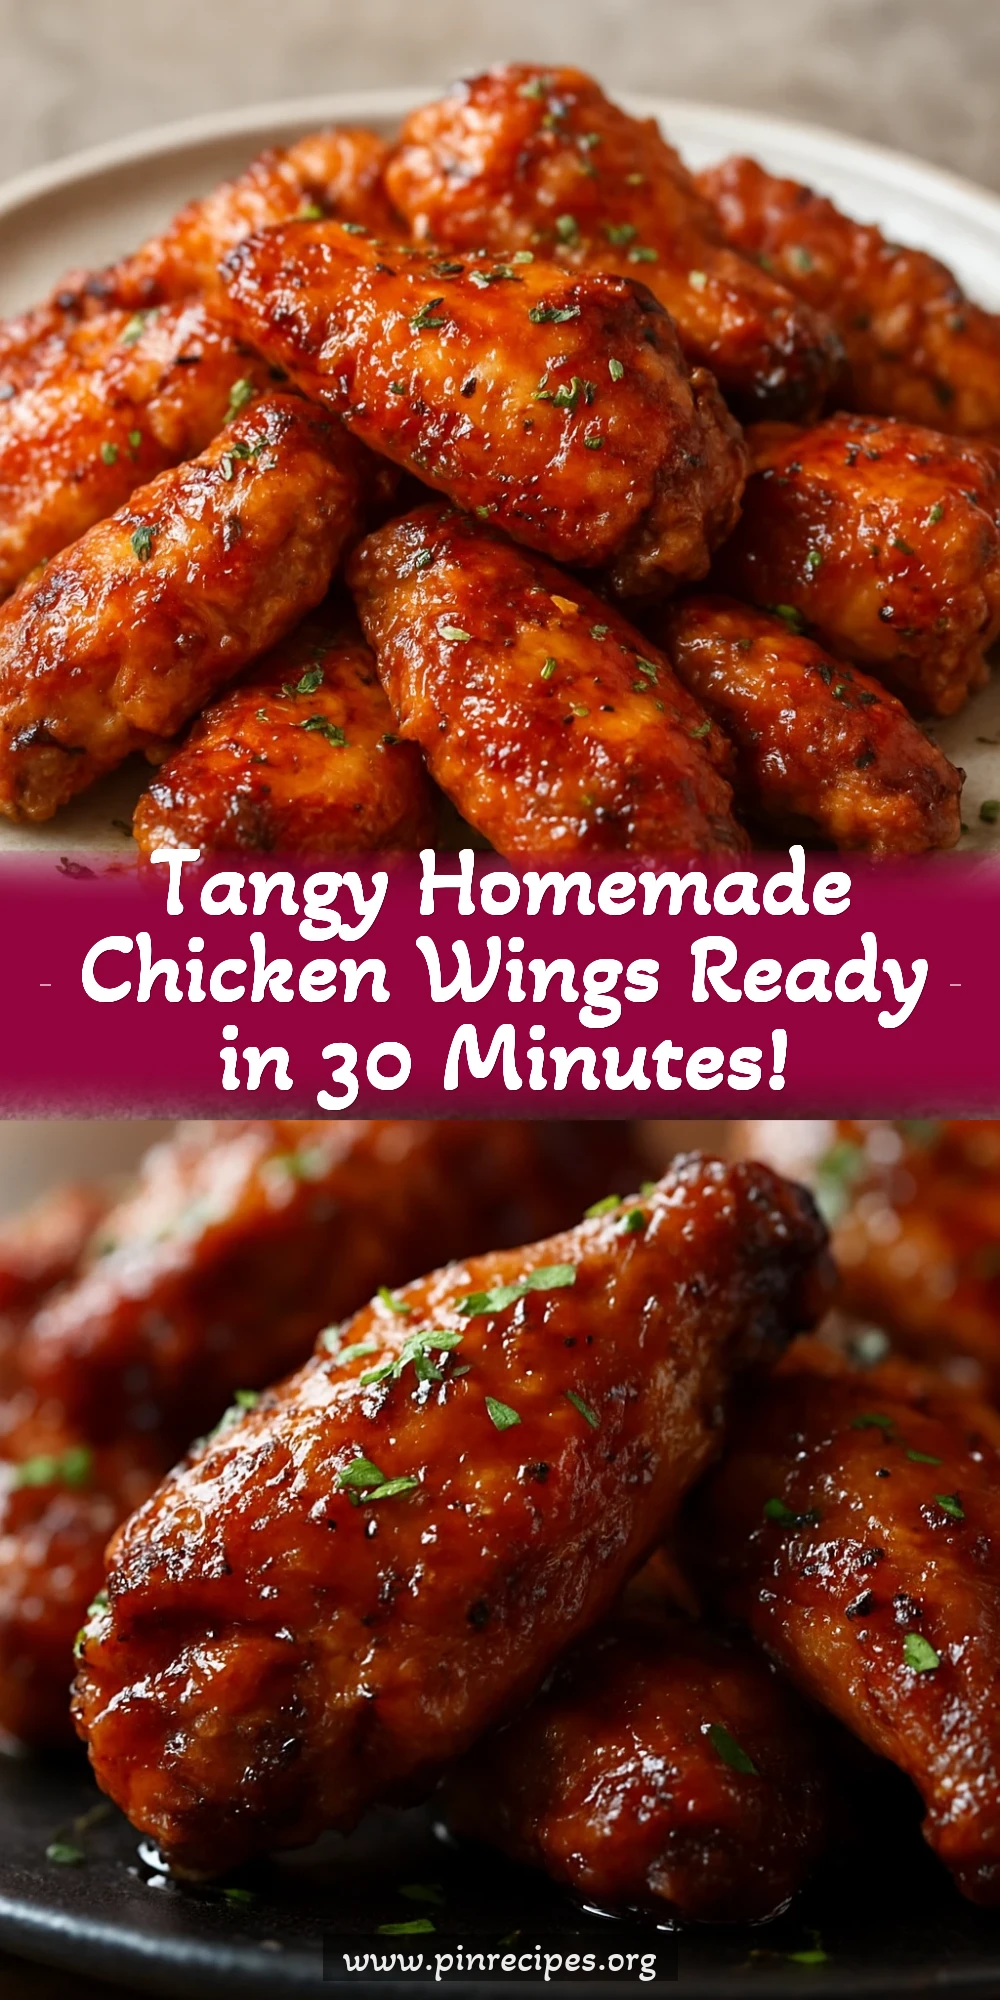
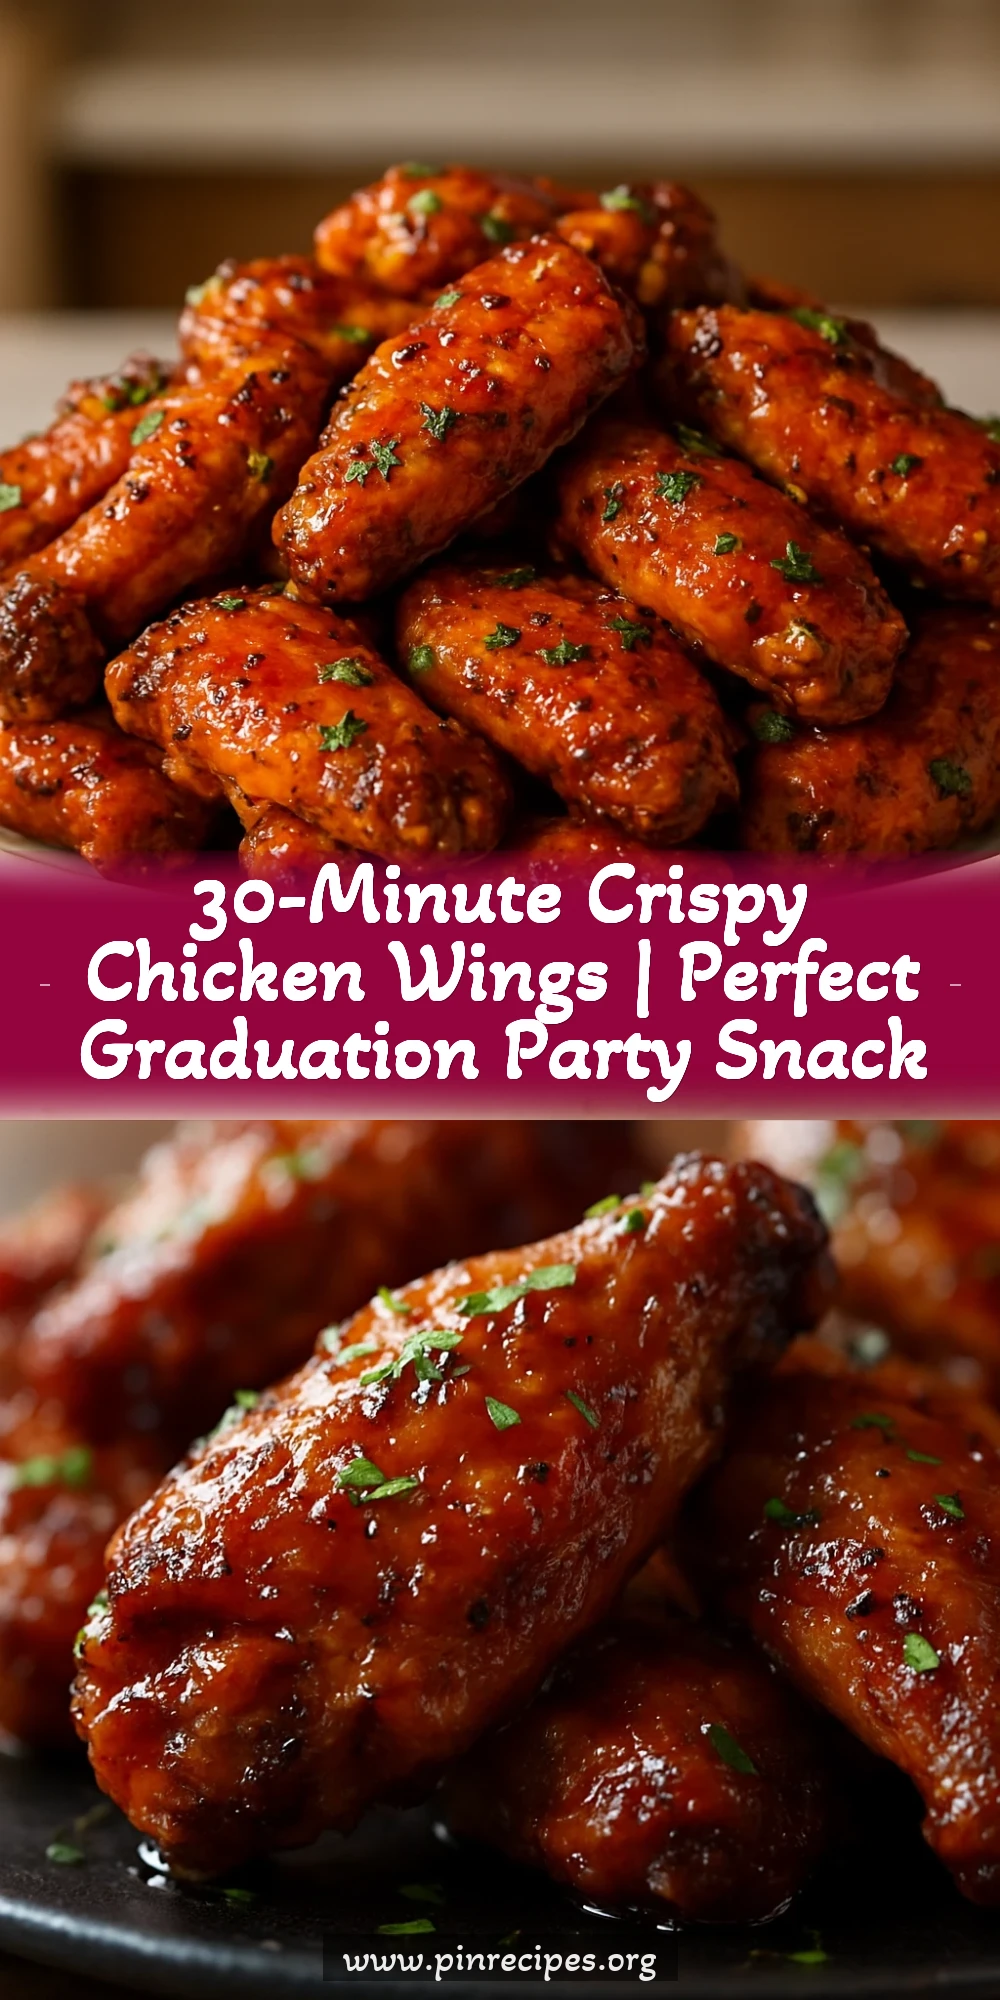
These crispy chicken wings are a total crowd-pleaser and come together in just 30 minutes. Tossed in a tangy homemade sauce, they’re perfect for graduation parties or any casual get-together. Super simple and always a hit!
Introduction
I first made these wings for my little brother’s graduation party last year, and they were an instant hit. What I love about this recipe is how quickly you can get restaurant-quality crispy wings without deep-frying. The secret is baking them with baking powder, which dries out the skin and makes it perfectly crunchy. Plus, the sauce is a simple blend of hot sauce, honey, and garlic powder that balances heat with a touch of sweetness. I’ve tried other wing recipes before, but this one always gets rave reviews and disappears fast. If you’re looking for a fuss-free, finger-licking good snack to feed a crowd, this is it. The wings come out golden, crispy, and packed with flavor — perfect for celebrating any milestone or just a fun weekend snack.
How To Do It
Step 1
Preheat your oven to 425°F (220°C). Line a baking sheet with foil and place a wire rack on top. This setup allows air to circulate around the wings, helping them crisp evenly. Pat the chicken wings dry with paper towels — this step is crucial because moisture on the skin will steam the wings instead of crisping them. Toss the wings in a large bowl with baking powder, salt, and pepper until evenly coated. The baking powder is the magic ingredient here; it raises the pH of the skin, breaking down proteins and promoting browning and crispiness.
⏱ Time: 15 minutes prep
✓ Doneness: Wings are coated evenly and feel dry to the touch before baking
Step 2
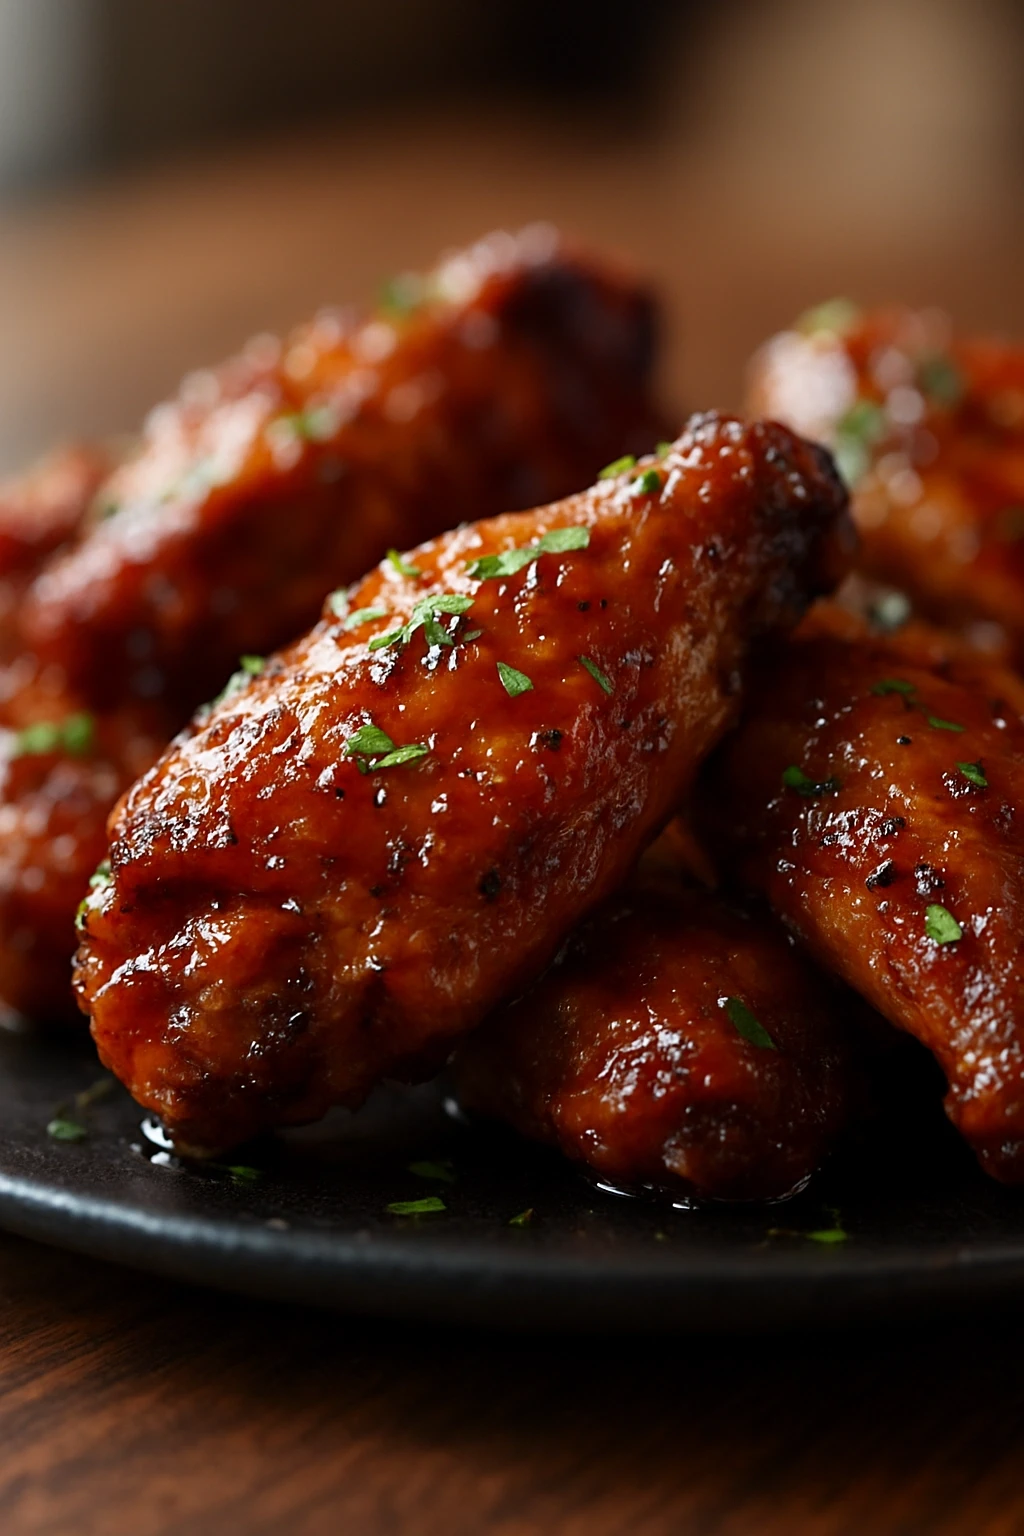
Arrange the wings in a single layer on the wire rack, making sure they don’t touch. Bake for 20-25 minutes, flipping halfway through. Keep an eye on them after 20 minutes; they should be golden brown and crispy. If you skip flipping, one side may cook unevenly, resulting in soggy spots. The high heat and airflow from the rack ensure the skin crisps nicely without frying. Once done, remove the wings from the oven and let them rest while you prepare the sauce.
⏱ Time: 20-25 minutes baking
✓ Doneness: Wings are golden brown with visibly crisp skin
Step 3
While the wings bake, whisk together the hot sauce, melted butter, honey, and garlic powder in a bowl. This sauce balances heat, sweetness, and savory garlic, giving the wings a flavorful punch. Adjust the honey if you want it sweeter or the hot sauce for more kick. The butter helps the sauce cling to the wings and adds richness.
⏱ Time: 5 minutes
✓ Doneness: Sauce is smooth and well combined
Step 4
When the wings come out of the oven, transfer them immediately to a large bowl. Pour the sauce over the wings and toss gently but thoroughly to coat every piece. Serving the wings right away ensures the sauce stays fresh and the skin remains crispy. If you wait too long, the sauce can make the skin soggy.
⏱ Time: 5 minutes
✓ Doneness: Wings are evenly coated and glistening with sauce
Step 5
Serve the wings hot with celery sticks and ranch dressing on the side. The crisp celery cools down the heat, and the creamy ranch complements the tangy sauce perfectly. This simple pairing rounds out the flavors and textures for a well-balanced snack.
⏱ Time: Serve immediately
✓ Doneness: Wings are hot, saucy, and ready to enjoy
Step 6
If you want extra crispy wings, after tossing in the sauce, you can place them back on the wire rack and broil for 1-2 minutes. Watch carefully to avoid burning. This step caramelizes the sauce slightly and adds an extra crunch.
⏱ Time: 1-2 minutes broiling (optional)
✓ Doneness: Sauce bubbles and edges turn slightly darker
Step 7
For a milder version, reduce the hot sauce by half and add more honey. This balances the heat for kids or those sensitive to spice but keeps the delicious buttery flavor intact.
⏱ Time: Adjust sauce prep time accordingly
✓ Doneness: Sauce tastes balanced, not overpowering
Step 8
To make cleanup easier, line your baking sheet with foil and spray the wire rack with nonstick spray. This prevents sticking and saves scrubbing later.
⏱ Time: Prep before baking
✓ Doneness: Foil and rack are clean and easy to remove
Step 9
Let any leftovers cool before refrigerating. Reheat in a hot oven to regain crispiness rather than microwaving, which can make the skin soggy. A quick 5-7 minutes at 400°F works well.
⏱ Time: Reheat 5-7 minutes
✓ Doneness: Wings are hot and crispy again
Pro Tips
Pat wings very dry before coating with baking powder.
Moisture on the skin creates steam during baking, which prevents crisping. Dry wings allow the baking powder to do its job raising pH and breaking down proteins for browning.
Use a wire rack on a baking sheet for cooking wings.
Elevating wings allows hot air to circulate all around, preventing soggy bottoms and ensuring even crisping on all sides.
Flip wings halfway through baking.
This promotes even browning and prevents one side from burning or undercooking, giving you consistent crispiness.
Toss wings in sauce immediately after baking.
The heat helps the sauce cling to the skin without soaking in and making it soggy, preserving that perfect crunch.
Broil wings for 1-2 minutes after saucing for extra caramelization.
This step slightly chars the sauce, adding depth and a sticky finish, but watch carefully to avoid burning.
Serve with celery and ranch for cooling contrast.
The crunchy celery and creamy dressing balance the spicy, rich wings, making the eating experience more enjoyable.
Reheat leftovers in a hot oven, not microwave.
Microwaving makes skin soggy, but reheating in the oven crisps the skin back up for a fresh-eating experience.
Common Mistakes to Avoid
Skipping the drying step before coating wings.
Why it happens Many assume wings are ready to bake straight from the package, not realizing surface moisture ruins crispiness.
Fix Pat wings thoroughly with paper towels until no moisture remains. This ensures baking powder can crisp the skin properly.
Using baking soda instead of baking powder.
Why it happens People confuse these leavening agents, but baking soda can cause off-flavors and uneven crisping.
Fix Always use aluminum-free baking powder for this recipe to get the desired browning without bitterness.
Crowding wings on the baking rack.
Why it happens Trying to fit all wings on one pan to save time leads to steaming instead of crisping.
Fix Give wings space on the rack to allow air circulation; use multiple pans if needed.
Saucing wings too early or letting them sit too long after saucing.
Why it happens Some toss wings in sauce before cooking or let them sit too long, making skin soggy.
Fix Sauce wings immediately after baking and serve right away for best texture.
Not flipping wings during baking.
Why it happens Forgetting to turn wings causes uneven cooking and soggy spots.
Fix Flip wings halfway through baking for uniform crispiness.
Variations
Sweet BBQ Wings
Swap the hot sauce for your favorite BBQ sauce mixed with a little honey for sweetness. This variation is less spicy and perfect for kids or those who prefer smoky flavors. The wings will be sticky and flavorful with a caramelized glaze.
Note: BBQ sauce is thicker, so toss wings immediately after baking and consider broiling briefly to caramelize.
Garlic Parmesan Wings
After baking, toss wings with melted butter, minced garlic, and grated Parmesan. Finish with chopped parsley. This version is rich and savory without heat, great for garlic lovers.
Note: Add garlic and cheese off heat to avoid burning the garlic and clumping the cheese.
Asian-Inspired Soy-Ginger Wings
Mix soy sauce, grated ginger, honey, and a splash of sesame oil for the sauce. Toss wings after baking for a tangy, umami-packed twist. Garnish with sesame seeds and scallions.
Note: Soy sauce adds saltiness; reduce added salt in the baking powder mix accordingly.
Lemon Pepper Wings
Season wings with lemon zest and cracked black pepper instead of baking powder. Toss with melted butter and a squeeze of fresh lemon juice after baking for a bright, zesty flavor.
Note: Without baking powder, wings won’t be as crispy but will have a fresh citrus punch.
Buffalo Cauliflower Bites (Vegan)
Substitute cauliflower florets for wings, coat with baking powder and spices, bake until crispy, then toss in vegan buffalo sauce. A great plant-based party option with similar flavors and texture.
Note: Cauliflower cooks faster; reduce baking time to avoid mushiness.
Nutrition
Per Serving:
Nutritional values are estimates and may vary based on specific ingredients used.
Storage & Tips
Room Temperature
Wings can be safely left out at room temperature for up to 2 hours if covered loosely with foil or a clean towel. Beyond that, bacteria growth increases, so refrigerate promptly.
Refrigerator
Store leftover wings in an airtight container for up to 3 days. They may lose some crispiness and become softer when cold. Reheat in the oven to restore texture before serving.
Freezer
Freeze wings in a single layer on a baking sheet first, then transfer to a freezer-safe bag or container for up to 3 months. Wrap tightly to prevent freezer burn. Thaw overnight in the fridge before reheating.
Reheating
Preheat oven to 400°F and spread wings on a baking sheet. Reheat for 5-7 minutes until hot and crispy. Avoid microwaving as it makes skin soggy. Add a splash of water if wings seem dry during reheating.
Make Ahead
You can prep and season wings a day ahead, storing them uncovered in the fridge to dry out skin for extra crispiness. Bake and sauce just before serving for best results.
FAQ
Can I use frozen wings for this recipe?
Yes, but make sure to fully thaw and pat them dry before coating with baking powder. Excess moisture from frozen wings can prevent crispiness, so drying well is essential.
What if I don’t have baking powder?
Baking powder is key for crispiness here. Without it, wings will cook but won’t get that signature crunch. You can try baking soda, but it may cause a bitter taste and uneven browning.
Can I make these wings spicy or mild?
Absolutely! Adjust the amount of hot sauce or swap it for BBQ sauce to control heat. Adding honey balances spice nicely for a milder flavor.
How do I keep wings crispy after saucing?
Sauce wings immediately after baking and serve right away. If you wait too long, the sauce soaks in and softens the skin. For extra crispiness, broil briefly after saucing.
Is it better to deep-fry wings or bake them?
Deep-frying yields crispy wings but is messier and less healthy. Baking with baking powder is a cleaner, easier method that still delivers great crispiness and flavor.
Can I double the recipe for a bigger crowd?
Yes, but bake wings in batches or use multiple racks to avoid overcrowding, which causes steaming and soggy skin.
How long do leftover wings keep?
Store in the fridge for up to 3 days. Reheat in the oven for best texture. Avoid leaving wings out longer than 2 hours to prevent foodborne illness.
What dipping sauces go well with these wings?
Ranch, blue cheese, or even a cooling cucumber yogurt dip complement the spicy, tangy wings nicely and add variety to your spread.
Final Thoughts
Give these crispy, tangy wings a try for your next party or casual night in. I’d love to hear how they turn out—don’t forget to share your photos and tweaks!