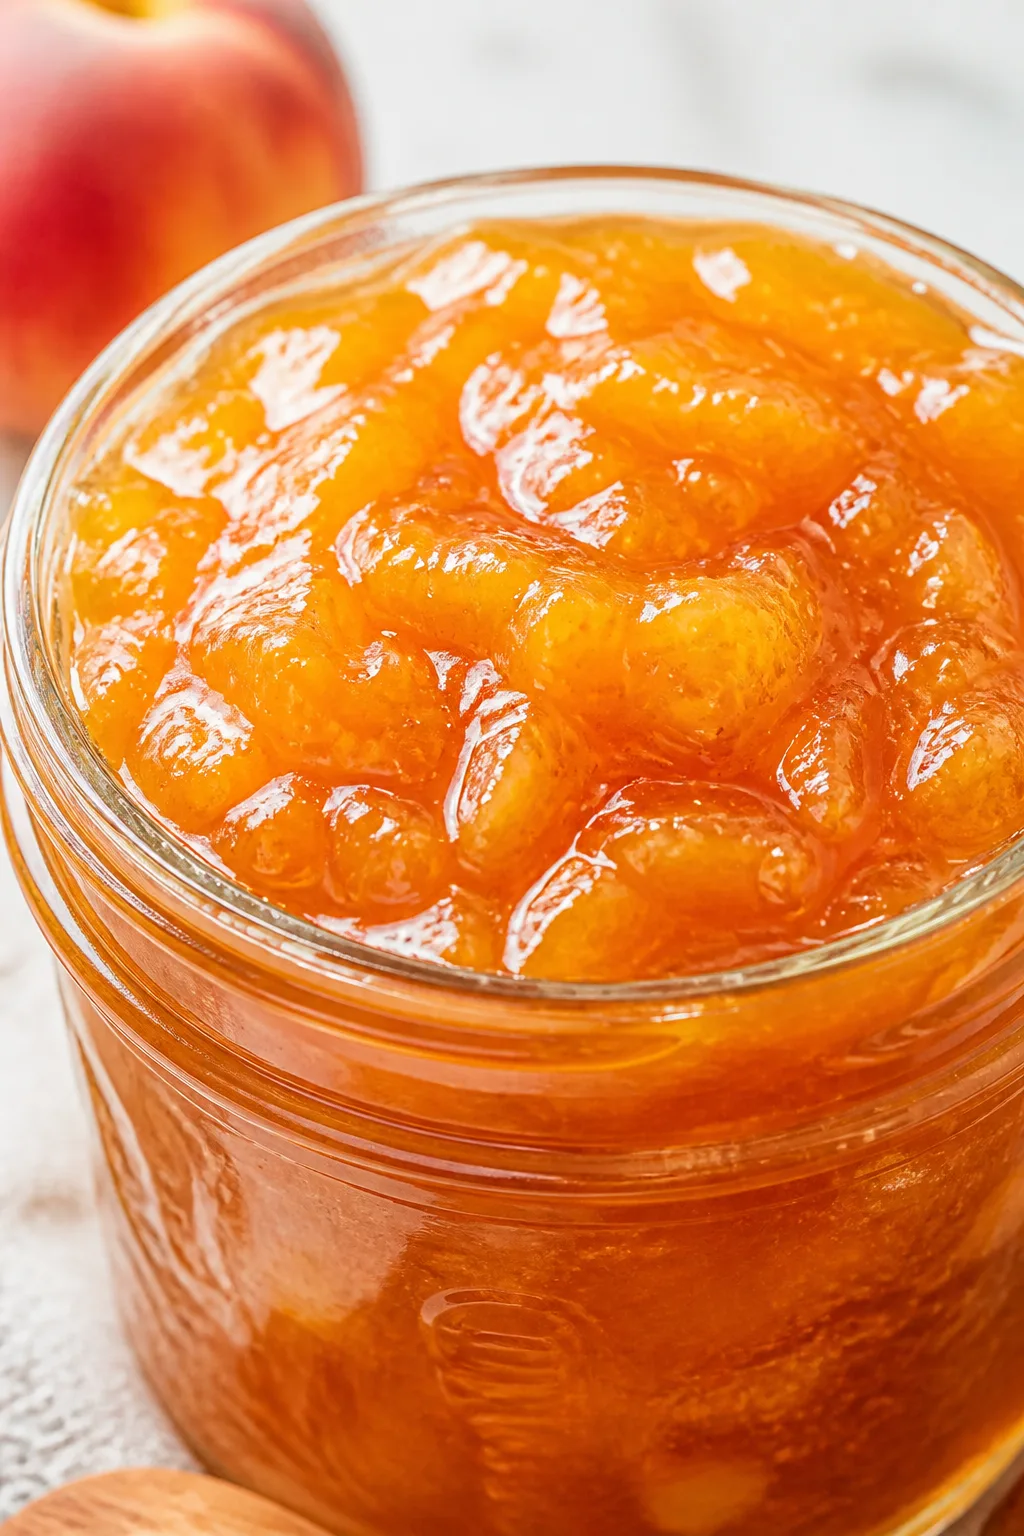
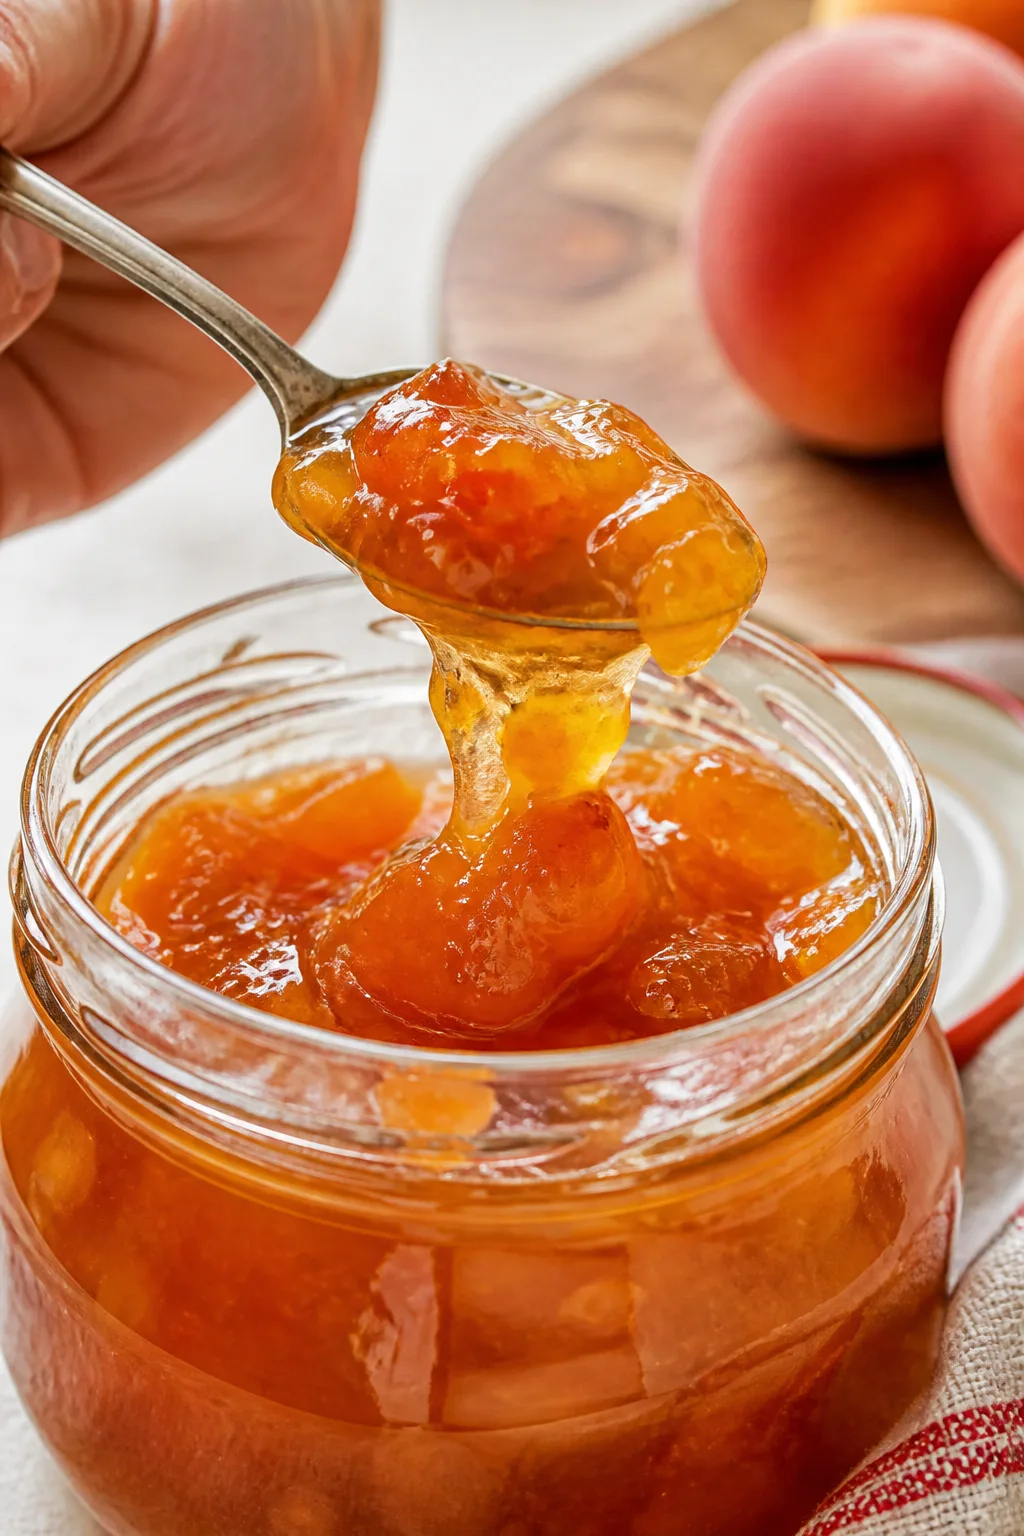
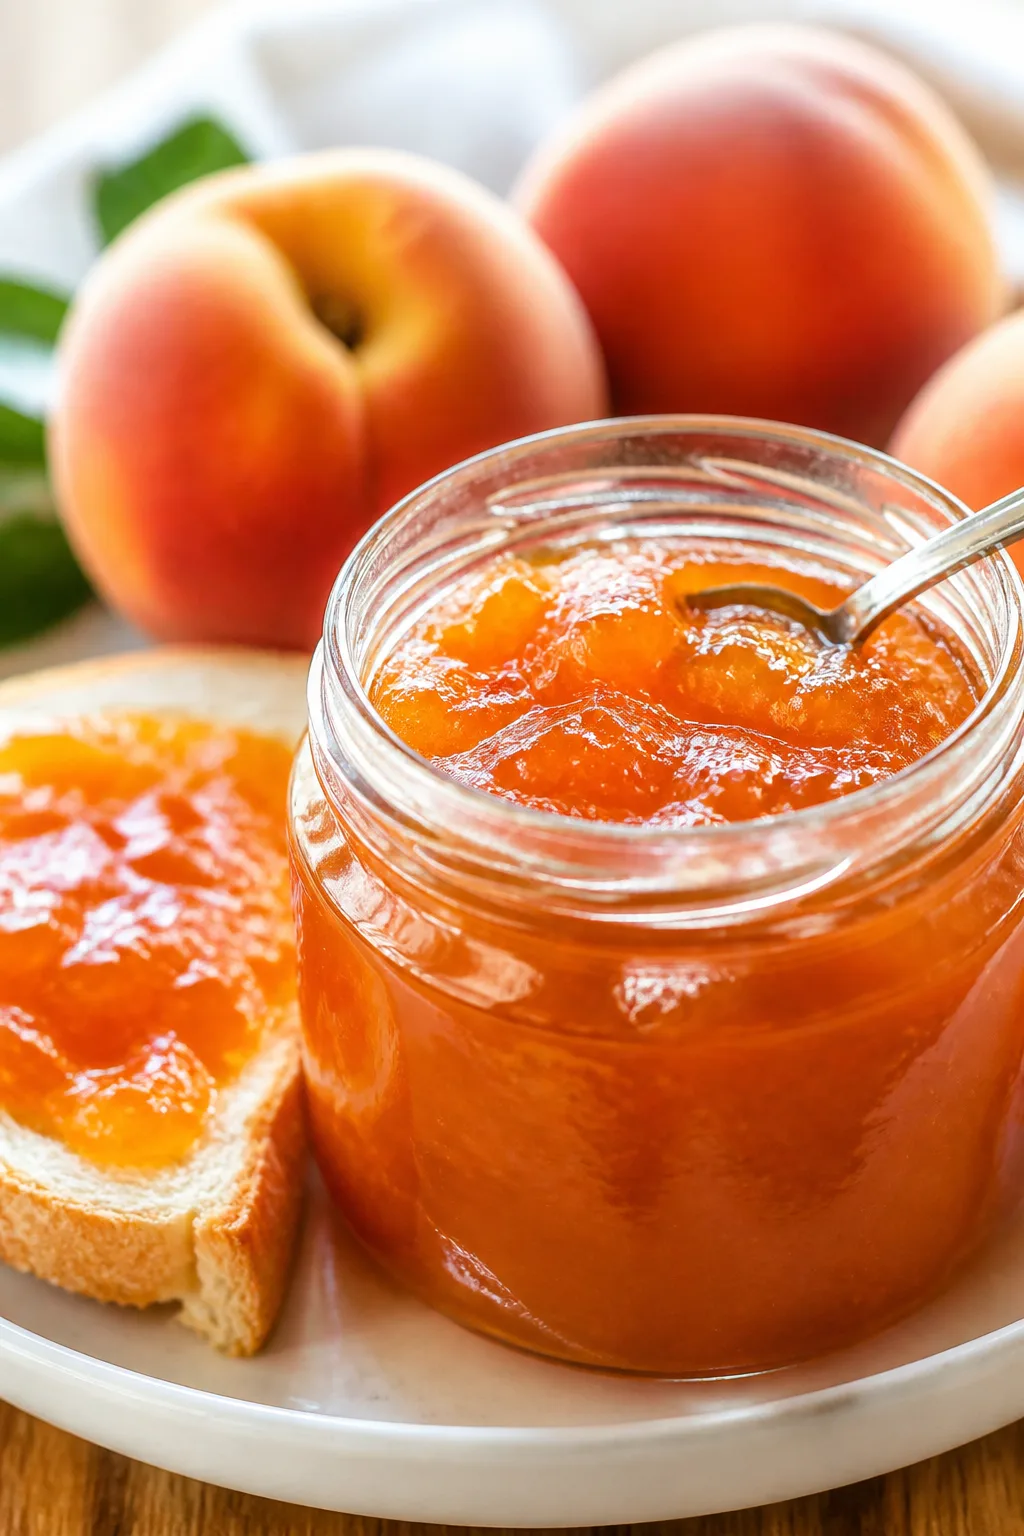
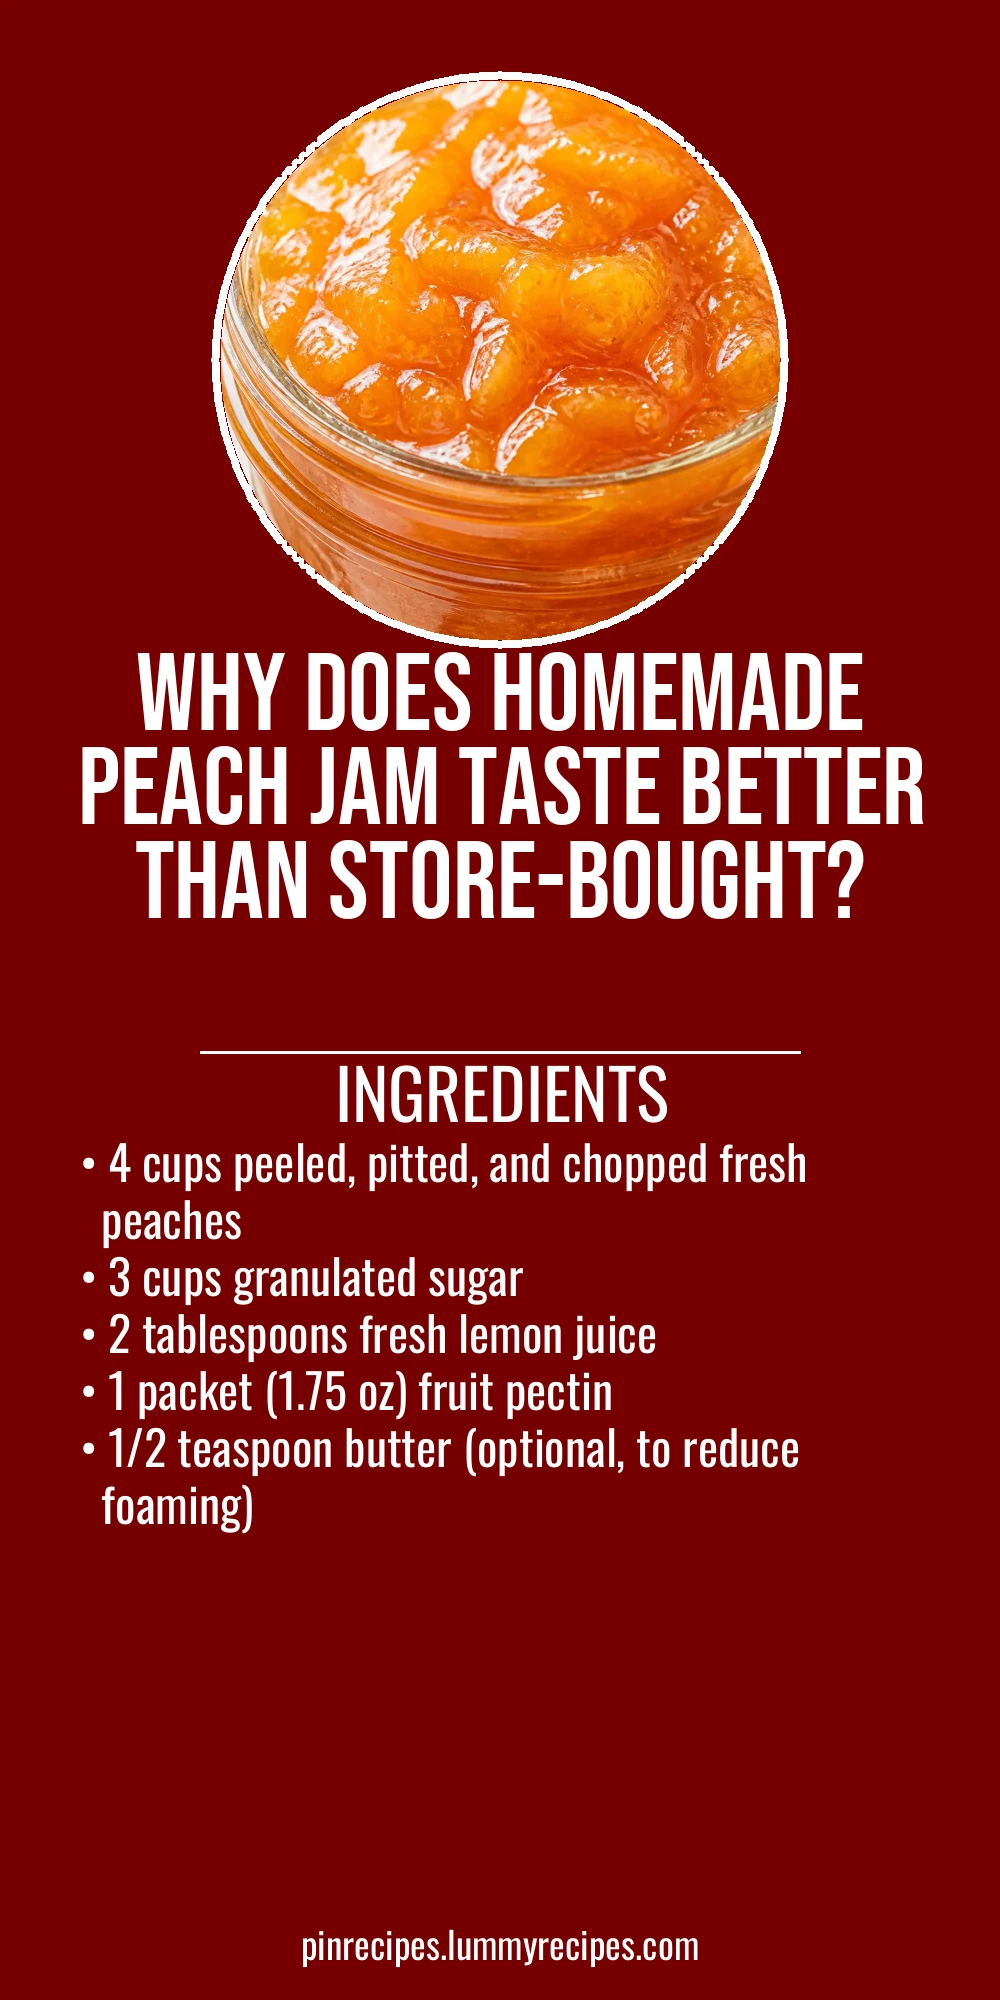
This easy homemade peach jam recipe is perfect for preserving summer’s sweetest peaches. It uses simple ingredients and a straightforward canning process to capture that fresh, juicy flavor all year long. Great for breakfast or gifts!
Introduction
I’ve always loved the idea of capturing summer’s bounty in jars to enjoy all year round, and peach jam is one of my favorites to make. The first time I tried canning peach jam, I was overwhelmed by the process and ended up with a runny mess. But after a few tries and learning some key tricks, I finally nailed a recipe that yields thick, glossy jam with plenty of tender peach chunks. What sets this version apart is the balance of fresh lemon juice and just the right amount of pectin, which helps the jam set perfectly without being too stiff or too runny. I also like to add a little butter during cooking to reduce foam, which makes the final product clearer and easier to jar. The result is a vibrant, sweet jam that tastes like sunshine in a spoon — perfect on toast, stirred into yogurt, or gifted to friends. This recipe is straightforward enough for beginners but yields such delicious results that even seasoned canners will appreciate it. I love making it during peach season and then enjoying the taste of summer in the middle of winter.
What You'll Need
Approximately 6 half-pint jars, 8 servings
- 4 cups peeled, pitted, and chopped fresh peaches
- 3 cups granulated sugar
- 2 tablespoons fresh lemon juice
- 1 packet (1.75 oz) fruit pectin
- 1/2 teaspoon butter (optional, to reduce foaming)
How To Do It
Step 1
Start by preparing your peaches: peel, pit, and chop them into small pieces. Peeling is important because the skins can add bitterness and affect the jam’s texture. You can peel peaches easily by blanching them in boiling water for 30 seconds, then plunging into ice water to loosen the skins. Chop the peaches evenly to ensure consistent cooking and even fruit distribution in the jam. This step sets the foundation for a smooth yet chunky jam texture.
⏱ Time: 15
✓ Doneness: Peaches are uniformly chopped and peeled, ready for cooking.
Step 2
Combine the chopped peaches, sugar, and lemon juice in a large pot. Stir well and let the mixture sit for about 10 minutes to macerate, which helps the fruit release its natural juices and dissolve the sugar. This soaking step is crucial for maximizing flavor extraction and ensures the sugar is evenly distributed, preventing burning during cooking.
⏱ Time: 10
✓ Doneness: Sugar is dissolved, and the mixture is juicy and slightly syrupy.
Step 3
Add the fruit pectin and butter to the peach mixture. Bring the pot to a full rolling boil over medium-high heat, stirring constantly to prevent scorching. A rolling boil is one that cannot be stirred down and is necessary to activate the pectin’s gelling properties. Keep stirring to avoid burning, especially on the bottom of the pot.
⏱ Time: 5
✓ Doneness: Mixture reaches a vigorous boil, thickening slightly.
Step 4
Boil the mixture hard for exactly 1 minute, stirring constantly. Timing here is key: too short and the jam won’t set properly, too long and it can become too thick or develop off-flavors. After 1 minute, remove from heat immediately to preserve the fresh peach flavor and optimal texture.
⏱ Time: 1
✓ Doneness: Mixture thickens and starts to gel visibly.
Step 5
Skim off any foam that has formed on the surface with a spoon. Foam can trap air bubbles and cause uneven sealing in jars, plus it looks less appealing. Skimming results in a clearer, more attractive jam.
⏱ Time: 3
✓ Doneness: Jam surface is clear and free of foam.
Step 6
Ladle the hot jam into sterilized half-pint jars, leaving about 1/4 inch headspace at the top. Wipe rims clean with a damp cloth to ensure a good seal. Headspace is important to allow for expansion during processing and to prevent jar breakage.
⏱ Time: 10
✓ Doneness: Jars are filled properly with clean rims.
Step 7
Place sterilized lids and rings on each jar, tightening rings fingertip tight. Avoid overtightening as air needs to escape during processing. Proper sealing is essential for safe preservation.
⏱ Time: 5
✓ Doneness: Jars are securely closed but not overly tight.
Step 8
Process jars in a boiling water bath for 10 minutes, ensuring water covers jars by at least 1 inch. Processing kills bacteria and creates a vacuum seal. Start timing once water returns to a boil after adding jars. Adjust time for altitude if necessary.
⏱ Time: 10
✓ Doneness: Water bath time completed, jars sealed.
Step 9
Remove jars using a jar lifter and place on a towel to cool undisturbed for 12-24 hours. You’ll hear the satisfying pop of lids sealing. Check seals after cooling by pressing the center of each lid; it should not flex up and down. Proper cooling ensures food safety and jam quality.
⏱ Time: 15
✓ Doneness: Jars are cool and lids are sealed with no flex.
Pro Tips
Use ripe but firm peaches for the best texture.
Ripe peaches provide maximum flavor, but if they’re too soft, the jam can become runny and lose its pleasant texture. Firm peaches hold their shape better during cooking, giving you those lovely chunks in your jam.
Don’t skip the lemon juice.
Lemon juice provides the acid needed to activate the pectin and balance the sweetness. Without it, your jam may not set properly and can taste flat or overly sweet.
Bring the mixture to a full rolling boil before timing.
A rolling boil is essential to fully activate the pectin and evaporate enough water to thicken the jam. Starting the timer too early or boiling too gently can result in a runny jam.
Skim foam off the top before jarring.
Foam traps air bubbles that can cause jars to seal improperly and create an unappealing cloudy appearance. Removing it ensures a clearer, prettier jam and better preservation.
Sterilize jars and lids properly before use.
Sterilization prevents contamination that can spoil your jam. Even a small amount of bacteria can cause fermentation or mold, ruining your batch.
Leave appropriate headspace in jars.
Headspace allows for expansion during processing. Too little space can cause jars to crack or lids to pop off; too much can lead to poor sealing.
Process jars in a boiling water bath for the full recommended time.
Proper processing kills bacteria and creates a vacuum seal, ensuring your jam is shelf-stable and safe to store long-term.
Common Mistakes to Avoid
Jam won’t set and remains runny.
Why it happens This usually happens when there’s not enough pectin or acid, or the jam wasn’t boiled long enough. Sometimes skipping lemon juice or shortening boil time causes this.
Fix Make sure to use the correct amount of fruit pectin and fresh lemon juice. Bring the mixture to a full rolling boil and boil for the full minute as instructed. Avoid rushing the cooking process.
Foam forms on top of the jam during cooking.
Why it happens Foam is natural when boiling fruit mixtures, especially with high sugar content. It can trap air and make sealing difficult.
Fix Add a small amount of butter to reduce foaming and skim off foam with a spoon before jarring the jam.
Jars don’t seal after processing.
Why it happens Improper sterilization, dirty jar rims, or overtightened lids can prevent seals. Also, not processing long enough or water not covering jars can cause this.
Fix Sterilize jars and lids well. Wipe rims clean before sealing. Tighten rings fingertip tight, not too tight. Ensure water covers jars by at least one inch during boiling.
Jam tastes too sweet or lacks brightness.
Why it happens Omitting or reducing lemon juice reduces acidity, making jam overly sweet and flat.
Fix Always include fresh lemon juice for balanced acidity and flavor brightness.
Peach chunks disappear or become mushy.
Why it happens Overcooking or using overly ripe peaches can cause fruit to break down too much.
Fix Use firm peaches and avoid over-boiling. Stir gently to preserve fruit texture.
Variations
Spiced Peach Jam
Add a cinnamon stick and a few cloves during cooking for a warm, cozy twist. Remove spices before jarring. This adds complexity and pairs beautifully with toast or cheese.
Note: Spices should be simmered with the fruit mixture but removed before bottling to avoid gritty texture.
Peach and Ginger Jam
Stir in 1 tablespoon of freshly grated ginger with the peaches for a zesty kick. Ginger complements the sweetness and adds a fresh note to the jam.
Note: Fresh ginger can slightly increase acidity, so maintain lemon juice levels for proper set.
Low-Sugar Peach Jam
Use a low-sugar pectin and reduce sugar by half for a lighter jam. Expect a softer set and more tartness. Great for those watching sugar intake.
Note: Low-sugar pectins require exact measurements and sometimes longer cooking times to gel.
Peach and Vanilla Jam
Add the seeds from one vanilla bean or 1 teaspoon vanilla extract after cooking for a rich, fragrant jam. Vanilla enhances the natural peach flavor wonderfully.
Note: Add vanilla after heat to preserve aroma and flavor.
Chunky Peach Jam
Use larger peach chunks and reduce cooking time slightly to retain more fruit texture. This results in a rustic, hearty jam with big bites of peach.
Note: Shorter cooking may require careful monitoring to ensure adequate set.
Nutrition
Per Serving:
Nutritional values are estimates and may vary based on specific ingredients used.
Storage & Tips
Room Temperature
Store unopened jars in a cool, dark place away from direct sunlight. Properly canned jam can safely keep at room temperature for up to 1 year. Once opened, refrigerate and consume within 3 weeks.
Refrigerator
After opening, keep jam in an airtight container in the fridge for up to 3 weeks. The flavor may mellow slightly but remains delicious. Avoid leaving jars open at room temperature for extended periods.
Freezer
Jam can be frozen for up to 6 months in freezer-safe containers. Thaw in the refrigerator overnight before use. Freezing may slightly alter texture but preserves flavor well.
Reheating
Jam is typically served cold or at room temperature. If needed, warm gently in a small saucepan over low heat to loosen before serving. Avoid boiling after opening to preserve flavor and texture.
Make Ahead
You can prepare the peach mixture a day ahead and keep it refrigerated overnight. Bring to a boil and proceed with cooking and canning the next day for convenience.
FAQ
Can I use frozen peaches for this jam?
Yes, you can use thawed frozen peaches, but they tend to be softer and release more water, which can affect the jam’s texture and set. You might need to cook the jam longer to achieve the right thickness.
What if my jam is too runny after cooling?
If your jam doesn’t set, it may need more pectin or longer cooking. You can reheat it, add a bit more pectin following package instructions, and boil again briefly to thicken.
Do I have to peel the peaches?
Peeling is recommended because peach skins can add bitterness and affect texture. Blanching peaches in boiling water for 30 seconds makes peeling easier.
How do I know when jars are sealed properly?
After cooling, press the center of each lid. If it doesn’t flex or pop back, the jar is sealed. You’ll often hear a popping sound as the jars seal during cooling.
Can I reduce the sugar in this recipe?
Reducing sugar is possible with low-sugar pectin, but it may affect the jam’s set and shelf life. Follow low-sugar pectin instructions carefully if you want a lighter jam.
Why is my jam foaming during cooking?
Foaming is natural due to fruit and sugar boiling. Adding a little butter and skimming foam off before jarring helps reduce this and results in clearer jam.
How long does homemade peach jam last?
Unopened, properly canned jam can last up to a year stored in a cool, dark place. Once opened, refrigerate and consume within 3 weeks for best quality.
Can I use a slow cooker to make peach jam?
Slow cooker methods exist but require careful timing to ensure proper pectin activation and safe canning. This recipe is designed for stovetop cooking for consistent results.
Final Thoughts
I hope you enjoy making this peach jam as much as I do—it’s a little jar of summer sunshine you can savor anytime. Don’t forget to share your results and happy canning!