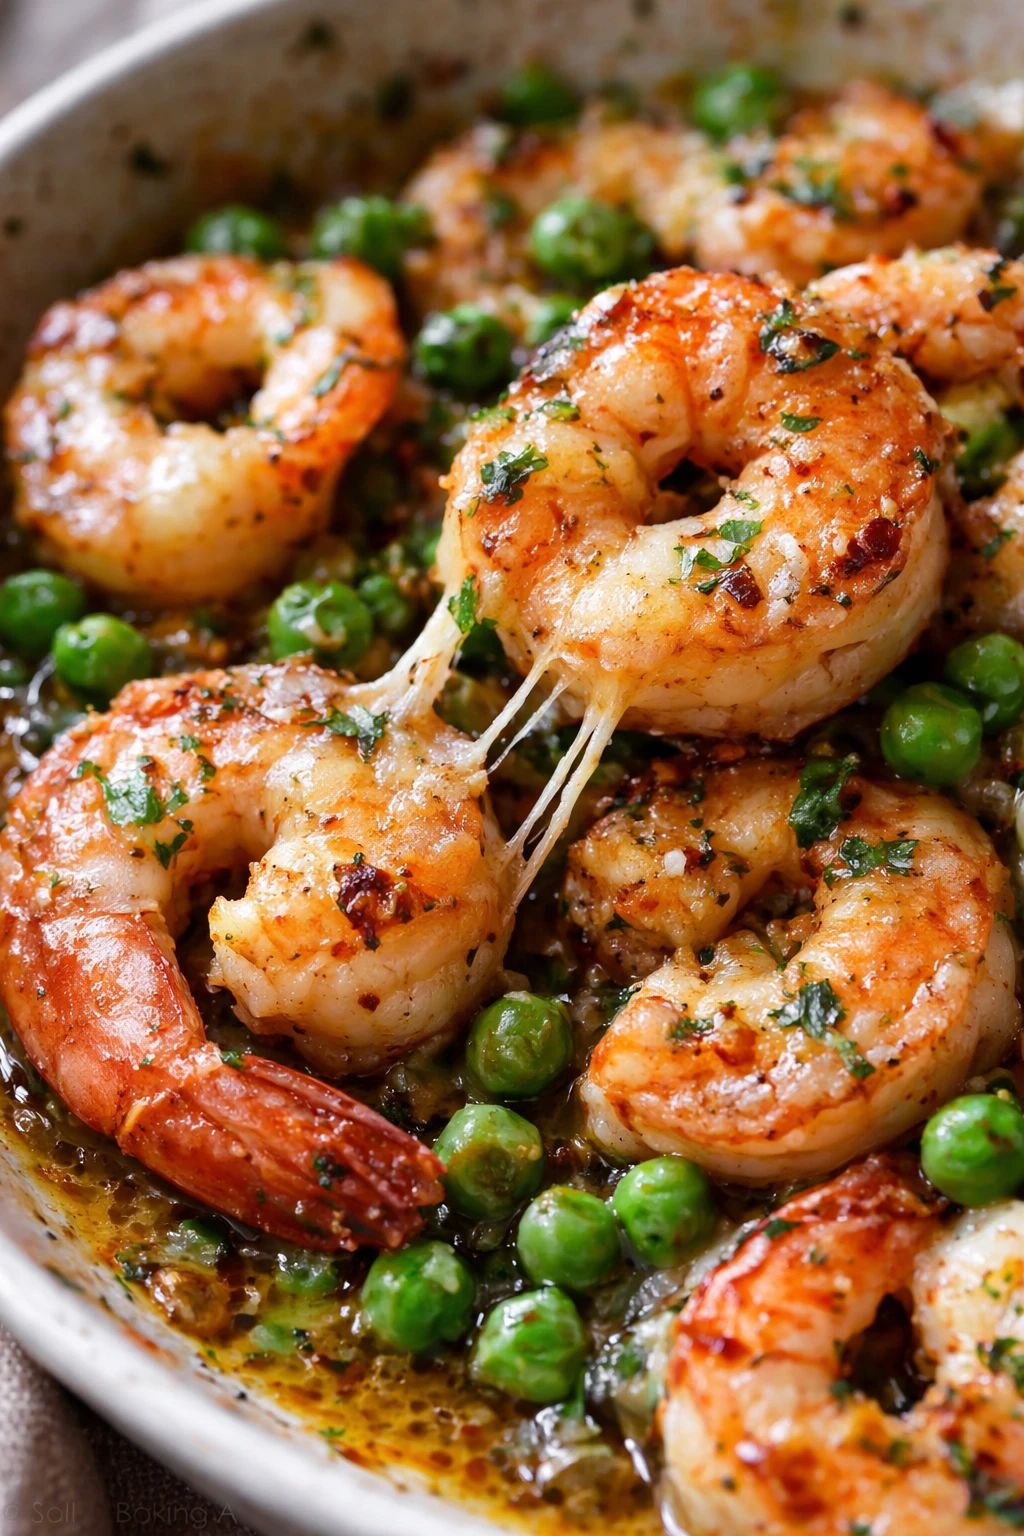
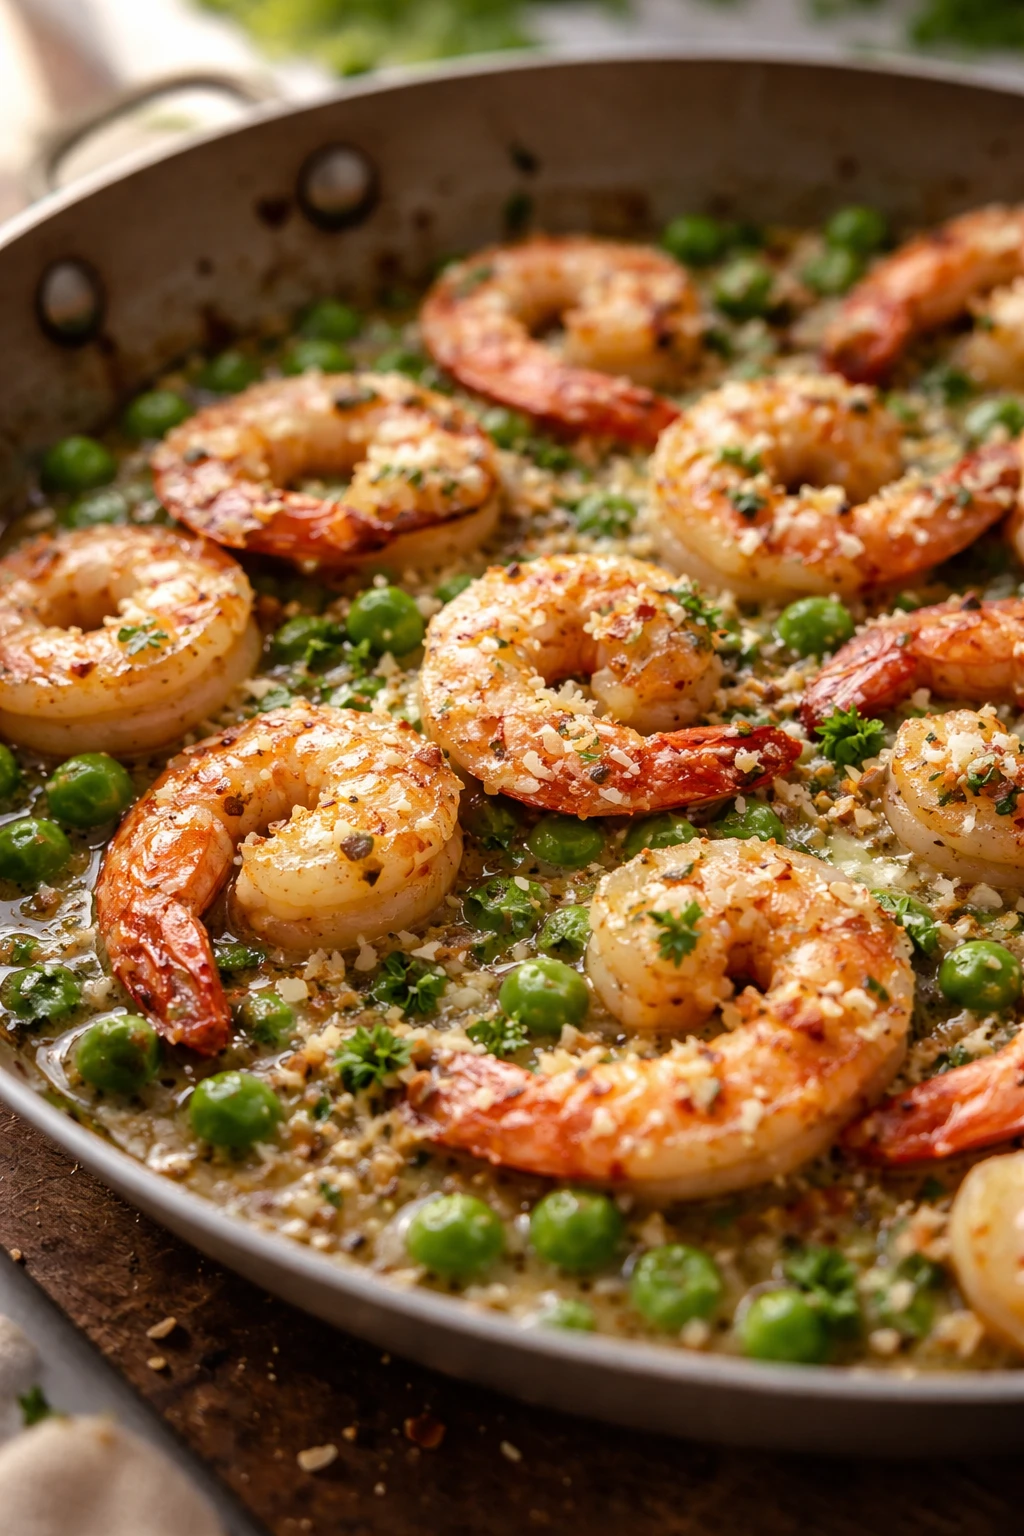
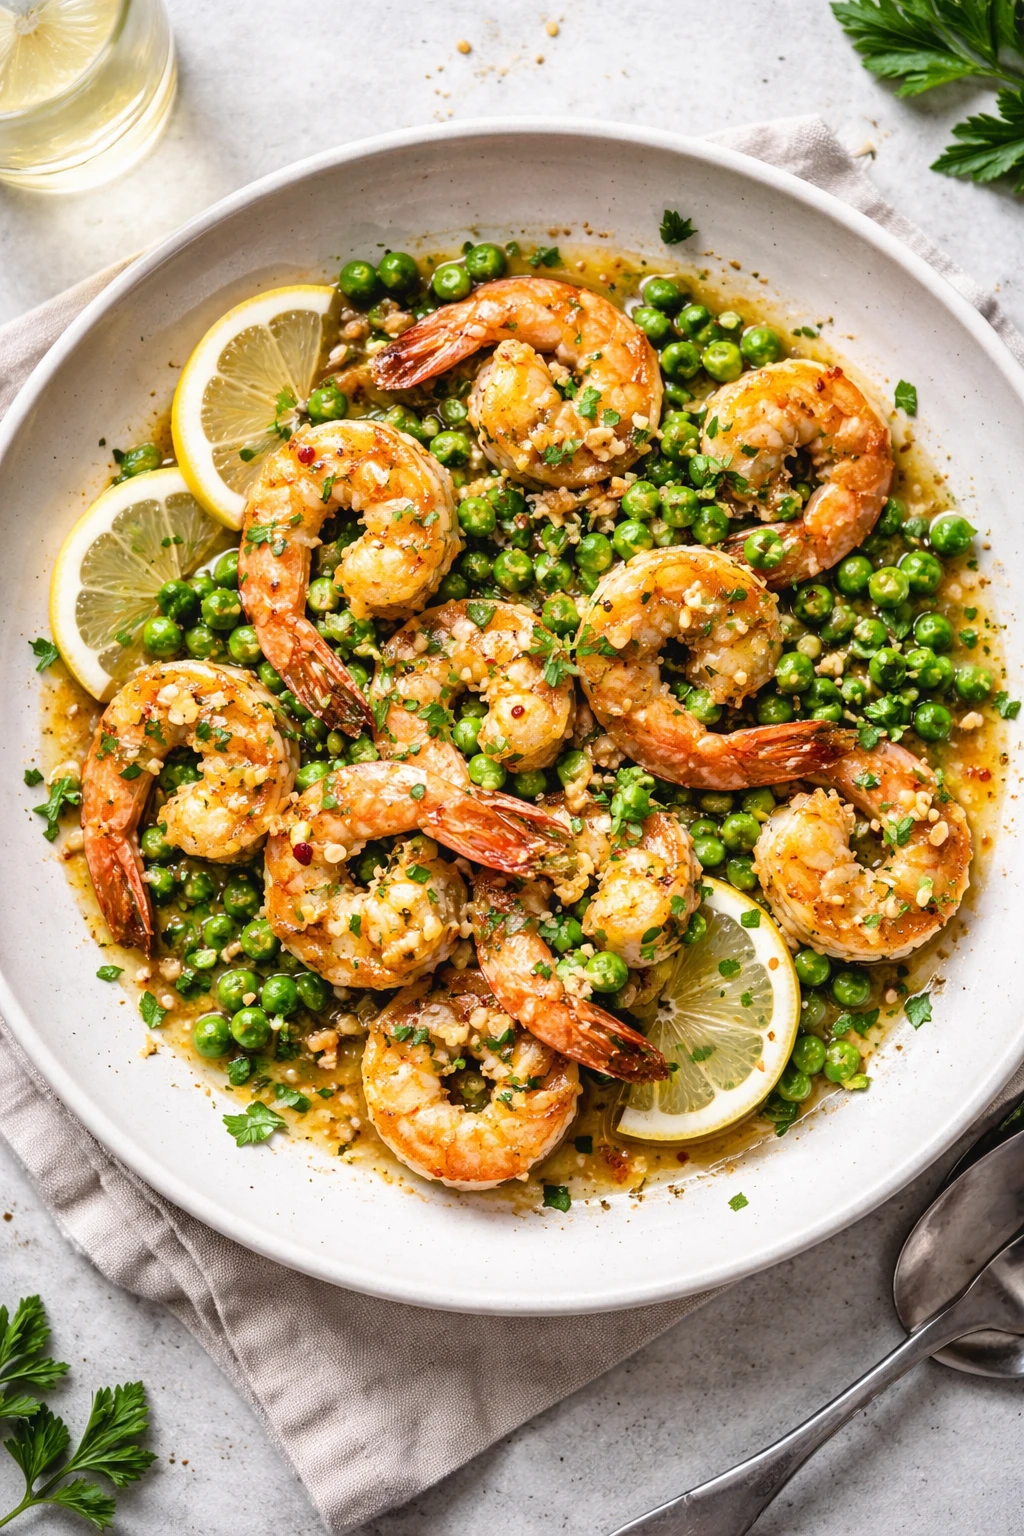
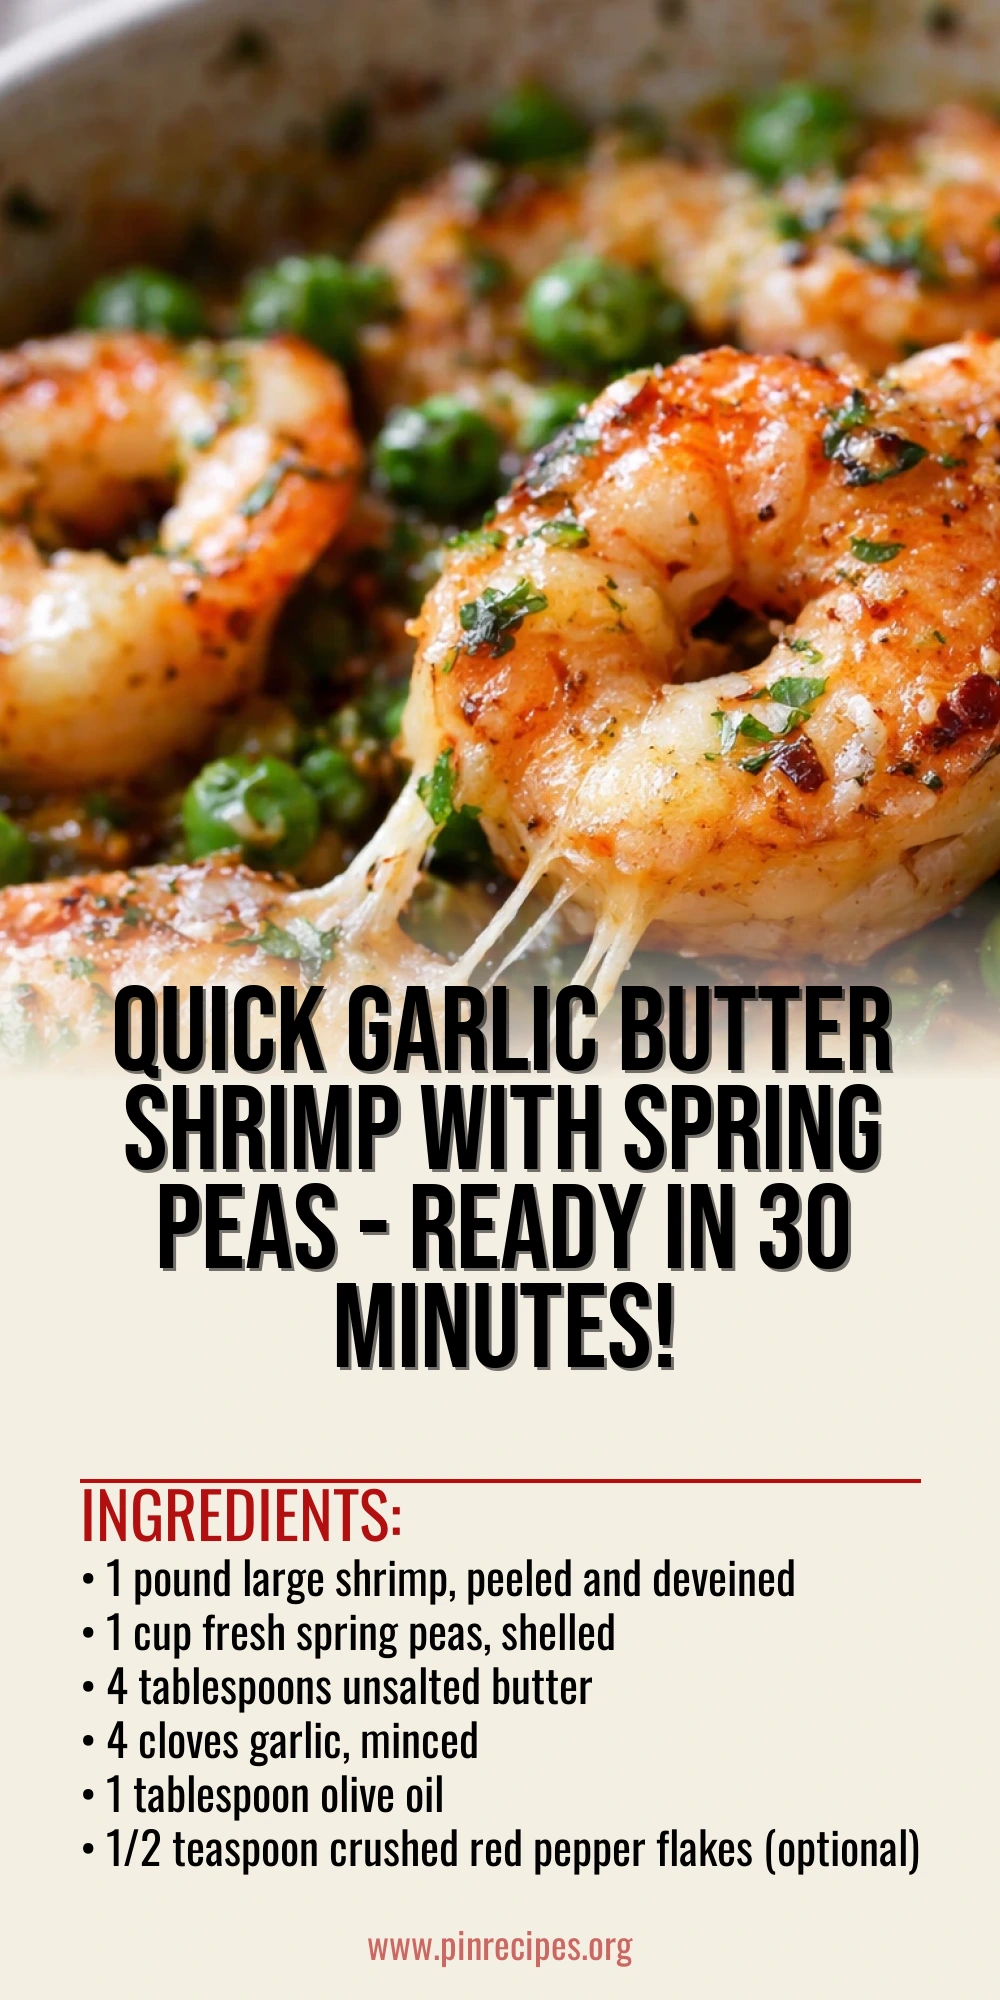
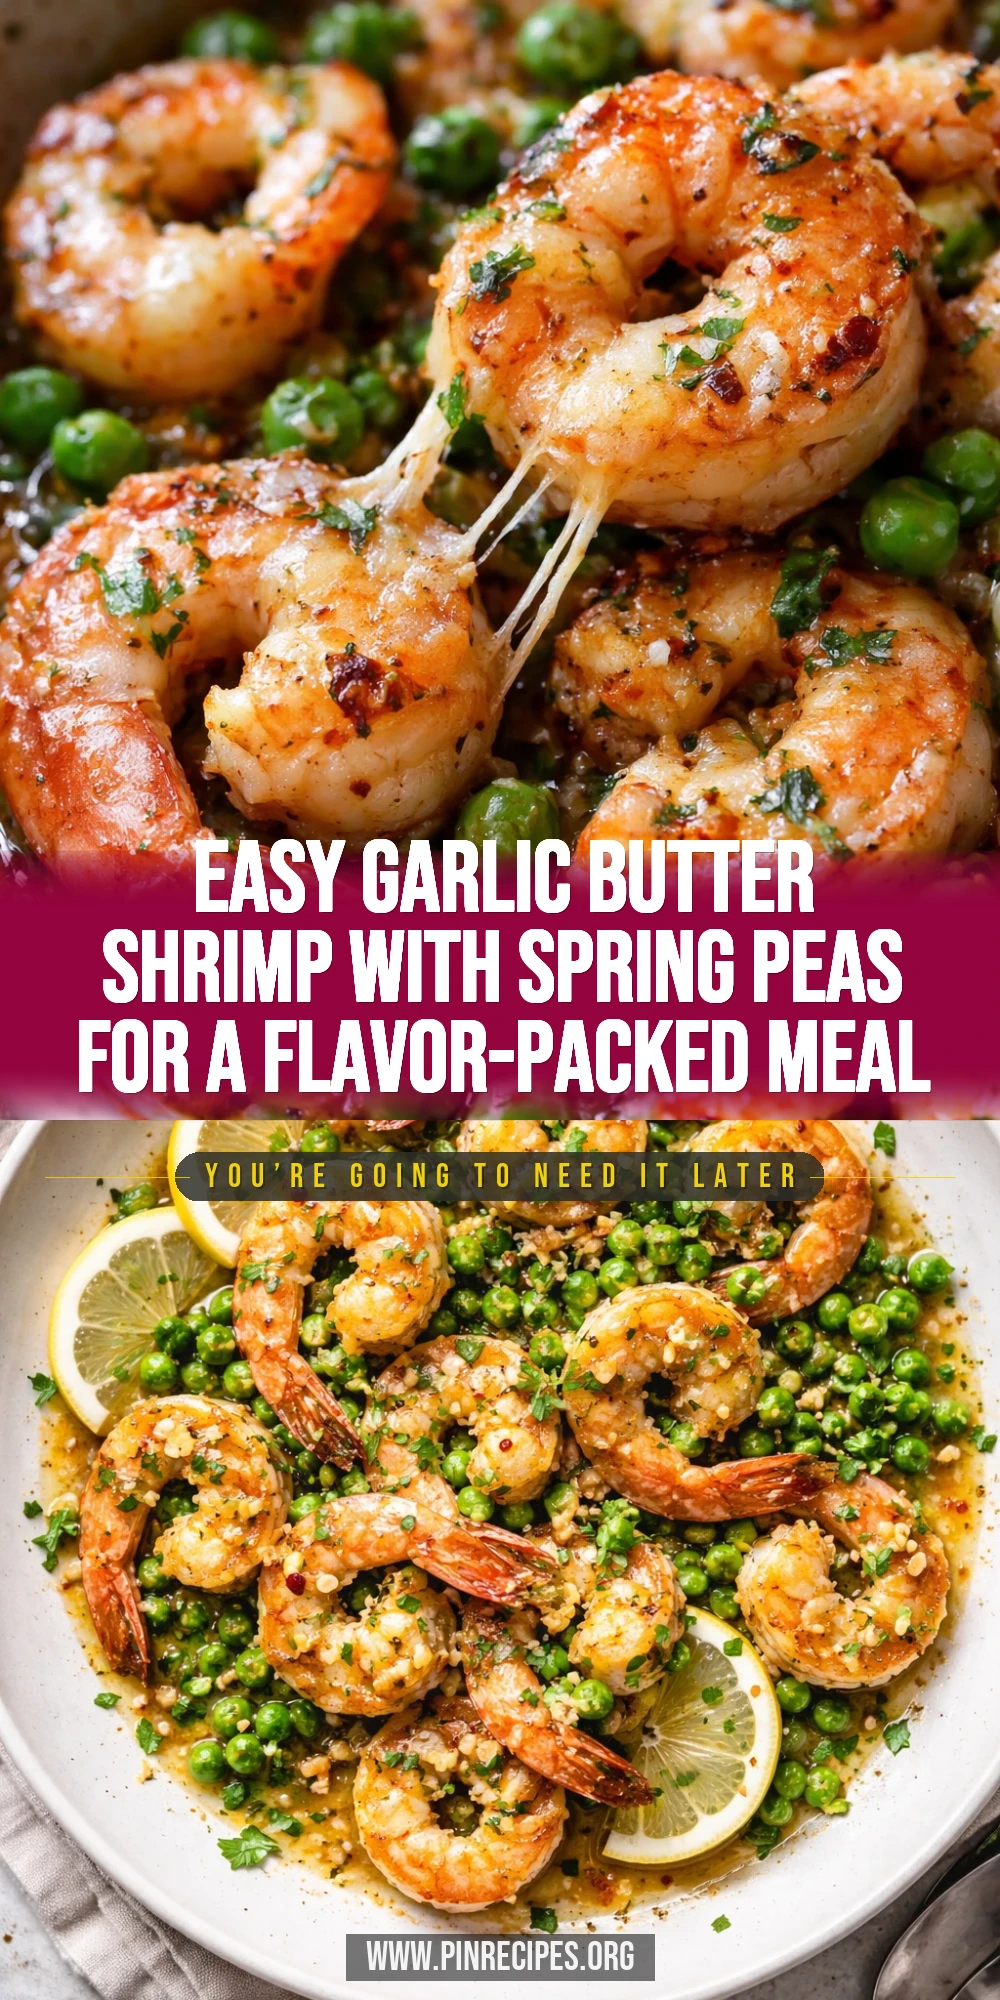
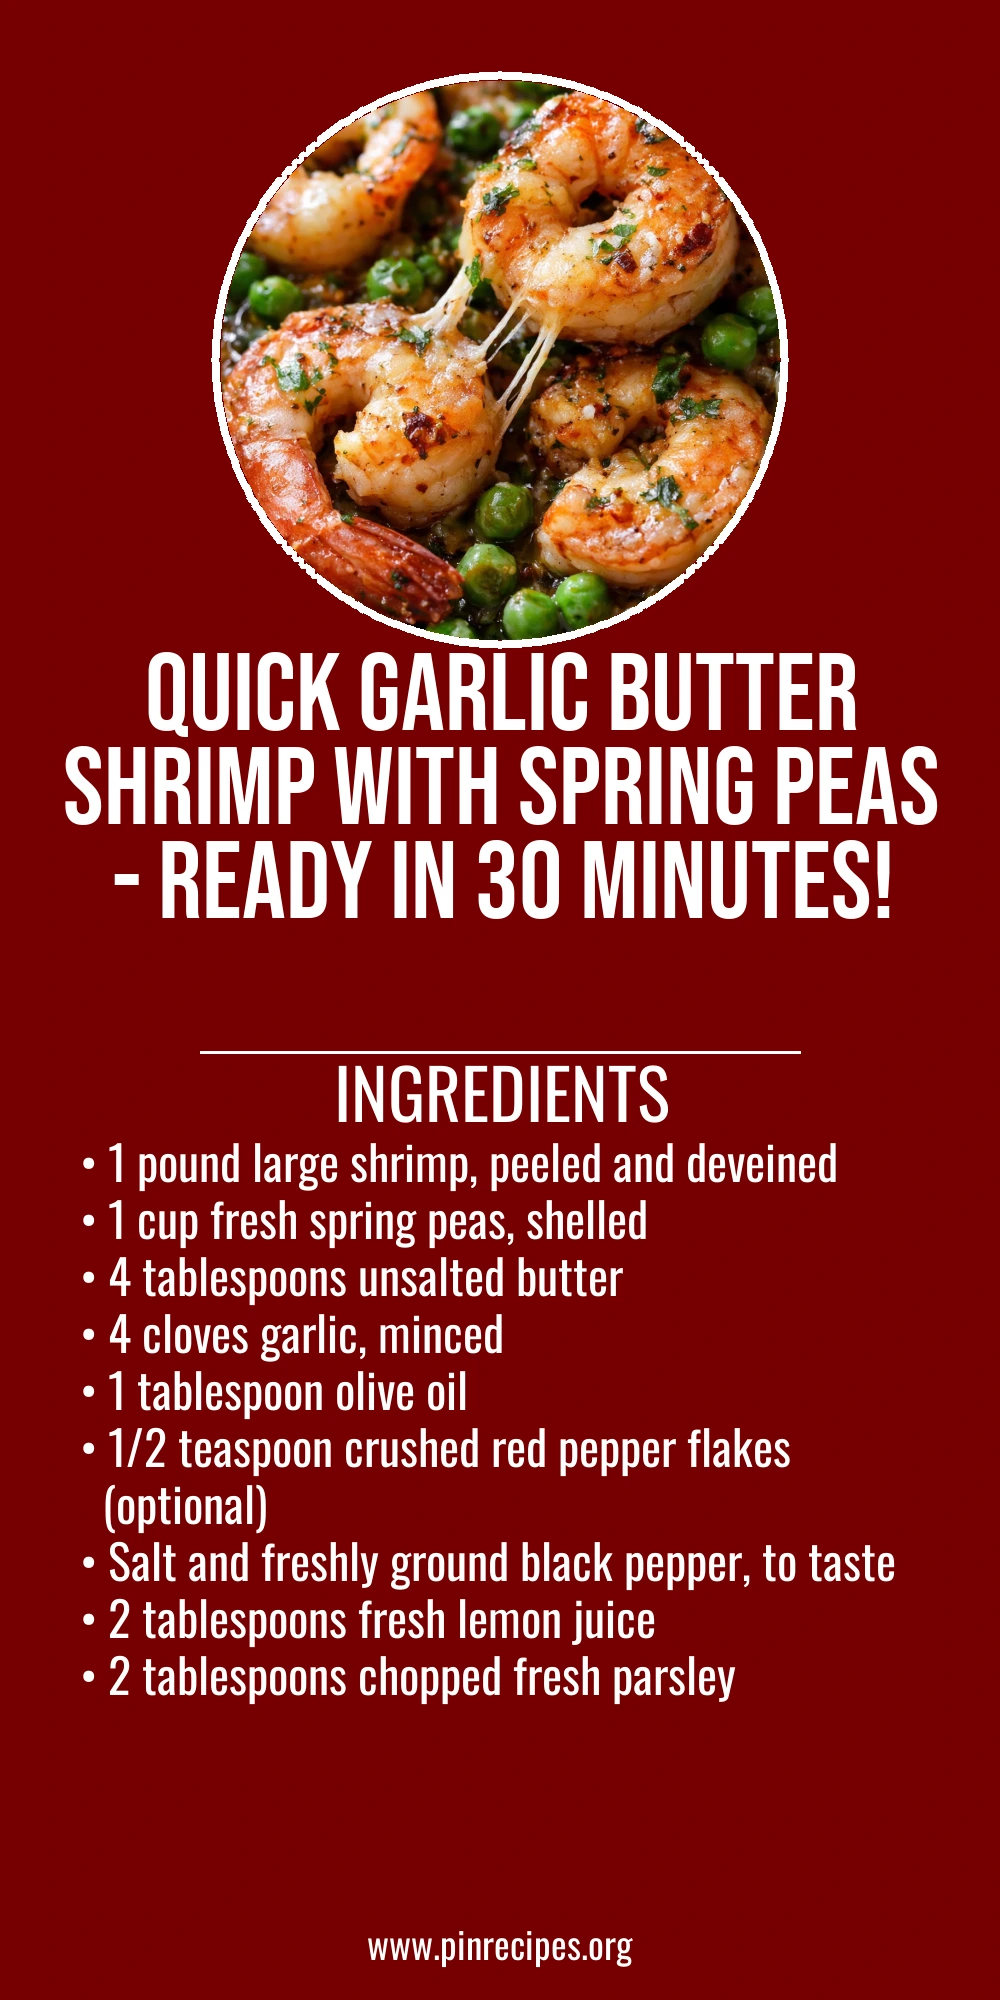
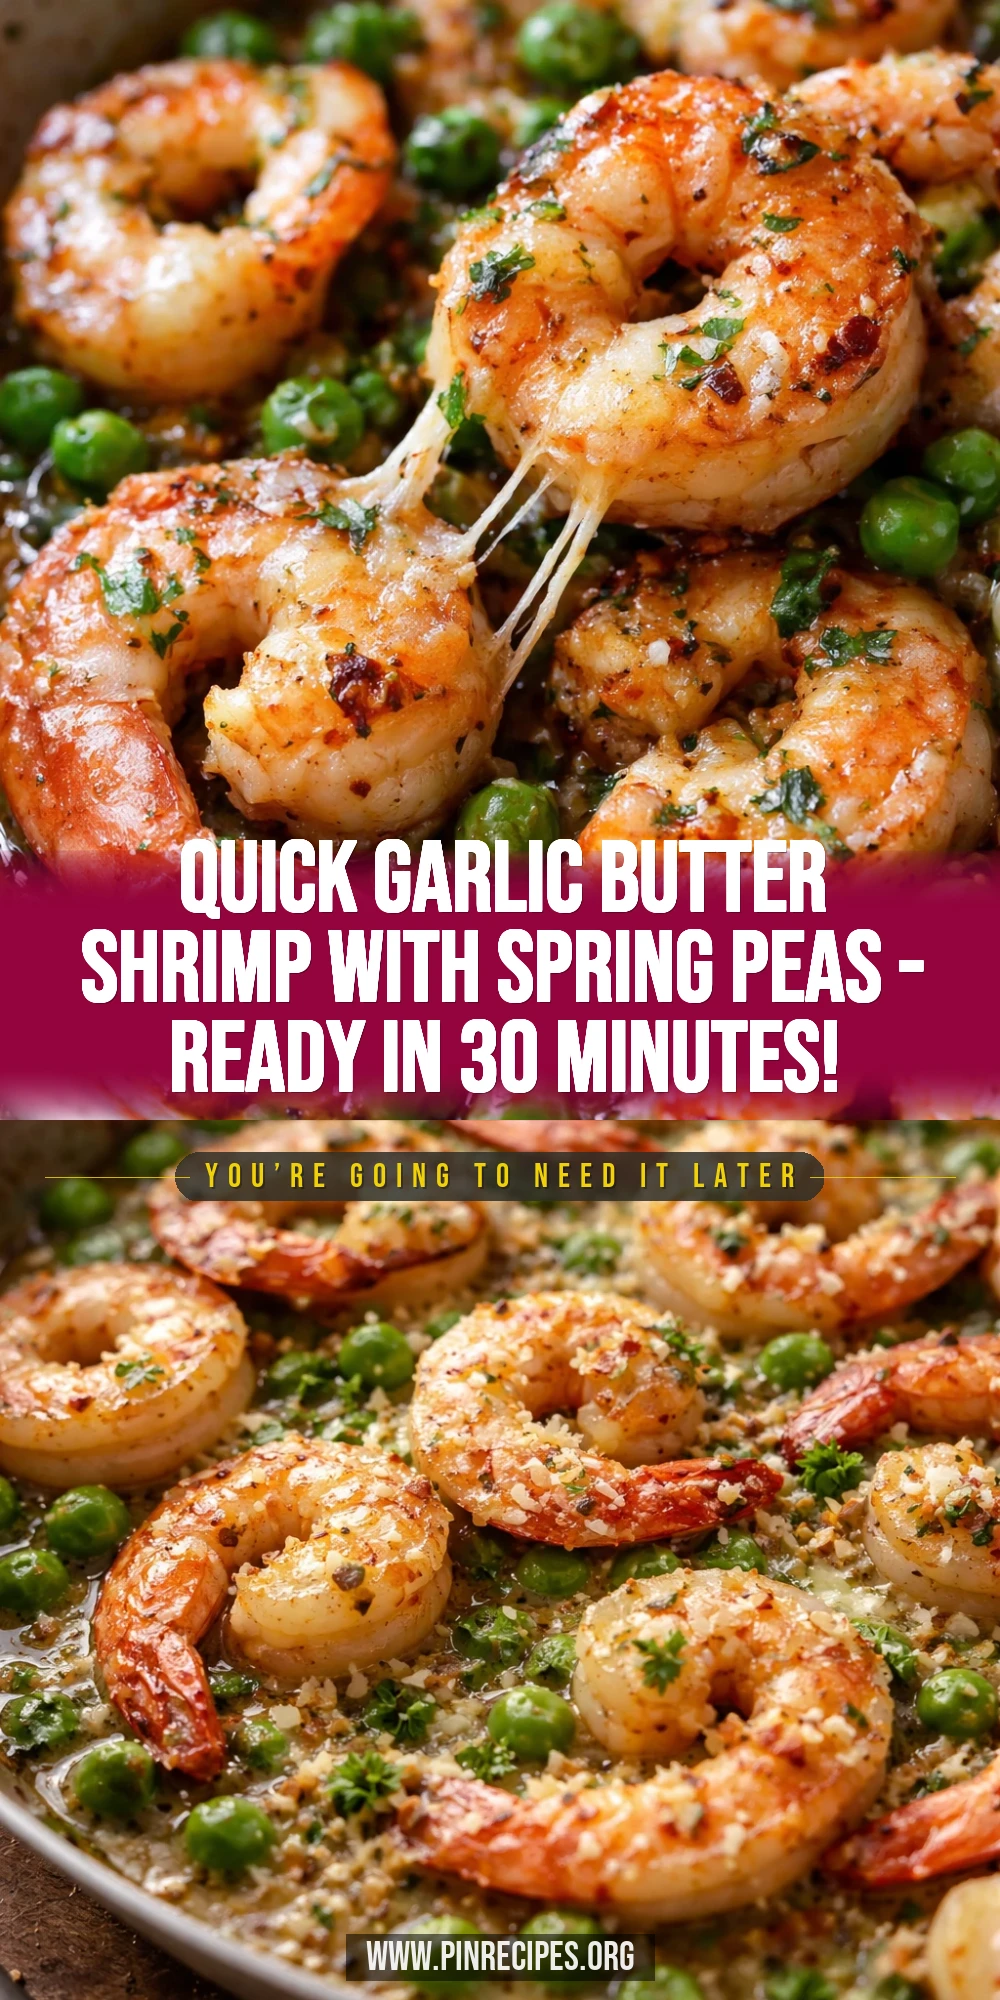
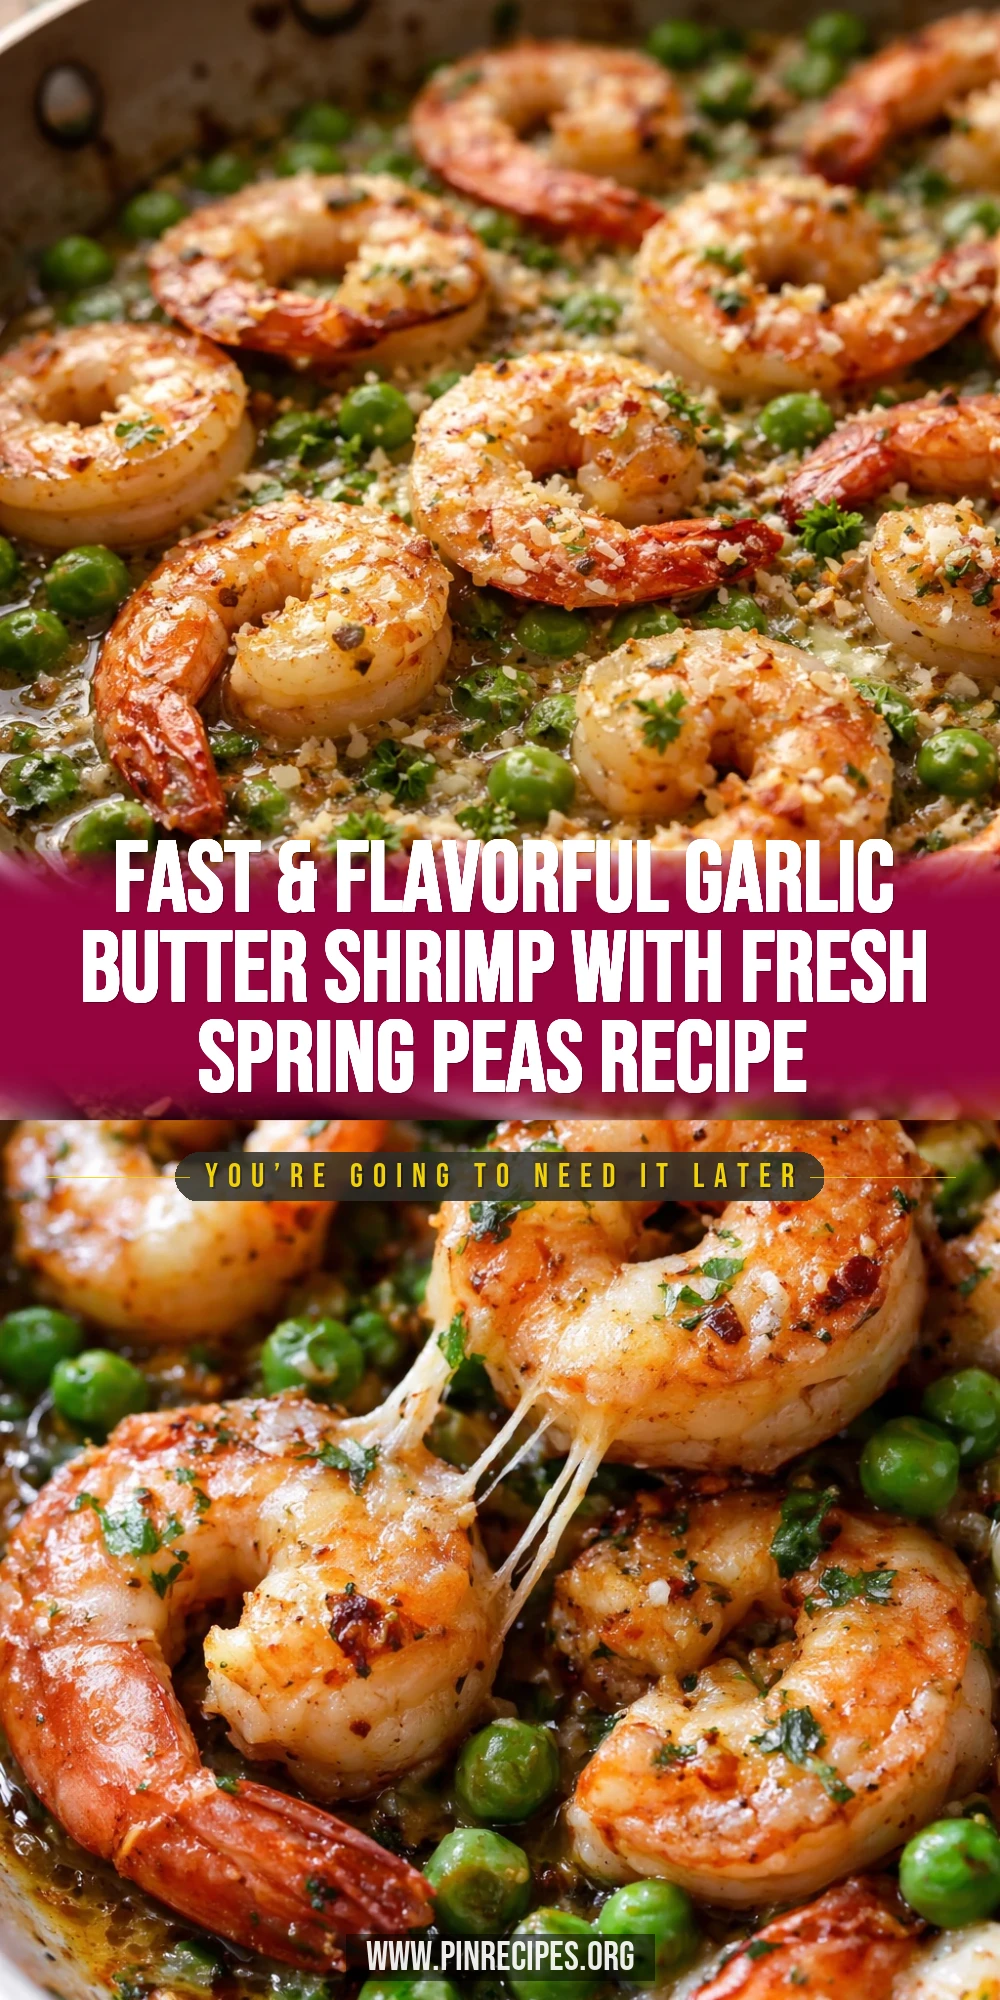
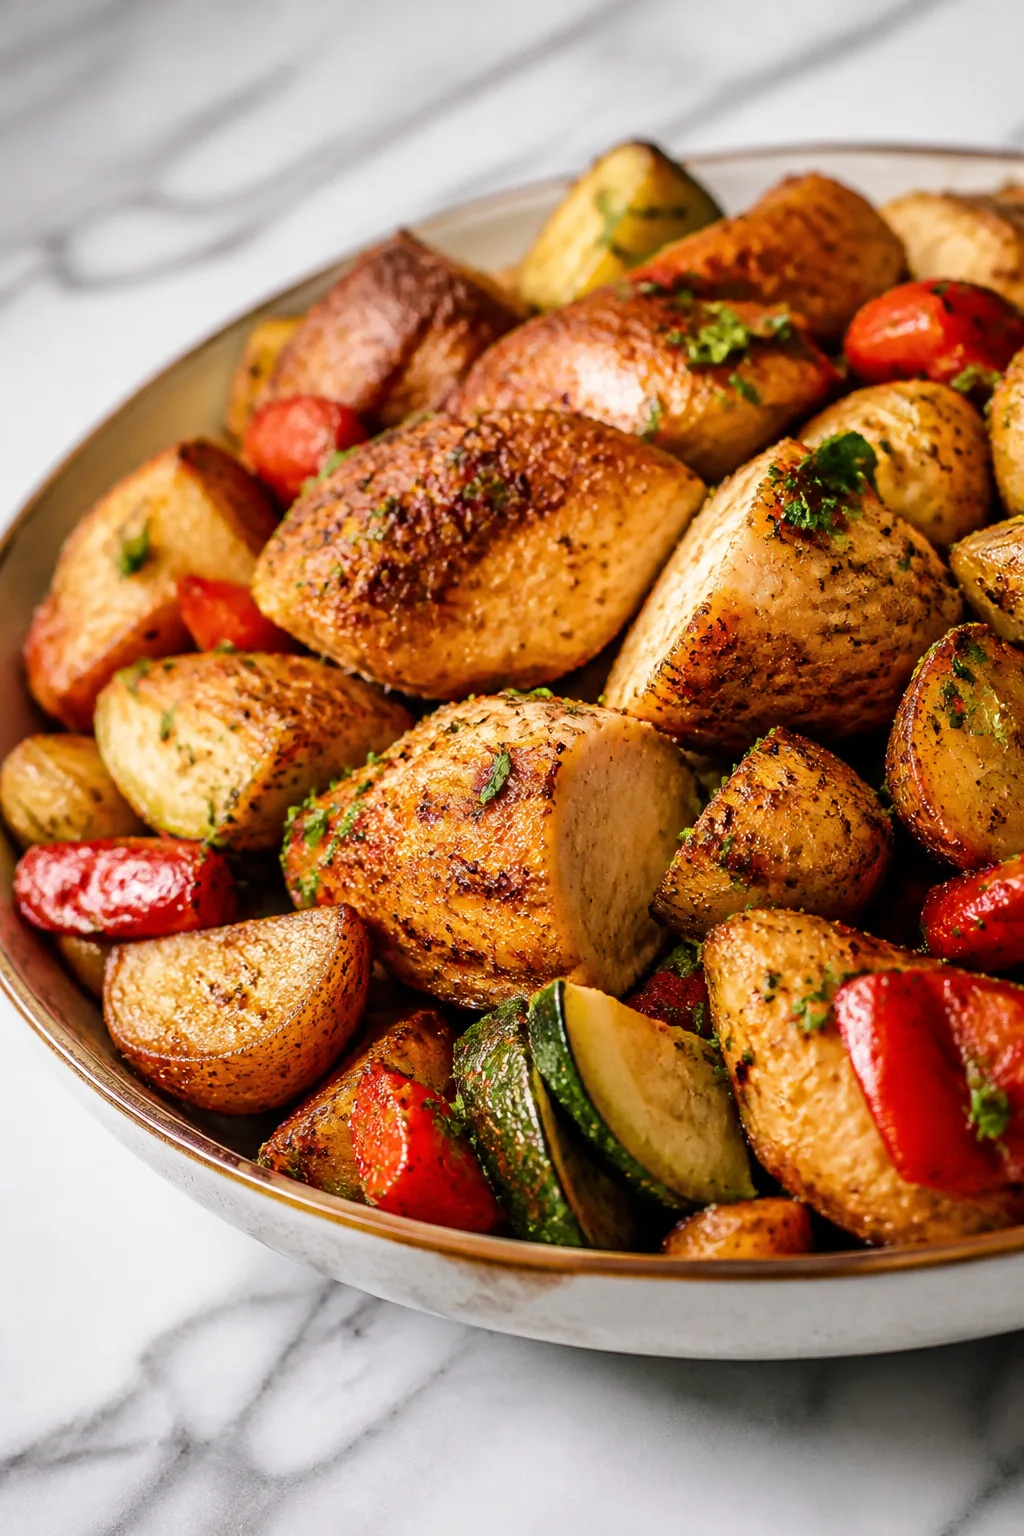
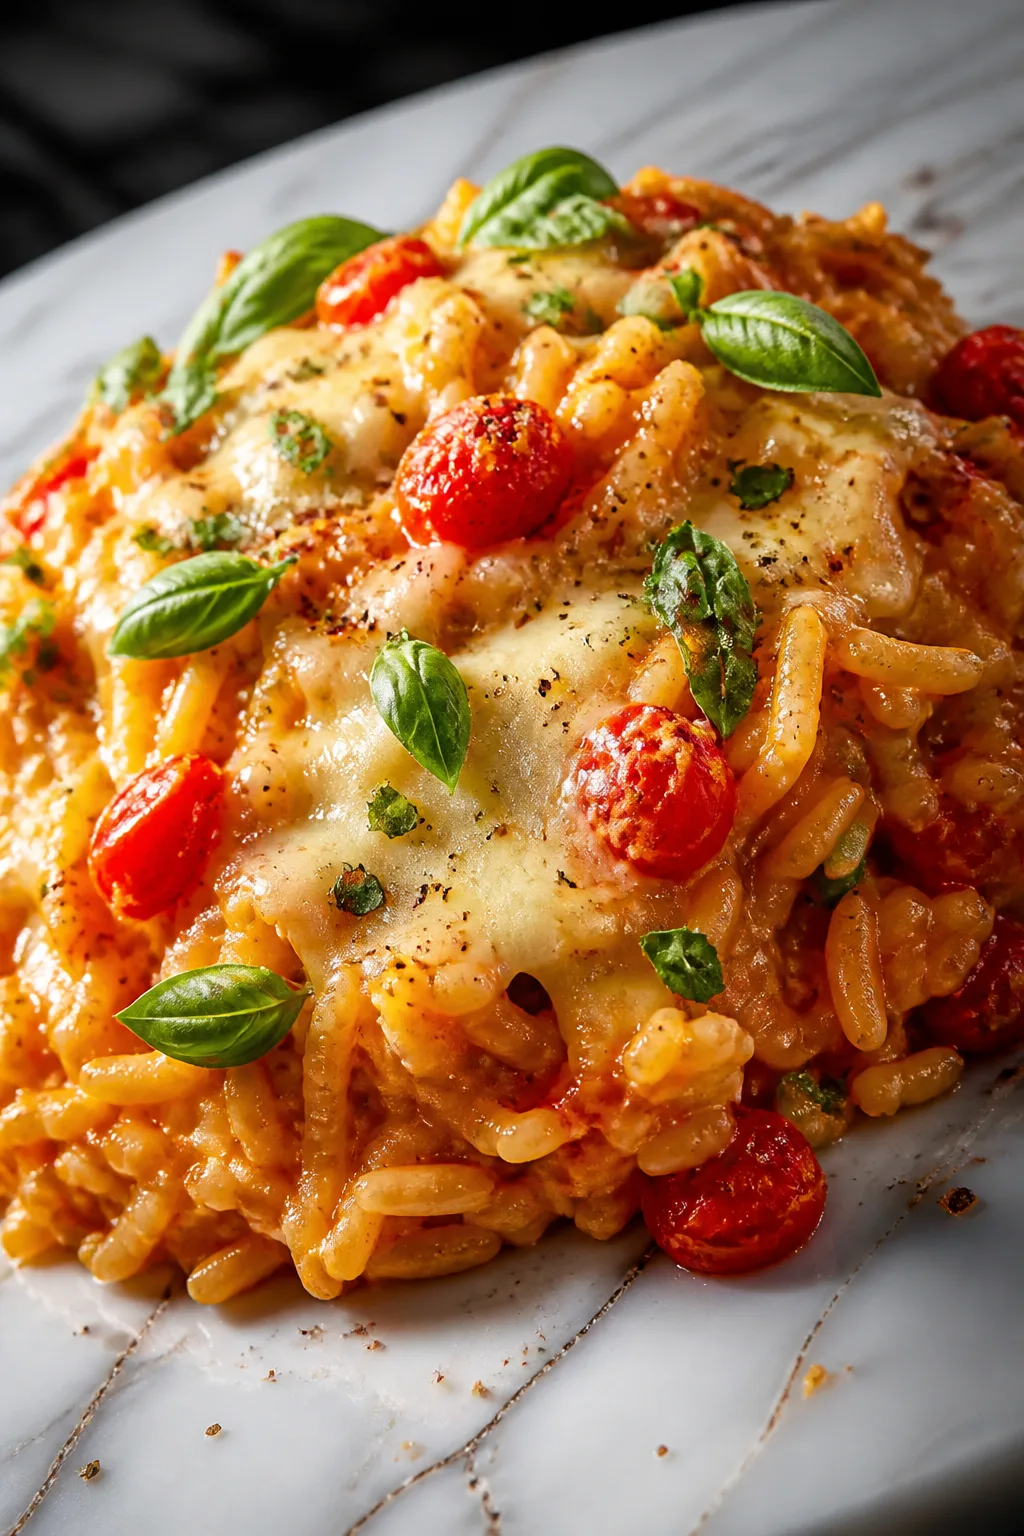
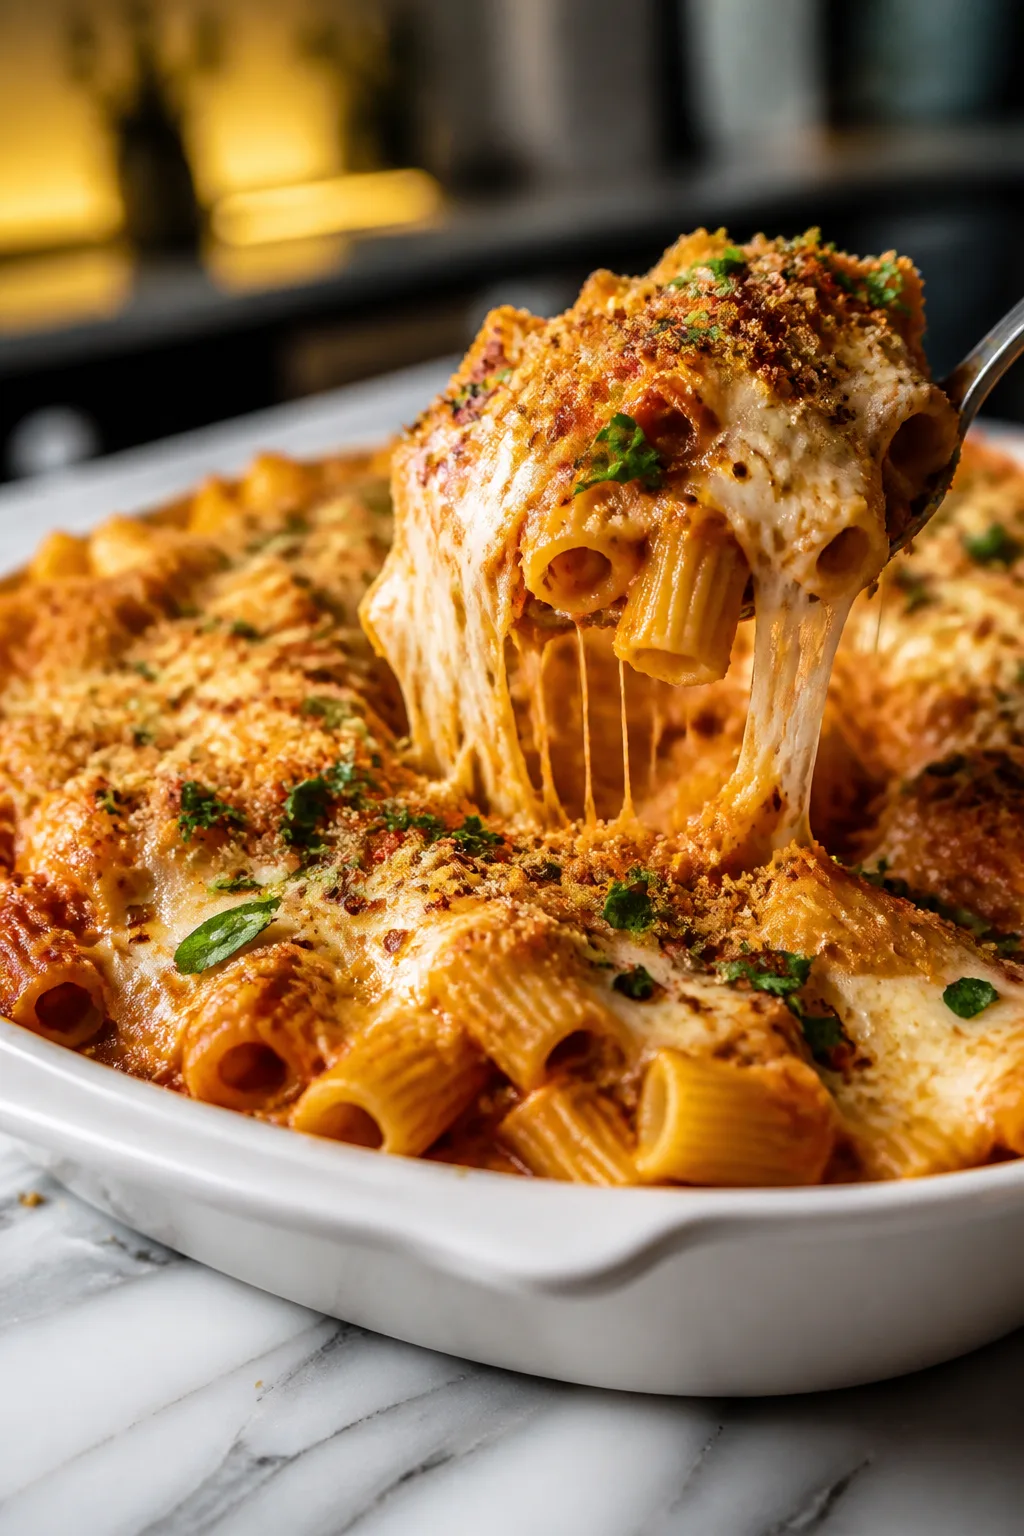
This shrimp dish is a quick, buttery delight with bright spring peas adding freshness. Garlic infuses every bite, making it perfect for a speedy weeknight dinner or a casual get-together.
Introduction
I first made this garlic butter shrimp with spring peas on a hectic weeknight when I needed something quick but still flavorful. I’ve tried shrimp dishes before that felt bland or took forever, but this one hits all the right notes—rich butter, fragrant garlic, and the sweet pop of spring peas. What sets this recipe apart is the way the butter and garlic meld with the shrimp, while the peas add a fresh, vibrant crunch. I like to cook the shrimp just until they’re pink and tender, which keeps them juicy and avoids that rubbery texture you sometimes get. Plus, a squeeze of lemon at the end brightens everything up beautifully. It’s perfect for when you want a satisfying meal without spending hours in the kitchen. The whole family loves it, and it’s always a hit when I bring it to dinner parties too. Honestly, the trick I learned was to not overcrowd the pan so the shrimp sear nicely instead of steaming. The finished dish looks bright and inviting, with the green peas contrasting against the golden garlic butter sauce. It’s simple, fast, and incredibly delicious—definitely one of my go-to recipes when I’m short on time but want to impress.
How To Do It
Step 1
Start by prepping your shrimp and peas. Make sure the shrimp are peeled and deveined for the best texture and flavor. Shell the fresh spring peas if needed. Preparing these ingredients ahead helps the cooking process move quickly and smoothly. Rinse the shrimp under cold water and pat dry with paper towels to ensure they sear properly instead of steaming in the pan.
⏱ Time: 10 minutes
✓ Doneness: Shrimp should be dry and peas shelled and rinsed.
Step 2
Heat the olive oil and 2 tablespoons of butter in a large skillet over medium-high heat. Once the butter melts and starts to foam, add the minced garlic and sauté for about 30 seconds until fragrant but not browned. This step infuses the fat with garlic flavor, which will coat the shrimp beautifully. Be careful not to burn the garlic, as it will turn bitter.
⏱ Time: 2 minutes
✓ Doneness: Garlic is aromatic and light golden, not dark brown.
Step 3
Add the shrimp to the skillet in a single layer, making sure not to crowd them. This allows them to sear properly, developing a nice golden color and locking in juices. Cook for about 2 minutes on one side without moving them. If you stir too soon, they won’t get that lovely sear.
⏱ Time: 2 minutes
✓ Doneness: Shrimp edges turn pink and start curling.
Step 4
Flip the shrimp and add the spring peas to the pan. Toss everything together gently. The peas will cook quickly and add a fresh pop to the dish. Continue cooking for another 2-3 minutes until the shrimp are opaque and cooked through. Overcooking can make shrimp rubbery, so watch closely.
⏱ Time: 3 minutes
✓ Doneness: Shrimp are opaque and peas are bright green and tender-crisp.
Step 5
Add the remaining 2 tablespoons of butter to the pan along with the crushed red pepper flakes if using. Stir to melt the butter and coat the shrimp and peas evenly. This final addition enriches the sauce and adds a slight kick if you like a bit of heat.
⏱ Time: 1 minute
✓ Doneness: Butter is melted and sauce is glossy.
Step 6
Season the shrimp and peas with salt and freshly ground black pepper to taste. Then squeeze fresh lemon juice over the top. The acidity brightens the rich garlic butter and balances the flavors perfectly.
⏱ Time: 1 minute
✓ Doneness: Dish smells bright and balanced.
Step 7
Remove the skillet from heat and sprinkle chopped fresh parsley over the shrimp and peas. This adds a fresh herbal note and a pop of color that makes the dish look as good as it tastes.
⏱ Time: 1 minute
✓ Doneness: Parsley looks vibrant and fresh.
Step 8
Serve immediately while warm. This dish pairs wonderfully with crusty bread to soak up the garlic butter sauce or over a bed of rice or pasta for a more filling meal. The key is to enjoy it fresh for the best texture and flavor.
⏱ Time: 0 minutes
✓ Doneness: Shrimp are tender, sauce is warm and flavorful.
Step 9
Clean up by wiping the pan while it’s still warm, which makes removing the buttery residue easier. Proper cleanup keeps your cookware in good shape and ready for your next quick meal adventure.
⏱ Time: 5 minutes
✓ Doneness: Pan is clean and ready for next use.
Pro Tips
Don’t overcrowd the pan when cooking shrimp.
Shrimp release moisture as they cook, and overcrowding traps steam, preventing a proper sear. Searing creates Maillard browning, which adds flavor and texture. Cooking in batches if needed ensures each shrimp gets that perfect golden crust.
Use fresh garlic and add it to hot butter just before the shrimp.
Adding garlic to hot butter releases its aroma and flavor quickly. Cooking it gently prevents burning, which can cause bitterness. Fresh garlic provides a bright, pungent flavor that’s essential for this dish’s signature taste.
Add lemon juice off the heat at the end.
Adding lemon juice after cooking preserves its bright, fresh acidity. If added too early or cooked too long, lemon juice can lose its brightness and turn bitter, dulling the dish’s flavor balance.
Pat shrimp dry before cooking.
Dry shrimp sear better because moisture on the surface causes steaming instead of browning. This results in better texture and flavor development through the Maillard reaction.
Use a mix of butter and olive oil for cooking.
Butter adds richness and flavor, but can burn at high heat. Olive oil raises the smoke point, allowing you to cook at higher heat without burning the butter, giving you the best of both worlds.
Cook peas just until tender-crisp.
Overcooked peas lose their bright color and fresh snap, turning mushy and dull. Cooking them briefly preserves their sweetness, vibrant green color, and texture, enhancing the dish’s visual and taste appeal.
Finish with fresh parsley for color and flavor.
Parsley adds a fresh herbal note and a pop of green that brightens the plate visually. It also contributes a subtle flavor contrast that complements the richness of the garlic butter.
Common Mistakes to Avoid
Overcooking the shrimp.
Why it happens Shrimp cook very quickly, and it’s easy to leave them on the heat too long, especially if you're multitasking.
Fix Watch the shrimp closely and remove them from heat as soon as they turn opaque and pink with a slight curl. They continue to cook slightly after removing from heat, so err on the side of undercooking.
Burning the garlic.
Why it happens Garlic cooks fast and can burn if added to too-hot butter or cooked too long.
Fix Add garlic to melted butter over medium heat and stir constantly. Remove from heat or add shrimp as soon as it becomes fragrant and lightly golden.
Using frozen shrimp without thawing properly.
Why it happens Frozen shrimp that aren't fully thawed release excess water, causing steaming rather than searing.
Fix Thaw shrimp fully in the fridge or under cold running water and pat dry before cooking.
Skipping the lemon juice.
Why it happens Some skip lemon juice thinking it’s optional, but it’s key to balancing richness.
Fix Always add fresh lemon juice at the end to brighten and balance the dish.
Overcrowding the pan.
Why it happens Trying to cook all shrimp at once leads to steaming, not searing.
Fix Cook shrimp in batches if necessary to ensure proper browning.
Variations
Spicy Garlic Butter Shrimp
Add extra crushed red pepper flakes or a dash of cayenne pepper to the garlic butter sauce for a spicy kick. This variation gives the dish a warm heat that pairs wonderfully with the buttery shrimp and sweet peas.
Note: Increase red pepper flakes gradually to avoid overpowering the garlic flavor. Cooking time remains the same.
Garlic Butter Shrimp with Asparagus
Swap spring peas for tender asparagus tips for a slightly earthier flavor and different texture. The asparagus cooks quickly and adds a nice crunch that complements the shrimp.
Note: Add asparagus to the pan a minute before the shrimp to ensure even cooking without over-softening.
Creamy Garlic Butter Shrimp
Stir in a splash of heavy cream after adding the butter to create a rich, velvety sauce. This makes the dish feel more indulgent and pairs beautifully with crusty bread or pasta.
Note: Simmer gently after adding cream to avoid curdling; do not boil.
Garlic Butter Shrimp with Zucchini Noodles
Serve the shrimp and peas over sautéed zucchini noodles for a low-carb, fresh alternative to pasta. The zucchini noodles soak up the garlic butter sauce and keep the meal light.
Note: Sauté zucchini noodles separately for 1-2 minutes to avoid excess water diluting the sauce.
Lemon Herb Garlic Butter Shrimp
Add fresh thyme or oregano along with parsley for a more complex herb flavor. The lemon herb combo enhances the freshness and makes the dish feel like spring on a plate.
Note: Add herbs towards the end of cooking to preserve their bright flavors.
Nutrition
Per Serving:
Nutritional values are estimates and may vary based on specific ingredients used.
Storage & Tips
Room Temperature
This dish can safely sit at room temperature for up to 2 hours if covered. Beyond that, bacteria growth can occur, so refrigerate promptly.
Refrigerator
Store leftovers in an airtight container in the fridge for up to 3 days. The shrimp may firm up and peas lose some snap, so reheat gently to avoid overcooking.
Freezer
Freezing is not recommended as shrimp texture changes noticeably. If needed, freeze in airtight containers for up to 1 month and thaw overnight in the fridge.
Reheating
Reheat gently in a skillet over low heat with a splash of water or broth to loosen the sauce. Avoid microwaving at high power which can toughen shrimp.
Make Ahead
You can prep shrimp and shell peas a day ahead and keep refrigerated. Cook the dish fresh to maintain best texture and flavor.
FAQ
Can I use frozen shrimp for this recipe?
Yes, but make sure to thaw the shrimp completely and pat them dry before cooking. This prevents excess water from causing the shrimp to steam instead of sear, which affects texture and flavor.
What can I substitute for spring peas if I can’t find them?
You can use fresh or frozen green peas, asparagus tips, or even snap peas. Just adjust the cooking time slightly to keep them tender-crisp and maintain that fresh crunch.
How do I prevent shrimp from becoming rubbery?
Shrimp cook very quickly, usually 2-3 minutes per side. Remove them from heat as soon as they turn opaque and pink with a slight curl. Overcooking causes them to become tough and rubbery.
Can I make this recipe dairy-free?
Yes, substitute the butter with a dairy-free margarine or use olive oil only. The flavor will be slightly different but still delicious. Adding extra garlic and lemon juice helps enhance the taste.
Is it okay to add the lemon juice earlier in cooking?
It’s best to add lemon juice at the end off the heat to preserve its bright, fresh acidity. Cooking lemon juice for too long can make it bitter and dull the overall flavor.
What sides go well with garlic butter shrimp and peas?
Crusty bread to soak up the sauce, rice, pasta, or a light salad all pair nicely. The buttery sauce complements many simple sides without overpowering them.
Can I double this recipe for a larger crowd?
Yes, but cook the shrimp in batches to avoid overcrowding the pan. Overcrowding causes steaming and prevents proper searing, which affects flavor and texture.
How do I store leftovers to keep shrimp tender?
Store in an airtight container in the fridge and reheat gently on low heat with a splash of water or broth. Avoid overheating, which can make shrimp tough.
Final Thoughts
I hope you enjoy making this fast and flavorful garlic butter shrimp with spring peas as much as I do. It’s a simple dish that feels special—give it a try and let me know how it turns out!