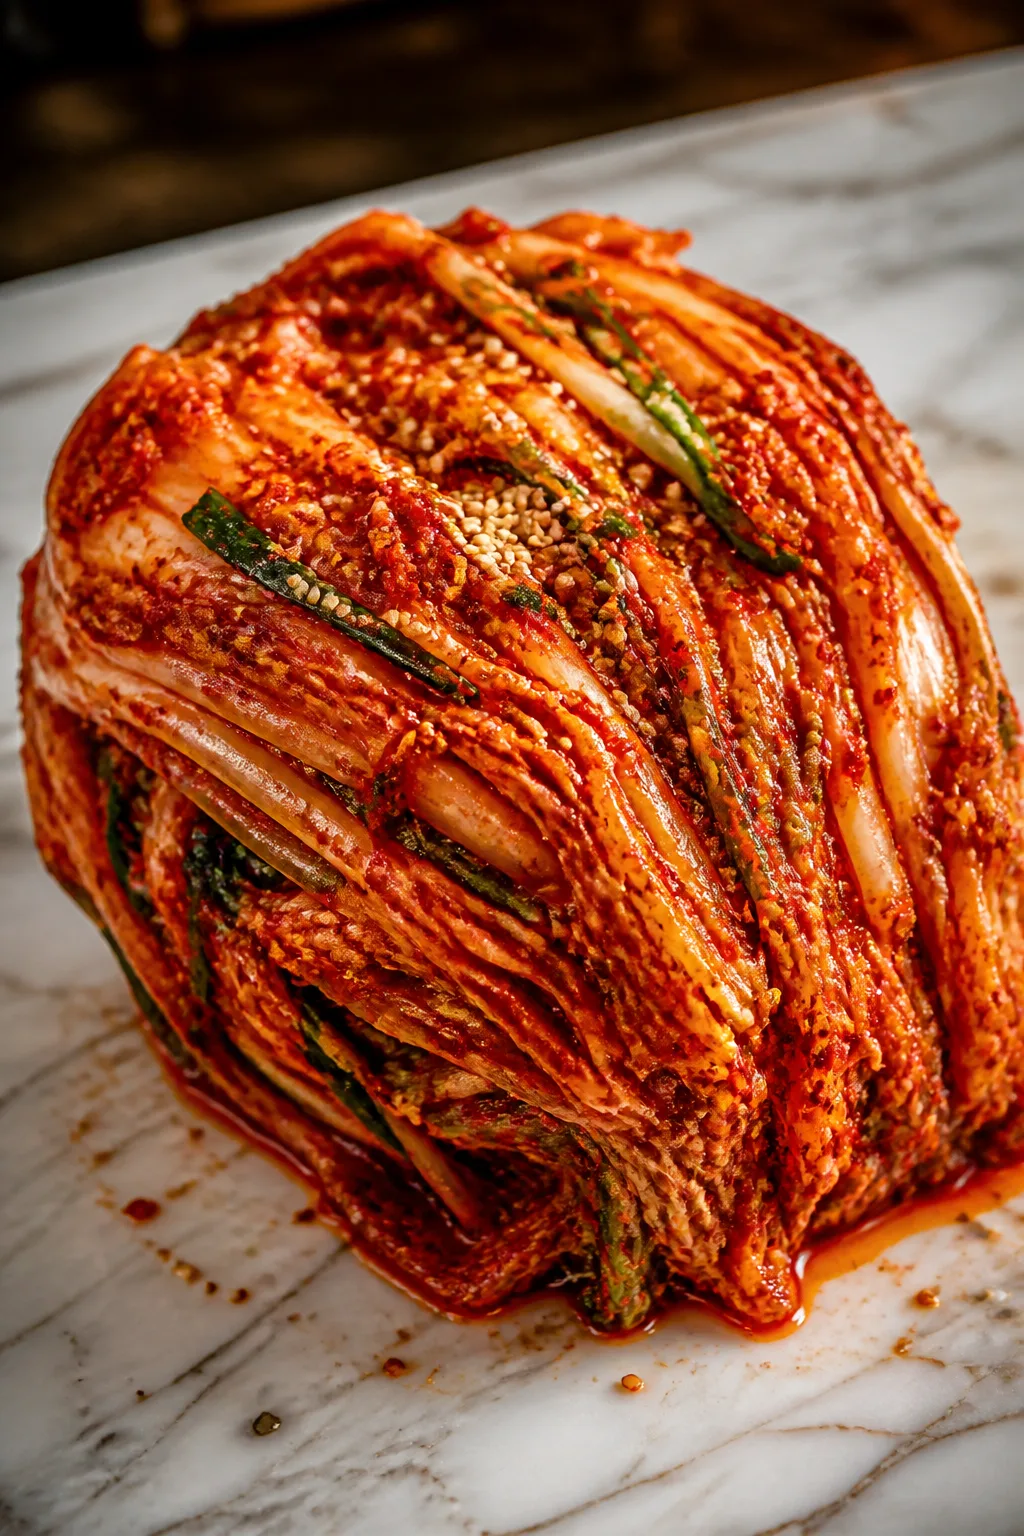
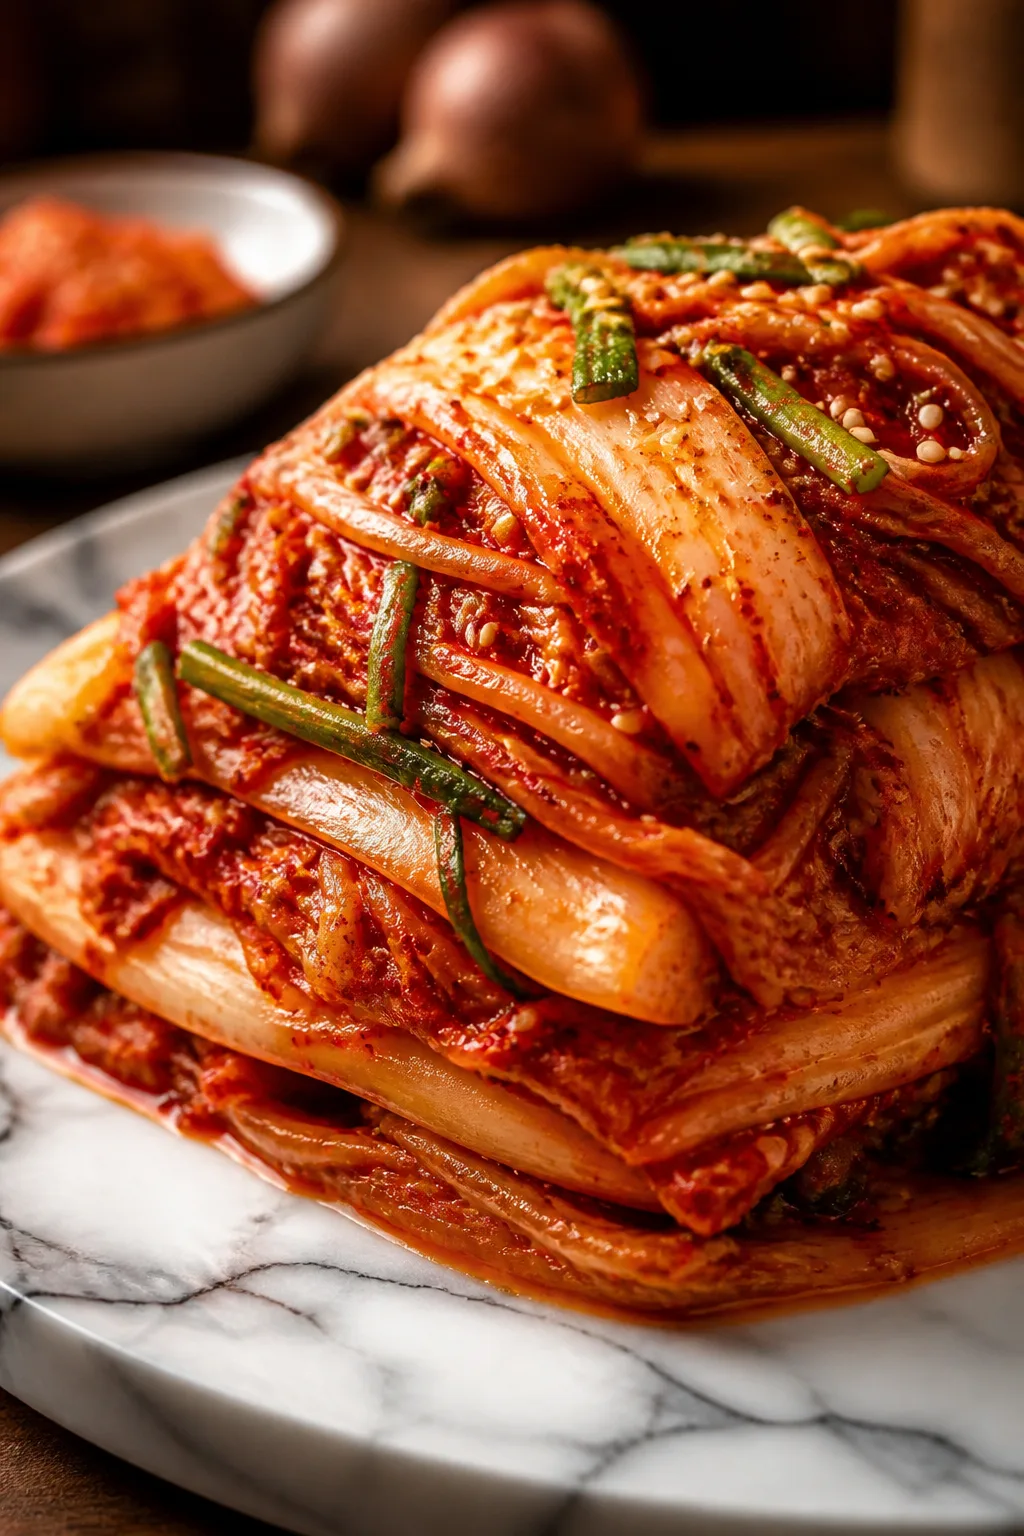
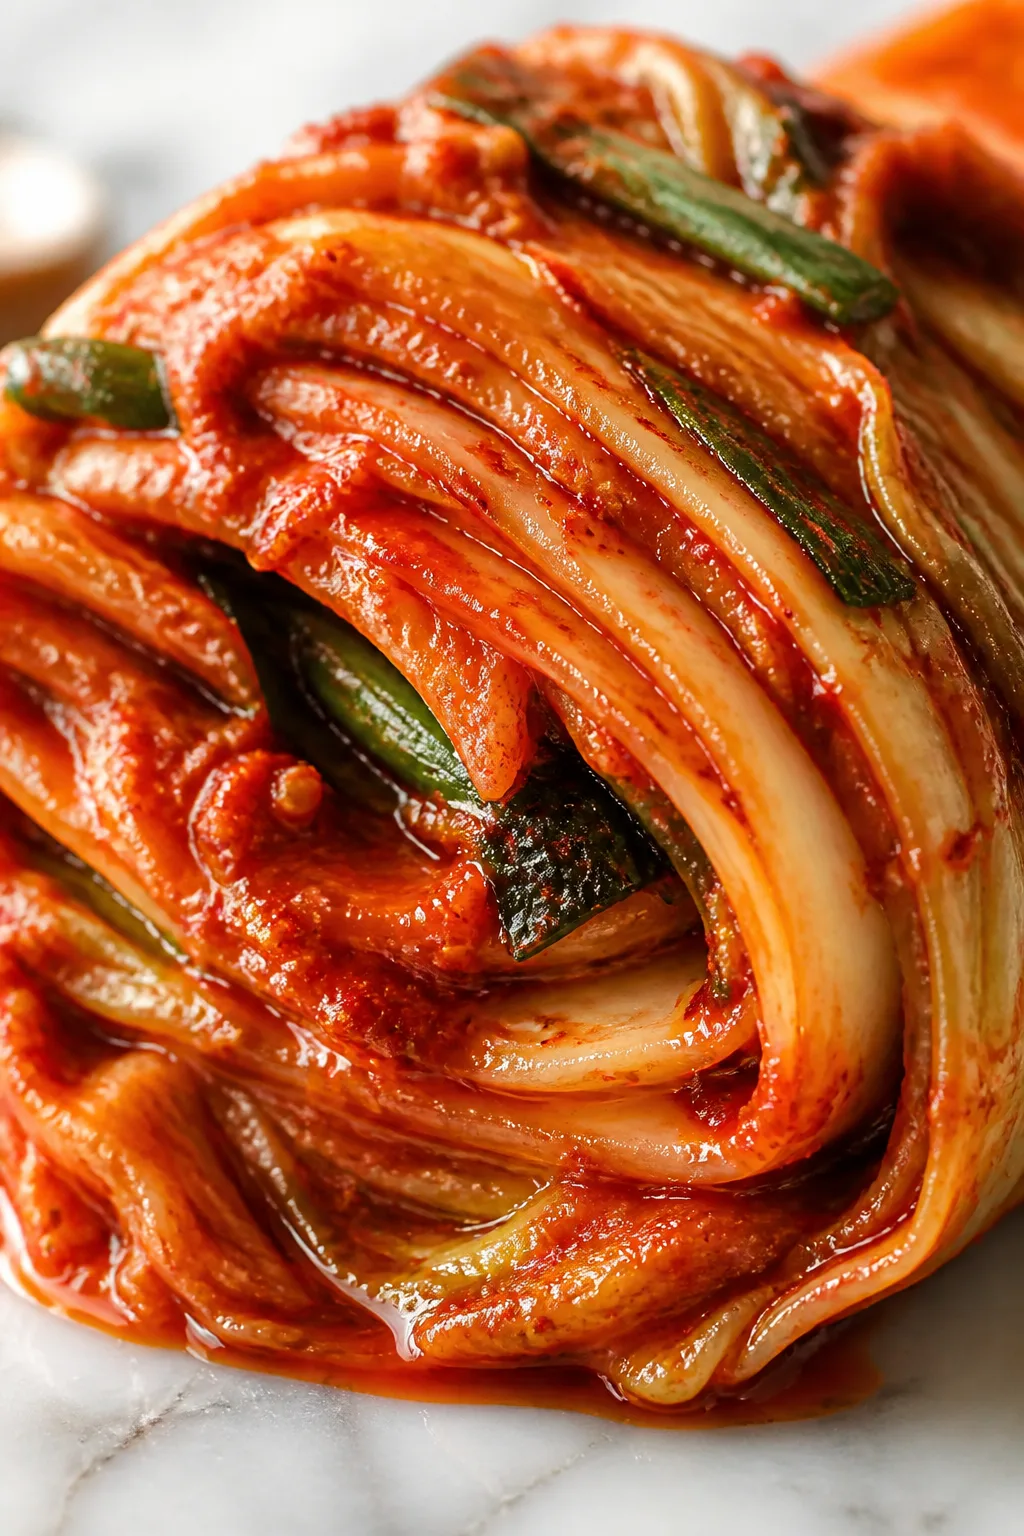
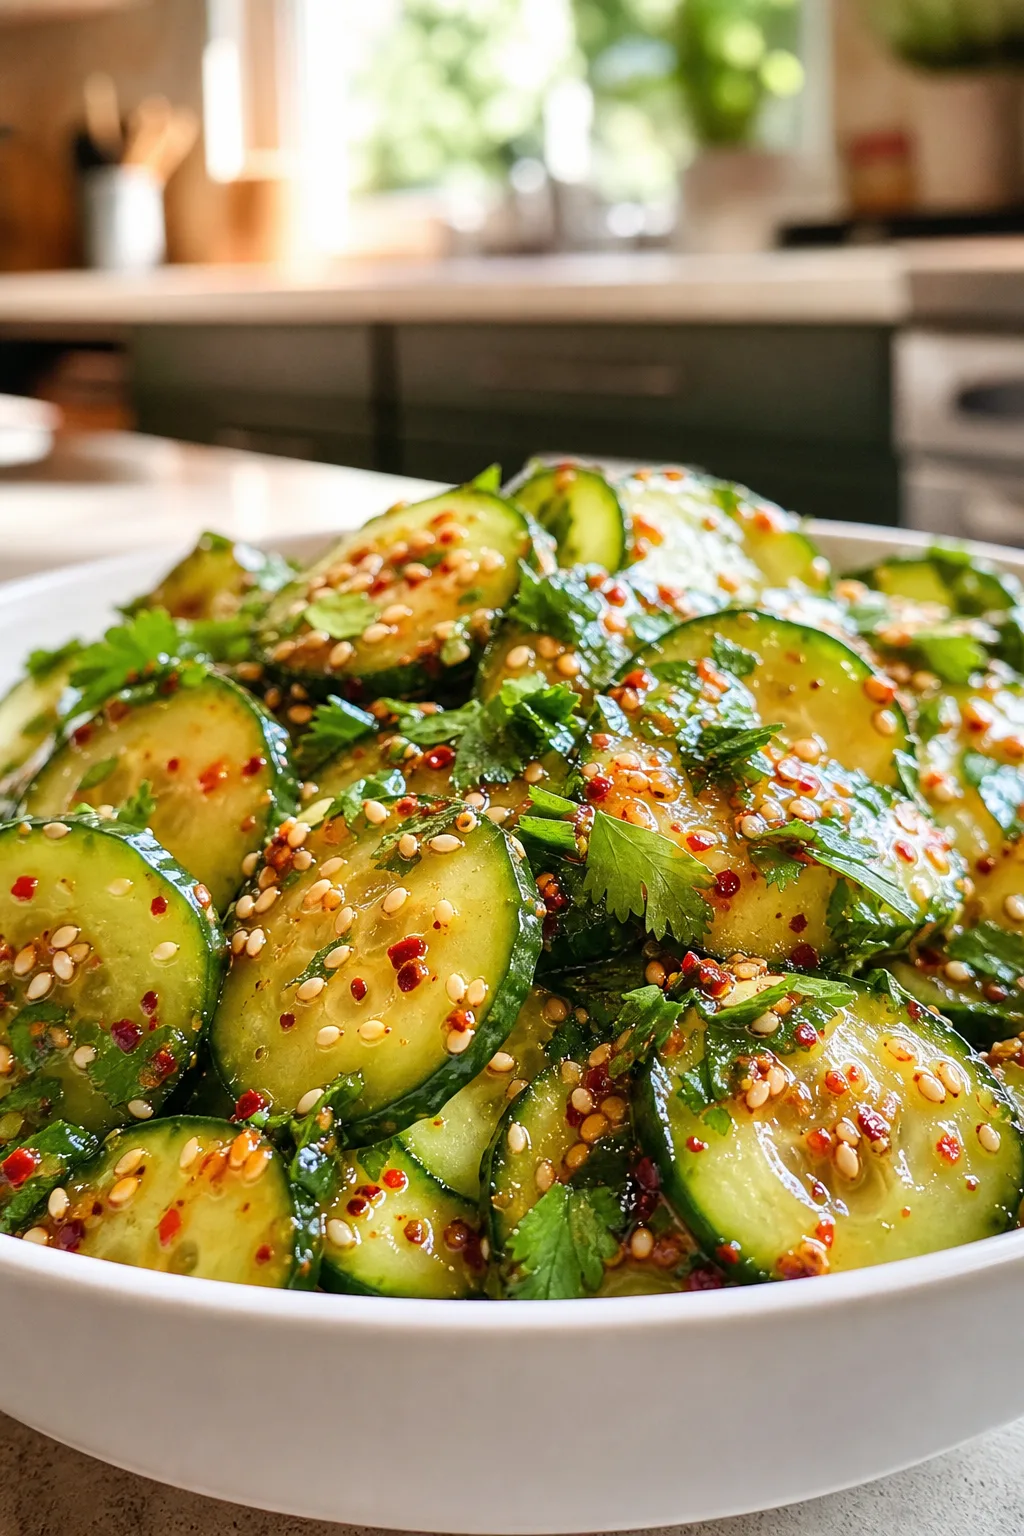
This homemade kimchi recipe brings traditional Korean flavors right to your kitchen. Using a simple fermentation method, it’s tangy, spicy, and perfect as a side or ingredient. Great for adding a punch to any meal!
Introduction
I first tried making kimchi years ago after falling in love with its spicy, tangy flavor at a local Korean restaurant. It seemed intimidating at first, but once I got the hang of the basic fermentation process, I was hooked. What sets my version apart is a balance of heat and sweetness, thanks to the perfect amount of Korean chili flakes and a touch of sugar. I also learned that salting the cabbage just right is key — too little and it won’t ferment properly, too much and it becomes too salty. The result is a crunchy, flavorful kimchi that’s great as a side or mixed into dishes. It’s a bit of a waiting game, but totally worth it when you taste that first spicy bite. Plus, making it at home means you can adjust the spice level exactly how you like it. I love serving it alongside simple meals or stirred into fried rice for an extra kick.
What You'll Need
Approximately 1 quart of kimchi, 6 servings
- 1 large Napa cabbage (about 2 pounds), quartered and rinsed
- 1/4 cup sea salt
- 4 cups water
- 1 tablespoon grated ginger
- 4 cloves garlic, minced
- 1 tablespoon sugar
- 3 tablespoons Korean red pepper flakes (gochugaru), adjust to taste
- 4 green onions, chopped
- 1 medium carrot, julienned
- 2 tablespoons fish sauce
How To Do It
Step 1
Start by cutting the Napa cabbage into quarters and rinsing it well to remove any dirt. Then, sprinkle the sea salt evenly between the layers of the cabbage leaves. This step is crucial because the salt draws out moisture from the cabbage, which softens it and creates the brine needed for fermentation. Let the salted cabbage sit submerged in water for about 2 hours, flipping it every 30 minutes to ensure even salting. Avoid skipping this step or rushing it; under-salting can lead to soggy kimchi that doesn’t ferment properly.
⏱ Time: 2 hours
✓ Doneness: Cabbage leaves should be wilted but still firm and pliable, with a noticeable brine pooling at the bottom.
Step 2
While the cabbage is soaking, prepare the kimchi paste. In a bowl, mix grated ginger, minced garlic, sugar, Korean red pepper flakes, and fish sauce. This paste is the flavor powerhouse of your kimchi, combining spicy, sweet, and umami notes. Adjust the amount of chili flakes if you prefer milder or hotter kimchi. Mixing these ingredients thoroughly helps the flavors meld and ensures an even distribution when you coat the cabbage later.
⏱ Time: 10 minutes
✓ Doneness: The paste should be smooth and vibrant red with a balanced aroma of garlic and spice.
Step 3
After the cabbage has soaked, rinse it thoroughly under cold water to remove excess salt. This step prevents your kimchi from becoming overly salty. Drain the cabbage well and gently squeeze out any remaining water. If the cabbage is too wet, the fermentation might be slowed down or uneven. Getting the right moisture balance is key to a crisp yet tangy kimchi.
⏱ Time: 10 minutes
✓ Doneness: Cabbage feels moist but not dripping wet; leaves separate easily but hold their shape.
Step 4
In a large mixing bowl, combine the drained cabbage with the prepared kimchi paste, chopped green onions, and julienned carrot. Use your hands (wear gloves if you want to avoid chili burns) to massage the paste evenly into every leaf of the cabbage. This ensures every bite is flavorful and the fermentation is consistent throughout. Don’t be shy about working the paste in well—it’s what makes homemade kimchi taste so good compared to store-bought.
⏱ Time: 10 minutes
✓ Doneness: Cabbage is thoroughly coated with a bright red, sticky paste and vegetables are evenly mixed.
Step 5
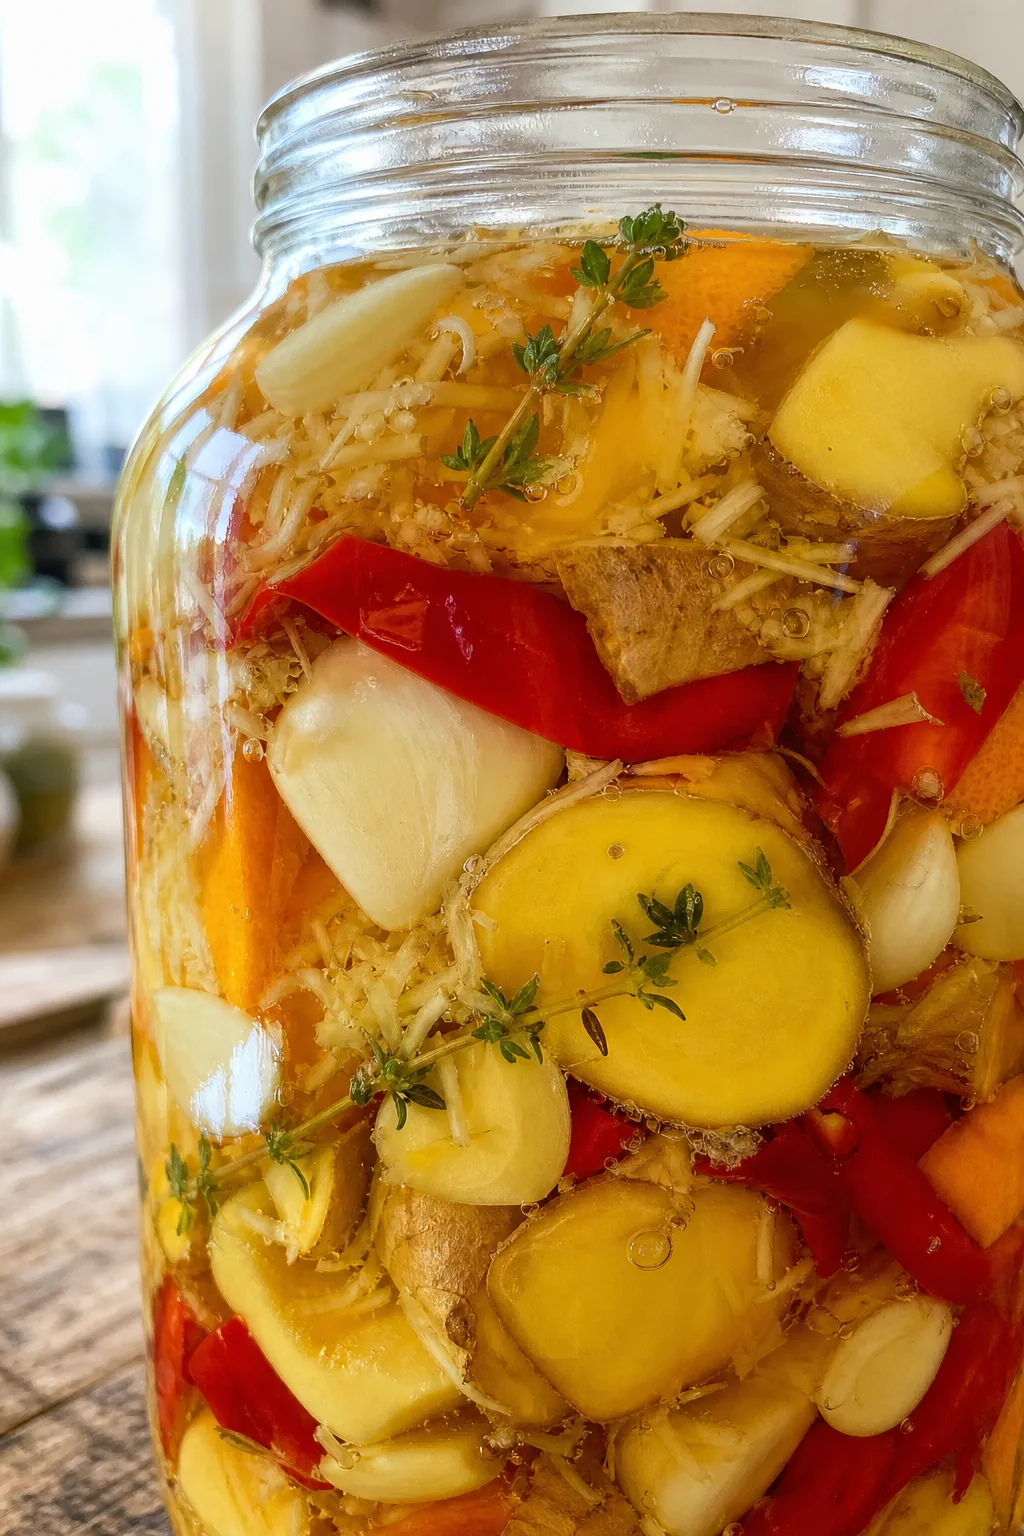
Pack the kimchi mixture tightly into a clean glass jar or fermentation container, pressing down firmly to remove air pockets. Leaving air inside can cause uneven fermentation or mold growth. Seal the jar loosely to allow gases to escape during fermentation. Store the jar at room temperature, ideally around 65-70°F, for 1 to 3 days to start fermenting. You’ll notice bubbles forming and a tangy smell developing, which means the good bacteria are doing their work.
⏱ Time: 1-3 days
✓ Doneness: Bubbles appear in the jar and the kimchi develops a pleasantly sour aroma.
Step 6
After initial fermentation, move the kimchi to the refrigerator to slow down the process. The flavors will continue to develop and mellow over time. It’s best after about a week but can be enjoyed anytime. Refrigeration also keeps the kimchi crunchy and fresh. Remember, the longer it sits, the tangier it gets, so taste periodically to find your preferred level.
⏱ Time: 1 week minimum
✓ Doneness: Kimchi is tangy, slightly effervescent, and has a balanced spicy-sour flavor.
Step 7
When serving, use clean utensils to scoop out kimchi to avoid introducing contaminants. It pairs wonderfully as a side with rice, grilled meats, or even scrambled eggs. You can also chop it up and add it to soups or stews for a flavor boost. The versatility of kimchi makes it a staple in my kitchen for adding depth and spice to everyday meals.
⏱ Time: As needed
✓ Doneness: Kimchi is fresh, flavorful, and crisp when served.
Step 8
If you want to make a milder version, reduce the Korean red pepper flakes and increase the sugar slightly to balance the heat. For a vegan option, omit fish sauce and substitute with soy sauce or tamari. These small tweaks allow you to customize the kimchi to your family’s tastes without losing the essence of the dish.
⏱ Time: Preparation time varies
✓ Doneness: Flavor profile matches desired heat level and balance.
Step 9
Keep an eye on your fermenting kimchi for any signs of mold or off smells. It’s normal for some white bubbles or foam to form, but if you see fuzzy mold or a rotten odor, discard it. Cleanliness during preparation and proper salting help prevent spoilage. Trust your senses—good kimchi smells fresh, spicy, and tangy, never rotten.
⏱ Time: Throughout fermentation
✓ Doneness: No mold or foul odors; bubbling and tangy aroma present.
Pro Tips
Use gloves when mixing the kimchi paste to protect your hands from chili irritation.
The Korean red pepper flakes can cause skin irritation or burning sensations, especially if you touch your face or eyes afterward. Wearing gloves keeps your hands safe and allows you to mix thoroughly without worry.
Flip the cabbage during the salting process to ensure even moisture extraction.
Turning the cabbage every 30 minutes helps salt penetrate evenly, preventing uneven texture and ensuring all parts soften properly. This results in a consistent ferment and better final crunch.
Use a glass jar for fermentation instead of plastic to avoid unwanted flavors.
Glass is non-reactive, so it won’t impart any off-flavors or chemicals into your kimchi. Plastic containers can sometimes leach odors or chemicals during fermentation, affecting taste.
Keep the fermentation jar loosely sealed to allow gases to escape.
Fermentation produces carbon dioxide, which builds pressure inside the jar. A loose lid or airlock prevents the jar from bursting and helps maintain the right environment for bacteria to thrive.
Taste your kimchi daily during fermentation to find your preferred flavor level.
Fermentation speed varies with temperature and ingredients. Tasting helps you catch the kimchi at your ideal sourness and spice, preventing it from becoming too strong or mushy.
Store kimchi in the coldest part of your fridge after fermentation.
Cold slows fermentation, preserving texture and flavor longer. Keeping it in the fridge door can expose it to temperature fluctuations that affect quality.
Use fresh, high-quality ingredients for the best flavor and fermentation results.
Old or low-quality vegetables and spices can lead to off-flavors or weak fermentation. Fresh ingredients ensure vibrant taste and healthy bacterial growth.
Common Mistakes to Avoid
Not salting the cabbage long enough
Why it happens Sometimes cooks rush this step, thinking it’s just prep, but it’s actually crucial for texture and fermentation.
Fix Make sure to salt the cabbage for at least 2 hours, flipping it regularly. This draws out moisture and creates the right environment for fermentation, preventing soggy or bland kimchi.
Using iodized salt instead of sea or kosher salt
Why it happens Iodized salt is common in many kitchens, but its additives can interfere with fermentation.
Fix Always use pure sea salt or kosher salt without additives. This ensures the bacteria can thrive and your kimchi ferments properly.
Packing the jar too loosely
Why it happens Beginners often don’t press the kimchi down firmly, leaving air pockets that can cause spoilage.
Fix Press the mixture down tightly in the jar to remove air pockets. This helps create an anaerobic environment necessary for good fermentation.
Sealing the jar too tightly during fermentation
Why it happens Some think a tight seal is best, but fermentation produces gas that needs to escape.
Fix Loosen the lid or use an airlock to let gases out. This prevents pressure buildup and potential jar breakage.
Ignoring mold or off smells
Why it happens People sometimes think mold is normal or try to scrape it off and continue eating.
Fix If you see fuzzy mold or smell rotten odors, discard the batch. Cleanliness and proper salting prevent mold, but if it appears, it’s safer to start fresh.
Variations
Mild Kimchi
Reduce the amount of Korean red pepper flakes and add a bit more sugar to balance the flavors. This version is great for those sensitive to spice or for kids. It still ferments well and retains the classic tangy taste with less heat.
Note: Fermentation time remains the same, but the flavor will be gentler and sweeter.
Vegan Kimchi
Omit fish sauce and substitute with soy sauce or tamari to keep it plant-based. This swap slightly changes the umami profile but still results in a delicious, tangy kimchi perfect for vegans.
Note: Soy sauce may slightly darken the color and add a different flavor note; fermentation proceeds normally.
Quick Kimchi
Skip the long fermentation by refrigerating immediately after mixing. The flavors won’t be as developed but it’s fresh, crunchy, and ready to eat within a day. Great when you want kimchi flavor fast.
Note: Expect milder sourness and less depth; best consumed within a week.
Spicy Kimchi with Radish
Add Korean radish cubes for extra crunch and a peppery bite. This variation adds texture and a slightly different flavor profile that complements the cabbage beautifully.
Note: Radish ferments at the same rate as cabbage; ensure even coating with paste.
Garlic-Heavy Kimchi
Increase the garlic quantity for a bolder, more pungent flavor. This is perfect for garlic lovers and adds an extra kick to the fermentation process.
Note: Too much garlic may overpower other flavors; balance carefully.
Nutrition
Per Serving:
Nutritional values are estimates and may vary based on specific ingredients used.
Storage & Tips
Room Temperature
Kimchi can safely ferment at room temperature for 1 to 3 days, depending on temperature, but should not be left out longer to avoid spoilage. Keep the jar covered loosely and away from direct sunlight.
Refrigerator
Store kimchi in an airtight container in the fridge for up to 3 months. The flavor will continue to develop and become more sour over time. It’s best served cold or at room temperature; reheating is not typical but can be done gently in soups.
Freezer
Freezing kimchi is not recommended as it alters texture and flavor. However, if necessary, freeze in a sealed container for up to 1 month. Thaw in the refrigerator and expect softer texture.
Reheating
Kimchi is usually eaten cold or at room temperature. If using in cooked dishes like stews or fried rice, add it towards the end of cooking to preserve flavor and texture. Avoid prolonged high heat to keep its crunch.
Make Ahead
Prepare kimchi paste and salt the cabbage 1-2 days ahead. Mix and start fermentation on the day of serving or earlier. This spreads out work and ensures optimal texture and flavor.
FAQ
Can I use regular cabbage instead of Napa cabbage?
While Napa cabbage is traditional and has a softer texture ideal for kimchi, you can use regular green cabbage in a pinch. It’s denser and crunchier, so the fermentation time might be longer, and the texture will be firmer. Adjust salting and fermentation accordingly.
How spicy is this kimchi recipe?
The recipe uses a moderate amount of Korean red pepper flakes, giving it a noticeable but balanced heat. You can adjust the chili flakes to make it milder or hotter based on your preference.
What if my kimchi tastes too salty?
Too much salt can happen if the cabbage is over-salted or not rinsed well after salting. To fix this, rinse the cabbage more thoroughly before mixing with the paste next time and measure salt carefully.
How long can I keep kimchi in the fridge?
Properly stored kimchi can last up to 3 months in the refrigerator. Over time, it becomes more sour and softens, so taste it regularly to enjoy it at your preferred stage.
Why is my kimchi not bubbling or fermenting?
Fermentation depends on temperature, salt balance, and cleanliness. If it’s too cold or too salty, fermentation slows or stops. Make sure to use the right salt amount and keep it at room temperature for initial fermentation.
Can I eat kimchi immediately after making it?
You can eat it right away, but it won’t have developed its characteristic tangy flavor. Fermenting for at least 1-2 days at room temperature improves taste and texture significantly.
What can I do with leftover kimchi paste?
Leftover paste can be used in soups, stews, or as a marinade for meats and vegetables. It adds great flavor and reduces waste.
Is kimchi healthy?
Yes! Kimchi is rich in probiotics from fermentation, vitamins from the vegetables, and antioxidants from the spices. It supports digestion and adds beneficial bacteria to your gut.
Final Thoughts
I hope you give this kimchi recipe a try—it’s a wonderful way to bring a bit of Korean tradition to your kitchen. Don’t forget to share how it turns out!