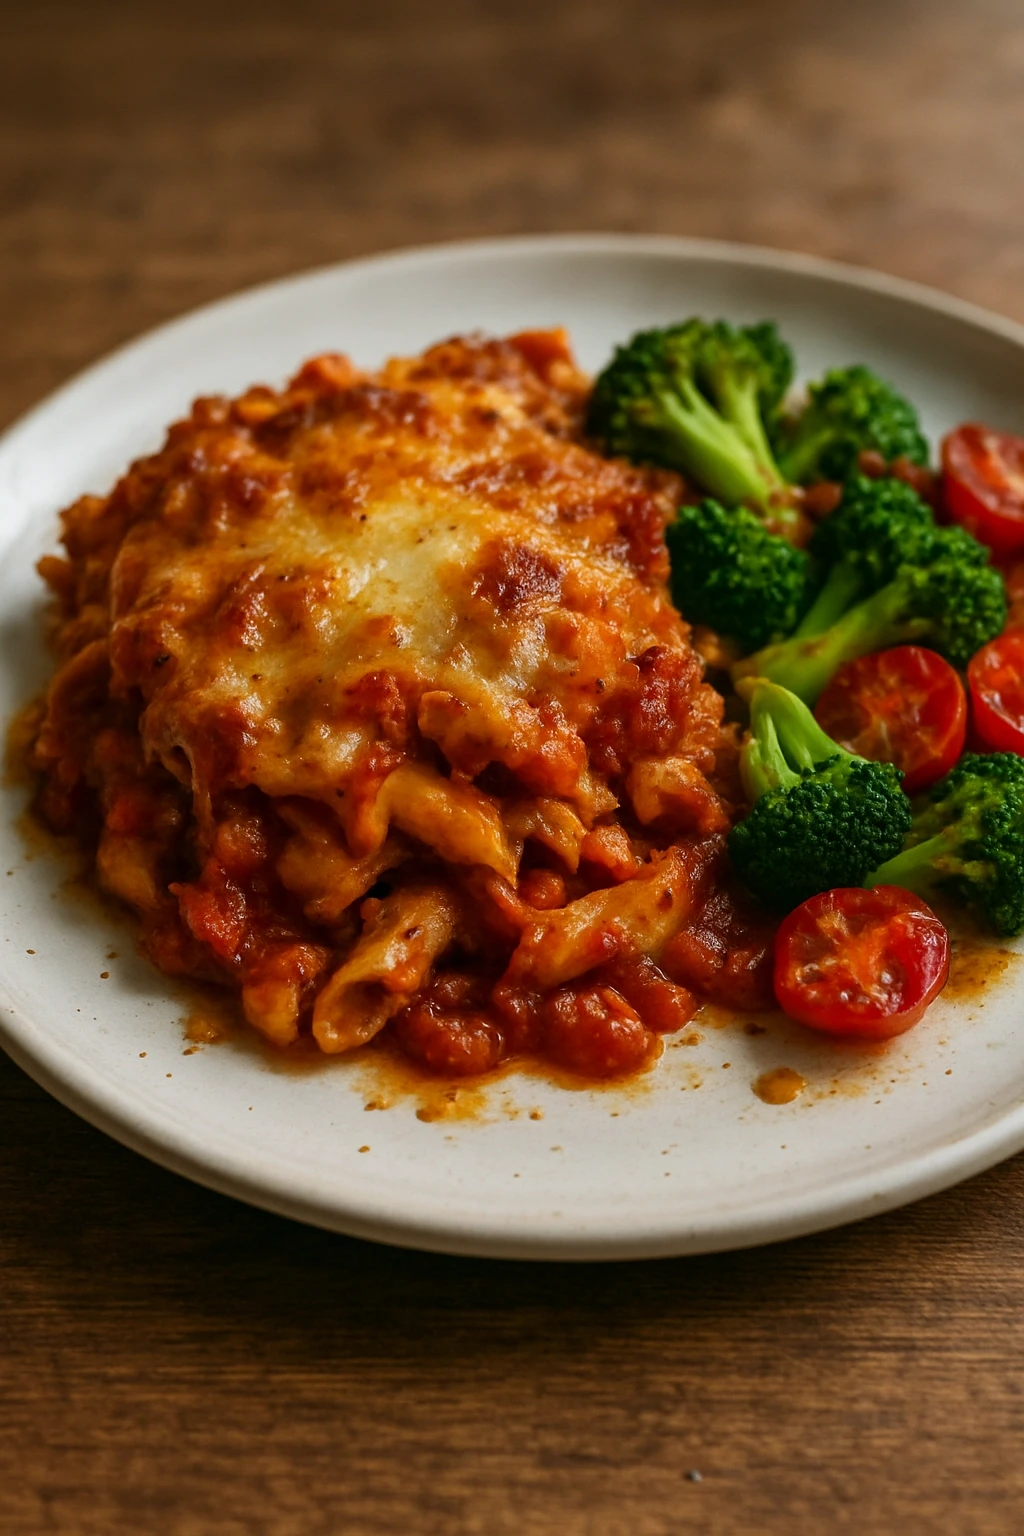
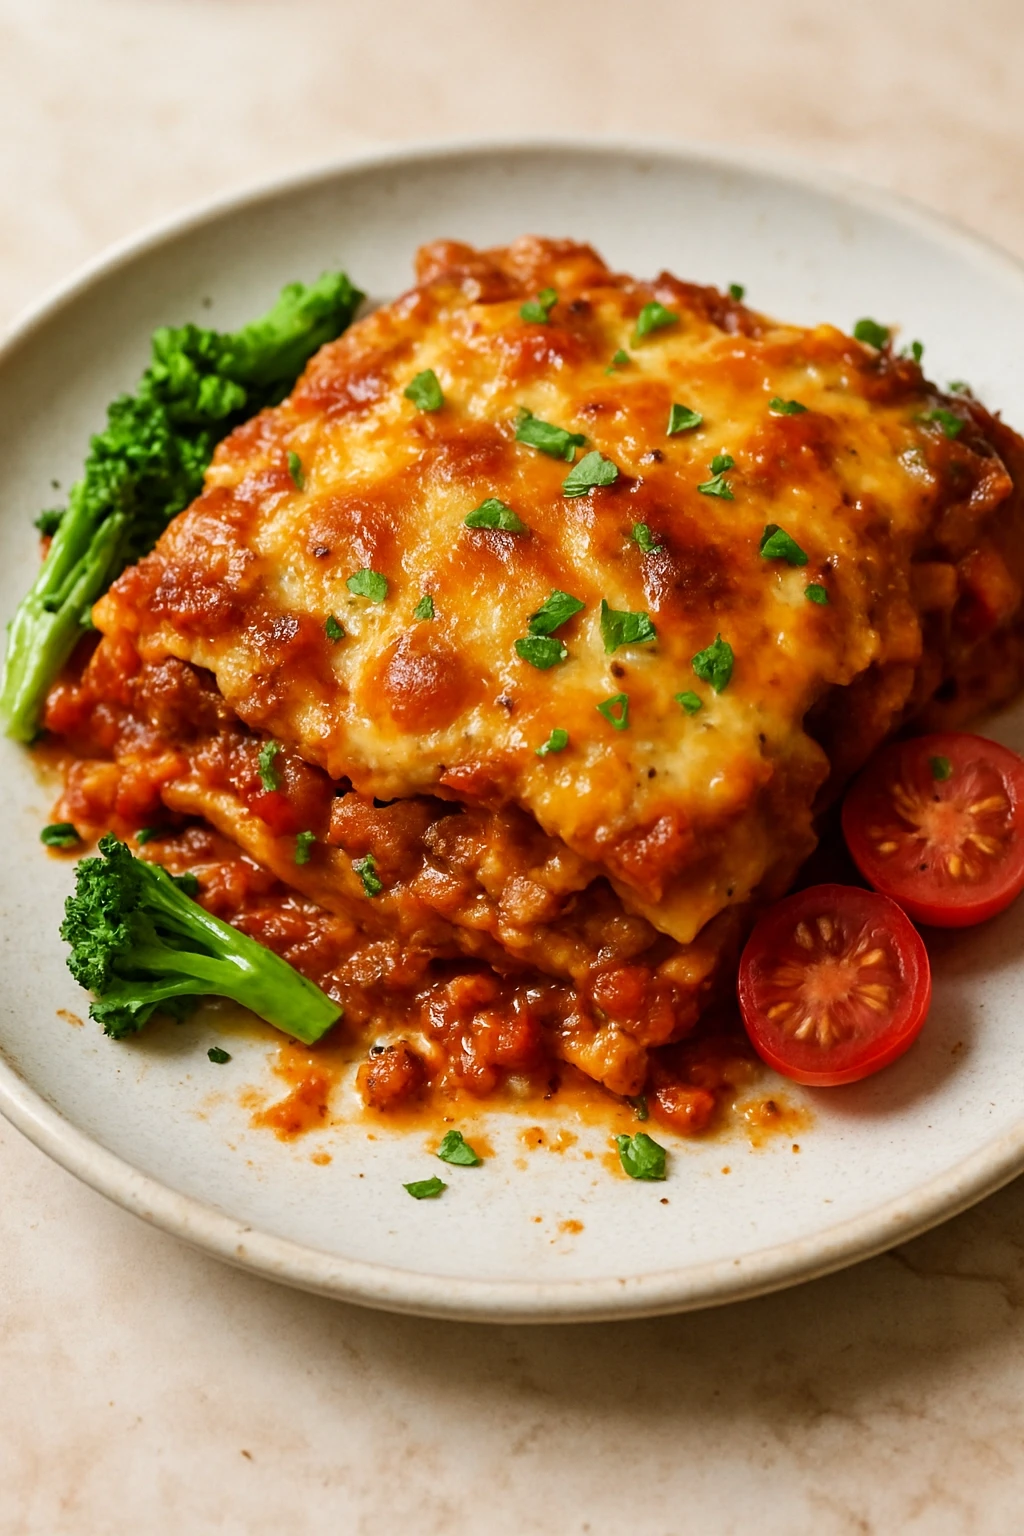
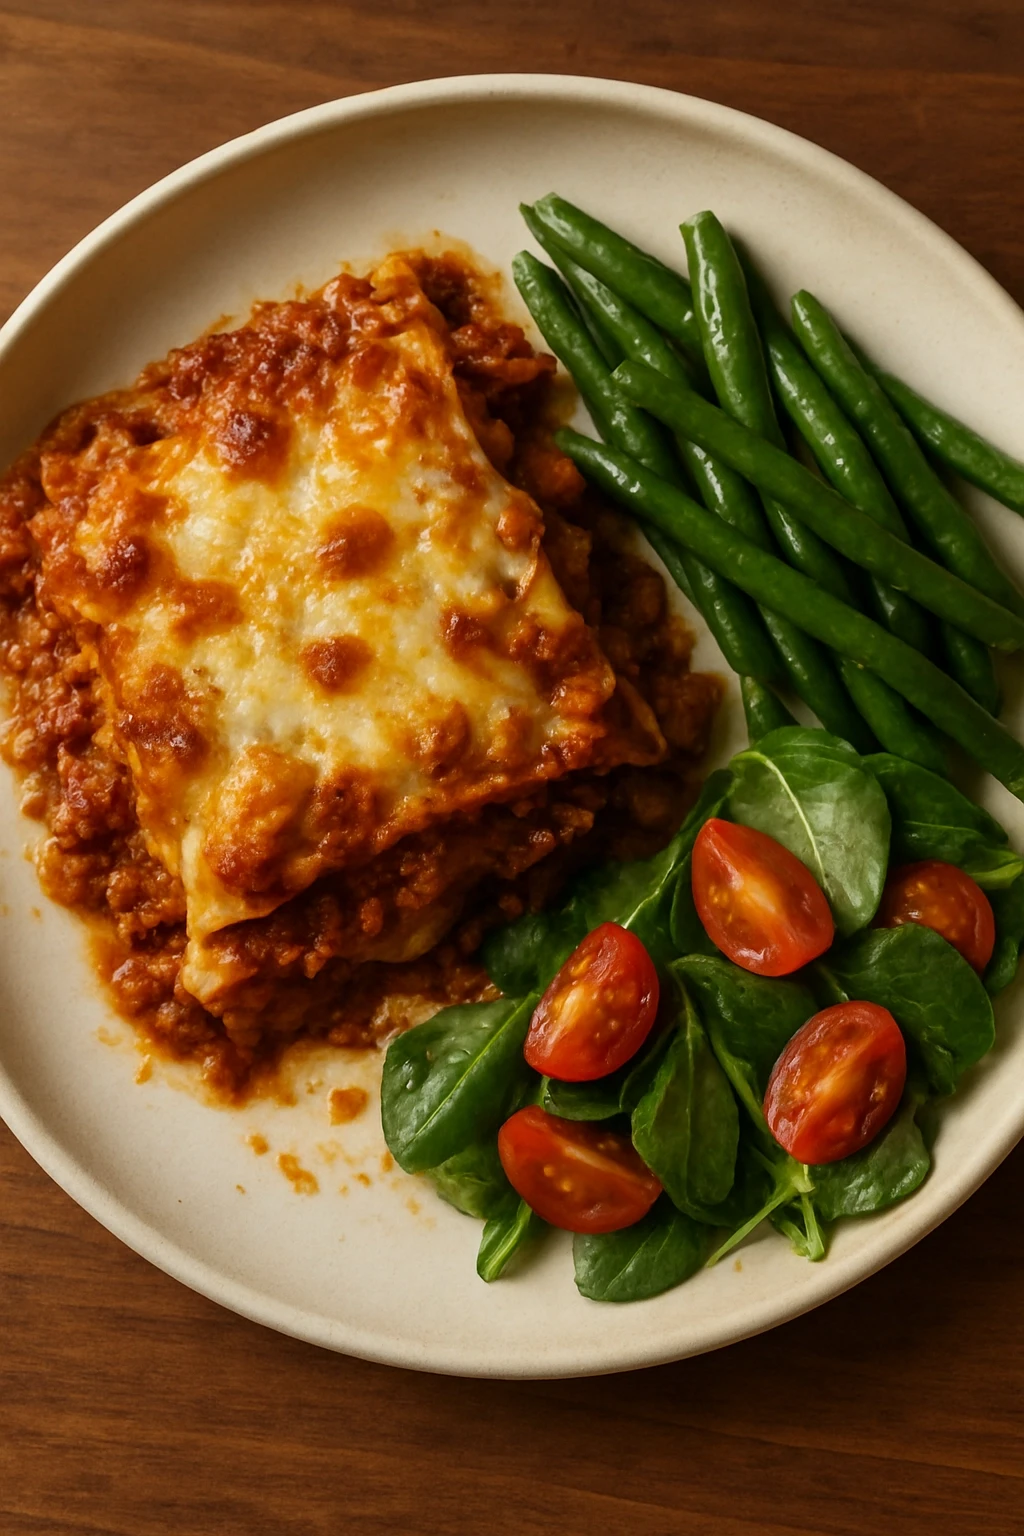
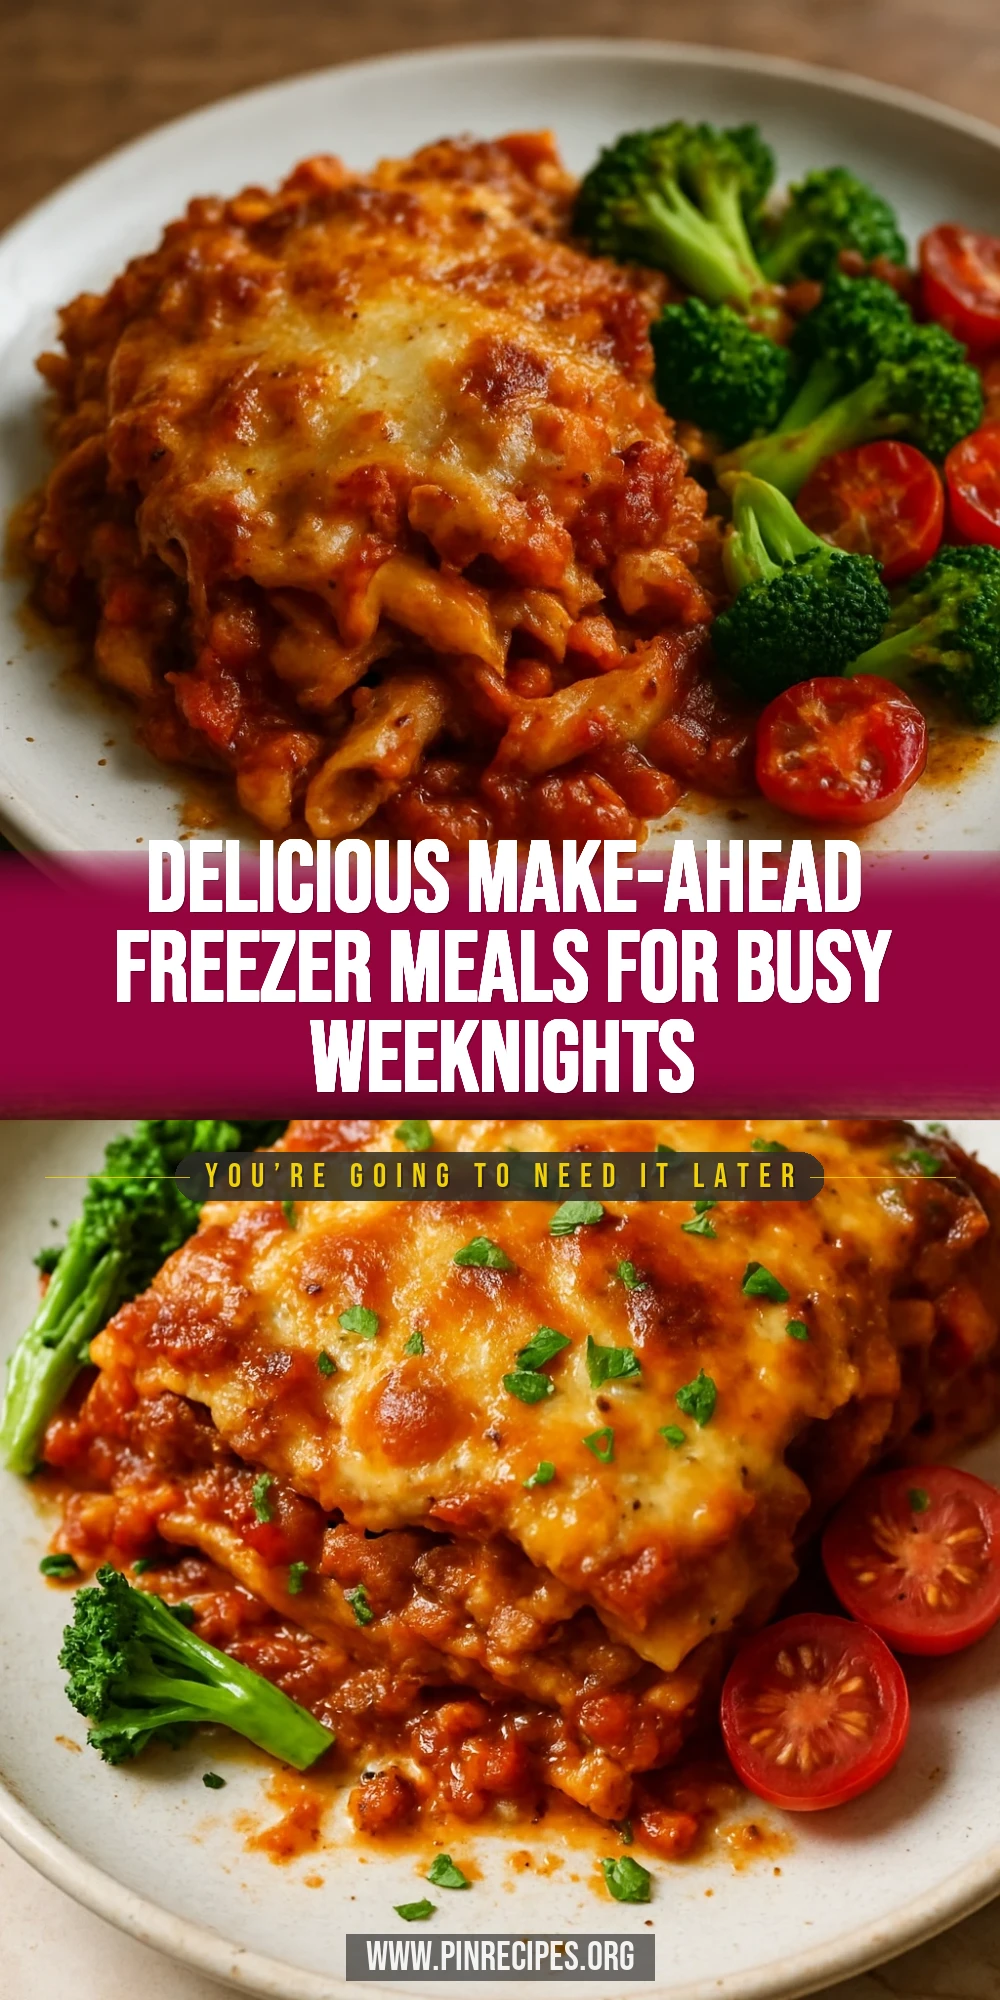
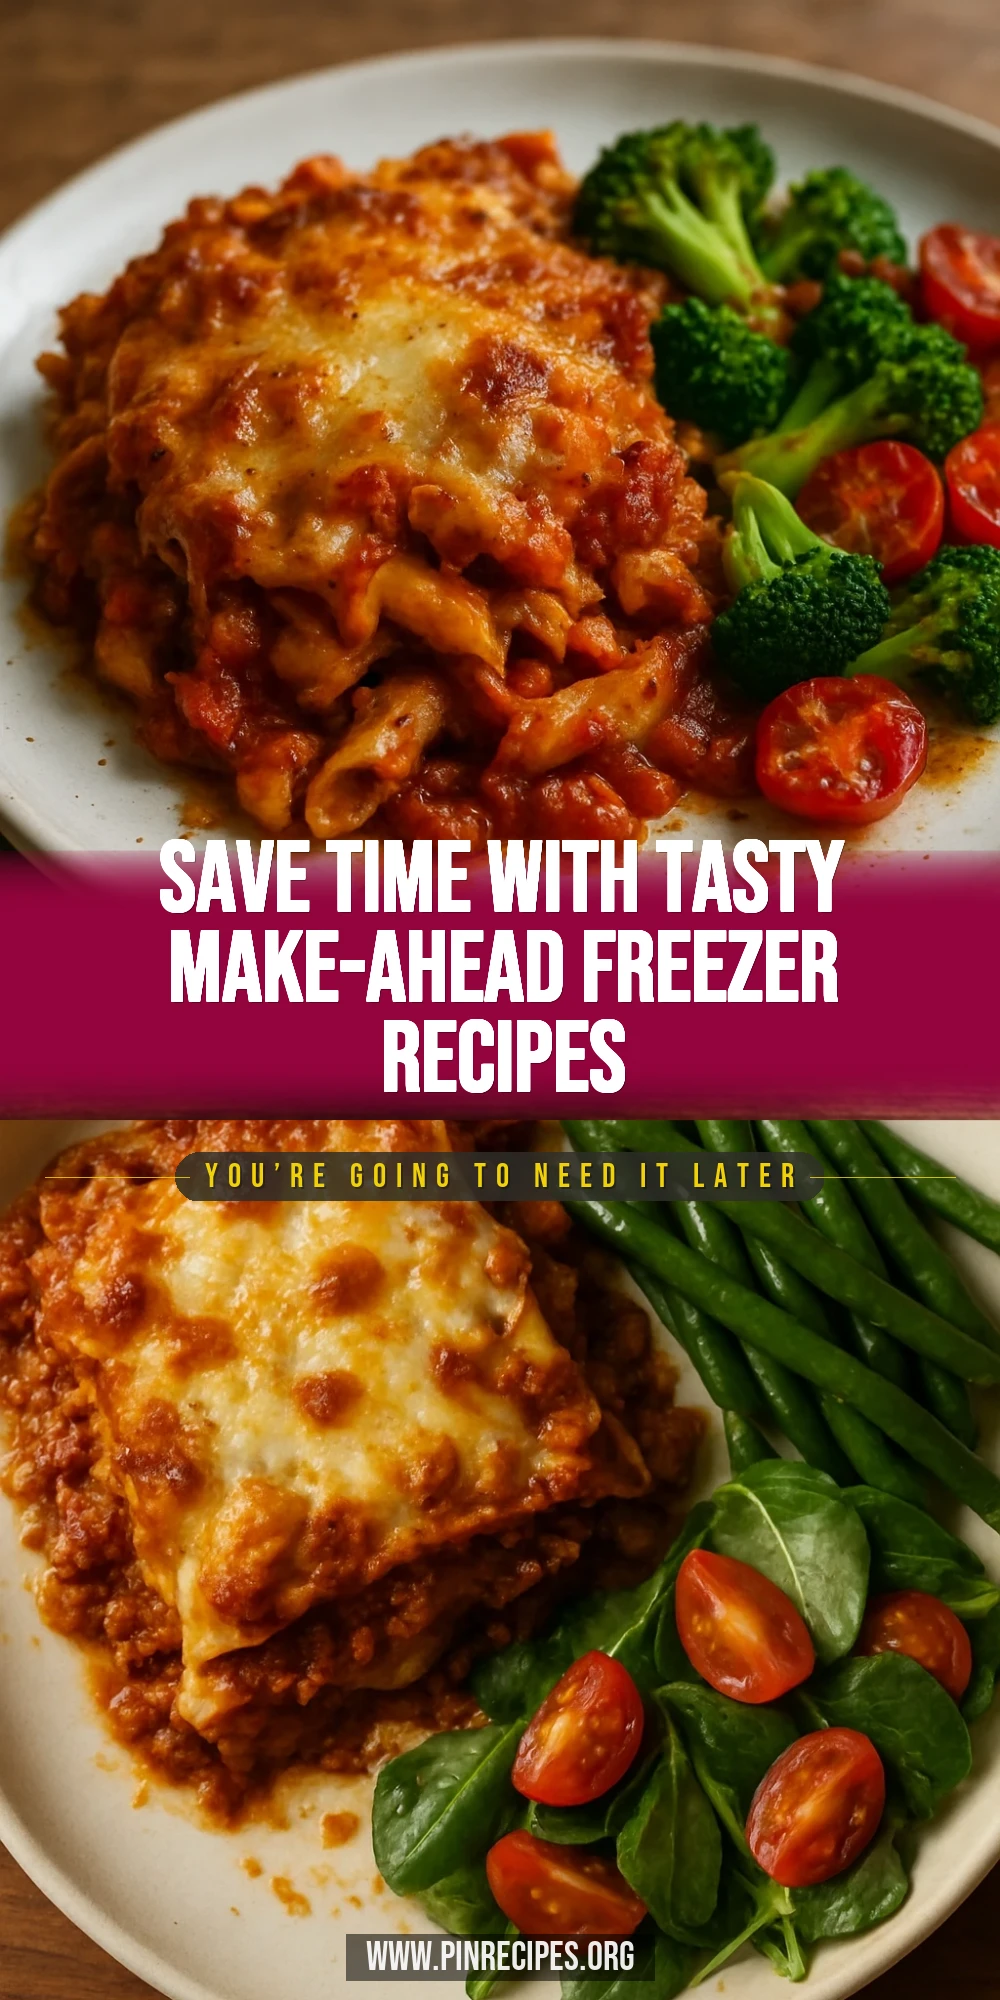
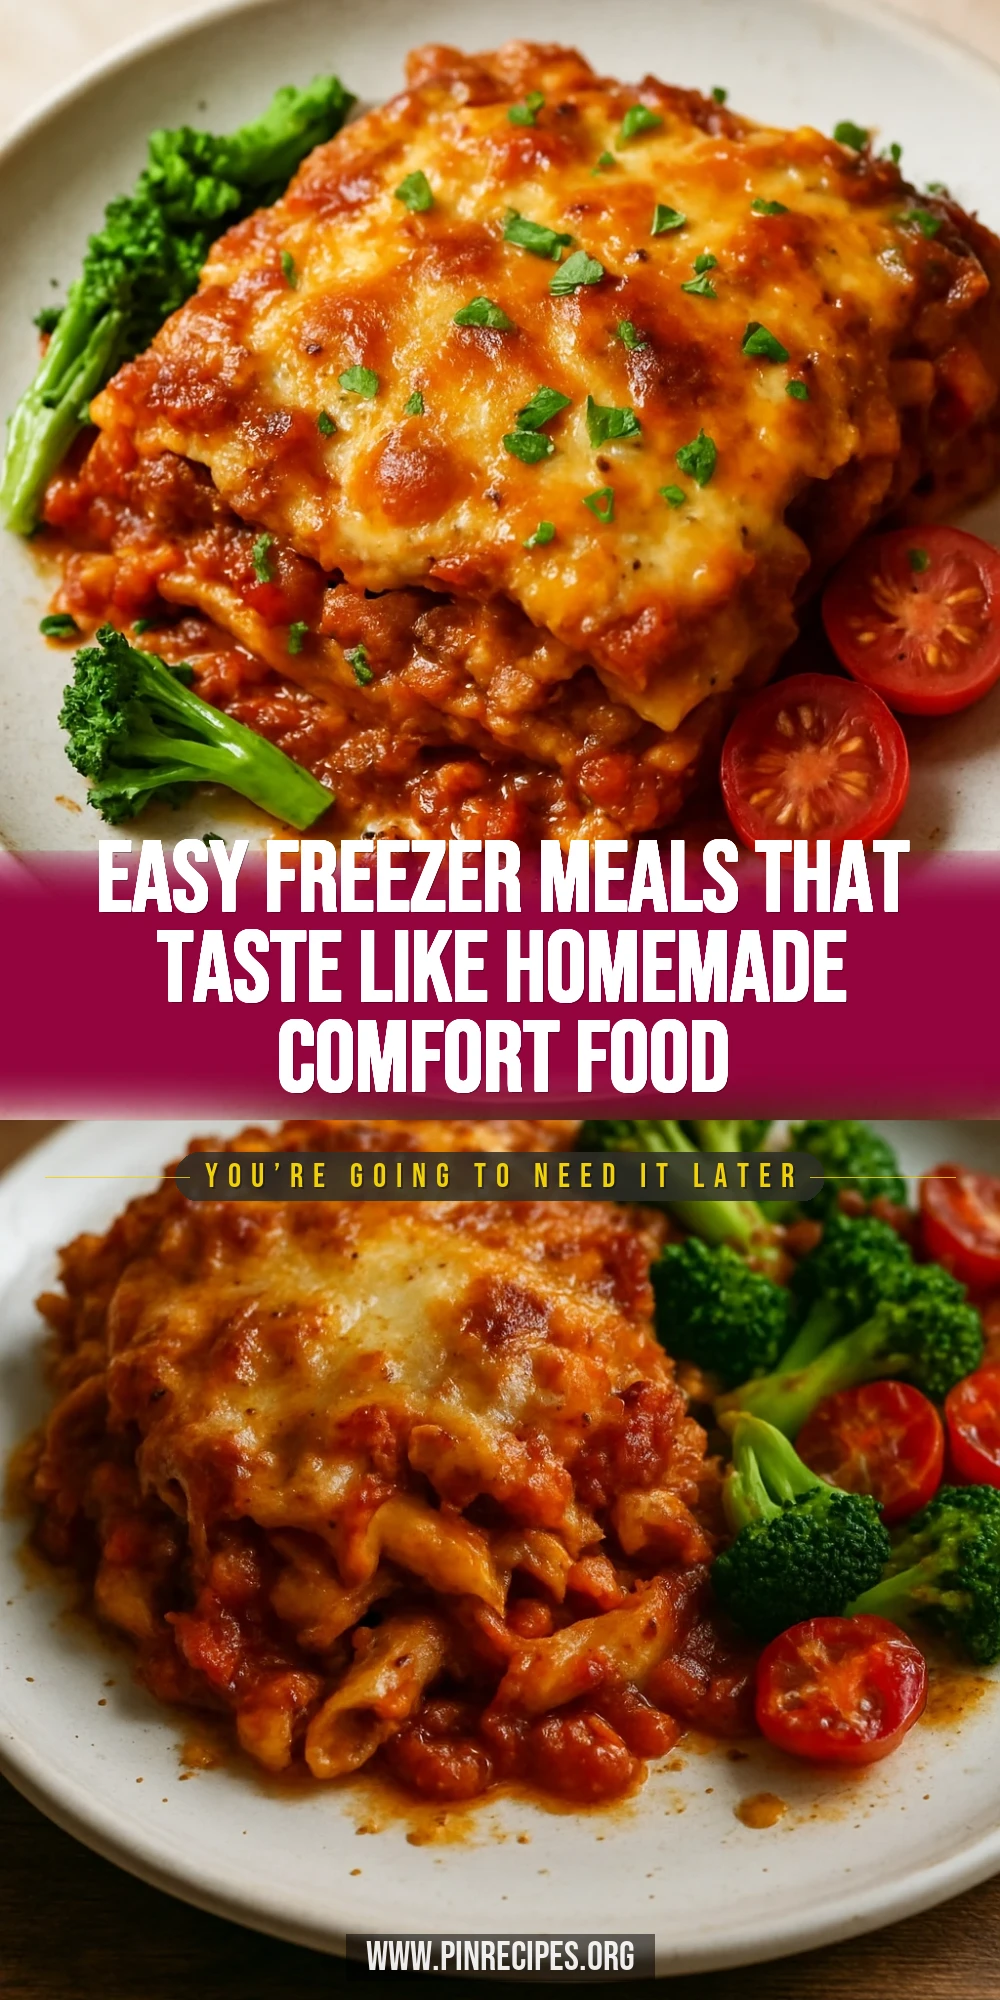
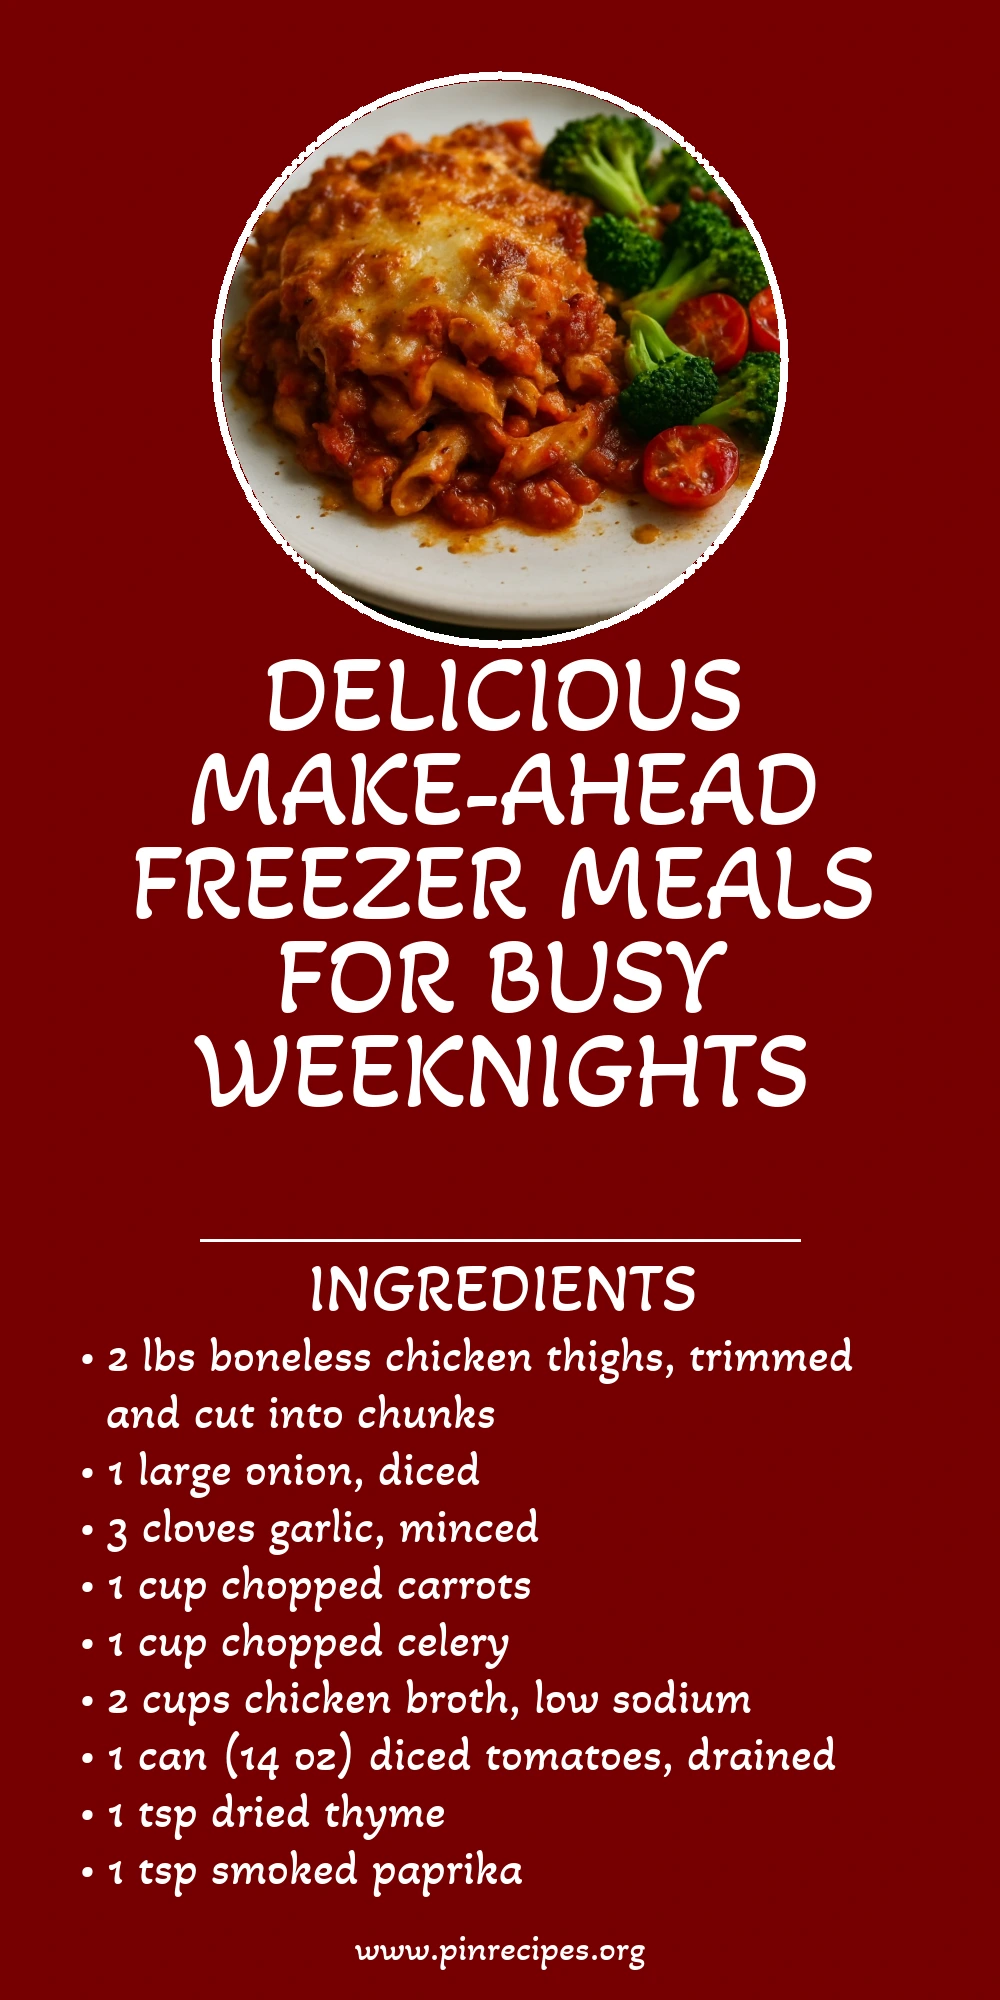
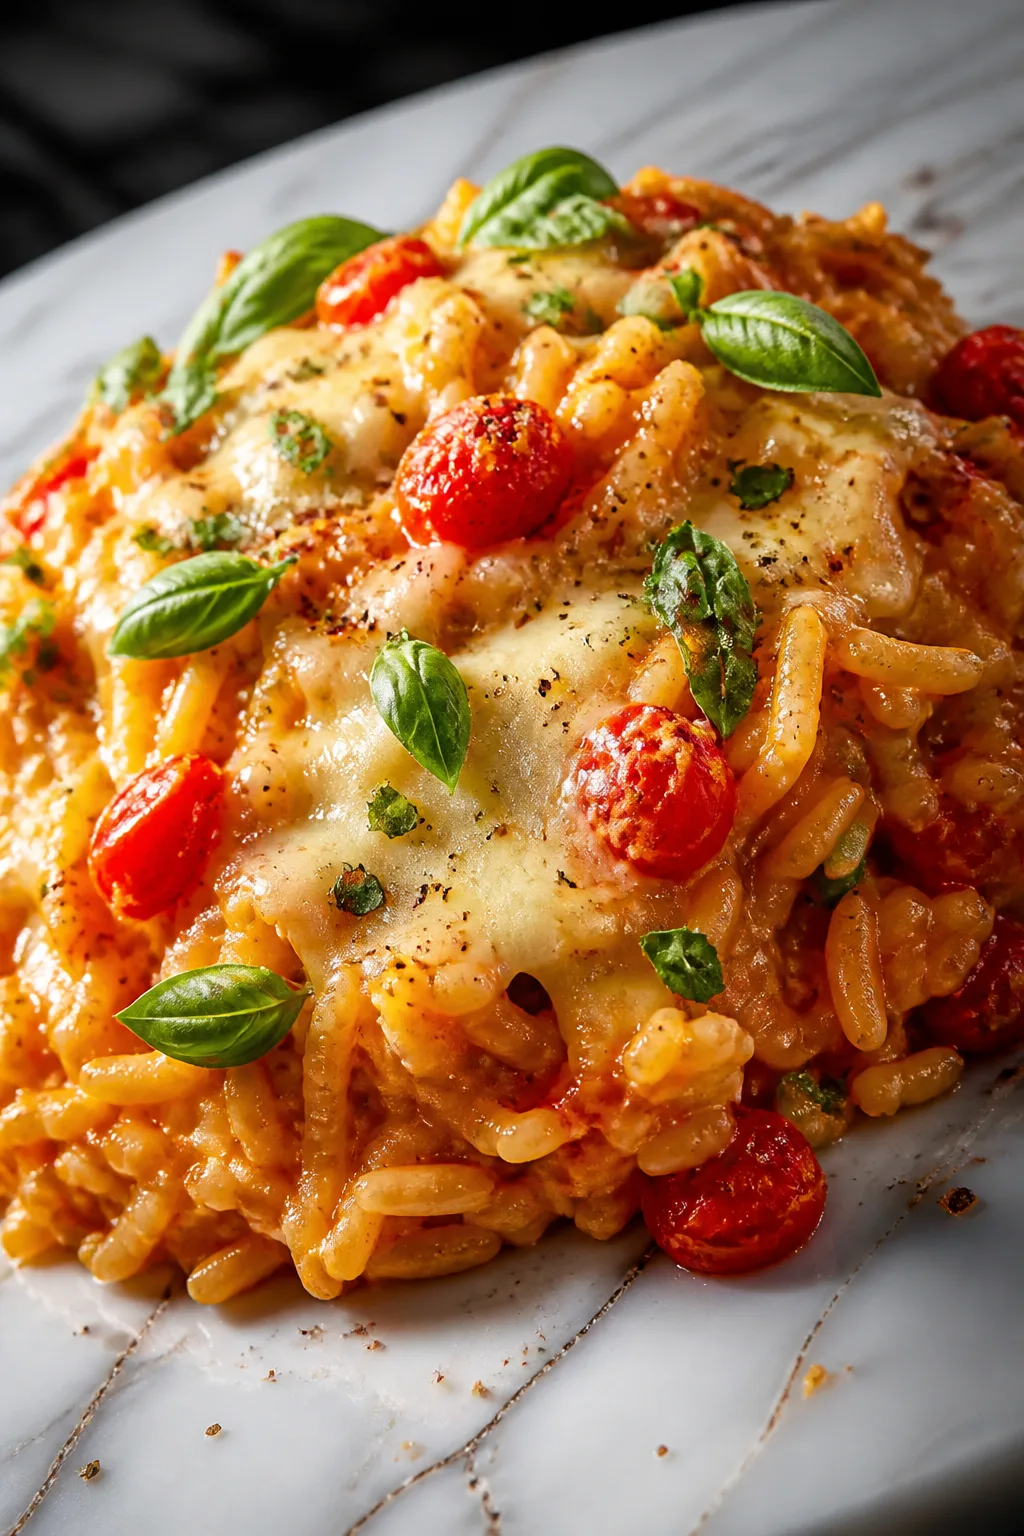
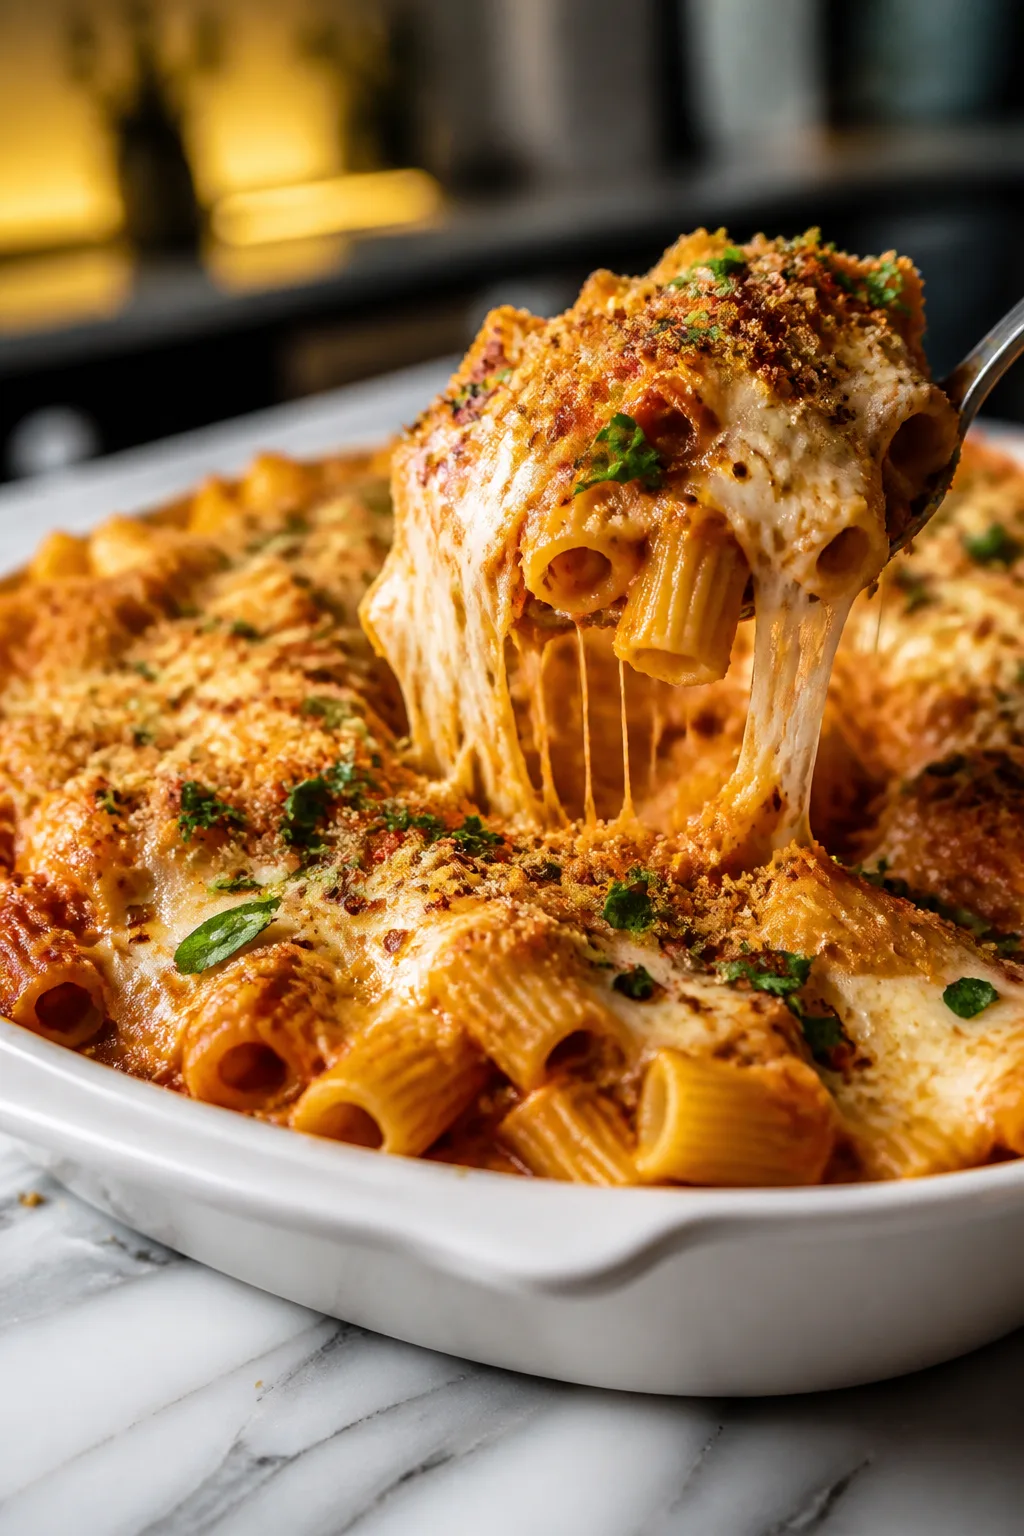
These make-ahead freezer meals save you on hectic days without sacrificing flavor. I use simple prep tricks so everything tastes fresh and homemade. Perfect for busy weeknights or meal prepping weekends!
Introduction
I first started making freezer meals when my schedule got crazy and I realized I was grabbing takeout way too often. This recipe quickly became a lifesaver because it’s straightforward to prep, freezes beautifully, and tastes like you spent hours cooking. I love using chicken thighs here because they stay juicy and flavorful after freezing and reheating, unlike breasts which can dry out. Another trick I learned is to lightly coat the chicken in flour before browning—it helps thicken the sauce later and adds a subtle richness. When you thaw and reheat, the dish comes out with a cozy, homemade feel, perfect for those nights when you’re worn out but still want a comforting dinner. Plus, the mix of veggies and herbs gives it a fresh, balanced flavor that doesn’t feel heavy or bland. I usually prep a few batches on Sunday and freeze them in individual portions, so I always have something ready to go. It’s such a relief knowing dinner is sorted even on my busiest days.
How To Do It
Step 1
Start by patting the chicken thighs dry and tossing them in the flour seasoned with salt and pepper. This coating helps create a nice crust when browning and thickens the sauce later. Heat olive oil in a large skillet over medium-high heat, then add the chicken pieces in a single layer. Avoid overcrowding the pan to ensure they brown evenly instead of steaming. Brown the chicken for about 4-5 minutes per side until golden but not cooked through. This step locks in flavor and texture, so don’t skip it or rush it.
⏱ Time: 10 minutes
✓ Doneness: Chicken pieces are golden brown with a slight crust but still slightly pink inside
Step 2
Remove the chicken from the pan and set aside. In the same skillet, add diced onion, carrots, and celery. Sauté over medium heat until the onion is translucent and the vegetables start to soften, about 7-8 minutes. This slow cooking draws out natural sweetness and builds the base flavor. Stir in minced garlic and cook for 1 more minute, watching carefully so it doesn’t burn. The aromatics here are key for a rich, layered taste in the final dish.
⏱ Time: 10 minutes
✓ Doneness: Vegetables are softened and fragrant, onions translucent, garlic aromatic without browning
Step 3
Return the chicken to the skillet with the veggies. Pour in the chicken broth and diced tomatoes, then sprinkle in thyme, smoked paprika, salt, and pepper. Stir gently to combine. Bring the mixture to a simmer over medium heat. This slow simmer allows the flavors to meld and the sauce to thicken. If you rush this step by boiling, the chicken can become tough and the sauce watery.
⏱ Time: 5 minutes
✓ Doneness: Simmering gently with small bubbles around the edges, sauce starting to thicken
Step 4
Once simmering, reduce the heat to low and cover the skillet. Let it cook gently for 25-30 minutes until the chicken is fully cooked and tender, and the sauce has thickened nicely. Stir occasionally to prevent sticking. This slow, covered cooking keeps the chicken juicy and infuses the sauce with rich flavor. Avoid removing the lid too often as heat escapes and slows cooking.
⏱ Time: 30 minutes
✓ Doneness: Chicken is opaque and tender, sauce coats the back of a spoon
Step 5
Allow the dish to cool before portioning it into freezer-safe containers. Leave some headspace to allow for expansion. Label each container with the date and contents. Proper cooling is essential to prevent condensation and ice crystals forming during freezing, which can affect texture and flavor later.
⏱ Time: 20 minutes
✓ Doneness: Dish is cool to the touch and ready for freezing
Step 6
To reheat, thaw the container overnight in the fridge. Warm gently on the stovetop over medium heat, stirring occasionally. Add a splash of broth or water if the sauce has thickened too much. Avoid microwaving straight from frozen as it can heat unevenly and dry out the chicken. Slow reheating helps preserve texture and flavor.
⏱ Time: 15 minutes
✓ Doneness: Dish is heated through evenly with a smooth sauce
Step 7
Serve your reheated meal with rice, mashed potatoes, or crusty bread to soak up the delicious sauce. A simple green salad or steamed veggies balance the meal nicely. This combo makes for a comforting, well-rounded dinner that feels like you spent hours cooking.
⏱ Time: 5 minutes
✓ Doneness: Meal plated attractively with sides, sauce glossy and warm
Step 8
If you want to add a little brightness, stir in fresh chopped parsley or a squeeze of lemon juice just before serving. This fresh touch brightens the rich flavors and makes the dish feel lighter and more vibrant. It’s a small step that elevates the meal.
⏱ Time: 2 minutes
✓ Doneness: Fresh herbs visibly mixed in, aroma fresh and inviting
Step 9
Store any leftovers in the fridge for up to 3 days. Reheat gently as before. Freezing in individual portions is great for controlling servings and reducing waste. Plus, it means you can pull out a homemade meal anytime without stress.
⏱ Time: N/A
✓ Doneness: Leftovers remain moist and flavorful after reheating
Pro Tips
Pat the chicken dry before coating with flour.
Drying the chicken ensures the flour sticks evenly and helps achieve a golden crust when browning. Moisture on the surface causes steaming instead of browning, resulting in less flavor development. This step is small but crucial for texture and taste.
Don’t overcrowd the pan when browning chicken.
Crowding lowers the pan temperature and traps steam, preventing proper browning. Browning creates flavor through the Maillard reaction, so giving each piece space ensures a rich, caramelized crust that enhances the dish.
Use low heat and cover during the simmer.
Low heat cooking allows flavors to meld and prevents the chicken from drying out. Covering traps moisture and heat evenly, resulting in tender meat and a thick sauce. High heat can cause toughness and watery sauce.
Cool the meal completely before freezing.
Freezing hot food traps steam, causing ice crystals that damage texture and flavor. Cooling reduces condensation inside containers, preventing freezer burn. This step preserves the fresh taste and texture after thawing.
Thaw overnight in the fridge before reheating.
Slow thawing keeps the chicken tender and ensures even reheating. Microwaving frozen meals can lead to uneven heating, dry spots, and rubbery texture. Gentle stovetop reheating restores moisture and flavor.
Add a splash of broth when reheating if sauce thickens too much.
Sauces tend to thicken and sometimes dry out after freezing. Adding liquid loosens the sauce, restoring a smooth consistency and preventing the chicken from tasting dry.
Label containers with date and contents.
Clear labeling helps you keep track of freshness and avoid eating old meals. It also makes meal planning easier, especially when you have multiple freezer dishes.
Common Mistakes to Avoid
Skipping the browning step.
Why it happens Some cooks think browning is extra work or unnecessary since the dish will simmer anyway.
Fix Don’t skip browning; it develops flavor through the Maillard reaction and seals in juices. Take time to brown chicken in batches without crowding the pan for best results.
Cooking on too high heat during simmer.
Why it happens Impatience or trying to speed up cooking leads to boiling instead of gentle simmering.
Fix Reduce heat to low once simmering starts. A gentle simmer allows flavors to develop and keeps chicken tender rather than tough.
Freezing the meal while still hot.
Why it happens Rushing to store leftovers or forgetting to cool before freezing.
Fix Cool the dish completely at room temperature (no more than 2 hours) before freezing. This prevents ice crystals and preserves texture.
Using chicken breasts instead of thighs.
Why it happens Preference for lean meat or following other recipes blindly.
Fix Use thighs for freezer meals as they’re more forgiving and stay juicy. If using breasts, be extra careful with cooking time to avoid dryness.
Reheating frozen meals in the microwave straight away.
Why it happens Convenience or lack of planning to thaw ahead.
Fix Thaw meals overnight in the fridge and reheat gently on the stove. This prevents uneven heating and dryness.
Variations
Spicy Chipotle Chicken Freezer Meal
Add 1-2 chopped chipotle peppers in adobo sauce during the sauté step and increase smoked paprika to 1.5 tsp for a smoky, spicy twist. This variation adds warmth and a subtle heat that pairs well with the creamy sauce base.
Note: Spicy ingredients can intensify during freezing, so adjust heat level to taste before freezing.
Vegetarian Lentil and Tomato Freezer Stew
Replace chicken with 2 cups cooked lentils and omit flour. Use vegetable broth instead of chicken broth. This hearty stew freezes well and offers a protein-rich vegetarian option with similar comforting flavors.
Note: Lentils don’t require browning, so sauté vegetables longer for flavor depth.
Creamy Coconut Curry Chicken Freezer Meal
Add 1 tbsp curry powder and 1 can coconut milk instead of broth and tomatoes. This creates a creamy, fragrant curry that freezes and reheats beautifully with tender chicken thighs.
Note: Coconut milk can separate when frozen; stir well when reheating.
Italian Herb Chicken and Vegetable Freezer Meal
Use Italian seasoning blend, add chopped zucchini and bell peppers with the carrots and celery. Swap diced tomatoes for crushed tomatoes for a smoother sauce. This variation tastes like a rustic Italian stew perfect with polenta.
Note: Extra vegetables add moisture; reduce broth slightly to balance consistency.
Slow Cooker Make-Ahead Chicken Stew
Prepare all ingredients in a slow cooker insert, brown chicken first, then add veggies and liquids. Cook on low for 6-8 hours before cooling and freezing. This hands-off method yields tender meat and rich flavor with minimal effort.
Note: Slow cooker cooking produces more liquid; reduce broth by half cup to avoid watery sauce.
Nutrition
Per Serving:
Nutritional values are estimates and may vary based on specific ingredients used.
Storage & Tips
Room Temperature
The meal should not be left out at room temperature for more than 2 hours to prevent bacterial growth. Cover it loosely while cooling to avoid condensation build-up.
Refrigerator
Store in an airtight container for up to 3 days. Flavor may deepen but sauce can thicken; reheat gently with a splash of broth or water to loosen it up.
Freezer
Freeze in airtight, freezer-safe containers for up to 3 months. Wrap containers in a layer of foil or place in freezer bags to prevent freezer burn. Thaw overnight in the fridge before reheating.
Reheating
Reheat thawed portions on the stovetop over medium heat, stirring occasionally. Add a little broth or water if the sauce is too thick. Avoid microwaving from frozen to prevent uneven heating and dryness.
Make Ahead
Prepare the entire dish up to the cooling step 1-2 days ahead. Cool completely, then freeze in portions. On the day of serving, thaw overnight and reheat gently. This saves time on busy nights while preserving flavor.
FAQ
Can I use chicken breasts instead of thighs in this freezer meal?
You can substitute chicken breasts, but they tend to dry out more easily, especially after freezing and reheating. To keep them tender, avoid overcooking and consider adding a bit more broth or sauce. Thighs are preferred because their higher fat content keeps the meat juicy and flavorful through freezing.
How long can I freeze this meal without losing quality?
For best flavor and texture, consume within 3 months. While it’s safe to freeze longer, freezer burn and texture degradation can occur over time. Label containers with dates to keep track and enjoy your meals at their freshest.
Can I freeze this meal without cooking it first?
It’s better to brown the chicken and sauté the vegetables before freezing. This develops flavor and improves texture. Freezing raw ingredients together can result in a watery sauce and less depth of flavor after cooking.
What’s the best way to reheat frozen portions?
Thaw overnight in the fridge, then reheat gently on the stovetop over medium heat, stirring occasionally. Adding a splash of broth or water helps restore sauce consistency. Avoid microwaving from frozen to prevent uneven heating and dryness.
Can I add other vegetables to this recipe?
Absolutely! Vegetables like bell peppers, zucchini, or green beans work well. Just be mindful that extra vegetables add moisture, so you might want to reduce broth slightly to keep the sauce from becoming too thin.
Is this recipe freezer burn resistant?
If stored properly in airtight containers with minimal air exposure, freezer burn is unlikely within 3 months. Wrapping containers in foil or using vacuum-sealed bags adds extra protection and helps maintain texture and flavor.
Can I double the recipe for larger batches?
Yes, doubling works great. Just brown the chicken in batches to avoid overcrowding and adjust cooking times slightly if your pot is very full. Portion into multiple containers for easier thawing and reheating.
What if the sauce is too thick after reheating?
Simply stir in a little chicken broth, water, or even a splash of cream to loosen the sauce. Heat gently while stirring until you reach your desired consistency.
Can I make this recipe gluten-free?
Yes, substitute the all-purpose flour with a gluten-free flour blend or cornstarch for coating the chicken. Be aware that the thickening might be slightly different, so adjust quantities as needed.
How do I prevent the chicken from drying out during reheating?
Thaw the meal completely before reheating and heat gently over medium-low heat. Adding a bit of liquid helps maintain moisture. Avoid high heat or microwaving frozen portions directly, which can cause dryness and uneven cooking.
Final Thoughts
Give these make-ahead freezer meals a try—you’ll love how they simplify busy weeks without compromising on homemade flavor. Don’t forget to share how yours turn out!