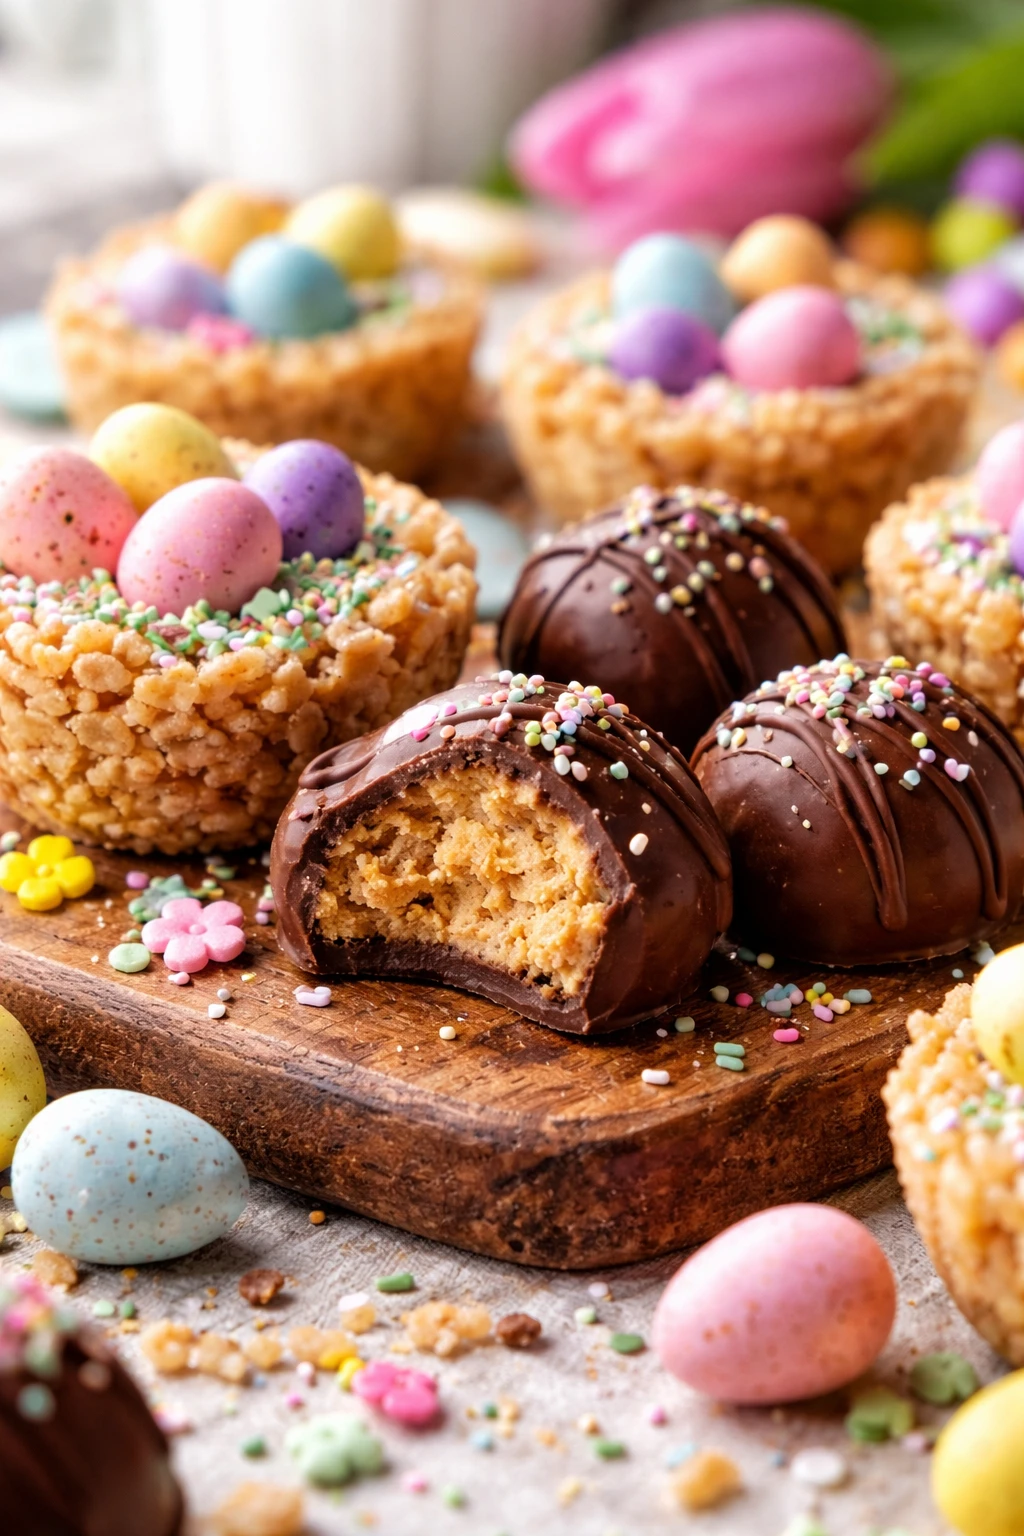
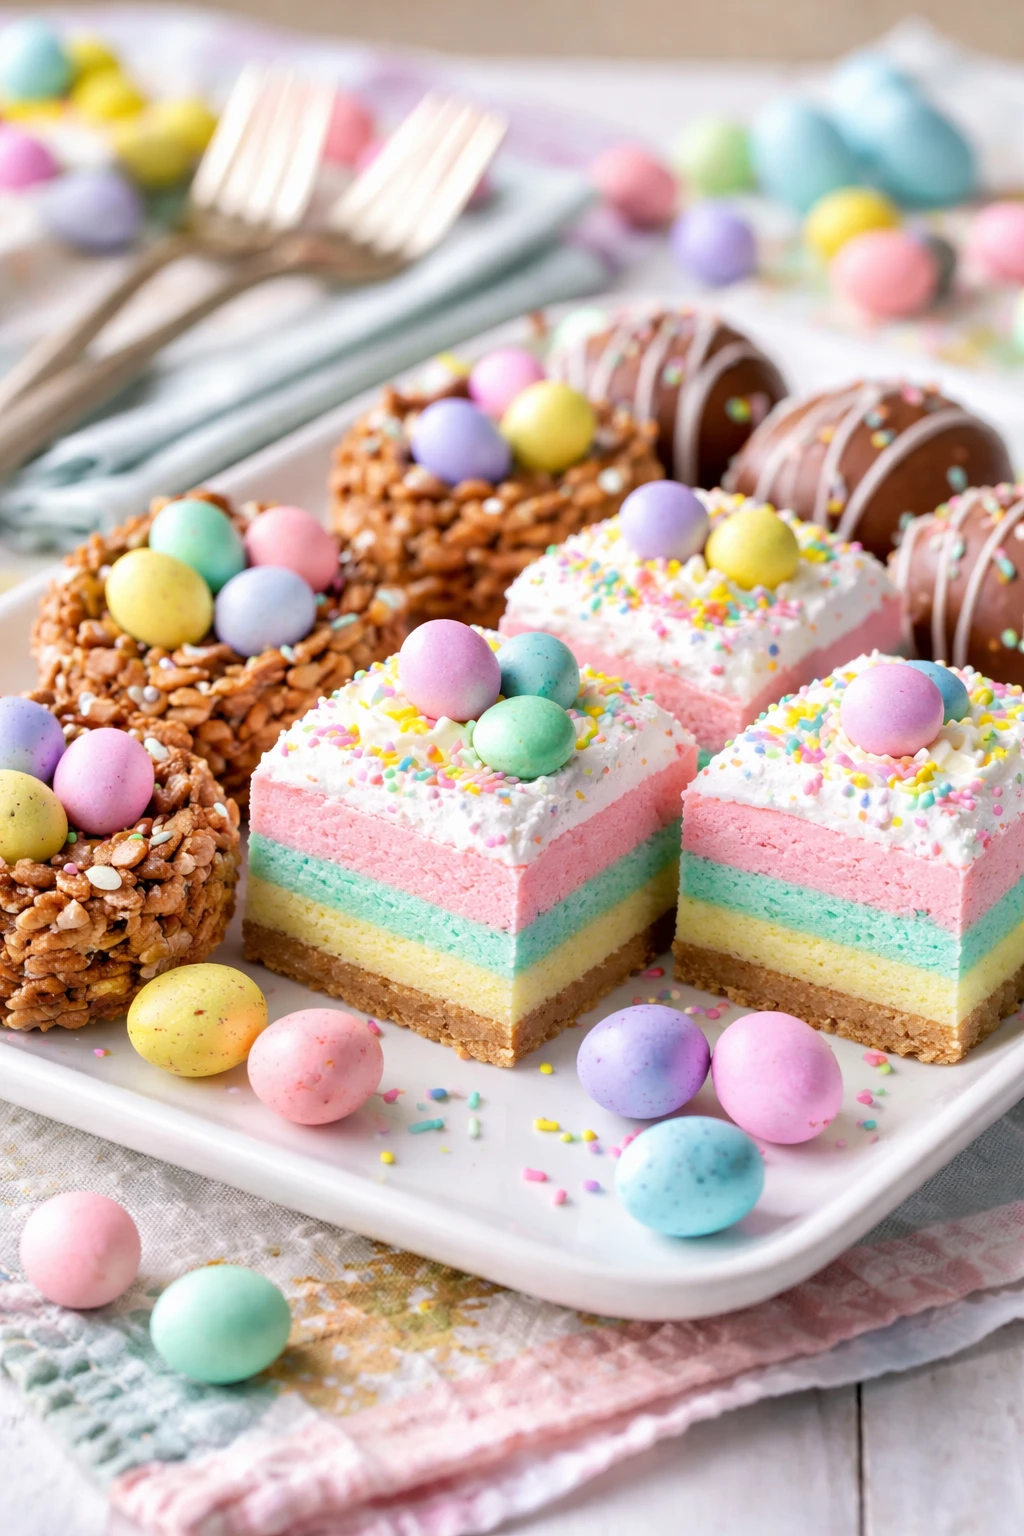
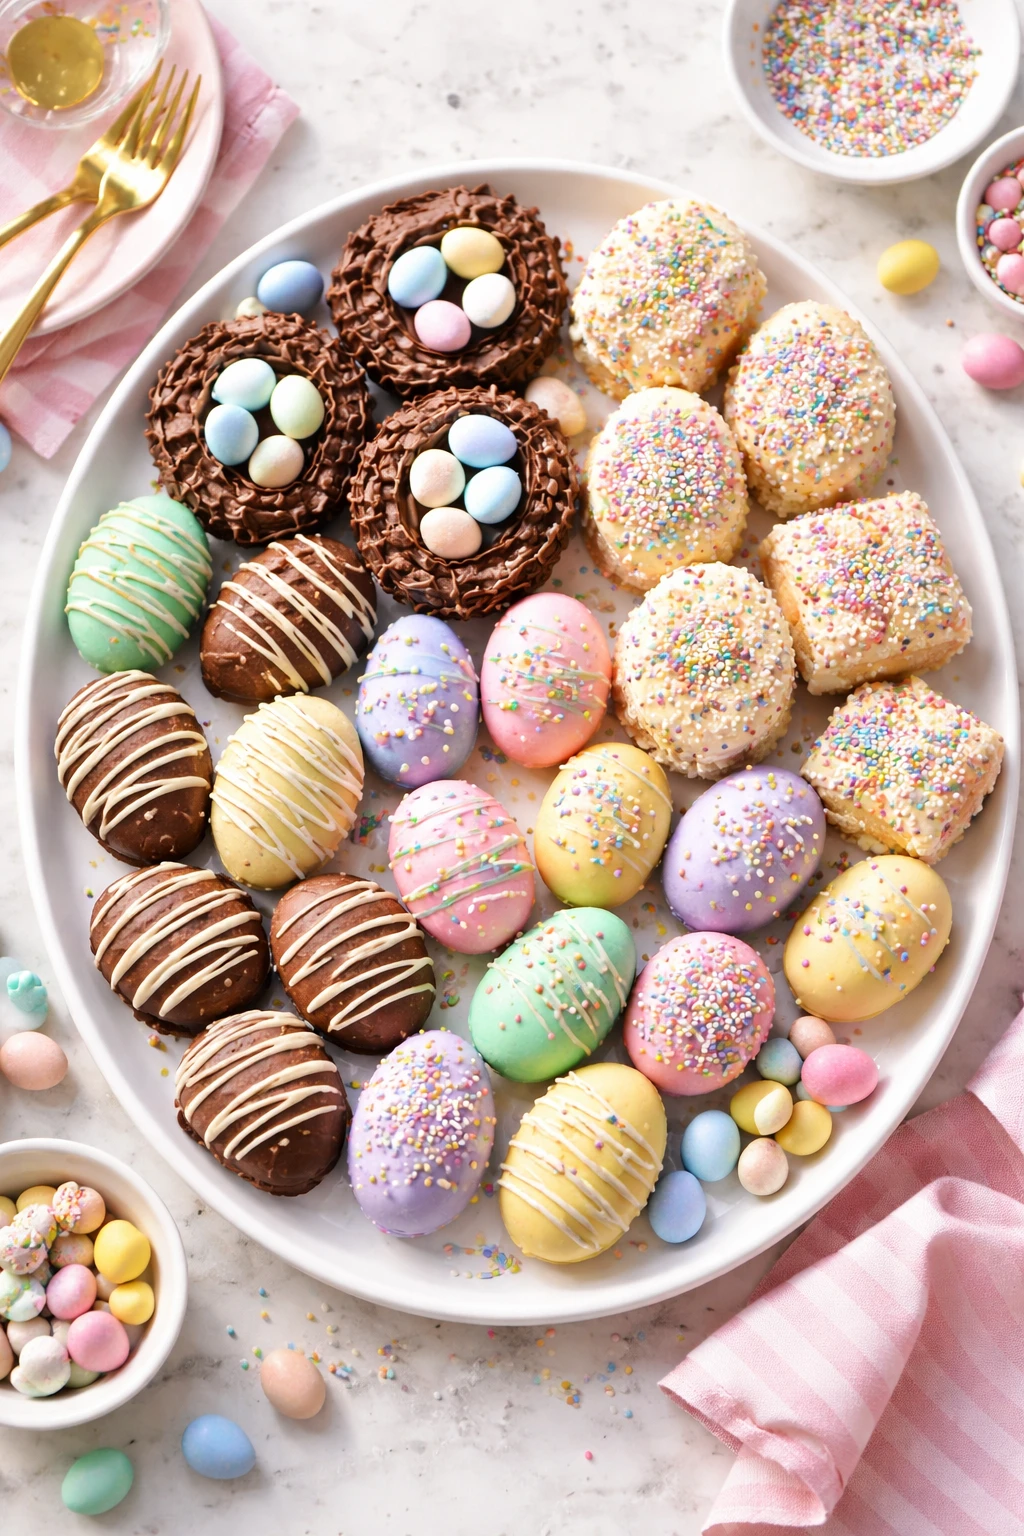
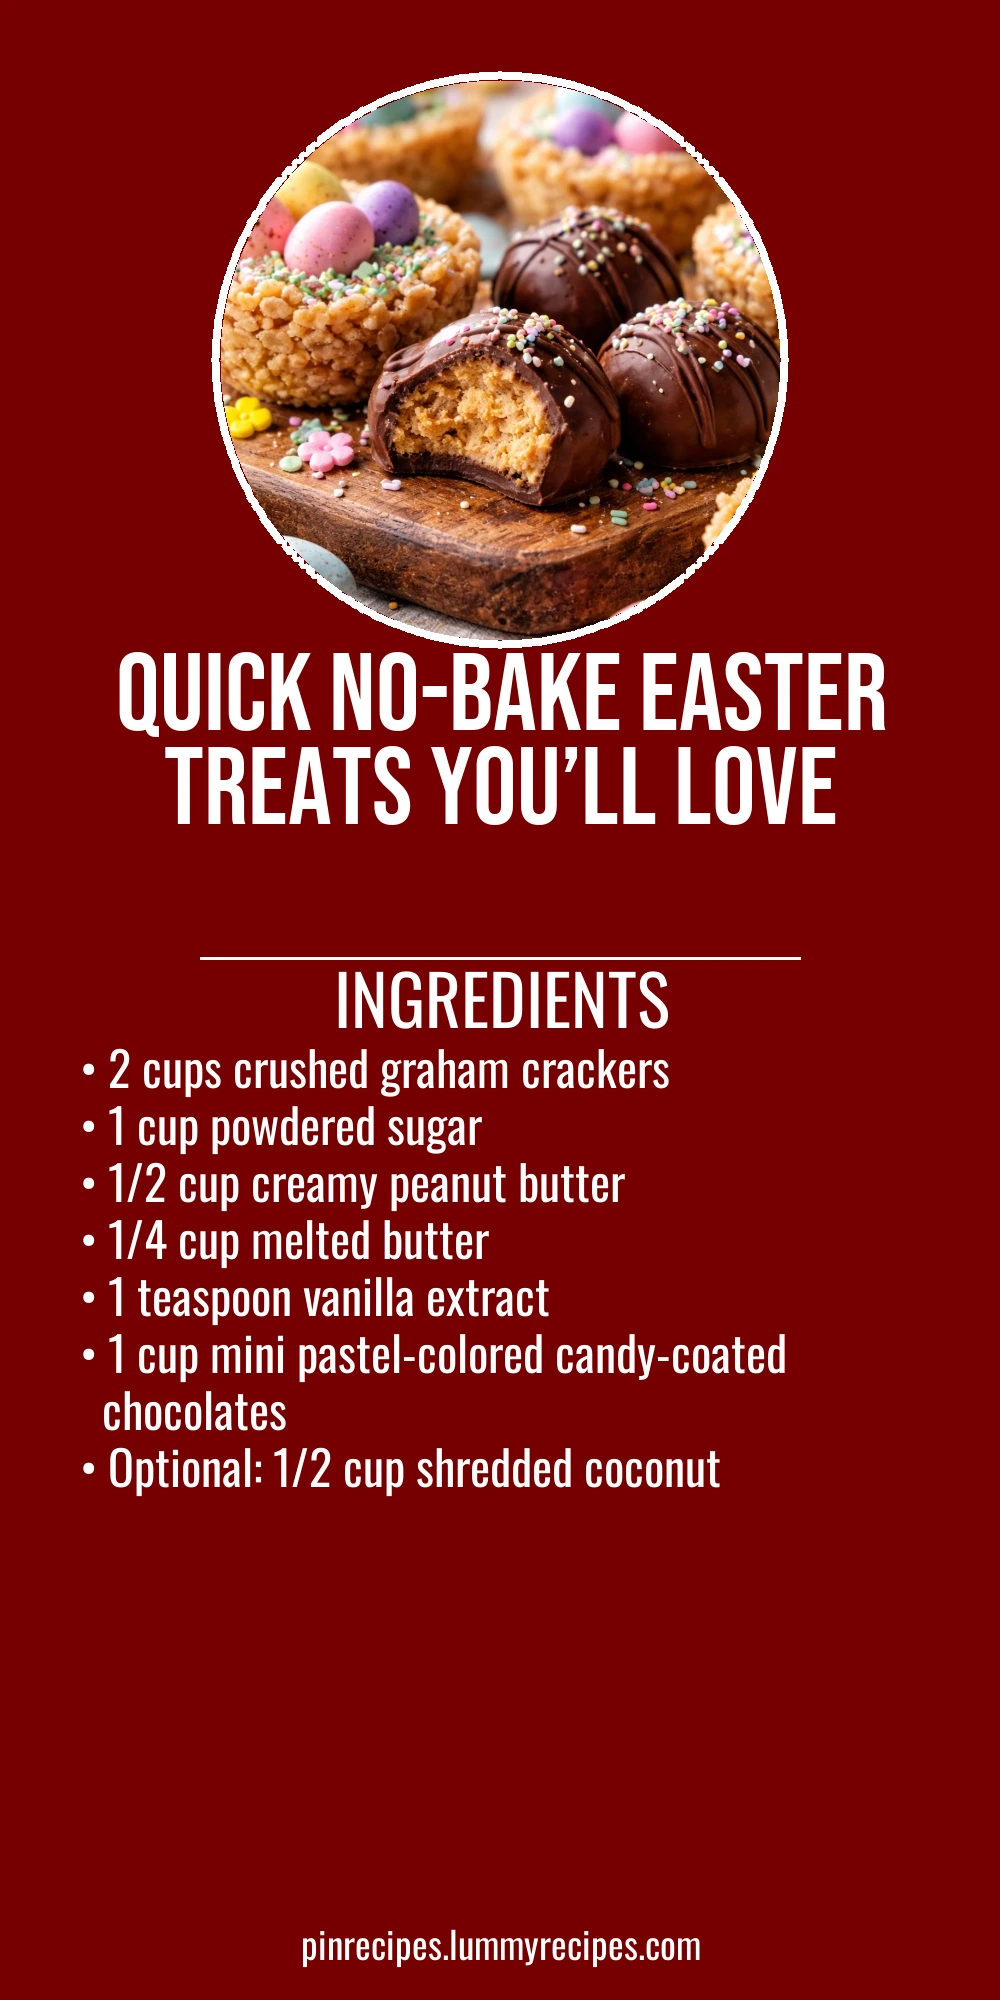
These no-bake Easter sweets come together in just minutes, making them perfect for last-minute holiday fun. Using simple ingredients and a fun mix-in, they’re great for sharing or gifting during spring celebrations.
Introduction
I first stumbled upon no-bake sweets during a busy Easter weekend a few years ago when I realized I forgot to bake anything for the family gathering. These little treats saved the day! What makes them so great is how quickly they come together without sacrificing flavor. I love how the peanut butter adds a rich creaminess that balances the sweet crunch of the graham crackers. Plus, the mini pastel candies give them that perfect festive pop of color. The trick I learned is to chill the mixture long enough so they firm up but still stay soft and chewy. They’re light, sweet, and just the right size for sharing or popping in an Easter basket. Honestly, they’ve become my go-to when I want a fuss-free, crowd-pleasing dessert that doesn’t heat up the kitchen or require fancy ingredients. You’ll end up with these cute, colorful bites that taste like spring in every mouthful!
What You'll Need
Approximately 24 small sweets, 8 servings
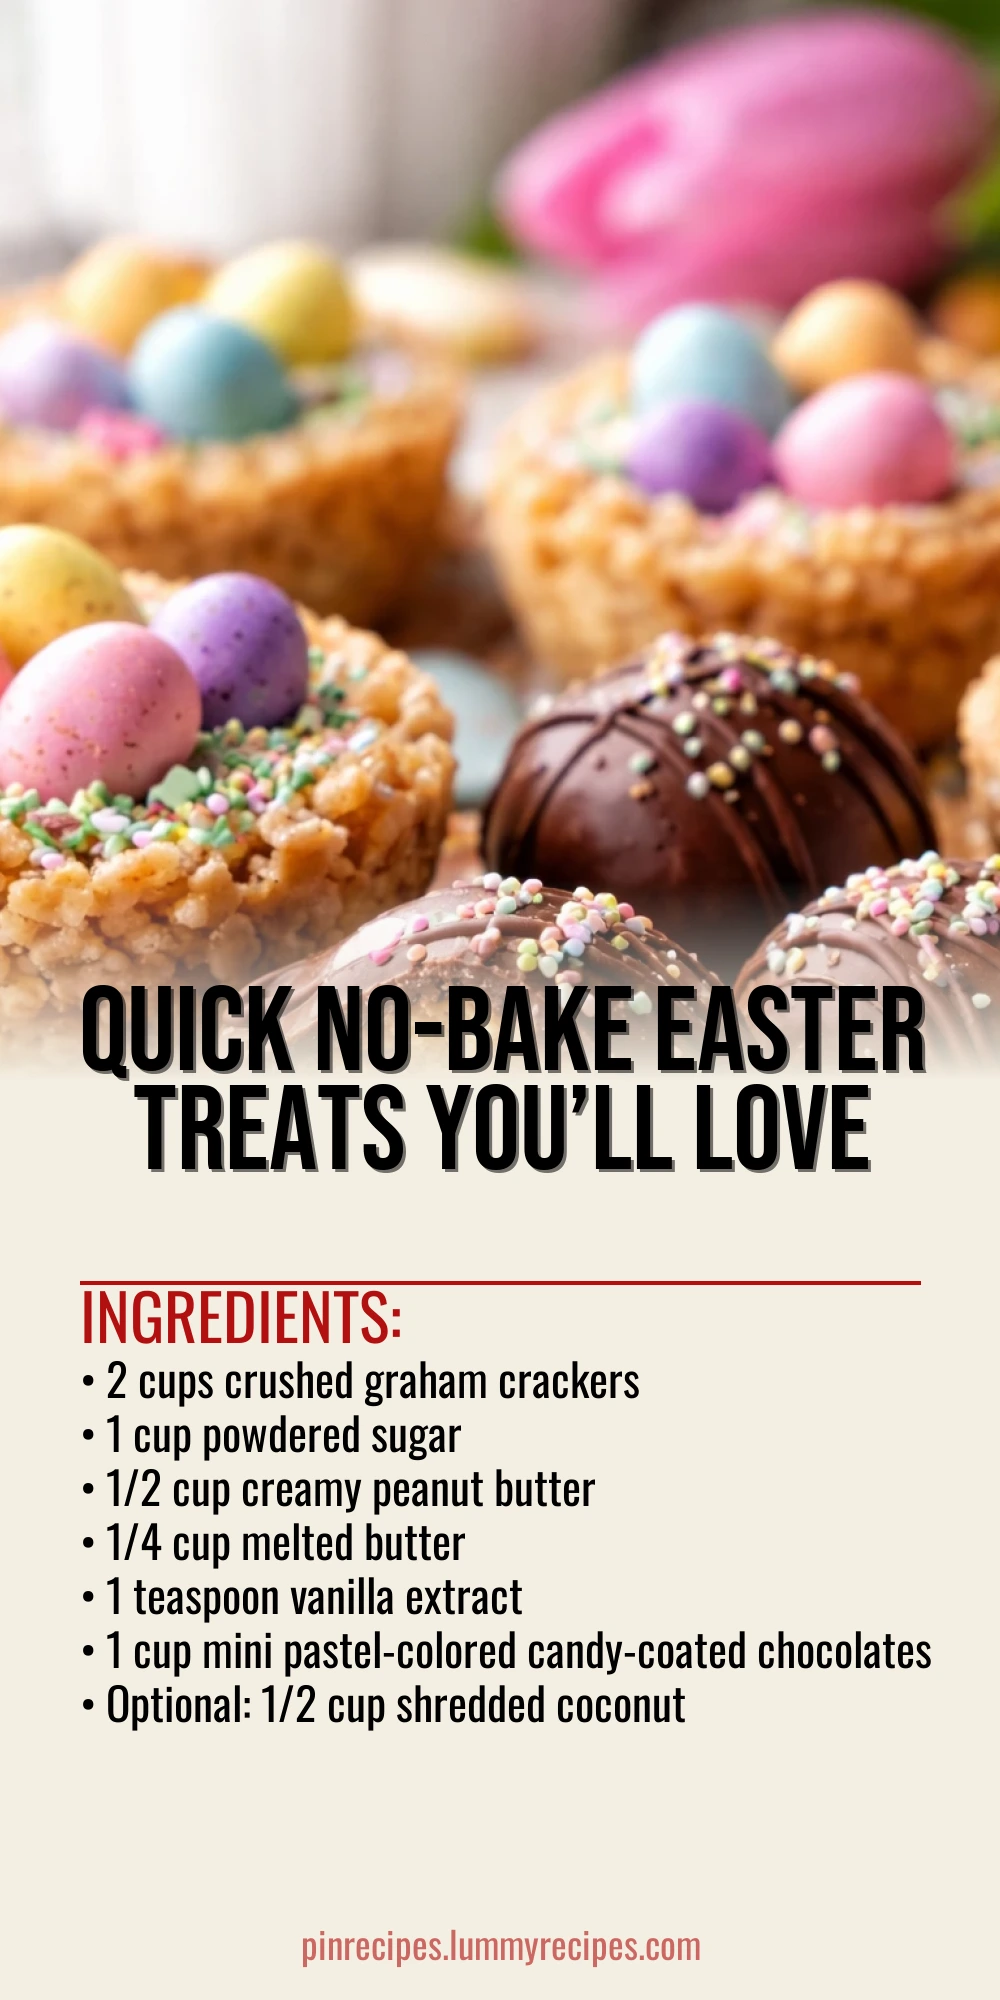
- 2 cups crushed graham crackers
- 1 cup powdered sugar
- 1/2 cup creamy peanut butter
- 1/4 cup melted butter
- 1 teaspoon vanilla extract
- 1 cup mini pastel-colored candy-coated chocolates
- Optional: 1/2 cup shredded coconut
How To Do It
Step 1
Start by crushing your graham crackers finely but not into powder—some small chunks add nice texture. You can do this by placing them in a zip-top bag and gently pounding with a rolling pin. This step is important because it creates the base that holds everything together and gives the sweets their crunch without being gritty.
⏱ Time: 5 minutes
✓ Doneness: You’ll see a crumbly mixture with some small pieces, not a uniform powder.
Step 2
In a large bowl, combine the crushed graham crackers with powdered sugar. Mixing these dry ingredients first ensures the sweetness is evenly distributed throughout the sweets, so every bite tastes balanced.
⏱ Time: 2 minutes
✓ Doneness: The dry mix should look evenly blended with no clumps.
Step 3
Add the creamy peanut butter, melted butter, and vanilla extract to the dry ingredients. Stir everything together with a spatula or your hands until you get a sticky, dough-like mixture. The melted butter helps bind the ingredients while the peanut butter adds richness and moisture.
⏱ Time: 5 minutes
✓ Doneness: The mixture should hold together when pressed but still be slightly soft.
Step 4
Fold in the mini pastel candy-coated chocolates gently. Be careful not to overmix or crush the candies, as they add both color and a sweet crunch that makes these treats festive and fun.
⏱ Time: 2 minutes
✓ Doneness: Candies are evenly distributed without melting or breaking.
Step 5
Optional: Add shredded coconut for a subtle tropical twist and extra texture. This step is great if you want to add a bit more complexity to the flavor without changing the core recipe.
⏱ Time: 1 minute
✓ Doneness: Coconut is mixed in evenly, no clumps.
Step 6
Using your hands or a small cookie scoop, form the mixture into bite-sized balls or small logs. Firmly pressing them helps the sweets hold their shape once chilled. If the mixture is too sticky, refrigerate it for 10 minutes before shaping.
⏱ Time: 10 minutes
✓ Doneness: Sweets hold shape without crumbling.
Step 7
Place the shaped sweets on a parchment-lined tray or plate. Make sure they don’t touch each other to prevent sticking. This setup helps them chill evenly and makes clean-up easier.
⏱ Time: 2 minutes
✓ Doneness: Sweets are spaced apart on the tray.
Step 8
Chill the sweets in the fridge for at least 30 minutes to firm up. This step is crucial because it allows the butter and peanut butter to solidify, giving the treats a nice, chewy texture that’s easy to bite into.
⏱ Time: 30 minutes
✓ Doneness: Sweets feel firm but not hard when touched.
Step 9
Once chilled, serve immediately or store in an airtight container. These sweets are perfect for Easter baskets, potlucks, or just a quick homemade treat. They keep well and taste best when slightly chilled.
⏱ Time: N/A
✓ Doneness: Ready to eat, colorful, and firm sweets.
Pro Tips
Chill the mixture before shaping if it feels too sticky.
Allowing the mixture to chill firms up the fats, making it easier to handle and shape without sticking to your hands. If you skip this, the sweets can be messy and fall apart when forming.
Use a cookie scoop for uniform-sized sweets.
A scoop ensures consistent portions that chill evenly and look professional. Uneven sizes may result in some sweets being too soft or too firm.
Don’t overmix after adding the candies.
Overmixing can crush the candy coatings, causing color bleed and a less appealing appearance. Gentle folding preserves their texture and vibrant look.
Line your tray with parchment paper for easy cleanup.
The sweets can stick to bare trays, making removal tricky. Parchment paper prevents sticking and keeps the bottoms smooth and intact.
Store sweets in a single layer to prevent sticking.
Stacking can cause sweets to stick together and lose their shape. A single layer with parchment sheets between layers preserves their appearance.
Use fresh graham crackers for best texture.
Stale crackers absorb moisture poorly and can taste flat, resulting in less crunchy sweets. Fresh crackers keep the texture crisp and flavorful.
Add shredded coconut for extra texture and flavor.
Coconut adds a subtle chewiness and tropical note that complements the peanut butter and candy. It also adds visual interest without overpowering the sweets.
Common Mistakes to Avoid
Not chilling the mixture enough before shaping.
Why it happens Many assume no-bake means instant shaping, but the mixture needs time to firm up. Rushing leads to sticky, crumbly sweets.
Fix Place the mixture in the fridge for at least 15-20 minutes if it’s too soft. This firms up the fats and makes shaping much easier and cleaner.
Overmixing after adding candies.
Why it happens In excitement, it’s easy to stir vigorously, but this crushes candies and causes color bleed.
Fix Gently fold the candies in with a spatula just until evenly distributed to keep their shape and color intact.
Using granulated sugar instead of powdered sugar.
Why it happens Some may substitute without knowing the texture difference, resulting in grainy sweets.
Fix Always use powdered sugar for smooth blending and sweetness without grit.
Not pressing the mixture firmly when shaping.
Why it happens Loose shaping causes sweets to fall apart after chilling.
Fix Press the mixture firmly into balls or logs using your hands or a scoop to ensure they hold together well.
Storing sweets without airtight protection.
Why it happens Leaving sweets exposed causes them to dry out or absorb fridge odors.
Fix Store in airtight containers or wrap tightly with plastic wrap to maintain freshness and texture.
Variations
Chocolate Lover’s No-Bake Sweets
Add 1/4 cup cocoa powder to the dry ingredients and swap mini candies for mini chocolate chips. This gives a rich chocolate flavor that pairs beautifully with peanut butter.
Note: Mix cocoa powder thoroughly with dry ingredients to avoid clumps; chilling time remains the same.
Nut-Free No-Bake Easter Bites
Replace peanut butter with sunflower seed butter for a nut-free version. Use allergy-friendly candies to keep it safe for everyone.
Note: Sunflower seed butter has a thinner consistency, so chill the mixture longer before shaping.
Coconut and White Chocolate No-Bake Sweets
Fold in 1/2 cup shredded coconut and white chocolate chips instead of candy-coated chocolates for a tropical twist with creamy bites.
Note: White chocolate chips melt easier, so fold gently and chill promptly.
Vegan No-Bake Easter Treats
Use vegan butter and maple syrup instead of butter and powdered sugar. Swap candies for vegan-friendly versions to keep it plant-based and delicious.
Note: Maple syrup adds moisture; reduce butter slightly and chill mixture longer for firmness.
Oatmeal No-Bake Easter Sweets
Add 1 cup quick oats to the dry mix for a heartier texture. This adds chewiness and a wholesome flavor that pairs well with peanut butter.
Note: Oats absorb moisture; adjust butter slightly or chill longer to maintain shape.
Nutrition
Per Serving:
Nutritional values are estimates and may vary based on specific ingredients used.
Storage & Tips
Room Temperature
These sweets can safely sit out at room temperature for up to 4 hours if covered to protect from dust and insects. Beyond that, they may soften and lose shape.
Refrigerator
Store in an airtight container in the fridge for up to 5 days. The sweets stay firm and chewy chilled but can become a bit harder if left too long. Best served slightly chilled or at room temperature.
Freezer
Freeze in a single layer on a tray, then transfer to a freezer-safe container or bag for up to 2 months. Thaw in the fridge overnight before serving. Texture remains good but may soften slightly.
Reheating
No reheating needed. If desired, let sweets sit at room temperature for 10 minutes before serving to soften slightly. Avoid microwaving, as it can melt the candies and change texture.
Make Ahead
You can prepare the mixture and shape the sweets 1-2 days ahead, then chill until ready to serve. This makes last-minute entertaining stress-free and keeps the treats fresh and firm.
FAQ
Can I substitute peanut butter with almond butter?
Yes, almond butter works well as a substitute and adds a slightly different nutty flavor. Make sure to use creamy almond butter for the best texture. The mixture may be a bit softer, so chill it longer before shaping.
What if my sweets are too crumbly and don’t hold together?
This usually means the mixture is too dry or not pressed firmly enough. Add a teaspoon of melted butter or peanut butter and mix again. Also, chilling the mixture before shaping helps it bind better.
Can I use gluten-free graham crackers?
Absolutely! Gluten-free graham crackers work just as well. Just ensure they’re finely crushed and fresh for the best texture.
How long do these sweets keep in the fridge?
Stored in an airtight container, they keep well for up to 5 days. They may firm up more over time but remain tasty. Let them come to room temperature before serving for the best texture.
Can I make these sweets without candy-coated chocolates?
Yes, you can swap them for chocolate chips, dried fruit, or nuts. Just fold them in gently to maintain texture and adjust sweetness accordingly.
Is it okay to use crunchy peanut butter?
You can, but it will add extra texture from the peanut bits. If you prefer a smoother bite, stick to creamy peanut butter.
Can I double the recipe?
Definitely! Just double all ingredients and mix in a larger bowl. Chilling time may increase slightly due to the larger batch.
What’s the best way to crush graham crackers quickly?
Place them in a sealed plastic bag and use a rolling pin or heavy pan to crush. You can also pulse in a food processor, but don’t overdo it—you want some small chunks for texture.
Final Thoughts
Give these no-bake Easter sweets a try—they’re quick, colorful, and so satisfying! I’d love to hear how yours turn out or any fun variations you create.