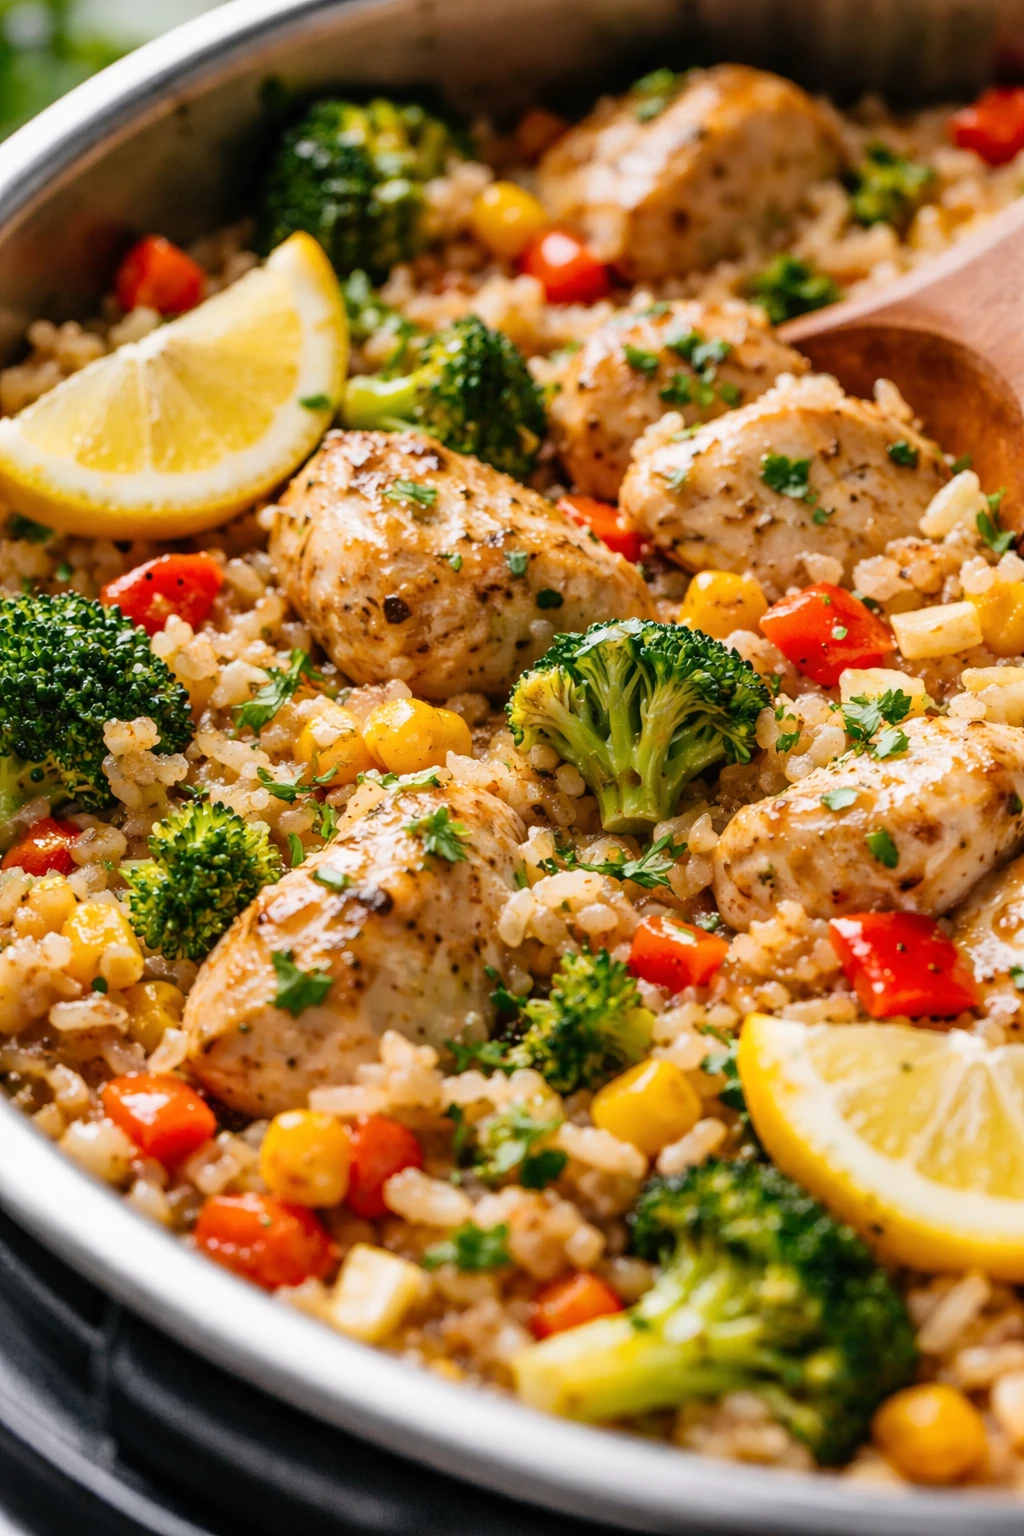
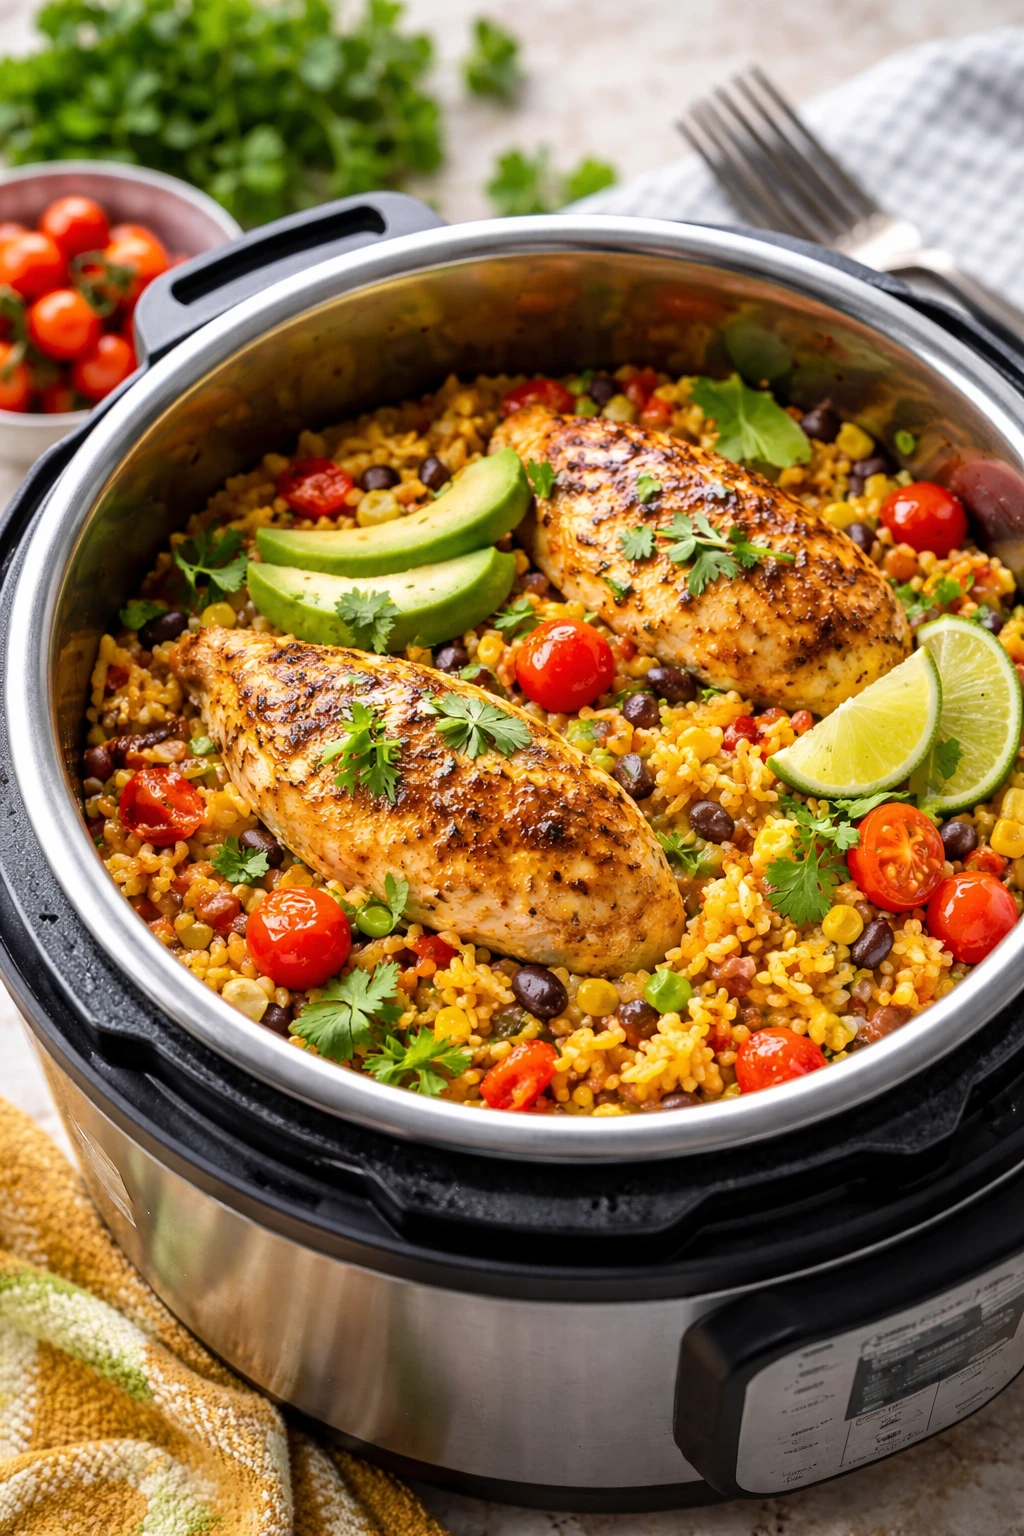
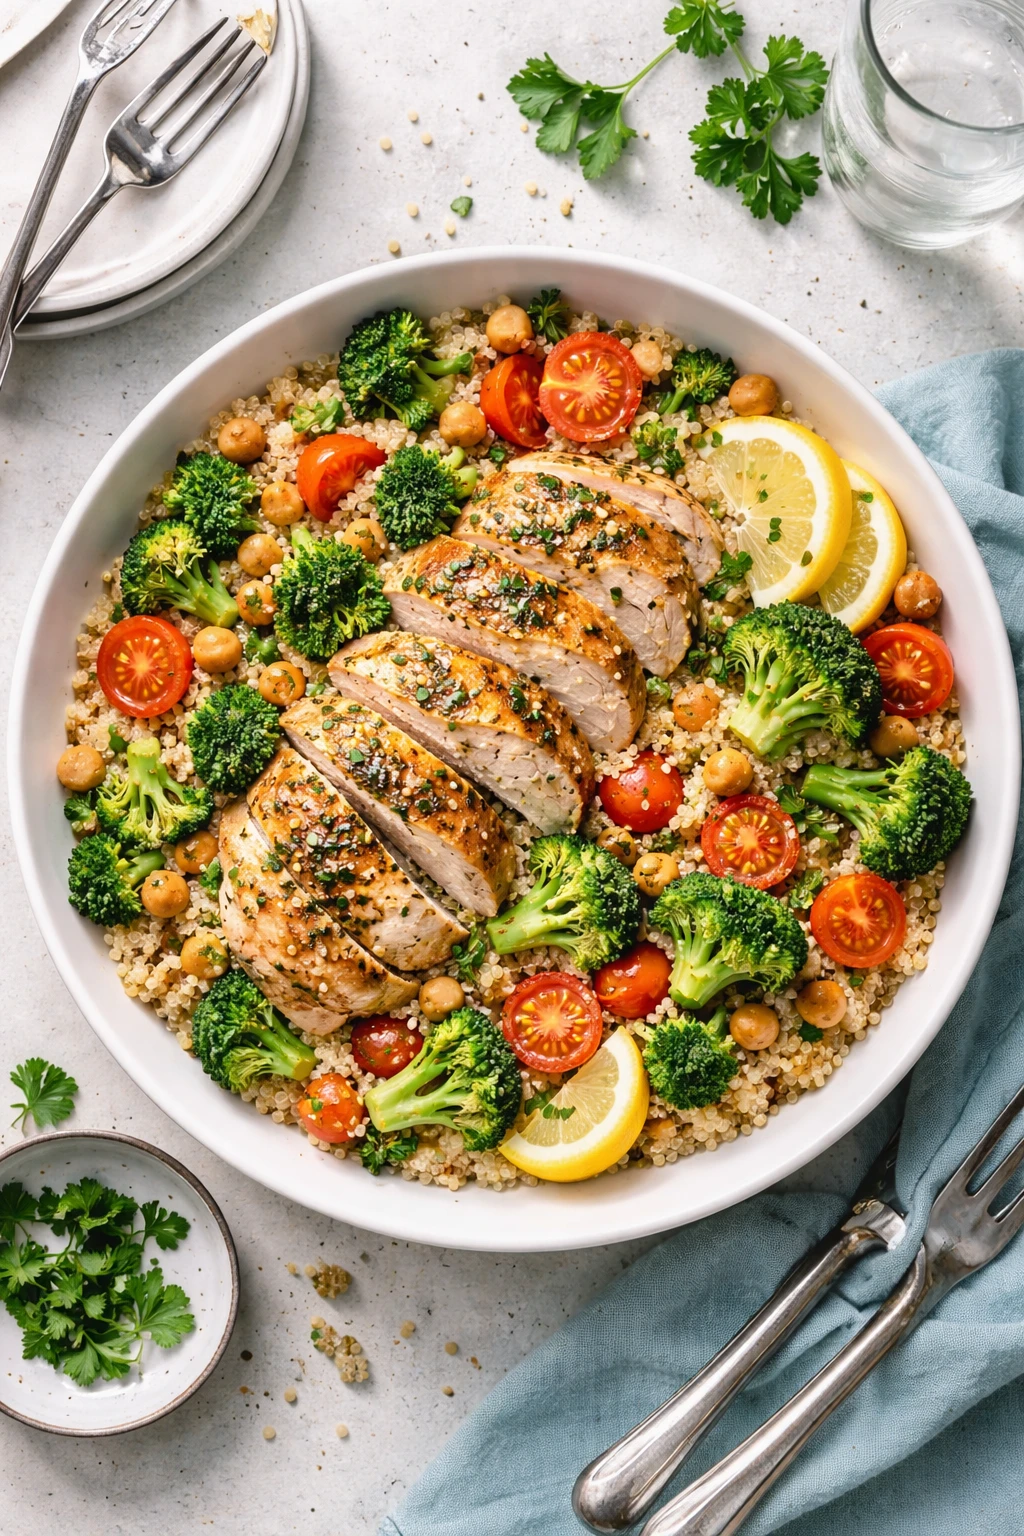
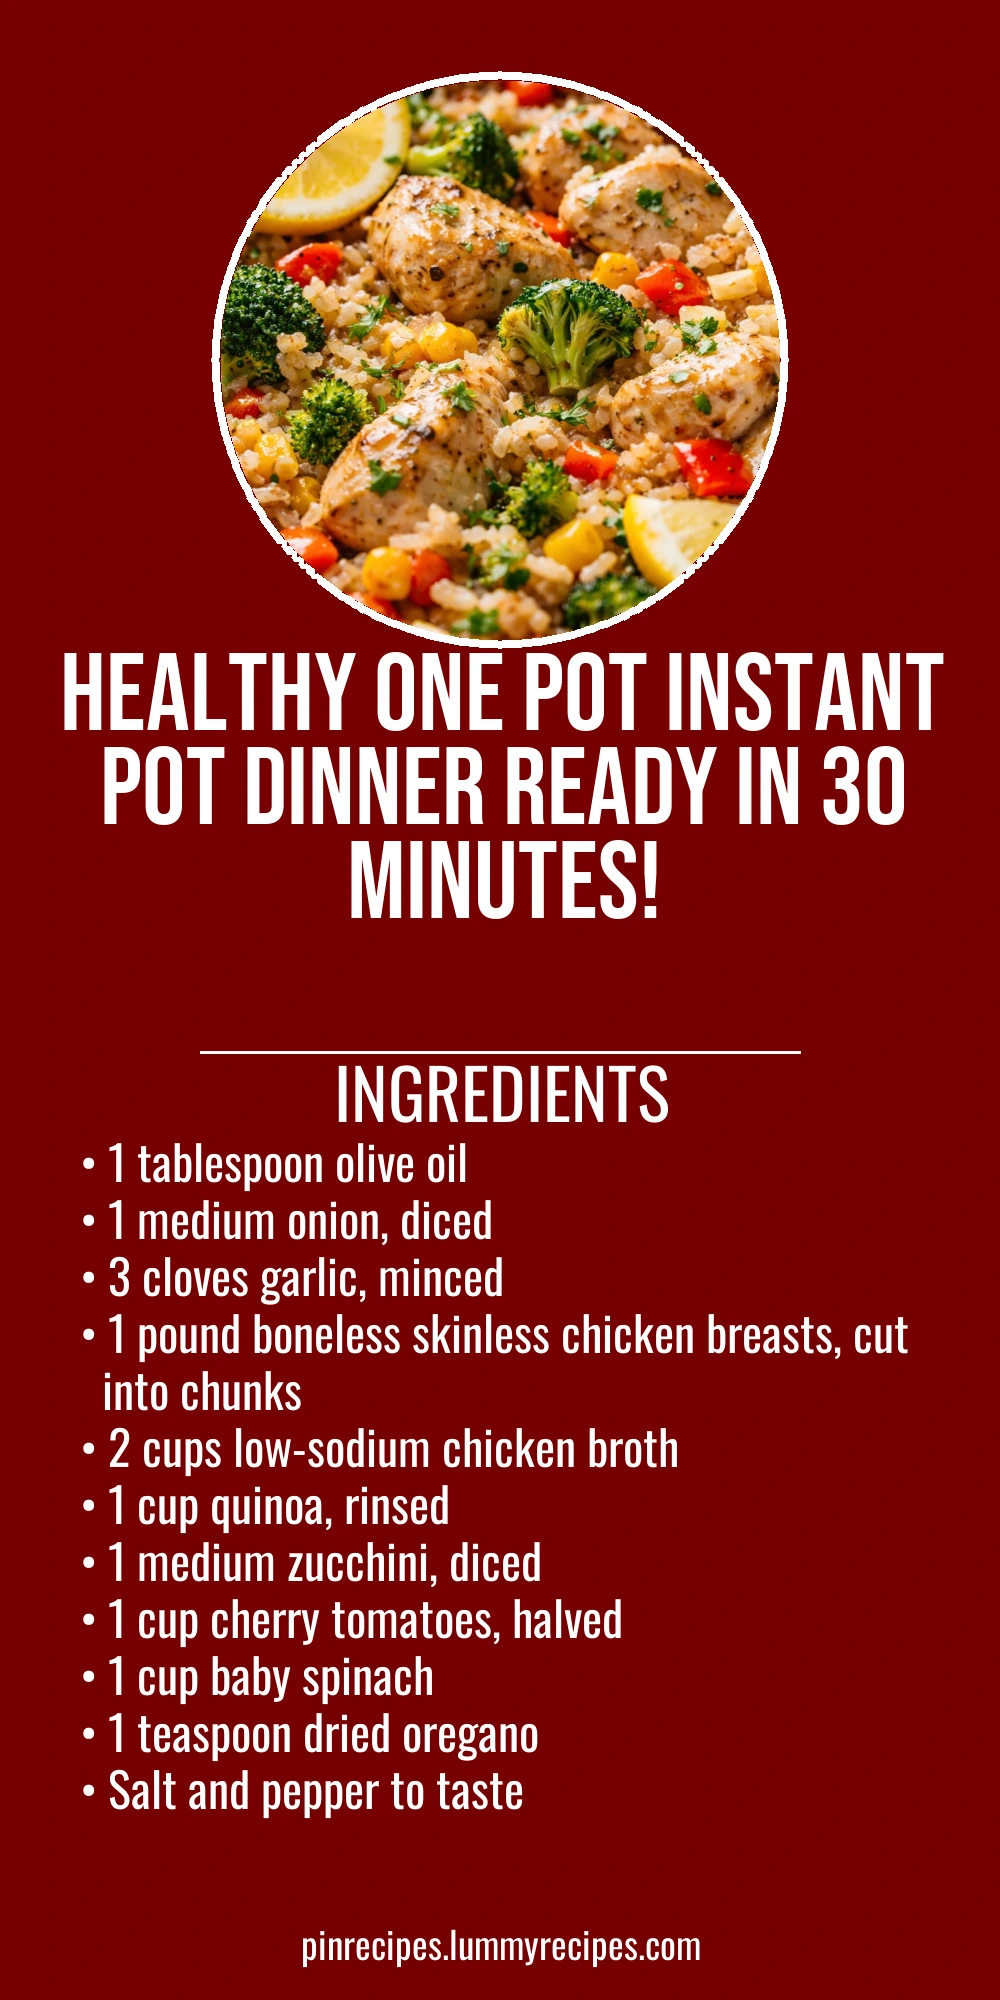
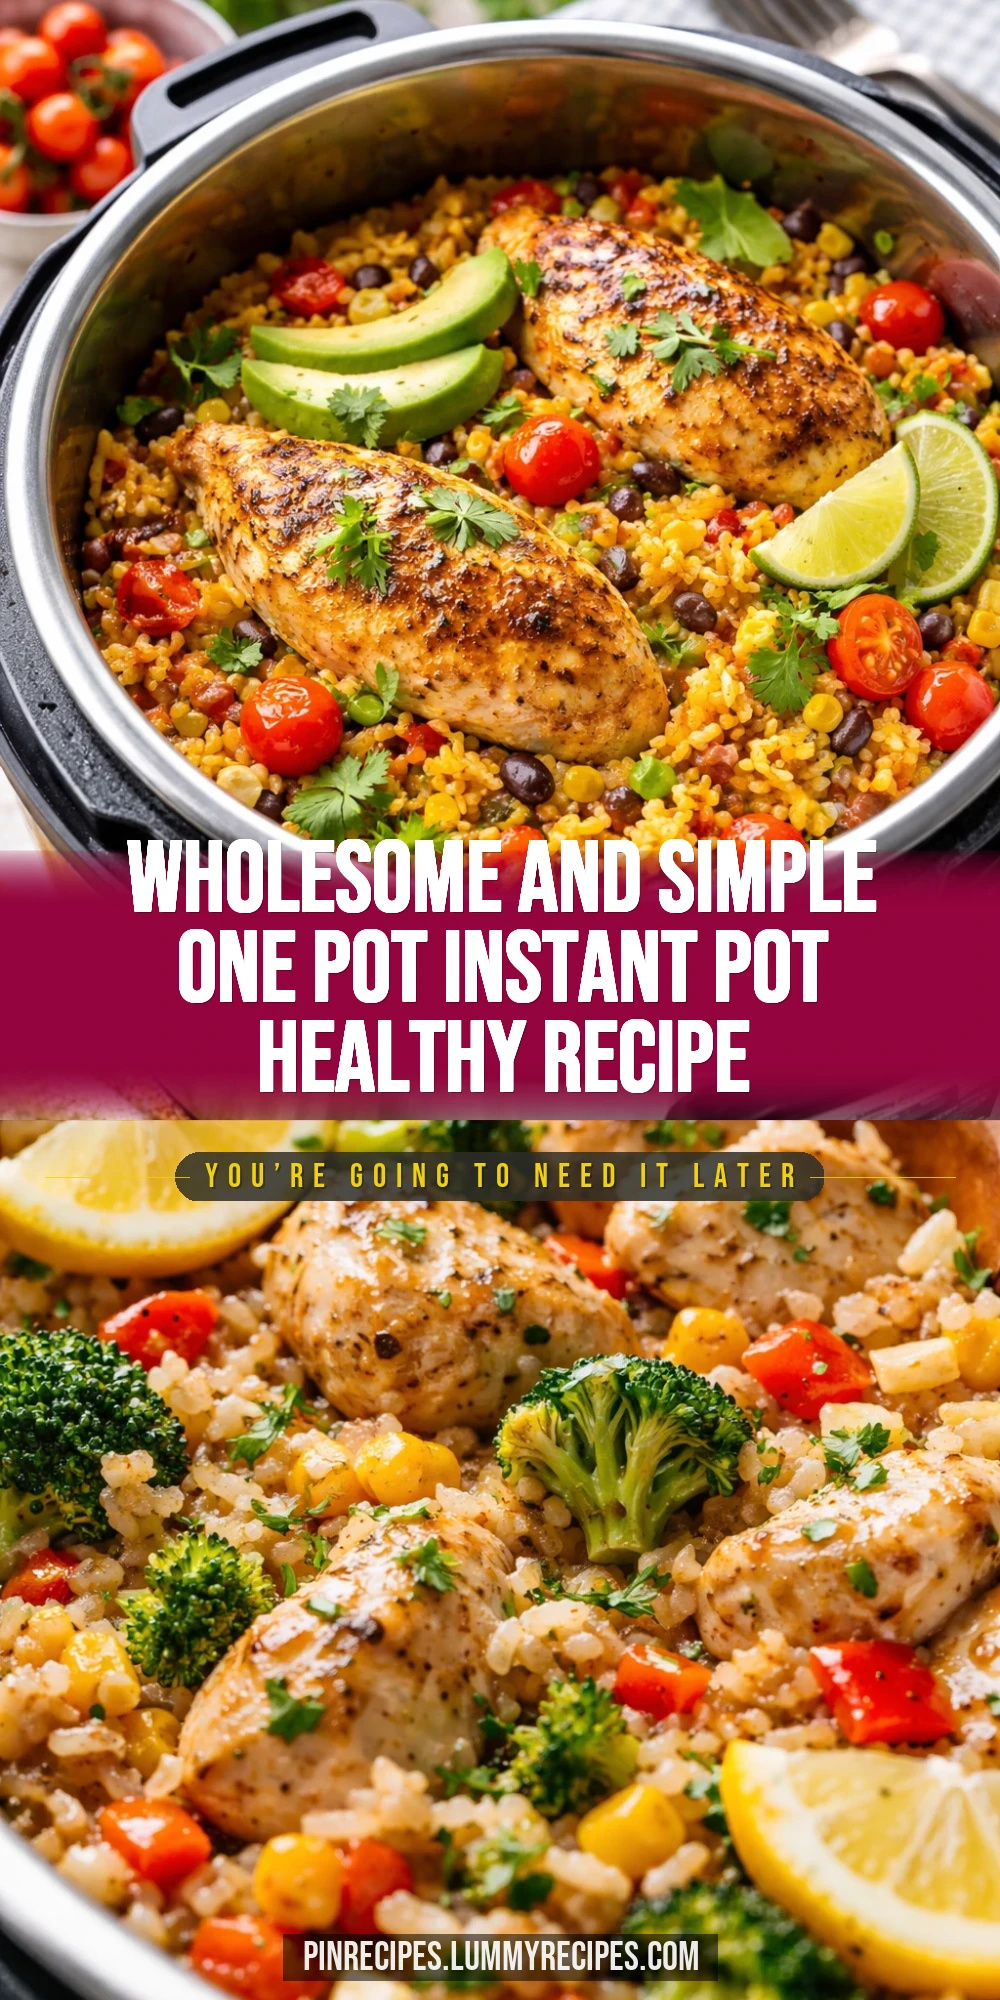
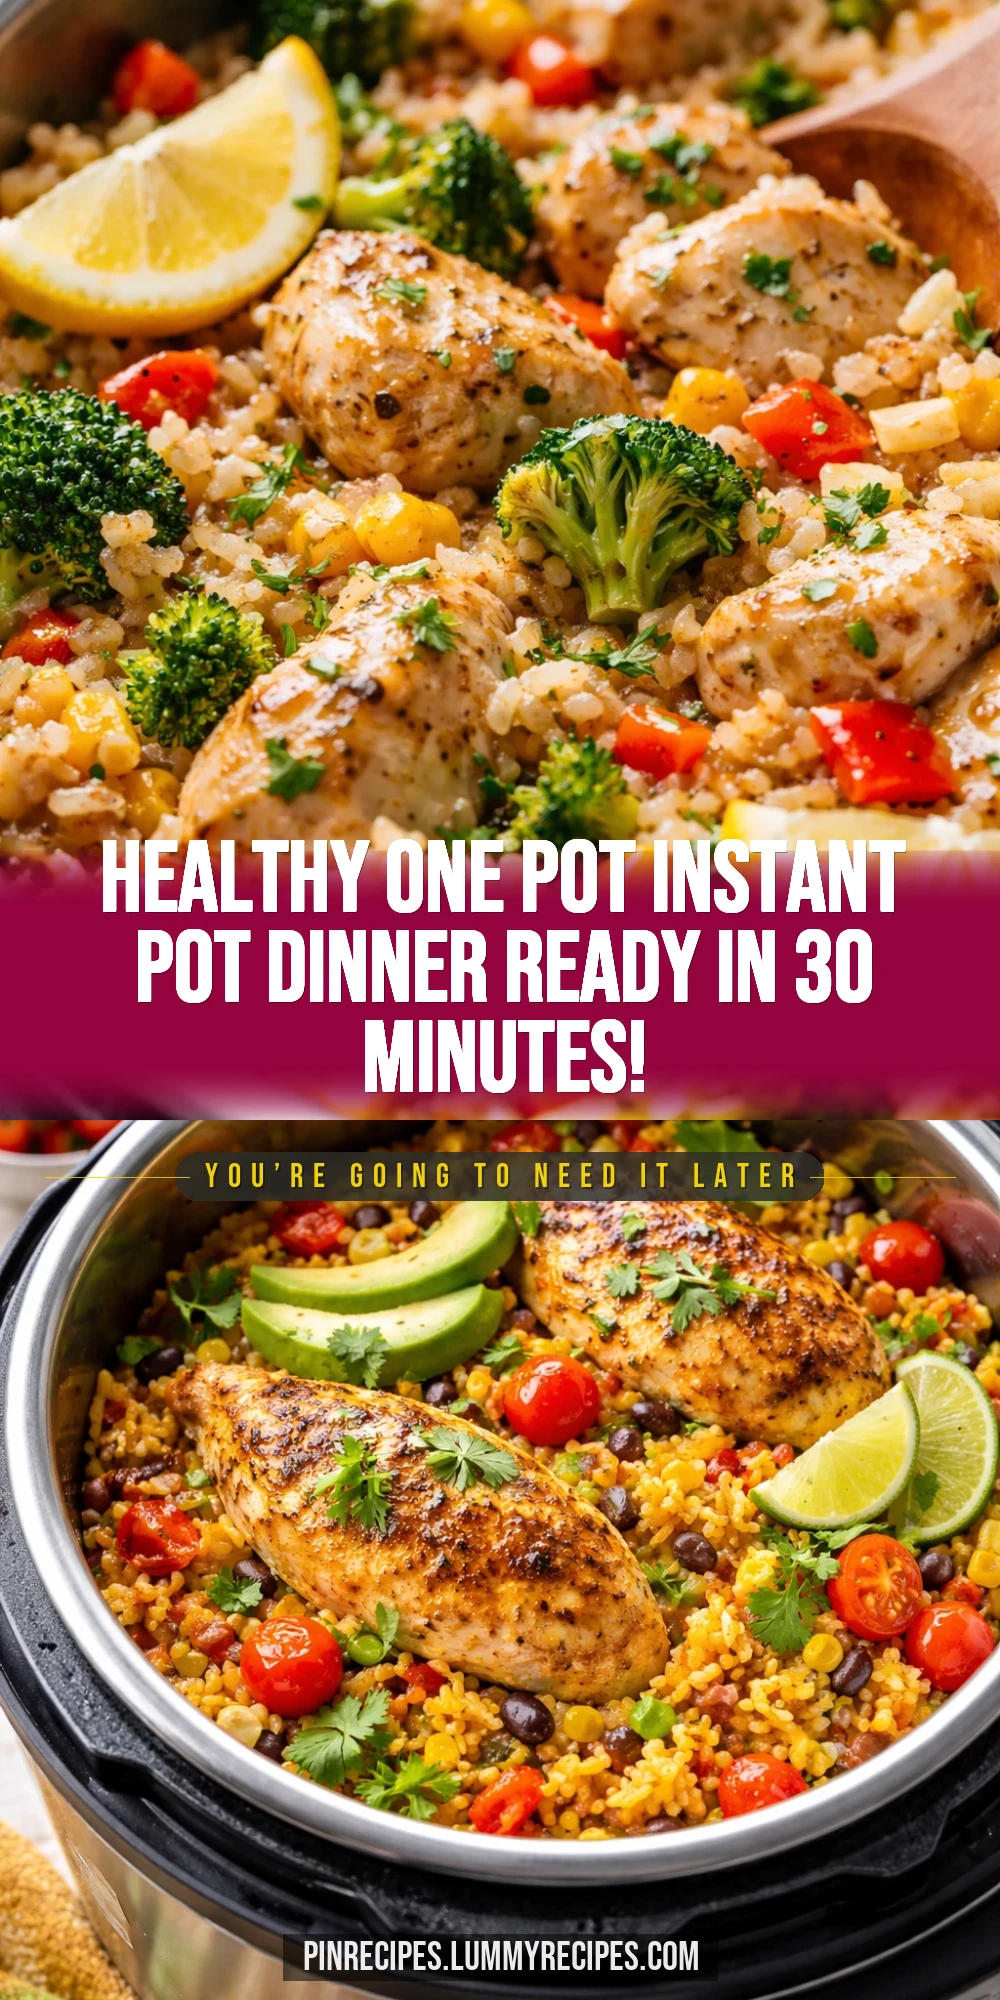
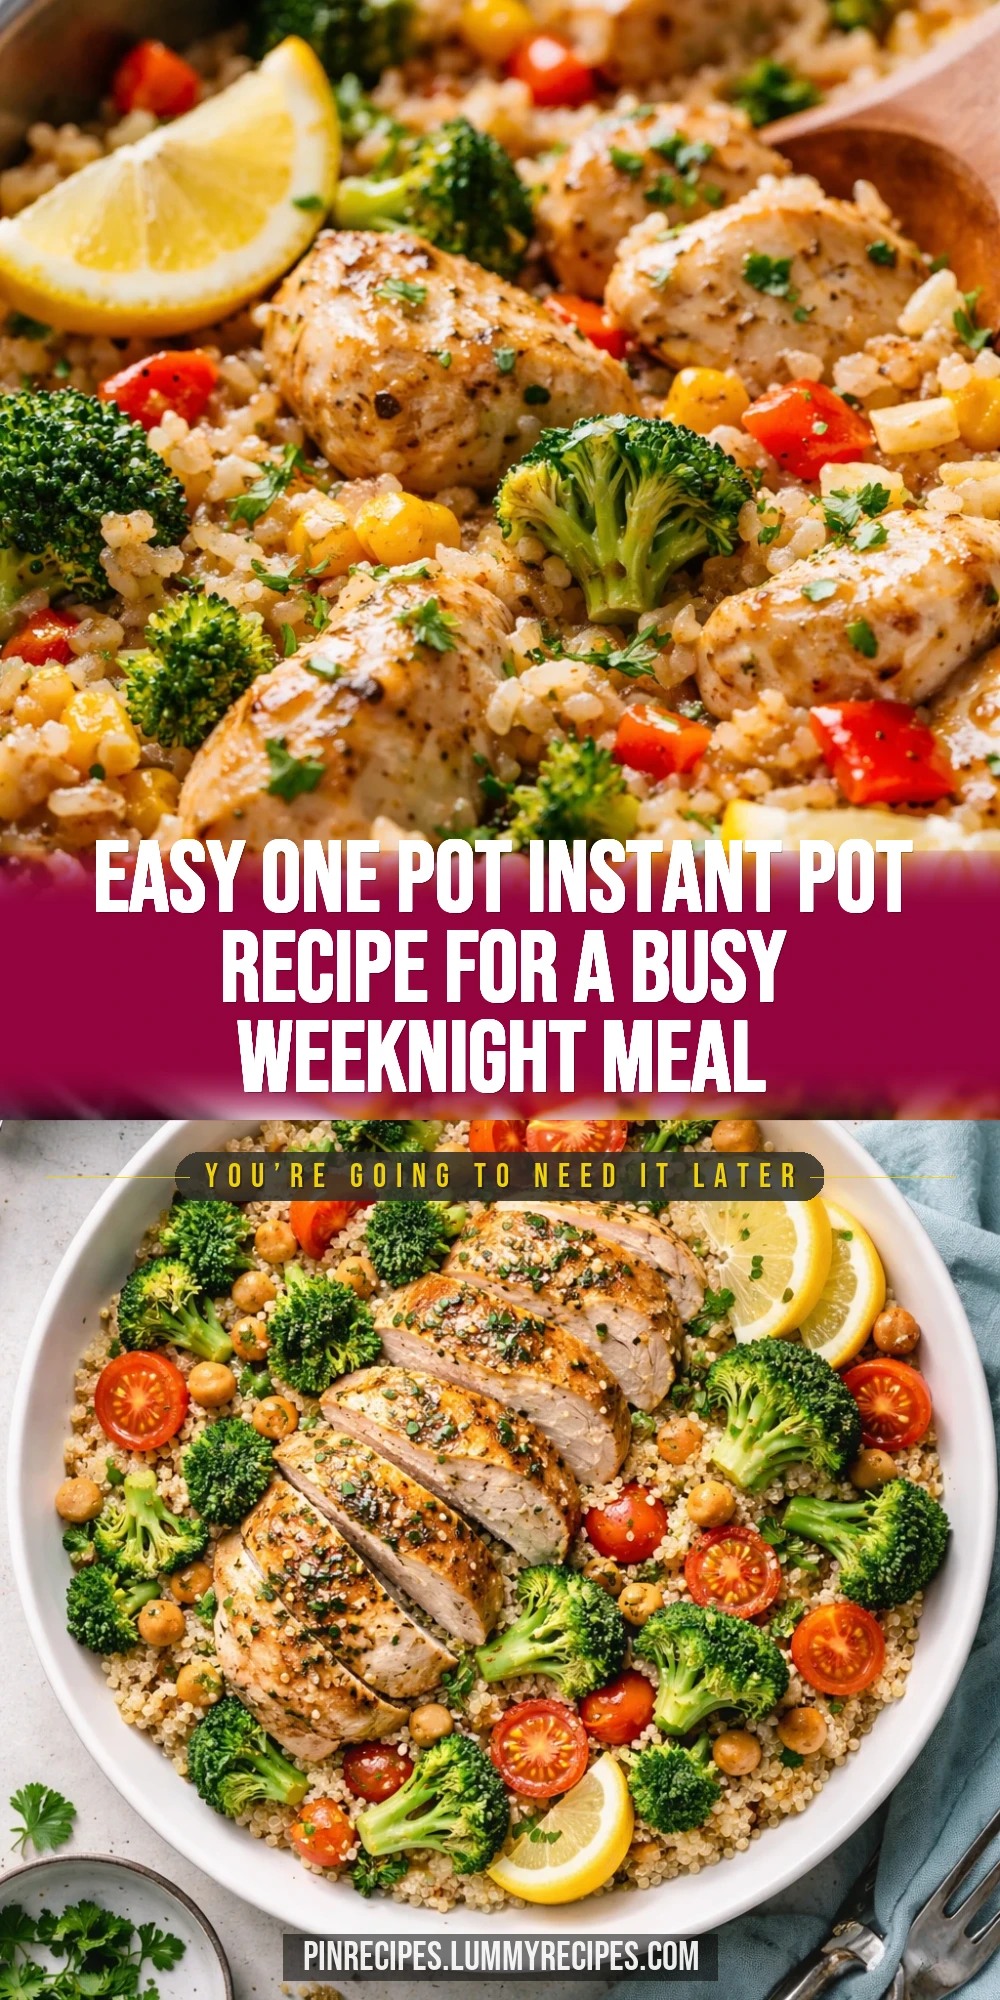
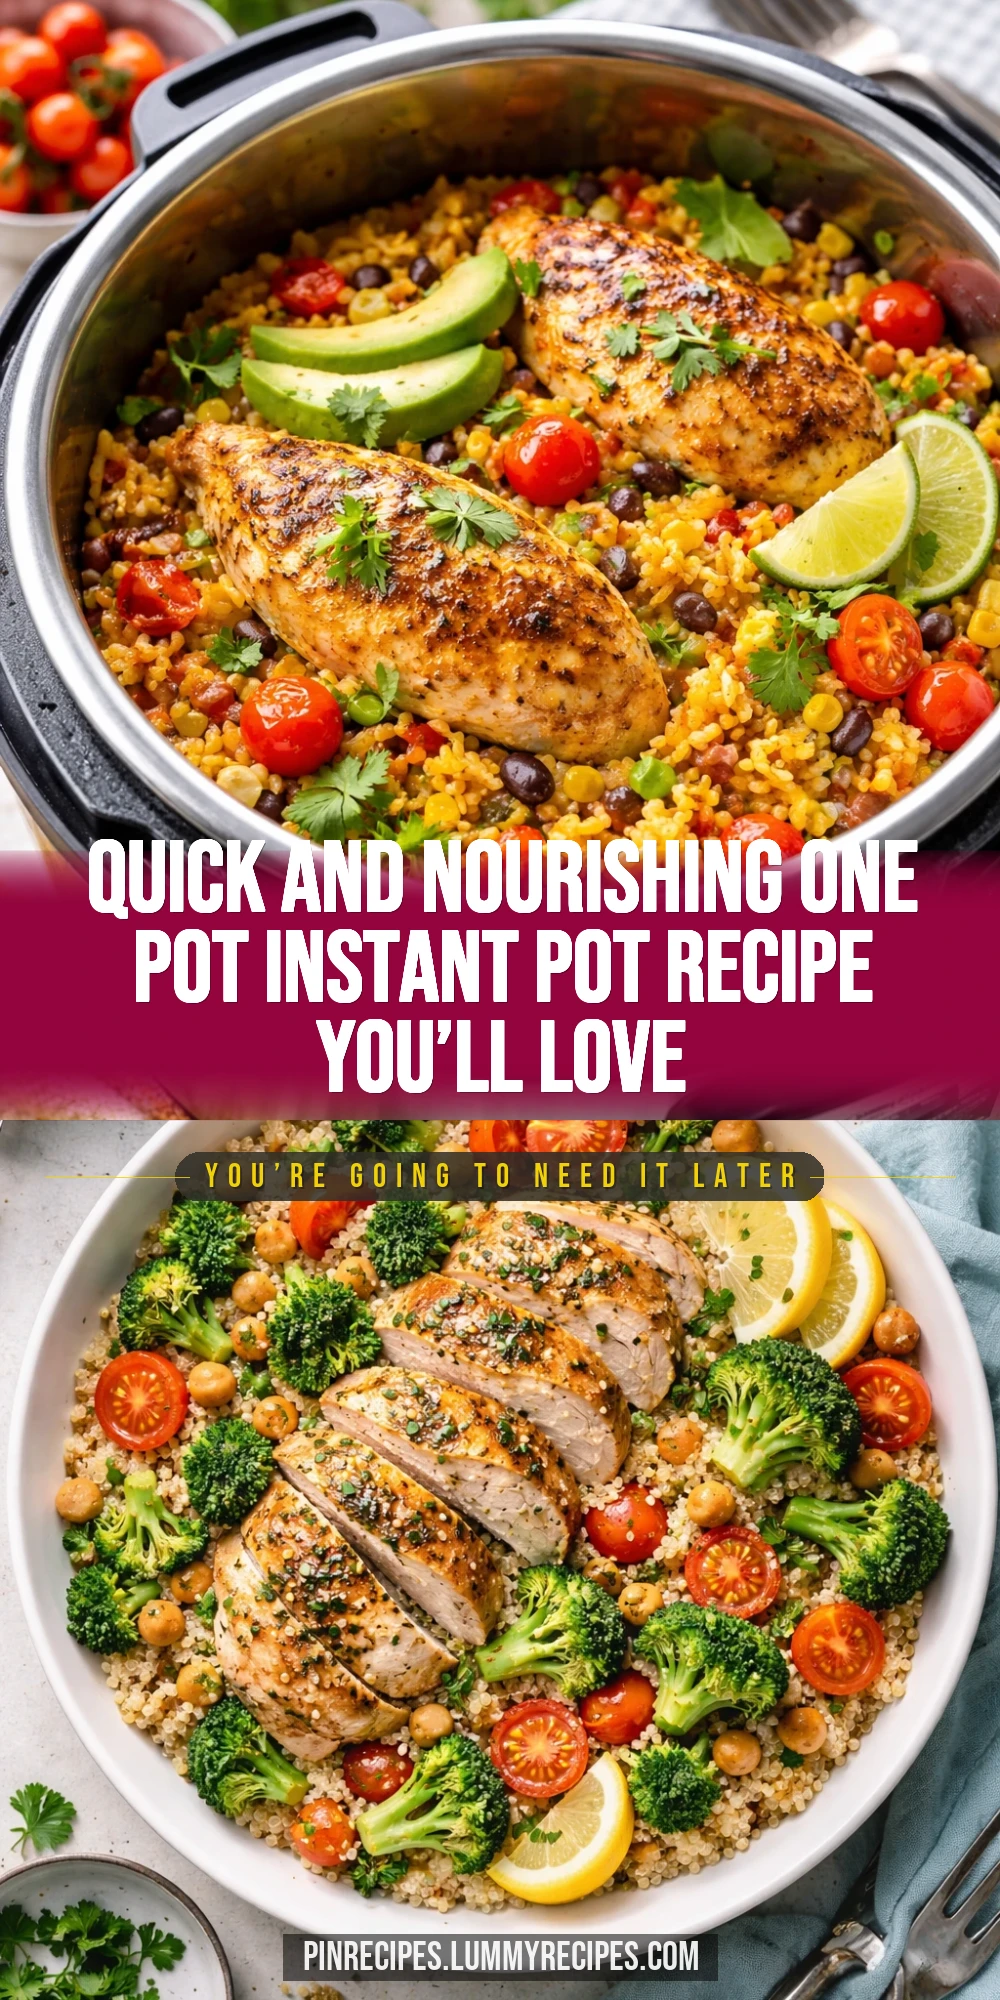
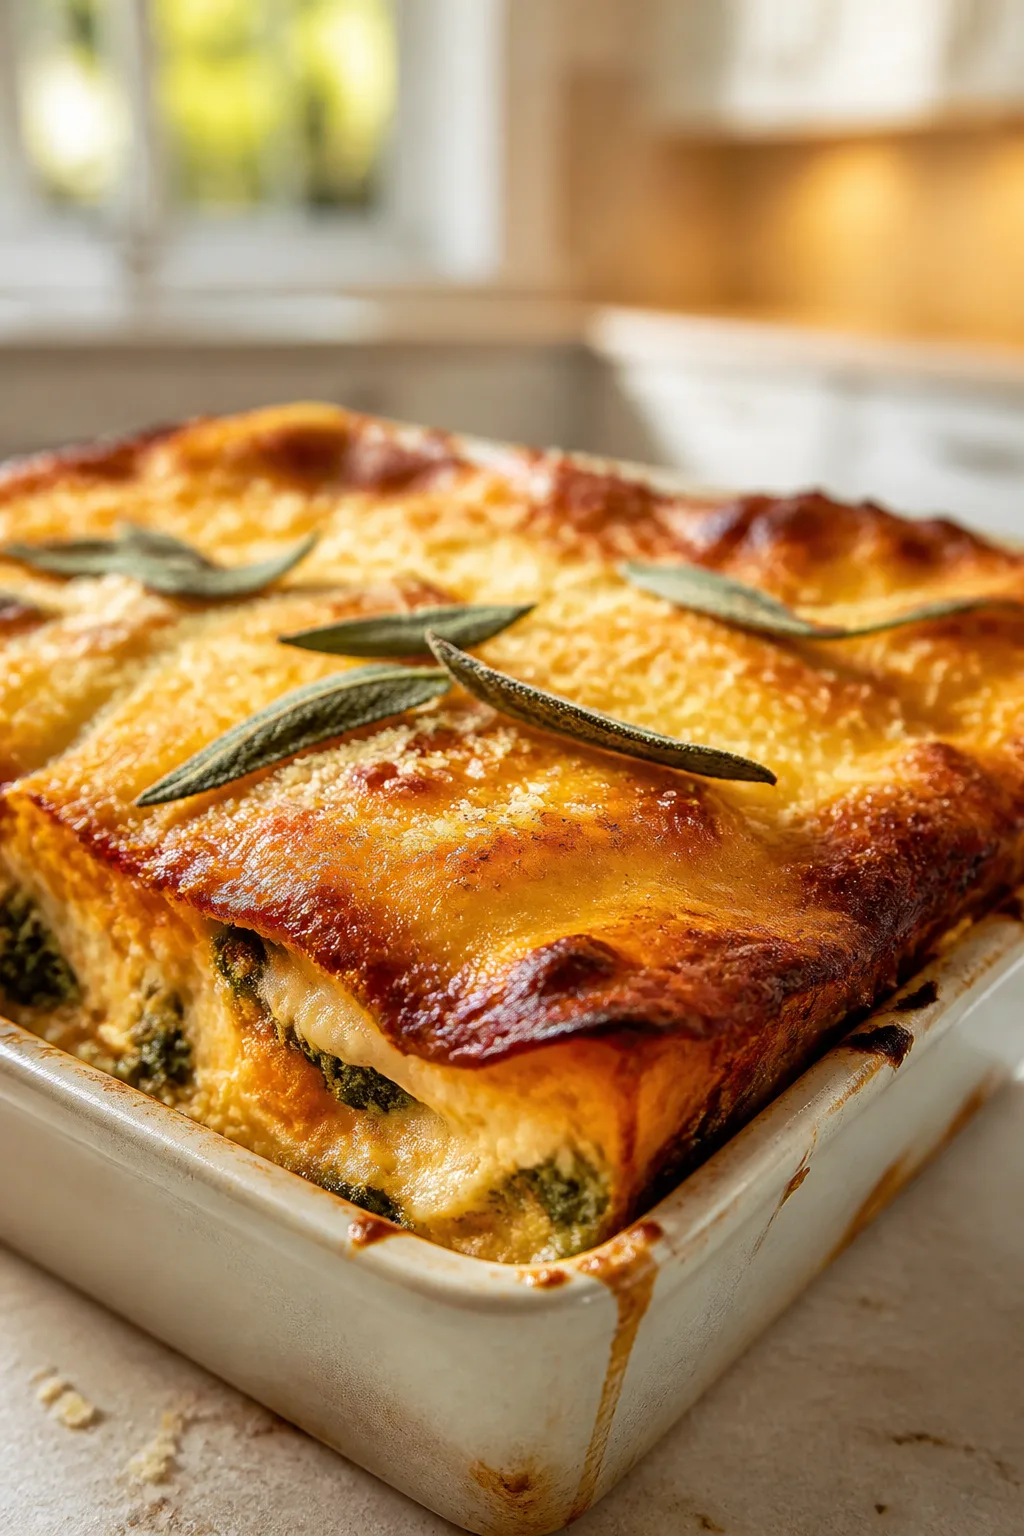
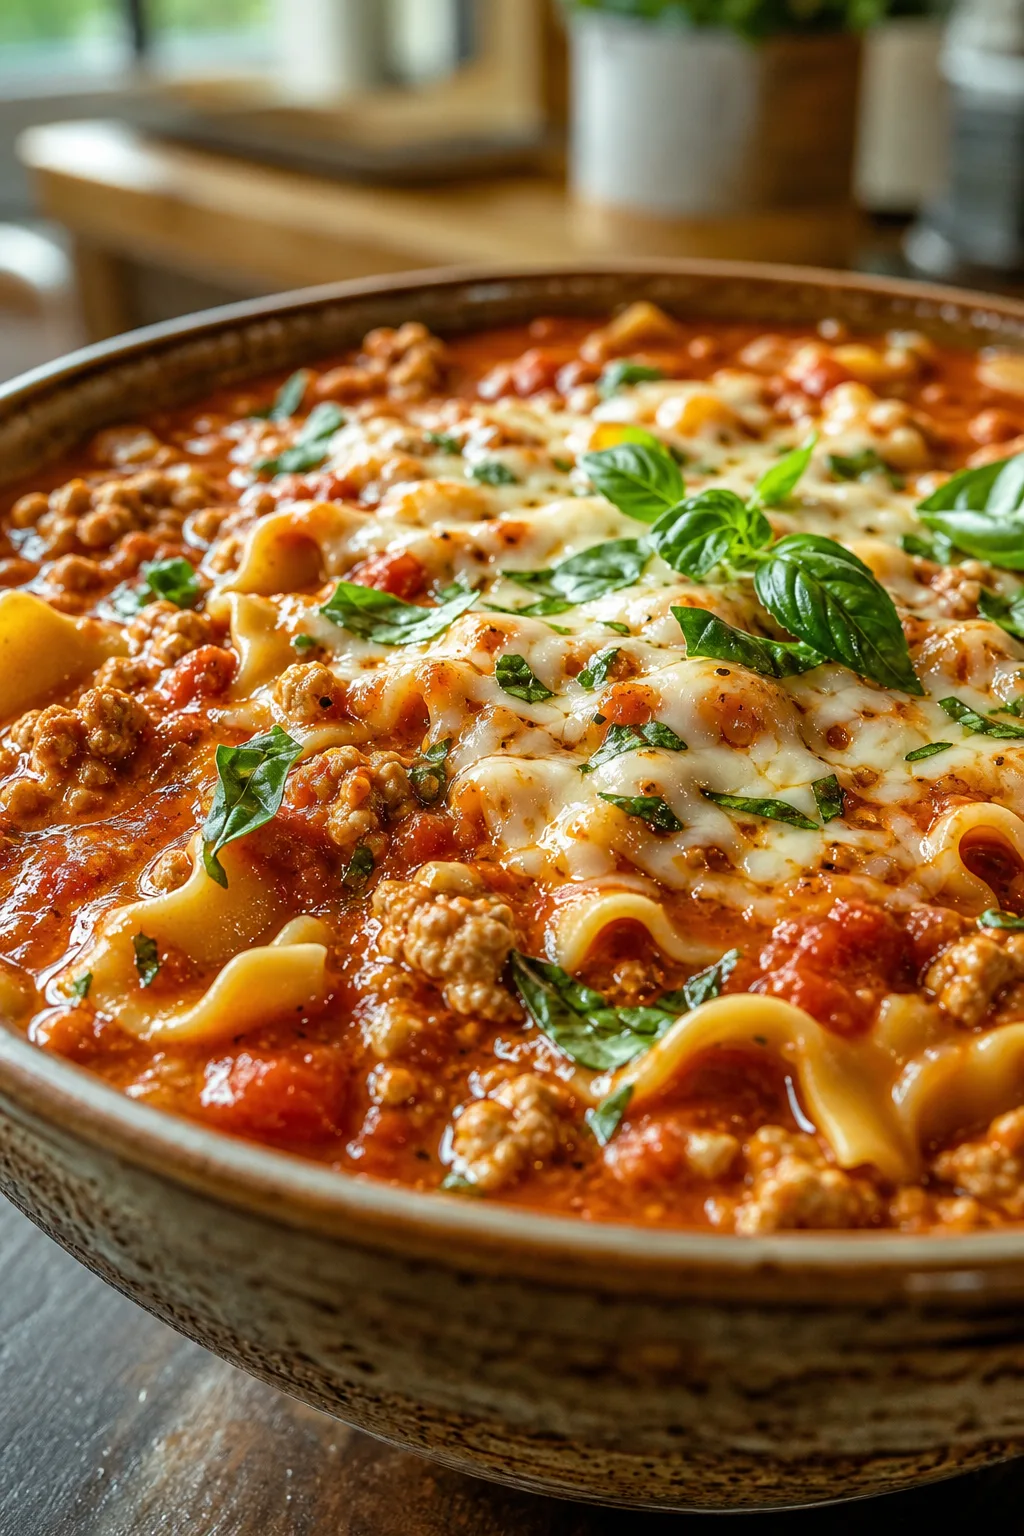
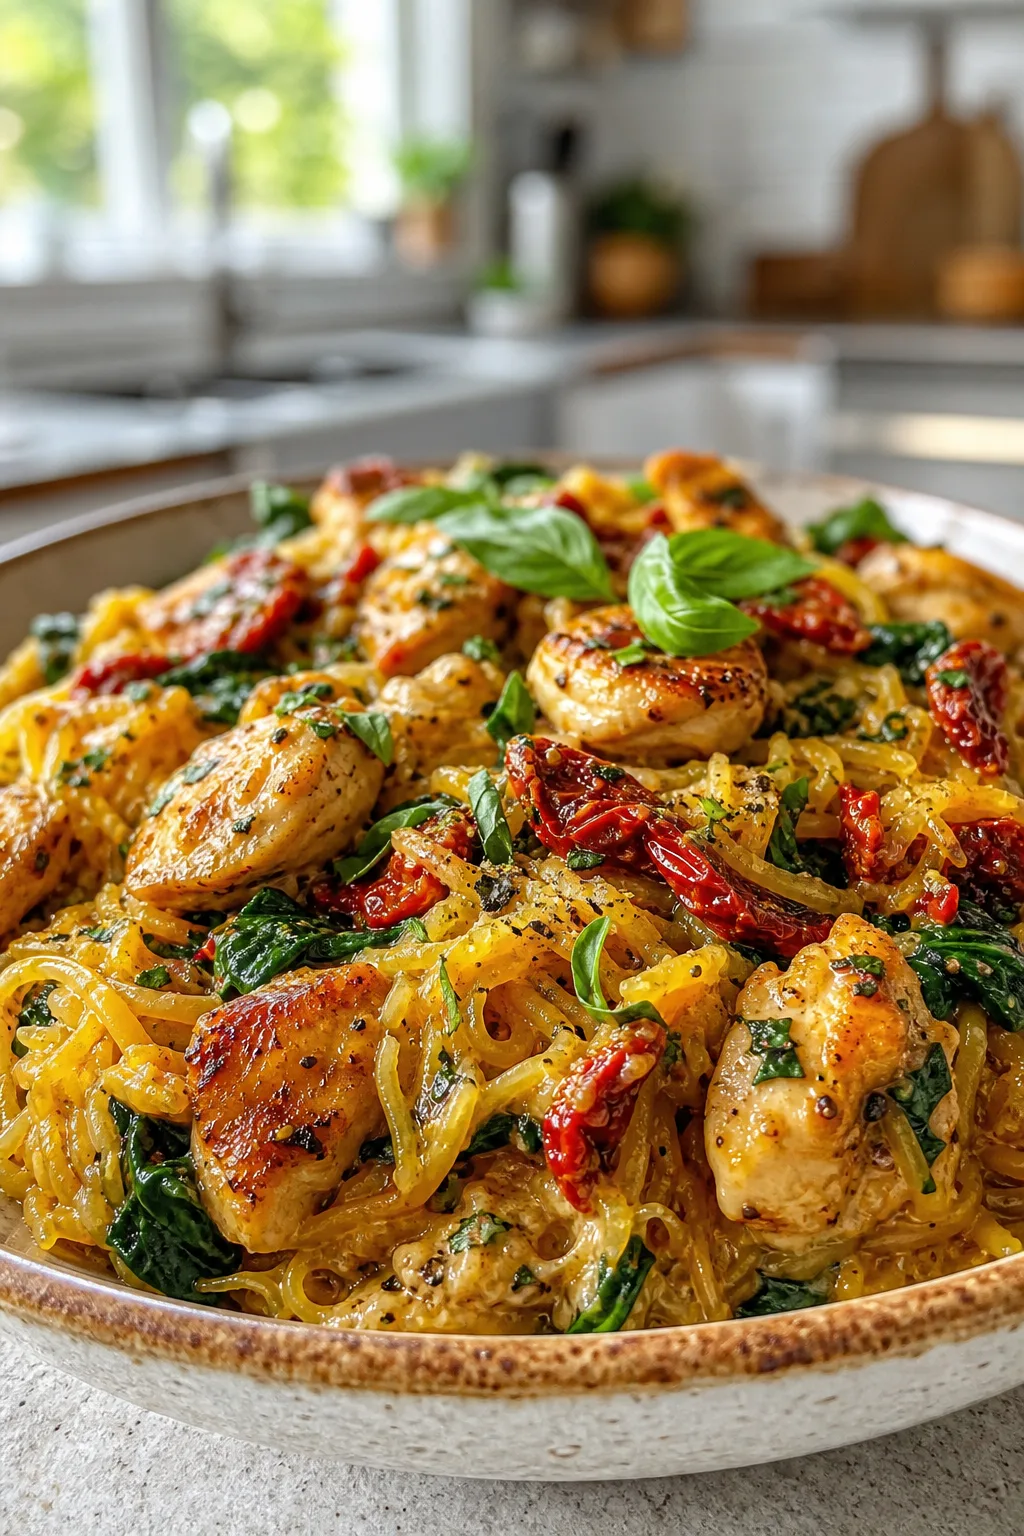
This one pot Instant Pot recipe is a lifesaver for healthy dinners that don’t sacrifice flavor. Packed with fresh veggies and lean protein, it’s quick to make and perfect for weeknights when time’s tight.
Introduction
I first tried this one pot Instant Pot recipe on a hectic weeknight when I had zero energy to cook but still wanted something nourishing. What I love about this dish is how everything cooks together in one pot, locking in flavors and saving me from a mountain of dishes. Unlike some recipes that require multiple steps or separate cooking, this one is straightforward but still delivers a fresh, vibrant meal. The secret is adding the spinach at the very end so it wilts perfectly without getting mushy. Plus, the quinoa absorbs all the broth, making the dish filling and wholesome. It’s a recipe I’ve made countless times now, and it never fails to feel comforting and satisfying. Expect a colorful plate with tender chicken, tender-crisp veggies, and a lightly herbed broth that’s just right. It’s great for busy weeknights, and leftovers reheat beautifully too.
How To Do It
Step 1
Start by setting your Instant Pot to sauté mode and heat the olive oil. Add the diced onion and cook until translucent, about 3-4 minutes. This step is crucial because sautéing the onion releases its natural sweetness and builds a flavor base for the dish. Make sure not to brown the onions too much, as you want a gentle caramelization, not bitterness. Stir frequently to prevent sticking. Once the onions are soft and fragrant, add the minced garlic and cook for another 30 seconds until aromatic. This technique layers flavors, enhancing the overall depth of the meal.
⏱ Time: 5 minutes
✓ Doneness: Onions should be soft and translucent, garlic fragrant but not burnt
Step 2
Next, add the chicken pieces directly to the pot and stir to coat them in the onion and garlic mixture. Let them cook for 2-3 minutes just to get a slight sear on the outside. This step helps to lock in juices and adds a bit of texture to the chicken. Avoid overcrowding the pot to ensure even cooking. If you skip this, the chicken might end up less flavorful and a bit bland. Once the chicken is lightly browned, season with salt, pepper, and dried oregano to infuse the meat with herbs.
⏱ Time: 4 minutes
✓ Doneness: Chicken edges turn white and slightly golden, not raw pink
Step 3
Pour in the chicken broth and scrape the bottom of the pot with a wooden spoon to loosen any browned bits. This deglazing step is important to prevent the Instant Pot from triggering a burn warning and also incorporates those flavorful bits into the broth. Then add the rinsed quinoa, spreading it evenly over the chicken and broth. Make sure the quinoa is fully submerged to cook properly. Avoid stirring after this point to keep the layers intact and prevent the quinoa from sticking.
⏱ Time: 3 minutes
✓ Doneness: Broth covers quinoa completely, no dry spots visible
Step 4
Close the Instant Pot lid and set the valve to sealing. Select the manual or pressure cook setting and set the timer for 10 minutes at high pressure. Cooking under pressure cooks the chicken and quinoa quickly and evenly, while locking in moisture. Don’t rush this step or open the lid early, as it will affect the texture and doneness. Once the timer is up, allow a natural pressure release for 10 minutes before quick releasing any remaining pressure. This gradual release helps keep the chicken tender.
⏱ Time: 20 minutes
✓ Doneness: Instant Pot pressure indicator drops, chicken is fully cooked and quinoa fluffy
Step 5
After opening the lid, gently stir in the diced zucchini and cherry tomatoes. The residual heat will soften these veggies without overcooking them, preserving their bright color and fresh flavor. Add the baby spinach last and stir until just wilted, about 1-2 minutes. Adding these ingredients at the end ensures they maintain a pleasant texture and don’t turn mushy. Season with additional salt and pepper if needed and serve immediately for the best taste.
⏱ Time: 5 minutes
✓ Doneness: Zucchini tender but firm, spinach wilted and vibrant green
Step 6
Before serving, taste the broth and adjust seasoning with salt, pepper, or a squeeze of lemon juice if you want a little brightness. This final step balances the flavors and lifts the dish. Remember, seasoning is key to making a simple recipe shine. Serve hot with a sprinkle of fresh herbs if you like, and enjoy your wholesome one pot meal.
⏱ Time: 2 minutes
✓ Doneness: Broth tastes balanced, no blandness or overpowering saltiness
Step 7
If you want to add a little extra texture, sprinkle some toasted nuts or seeds on top when serving. This adds a nice crunch contrast to the tender chicken and quinoa. Toast them in a dry pan over medium heat for a few minutes until fragrant. It’s a small touch that makes a big difference.
⏱ Time: 3 minutes
✓ Doneness: Nuts/seeds lightly browned and aromatic
Step 8
For meal prepping, divide leftovers into airtight containers once cooled. This recipe reheats well and keeps the flavors intact. When reheating, add a splash of broth or water to loosen the quinoa if it seems dry. Reheat gently on the stovetop or microwave until warmed through.
⏱ Time: 5 minutes
✓ Doneness: Leftovers heated evenly without drying out
Step 9
Clean your Instant Pot promptly after cooking to prevent any stuck-on bits from hardening. Use warm soapy water and a soft sponge, avoiding abrasive materials to keep the pot’s surface intact. Regular maintenance ensures your pot lasts and continues to perform well.
⏱ Time: 10 minutes
✓ Doneness: Pot interior clean and free of residue
Pro Tips
Always rinse quinoa before cooking.
Quinoa has a natural coating called saponin which can taste bitter if not rinsed off. Washing it thoroughly removes this coating and results in a cleaner, nuttier flavor that enhances the dish.
Don’t stir after adding quinoa and broth before pressure cooking.
Stirring can cause the quinoa to stick to the bottom of the pot and trigger the burn warning on the Instant Pot. Letting it settle undisturbed ensures even cooking and prevents sticking.
Use natural pressure release for tender chicken.
Releasing pressure slowly lets the chicken fibers relax gently, preventing them from becoming tough or rubbery. Quick release can shock the meat and dry it out.
Add delicate veggies after pressure cooking.
Vegetables like spinach and zucchini cook very quickly. Adding them after pressure cooking preserves their texture, color, and nutrients, preventing mushiness.
Sauté aromatics first for better flavor.
Cooking onions and garlic before pressure cooking develops a richer flavor base through caramelization, which deepens the overall taste of the dish.
Season in layers throughout the cooking process.
Adding salt and herbs at different stages builds complexity and balances flavors, rather than seasoning all at once which can lead to uneven taste.
Use fresh herbs or a squeeze of lemon before serving.
Bright, fresh notes at the end lift the dish and add a pop of flavor that complements the savory ingredients.
Common Mistakes to Avoid
Not rinsing quinoa
Why it happens Many people skip rinsing to save time or because they’re unaware of the bitter coating.
Fix Always rinse quinoa under cold water until water runs clear to remove saponin, avoiding a bitter taste in the final dish.
Stirring quinoa after adding broth
Why it happens It’s natural to want to mix everything evenly, but this can cause sticking.
Fix After adding quinoa and broth, spread quinoa evenly but avoid stirring to prevent burn errors and ensure proper cooking.
Quick releasing pressure immediately
Why it happens Impatience or not knowing the difference between release methods.
Fix Use natural pressure release for at least 10 minutes to keep chicken tender and juicy.
Adding all vegetables before pressure cooking
Why it happens Assuming all ingredients cook at the same rate.
Fix Add delicate vegetables like spinach and zucchini after pressure cooking to keep them fresh and prevent mushiness.
Over or under seasoning
Why it happens Not tasting throughout cooking or adding all salt at once.
Fix Season in stages and taste before serving to balance flavors perfectly.
Variations
Vegetarian Version
Replace chicken with firm tofu or chickpeas for a plant-based protein boost. Use vegetable broth instead of chicken broth. Expect a slightly different texture but still hearty and flavorful.
Note: Cooking time remains the same; tofu should be pressed and cubed, chickpeas rinsed if canned.
Spicy One Pot Instant Pot
Add a diced jalapeño or a teaspoon of chili flakes during the sauté step for some heat. This will give the dish a nice kick without overpowering the other flavors.
Note: Adjust spice level to taste and monitor for any burn warnings due to added spices.
Mediterranean Twist
Add olives, sun-dried tomatoes, and a sprinkle of feta cheese after cooking. This variation adds a tangy, salty dimension and a Mediterranean flair.
Note: Add feta just before serving to prevent melting and maintain texture.
Low-Carb Version
Skip the quinoa and add extra zucchini or cauliflower rice. This lowers carbs while keeping the meal filling and nutritious.
Note: Reduce broth slightly since cauliflower rice doesn’t absorb as much liquid.
Creamy One Pot
Stir in 1/4 cup Greek yogurt or cream cheese after cooking for a creamy texture and richer flavor. Works great as a comforting twist.
Note: Temper the yogurt by mixing a bit of hot broth into it before stirring to prevent curdling.
Nutrition
Per Serving:
Nutritional values are estimates and may vary based on specific ingredients used.
Storage & Tips
Room Temperature
This dish can be safely kept at room temperature for up to 2 hours if covered. Beyond that, bacteria growth increases, so refrigerate promptly.
Refrigerator
Store leftovers in an airtight container for up to 4 days. The quinoa may absorb more liquid and thicken; reheat with a splash of broth or water to loosen it. Flavor remains good but fresh veggies may soften.
Freezer
Freeze in airtight containers for up to 3 months. To prevent freezer burn, wrap tightly with plastic wrap before placing in freezer bags. Thaw overnight in the fridge before reheating.
Reheating
Reheat gently on the stovetop over low heat or in the microwave with a splash of broth to prevent drying out. Avoid overheating which can toughen the chicken and dry the quinoa.
Make Ahead
You can chop veggies and measure spices a day ahead, storing them separately. Cook the full dish and refrigerate; reheat just before serving for a quick meal.
FAQ
Can I use brown rice instead of quinoa?
Brown rice takes longer to cook than quinoa, so you’d need to increase the pressure cooking time by about 10-12 minutes. Also, add extra broth to ensure it cooks properly. Keep in mind the texture will be different but still tasty.
What if my Instant Pot shows a burn warning?
Burn warnings often happen if food sticks to the bottom. Make sure to deglaze the pot well after sautéing by scraping up browned bits before adding broth and quinoa. Avoid stirring quinoa after adding liquid to prevent sticking.
Can I use frozen chicken?
Yes, you can use frozen chicken but increase the pressure cooking time by about 5 minutes. Make sure the pieces are separated so they cook evenly. The texture might be slightly different but still good.
How do I make this recipe vegan?
Swap chicken for chickpeas or tofu and use vegetable broth instead of chicken broth. The cooking times remain the same. You’ll get a hearty and satisfying vegan meal.
Can I add other vegetables?
Absolutely! Harder veggies like carrots or bell peppers can be added before pressure cooking, while delicate ones like spinach or peas should be added after to avoid overcooking.
Is it okay to use canned broth?
Yes, just choose a low-sodium variety to control salt levels. Homemade broth is ideal but canned works well in a pinch without sacrificing much flavor.
How do I prevent mushy vegetables?
Add quick-cooking vegetables after pressure cooking and stir them in just long enough to wilt or warm through. This keeps them vibrant and crisp-tender.
Can I double this recipe?
You can double it, but make sure your Instant Pot is large enough to hold all ingredients without exceeding the max fill line. Cooking time stays about the same, but natural pressure release may take longer.
Final Thoughts
I hope you enjoy this simple, healthy one pot Instant Pot recipe as much as I do. Give it a try and let me know how it turns out for you!