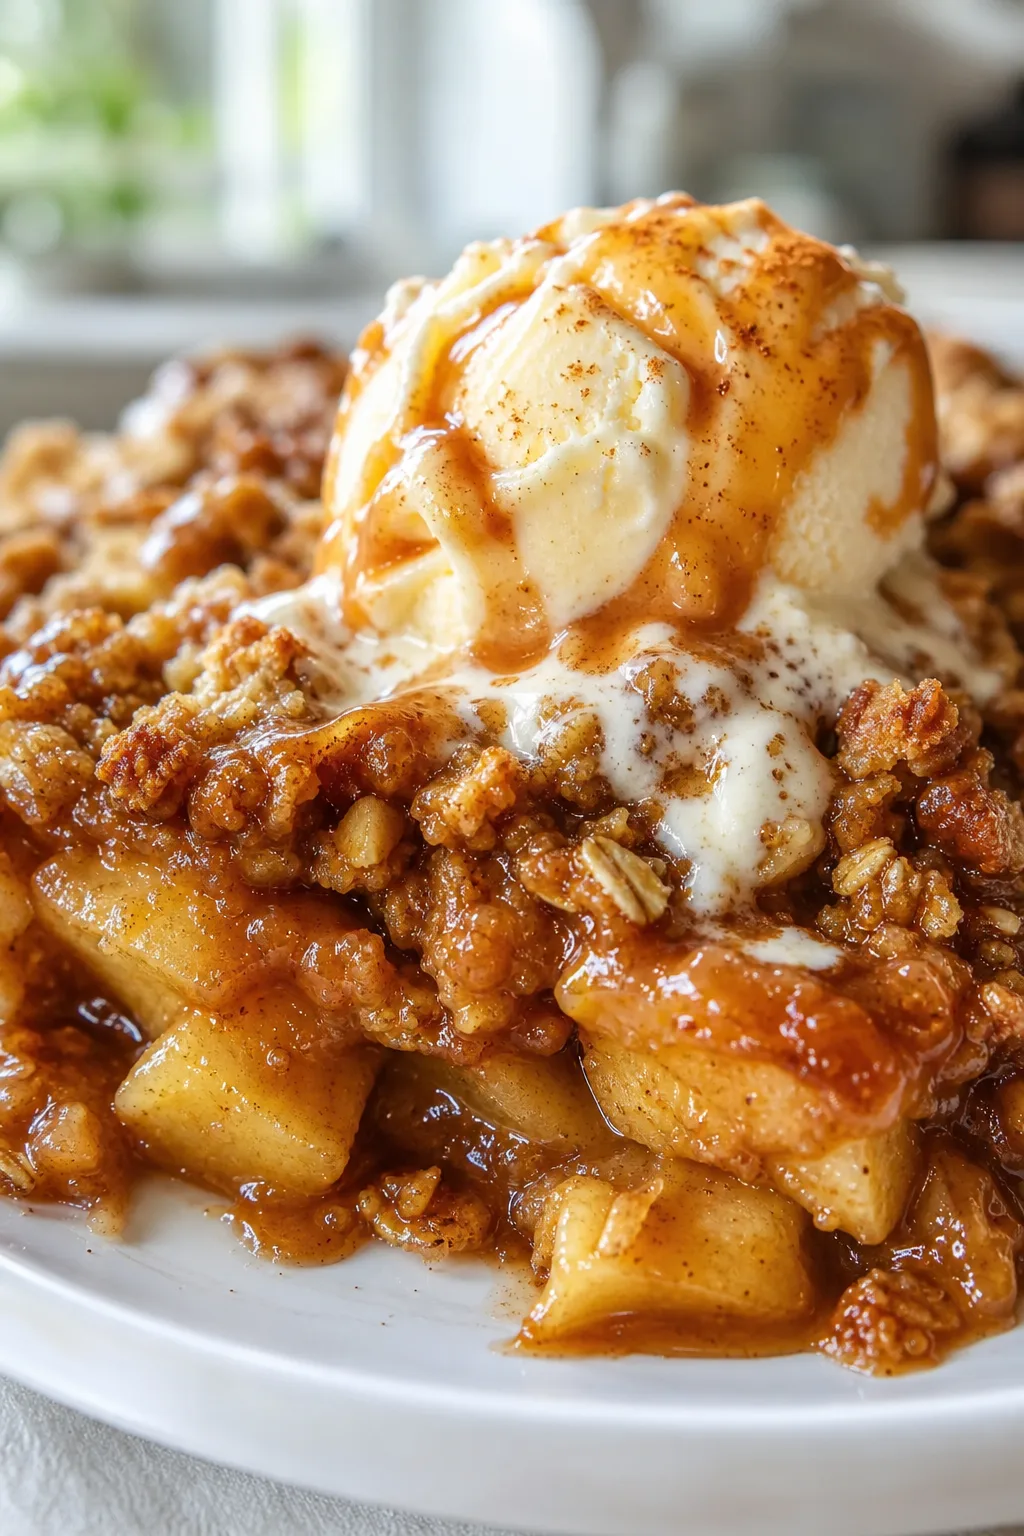
These quick Easter desserts are perfect when you're short on time but still want something festive and delicious. Featuring fresh berries and a light whipped cream topping, they're great for after your holiday meal or a sweet afternoon treat!
Introduction
I first made these quick Easter desserts a few years ago when I realized I had forgotten to plan a sweet treat for our holiday gathering. I wanted something festive but fast, so I grabbed some fresh berries, whipped up cream, and layered it all on mini sponge cakes. What surprised me was how fresh and light the desserts felt compared to the usual heavy pies or cakes. This version skips complicated steps but still looks beautiful and tastes like a spring celebration on a plate. The trick I learned is to use cold cream and whip it just until soft peaks form—that way, it holds up perfectly without becoming too stiff or melting too fast. Plus, the combination of juicy berries and airy cake keeps it from feeling too rich. The finished dessert is colorful, refreshing, and super easy to customize. It’s perfect for Easter brunch, an afternoon treat, or even a quick dessert after dinner. I love how it comes together quickly but still feels special enough for holiday guests.
How To Do It
Step 1
Start by washing and preparing your berries. Slice the strawberries into even pieces so they layer nicely and mix them gently with the blueberries. This step is key because fresh, ripe berries add natural sweetness and vibrant color, making your dessert look inviting. Be careful not to crush the berries while mixing, as you want them to keep their shape and texture for a pretty presentation.
⏱ Time: 5 minutes
✓ Doneness: Berries are clean, evenly sliced, and mixed gently without juice pooling excessively.
Step 2
Chill your mixing bowl and beaters in the fridge for 10 minutes before whipping the cream. Pour the cold heavy cream into the chilled bowl, add powdered sugar and vanilla extract, then whip on medium speed until soft peaks form. This technique traps air, creating a light, fluffy texture that holds its shape without becoming grainy. Avoid overwhipping, which can turn the cream into butter.
⏱ Time: 5-7 minutes
✓ Doneness: Cream holds soft peaks that gently fold over when the beaters are lifted.
Step 3
Prepare your mini sponge cakes or angel food cakes by slicing them horizontally if they’re thick, to create layers. This increases the surface area for the berries and cream, making every bite balanced. If you prefer, you can serve them whole, but layering adds a nice texture contrast.
⏱ Time: 3 minutes
✓ Doneness: Cakes are sliced evenly without crumbling excessively.
Step 4
Assemble each dessert by placing a cake layer on your serving dish, then spoon a generous layer of whipped cream over it. Add a layer of mixed berries on top of the cream, then repeat with another cake layer if using. This layering builds height and flavor complexity, making the dessert feel indulgent yet fresh.
⏱ Time: 5 minutes
✓ Doneness: Layers are even, and dessert holds shape without sliding apart.
Step 5
Finish with a final dollop of whipped cream and a sprinkle of berries on top. Garnish with fresh mint leaves if you have them; the mint adds a subtle freshness and pretty pop of green that enhances the spring vibe.
⏱ Time: 2 minutes
✓ Doneness: Dessert looks colorful, balanced, and visually appealing.
Step 6
Refrigerate the assembled desserts for at least 10 minutes before serving. This chilling step helps the cream set slightly and the flavors meld. If served immediately, the whipped cream might not hold as well and the berries won’t have that fresh, juicy burst.
⏱ Time: 10 minutes
✓ Doneness: Dessert is cool to touch and cream holds its shape.
Step 7
When ready to serve, bring the desserts out and let them sit at room temperature for a few minutes to soften slightly. This makes the cake tender and the cream silky rather than cold and stiff.
⏱ Time: 5 minutes
✓ Doneness: Cream looks smooth and cake feels soft but not soggy.
Step 8
Use a sharp knife to cut through the layers cleanly if serving plated desserts. Wipe the knife between cuts to keep slices neat and avoid mixing layers.
⏱ Time: 2 minutes
✓ Doneness: Clean slices with distinct layers visible.
Step 9
Enjoy immediately for best texture and freshness. Leftovers can be stored but the cake may absorb moisture over time, so it’s best eaten the same day.
⏱ Time: Immediate
✓ Doneness: Dessert tastes fresh, light, and balanced.
Pro Tips
Chill your mixing bowl and beaters before whipping cream.
Cold equipment helps the cream whip faster and hold more air, resulting in a lighter, fluffier texture. If you skip this step, the cream may whip slowly or not reach the desired volume, affecting the dessert’s lightness.
Use fresh, ripe berries for the best flavor and texture.
Fresh berries provide natural sweetness and juiciness that frozen or underripe berries lack. This freshness is crucial to balance the richness of the cream and keep the dessert bright and spring-like.
Don’t overwhip the cream; stop at soft peaks.
Overwhipping breaks down the fat structure in cream, causing it to become grainy and eventually turn into butter. Soft peaks ensure the cream is stable enough to hold layers but still silky and smooth.
Assemble the desserts just before serving or chill briefly.
This prevents the cake from absorbing too much moisture and becoming soggy. A short chill helps flavors meld and cream set, but long storage will degrade texture and appearance.
Slice cakes evenly to create balanced layers.
Even layers ensure every bite has a good mix of cake, cream, and berries. Uneven slicing can cause the dessert to collapse or taste unbalanced.
Garnish with fresh mint for a pop of color and flavor.
Mint adds a refreshing herbal note that complements the sweetness and acidity of the berries, enhancing the overall flavor complexity and presentation.
Use a sharp knife and wipe it between cuts for clean slices.
This technique keeps the layers distinct and the presentation neat. A dull or sticky knife can tear the cake and smear the cream, making the dessert look messy.
Common Mistakes to Avoid
Overwhipping the cream
Why it happens Many cooks get excited and whip the cream too long, thinking it will get fluffier, but it actually breaks down and turns grainy.
Fix Watch the cream closely and stop whipping as soon as soft peaks form. If you overwhip, you can try gently folding in a little fresh cream to loosen it up.
Using underripe or frozen berries without draining
Why it happens Sometimes frozen berries are used for convenience but aren’t properly thawed, adding excess moisture that sogs the cake.
Fix If using frozen berries, thaw fully and drain off any juice before layering. For best results, use fresh berries.
Assembling the dessert too far in advance
Why it happens People often want to prep early but the cake absorbs moisture from cream and berries, becoming mushy.
Fix Assemble just before serving or chill for no more than an hour. Store components separately if prepping earlier.
Not chilling bowl and beaters before whipping
Why it happens Skipping this step slows whipping and affects cream stability.
Fix Place bowl and beaters in the fridge or freezer for 10 minutes before whipping for best results.
Cutting the cake unevenly
Why it happens Uneven slices cause layers to slide or dessert to look unbalanced.
Fix Use a serrated knife and cut slowly, wiping the blade clean between cuts.
Variations
Lemon Berry Quick Trifle
Add a spoonful of lemon curd between the layers for a tangy twist. The citrus brightens the dessert and pairs beautifully with the berries and cream.
Note: Add lemon curd after the first cream layer, adjusting sweetness if needed to balance tartness.
Chocolate Drizzle Easter Dessert
Drizzle melted dark chocolate over the top for a rich contrast. This adds depth and a touch of indulgence while keeping the dessert light.
Note: Use tempered chocolate for a shiny finish and drizzle just before serving to avoid melting the cream.
Vegan Coconut Cream Version
Swap heavy cream for chilled coconut cream whipped with powdered sugar and vanilla. Use vegan sponge cakes or ladyfingers to keep it plant-based.
Note: Chill coconut cream overnight and whip similarly to heavy cream; texture will be slightly different but delicious.
Tropical Fruit Easter Dessert
Replace berries with diced mango, pineapple, and kiwi for a tropical flair. The bright fruits add sweetness and a festive look.
Note: Ensure fruits are ripe and firm to avoid excess moisture; layer similarly.
Nutty Crunch Easter Dessert
Add a sprinkle of toasted almonds or pistachios between layers for crunch and a nutty flavor that complements the soft cake and cream.
Note: Toast nuts lightly and cool before adding to maintain crunch.
Nutrition
Per Serving:
Nutritional values are estimates and may vary based on specific ingredients used.
Storage & Tips
Room Temperature
This dessert is best served fresh and should not be kept at room temperature for more than 2 hours to prevent spoilage and sogginess. Cover loosely with plastic wrap if needed briefly.
Refrigerator
Store leftovers in an airtight container in the fridge for up to 2 days. The cream may firm up and the cake might absorb some moisture, so allow to sit at room temperature for 10 minutes before serving.
Freezer
Freezing is not recommended as the cream and berries lose texture and become watery upon thawing. If necessary, freeze components separately and assemble fresh.
Reheating
This dessert is served cold or at room temperature. Avoid reheating as it will break down the cream and soften the cake too much.
Make Ahead
Prepare and wash berries a day ahead and store in the fridge. Whip cream and slice cakes on the day of serving for best texture. Assembly should be done shortly before serving.
FAQ
Can I use frozen berries instead of fresh?
You can use frozen berries, but make sure to thaw them completely and drain any excess juice before using. Frozen berries tend to release more liquid, which can make the cake soggy if not drained well.
How long can I store these desserts before serving?
For best texture and freshness, assemble the dessert no more than an hour before serving. If you need to prep ahead, keep components separate and combine shortly before eating.
What can I substitute for heavy cream?
Avoid using milk or half-and-half as they won't whip properly.
Can I make this dessert gluten-free?
The rest of the recipe is naturally gluten-free.
How do I know when the whipped cream is ready?
Stop whipping as soon as the cream forms soft peaks that gently fold over when you lift the beaters. It should hold shape but still be smooth and silky. Overwhipping will cause it to become grainy.
Can I add other fruits to the recipe?
Absolutely! Feel free to mix in raspberries, blackberries, or even diced peaches. Just choose ripe fruits that won’t release too much liquid to keep the cake from getting soggy.
What if I don’t have mini cakes?
You can slice a regular sponge or angel food cake into small squares or layers to create individual servings. Just be gentle to avoid crumbling the cake.
Is there a way to make this dessert less sweet?
Yes, you can reduce the powdered sugar in the whipped cream or use tart berries like raspberries to balance sweetness. Taste the cream before assembling and adjust sugar accordingly.
Final Thoughts
I hope you give these quick Easter desserts a try—they’re a simple way to add a fresh, festive touch to your holiday. Let me know how they turn out and what variations you love!