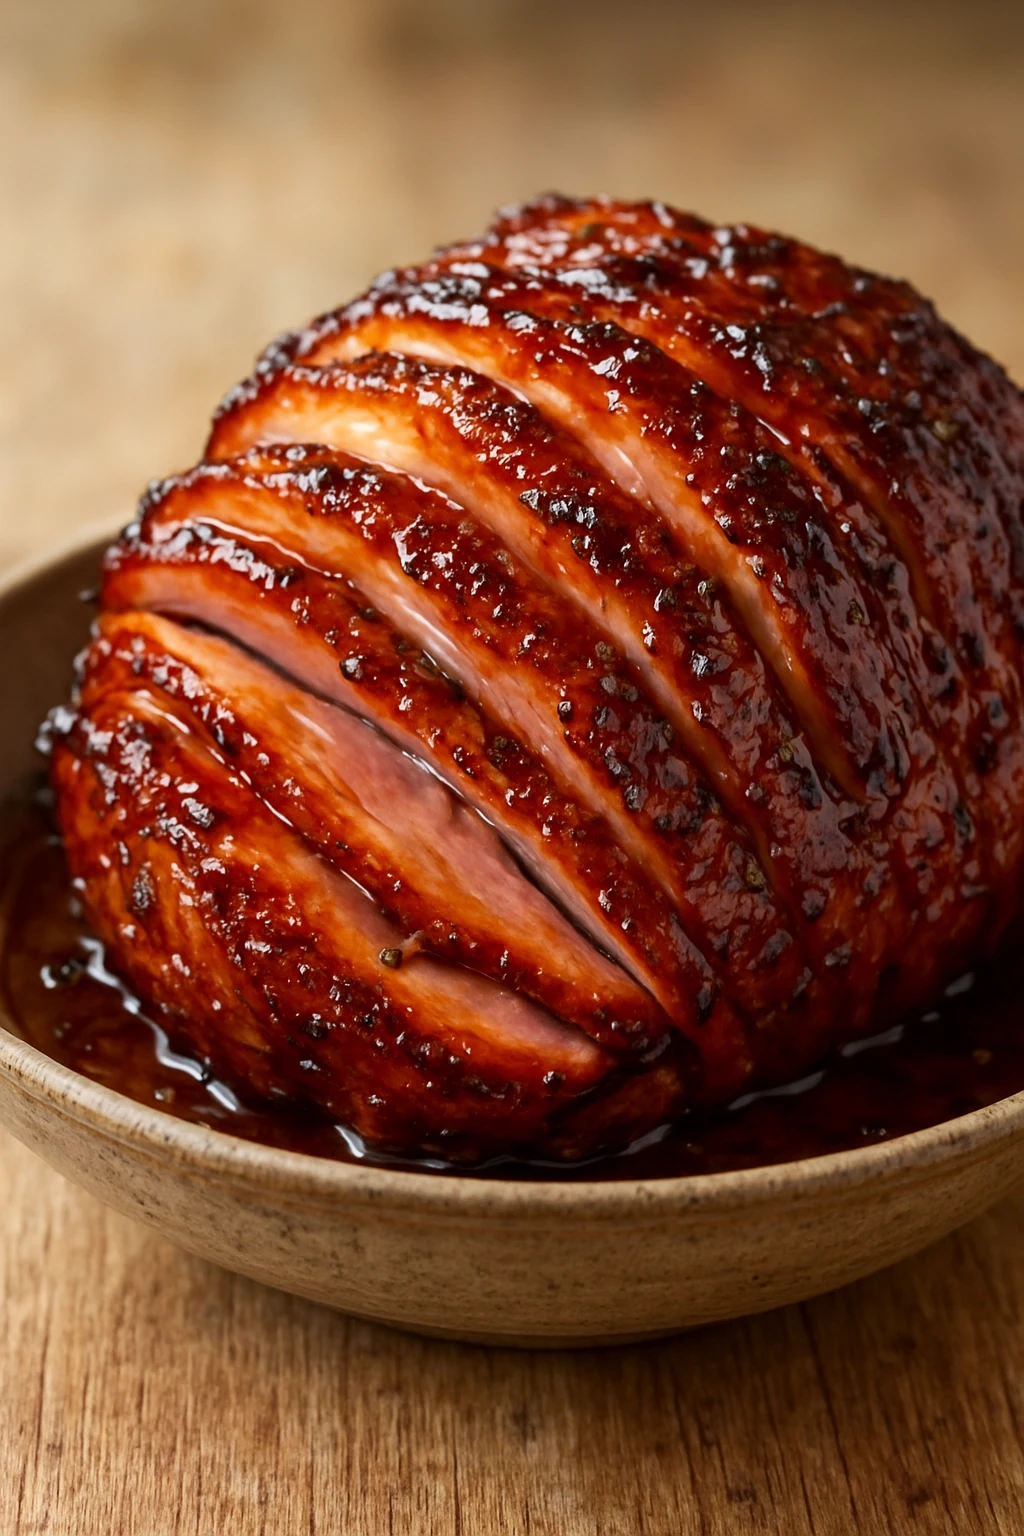
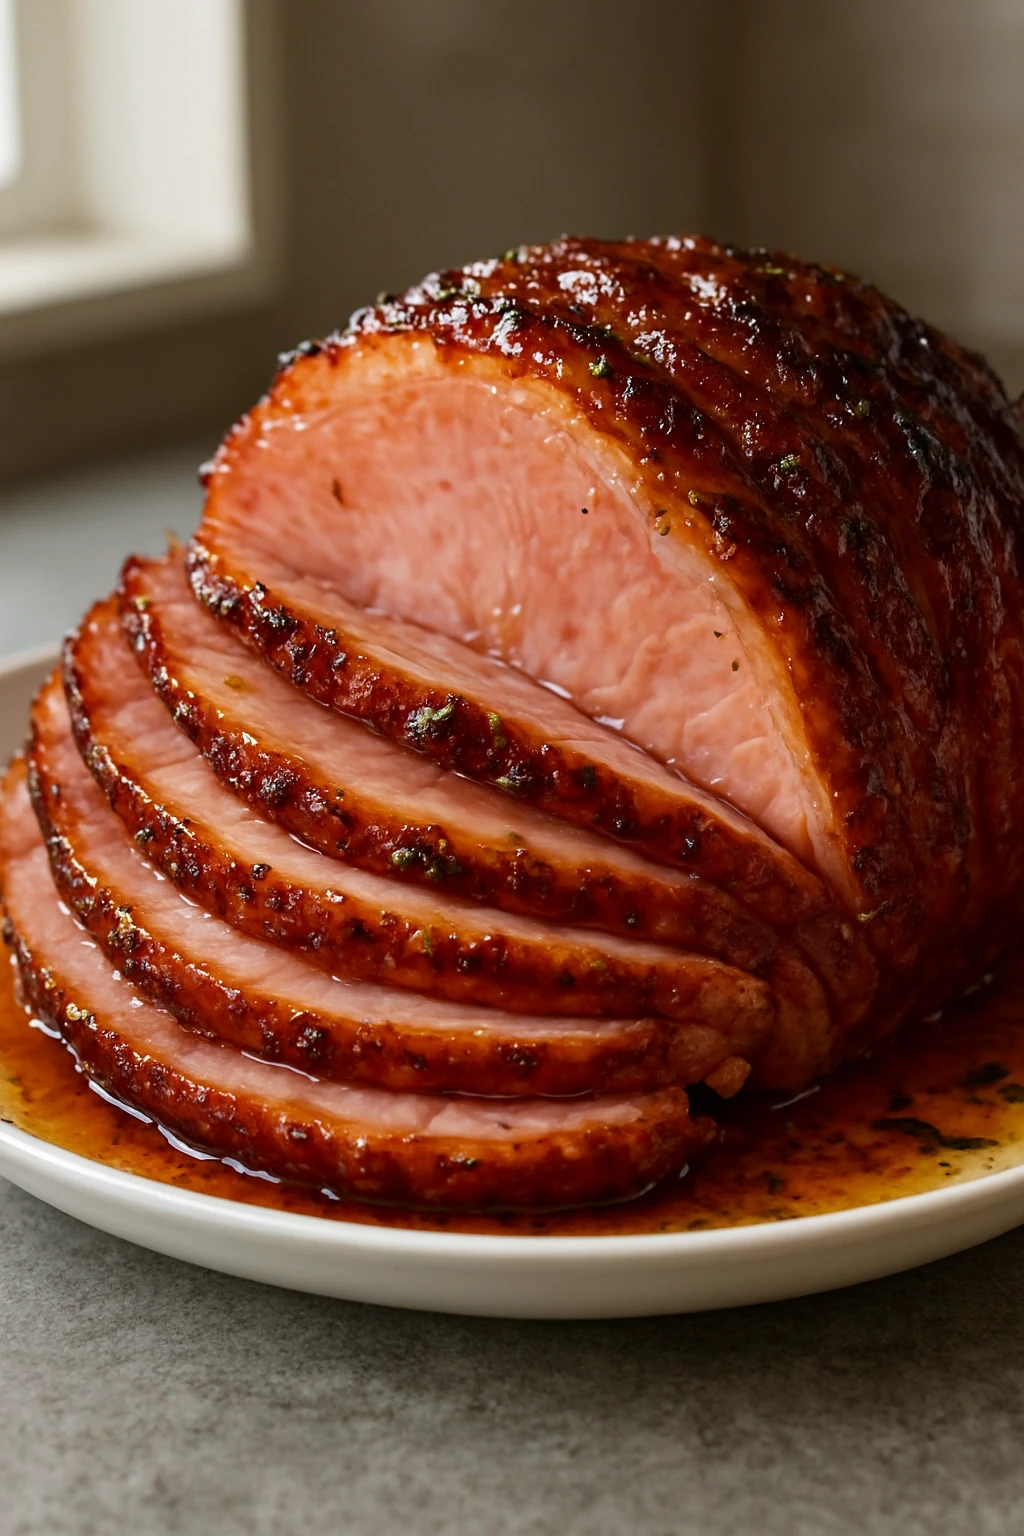
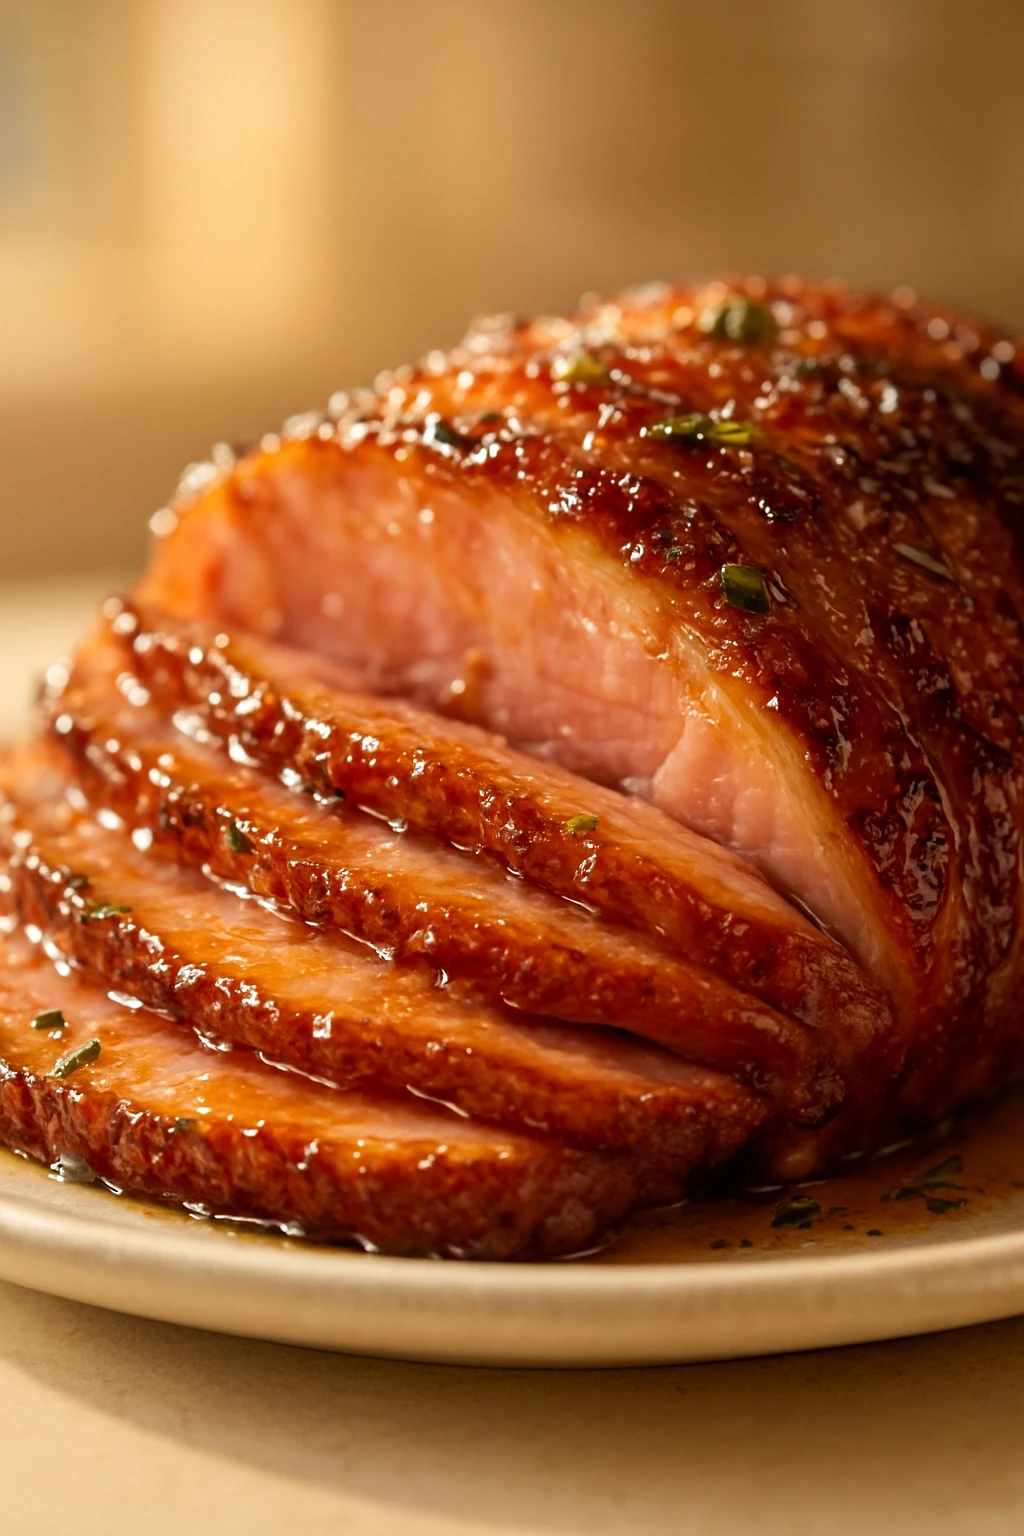
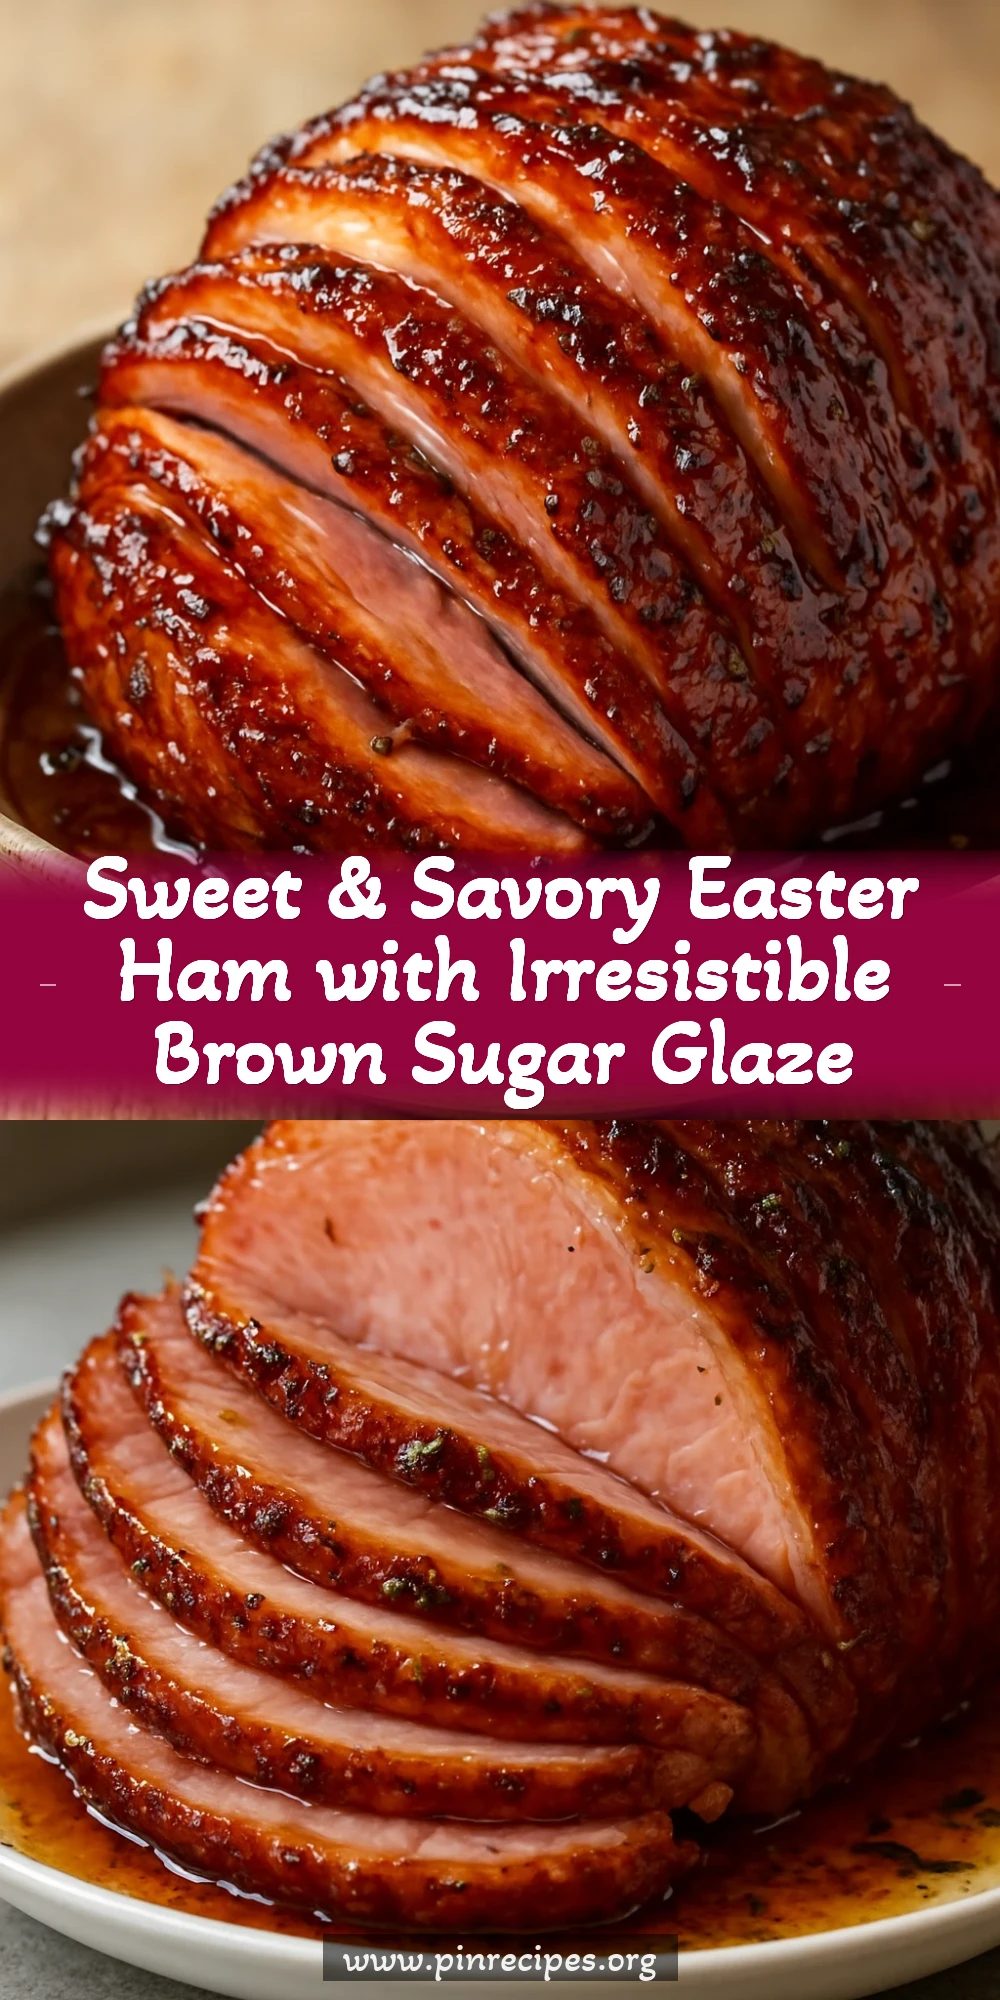
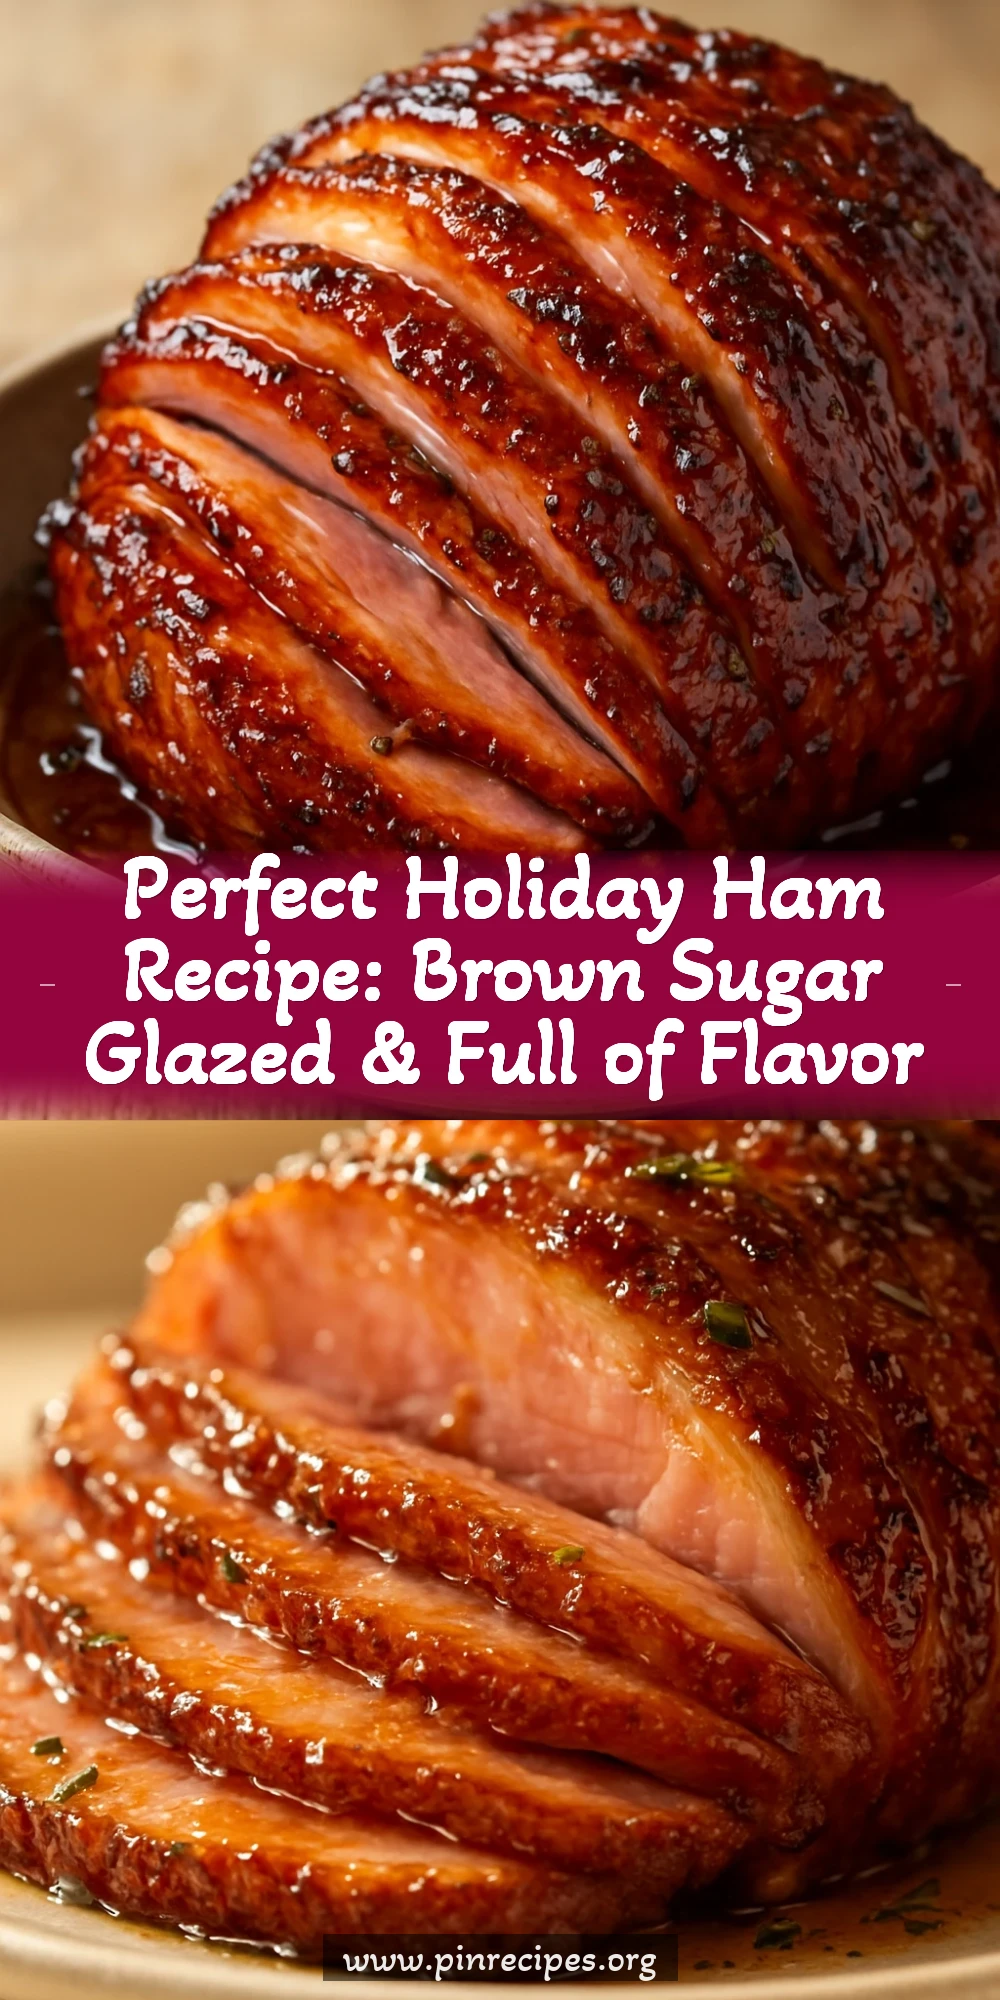
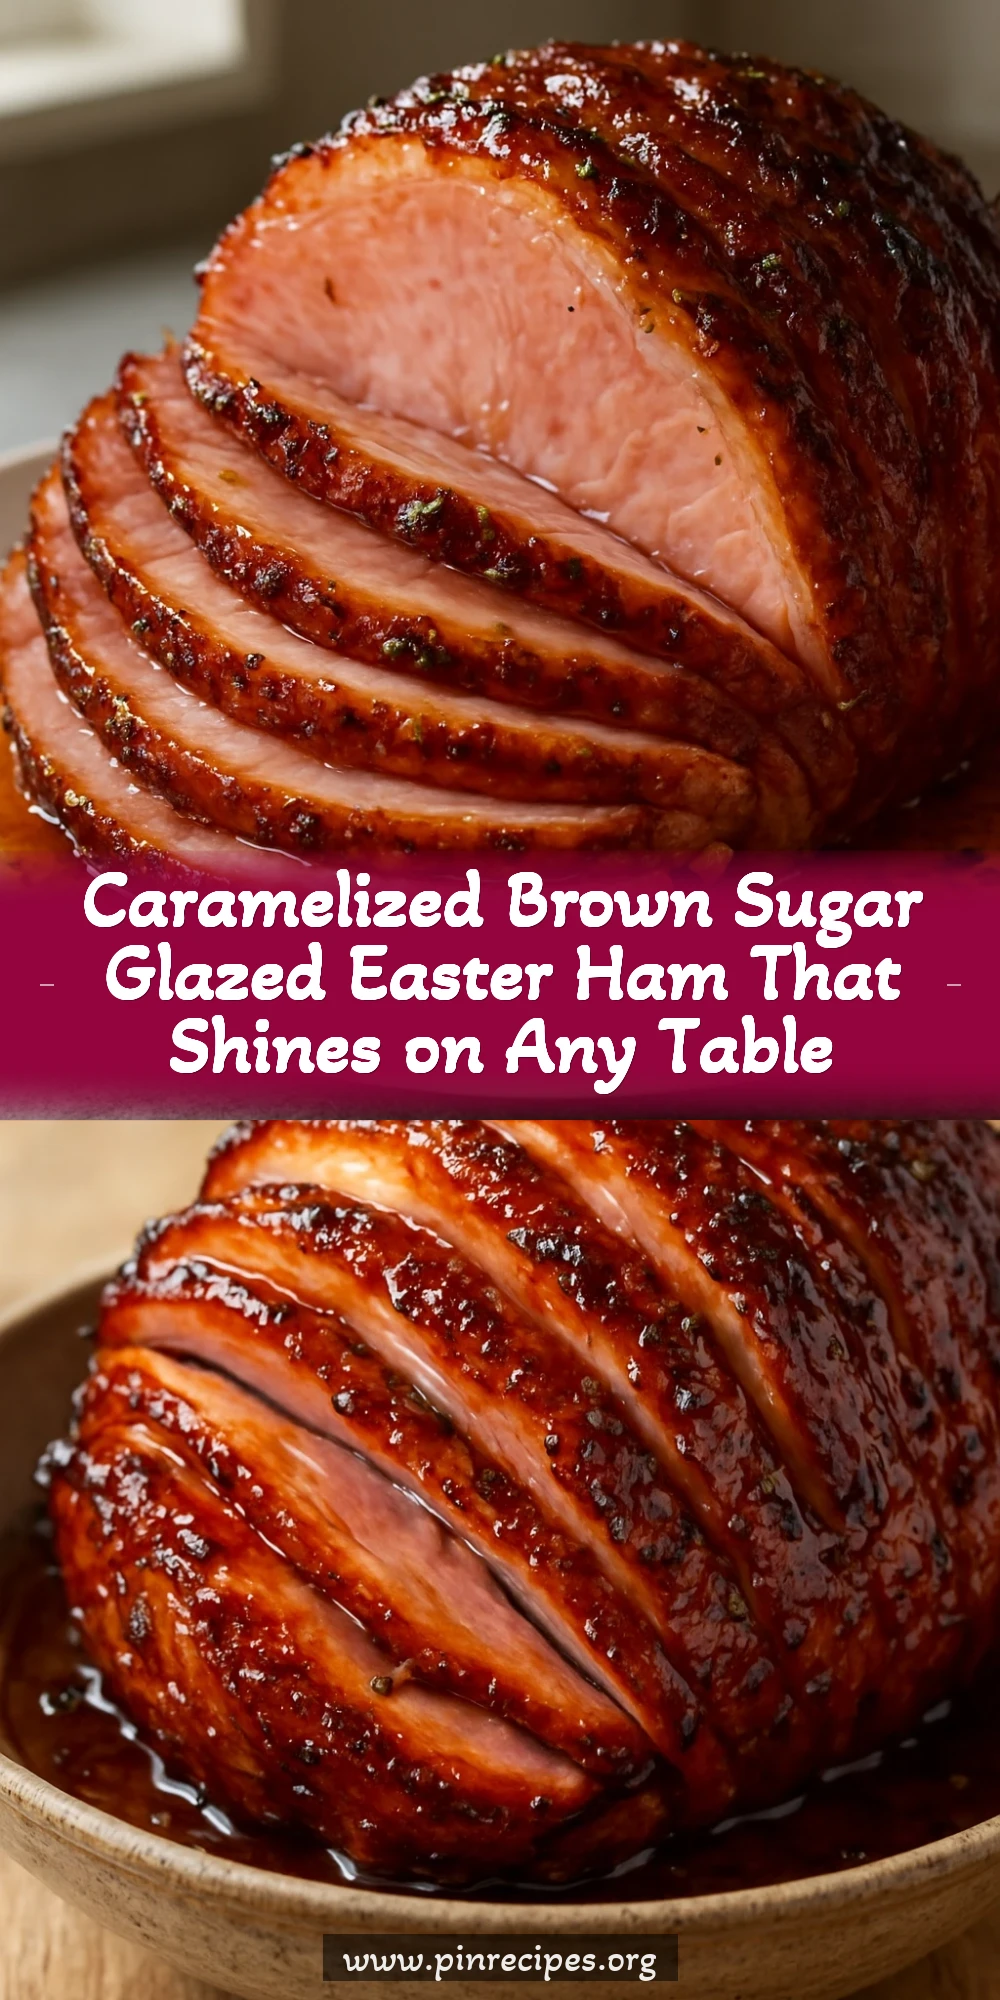
This Easter ham is glazed with a rich brown sugar and mustard mix that caramelizes beautifully. It’s perfect for holiday dinners or any special occasion when you want a crowd-pleaser with minimal fuss.
Introduction
I first made this Easter ham recipe a few years ago when I wanted something special but not too complicated for the holiday table. What really sets this ham apart is the brown sugar glaze that gets brushed on during baking, creating a sticky, caramelized crust that’s sweet but balanced with tangy mustard and a hint of spice from cloves. I’ve tried other glazes before, but this one sticks perfectly and doesn’t burn easily if you watch the oven carefully. The trick I learned is to score the ham deeply so the glaze seeps into every crevice, keeping the meat moist and flavorful. When it’s done, you get a gorgeous, glossy ham that’s tender and packed with layers of flavor. It’s a showstopper for sure, and my family always asks for seconds. Plus, it’s great for making sandwiches with the leftovers the next day!
What You'll Need
Serves approximately 8 people
- 1 fully cooked bone-in ham (about 8 pounds), scored
- 1 cup brown sugar, packed
- 1/4 cup Dijon mustard
- 1/4 cup honey
- 2 tablespoons apple cider vinegar
- 1/2 teaspoon ground cloves
- 1/4 teaspoon black pepper
How To Do It
Step 1
Preheat your oven to 325°F (160°C). Remove the ham from its packaging and place it on a large roasting pan lined with foil for easy cleanup. Using a sharp knife, score the surface of the ham in a diamond pattern about 1/4 inch deep. This scoring allows the glaze to penetrate the meat and creates those beautiful caramelized edges once baked. Be careful not to cut too deep or you might slice into the bone, which can affect cooking.
⏱ Time: 10 minutes
✓ Doneness: Ham surface shows a clear diamond pattern without cutting through the meat
Step 2
In a medium bowl, whisk together the brown sugar, Dijon mustard, honey, apple cider vinegar, ground cloves, and black pepper until smooth. This mixture balances sweetness with tang and a touch of warmth from the cloves. The vinegar helps cut through the richness and also aids in caramelization. If you skip or rush this step, the glaze might not have the right consistency or flavor depth.
⏱ Time: 5 minutes
✓ Doneness: Glaze is thick, glossy, and well combined without lumps
Step 3
Brush a generous layer of the glaze all over the scored ham, making sure to get into the diamond cuts. This initial coating starts the flavor infusion and helps form a sticky crust. Don’t be shy here; the glaze is what makes this ham special. Place the ham in the oven uncovered and bake for about 1 hour 15 minutes, basting every 15-20 minutes with more glaze. This repeated basting builds layers of flavor and helps develop that irresistible caramelization.
⏱ Time: 75 minutes
✓ Doneness: Glaze is shiny and caramelized with a deep golden-brown color
Step 4
About 15 minutes before the ham is done, increase the oven temperature to 400°F (200°C) to crisp up the glaze. Keep a close eye to avoid burning. This final blast of heat intensifies the caramelization, giving the ham a perfect glossy finish that’s slightly crisp on the edges yet sticky and sweet. If you skip this step, the glaze might remain soft and less visually appealing.
⏱ Time: 15 minutes
✓ Doneness: Glaze is bubbly, slightly crisp, and deep golden brown
Step 5
Remove the ham from the oven and tent it loosely with foil. Let it rest for 15-20 minutes before carving. Resting allows the juices to redistribute, making the meat juicier and easier to slice. Cutting into it immediately can cause the juices to run out, leaving the ham drier than it should be.
⏱ Time: 15-20 minutes
✓ Doneness: Ham feels warm but not hot to the touch and juices settle
Step 6
Carve the ham thinly against the grain using a sharp knife. The scoring you did earlier will help guide your slices and make serving easier. Thin slices ensure each piece is tender and flavorful. If you cut too thick, the texture can be a bit tougher and less enjoyable.
⏱ Time: 10 minutes
✓ Doneness: Slices are uniform, tender, and juicy
Step 7
Serve your ham with classic sides like mashed potatoes, roasted veggies, or a fresh salad. The sweetness of the glaze pairs beautifully with savory and earthy flavors. Leftovers also make incredible sandwiches or can be diced into a hearty breakfast hash.
⏱ Time: 0 minutes
✓ Doneness: Ham pairs well with sides and looks inviting on the plate
Step 8
If you want to add a little extra flair, stud the ham with whole cloves before glazing. This adds a subtle warm spice and looks festive. Just press the cloves into the intersections of your scoring pattern before brushing on the glaze. It’s a small step but makes a big difference in aroma and presentation.
⏱ Time: 5 minutes
✓ Doneness: Cloves are evenly spaced and secure in the ham surface
Step 9
For an alternative glaze twist, try swapping half the brown sugar for maple syrup or adding a splash of orange juice to the glaze mix. This changes the flavor profile to something a bit fruitier and more complex. Just remember to adjust the cooking time slightly if the glaze is thinner to avoid burning.
⏱ Time: 0 minutes
✓ Doneness: Glaze is smooth and coats the ham evenly without running off
Pro Tips
Score the ham deeply but carefully to avoid cutting into the bone.
Scoring allows the glaze to penetrate and caramelize on the surface, enhancing flavor and texture. Cutting too deep can expose the bone, leading to uneven cooking and dry spots. Proper scoring ensures the glaze seeps into the meat without compromising structure.
Baste the ham every 15-20 minutes during baking.
Repeated basting builds layers of sticky glaze, creating that irresistible caramelized crust. It also keeps the ham moist on the surface, preventing drying out. Skipping basting can result in a dull, less flavorful glaze and a drier ham.
Use a roasting pan with a rack to keep the ham elevated.
Elevating the ham allows heat to circulate evenly around it, promoting uniform cooking. It also prevents the ham from sitting in its juices, which can cause sogginess and uneven caramelization on the bottom.
Tent the ham with foil during resting to keep it warm.
Resting lets the juices redistribute throughout the meat, making it more tender and juicy. Covering with foil traps heat without steaming the surface, preserving the glaze’s texture.
Apply a final high-heat blast to crisp the glaze.
Increasing oven temperature at the end triggers Maillard reactions that deepen flavor and create a glossy, slightly crisp finish. Without this step, the glaze stays soft and less visually appealing.
Use a sharp carving knife for thin, even slices.
Thin slices maximize tenderness and flavor in each bite. A dull knife can tear the meat, resulting in ragged edges and uneven cooking experience.
Let the glaze cool slightly before brushing on additional coats.
Applying hot glaze repeatedly can cause it to drip or run off, reducing the sticky coating. Cooling helps it set slightly for better layering.
Common Mistakes to Avoid
Scoring the ham too shallow or too deep
Why it happens Many cooks either don’t score deeply enough to let the glaze penetrate or cut too deep and hit the bone, often from uncertainty or fear of ruining the ham.
Fix Use a sharp knife and aim for about 1/4 inch depth, creating diamond shapes without cutting through. Practice on a small area first if unsure.
Skipping the basting process
Why it happens Basting can feel tedious, so some skip it to save time, not realizing it’s crucial for building glaze layers.
Fix Set a timer to remind yourself every 15-20 minutes to baste. This keeps the ham moist and flavorful with a beautiful crust.
Cooking at too high a temperature the whole time
Why it happens Some assume higher heat means faster cooking, but this dries out the ham and burns glaze.
Fix Cook low and slow at 325°F, then finish with a high-heat blast at the end for caramelization.
Not resting the ham before carving
Why it happens Impatience to serve can lead to slicing immediately, causing juices to spill out.
Fix Tent the ham with foil and wait 15-20 minutes to let juices redistribute for moist slices.
Using a dull knife for carving
Why it happens Many overlook knife sharpness, leading to ragged cuts and uneven slices.
Fix Sharpen your carving knife beforehand for smooth, clean slices that look and taste better.
Variations
Maple Brown Sugar Glaze
Swap half the brown sugar for pure maple syrup and add a splash of orange juice. This variation gives the glaze a fruity sweetness and a slightly thinner texture, perfect for those who like a more complex flavor.
Note: Because the glaze is thinner, watch carefully during baking to avoid burning; you might need to baste more frequently.
Spicy Mustard and Honey Glaze
Add a teaspoon of cayenne pepper and increase the mustard to 1/3 cup for a spicy kick. The honey balances the heat, making this glaze great for those who like a little fire with their sweet.
Note: The spice level may intensify as it cooks, so adjust cayenne to taste and monitor glaze browning closely.
Pineapple and Brown Sugar Glaze
Mix crushed pineapple juice into the glaze for a tropical twist. The pineapple’s acidity tenderizes the meat further and adds a fresh fruitiness that pairs well with ham.
Note: Because pineapple juice is watery, reduce vinegar slightly to keep glaze consistency balanced.
Whole Clove Studded Ham
Stud whole cloves into the scored diamonds before glazing for a classic, aromatic presentation. This adds subtle spice and looks festive on the holiday table.
Note: Press cloves firmly to avoid them falling off during cooking; remove before serving if preferred.
Brown Sugar and Bourbon Glaze
Add 2 tablespoons of bourbon to the glaze for a smoky, boozy depth that complements the ham beautifully. This is great for adult gatherings and adds complexity to the flavor profile.
Note: Alcohol burns off during cooking, but be mindful of flame risks when applying glaze under high heat.
Nutrition
Per Serving:
Nutritional values are estimates and may vary based on specific ingredients used.
Storage & Tips
Room Temperature
You can keep leftover ham at room temperature for up to 2 hours covered loosely with foil or a clean towel. Beyond that, refrigeration is necessary to prevent bacterial growth.
Refrigerator
Store ham in an airtight container or tightly wrapped in foil/plastic wrap for up to 4 days. The glaze may harden slightly when cold; reheat gently to restore softness and flavor.
Freezer
Freeze leftover ham slices for up to 3 months. Wrap tightly in plastic wrap and place in a freezer-safe bag to prevent freezer burn. Thaw overnight in the fridge before reheating.
Reheating
Reheat ham slices in a covered dish in the oven at 275°F (135°C) for 15-20 minutes, adding a splash of water or broth to keep moist. Avoid microwaving too long or at high power to prevent drying out.
Make Ahead
You can prepare the glaze 1-2 days ahead and store it refrigerated. Score the ham and apply one coat of glaze before refrigerating overnight; add more glaze and bake the next day for fresher flavor.
FAQ
Can I use a spiral-cut ham for this glaze recipe?
Spiral-cut hams are pre-sliced, so scoring and glazing won’t penetrate as deeply or caramelize evenly. You can still brush the glaze over the slices and bake briefly to warm and caramelize, but the effect won’t be the same as with a whole bone-in ham.
How do I prevent the glaze from burning during baking?
Cook the ham at a moderate temperature (325°F) and baste regularly to keep the glaze moist. Increase heat only at the end for a short time to crisp the glaze. Watch closely during this step to avoid burning.
Can I make this ham without scoring it?
Scoring helps the glaze soak in and caramelize beautifully. Without it, the glaze will stay mostly on the surface and may not stick as well, resulting in less flavor penetration and a less attractive finish.
What can I substitute for Dijon mustard if I don’t have any?
You can use yellow mustard for a milder flavor or spicy brown mustard for more heat. Avoid using sweet or flavored mustards as they can alter the glaze balance.
Is it okay to use light brown sugar instead of dark brown sugar?
Yes, light brown sugar works fine and will produce a slightly milder molasses flavor. Dark brown sugar gives a richer, deeper caramel taste, but either works well.
How long should I rest the ham before carving?
Resting for 15-20 minutes allows juices to redistribute, making the ham juicier and easier to slice. Skipping this step can cause dry slices as the juices run out immediately when cut.
Can I prepare this ham a day ahead?
Yes! Score and glaze the ham, then cover and refrigerate overnight. The next day, bake as usual, adding extra glaze during cooking. This can actually enhance flavor as the glaze soaks in overnight.
What sides pair well with this glazed ham?
Classic sides like mashed potatoes, roasted vegetables, green beans, or a fresh salad complement the sweet and savory flavors of the ham perfectly. You can also serve with dinner rolls or mac and cheese for a comforting meal.
Final Thoughts
I hope you give this brown sugar glazed Easter ham a try—it’s always a hit with my family! Let me know how yours turns out and if you add your own twist.