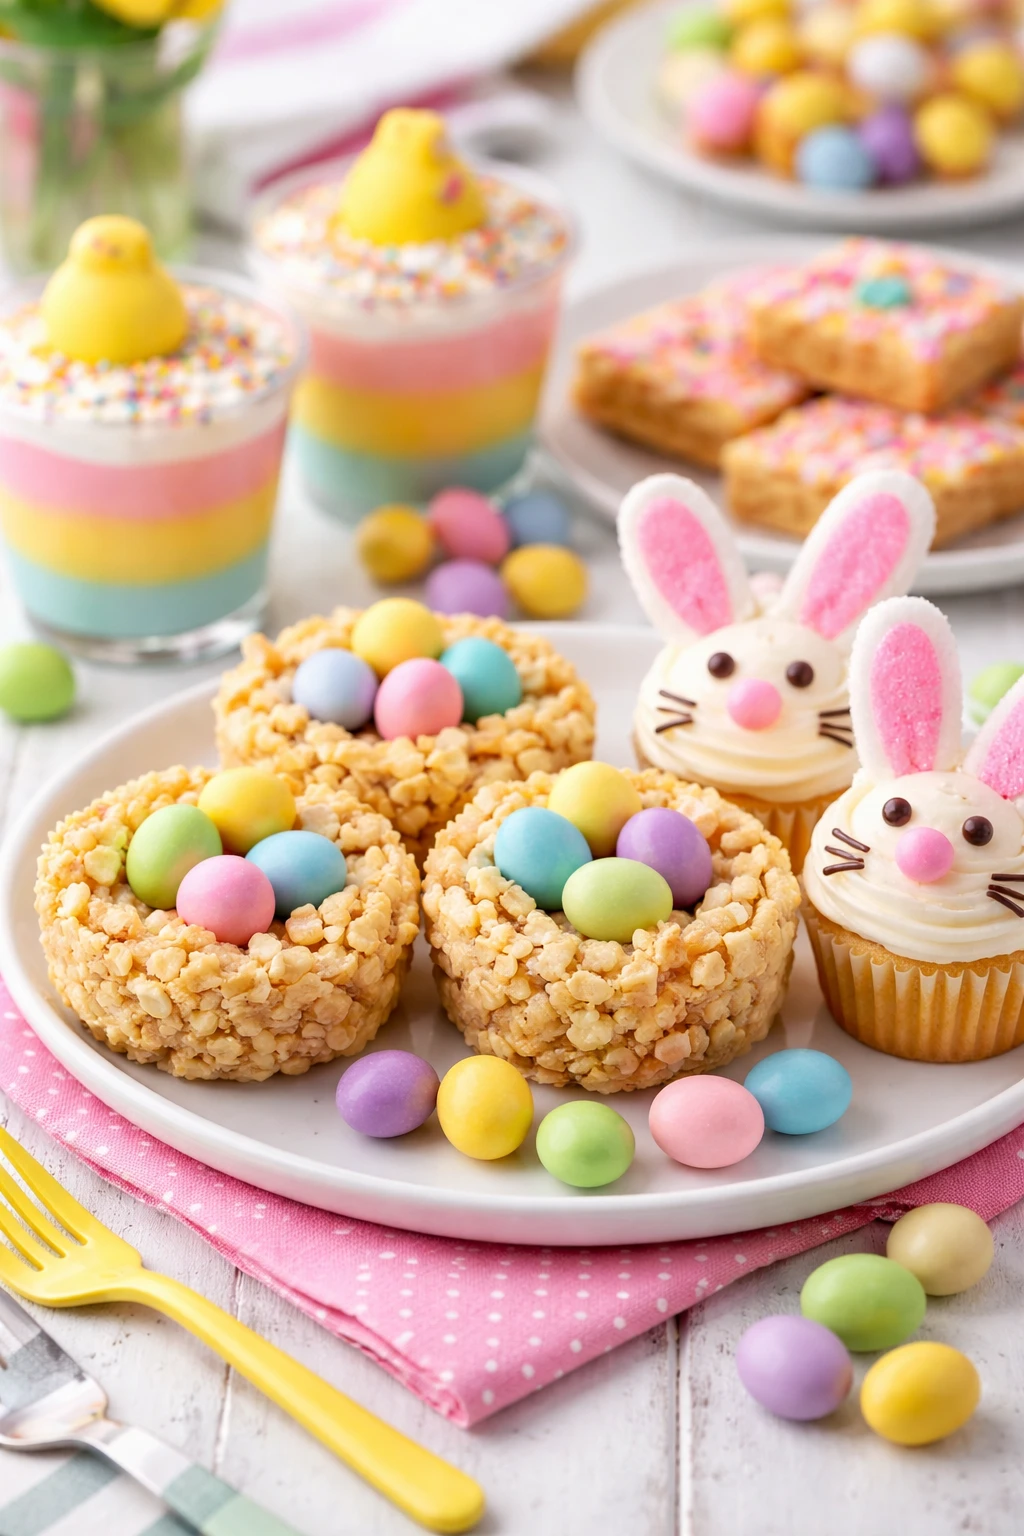
These easy Easter desserts are perfect for little helpers! With simple steps and colorful ingredients, kids can join the fun and create sweet treats that brighten up any spring celebration.
Introduction
I remember the first time I let my niece and nephew help me make Easter desserts — it was a total mess but so much fun! These simple Easter desserts are designed especially for kids to get involved without any complicated steps. I love how colorful and cheerful they turn out, perfect for spring celebrations. What makes these treats special is how easy they are to customize with whatever candies or toppings you have on hand, so each batch feels personal. Plus, no baking required means less stress and more time for laughter. The trick I learned is to use room temperature frosting so it spreads easily and sticks to the toppings without making a sticky mess. These desserts look festive and taste sweet, with a nice balance of creamy frosting and crunchy candies. They’re perfect for a family gathering, Easter egg hunt party, or just a fun weekend activity with the kids. Honestly, sometimes the simplest recipes bring the biggest smiles, and these definitely do!
What You'll Need
Makes 12 decorated Easter cookies
- 1 cup mini marshmallows
- 1 cup colorful sprinkles
- 2 cups vanilla frosting, room temperature
- 12 sugar cookies, store-bought or homemade
- 1 cup pastel candy-coated chocolates
- 1 cup shredded coconut, tinted with a few drops of green food coloring
- 1/2 cup chopped fresh strawberries
How To Do It
Step 1
Start by laying out your sugar cookies on a large tray or clean surface. Make sure they’re at room temperature so the frosting spreads smoothly. This step is important because cold cookies can cause the frosting to harden unevenly, making it tough for kids to decorate. Giving the kids their own small bowls of frosting helps them manage the amount they use and keeps things less messy. Encourage them to spread a thin, even layer of frosting on each cookie using a butter knife or small spatula. This base layer is what holds all the toppings, so smooth coverage is key.
⏱ Time: 10 minutes
✓ Doneness: Cookies have an even, glossy coating of frosting with no bare spots
Step 2
Next, let the kids sprinkle colorful candies, mini marshmallows, and shredded coconut over the frosted cookies. Using separate bowls for each topping makes it easier to pick and choose. The sprinkling technique is fun and gives them creative freedom. Remind them to press toppings gently into the frosting so they stick well but don’t squish the cookies. This step adds texture and vibrant color, making each cookie unique. If you want, add chopped strawberries for a fresh twist. Don’t rush this part; it’s where the magic happens!
⏱ Time: 5 minutes
✓ Doneness: Cookies are covered with a colorful mix of toppings that adhere firmly
Step 3
Allow the decorated cookies to rest at room temperature for about 15 minutes so the frosting sets slightly. This helps the toppings stay put when moving or stacking the cookies. If you’re in a hurry, placing them briefly in the fridge can speed this up, but be careful not to chill too long or the frosting might harden too much and crack when handled. This resting time is crucial for presentation and ease of serving.
⏱ Time: 15 minutes
✓ Doneness: Frosting feels set to the touch but still soft
Step 4
Serve the cookies on a colorful platter or Easter-themed plate to add to the festive vibe. These treats are best enjoyed the same day they’re made to keep the cookies crisp and the toppings fresh. If you need to store leftovers, keep them in an airtight container at room temperature for up to two days. Avoid refrigeration as it can make the cookies soggy. Sharing these with family and friends is the best way to celebrate the season!
⏱ Time: 0 minutes
✓ Doneness: Cookies look vibrant and fresh on the serving plate
Step 5
If you want to mix things up, try using peanut butter or chocolate frosting instead of vanilla for a different flavor profile. You can also swap the sugar cookies for graham crackers or rice cakes for a lighter bite. Just keep in mind that the frosting consistency matters; thicker frostings hold toppings better. Experimenting with different bases and frostings keeps the recipe exciting and adaptable for picky eaters or dietary needs.
⏱ Time: 0 minutes
✓ Doneness: Frosting spreads smoothly and toppings stick well
Step 6
To make cleanup easier, line your workspace with parchment paper or a silicone mat before starting. This catches stray sprinkles and crumbs, so the kids can focus on decorating without worrying about the mess. Also, have wet wipes or damp cloths handy for quick finger cleaning. Setting up this little station beforehand makes the whole experience more enjoyable and less stressful for everyone involved.
⏱ Time: 0 minutes
✓ Doneness: Workspace is protected and cleanup is simplified
Step 7
Encourage kids to get creative by making faces or Easter shapes with the toppings. Using candies as eyes, marshmallows as bunny tails, or coconut as grass sparks imagination and makes the activity more engaging. This playful approach also helps develop fine motor skills and keeps them entertained longer. Don’t worry about perfection — the charm is in the handmade look!
⏱ Time: 0 minutes
✓ Doneness: Decorations look playful and personalized
Step 8
For a fun group activity, turn this into a decorating contest where everyone makes their own cookie masterpiece. Set up a small prize or just enjoy the laughs and creativity. This social aspect makes the recipe more memorable and perfect for holiday gatherings. Plus, it’s a great way to bond and make lasting memories with kids.
⏱ Time: 0 minutes
✓ Doneness: Cookies display a variety of creative designs
Step 9
Finally, don’t forget to take photos of your colorful creations! These simple Easter desserts are not only delicious but also look adorable on camera. Sharing your photos with friends or on social media can inspire others to join the fun. It’s also a sweet way to remember the joyful moments spent baking together.
⏱ Time: 0 minutes
✓ Doneness: Cookies look bright, colorful, and photogenic
Pro Tips
Use room temperature frosting for easy spreading.
Cold frosting is stiff and hard to spread, which can frustrate kids and cause uneven coverage. Room temperature frosting glides smoothly over cookies, creating a perfect sticky base for toppings to adhere.
Line your workspace with parchment paper before decorating.
This simple step catches stray sprinkles and crumbs, making cleanup much faster and less stressful. It also helps keep the decorating area tidy, so kids can focus on the fun part.
Press toppings gently into the frosting to secure them.
Light pressure embeds toppings into the frosting without squashing the cookie. This ensures decorations stay put during handling and serving, maintaining the cookies’ neat appearance.
Let decorated cookies rest for 15 minutes before serving.
Allowing frosting to set slightly helps stabilize the toppings, preventing them from sliding off. This resting period improves presentation and makes the cookies easier to transport or stack.
Provide small bowls of toppings for each child.
Individual bowls help kids manage their own decorations and reduce cross-contamination or mess. It also encourages creativity as each child can mix and match toppings freely.
Encourage kids to create faces or Easter shapes with toppings.
This playful approach boosts engagement and fine motor skills. It also makes the activity more memorable and personal, turning dessert time into a creative event.
Take photos of the finished cookies to capture the fun.
Documenting the colorful results preserves memories and can inspire others to try the recipe. Plus, it’s a fun way to celebrate the kids’ efforts and creativity.
Common Mistakes to Avoid
Using cold frosting straight from the fridge
Why it happens Many assume frosting is ready to spread immediately, but refrigeration makes it too stiff.
Fix Let frosting sit at room temperature for at least 30 minutes before decorating. This softens it, making spreading easier and preventing tearing of the cookie surface.
Overloading cookies with toppings
Why it happens Kids often want to pile on as many candies as possible, which can cause toppings to fall off.
Fix Guide kids to apply toppings in a thin, even layer and press them gently into the frosting. This balance keeps decorations secure and the cookie manageable.
Skipping the resting time before serving
Why it happens Impatience or excitement leads to serving cookies immediately after decorating.
Fix Set cookies aside for 15 minutes at room temperature to let frosting firm up slightly. This prevents toppings from sliding off and improves appearance.
Using crumbly or soft cookies
Why it happens Some think any cookie base will work, but fragile cookies break under frosting and toppings.
Fix Choose sturdy sugar cookies or graham crackers that hold their shape well. This provides a solid foundation for decorating and eating.
Not protecting the workspace
Why it happens In the excitement, many forget to prep the area, leading to difficult cleanup.
Fix Cover your surface with parchment paper or a silicone mat before starting. This catches spills and crumbs, saving time and effort later.
Variations
Chocolate Lover’s Easter Cookies
Swap vanilla frosting for chocolate frosting and use chocolate candies and mini chocolate chips for toppings. This variation adds a rich, indulgent flavor that chocolate fans will adore. It’s still easy enough for kids to decorate and perfect for a sweeter twist on the classic.
Note: Chocolate frosting can be thicker; warm it slightly if needed for easier spreading without melting the cookies.
Fruit and Yogurt Easter Bites
Use a dollop of Greek yogurt mixed with honey instead of frosting and top with fresh berries and chopped nuts. This variation is lighter and adds a tangy freshness, making it a healthier option that still feels festive and fun for kids to assemble.
Note: Serve immediately as yogurt toppings don’t set like frosting and can make cookies soggy if left too long.
Gluten-Free Easter Treats
Start with gluten-free sugar cookies or rice cakes and use dairy-free frosting. Top with naturally gluten-free candies and shredded coconut. This adaptation keeps the recipe inclusive for dietary restrictions without sacrificing fun or flavor.
Note: Check all toppings for gluten content to ensure safety for sensitive eaters.
No-Sugar Added Easter Snacks
Use plain rice cakes or unsweetened crackers as the base, spread with cream cheese sweetened with a bit of mashed banana or natural sweetener, and top with fresh fruit. This version reduces sugar but keeps the playful decorating aspect intact.
Note: Cream cheese spreads best at room temperature; keep fruit toppings fresh for best texture.
Peanut Butter Easter Cookies
Replace frosting with creamy peanut butter and add mini chocolate chips or chopped nuts on top. This variation offers a nutty flavor and protein boost, great for kids who love peanut butter. It’s quick and still super easy to make together.
Note: If peanut allergies are a concern, substitute with sunflower seed butter or almond butter.
Nutrition
Per Serving:
Nutritional values are estimates and may vary based on specific ingredients used.
Storage & Tips
Room Temperature
Store decorated cookies in an airtight container at room temperature for up to 2 days. Keep away from direct sunlight or heat to prevent frosting from melting. Covering helps maintain freshness and keeps toppings intact.
Refrigerator
If you prefer, cookies can be refrigerated in an airtight container for up to 3 days. The frosting may firm up and the cookies might soften slightly. Bring to room temperature before serving for best texture.
Freezer
These decorated cookies are best enjoyed fresh and don’t freeze well due to frosting and toppings. If needed, freeze undecorated cookies wrapped tightly for up to 2 months. Thaw completely before decorating.
Reheating
No reheating needed. Serve at room temperature. If chilled, let sit out 15 minutes to soften the frosting and enhance flavor.
Make Ahead
Bake or buy sugar cookies up to 2 days ahead and store in an airtight container. Prepare frosting and toppings the day before. Assemble and decorate cookies the day of serving for freshest results and most fun.
FAQ
Can I use homemade sugar cookies for this recipe?
Absolutely! Homemade sugar cookies work great as long as they’re sturdy enough to hold frosting and toppings. Chill your dough before baking to help cookies keep their shape. Let cookies cool completely before decorating to avoid melting the frosting.
What if my kids don’t like frosting?
You can substitute frosting with cream cheese spread, peanut butter, or even yogurt sweetened with honey. These alternatives still act as a glue for toppings and offer different flavors and textures that might appeal more to picky eaters.
How do I keep the toppings from falling off?
The key is to use room temperature frosting spread evenly and to gently press toppings into it. Letting the cookies rest for 15 minutes after decorating helps the frosting set and hold everything in place.
Can I prepare these desserts ahead of time?
You can bake or buy cookies and prepare frosting a day or two ahead. However, it’s best to decorate the cookies the same day you plan to serve them to keep toppings fresh and prevent sogginess.
Are there allergy-friendly options for this recipe?
Yes! Use dairy-free frosting or nut butters if needed, and choose allergy-safe candies. For peanut allergies, sunflower seed butter is a great substitute. Always check ingredient labels for potential allergens.
What if my frosting is too runny?
If frosting is too thin, toppings won’t stick well. You can thicken it by chilling it briefly or mixing in some powdered sugar until it reaches a spreadable but firm consistency.
Can we add other decorations besides candies and coconut?
Definitely! Try edible glitter, colored sugar, or small fruit pieces like blueberries or sliced kiwi. Just make sure decorations are bite-sized and safe for kids to eat.
How do I make the shredded coconut green?
Simply place shredded coconut in a zip-top bag, add a few drops of green food coloring, and shake until evenly tinted. Let it dry on parchment paper before using to avoid clumping.
Final Thoughts
I hope you and your kids have a blast making these simple Easter desserts together! Don’t forget to share your colorful creations and happy moments.