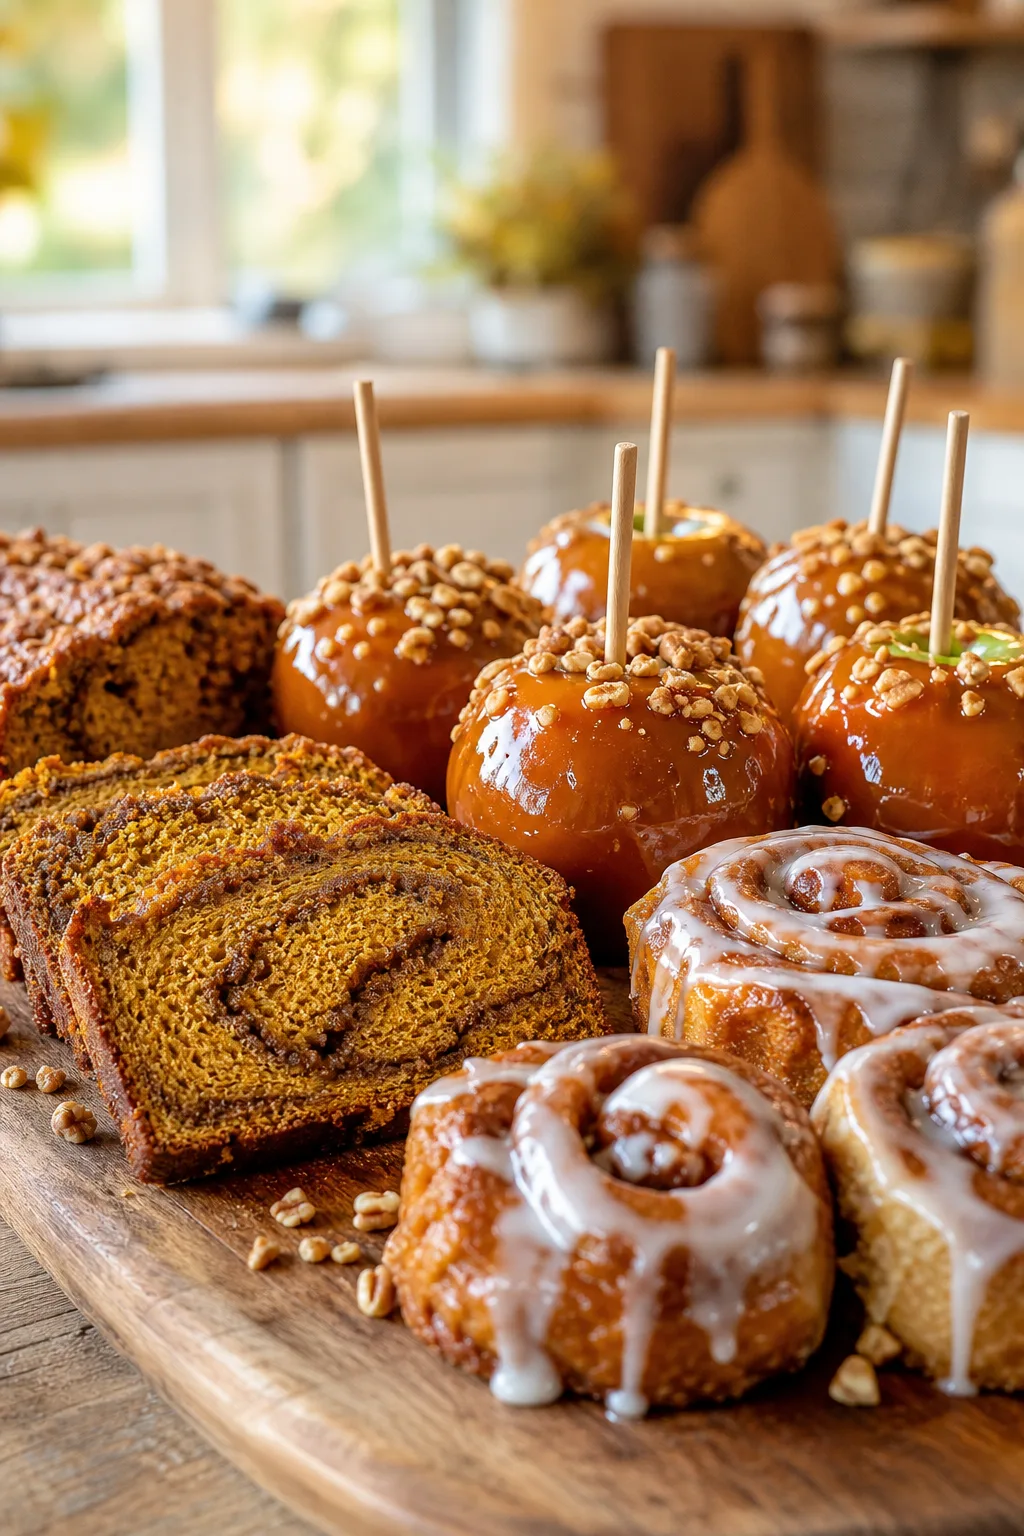
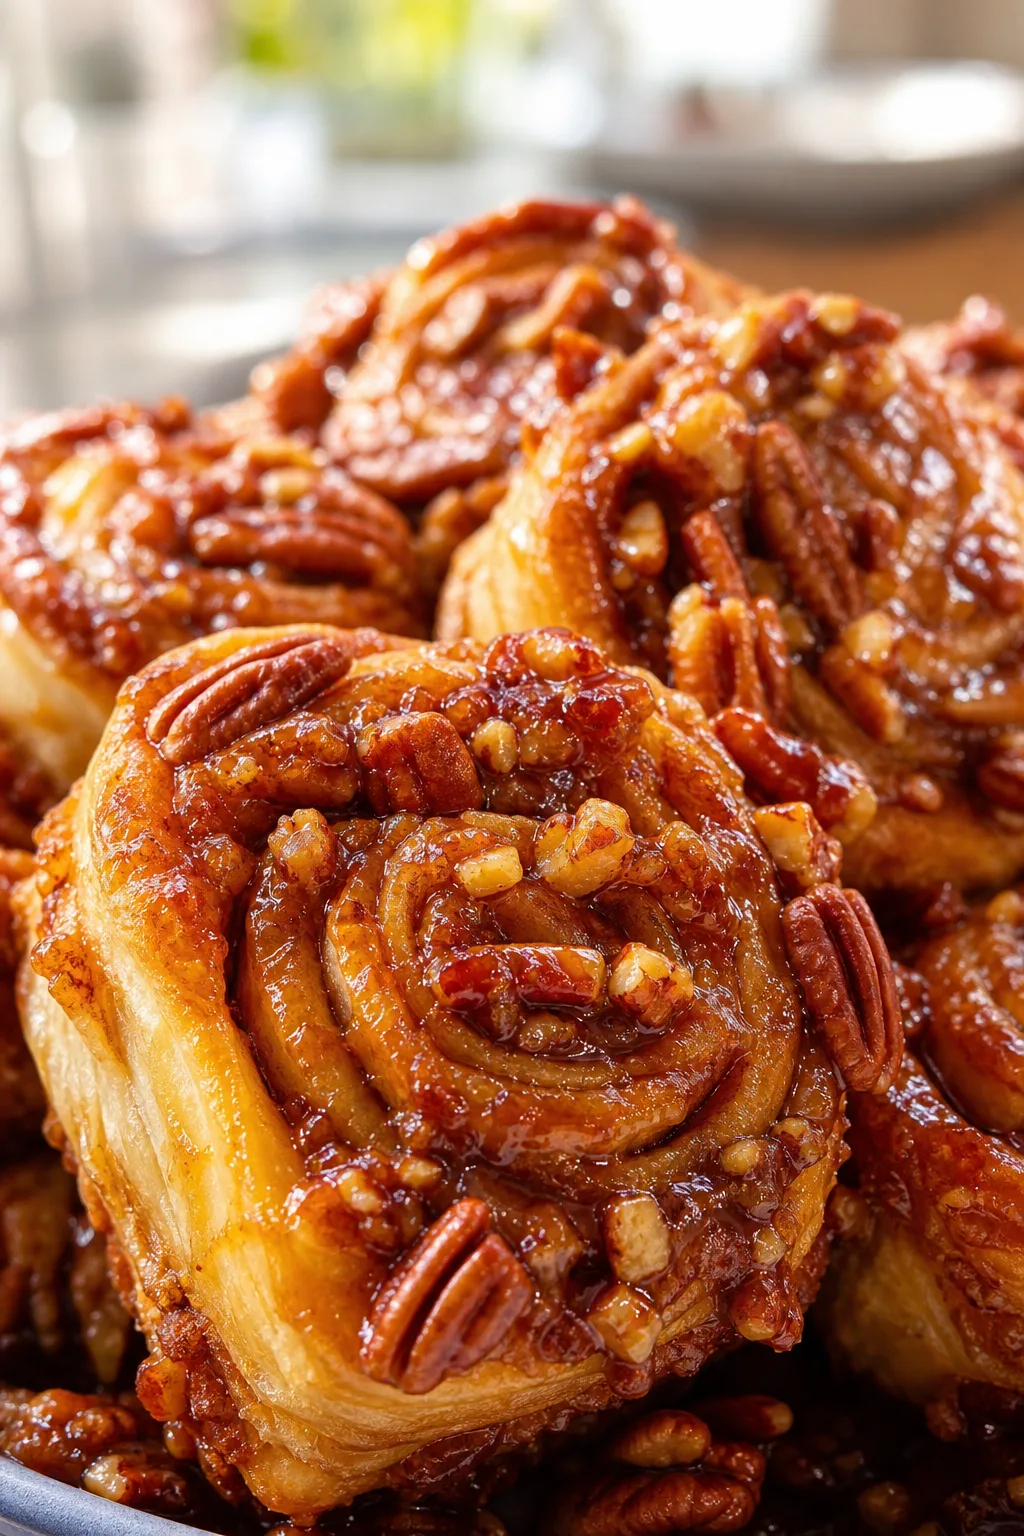
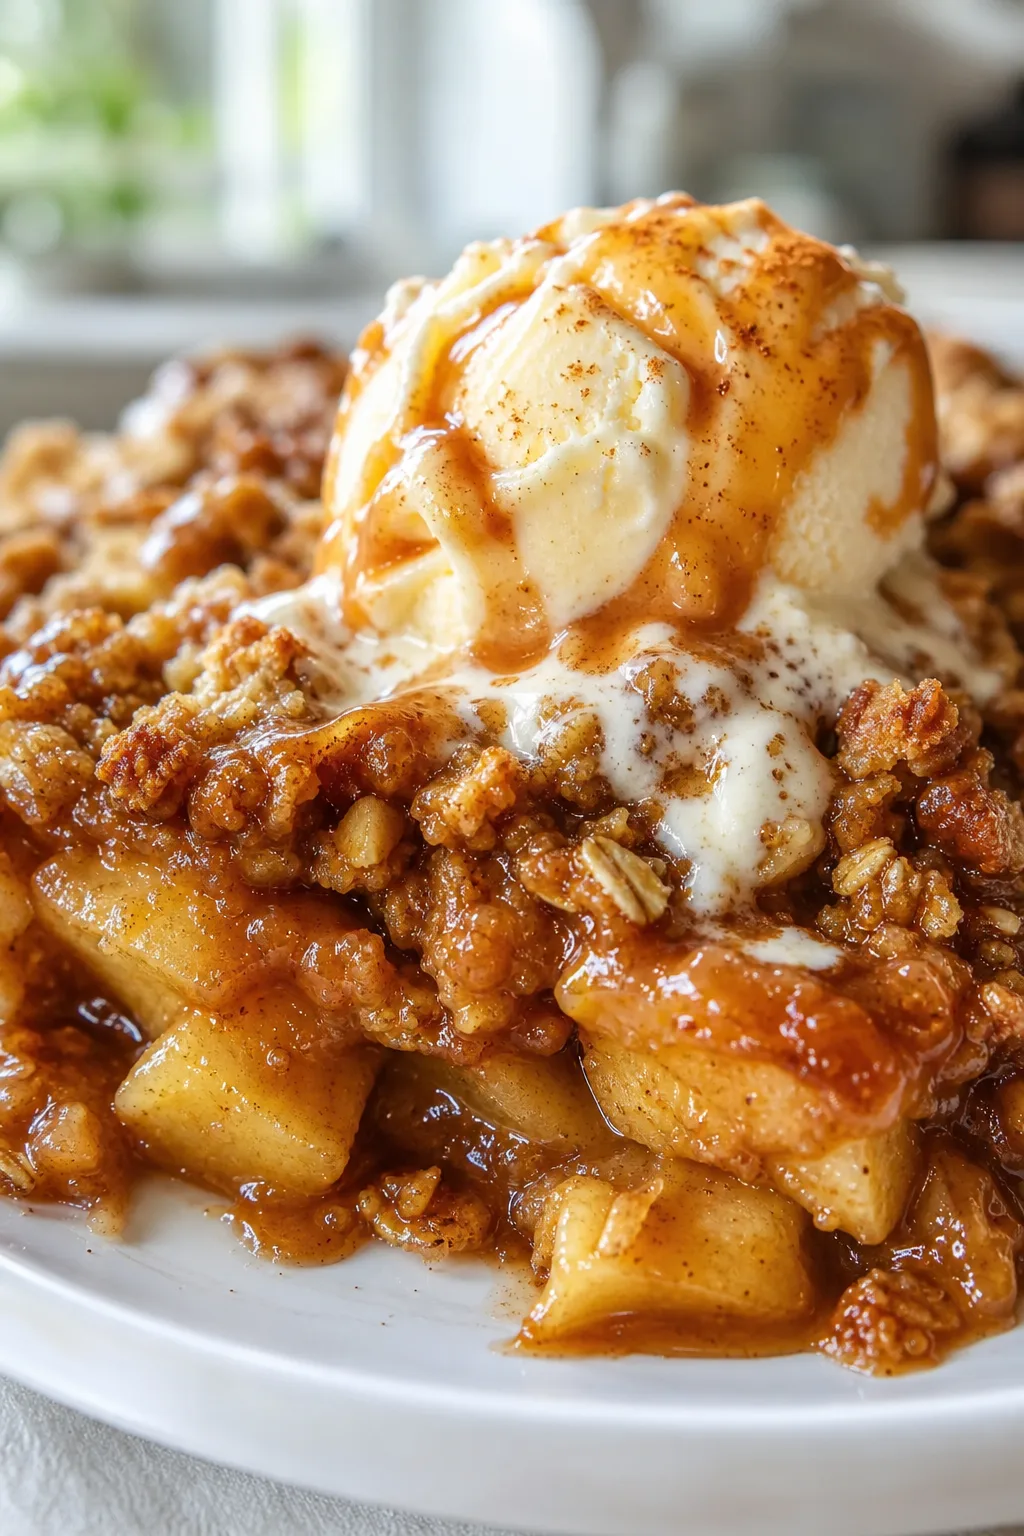
These simple Easter treats bring a burst of color and flavor to your spring celebrations. Featuring easy-to-make recipes with fresh ingredients, they're perfect for sharing with family or impressing guests at your holiday brunch.
Introduction
I remember the first time I made these simple Easter treats; it was a last-minute idea to bring something sweet and cheerful to our family brunch. What I love about this recipe is how effortlessly it comes together, yet it still feels special and festive. Unlike more complicated desserts, these treats rely on basic pantry ingredients but get a fresh twist with subtle vanilla and a touch of color if you want to get playful. One trick I discovered is to gently fold the batter to keep the texture light and fluffy, which makes all the difference. Plus, dusting with powdered sugar right before serving adds a lovely, delicate finish. These treats are perfect for Easter morning or as a sweet snack during the day. They’re quick enough to whip up even if you’re short on time but impressive enough to wow your guests. I’ve made them several times now, and each time, they disappear fast — a true sign of a winner in my book!
What You'll Need
Approximately 12 treats, serves 8
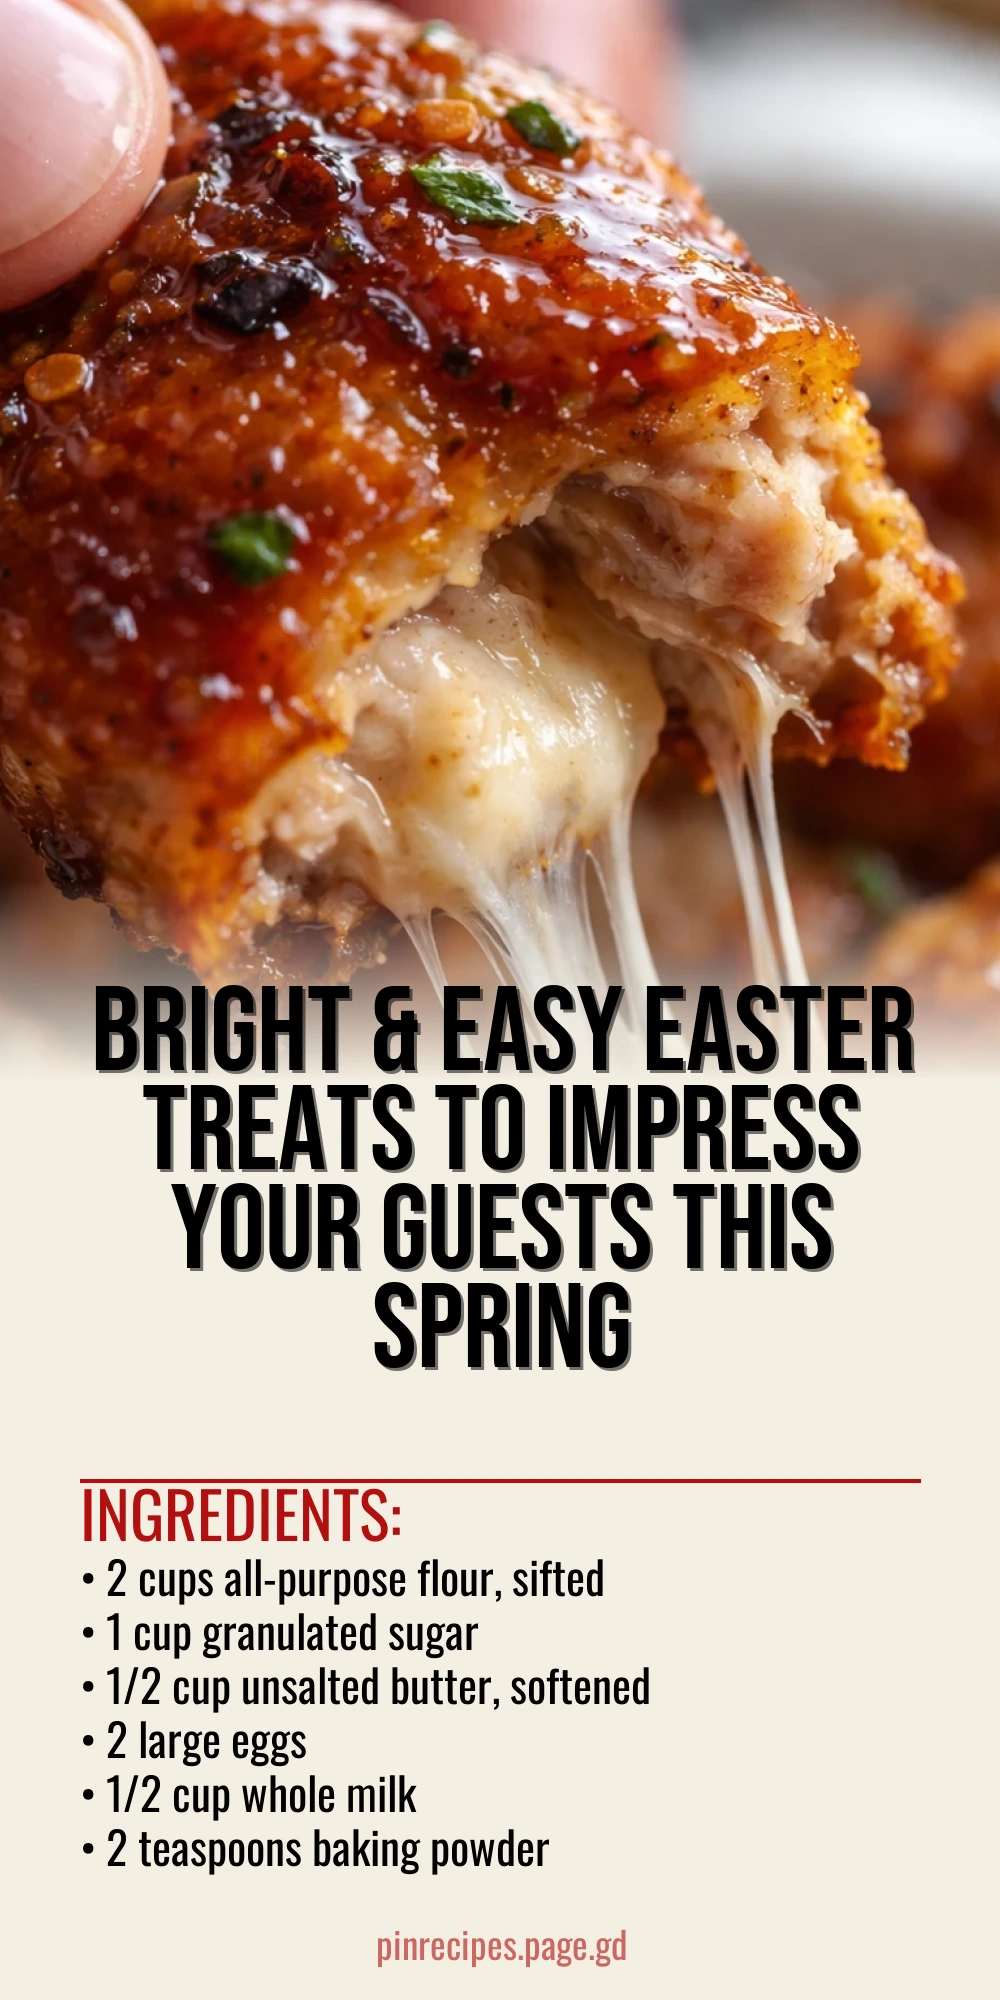
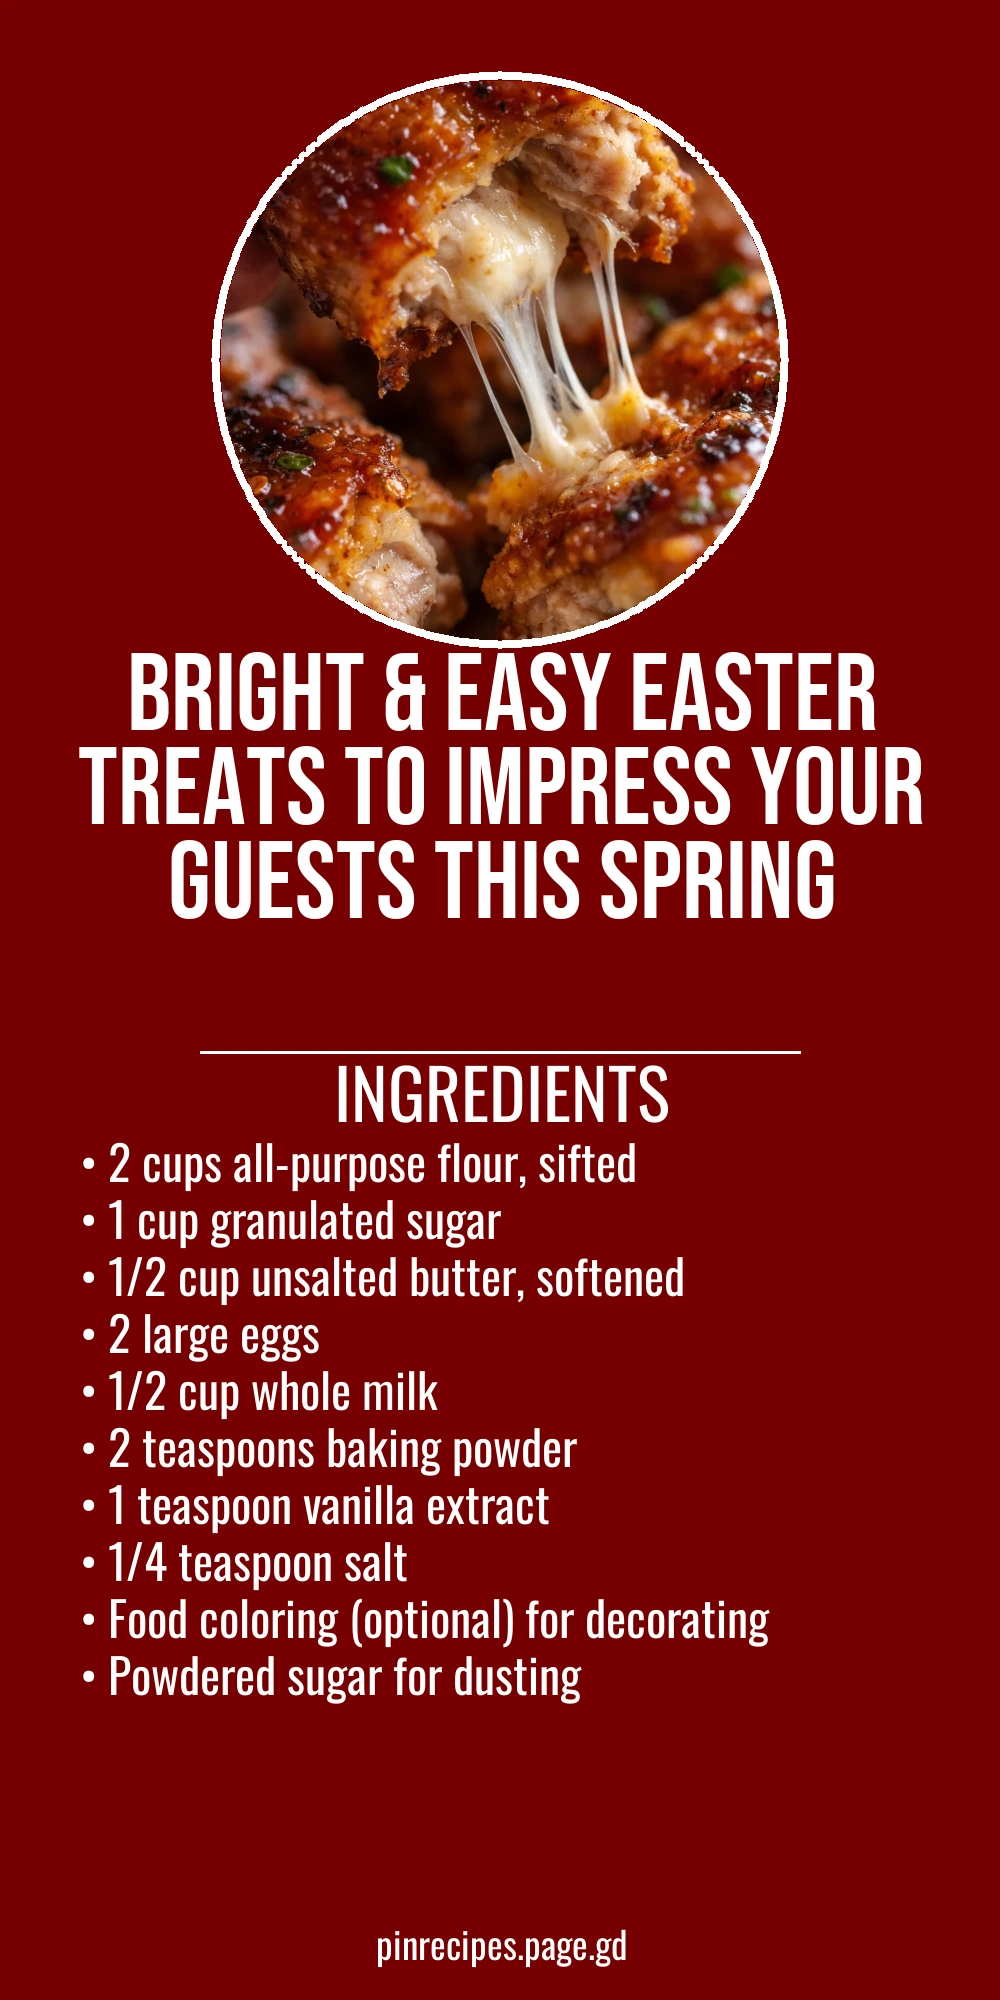
- 2 cups all-purpose flour, sifted
- 1 cup granulated sugar
- 1/2 cup unsalted butter, softened
- 2 large eggs
- 1/2 cup whole milk
- 2 teaspoons baking powder
- 1 teaspoon vanilla extract
- 1/4 teaspoon salt
- Food coloring (optional) for decorating
- Powdered sugar for dusting
How To Do It
Step 1
Start by preheating your oven to 350°F (175°C) and lining a baking sheet with parchment paper. This ensures your treats bake evenly and don’t stick. Mixing dry ingredients first is key: whisk together the sifted flour, baking powder, and salt in a bowl. This helps distribute the leavening agent evenly, which is crucial for a uniform rise. Avoid skipping the sifting step as it also helps prevent lumps and creates a lighter texture.
⏱ Time: 10 minutes
✓ Doneness: Dry ingredients are fully combined with no clumps visible.
Step 2
In a separate large bowl, cream the softened butter and granulated sugar until light and fluffy using a hand mixer or stand mixer. This aerates the butter, which contributes to a tender crumb. Then, beat in the eggs one at a time, making sure each is fully incorporated before adding the next. Stir in the vanilla extract for a warm, inviting flavor. Rushing this step can lead to uneven texture, so take your time for best results.
⏱ Time: 5 minutes
✓ Doneness: Mixture looks pale, creamy, and smooth without any graininess.
Step 3
Alternate adding the dry ingredients and milk to the butter mixture, starting and ending with the dry ingredients. Use a spatula to fold gently after each addition to avoid overmixing, which can make the treats tough. The batter should be smooth and slightly thick but still pourable. Overmixing develops gluten, resulting in a dense texture, so mix just until combined.
⏱ Time: 5 minutes
✓ Doneness: Batter is homogenous with no streaks of flour or lumps.
Step 4
If you want to add some Easter flair, divide the batter into small bowls and add a few drops of food coloring to each. Gently swirl the colors into the batter without fully mixing to create a marbled effect. This step is all about fun and visual appeal, so don’t worry about precision. It’s a great way to involve kids in the process too!
⏱ Time: 5 minutes
✓ Doneness: Colors are swirled through the batter but still distinct.
Step 5
Spoon or pipe the batter onto the prepared baking sheet in even dollops or shapes, spacing them about 2 inches apart to allow for spreading. This spacing prevents the treats from merging into each other. If you want a more uniform look, use a cookie scoop or piping bag. The size you choose will affect baking time slightly, so keep an eye on them in the oven.
⏱ Time: 5 minutes
✓ Doneness: All batter is portioned out with even spacing on the sheet.
Step 6
Bake in the preheated oven for 12-15 minutes, or until the edges are golden and a toothpick inserted in the center comes out clean. Ovens vary, so start checking at 12 minutes to avoid overbaking, which dries out the treats. The aroma of vanilla and butter will fill your kitchen as they bake—a good sign they’re almost ready!
⏱ Time: 15 minutes
✓ Doneness: Edges are lightly golden and centers spring back when touched.
Step 7
Remove the treats from the oven and let them cool on the baking sheet for 5 minutes before transferring to a wire rack. This resting time helps them set and prevents breakage. Moving them too soon can cause them to crumble, so patience here is key for intact, pretty treats.
⏱ Time: 5 minutes
✓ Doneness: Treats are firm enough to lift without crumbling.
Step 8
Once fully cooled, dust the treats lightly with powdered sugar for a delicate, festive touch. Use a fine sieve or shaker for an even coating. This step adds a subtle sweetness and looks charming on the colorful treats. You can also add small sprinkles or edible glitter for extra fun if you like.
⏱ Time: 3 minutes
✓ Doneness: Even, light dusting of powdered sugar covers the surface.
Step 9
Serve your Easter treats on a pretty platter or basket lined with pastel-colored napkins. They’re best enjoyed fresh but also keep well for a day or two in an airtight container. Perfect for sharing with family or as a sweet surprise for your guests. Don’t forget to snap a photo before they disappear!
⏱ Time: 2 minutes
✓ Doneness: Treats look inviting and are ready to enjoy.
Pro Tips
Always sift your dry ingredients before mixing.
Sifting aerates the flour and evenly distributes baking powder and salt, which leads to a lighter texture and prevents clumps that can cause uneven baking.
Cream butter and sugar until pale and fluffy.
This step traps air into the fat, which helps the treats rise and creates a tender crumb. Under-creaming results in denser treats.
Add eggs one at a time, fully incorporating each before adding the next.
This ensures proper emulsification, leading to a smooth batter that holds moisture and bakes evenly.
Alternate adding dry ingredients and milk to avoid overmixing.
This prevents gluten development, which can make the treats tough instead of soft and tender.
Don’t skip the resting time after baking before removing treats from the pan.
It allows the structure to set, preventing breakage and crumbling when transferring.
Use a cookie scoop or piping bag for uniform shapes.
Even sizes bake more consistently, preventing some treats from overbaking while others remain undercooked.
Dust with powdered sugar just before serving.
This keeps the sugar from melting into the treats and preserves a delicate, attractive finish.
Common Mistakes to Avoid
Overmixing the batter
Why it happens Many cooks think mixing longer makes batter smoother, but it actually develops gluten, which toughens the treats.
Fix Mix just until ingredients are combined. Use a spatula for folding instead of vigorous stirring to maintain a light texture.
Using cold eggs or butter
Why it happens Sometimes ingredients go straight from fridge to bowl, but cold fats don’t cream properly and cold eggs can cause curdling.
Fix Bring eggs and butter to room temperature before starting. This helps emulsify the batter for better texture.
Skipping sifting of dry ingredients
Why it happens It’s tempting to save time, but skipping sifting can cause lumps and uneven rising.
Fix Always sift flour, baking powder, and salt together for an even mix and lighter treats.
Baking at wrong temperature
Why it happens Ovens vary and some cooks don’t preheat or use incorrect settings, leading to uneven baking.
Fix Preheat the oven fully to 350°F and use an oven thermometer if possible to ensure accuracy.
Removing treats from the pan too soon
Why it happens Impatience can cause treats to break or crumble when still fragile.
Fix Let treats cool on the pan for at least 5 minutes before transferring to a wire rack.
Variations
Lemon Zest Easter Treats
Add 1 tablespoon of fresh lemon zest to the batter for a bright, citrusy twist. Swap vanilla extract for lemon extract if you want a stronger lemon flavor. These treats will have a refreshing, tangy note perfect for spring.
Note: Zest should be finely grated to avoid bitter pith. Baking time remains the same, but watch for subtle color changes.
Chocolate Chip Easter Treats
Fold 1 cup of mini chocolate chips into the batter before baking. This adds a fun surprise inside each treat and pairs beautifully with the vanilla base for a classic crowd-pleaser.
Note: Toss chips in a little flour before folding in to prevent sinking. Baking time may increase by 2-3 minutes.
Gluten-Free Easter Treats
Use a 1:1 gluten-free baking flour blend instead of all-purpose flour. This makes the treats accessible for gluten-sensitive guests while maintaining a similar texture and flavor.
Note: Check that your baking powder is also gluten-free. The batter may be slightly denser; avoid overmixing to keep treats tender.
Vegan Easter Treats
Replace butter with vegan margarine and eggs with flax eggs (1 tbsp ground flaxseed + 3 tbsp water per egg). Use plant-based milk to keep it dairy-free. These tweaks make the treats suitable for vegans without sacrificing flavor.
Note: Flax eggs need 5 minutes to thicken before adding. Texture may be a bit denser but still delicious.
Spiced Easter Treats
Add 1 teaspoon cinnamon and 1/2 teaspoon ground nutmeg to the dry ingredients for a warm, cozy flavor perfect for early spring. These spices complement the vanilla and add depth.
Note: Mix spices well with dry ingredients. Baking time and texture remain unchanged.
Nutrition
Per Serving:
Nutritional values are estimates and may vary based on specific ingredients used.
Storage & Tips
Room Temperature
These treats keep well at room temperature for up to 2 days if stored in an airtight container. Avoid leaving them uncovered as they can dry out quickly. Best served fresh but still tasty the next day.
Refrigerator
Store in an airtight container in the fridge for up to 5 days. Chilling can firm them up and slightly change texture, so bring to room temperature before serving or warm gently for best flavor.
Freezer
Freeze treats in a single layer on a baking sheet, then transfer to a freezer-safe bag for up to 2 months. Wrap tightly to prevent freezer burn. Thaw overnight in the fridge and warm slightly before serving to restore softness.
Reheating
Reheat in a 300°F oven for 5-7 minutes or microwave briefly (15-20 seconds) with a damp paper towel to retain moisture. Avoid overheating or they’ll dry out.
Make Ahead
You can prepare the batter 1 day ahead and keep it covered in the fridge. Bake fresh on the day of serving for best texture and appearance. Alternatively, bake treats ahead and freeze for convenience.
FAQ
Can I use a different type of flour for this recipe?
Yes, you can substitute all-purpose flour with a gluten-free blend if needed. Just ensure the blend contains xanthan gum or similar to mimic gluten’s structure. Regular whole wheat flour can be used but will produce denser treats with a nuttier flavor.
What if I don’t have food coloring? Will the treats still be good?
Absolutely! The food coloring is optional and purely for visual fun. The treats taste delicious without it, so don’t worry if you want to keep things natural or don’t have colors on hand.
How do I know when the treats are perfectly baked?
Look for lightly golden edges and a firm center that springs back when gently pressed. A toothpick inserted should come out clean or with a few moist crumbs, but no wet batter.
Can I make these treats dairy-free?
Yes! Use vegan butter or margarine and a plant-based milk like almond or oat milk. The texture might be slightly different but still tasty and suitable for dairy-free diets.
Why is my batter too runny or too thick?
Batter consistency can vary based on ingredient temperature or measurement accuracy. It should be thick but pourable. If too runny, add a tablespoon of flour; if too thick, add a splash of milk.
Can I add nuts or dried fruit to the recipe?
Definitely! Chopped nuts or dried fruit add texture and flavor. Fold them in gently at the end to avoid overmixing. Adjust baking time slightly if adding bulky ingredients.
How do I prevent my treats from sticking to the pan?
Line your baking sheet with parchment paper or a silicone mat. This creates a non-stick surface and makes cleanup easier. Greasing the pan alone isn’t as reliable for delicate treats.
What’s the best way to store leftovers?
Keep leftovers in an airtight container at room temperature for up to 2 days or in the fridge for 5 days. For longer storage, freeze as instructed to maintain freshness.
Final Thoughts
I hope you enjoy making and sharing these simple Easter treats as much as my family and I do. Don’t forget to let me know how they turn out — happy baking!