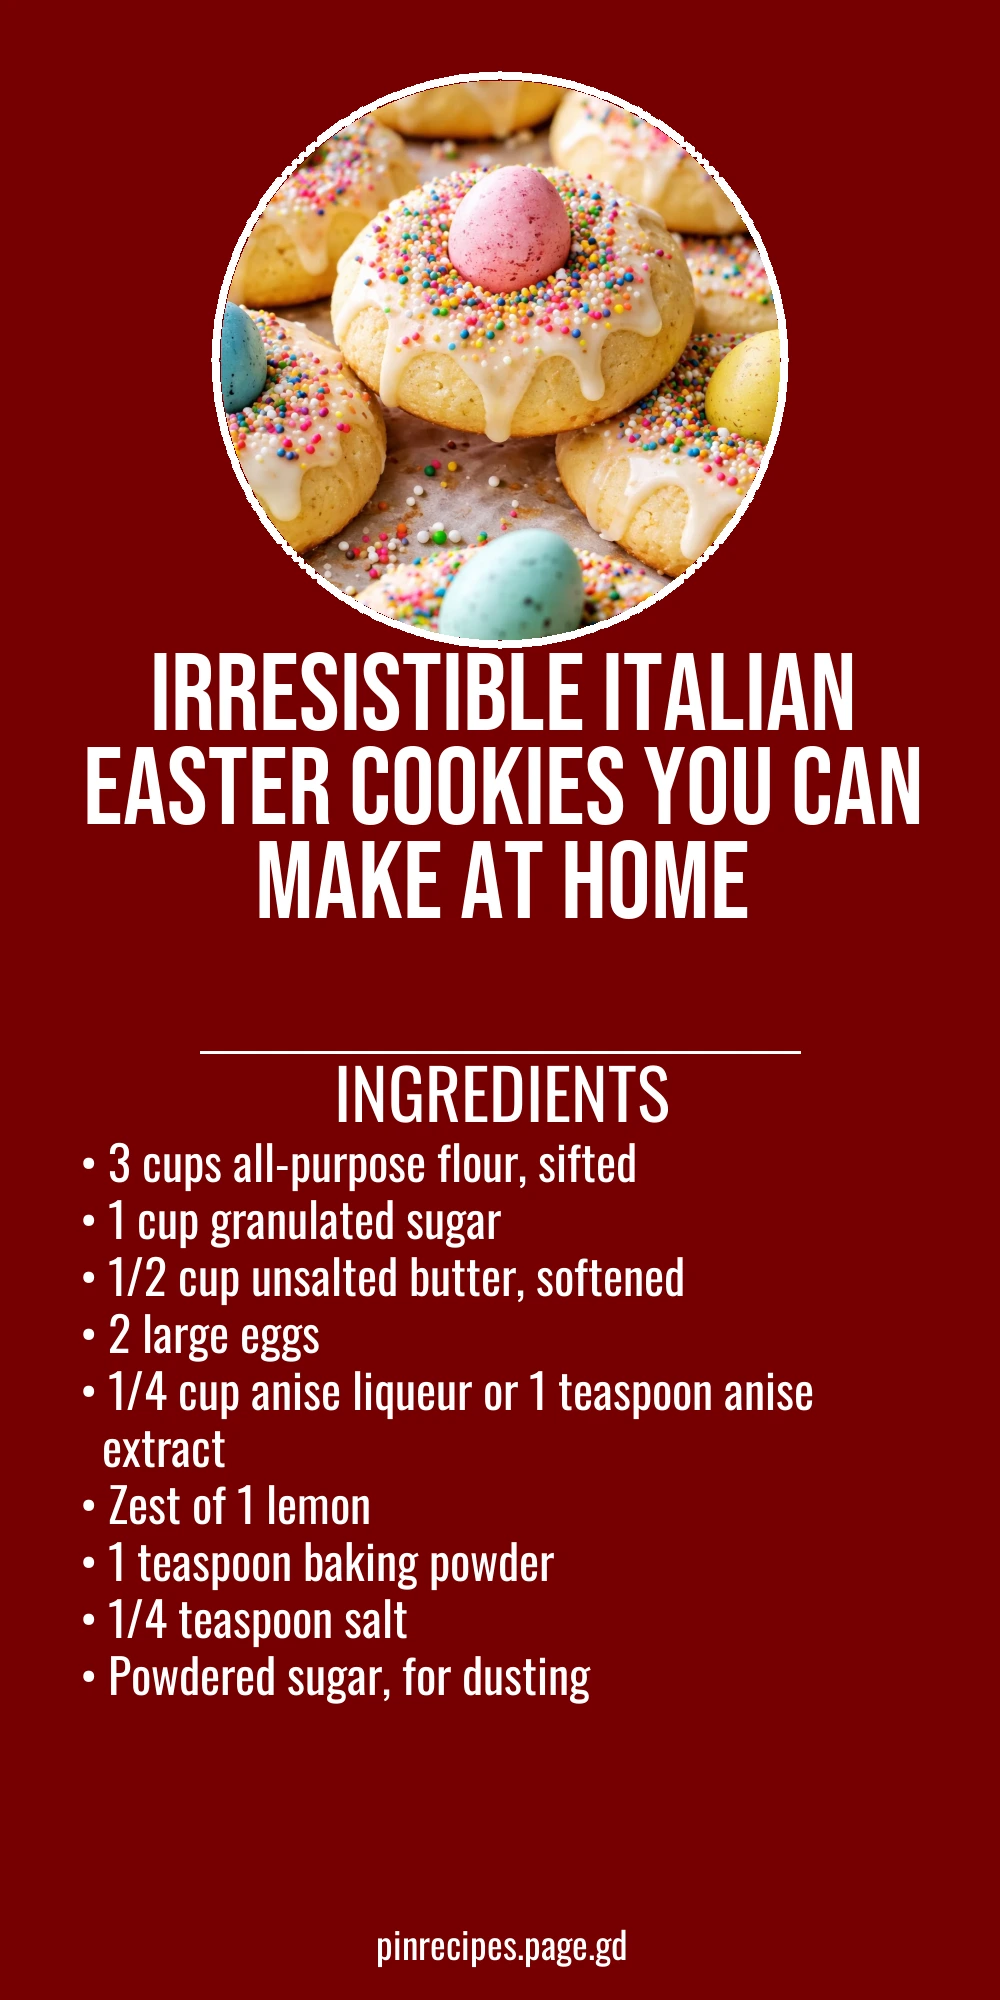
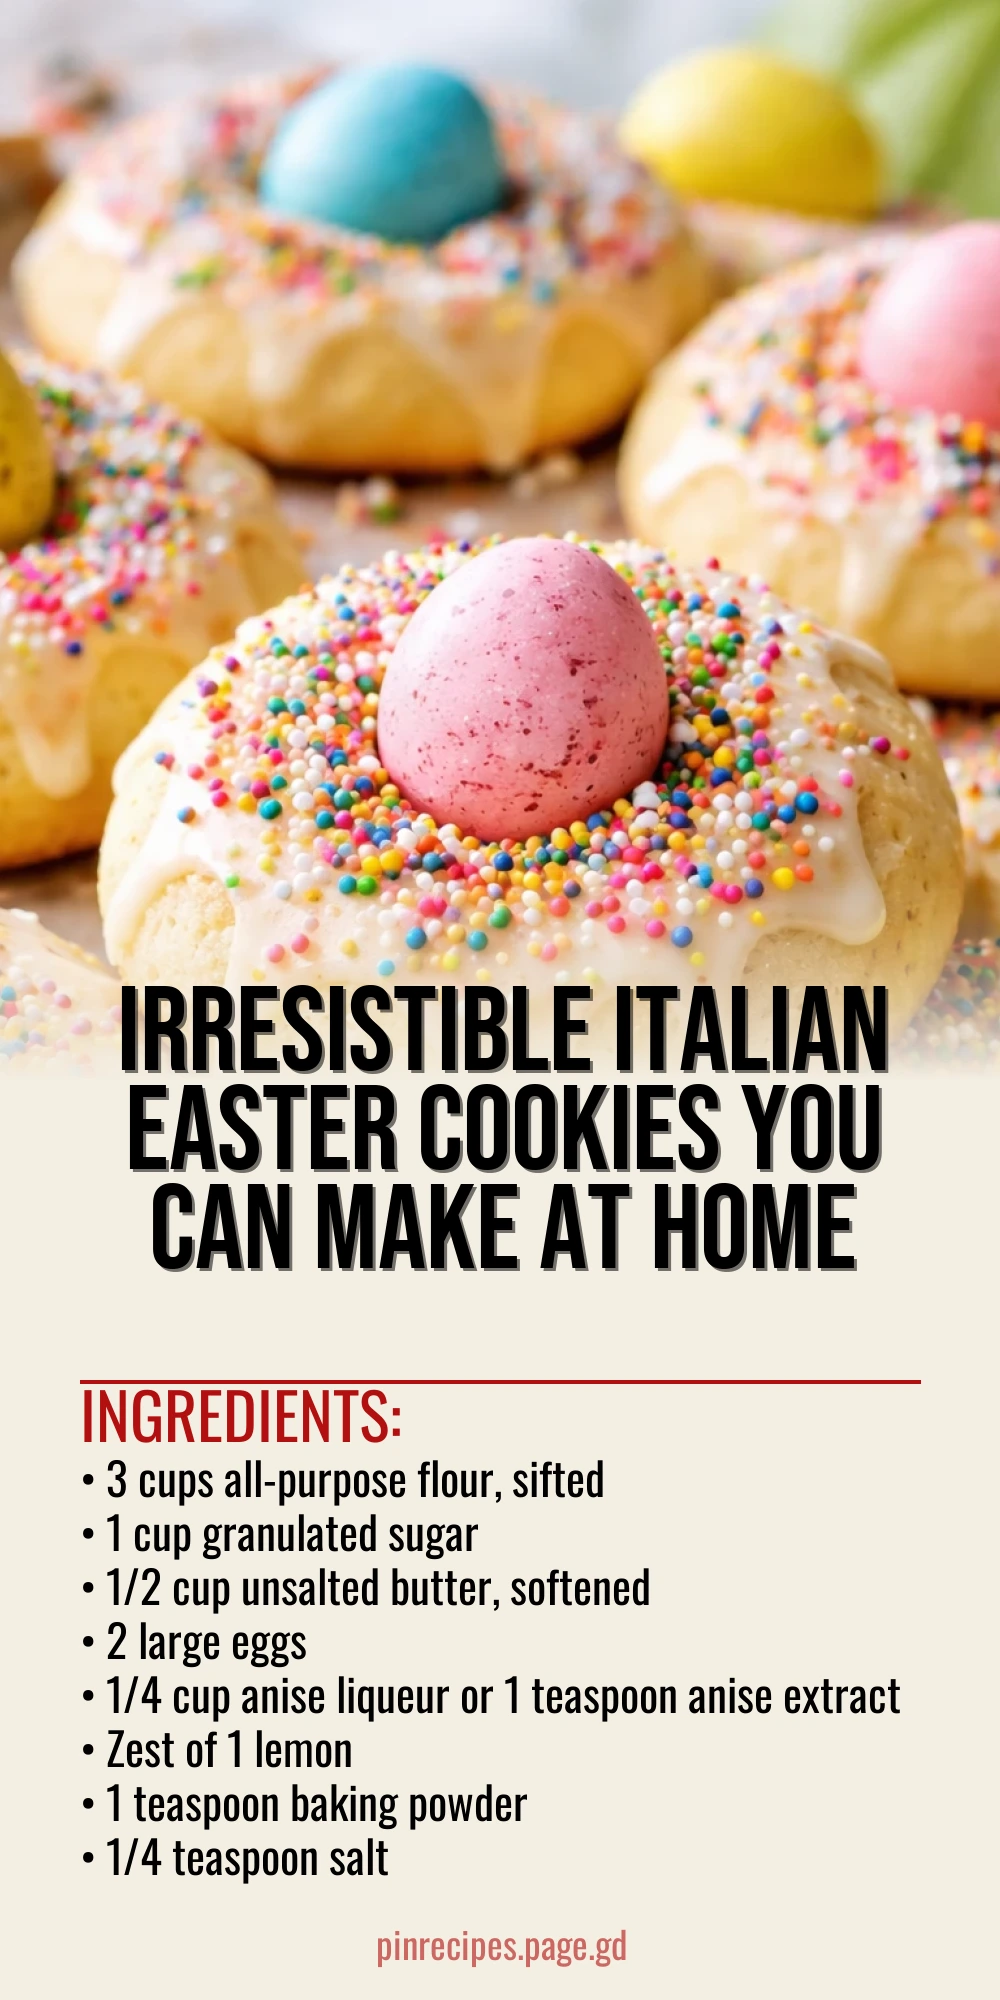
These classic Italian Easter cookies are tender, lightly sweet, and flavored with a hint of anise. They’re a family favorite, perfect for sharing during holiday celebrations or with your morning coffee.
Introduction
I stumbled upon this traditional Italian Easter cookie recipe years ago while visiting a friend’s family in Southern Italy. They baked these cookies every spring, and I was instantly hooked. What makes this version special is the subtle anise flavor paired with fresh lemon zest—it adds a bright, aromatic touch that feels both festive and comforting. I’ve tried several recipes over the years, but this one stands out because it strikes the perfect balance between tender crumb and slight chewiness. The trick I learned is to let the dough rest before shaping, which helps develop the flavor and texture. When baked, these cookies have a lovely golden edge and a soft center that melts in your mouth. They’re perfect for Easter morning coffee or as a sweet gift to friends and family. Honestly, the first time I made them, I rushed the dough resting step and the texture was off, so don’t skip it! Now, I always plan ahead and the results are worth it every time. I hope you love this recipe as much as my family does!
How To Do It
Step 1
In a large bowl, cream together the softened butter and granulated sugar until the mixture is light and fluffy. This step is crucial because it incorporates air into the dough, which helps create a tender texture in the baked cookies. Use a hand mixer or stand mixer on medium speed for about 3-5 minutes. Avoid rushing this process; if the butter isn’t properly creamed, the cookies can turn out dense. Scrape down the sides of the bowl occasionally to ensure even mixing.
⏱ Time: 5 minutes
✓ Doneness: The mixture should look pale, creamy, and slightly fluffy.
Step 2
Beat in the eggs one at a time, mixing well after each addition. Then add the anise liqueur or extract and lemon zest. Adding the eggs slowly ensures they incorporate smoothly without curdling the butter. The anise and lemon zest bring that signature Italian Easter flavor, so don’t skip or reduce them. Mixing these ingredients evenly helps distribute the flavors throughout the dough.
⏱ Time: 3 minutes
✓ Doneness: The batter should be smooth and fragrant with no streaks of egg visible.
Step 3
In a separate bowl, whisk together the sifted flour, baking powder, and salt. This step ensures the leavening agent and salt are evenly distributed, which is important for consistent rising and flavor. Sifting also helps remove any lumps and aerates the flour for a lighter dough.
⏱ Time: 2 minutes
✓ Doneness: Dry ingredients should be well combined and lump-free.
Step 4
Gradually add the dry ingredients to the wet mixture, mixing on low speed or folding gently with a spatula. Don’t overmix here; just combine until no dry streaks remain. Overmixing develops gluten which can make cookies tough instead of tender. The dough should be soft but not sticky.
⏱ Time: 4 minutes
✓ Doneness: Dough is smooth, soft, and holds together without crumbling.
Step 5
Cover the dough with plastic wrap and refrigerate for at least 1 hour. Resting the dough is key—it allows the flour to hydrate fully and the flavors to meld, resulting in a better texture and taste. Skipping this step can lead to cookies spreading too much or having a less developed flavor.
⏱ Time: 60 minutes
✓ Doneness: Dough is firm and chilled, easy to handle for shaping.
Step 6
Preheat your oven to 350°F (175°C). Line baking sheets with parchment paper or silicone mats to prevent sticking and promote even baking. This prep ensures your cookies bake uniformly and don’t burn on the bottom.
⏱ Time: 10 minutes
✓ Doneness: Oven is fully preheated and baking sheets are ready.
Step 7
Roll the chilled dough into small balls, about 1 inch in diameter, and place them on the prepared baking sheets about 2 inches apart. This spacing prevents the cookies from merging as they bake. If you want a more rustic look, lightly flatten each ball with your palm or the bottom of a glass.
⏱ Time: 15 minutes
✓ Doneness: Cookie dough balls are evenly sized and spaced on the tray.
Step 8
Bake the cookies in the preheated oven for 18-20 minutes, or until the edges start to turn golden brown. Watch carefully near the end; overbaking can dry them out. The goal is a tender center with a slight crisp on the edges.
⏱ Time: 18-20 minutes
✓ Doneness: Edges are lightly golden and centers look set but soft.
Step 9
Remove the cookies from the oven and let them cool on the baking sheets for 5 minutes before transferring to a wire rack. Once fully cooled, dust generously with powdered sugar. The cooling step lets the cookies firm up a bit, making them easier to handle and enhancing their texture.
⏱ Time: 10 minutes
✓ Doneness: Cookies are cool to the touch and powdered sugar is evenly dusted.
Pro Tips
Always sift your flour before measuring.
Sifting aerates the flour and removes lumps, which helps achieve a lighter texture. Measuring sifted flour directly prevents packing, which can lead to dense, heavy cookies.
Don’t skip chilling the dough.
Chilling firms the dough, making it easier to handle and preventing excessive spreading during baking. It also allows flavors to develop and meld for a tastier cookie.
Use fresh lemon zest for the best flavor.
Lemon zest contains essential oils that give a bright, fresh aroma and flavor. Dried or old zest lacks this vibrancy and can taste dull or bitter.
Cream butter and sugar until fluffy.
This step incorporates air, which helps create a tender, light cookie. Under-creaming can lead to dense, heavy results.
Space cookies adequately on the baking sheet.
Proper spacing prevents cookies from merging as they bake, ensuring even cooking and nice shape.
Watch the cookies closely near the end of baking.
Cookies can go from perfectly baked to overdone quickly. Look for golden edges and set centers to avoid dryness.
Let cookies cool on the baking sheet briefly before transferring.
This helps them firm up and reduces the risk of breaking. Transferring too soon can cause them to fall apart.
Common Mistakes to Avoid
Skipping the dough chilling step
Why it happens Sometimes impatience or lack of planning leads cooks to skip chilling, thinking it’s unnecessary.
Fix Plan ahead to chill the dough for at least an hour. If short on time, pop it in the freezer for 20-30 minutes. This step is crucial to prevent spreading and develop flavor.
Overmixing after adding flour
Why it happens It’s easy to think mixing more will make the dough better, but it actually develops gluten.
Fix Mix just until the flour is incorporated. Use a spatula and fold gently rather than beating vigorously to keep cookies tender.
Using melted butter instead of softened
Why it happens Some assume melted butter is fine, but it changes dough texture.
Fix Use butter softened to room temperature but still solid. This allows proper creaming with sugar, trapping air for lightness.
Not measuring flour correctly
Why it happens Scooping flour directly with a cup can pack it, adding too much.
Fix Sift flour first, then spoon it lightly into the measuring cup and level off with a knife for accuracy.
Overbaking the cookies
Why it happens Leaving cookies in the oven too long dries them out.
Fix Remove cookies as soon as edges turn golden and centers look set. They’ll firm up as they cool.
Variations
Almond Italian Easter Cookies
Add 1/2 cup finely ground almonds to the dough for a nutty twist. You can also replace half the flour with almond flour for extra moistness and flavor. These cookies will be slightly denser but deliciously rich.
Note: Adding nuts changes the dough texture, so chill it a bit longer before shaping to prevent spreading.
Gluten-Free Easter Cookies
Swap all-purpose flour for a gluten-free blend that includes xanthan gum. Be sure to use a blend designed for baking to maintain structure. These cookies keep the same flavor but are safe for gluten-sensitive friends.
Note: Gluten-free dough may be more delicate; chill thoroughly and handle gently when shaping.
Orange Zest and Cardamom Twist
Replace lemon zest with orange zest and add 1/2 teaspoon ground cardamom for a warm, citrusy flavor variation. This combo adds complexity and a slightly exotic aroma.
Note: Cardamom is potent; start with a small amount to avoid overpowering the anise.
Chocolate-Dipped Italian Easter Cookies
After baking and cooling, dip half of each cookie in melted dark chocolate and let set. This adds a rich contrast to the light cookie and makes them extra festive.
Note: Use good-quality chocolate and temper it if possible for shiny, crisp coating.
Honey-Sweetened Easter Cookies
Replace granulated sugar with an equal amount of mild-flavored honey for a natural sweetness and slight chewiness. This variation adds moisture and a floral note.
Note: Honey can make dough stickier; chill longer and dust hands with flour when shaping.
Nutrition
Per Serving:
Nutritional values are estimates and may vary based on specific ingredients used.
Storage & Tips
Room Temperature
Store cookies in an airtight container at room temperature for up to 3 days. Keep them away from direct sunlight or heat to preserve texture. They remain tender but may lose some freshness after a few days.
Refrigerator
Cookies can be stored in an airtight container in the refrigerator for up to 1 week. They may become slightly firmer when chilled; bring to room temperature before serving for best texture.
Freezer
Freeze cookies in a single layer on a baking sheet, then transfer to a freezer-safe container or bag for up to 3 months. Thaw at room temperature to prevent condensation that can soften the cookies.
Reheating
Warm cookies gently in a 300°F oven for 5-7 minutes to refresh softness. Avoid microwaving as it can make them chewy or dry. Adding a small slice of bread in the container can help maintain moisture.
Make Ahead
You can prepare the dough up to 2 days ahead and keep it refrigerated. Shape and bake the cookies the day you plan to serve them for the freshest taste and texture.
FAQ
Can I substitute anise extract with something else?
Yes, if you don’t have anise extract or liqueur, you can use fennel seed extract or a small amount of star anise powder. However, these alternatives have stronger flavors, so start with a small quantity and adjust to taste to avoid overpowering the cookies.
Why do my cookies spread too much during baking?
Excess spreading usually happens if the dough is too warm or hasn’t been chilled enough. Make sure to chill the dough for at least an hour before baking, and avoid using melted butter, which can cause the dough to be too loose.
Can I make these cookies vegan?
To make a vegan version, replace the eggs with flax eggs (1 tablespoon ground flaxseed mixed with 3 tablespoons water per egg) and use vegan butter or coconut oil. Keep in mind texture and flavor might be slightly different but still delicious.
How do I store these cookies to keep them fresh?
Store the cookies in an airtight container at room temperature for up to 3 days or refrigerate for up to a week. For longer storage, freeze them properly wrapped. Avoid humidity to keep them crisp and fresh.
Can I add nuts or dried fruit to the dough?
Yes, adding finely chopped nuts like almonds or dried fruit can add texture and flavor. Just fold them in gently after mixing the dough. Be mindful that this may change the dough consistency, so chill it longer before shaping.
What’s the best way to measure flour for this recipe?
Sift the flour first, then spoon it lightly into your measuring cup and level it off with a knife. Avoid scooping directly with the cup as it packs the flour, which can make cookies dense.
Why do my cookies sometimes turn out dry?
Overbaking is the most common cause of dry cookies. Remove them from the oven as soon as the edges turn golden and the centers look set but still soft. They will firm up as they cool.
Can I make the dough ahead of time and freeze it?
Yes, the dough freezes well. Wrap it tightly in plastic wrap and place it in a freezer bag for up to 3 months. Thaw overnight in the fridge before shaping and baking.
Final Thoughts
I hope you enjoy making and sharing these traditional Italian Easter cookies as much as my family does. Don’t forget to send me your baking stories or photos—I’d love to see how they turn out!