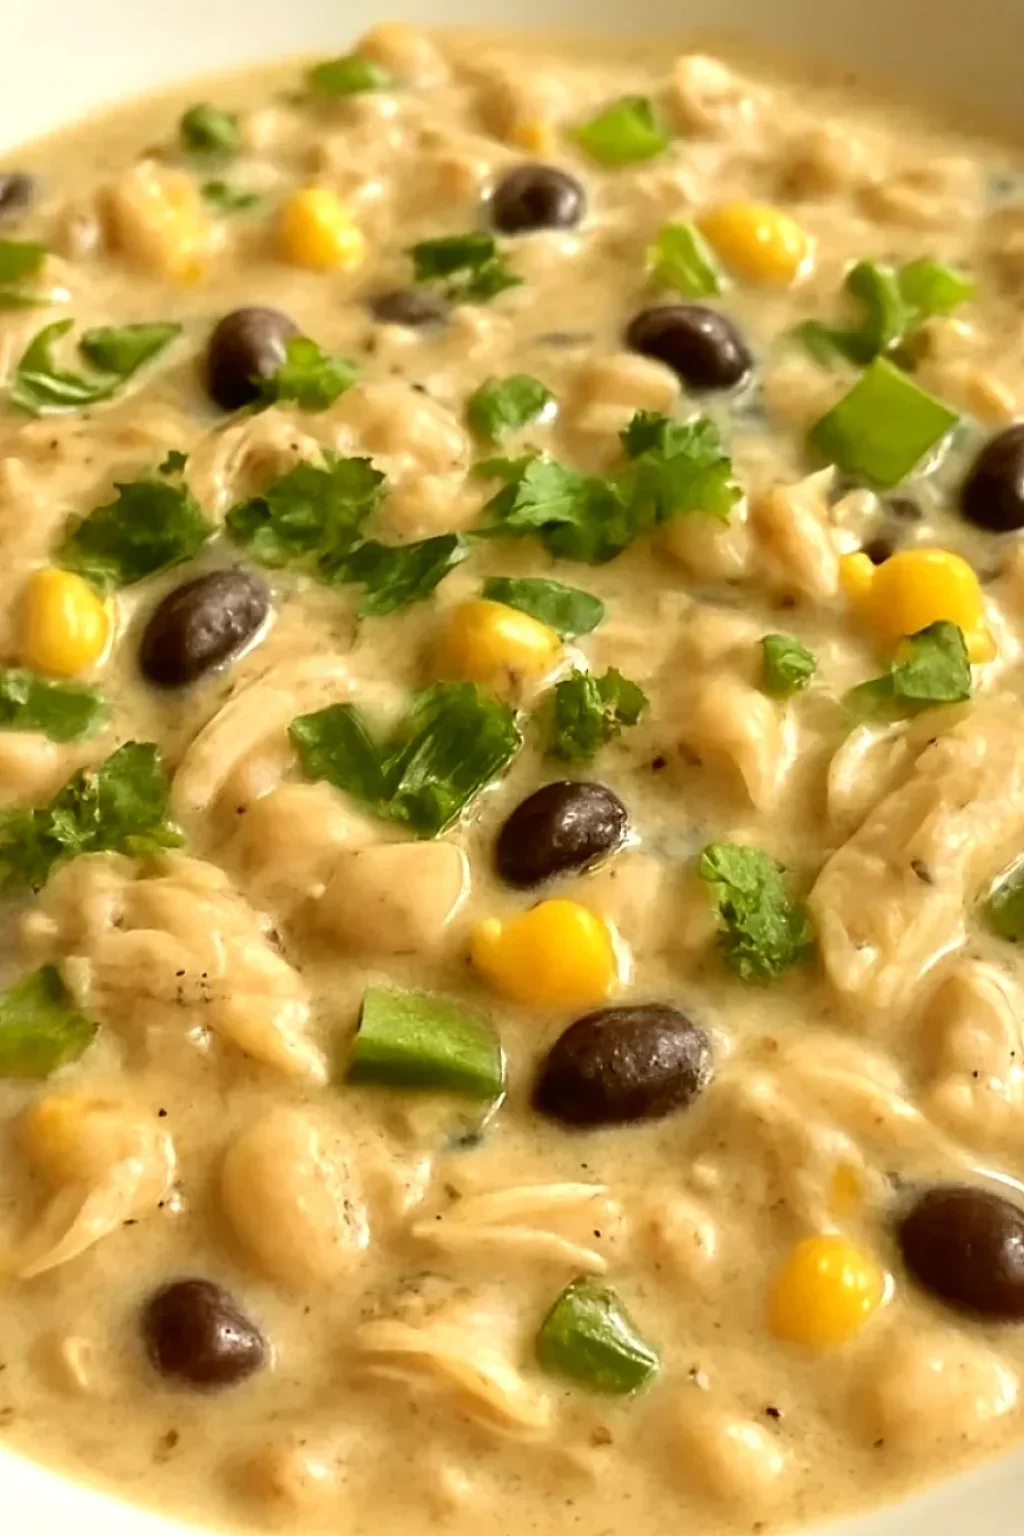
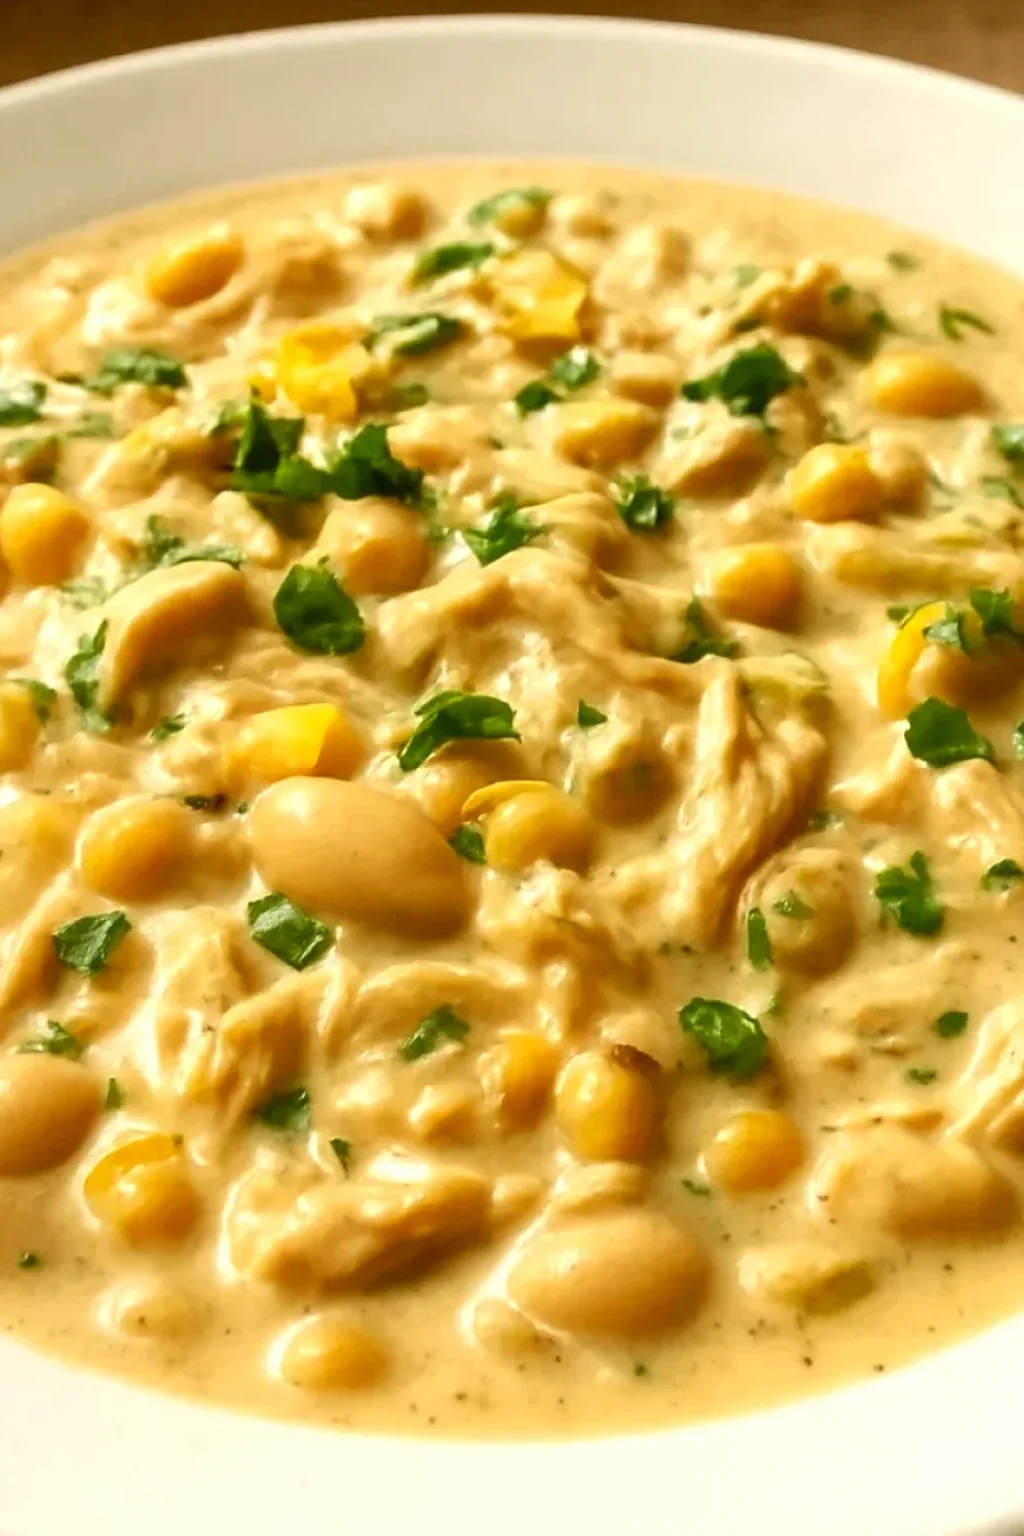
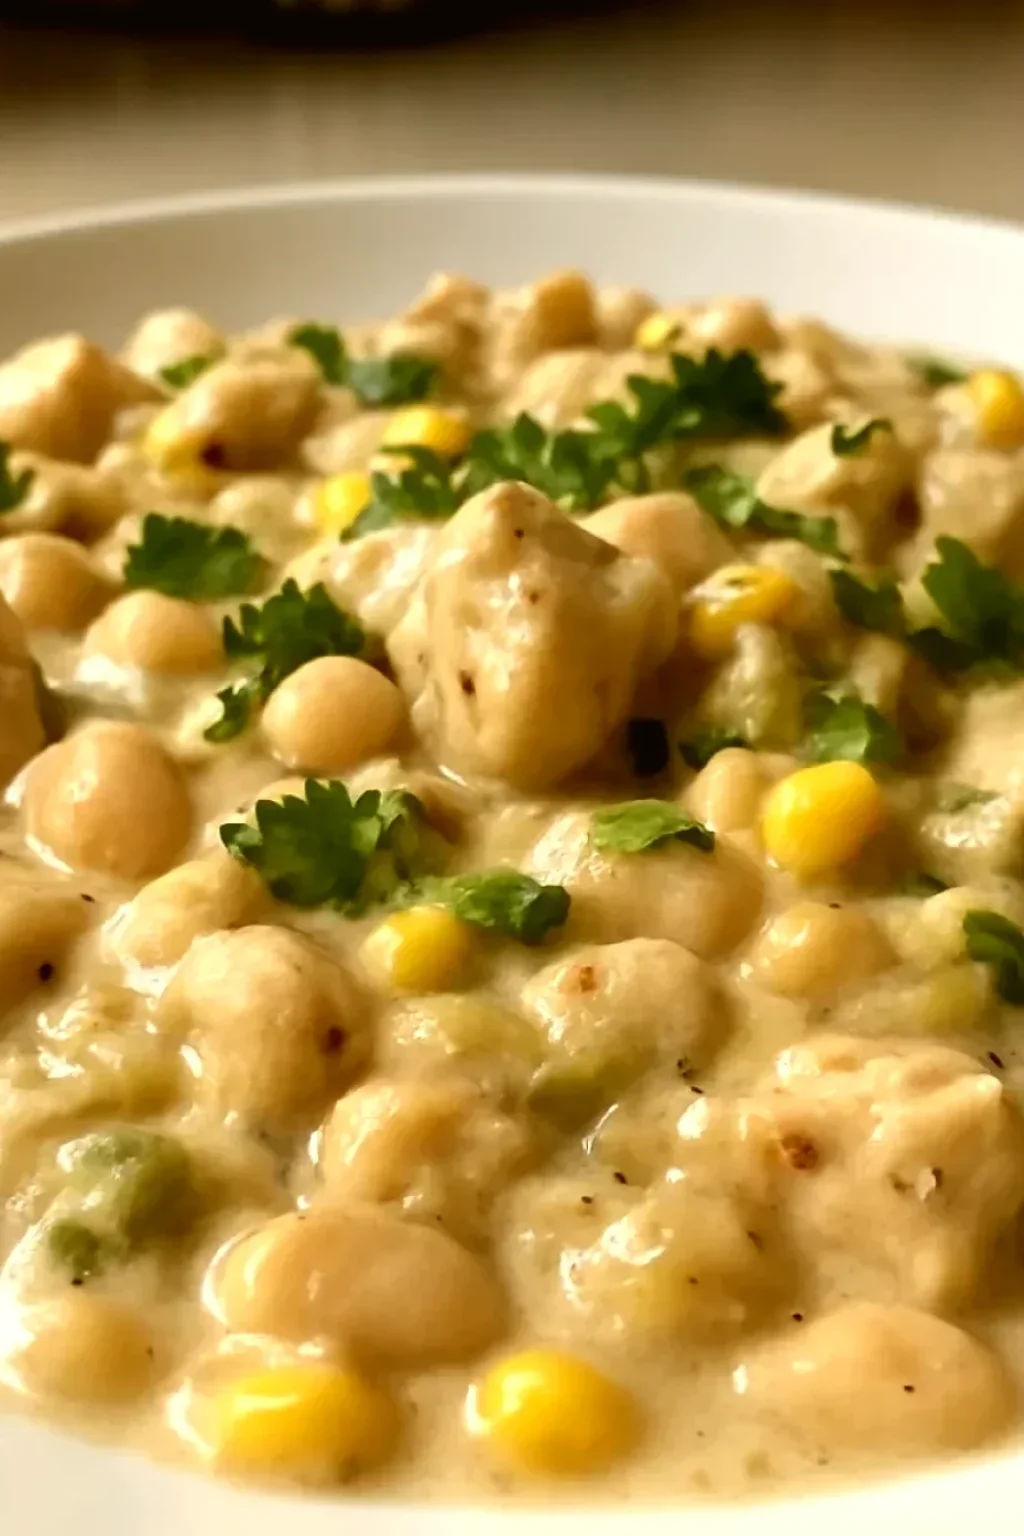
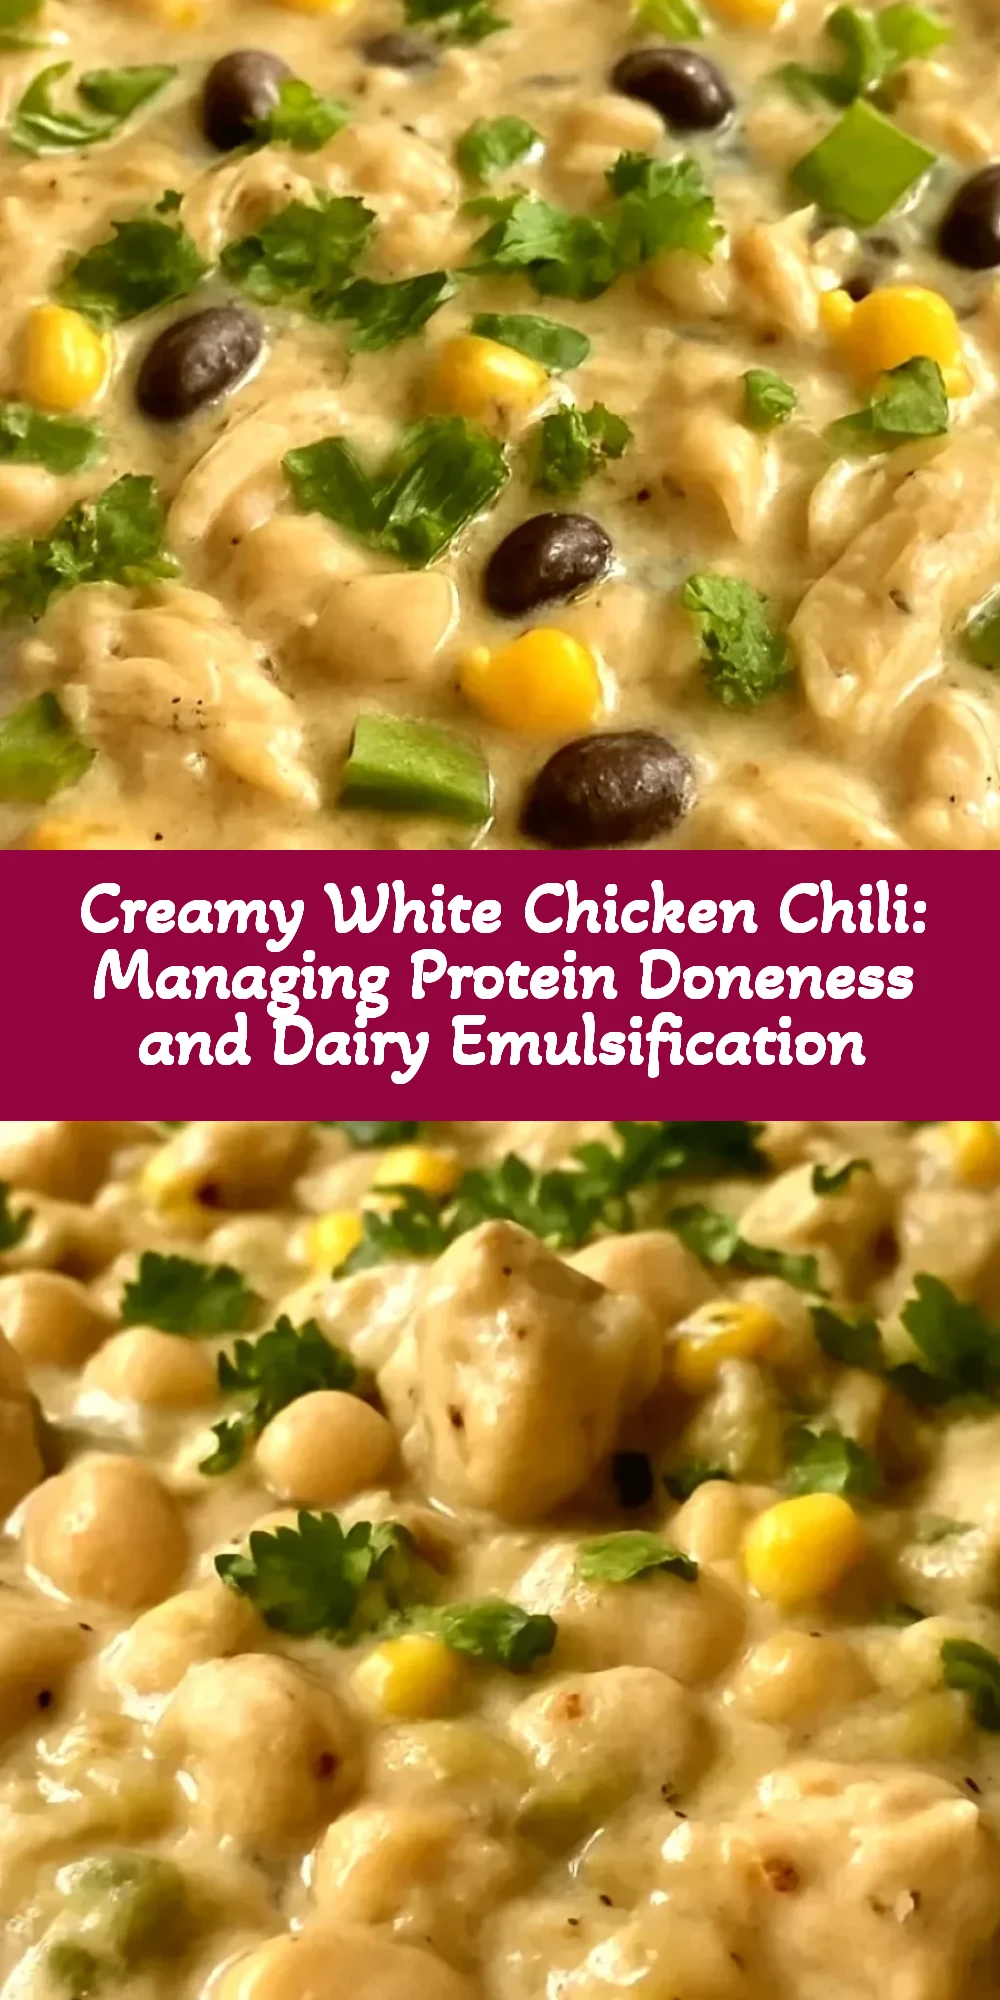
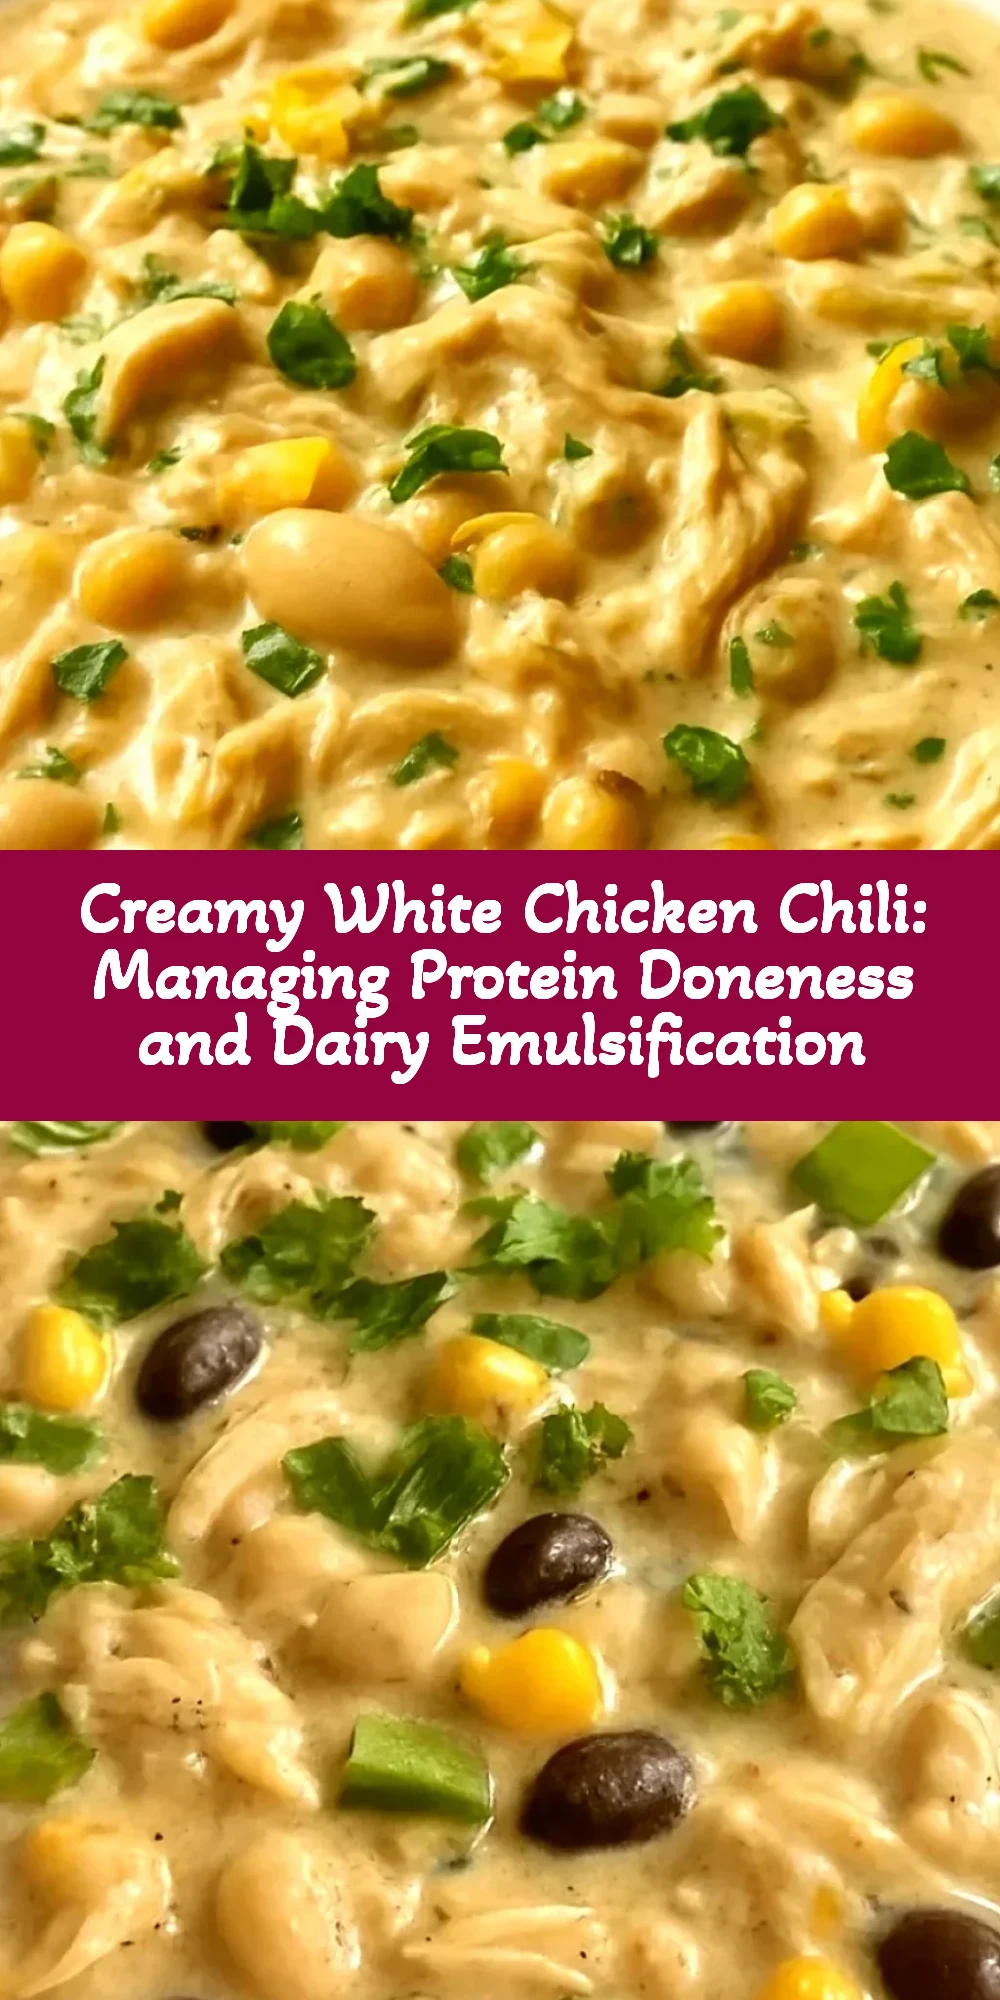
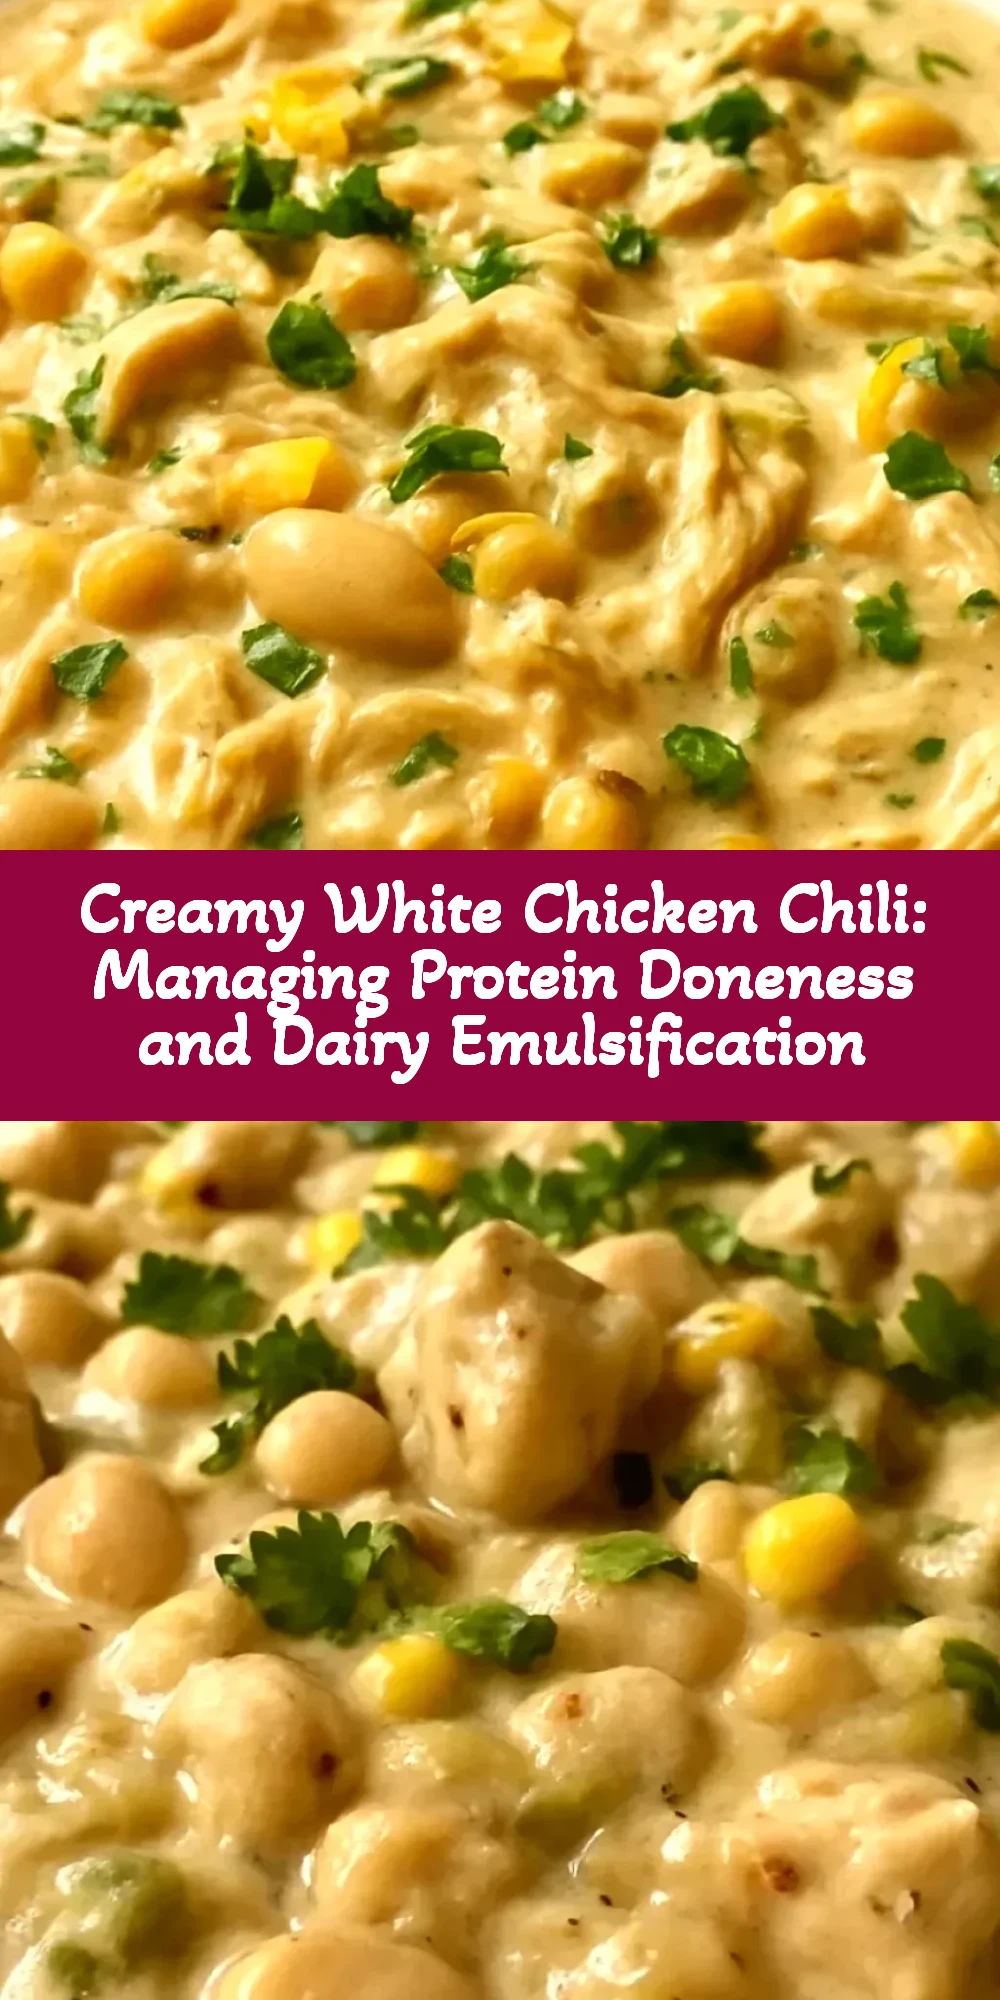
A guide to making properly balanced white chicken chili that maintains tender chicken, creamy sauce consistency, and integrated spice flavors in approximately thirty-five minutes. Learn why browning chicken before simmering matters, how to prevent cream from curdling, and why certain ingredient choices create better results.
What You'll Need
Approximately 5 cups of chili, 4 servings
- 1 pound (450g) boneless, skinless chicken breast (approximately 2 large breasts)
- 2 tablespoons (30ml) unsalted butter or neutral oil, divided
- 1 medium yellow onion (150g), diced
- 3 cloves (15g) garlic, minced
- 1 teaspoon (2g) chili powder
- 1/2 teaspoon (1g) ground cumin
- 1/2 teaspoon (1g) dried oregano
- 1.5 cups (360ml) low-sodium chicken broth
- 1 can (15 ounces / 425g) white beans (cannellini), drained and rinsed
- 1 cup (150g) corn, fresh or frozen
- 3/4 cup (180ml) heavy cream, room temperature
- 3/4 teaspoon (4.5g) fine sea salt, divided
- 1/4 teaspoon (0.5g) black pepper, divided
- Optional garnish: 2 tablespoons (6g) fresh cilantro, chopped
How To Do It
Step 1
Pat the chicken breasts completely dry using paper towels. Moisture on the surface prevents browning and creates steam that prevents a proper sear. Season both sides generously with salt and pepper (approximately 1/4 teaspoon salt and 1/8 teaspoon pepper per breast). Place a large pot over medium-high heat. Add 1 tablespoon (15ml) of butter or oil. Once the fat shimmers slightly (approximately 30 seconds), it has reached approximately 350-375°F (175-190°C), the temperature needed for browning. Place the chicken breasts carefully into the pot. Do not move them for the first 3 minutes. The undisturbed contact allows a brown crust to develop through the Maillard reaction.
⏱ Time: 3 minutes
✓ Doneness: Chicken has developed golden-brown crust on the bottom surface, it does not stick to the pan, meat is seared but not stuck
Step 2
Flip the chicken and cook the second side for approximately 3-4 minutes until golden brown. The chicken is not fully cooked through yet—that's intentional. An instant-read meat thermometer should read approximately 155-160°F (68-71°C) at the thickest point. The goal is browning and partial cooking for flavor development, not full cooking. The simmering that follows will finish cooking it gently to the proper 165°F (74°C) internal temperature without over-drying it.
⏱ Time: 3-4 minutes
✓ Doneness: Second side is golden brown, internal temperature reads 155-160°F (68-71°C), external crust is deep brown
Step 3
Transfer the chicken to a cutting board and set aside. The pot will have brown bits stuck to the bottom—called fond—which contains concentrated chicken flavor and will dissolve into the sauce. Do not wash the pot. Reduce heat to medium and add 1 tablespoon (15ml) of butter to the remaining oil. Once the butter foams, add the diced onion and a small pinch of salt (approximately 1/8 teaspoon). The salt draws moisture from the onion, helping it soften faster. Stir occasionally for approximately 5 minutes until the onion becomes translucent and soft.
⏱ Time: 5-6 minutes
✓ Doneness: Onion is translucent and soft with no bright white pieces remaining, occasional golden color at the edges is visible
Step 4
Add the minced garlic and cook, stirring constantly, for approximately 30-45 seconds until fragrant. The garlic should soften and release its aroma but never brown or crisp. Overcooked garlic tastes acrid and bitter and will negatively affect the entire chili. You should smell an intense, sweet garlic aroma at this point.
⏱ Time: 1 minute
✓ Doneness: Garlic is fragrant and slightly softened, no browning visible, mixture smells sweet and aromatic
Step 5
Add the chili powder, cumin, and oregano to the pot while stirring constantly. Continue stirring for approximately 30 seconds. This process, called blooming, activates the essential oils in the spices and prevents them from tasting dusty or underdeveloped. The spice aroma will immediately become more complex and appetizing. The fat from the butter carries the spice flavor throughout the onion and garlic mixture.
⏱ Time: 1 minute
✓ Doneness: Spices are fully distributed throughout the fat and onion mixture, aroma is noticeably more complex and aromatic
Step 6
Pour in the chicken broth while stirring well. As you stir, the brown bits from the bottom of the pot (fond) will dissolve into the broth, enriching the liquid with concentrated flavor. This process is called deglazing. Bring the broth to a gentle simmer over medium heat, which takes approximately 3-5 minutes. A simmer means small bubbles break the surface regularly but not aggressively—definitely not a rolling boil.
⏱ Time: 5-7 minutes
✓ Doneness: Broth reaches gentle simmer with small bubbles breaking the surface, fond is dissolved into the liquid
Step 7
Cut the partially-cooked chicken into bite-sized pieces (approximately 1.5 inches / 4cm). Add the chicken pieces back to the simmering broth along with the drained white beans and corn. Stir well to distribute evenly. The beans are already fully cooked from canning, but simmering them in the spiced broth for 5-7 minutes allows them to absorb those flavors and releases some of their starch, which naturally thickens the chili.
⏱ Time: 1 minute
✓ Doneness: Chicken, beans, and corn are distributed throughout the broth, everything is combined
Step 8
Simmer gently for 5-7 minutes, stirring occasionally. During this time, the chicken finishes cooking through to the proper 165°F (74°C) internal temperature, the beans absorb the spiced broth, and the starches from the beans begin thickening the liquid. Test the thickest piece of chicken with a meat thermometer. If it hasn't reached 165°F (74°C), continue simmering for another 1-2 minutes and test again.
⏱ Time: 7 minutes
✓ Doneness: Chicken is fork-tender and reaches 165°F (74°C) internal temperature, broth has slightly thickened from bean starches
Step 9
Reduce heat to the lowest setting on your stove. Ensure the heavy cream is at approximately room temperature (if it's cold from the refrigerator, let it sit on the counter for 10-15 minutes before use). Pour the cream into the chili slowly in a thin stream while stirring constantly. The steady, continuous stirring is critical because it distributes the cooler cream gradually throughout the warmer chili, preventing thermal shock that would cause the cream to curdle. Continue stirring for approximately 1-2 minutes as you add the cream, then continue stirring for another 1-2 minutes after all cream is added to ensure complete integration.
⏱ Time: 3-4 minutes
✓ Doneness: Cream is fully incorporated and creates uniform color and texture throughout, no visible cream streaks remain
Step 10
Taste the chili and adjust seasoning. Add the remaining 1/4 teaspoon (1.5g) of salt and adjust black pepper to taste. The exact amount depends on your broth's saltiness and your personal preference. Add salt gradually and taste after each addition. Remember that the chili will thicken very slightly as it cools, so season slightly lighter than you want the final result to taste.
⏱ Time: 2 minutes
✓ Doneness: Chili tastes properly seasoned and balanced, no harsh edges remain
Step 11
Let the chili simmer very gently for 2-3 minutes more, stirring occasionally. Do not allow it to boil vigorously once the cream has been added, as boiling can break the emulsion and cause the cream to separate. The gentle heat allows the spices to fully integrate and the flavors to meld. The chili should be steaming and approximately 165-170°F (74-77°C) throughout, but never hotter or boiling.
⏱ Time: 3 minutes
✓ Doneness: Chili is steaming gently, surface shows only small bubbles (not vigorous boiling), flavors are well-developed and integrated
Step 12
Serve immediately in bowls while hot. Garnish with fresh cilantro if desired. The chili is best served within 15 minutes of completion while the cream is fully integrated and the temperature is optimal. If serving later, keep at the lowest heat setting, stirring occasionally to prevent separation.
⏱ Time: 5 minutes
✓ Doneness: Chili is in serving bowls, steam is rising, garnish is applied
Pro Tips
Invest in an instant-read meat thermometer and use it to verify chicken doneness. Chicken breast cooked much beyond 165°F (74°C) becomes unpleasantly dense and dry. An inexpensive thermometer removes all guesswork.
Lean chicken breast becomes progressively worse with every degree above 165°F (74°C). Visual cues and firmness tests are unreliable. A thermometer is the most accurate method and ensures perfect results consistently. Many people assume their first attempt failed when the real culprit is an inaccurate thermometer.
Do not skip the browning step even though it takes five minutes. Brown the chicken properly before simmering. The difference between browned and not-browned chicken is immediately obvious in the finished chili.
The Maillard reaction that creates the brown crust develops hundreds of flavor compounds that dissolve into the sauce. These compounds create the savory depth that distinguishes well-made chili from bland, underseasoned versions. Browning is not optional—it's the foundation of flavor.
Use low-sodium broth and taste for seasoning at the very end rather than starting with salted broth. This gives you complete control over final salt content. Salted broths vary wildly between brands in actual sodium content.
Standard broth contains 500-900 mg of sodium per cup. During cooking, the broth simmers and concentrates, intensifying the salt. Starting with salted broth often results in over-salted chili. Low-sodium broth lets you season precisely. You can always add salt, but you cannot remove it.
Ensure heavy cream is at room temperature before adding it. Remove from the refrigerator 10-15 minutes before cooking, or warm gently in a small saucepan over low heat. This single step prevents most cream-separation problems.
Cold cream added to hot liquid experiences thermal shock. The rapid temperature change causes proteins to coagulate and separate from the fat and water, breaking the emulsion. Room-temperature cream integrates smoothly without separation. This is the most common mistake with cream-based chilis.
White beans are superior to other bean varieties in this chili. They're milder and creamier, they don't compete with the cream sauce, and they maintain a light color that looks appealing mixed with cream. Don't substitute darker beans.
Darker beans (kidney, pinto) have stronger flavors that compete with the subtle spicing. They also make the cream look muddy rather than white. White beans specifically chosen for their mild flavor and light color are essential to this recipe's identity.
Frozen corn is actually superior to fresh corn in this recipe because it's picked at peak ripeness and frozen immediately, preserving sweetness. Grocery store fresh corn is often several days old and has lost sugar content.
Frozen corn contributes sweetness that balances the spices without requiring added sugar. The sweetness is subtle but noticeable and improves the final balance. This runs counter to conventional wisdom, but testing proves frozen corn consistently produces better results than aged fresh corn.
Common Mistakes to Avoid
Overcooking chicken on the stovetop to complete doneness before simmering
Why it happens People think chicken should be fully cooked before going into the broth. However, browning and partial cooking (approximately 160°F / 71°C) followed by gentle simmering produces moister, more flavorful chicken than cooking it completely at high heat on the stovetop.
Fix Brown the chicken until the external crust is deep golden and the internal temperature reaches 155-160°F (68-71°C). The simmering step will finish cooking it gently to 165°F (74°C) without over-drying it. The two-stage cooking produces noticeably better texture and moisture.
Adding cold heavy cream directly to boiling chili
Why it happens It seems efficient to grab the cream from the refrigerator and add it directly. However, the thermal shock causes the cream proteins to coagulate and separate from the fat and water.
Fix Remove cream from the refrigerator 10-15 minutes before using, or warm gently in a small saucepan. Add it slowly to the chili while stirring constantly on low heat. Room-temperature cream added slowly emulsifies smoothly. This single change eliminates the most common complaint about cream-based chilis.
Boiling the chili after cream has been added
Why it happens Higher heat seems like it should finish cooking faster. However, boiling breaks the dairy emulsion and causes the cream to separate into oily and watery components.
Fix Keep heat at the lowest setting once cream is added. The chili will reach serving temperature perfectly at low heat, and the texture will be noticeably better—smooth and creamy rather than grainy and separated. A gentle simmer with only small bubbles rising is the correct temperature.
Not blooming the spices in fat before adding liquid
Why it happens People sometimes skip this step thinking it's unnecessary or an extra step. However, blooming activates the essential oils in the spices.
Fix Add the chili powder, cumin, and oregano after the garlic is fragrant. Stir constantly in the fat for about 30 seconds. The spice aroma will immediately become more complex and appealing. This prevents the spices from tasting dusty or underdeveloped in the final chili.
Substituting darker beans for white beans
Why it happens People use whatever beans they have on hand. Darker beans seem like they should work identically. However, they change the dish's character significantly.
Fix Use white beans (cannellini or great northern) specifically. They're mild, they don't compete with the cream sauce, and they maintain a light color that looks appealing. The first time I made this with pinto beans because that's what I had, the result was noticeably less balanced and less visually appealing.
Underseasoning or not tasting and adjusting at the end
Why it happens People sometimes reduce spice quantities thinking they'll go easier on heat, but chili powder provides flavor in addition to spice. Or they don't taste at the end.
Fix Use the full teaspoon of chili powder. Taste the finished chili before serving and adjust with additional salt, pepper, or chili powder as needed. It's not cheating to add seasoning after the fact—it's standard cooking practice.
Variations
Extra Spicy White Chicken Chili
Increase chili powder to 1.5 teaspoons (3g) and add 1/2 teaspoon (1g) of cayenne pepper or diced jalapeño for heat. The increased spice volume creates a chili with noticeable heat while remaining balanced. The jalapeño provides a fresher heat than cayenne alone.
Note: Spice heat compounds build as flavors meld, especially overnight. Add heat ingredients gradually and taste often. If using jalapeño, remove the seeds for milder heat or leave them for more intense spice. Both chili powder and cayenne should still be bloomed in fat.
Ground Chicken White Chili
Replace the chicken breast with 1 pound (450g) of ground chicken. Brown the ground chicken in the pot at medium-high heat for 5-6 minutes, breaking it into small pieces as it cooks. Once browned, remove it and set aside. Proceed with the recipe from step 3 (cooking the onion), then add the cooked ground chicken back with the beans in step 7. Ground chicken cooks faster and integrates throughout the chili rather than remaining in chunks.
Note: Ground chicken is leaner than ground beef and can dry out. Ensure you brown it thoroughly for flavor development, then remove it before adding vegetables. This prevents it from overcooking during subsequent simmering.
Creamy Dill and Lemon White Chicken Chili
Reduce the chili powder to 1/2 teaspoon (1g) and add 1 teaspoon (2g) of dried dill in step 5 when blooming the spices. Add 1 tablespoon (15ml) of fresh lemon juice in step 10 after tasting and adjusting salt. The dill and lemon create a lighter, more herbaceous chili that's completely different from the traditional version.
Note: Dill has a strong, particular flavor that's not universally loved. Start with 1/2 teaspoon and add more to taste. The lemon juice must be added after the chili has cooled slightly (off active heat) to prevent curdling. The acidity brightens the cream without making it look separated.
Vegetable-Forward White Chili
Add 1 cup (100g) of diced bell peppers and 1/2 cup (50g) of diced zucchini in step 3 when cooking the onion. These vegetables will cook in approximately the same time as the onion. The additional vegetables make the chili heartier and more substantial without changing the core flavor profile. The bell peppers add sweetness; the zucchini adds texture.
Note: Zucchini releases water as it cooks, slightly increasing the total liquid. If the final chili seems too thin, increase blending time (if you choose to blend) or simmer an additional 2-3 minutes uncovered to allow water to evaporate.
Dairy-Free Creamy Coconut White Chicken Chili
Replace the heavy cream (3/4 cup / 180ml) with full-fat coconut milk. The coconut milk creates creaminess while keeping the recipe dairy-free. The coconut flavor is noticeable but harmonizes with the spices. The chili will be slightly thinner than the dairy version because coconut milk contains less fat than heavy cream.
Note: Coconut milk is thinner than heavy cream. Add it using the same slow-pouring, constant-stirring technique to prevent separation. The chili may benefit from simmering an additional 2-3 minutes to allow some reduction. Test consistency and adjust if needed.
Nutrition
Per Serving:
approximately 385
Calories
These values are estimates and will vary based on exact chicken trim, specific broth brand sodium content, and cream type used. Values assume low-sodium broth and standard heavy cream. A meat thermometer reading verifies chicken doneness accurately; meat cooked to 165°F (74°C) will have these approximate protein values.
Storage & Tips
Refrigerator
Cool the chili to room temperature before covering and refrigerating in an airtight container. Store for up to 4 days. The chili will thicken as it cools due to starch release from the beans. The flavors will intensify and deepen as they meld overnight. Leftovers are often better than the first serving. The fat will solidify on top as it cools, which is normal and protective.
Freezer
Freeze for up to 3 months in freezer-safe containers or bags, leaving 1 inch (2.5cm) headspace for expansion. The cream-based chili freezes acceptably, though the texture may be slightly grainier upon thawing because the cream can separate slightly during the freeze-thaw cycle. The flavor remains excellent. Thaw overnight in the refrigerator before reheating.
Reheating
Place the desired amount in a pot over medium-low heat. Stir occasionally to ensure even heating. Do not allow it to boil vigorously, which can cause the cream to separate again. Reheating usually takes 5-8 minutes. If the chili has thickened significantly in the refrigerator (due to bean starches), add 2-3 tablespoons (30-45ml) of broth or milk to restore the consistency. Stovetop reheating is superior to microwave reheating because you can monitor the temperature.
Make Ahead
You can prepare the chili completely through step 9 (before final seasoning adjustment), then cool and refrigerate for up to 2 days. When ready to serve, reheat gently to approximately 160-170°F (71-77°C), then proceed with step 10 (taste and adjust seasoning) and step 11 (final gentle simmer). This approach allows you to make the chili in advance while ensuring the best texture at serving time.
FAQ
My chili looks separated or broken with oily puddles instead of smooth sauce. What happened?
The cream likely curdled from overheating or thermal shock. This occurs when cold cream hits boiling liquid or when the chili boils after cream is added. The texture is grainier but the chili is still safe to eat and the flavor is unchanged. For next time: remove the pot from heat before adding cream, warm the cream first, add it slowly while stirring constantly, and keep heat at lowest setting once cream is added.
My chicken turned out dry and rubbery. Why?
Chicken breast was cooked beyond 165°F (74°C) internal temperature. Lean chicken becomes progressively drier with every degree above this temperature. Use an instant-read meat thermometer to verify doneness. Brown the chicken to approximately 155-160°F (68-71°C), then let the simmering finish cooking it gently to 165°F (74°C). If your previous attempt turned out dry, verify your thermometer by testing it in boiling water—it should read 212°F.
Can I use store-bought rotisserie chicken to save time?
Yes, you can use approximately 2 cups (450g) of shredded rotisserie chicken. Add it after the spices are bloomed and before the broth. You'll lose some browning-related flavor development because rotisserie chicken doesn't brown further in the pot, but the convenience might be worth the trade-off if you're extremely pressed for time.
How much of a difference does it make if I don't brown the chicken?
The difference is immediately obvious. Unbrowned chicken chili tastes pale, one-dimensional, and underseasoned compared to properly browned chicken chili. The browning takes only five minutes and creates hundreds of flavor compounds through the Maillard reaction that dissolve into the sauce. It's genuinely worth those five minutes. Many home cooks who are disappointed with their first attempt skipped this step.
What's the best way to reheat leftovers without separating the cream?
Place the chili in a pot over medium-low heat. Stir occasionally and heat gently for 5-8 minutes until reaching serving temperature. Do not use high heat or allow it to boil. If it has thickened significantly, add a splash of broth or milk. Stovetop reheating allows you to monitor temperature and adjust consistency. Microwave reheating can create hot spots that break the emulsion.
The chili tastes bland. What can I do?
You likely underseasoned it. The most common cause is not blooming the spices in fat (they taste dusty) or starting with overly salted broth (making it hard to add seasoning). Taste and add more salt gradually. Sometimes you need more chili powder for deeper flavor. Taste after each addition and adjust. It's perfectly normal to adjust seasoning after the fact.
Final Thoughts
This white chicken chili teaches fundamental technique that extends far beyond this single recipe. Understanding why browning matters for flavor development, why careful temperature management prevents cream from breaking, and why blooming spices activates their essential oils are principles that apply to countless other dishes. The technique is straightforward once you understand the science behind each step. Once you've made this successfully, you can confidently adjust the spice levels, vegetable additions, or protein choices while maintaining the essential qualities that make it work. The recipe itself is flexible; the technique is what's truly worth mastering.