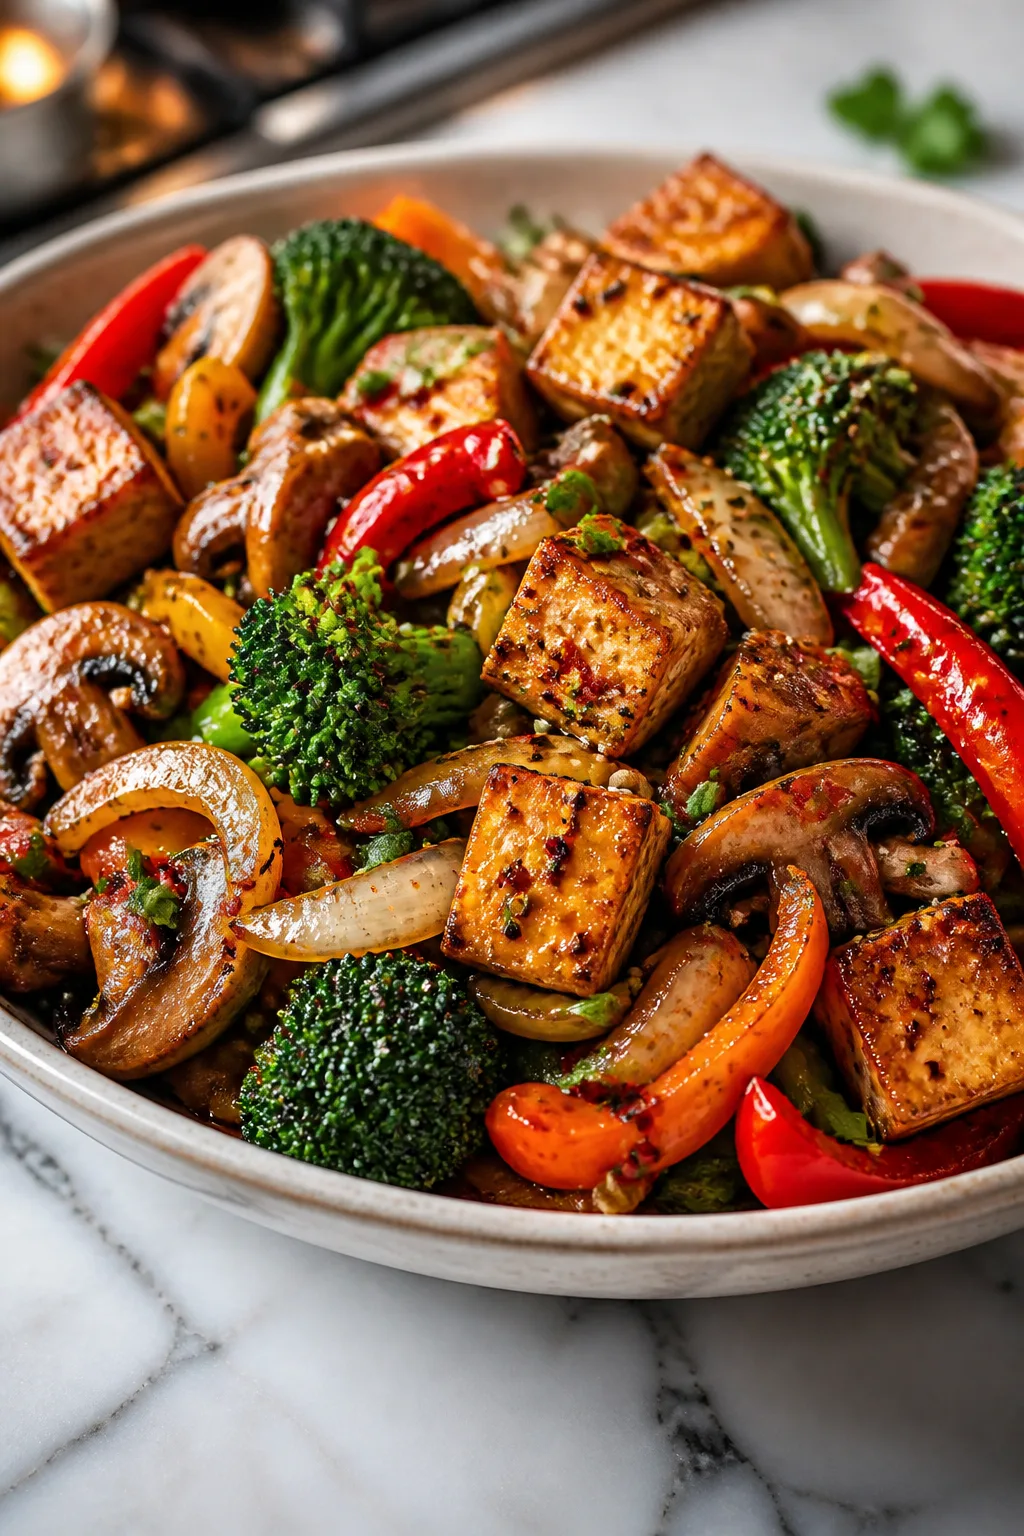
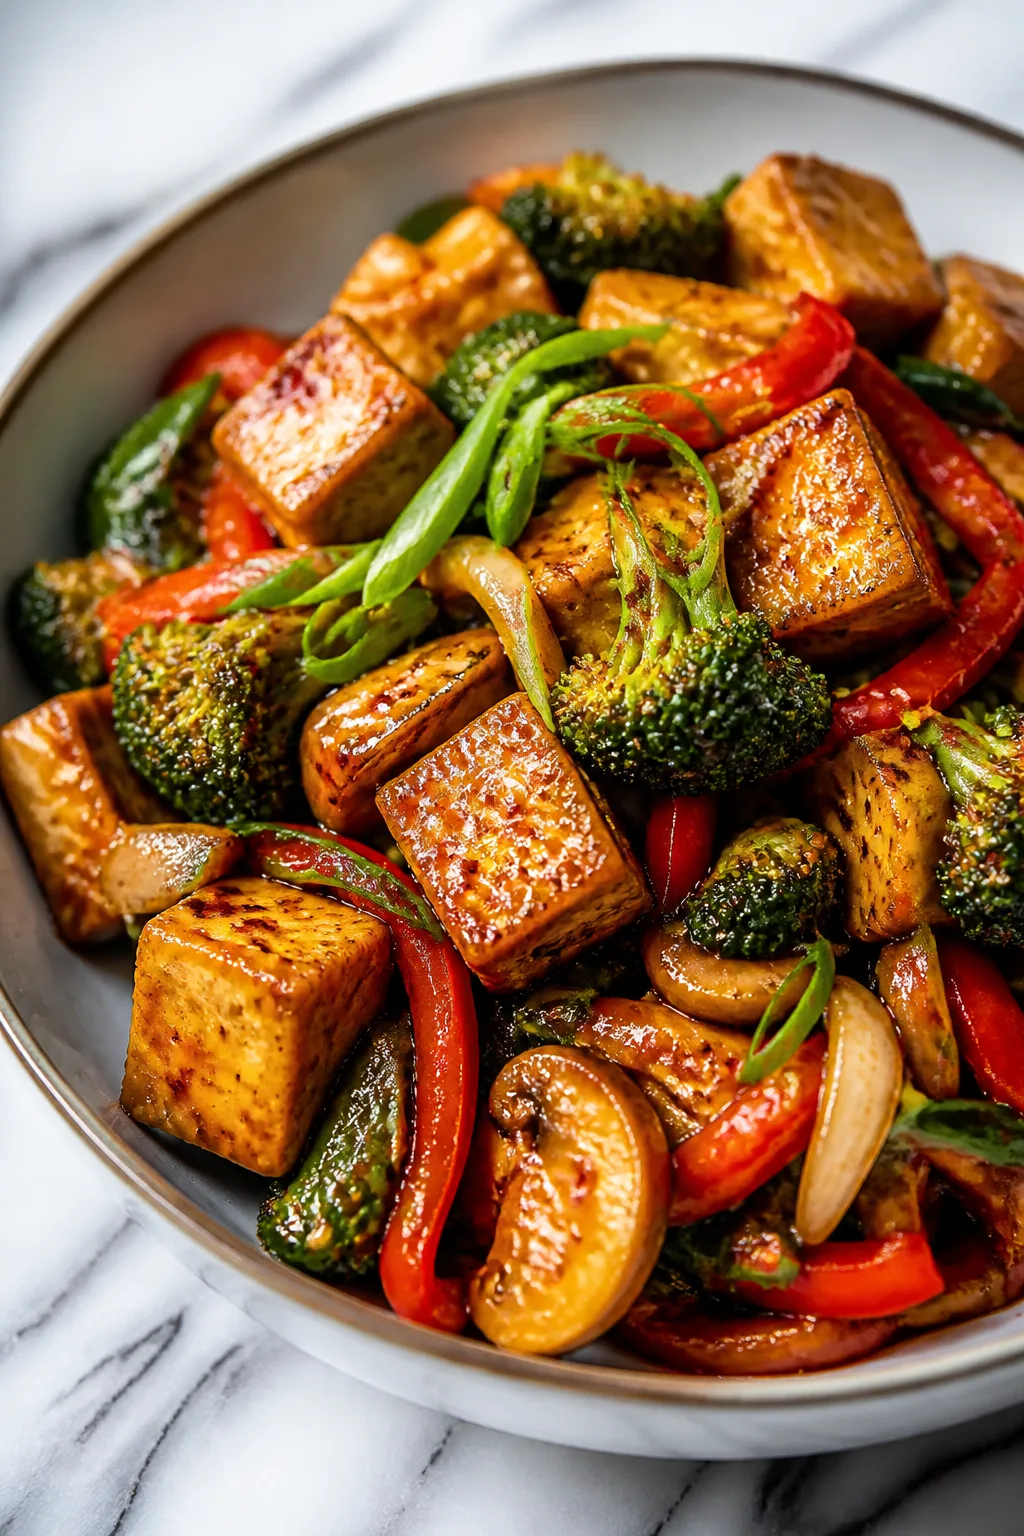
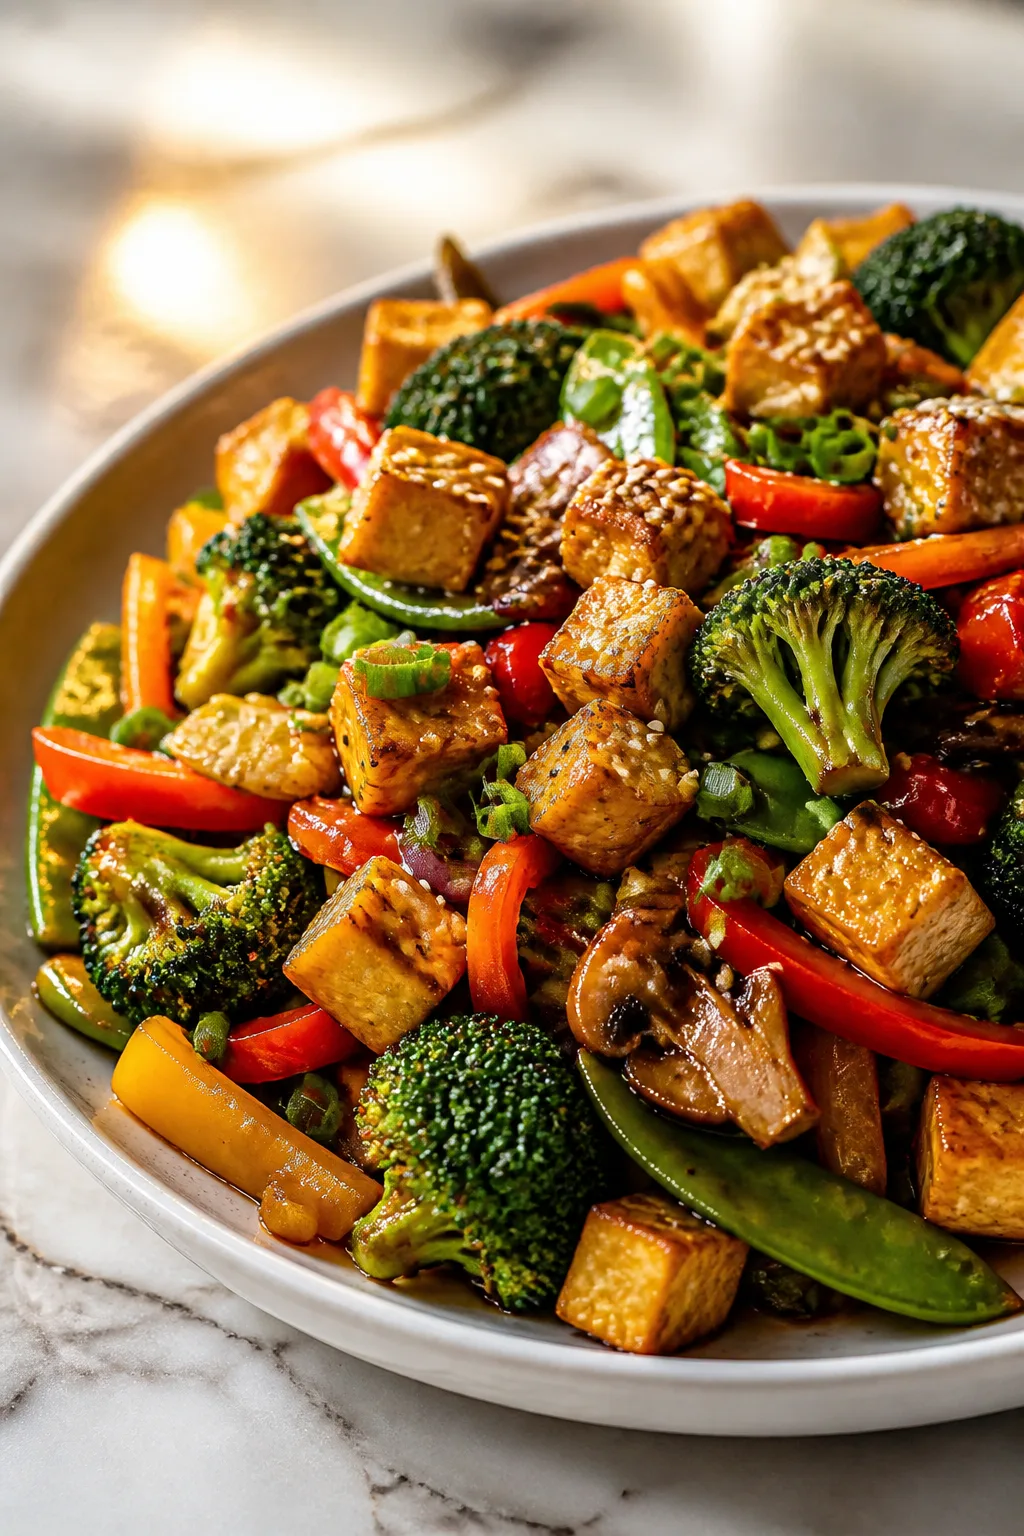
This vegan chickpea curry is a quick, vibrant meal bursting with fresh spring veggies and warming spices. It’s perfect for a busy weeknight when you want something wholesome and comforting without fuss.
Introduction
I first stumbled upon this vegan chickpea curry when I was craving something comforting but quick on a hectic weeknight. I’ve made countless versions, but this one stands out because of the fresh spring veggies I toss in near the end, giving it a lovely crunch and bright flavor. What makes this curry different from the usual is the balance of spices—warm but not overpowering—and the use of coconut oil which adds a subtle creaminess without needing coconut milk. I’ve learned that cooking the onions slowly until soft is key; it builds a deep flavor base that really makes the curry sing. Plus, adding lemon juice at the end lifts the whole dish, making it feel fresh and vibrant. The final curry is hearty, slightly spicy, and full of textures from the tender chickpeas and crisp veggies. It’s the kind of meal that feels like a warm hug but is ready in just 30 minutes—perfect for busy days when you want something nourishing without the fuss.
How To Do It
Step 1
Heat the coconut oil in a large skillet or saucepan over medium heat. Add the chopped onion and cook gently, stirring often, until it turns soft and translucent, about 8-10 minutes. This slow cooking releases the onion’s natural sweetness, which forms the flavorful base of your curry. Avoid rushing this step or cooking on too high heat, as burnt onions will give a bitter taste. Keep an eye on the color and texture—they should be soft and golden, not brown or crispy.
⏱ Time: 8-10 minutes
✓ Doneness: Onions are soft, translucent, and lightly golden with no burnt spots
Step 2
Add the minced garlic and grated ginger to the onions and stir for about 1 minute until fragrant. Then sprinkle in the cumin, coriander, turmeric, garam masala, and cayenne pepper if using. Toast the spices gently by stirring constantly for 1-2 minutes; this step blooms their flavors and makes the curry aromatic. Be careful not to burn the spices—they should smell warm and inviting but not acrid. If the pan feels dry, add a splash of vegetable broth to keep the spices from sticking.
⏱ Time: 3-4 minutes
✓ Doneness: Spices are fragrant and slightly darker but not burnt
Step 3
Pour in the canned diced tomatoes with their juices and stir well to combine with the spices. Let the mixture simmer gently for 5-7 minutes, stirring occasionally. This allows the flavors to meld and the tomatoes to break down, creating a rich sauce. If it looks too thick or starts sticking, add a little vegetable broth to loosen it. You want a saucy consistency that will coat the chickpeas nicely later.
⏱ Time: 5-7 minutes
✓ Doneness: Sauce is thickened slightly and bright red with a rich aroma
Step 4
Add the drained chickpeas to the tomato-spice sauce, stirring to coat them evenly. Pour in 1 cup of vegetable broth and bring the curry to a gentle simmer. Let it cook uncovered for 10 minutes, stirring occasionally. This step softens the chickpeas further and allows them to soak up the curry flavors. Keep the heat moderate so the sauce reduces slightly but doesn’t dry out. If it thickens too much, add a splash more broth.
⏱ Time: 10 minutes
✓ Doneness: Chickpeas are tender and sauce is slightly thickened
Step 5
Stir in the fresh green peas and chopped asparagus. Cook for 3-4 minutes until the veggies are tender but still have a bit of crunch. Adding these spring veggies late keeps their bright color and fresh texture, which contrasts nicely with the creamy chickpeas. Overcooking will make them mushy and dull the dish’s vibrancy.
⏱ Time: 3-4 minutes
✓ Doneness: Veggies are bright green and tender-crisp
Step 6
Add the chopped baby spinach and stir until just wilted, about 1-2 minutes. Spinach wilts quickly and adds a lovely leafy texture and nutrients. Don’t cook it too long or it will lose its color and become slimy. Stir gently to distribute evenly throughout the curry.
⏱ Time: 1-2 minutes
✓ Doneness: Spinach is wilted but still bright green
Step 7
Season the curry with salt and pepper to taste, then squeeze in the juice of half a lemon. The acidity brightens the flavors and balances the richness of the coconut oil and spices. Taste and adjust seasoning as needed. This final step really lifts the dish and makes it feel fresh and lively.
⏱ Time: 2 minutes
✓ Doneness: Flavors are well balanced with a fresh, tangy finish
Step 8
Remove the curry from heat and let it sit for a couple of minutes to thicken slightly. This resting time helps the flavors meld further and the sauce to settle. It also cools the dish just enough to be ready to serve safely without losing warmth.
⏱ Time: 2 minutes
✓ Doneness: Sauce has thickened and flavors melded
Step 9
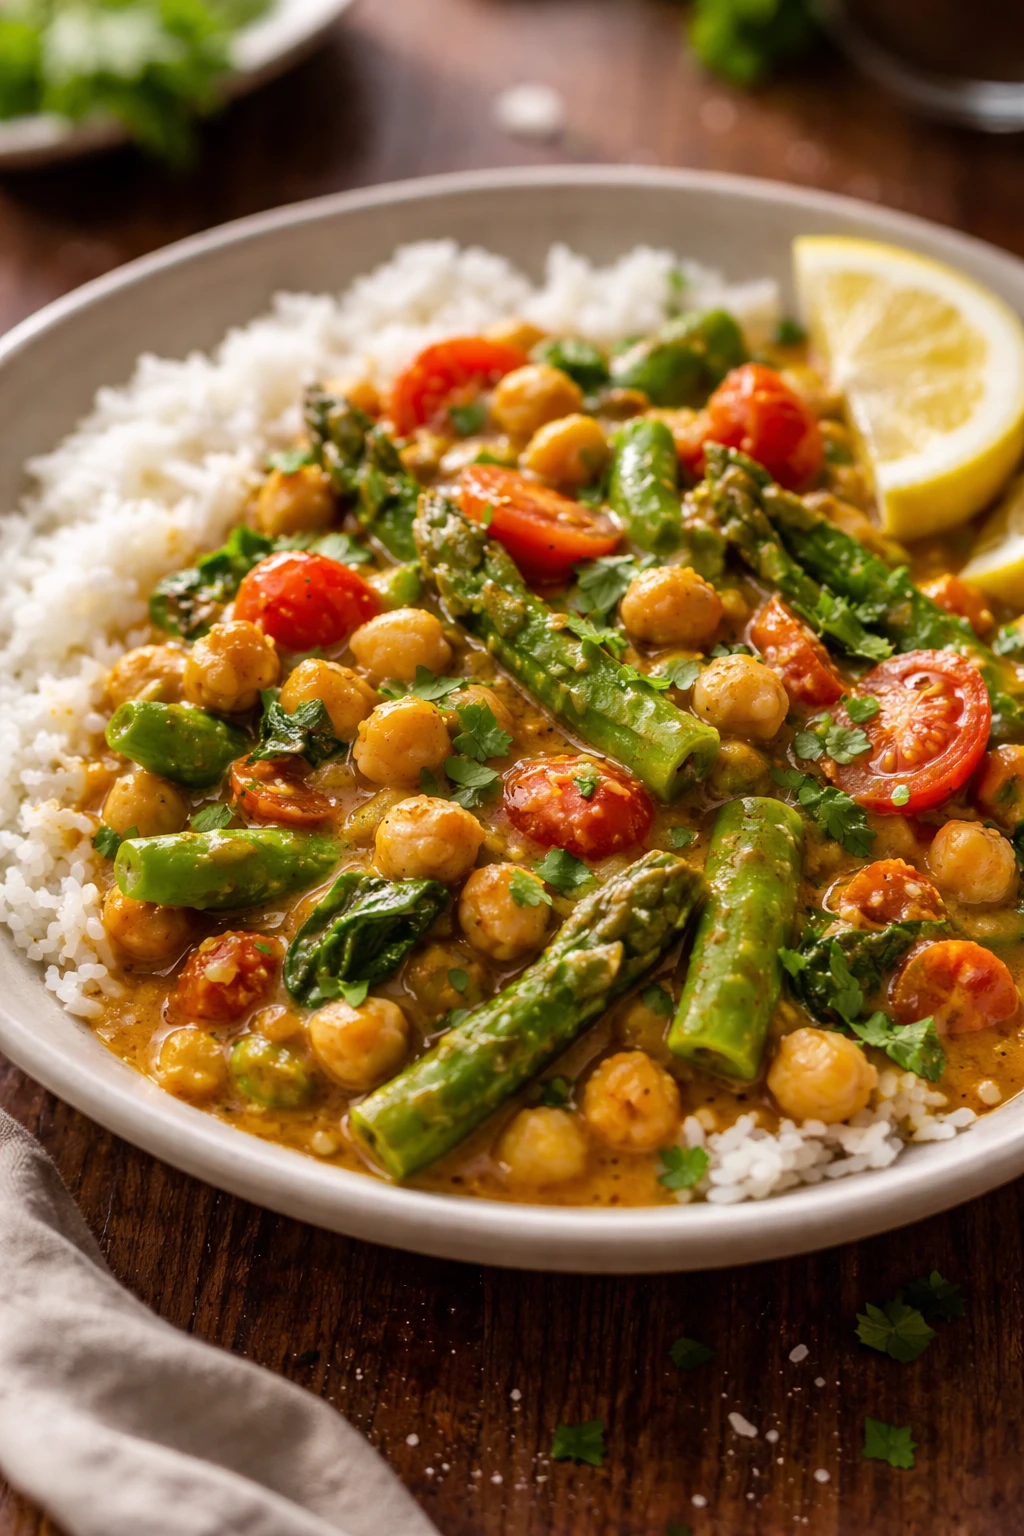
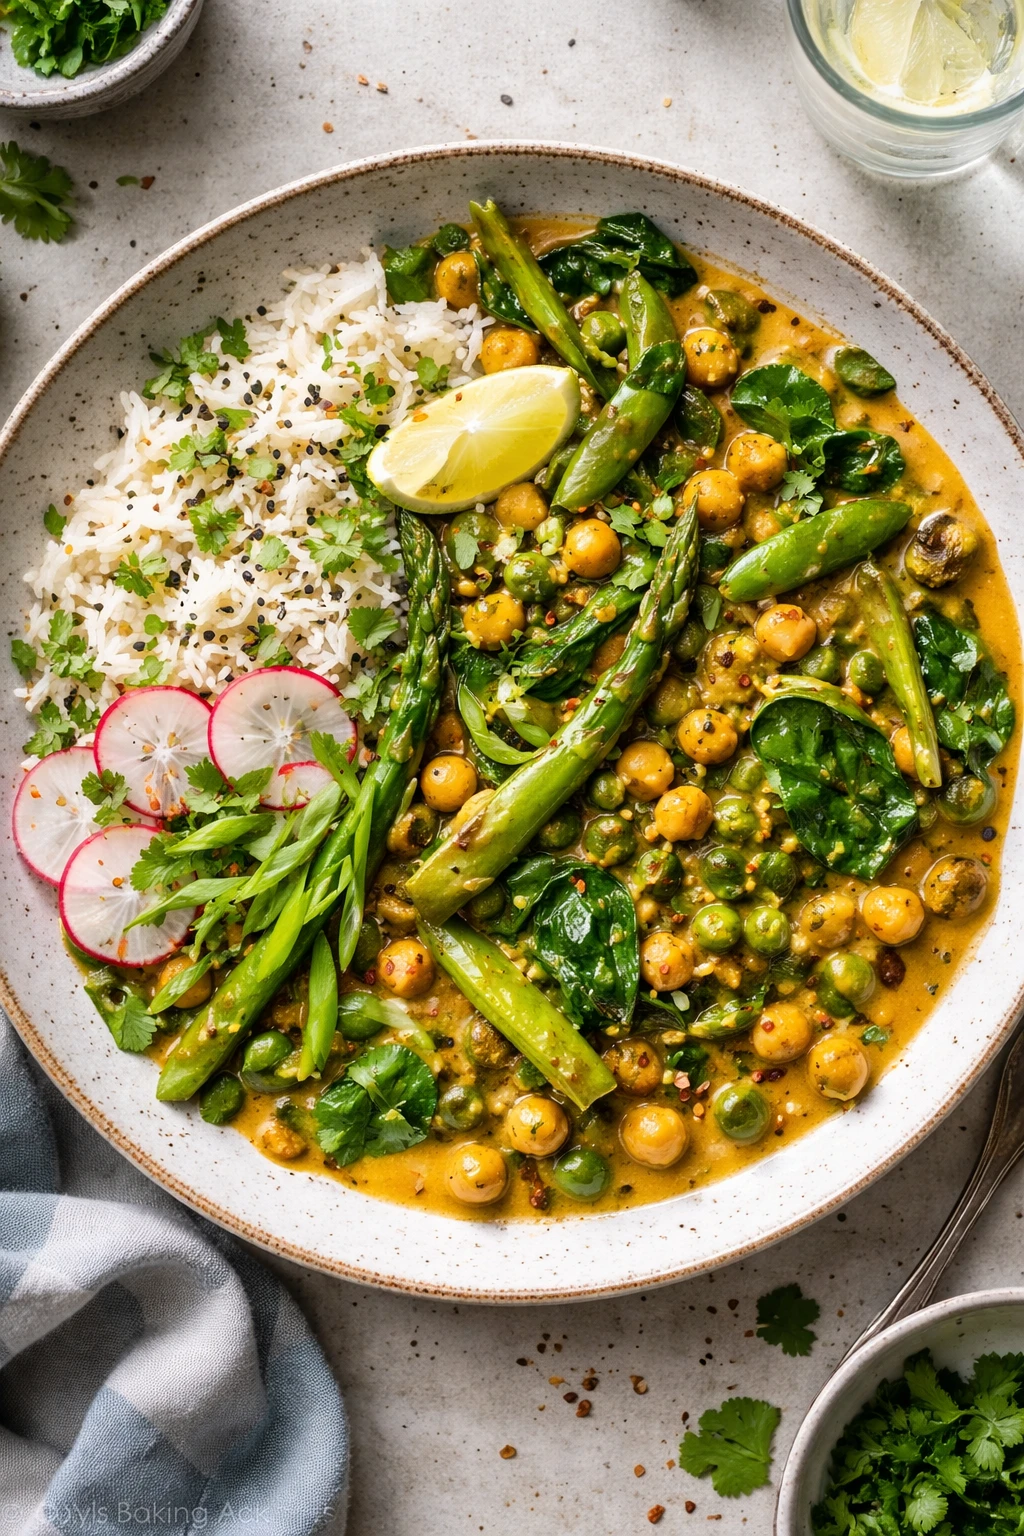
Serve the chickpea curry hot, garnished with freshly chopped cilantro. It pairs beautifully with steamed basmati rice or warm naan bread. The fresh herbs add a bright finish and a lovely aroma, making each bite feel special and inviting.
⏱ Time: Immediate
✓ Doneness: Dish is hot, garnished, and visually vibrant
Pro Tips
Cook onions slowly over medium heat until soft and translucent.
Slow cooking onions allows their natural sugars to caramelize gently, creating a sweet, flavorful base for the curry. Rushing this step or using high heat can burn the onions, adding bitterness and ruining the flavor foundation.
Toast spices briefly in oil before adding liquids.
Toasting spices in hot oil releases their essential oils and deepens their flavor. This step transforms dry, powdered spices into a fragrant, complex base that makes the curry taste vibrant and fresh.
Add fresh vegetables near the end to maintain texture and color.
Cooking spring veggies too long causes them to lose their bright color and crispness, turning mushy. Adding them late preserves their freshness, making the curry more visually appealing and texturally interesting.
Use canned chickpeas for convenience but rinse well.
Canned chickpeas save time and are perfectly tender for curry. Rinsing removes excess sodium and any canning liquid flavor, ensuring a clean taste that lets the spices shine.
Finish with fresh lemon juice just before serving.
Lemon juice adds a fresh acidity that balances the rich coconut oil and spices, brightening the entire dish. Adding it too early can dull the flavor, so add it last for maximum impact.
Simmer the curry uncovered to thicken the sauce naturally.
Simmering uncovered allows moisture to evaporate, concentrating the sauce and intensifying flavors. Covering the pot traps steam and results in a thinner, less flavorful sauce.
Serve with basmati rice or warm naan for a complete meal.
The mild, fluffy basmati rice or soft naan bread complements the rich, spicy curry perfectly, soaking up the sauce and balancing the textures for a satisfying dinner.
Common Mistakes to Avoid
Cooking onions too quickly or burning them.
Why it happens Many rush to save time or use high heat without realizing onions need gentle cooking to develop sweetness.
Fix Cook onions over medium or medium-low heat, stirring frequently until they become soft and translucent with a light golden color. This builds a flavorful base without bitterness.
Skipping toasting the spices.
Why it happens It’s tempting to just add spices directly to liquids to save time.
Fix Always toast spices in oil for 1-2 minutes until fragrant. This releases their oils and enhances flavor dramatically.
Overcooking fresh vegetables.
Why it happens Some think all ingredients should cook together from the start.
Fix Add spring veggies like peas, asparagus, and spinach near the end and cook just until tender-crisp to keep their color and texture vibrant.
Not rinsing canned chickpeas.
Why it happens Many forget to rinse, leaving a metallic or canned taste.
Fix Rinse chickpeas under cold water to remove canning liquid and excess sodium for a cleaner flavor.
Forgetting to add lemon juice at the end.
Why it happens Some add lemon too early or skip it entirely.
Fix Add fresh lemon juice right before serving to brighten and balance the curry’s flavors.
Variations
Creamy Coconut Chickpea Curry
Add 1/2 cup coconut milk after simmering the chickpeas to create a richer, creamier curry. This variation is perfect if you want a more indulgent texture and a subtle coconut flavor that complements the spices beautifully.
Note: Reduce the vegetable broth slightly to keep the sauce from becoming too thin when adding coconut milk.
Spicy Chickpea Curry
Increase cayenne pepper to 1/2 teaspoon and add a chopped green chili for a fiery kick. This version is great if you love heat and want to punch up the curry’s warmth without changing the basic recipe.
Note: Adjust spice levels gradually to avoid overpowering the dish.
Chickpea Curry with Roasted Cauliflower
Roast cauliflower florets until golden and add them with the spring veggies for extra texture and a nutty flavor. This adds a delicious roasted note and makes the curry more substantial.
Note: Roast cauliflower at 425°F for 20 minutes before adding to the curry.
Chickpea and Sweet Potato Curry
Add diced sweet potatoes with the chickpeas and simmer until tender. This adds natural sweetness and makes the dish heartier, perfect for cooler days or if you want a comforting twist.
Note: Increase simmering time by 5-7 minutes to ensure sweet potatoes are fully cooked.
Chickpea Curry with Fresh Herbs
Mix in chopped fresh mint and basil along with cilantro at the end for a bright, herbaceous flavor profile. This variation adds complexity and a refreshing contrast to the warm spices.
Note: Add fresh herbs off the heat to preserve their delicate flavors.
Nutrition
Per Serving:
Nutritional values are estimates and may vary based on specific ingredients used.
Storage & Tips
Room Temperature
The curry can safely sit at room temperature for up to 2 hours if covered. Beyond that, bacteria can grow, so it’s best to refrigerate promptly.
Refrigerator
Store in an airtight container for up to 4 days. The flavors meld nicely overnight, but the fresh veggies may soften slightly. Reheat gently before serving.
Freezer
Freeze in airtight containers for up to 3 months. To prevent freezer burn, remove as much air as possible. Thaw overnight in the fridge and reheat on the stove with a splash of broth.
Reheating
Reheat on the stovetop over medium-low heat, stirring occasionally. Add a splash of vegetable broth or water if the curry thickens too much. Avoid overheating to keep veggies tender and prevent drying.
Make Ahead
You can prepare the curry base (onions, spices, tomatoes, chickpeas) 1-2 days ahead and refrigerate. Add fresh spring veggies and lemon juice just before reheating and serving to keep them vibrant.
FAQ
Can I use dried chickpeas instead of canned?
Yes, but you’ll need to soak and cook dried chickpeas beforehand until tender. This adds extra prep time but can enhance flavor and texture. Make sure they’re fully cooked before adding to the curry to avoid a tough bite.
What can I substitute for coconut oil?
You can use other neutral oils like vegetable or canola oil, but coconut oil adds a subtle richness and slight sweetness that complements the spices well. Olive oil changes the flavor profile and isn’t recommended here.
How spicy is this curry?
This recipe is mildly spiced, with warmth from the spices but not much heat. You can adjust the cayenne pepper or add fresh chili to increase spiciness to your liking.
Can I make this curry gluten-free?
Absolutely! All the ingredients are naturally gluten-free. Just double-check your spice blends and broth to ensure they don’t contain hidden gluten.
What’s the best way to store leftovers?
Store leftovers in an airtight container in the fridge for up to 4 days. Reheat gently on the stove and add a splash of broth if needed to loosen the sauce.
Can I add other vegetables?
Yes! Vegetables like bell peppers, zucchini, or carrots work well. Just add them at the same time as the spring veggies and adjust cooking time to keep them tender-crisp.
Is this recipe suitable for meal prep?
Definitely. The curry keeps well in the fridge and tastes even better the next day. Just add fresh veggies and lemon juice when reheating to keep it fresh.
Can I use frozen vegetables instead of fresh?
You can, especially frozen peas. However, fresh veggies provide better texture and flavor. If using frozen, add them toward the end and cook just until heated through to avoid mushiness.
Final Thoughts
I hope you enjoy making this easy vegan chickpea curry as much as I do! It’s simple, flavorful, and perfect for any night. Don’t forget to share how it turns out!