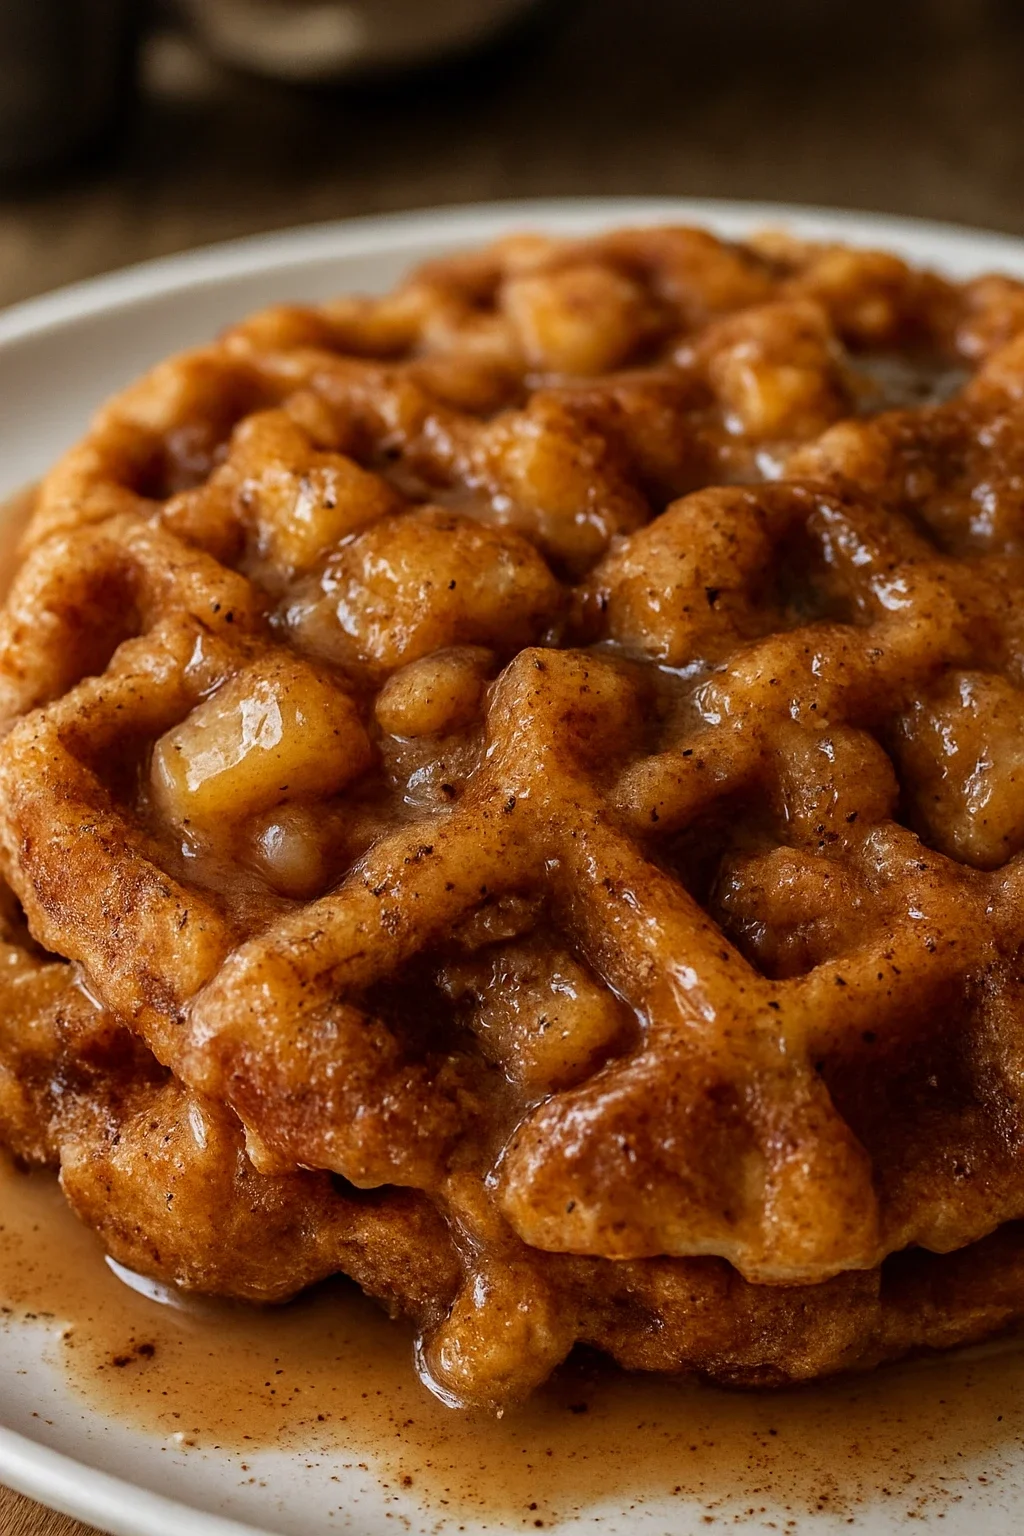
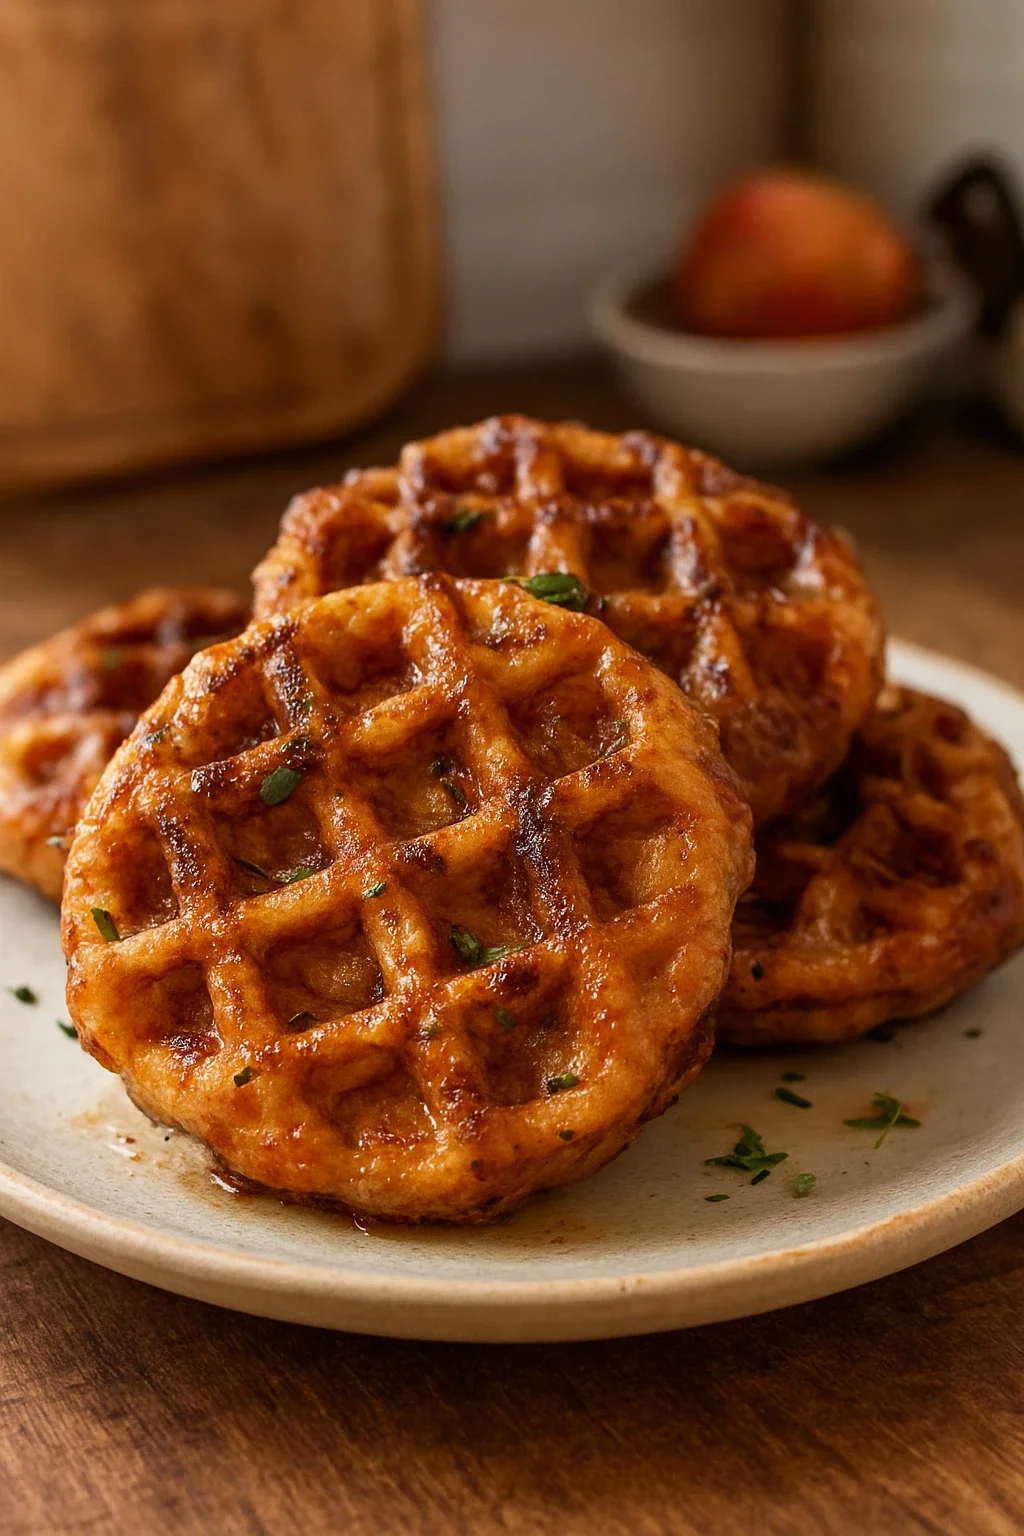
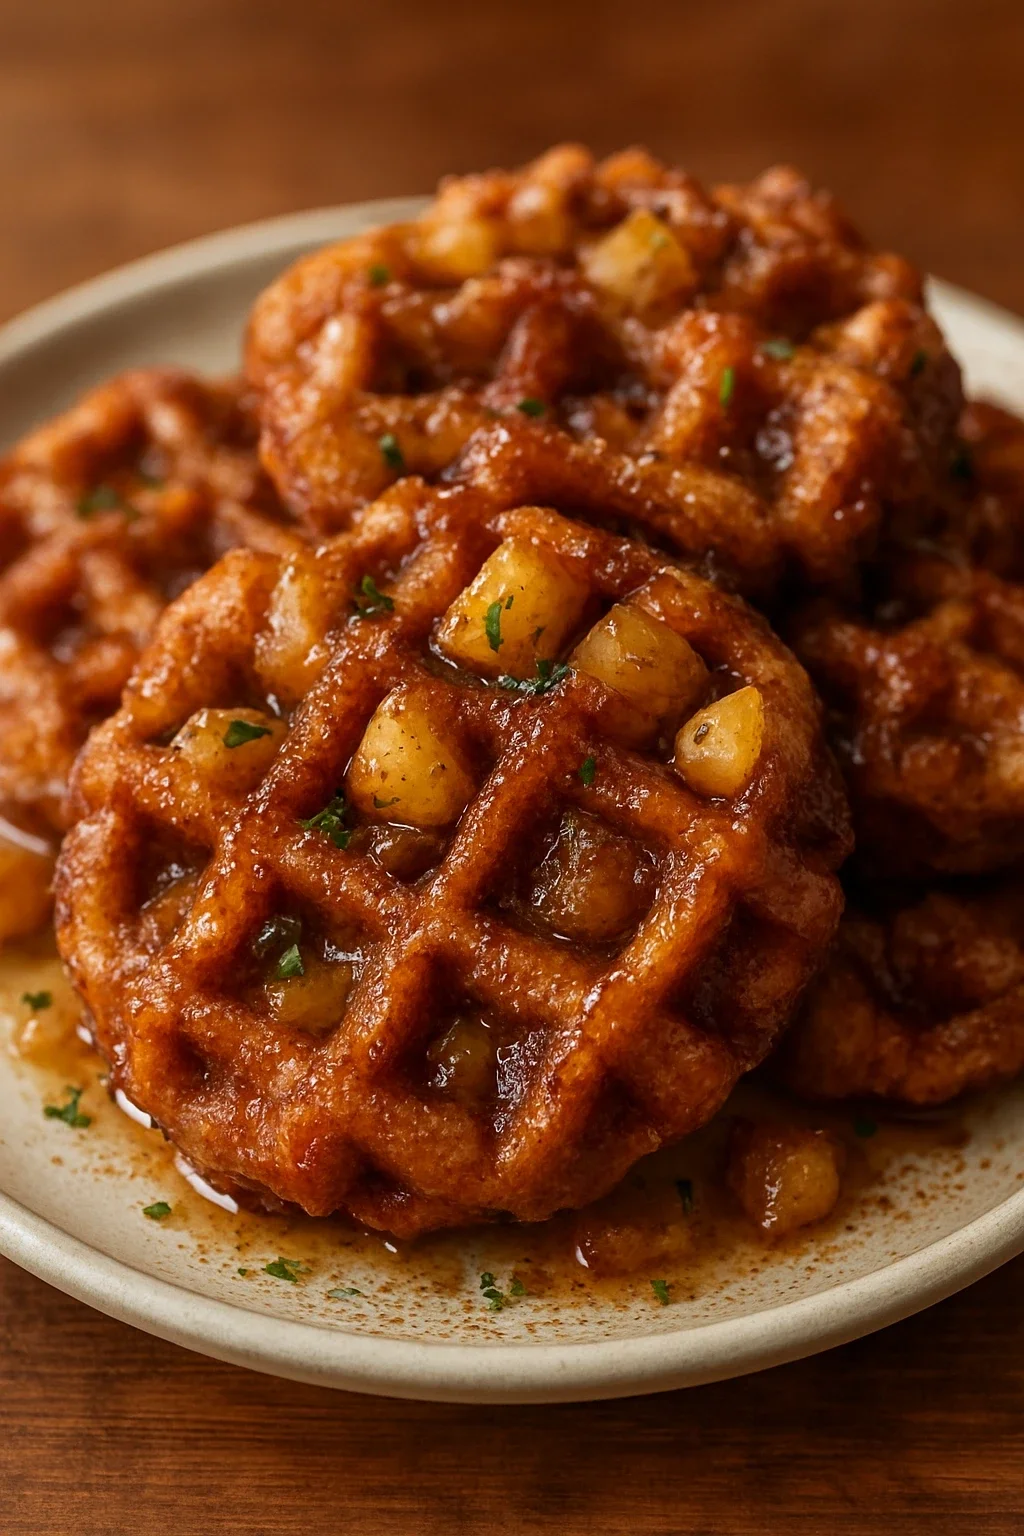
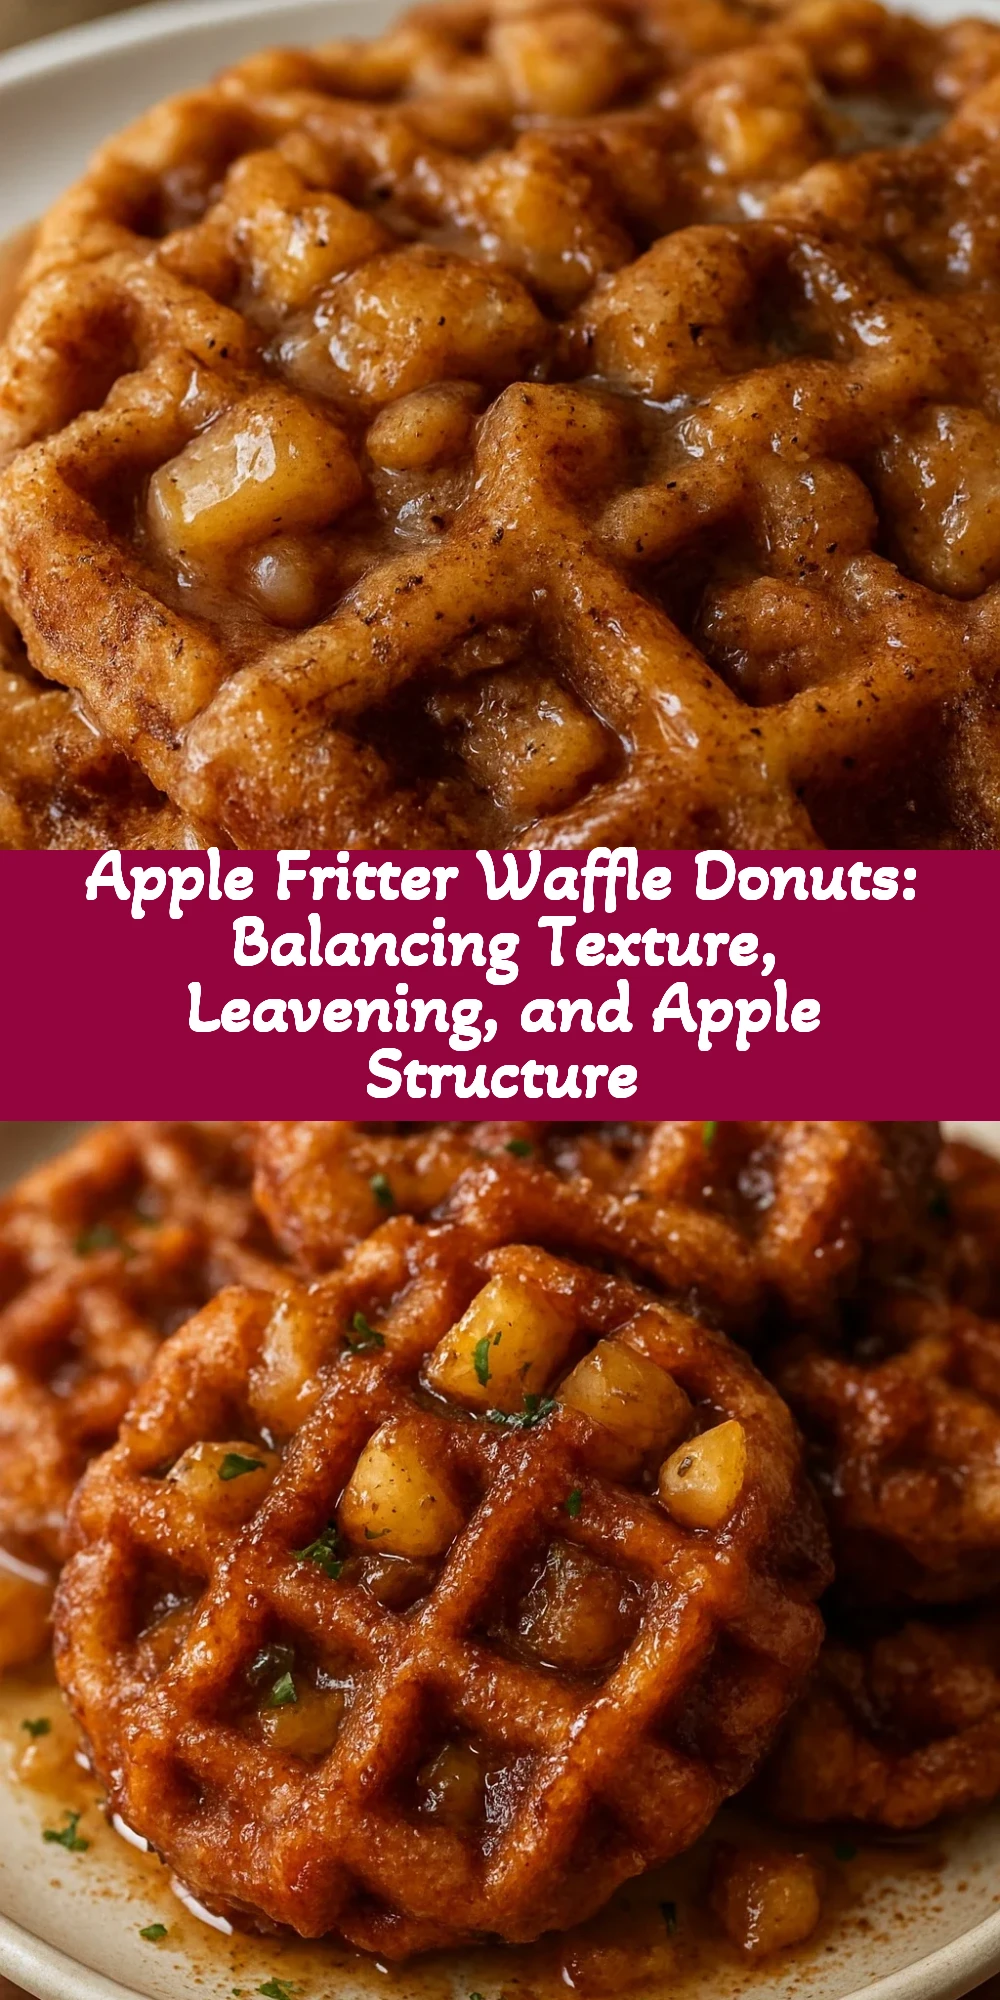
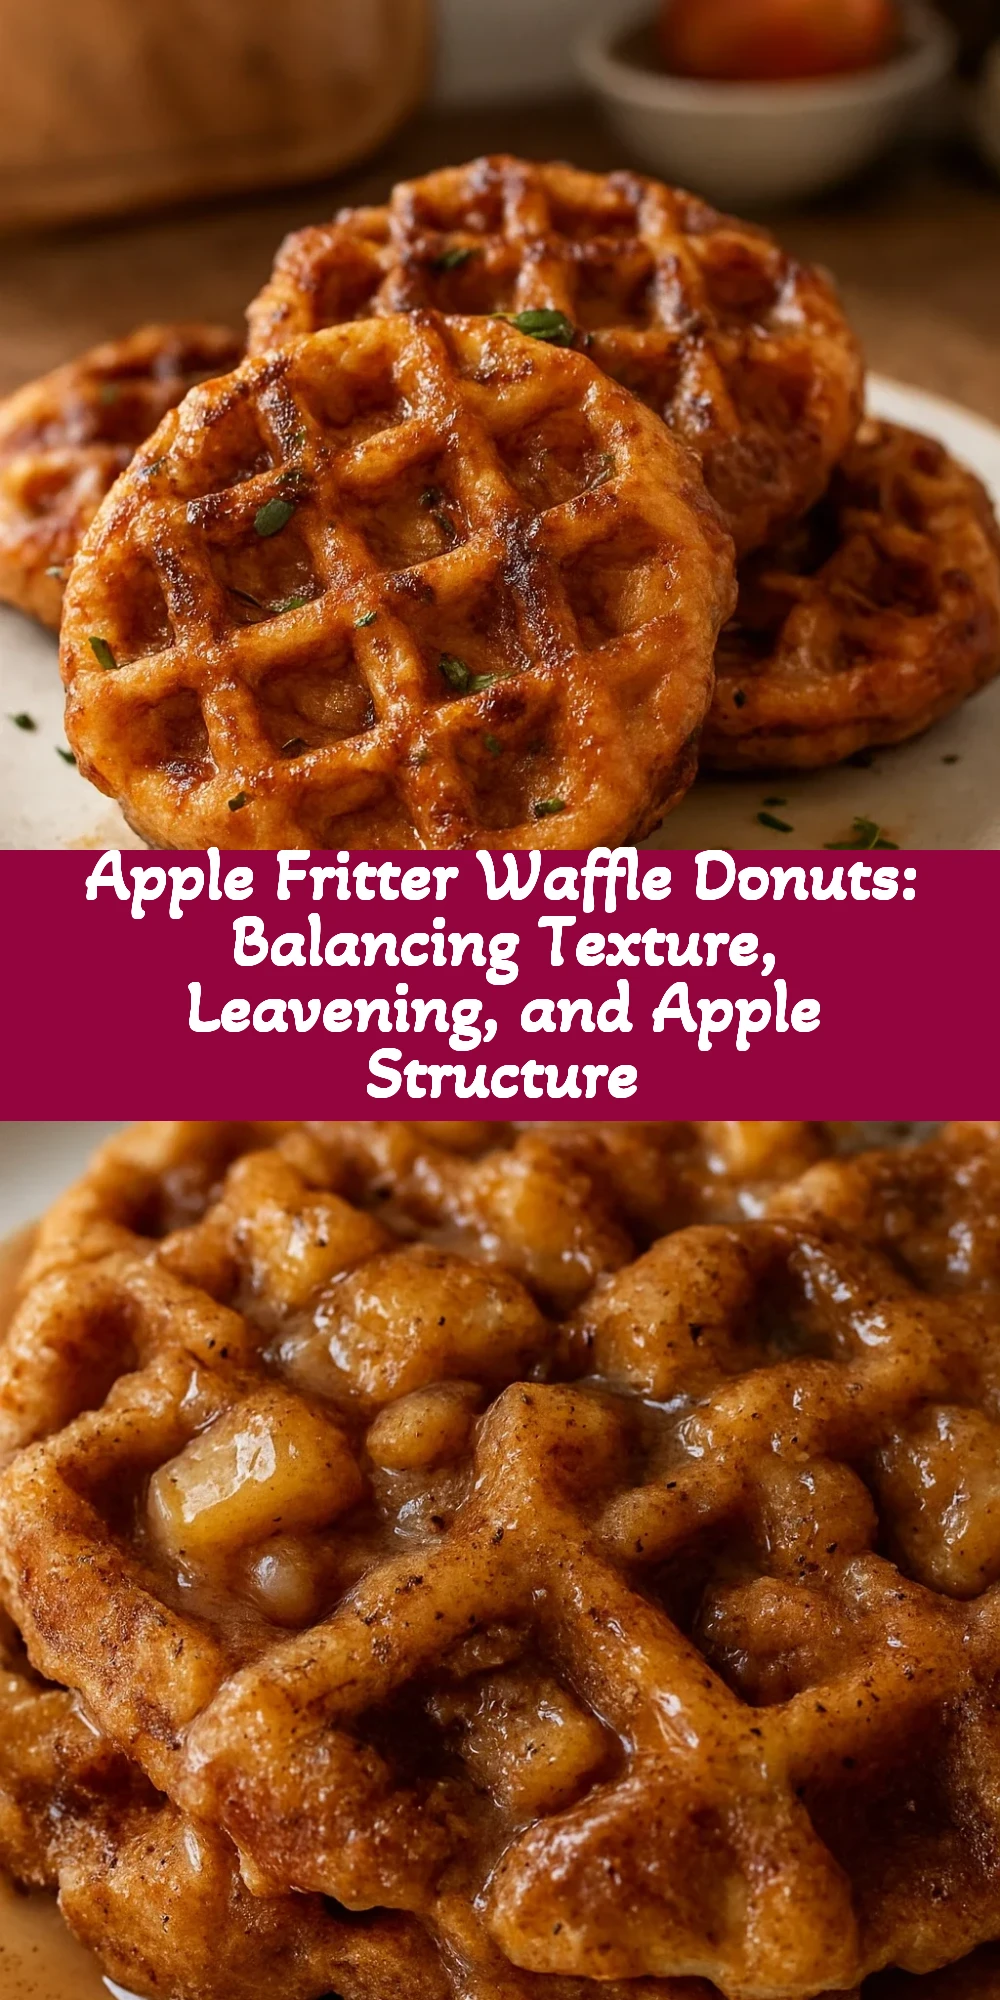
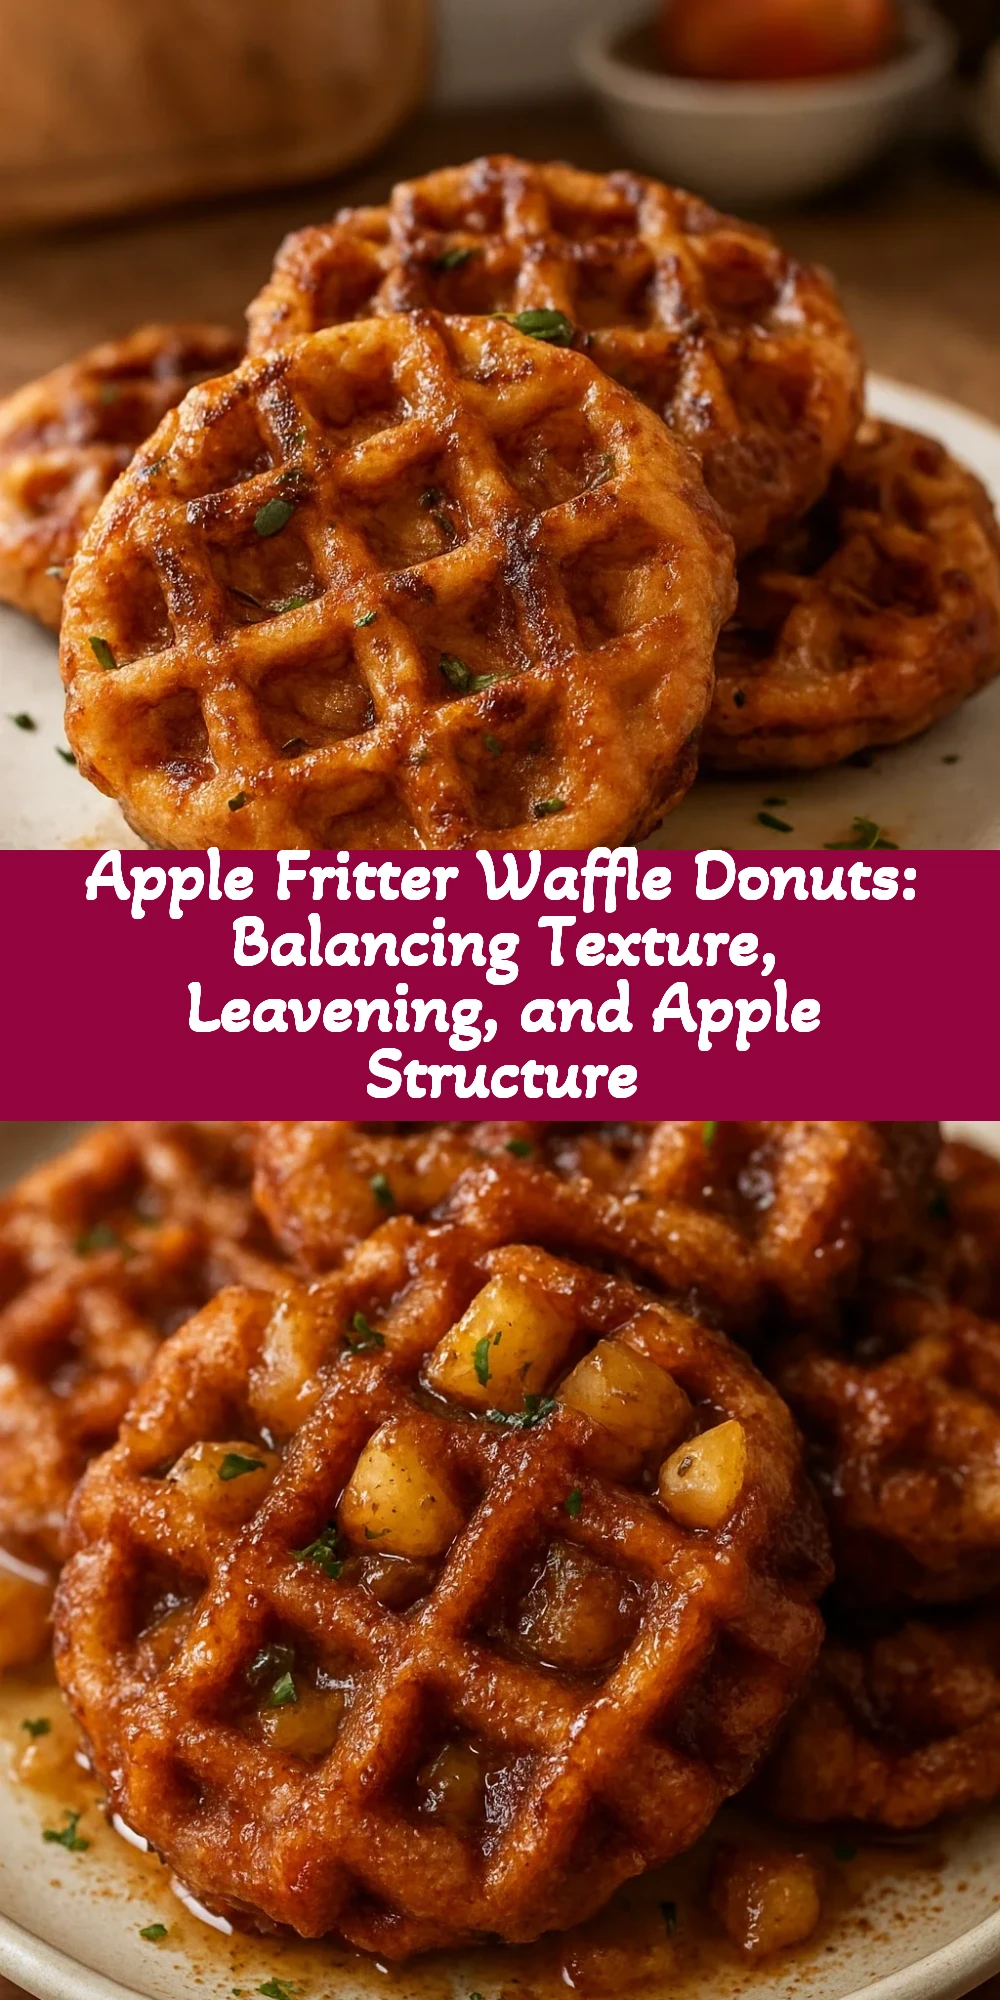
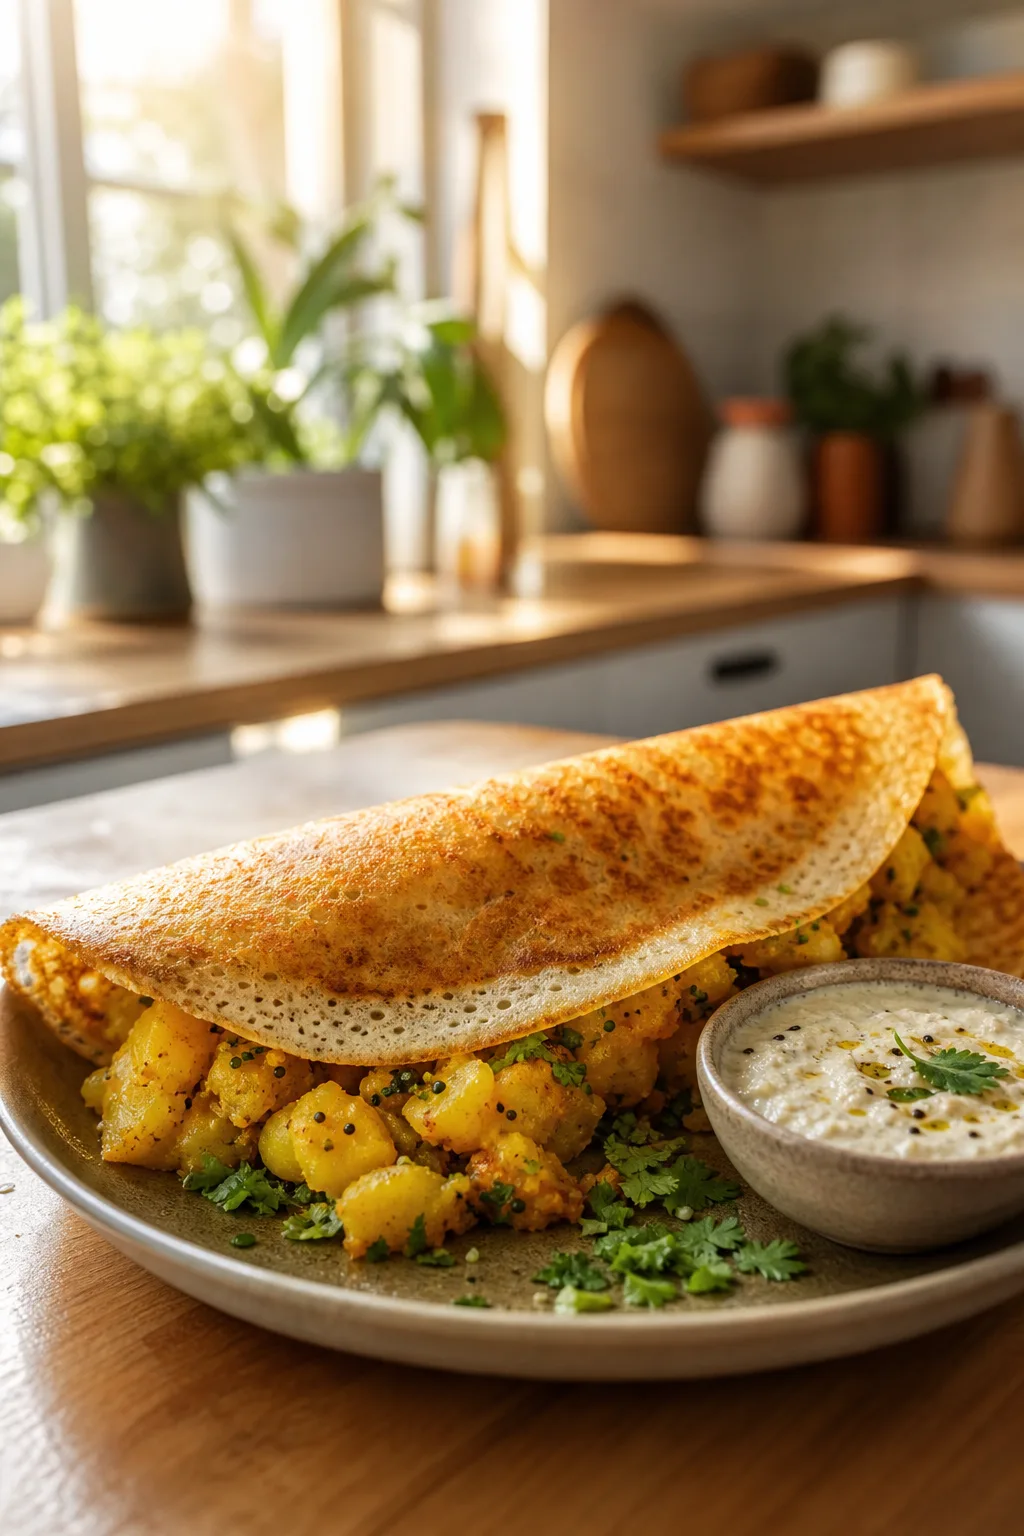
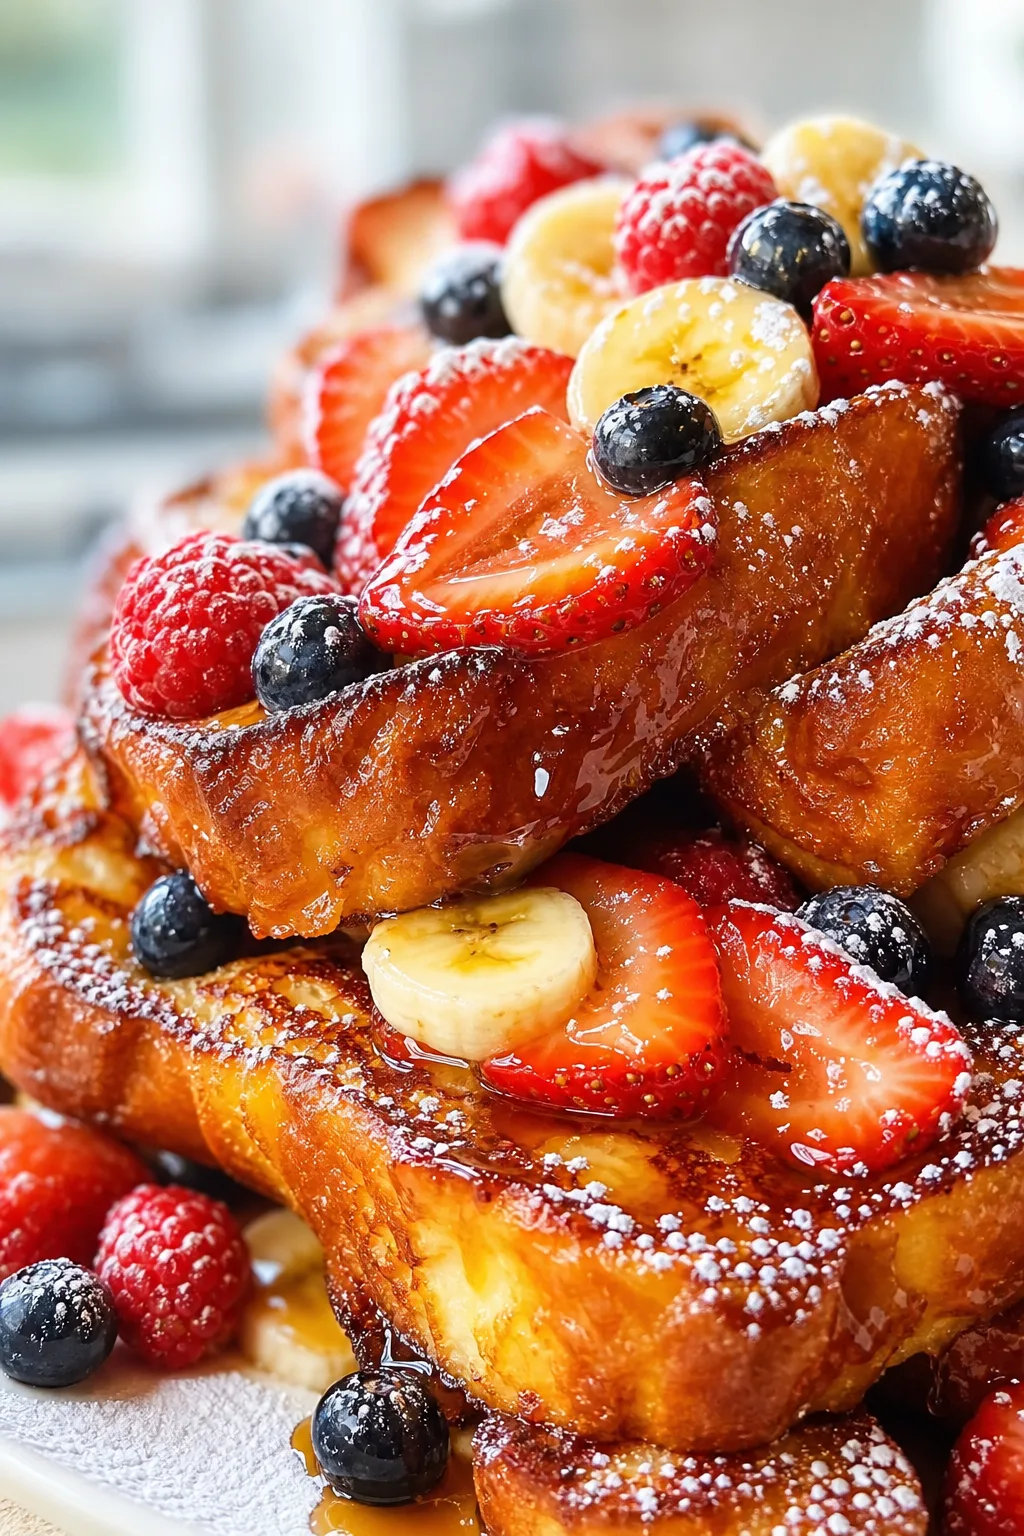
A guide to making crispy-on-the-outside, fluffy apple fritter waffle donuts using a standard waffle maker. Learn the specific reasons overmixing creates dense donuts, how apple size affects final texture, why waffle maker temperature variation matters, and techniques for achieving a stable glaze that sets without running. This recipe balances tart Granny Smith apples with warm spices and emerges from the waffle maker in about 30 minutes total.
What You'll Need
6 waffle donuts (approximately 3-4 inches each)
- 1 cup (125g) all-purpose flour
- 2 tablespoons (25g) granulated sugar
- 1 teaspoon (5g) baking powder
- 1/2 teaspoon (1g) ground cinnamon
- 1/4 teaspoon (0.5g) freshly grated nutmeg
- 1/2 teaspoon (3g) fine sea salt
- 1/2 cup (120ml) whole milk
- 1 large egg (50g)
- 1/2 cup (90g) diced Granny Smith apple, approximately 1/4-inch (0.6cm) pieces
- 1/4 cup (60ml) unsalted butter, melted
- 1 cup (120g) powdered sugar (confectioners' sugar)
- 2 tablespoons (30ml) whole milk (for glaze)
- 1/2 teaspoon (2.5ml) vanilla extract
How To Do It
Step 1
Preheat your waffle maker to medium-high heat, approximately 375°F (190°C) if your model displays temperature. Most waffle makers require 3-4 minutes of preheating to reach this temperature. Look for a preheat indicator light, and wait an additional 30-45 seconds after it turns off before beginning to cook, as the grid continues heating slightly after the signal indicates readiness. While the waffle maker preheats, prepare your dry ingredients by combining flour, granulated sugar, baking powder, cinnamon, nutmeg, and salt in a medium mixing bowl. Whisk these together for approximately 30 seconds, using the whisk to distribute the baking powder evenly throughout the flour. Any concentrated pockets of baking powder will create uneven leavening, resulting in some areas rising more than others.
⏱ Time: 3-5 minutes
✓ Doneness: Waffle maker is hot to touch on exterior, indicator light has turned off and stayed off for 30+ seconds, dry ingredients are evenly combined with no visible baking powder clumps
Step 2
In a separate bowl, crack the egg and whisk it lightly for about 15 seconds, breaking the yolk and combining the white with the yolk. Pour in the milk and melted butter, stirring with a fork or whisk just until combined. You're not trying to create a fully emulsified mixture at this stage—just combine the wet ingredients. The batter will emulsify during folding. This separation of wet and dry components is strategic because it allows you to pour the wet ingredients into the dry ingredients and fold gently without the dry ingredients being pre-hydrated, which would accelerate gluten development.
⏱ Time: 1-2 minutes
✓ Doneness: Egg is fully broken up and distributed in liquid, butter and milk are combined, no visible separate layers
Step 3
Pour the wet mixture into the dry ingredients. Using a silicone spatula, fold the mixture together by scraping from the bottom of the bowl and folding the ingredients toward the center, then rotating the bowl slightly and repeating. Perform approximately 12-15 folds total. The batter should look shaggy with visible flour streaks remaining—this is the correct endpoint. Stop folding immediately when you see just a few flour streaks. Resist the urge to continue folding 'just until smooth'—that continued folding develops gluten, which creates tough donuts. The batter will look slightly rough and under-combined, and that is exactly correct.
⏱ Time: 2-3 minutes
✓ Doneness: Batter is slightly rough with visible flour streaks remaining, no lumps of dry flour visible, batter holds together when scooped
Step 4
Gently fold in the diced apple pieces using 8-10 additional folds. Handle the apples carefully because aggressive folding breaks them down and causes them to disperse into the batter rather than remaining as distinct pieces. Each fold should be deliberate and gentle, aiming to distribute the apples throughout the batter without overworking them. Once the apples are distributed (you should see apple pieces throughout without needing to search for them), stop folding. Allow the batter to rest for exactly 3 minutes while your waffle maker finishes its final heating. During this rest, the flour continues to hydrate, and the baking powder has time to fully react with the liquid, ensuring maximum leavening during cooking.
⏱ Time: 3 minutes
✓ Doneness: Apple pieces are distributed throughout batter, each scoop contains at least 2-3 visible apple pieces, batter has slightly thickened during rest period
Step 5
Lightly spray or brush the waffle maker grids with nonstick cooking spray, coating all contact surfaces. Using a measuring cup or ice cream scoop, portion approximately 1/3 cup (80ml) of batter into each waffle compartment. Fill each compartment until the batter reaches just below the top rim—approximately 3/4 full. If you fill completely to the rim, batter will spill over the sides when the lid closes. If you fill too little (less than 1/4 cup), the donuts will be thin and overly crispy rather than having a tender interior. Close the lid gently but firmly—don't slam it, which can cause batter to splatter out the sides.
⏱ Time: 2-3 minutes
✓ Doneness: All compartments are filled to the same level, batter is approximately 3/4 full, lid closes without spilling
Step 6
Cook for 3-5 minutes, depending on your specific waffle maker. Watch for steam to stop flowing from the sides of the waffle maker—this indicates the interior moisture is being driven out and the batter is approaching doneness. After steam subsides, wait another 30 seconds, then carefully crack the lid slightly (don't fully open yet) and check if the donuts release easily from the grid. If they stick when you try to lift them, close the lid and cook for another 30 seconds. The exterior should be golden brown, almost mahogany in color. The goal is a light crispness on the outside with a tender interior. Cooking too little time results in a pale exterior and potentially a raw interior; cooking too long creates an overly crispy donut that's closer to a waffle than a donut.
⏱ Time: 3-5 minutes
✓ Doneness: Steam has stopped flowing from sides, exterior is golden brown to light mahogany in color, donuts release easily from grid when lifted
Step 7
Using tongs or a spatula, carefully transfer each cooked donut to a wire cooling rack positioned over a sheet of parchment paper. The cooling rack allows air to circulate underneath, preventing steam from condensing there and making the bottom soggy. The parchment paper below catches any glaze drippings. If you place hot donuts directly on a plate, steam condenses underneath and softens the crispy exterior—this is why the cooling rack is essential for maintaining texture. Continue cooking remaining batches of batter using the same process: spray the grids, portion batter, close lid, and cook until golden and releasing easily.
⏱ Time: 1-2 minutes per batch
✓ Doneness: Donuts are on cooling rack, no moisture pooling underneath them, air circulates freely around each donut
Step 8
While the final batch of donuts cooks, prepare your glaze. In a small bowl, combine powdered sugar, 2 tablespoons (30ml) of whole milk, and vanilla extract. Whisk these together for approximately 30 seconds until the mixture is completely smooth with no visible powdered sugar lumps. The glaze should flow slowly from a spoon—the consistency of heavy cream. If the glaze is too thick (barely flows), add additional milk one teaspoon at a time until you reach the right consistency. If the glaze is too thin (runs off quickly), sift in additional powdered sugar one tablespoon at a time. The powdered sugar's cornstarch content helps the glaze set, so don't skip the sifting—just sprinkle it in and whisk until smooth.
⏱ Time: 2-3 minutes
✓ Doneness: Glaze is smooth with no lumps, flows slowly from a spoon, reaches the consistency of heavy cream
Step 9
Once all donuts are cooked and still warm (ideally within 5 minutes of finishing cooking), apply the glaze. Working quickly while the donuts are warm, drizzle the glaze over each donut using a fork or small spoon, working in a back-and-forth motion across the top. The warm donut surface allows the glaze to set into a light, crispy shell through rapid water evaporation. If donuts have cooled significantly (more than 10 minutes), you can refresh them in a 300°F (150°C) oven for 2 minutes before glazing, or the glaze will remain sticky rather than setting. Allow the glaze to set for approximately 10 minutes before serving, during which time the coating will firm up slightly.
⏱ Time: 5 minutes
✓ Doneness: Glaze covers entire top of each donut, no bare spots visible, glaze is beginning to set and firm up slightly
Pro Tips
Test your waffle maker's actual temperature before committing to a full batch. Make one donut and note how long it takes and what color it achieves. Waffle makers vary significantly in actual temperature despite similar settings—knowing your machine's specifics prevents under or over-cooking subsequent batches.
Different waffle maker models have inconsistent temperature calibration. Older, clamping-style models often run hotter than their settings suggest. Modern rotating models sometimes run cooler. The first donut is essentially calibration—once you know how your machine behaves, you can adjust timing and heat settings for subsequent batches. This takes only 5 minutes and saves the rest of your batter from potential disaster.
Cut apples into consistent 1/4-inch (0.6cm) pieces using a sharp knife or an apple slicer, then cutting the slices into cubes. Inconsistent sizes mean uneven cooking—some pieces remain hard while others over-soften. A consistent dice ensures all apple pieces finish cooking at the same time.
Large pieces don't cook through in the 3-5 minute window, resulting in hard, unpleasant bites. Tiny pieces break down and disappear into the batter. Only consistent, uniform pieces maintain structure while cooking through completely. The effort to dice consistently pays off in texture quality.
Prep your apples no more than 15 minutes before cooking. Cut apples immediately before mixing the batter, not ahead of time. If prepped too far in advance, enzymatic browning occurs at the cut surfaces, darkening the edges and creating slightly bitter, metallic flavors.
Enzymatic browning is a chemical process that begins immediately when cell walls are cut, exposing interior cells to oxygen. This browning both darkens the apple pieces (affecting appearance) and creates off-flavors. Timing apple preparation as close to cooking as possible prevents this degradation.
The three-minute batter rest is not optional, even though it seems like a small detail. This rest allows the flour to fully hydrate and the baking powder to complete its initial reaction. Skipping this step results in slightly denser donuts with less rise.
Flour hydration is gradual—it takes approximately 2-3 minutes for flour particles to fully absorb liquid. Baking powder's reaction also begins immediately but takes a few minutes to fully develop. The rest period maximizes both processes. Skipping the rest means you're relying on residual leavening power during cooking rather than having the batter fully prepared.
Use a cooling rack with parchment paper underneath, not a regular plate. Hot donuts release steam, which condenses underneath and softens the exterior. A cooling rack allows air circulation on all sides, maintaining crispness.
Steam is your enemy for maintaining crispy texture. Any impermeable surface traps steam underneath the donut. A cooling rack with open construction lets steam escape instead of pooling. This is the difference between donuts that stay crispy for 2-3 hours and donuts that become soft within 30 minutes.
Always apply glaze while donuts are still warm (within 5 minutes of cooking). Warm surfaces allow the glaze to evaporate water content and set into a light shell. On cool donuts, the glaze remains tacky indefinitely.
The glaze's water content (milk) evaporates when it contacts the warm donut surface. This water loss causes the glaze to firm up and set. On cool donuts, this evaporation happens too slowly, and the glaze remains sticky. If your donuts cool before you're ready to glaze, briefly reheat them to restore the surface temperature.
Common Mistakes to Avoid
Creating dense, tough donuts through overmixing the batter
Why it happens Cooks often continue folding until the batter looks perfectly smooth, thinking roughness indicates insufficient mixing. But that roughness indicates minimal gluten development, which is correct. Continuing to fold develops gluten networks, creating tough texture. Additionally, old or exhausted baking powder contributes to density—if your baking powder has been open for months, it's lost potency.
Fix Stop folding as soon as you see just a few flour streaks remaining. Don't chase smoothness. If density persists despite proper folding, check your baking powder—replace it if it's been open longer than 3-4 months. Fresh baking powder creates noticeably lighter donuts than expired baking powder.
Creating unevenly cooked apples where some pieces are hard and others are mushy
Why it happens This results from inconsistent apple piece size. Large pieces don't cook through; small pieces over-soften. Additionally, some cooks prep apples too far ahead, allowing enzymatic browning and softening to begin before cooking even starts.
Fix Dice apples into consistent 1/4-inch (0.6cm) pieces and prep them within 15 minutes of cooking. The consistency matters more than perfection—the goal is uniform sizing, not picture-perfect cuts. All apples will then cook through simultaneously, finishing at the same doneness level.
Soft, soggy bottoms that lose crispness quickly instead of staying crispy for hours
Why it happens Hot donuts release steam, which condenses underneath if placed on an impermeable surface like a plate. This condensed steam softens the exterior. Additionally, covering the donuts tightly with plastic wrap traps steam and accelerates softening.
Fix Use a cooling rack with parchment paper underneath, not a plate. Allow air to circulate freely. Don't cover the donuts until they've cooled completely (approximately 1-2 hours). If you must store them, leave them uncovered or loosely covered at room temperature.
Glaze that stays sticky instead of setting into a light shell
Why it happens This happens when you glaze donuts that have cooled too much. The glaze needs a warm surface for water evaporation and setting. Cool donuts don't provide enough heat, so the glaze stays tacky indefinitely.
Fix Always glaze within 5 minutes of cooking, while donuts are still warm. If donuts have cooled before you're ready to glaze, place them in a 300°F (150°C) oven for 2 minutes to refresh the surface temperature, then apply glaze immediately. Once the glaze has set, it stays crispy.
Batter that spills out of the waffle maker or produces thin, overly crispy donuts
Why it happens Overfilling the compartments causes batter to overflow when the lid closes. Underfilling produces thin donuts with disproportionately crispy exteriors because there's insufficient batter to create a tender interior.
Fix Fill each compartment to approximately 3/4 full (about 1/3 cup / 80ml of batter). This amount fills the compartment when the lid closes, producing a proportionally crispy exterior with a tender interior. If your first batch overflows, use less batter next time. If it seems thin, use more batter.
Variations
Spiced Version with Ginger and Cloves
Add 1/8 teaspoon (0.25g) of ground ginger and a pinch of ground cloves (approximately 1/16 teaspoon / 0.1g) to the dry ingredients in step 1. These warming spices intensify the autumnal flavor profile, making the donuts taste closer to apple pie. Reduce the cinnamon slightly to 1/4 teaspoon (0.5g) if you want the additional spices to be more prominent. The apple remains the star, but the spice complexity increases noticeably.
Note: Ground ginger and cloves are potent—use conservative amounts. Too much creates an overwhelming spice flavor that overpowers the apple. The amounts listed are starting points; you can adjust upward if you prefer more intensity. These spices pair excellently with Granny Smith apples' tartness.
Brown Sugar Version with Molasses Notes
Replace the 2 tablespoons (25g) of granulated sugar with 2 tablespoons (20g) of packed brown sugar in step 1. Brown sugar contains molasses, which adds deeper, more complex sweetness that complements apples and spices. The batter will be slightly moister because brown sugar retains water, so reduce the milk by 1 tablespoon (15ml). Everything else remains the same. The donuts will have a slightly darker exterior and richer flavor profile.
Note: Brown sugar's higher moisture content means you may need to adjust liquid slightly. If the batter seems noticeably thicker than described, add milk one tablespoon at a time. The cooking time may be very slightly longer because of the batter's moisture content.
Nutty Version with Toasted Pecans
Toast 1/3 cup (40g) of chopped pecans in a dry skillet over medium heat for approximately 3 minutes until fragrant. Allow them to cool slightly, then fold them in with the apples in step 4 using 8-10 additional folds. The toasted nuts add pleasant texture contrast and a subtle toasted, buttery note. Everything else remains the same.
Note: Toasting nuts before adding is essential—it ensures they remain crispy rather than softening during the waffle cooking. If you add raw nuts, they tend to absorb moisture and become soft rather than crispy. The nuts toast to full flavor intensity during the waffle cooking, so don't skip the initial toasting step.
Gluten-Free Version with Rice Flour Blend
Substitute a 1:1 gluten-free all-purpose flour blend for the all-purpose flour. Most commercial gluten-free blends work directly without modification. The texture will be slightly more delicate, so be extra careful with the folding—reduce folding motions to approximately 10-12 folds total for dry and wet ingredients combined. Everything else remains the same. The donuts will be structurally slightly more fragile but still delicious.
Note: Gluten-free batters are more fragile because gluten is the primary structural protein that holds batters together. Without gluten, the batter relies more heavily on eggs and baking powder for structure. This is why gentle folding is even more important with gluten-free versions. The batter may be slightly thicker—add milk one tablespoon at a time if needed to reach proper consistency.
Pear Version with Slightly Reduced Tartness
Replace half the apple (1/4 cup / 45g) with diced Bartlett or Bosc pear in the same 1/4-inch (0.6cm) pieces. Pears are softer than apples, so cut them slightly larger (closer to 1/2-inch / 1.3cm) to prevent over-softening. Add 1/2 teaspoon (2.5ml) of fresh lemon juice to the batter to brighten the flavors and prevent the donuts from tasting overly mild. Everything else remains the same. The flavor becomes milder and more delicate than the apple-only version.
Note: Pears soften significantly more quickly than apples during cooking. The slightly larger dice compensates for this tendency. The lemon juice adds brightness because pears lack apples' natural tartness. This variation appeals to those who want a softer, less assertive fruit flavor.
Nutrition
Per Serving:
approximately 290
Calories
These values are estimates for one waffle donut with glaze, calculated using standard ingredient databases. Actual values vary based on specific brands (glaze thickness affects sugar content), how much batter adheres to waffle grids versus being cooked, and apple variety. These are approximations for home cooking purposes—for precise nutritional data, consult a dedicated nutrition calculator or nutrition professional.
Storage & Tips
Room Temperature
Glazed donuts stay reasonably crisp for approximately 2-3 hours at room temperature if left uncovered or loosely covered. After this window, they soften noticeably as moisture redistributes. Don't cover them tightly in plastic wrap because trapped steam accelerates softening. After 3 hours, store in an airtight container in the refrigerator rather than at room temperature.
Refrigerator
Place cooled, unglazed donuts in an airtight container for up to 3 days. They firm up when chilled due to starch retrogradation (the starch molecules restructuring as they cool). Glazed donuts can be refrigerated but are less pleasant because the glaze becomes brittle and can separate from the donut surface.
Freezer
Wrap individual unglazed donuts in plastic wrap and place them in a freezer bag for storage up to 2-3 weeks. Freeze before glazing because the glaze becomes grainy and separated when thawed. Label with the date so you know when you froze them. Don't freeze glazed donuts—the glaze separates and becomes unappetizing during the freeze-thaw cycle.
FAQ
Can I make the batter ahead of time and cook it later?
You can mix the dry ingredients the night before and store in an airtight container at room temperature. However, mix the wet ingredients and combine everything just before cooking. Batter doesn't hold well because baking powder starts reacting with liquid immediately upon mixing. If you wait more than 15 minutes after combining wet and dry, you'll lose some rise and the texture won't be as tender. For meal prep purposes, cook the donuts in advance and reheat them rather than trying to store batter.
Why did batter spill out of my waffle maker?
This typically means you filled the grid more than 1/3 cup (80ml), or the batter was too wet. If you're using particularly juicy apples, they can add extra moisture. The solution is using slightly less batter per waffle (closer to 1/4 cup / 60ml plus 2 tablespoons / 30ml) until you understand how your specific waffle maker handles the mixture. Most dripping happens on the first batch—you'll quickly learn the right amount.
What if my apples aren't very tart?
Sweeter apple varieties mean the batter becomes less balanced in flavor overall. You can add 1/2 teaspoon (2.5ml) of fresh lemon juice to the batter to brighten it. Alternatively, reduce the sugar in the glaze by a tablespoon, or increase the cinnamon and nutmeg slightly (add an additional 1/8 teaspoon / 0.25g of each) to add complexity that counterbalances sweetness. You could also skip the glaze entirely—the donuts stand alone without it.
Can I use a different style of waffle maker?
Yes, though cooking time varies. Classic grid waffle makers work perfectly. Belgian waffle makers with larger compartments need proportionally more batter (closer to 1/2 cup / 120ml) and may require 4-6 minutes cooking time. Rotating waffle makers often cook faster (3-4 minutes) because both sides cook simultaneously. American waffle makers (thinner, crispier texture) work best with this recipe. Specialty waffle makers with different grid patterns still work; expect slightly different shapes and possibly different cooking times.
Is there a way to make these less sweet?
Reduce the sugar in the batter from 2 tablespoons (25g) to 1 tablespoon (12g), and make the glaze with minimal powdered sugar to reach drizzling consistency—you could use as little as 3/4 cup (90g) instead of 1 cup (120g). The apples provide sweetness, so you don't need as much added sugar. You can also skip the glaze entirely—the donuts taste excellent without it.
Can I double the recipe?
Yes, this recipe doubles cleanly. Double all ingredients and mix in two batches of batter if possible to avoid overmixing. Cooking time doesn't change—each donut still takes 3-5 minutes regardless of total batch size. You'll simply be cooking more batches back-to-back. Be extra careful with folding in the larger batch, as it's easier to overmix accidentally with more volume.
Final Thoughts
These waffle donuts represent a specific intersection of technique and ingredient understanding. They're simple enough to make on a casual morning but specific enough to require respect for each component—the flour's gluten development, the baking powder's timing, the apple's size consistency, the waffle maker's temperature. The reward for this attention is donuts that are distinctly better than the careless alternative: crispy outside, tender inside, with distinct apple pieces and balanced spicing. Once you've made them correctly once, you understand why each step matters. That understanding then extends to other baking—you recognize gluten development, you respect leavening timing, you understand moisture management. This recipe is less about the specific combination of ingredients and more about understanding fundamental baking principles that apply everywhere.