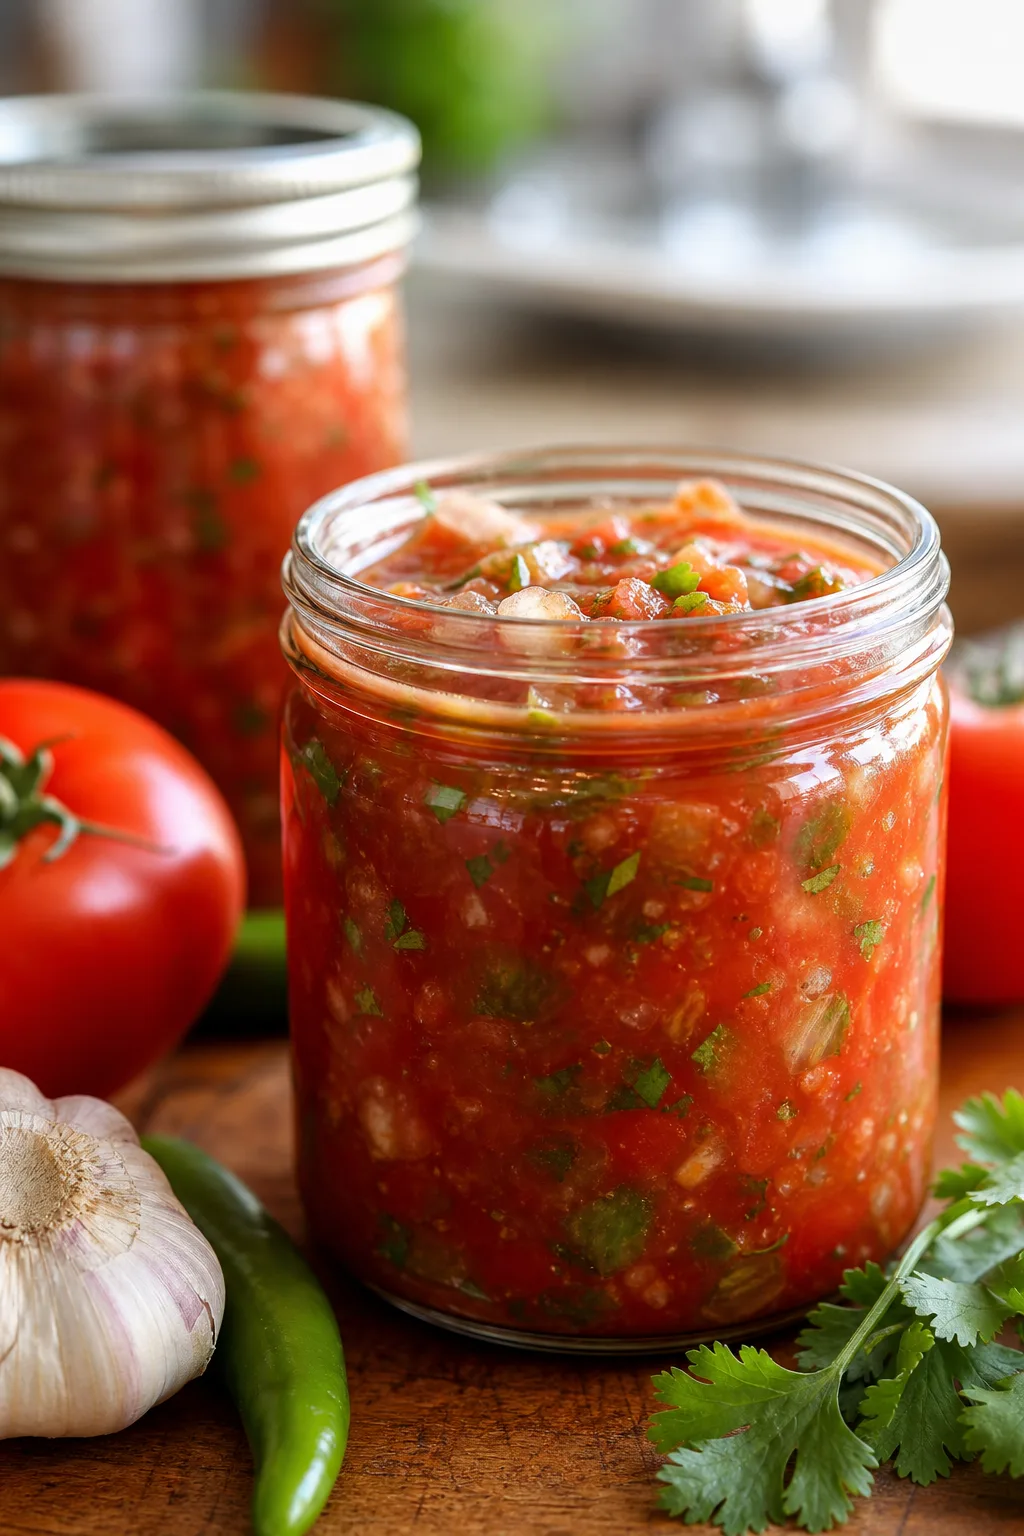
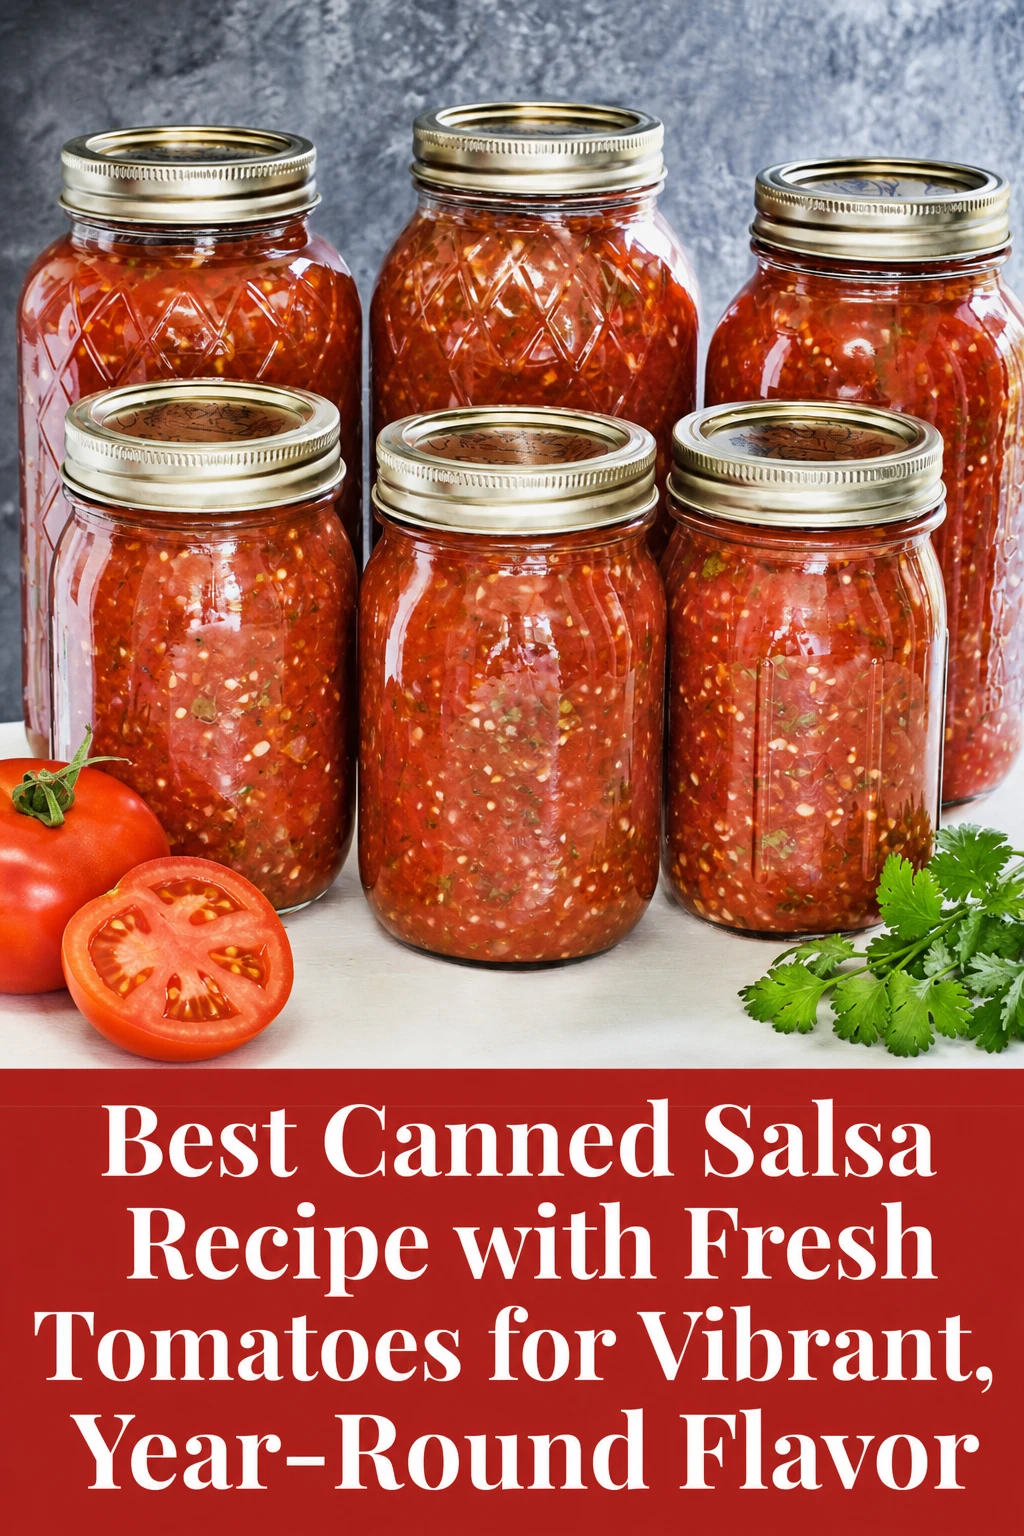
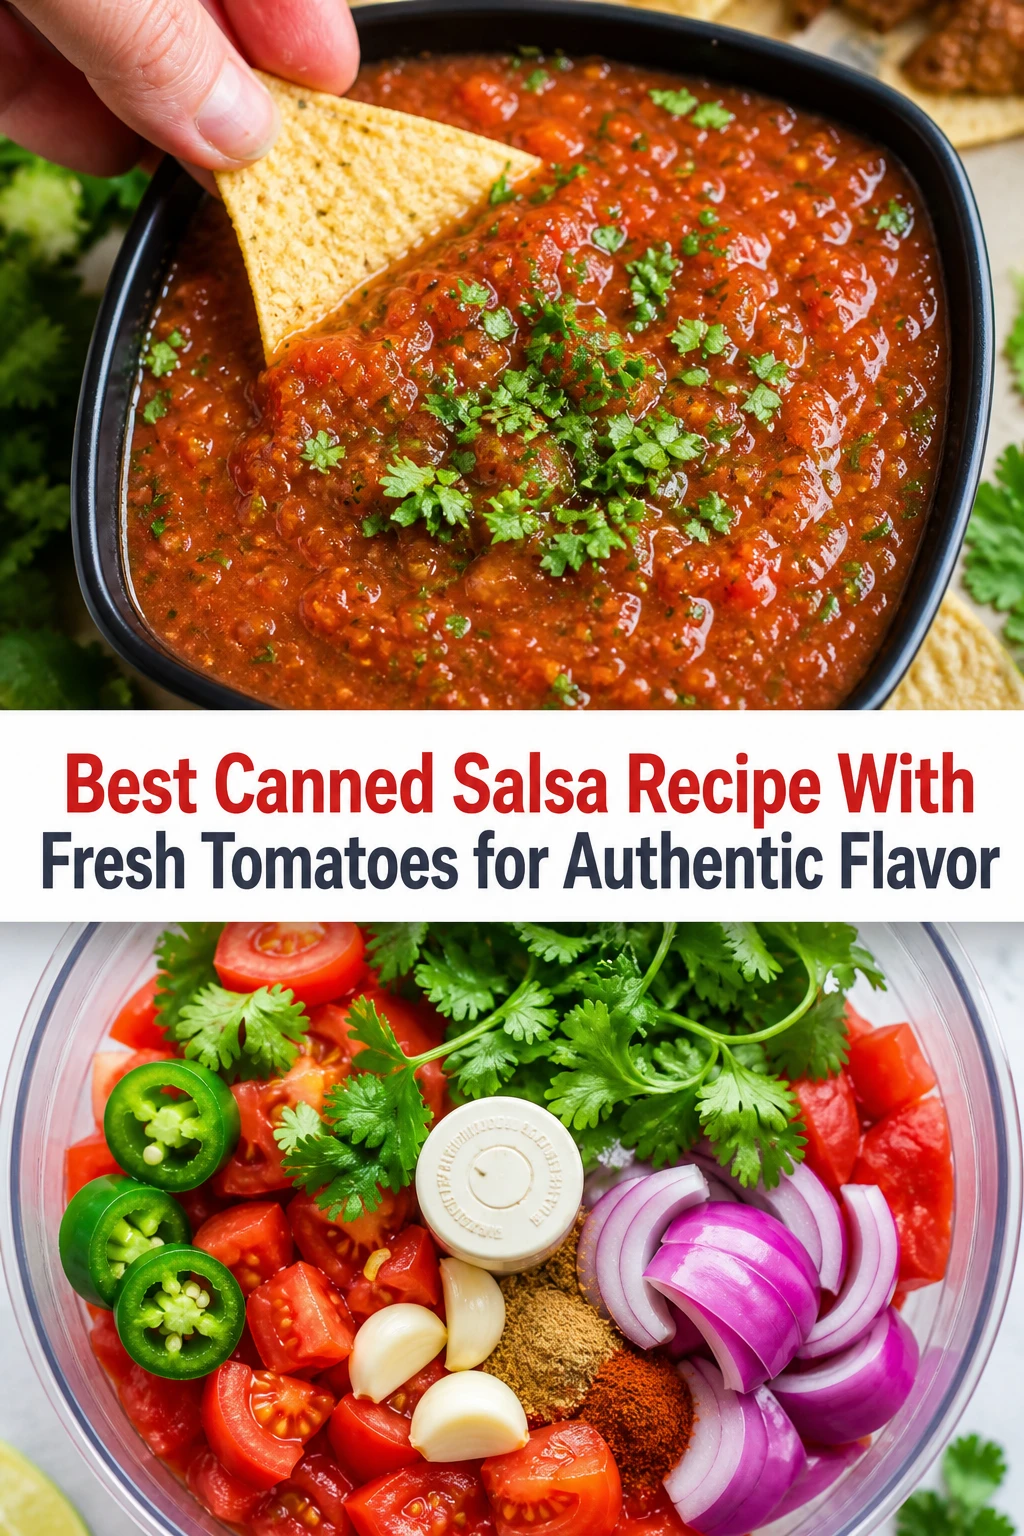
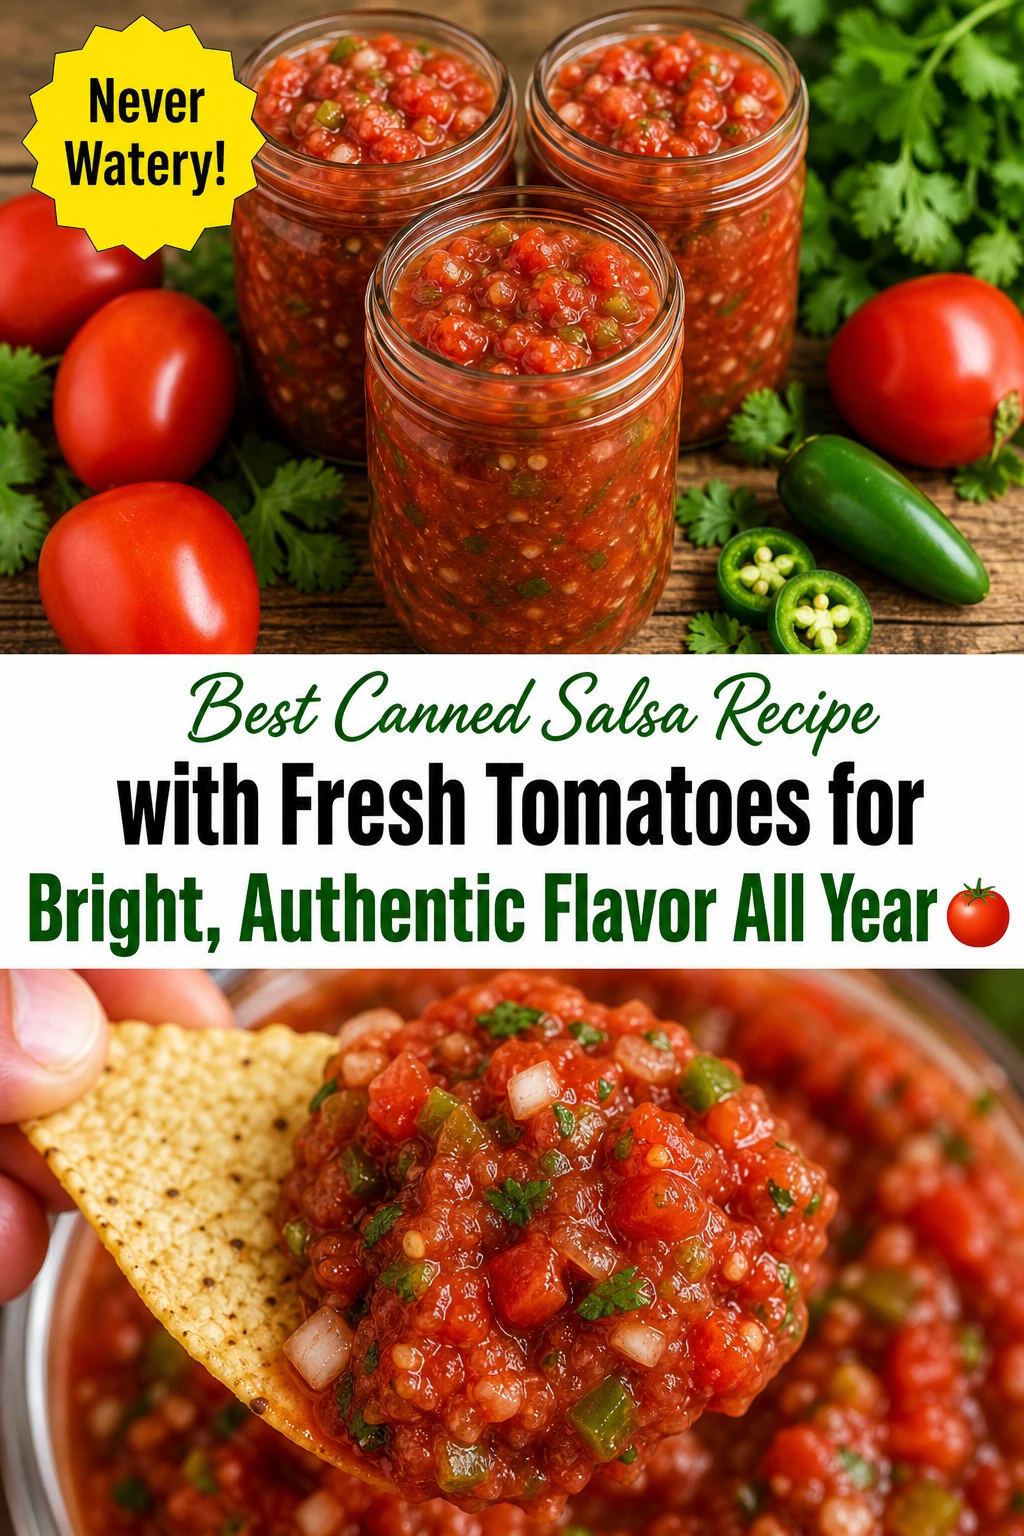
This canned salsa recipe uses fresh tomatoes for a bright, authentic flavor that shines through every jar. It’s easy to make and perfect for preserving summer’s best tomatoes to enjoy all year round. I love how fresh and vibrant it tastes straight from the jar!
Introduction
I first tried canning salsa with fresh tomatoes a few summers ago when my garden was overflowing. I wanted a way to enjoy that fresh, bright tomato flavor long after tomato season ended. Most store-bought salsas just don’t capture that vibrant, homemade taste, so I set out to perfect my own canned version. What makes this recipe stand out is the balance of fresh ingredients and the canning process that locks in the garden-fresh flavor without turning the salsa mushy or dull. I peel the tomatoes carefully to keep the texture just right, and I add a splash of vinegar and a pinch of sugar to brighten the flavors and preserve the salsa safely. The result is a salsa that tastes like summer sunshine in a jar—chunky, zesty, and fresh with just the right kick from the jalapenos. I love having these jars on hand for quick snacks, family gatherings, or when I want to add a homemade touch to tacos or grilled meats. It’s one of those recipes that feels like a little celebration of summer every time you open a jar. Plus, once you get the hang of the canning steps, it’s surprisingly simple and rewarding to make. I hope you enjoy it as much as my family does!
What You'll Need
Approximately 6 cups canned salsa, 6 servings
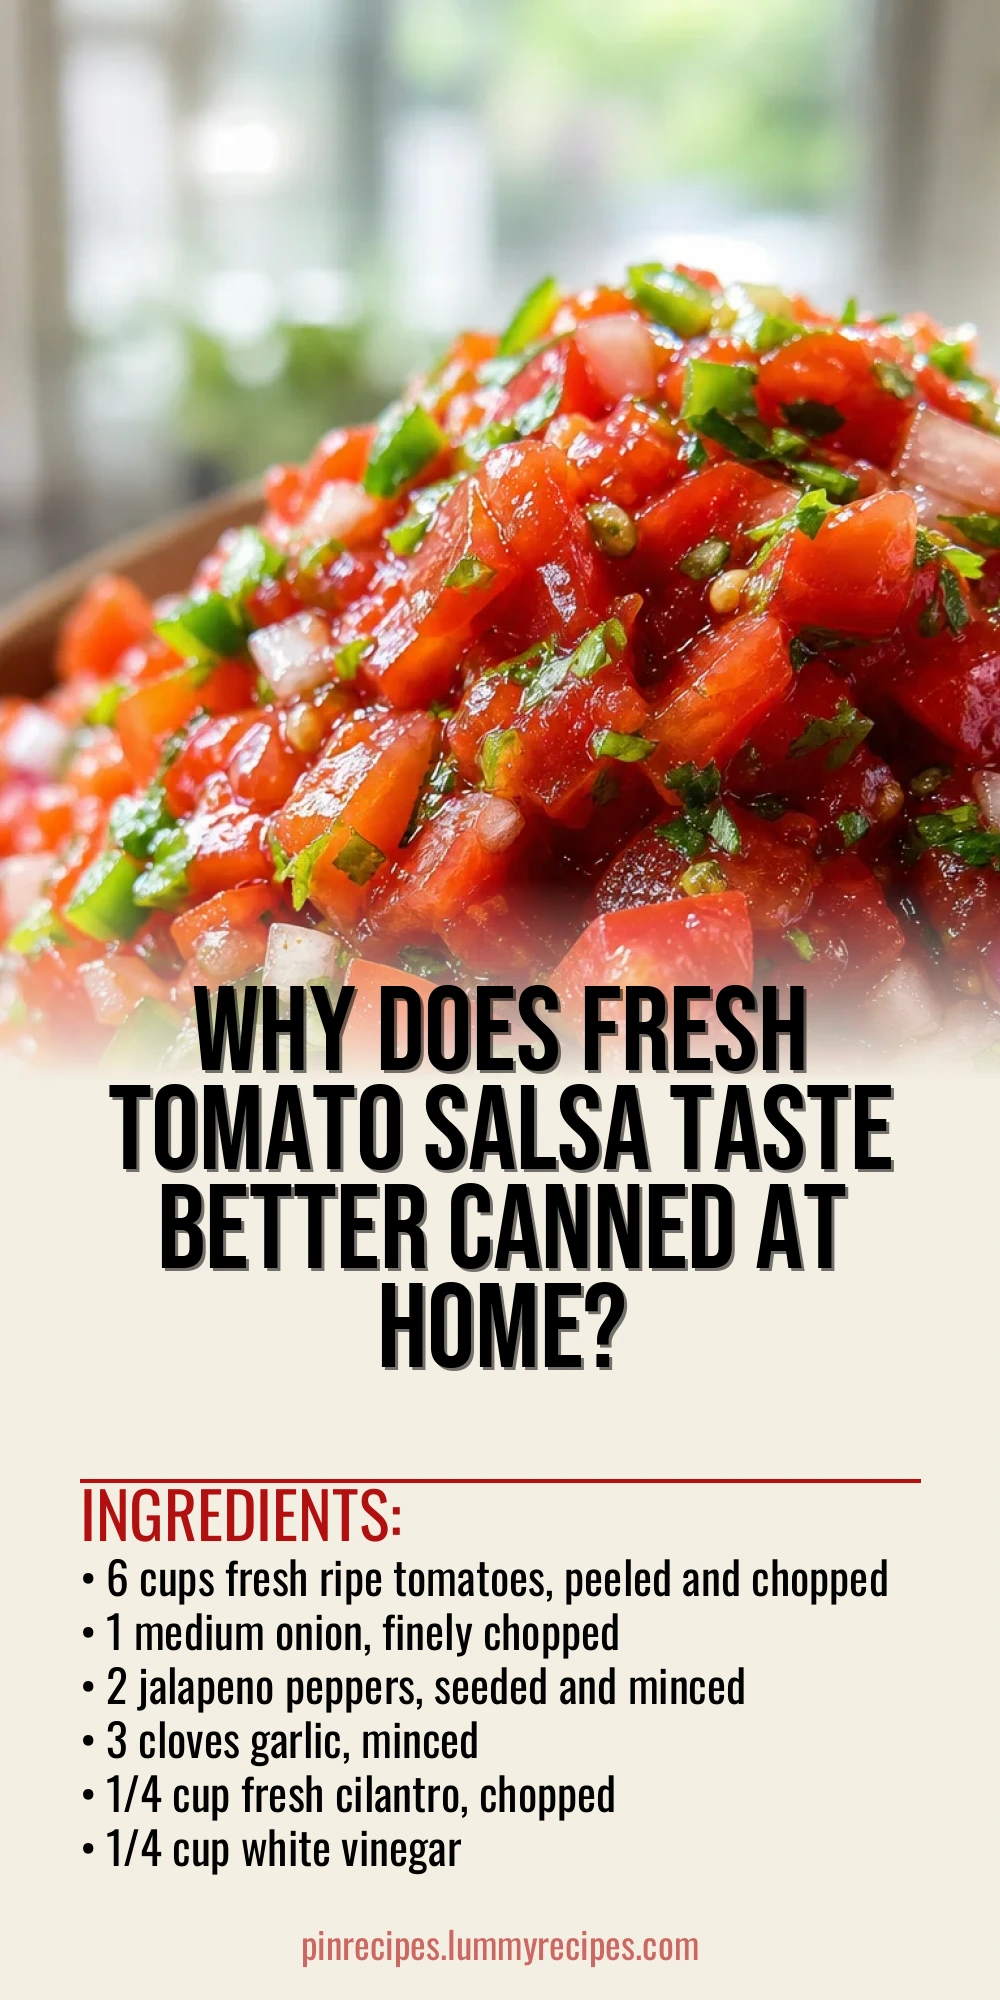
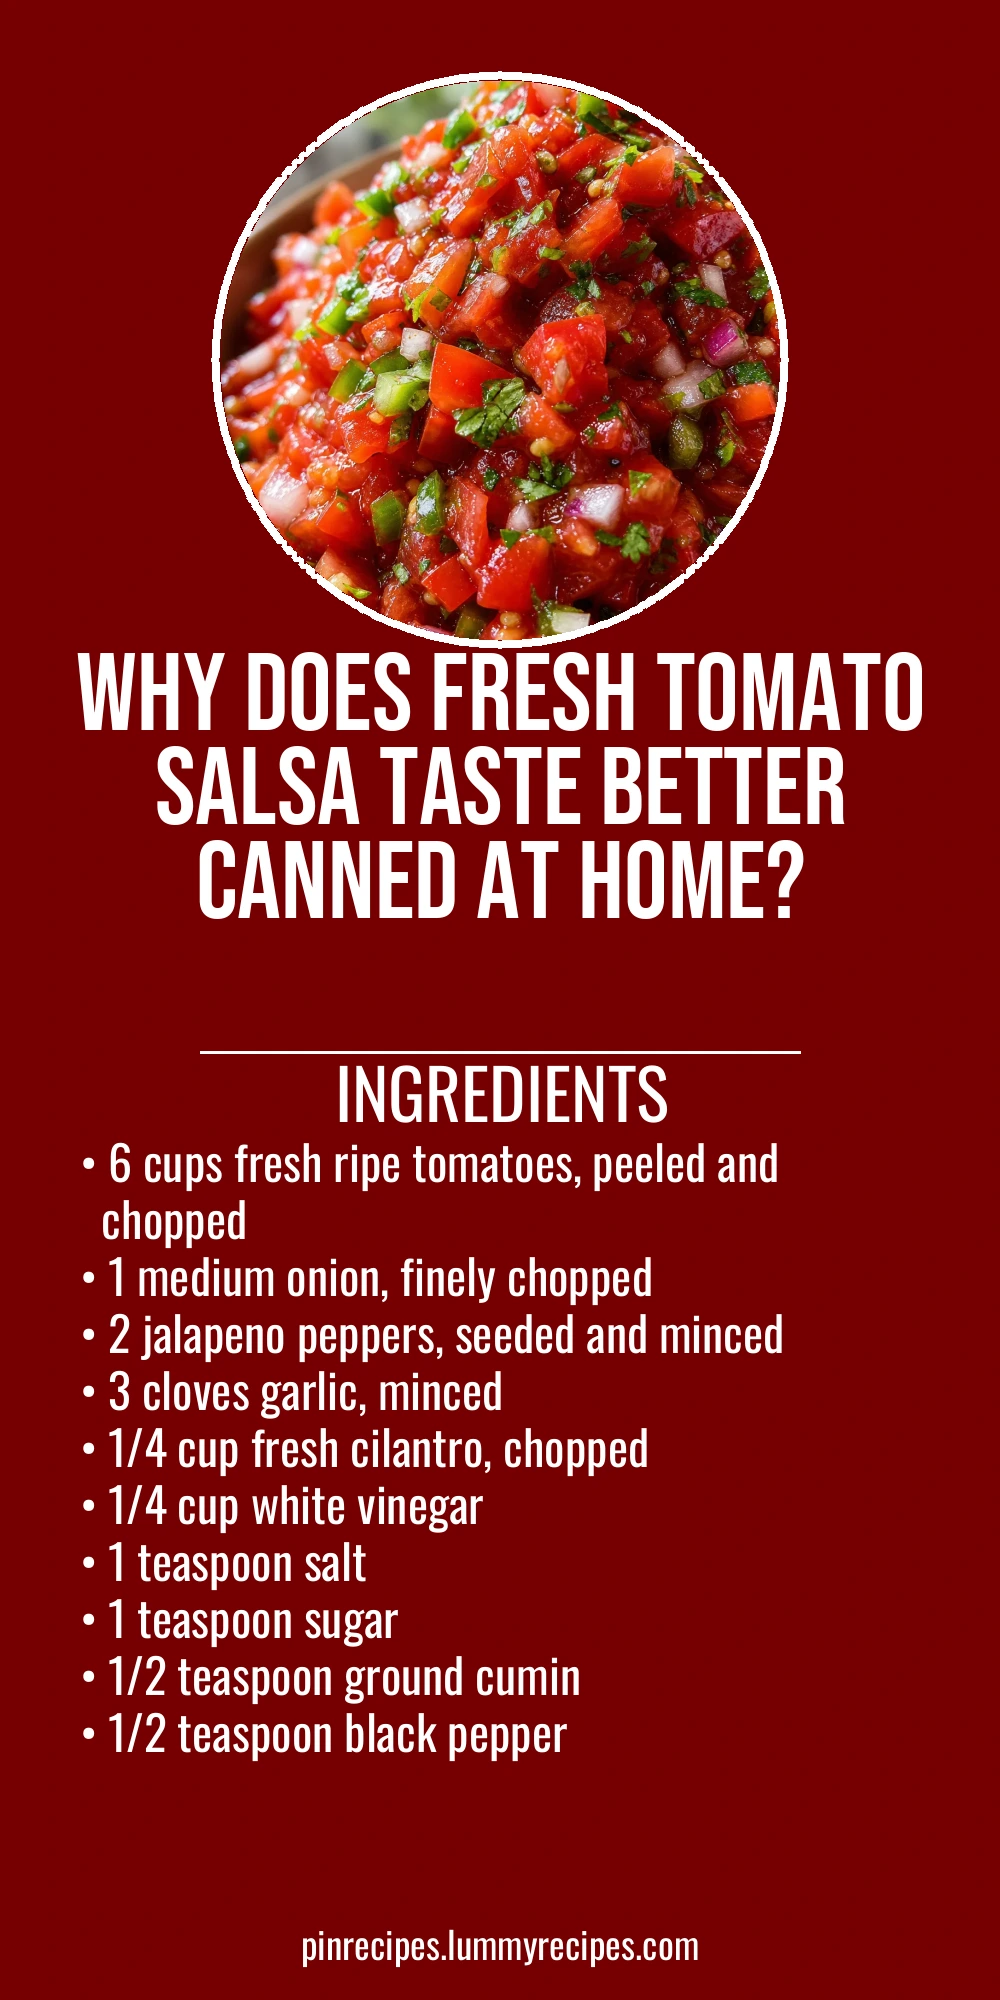
- 6 cups fresh ripe tomatoes, peeled and chopped
- 1 medium onion, finely chopped
- 2 jalapeno peppers, seeded and minced
- 3 cloves garlic, minced
- 1/4 cup fresh cilantro, chopped
- 1/4 cup white vinegar
- 1 teaspoon salt
- 1 teaspoon sugar
- 1/2 teaspoon ground cumin
- 1/2 teaspoon black pepper
How To Do It
Step 1
Start by peeling and chopping your fresh tomatoes. To peel easily, score a small X on the bottom of each tomato and blanch them in boiling water for about 30 seconds, then transfer to an ice bath. The skins will slip right off. This step is crucial because tomato skins can add a tough texture to salsa and may interfere with the canning process. After peeling, chop the tomatoes into bite-sized pieces to keep the salsa chunky and fresh. Avoid over-processing the tomatoes here; you want a rustic texture rather than a puree.
⏱ Time: 15
✓ Doneness: Tomato skins should come off easily, and chopped tomatoes should be chunky but not mushy.
Step 2
Combine the chopped tomatoes, finely chopped onion, minced jalapenos, garlic, and cilantro in a large pot. Add the vinegar, salt, sugar, cumin, and black pepper. Bring the mixture to a gentle boil over medium heat, stirring occasionally. The vinegar and salt help preserve the salsa and balance the acidity. Boiling for about 10-15 minutes helps meld the flavors without softening the tomatoes too much. Rushing this step or skipping the boil can result in uneven flavor and texture, and may affect the shelf life of your canned salsa.
⏱ Time: 15
✓ Doneness: The salsa should be bubbling gently with the ingredients well combined and aromatic.
Step 3
While the salsa simmers, sterilize your canning jars and lids by boiling them in water for at least 10 minutes. This step is essential to prevent bacterial contamination and ensure your salsa stays safe and fresh on the shelf. Use tongs to remove the jars and place them on a clean towel to dry. Never skip sterilizing as it directly affects the safety and shelf life of your canned salsa.
⏱ Time: 10
✓ Doneness: Jars and lids should be hot to the touch and free of any dust or debris.
Step 4
Ladle the hot salsa carefully into the sterilized jars, leaving about 1/2 inch of headspace at the top. This space allows for expansion during processing and prevents the jars from cracking. Use a non-metallic utensil to remove air bubbles by gently running it around the inside edge of the jar. Wipe the rims with a clean damp cloth to ensure a good seal before placing the lids on tightly but not overly tight.
⏱ Time: 10
✓ Doneness: Jars should be filled without overflow or bubbles trapped inside, rims clean and dry.
Step 5
Process the jars in a boiling water bath for 15 minutes. Make sure the water covers the jars by at least an inch. This step is vital for killing any remaining bacteria and sealing the jars properly. Timing is important—under-processing can lead to spoilage, while over-processing might affect texture. After processing, carefully remove the jars and let them cool undisturbed for 12-24 hours. You’ll hear the satisfying pop of the lids sealing as they cool.
⏱ Time: 15
✓ Doneness: Lids should be concave and not flex when pressed, indicating a proper seal.
Step 6
Once cooled, check the seals by pressing the center of each lid. If it doesn’t pop back, the jar is sealed correctly. Any unsealed jars should be refrigerated and used within a week. Label your jars with the date and store them in a cool, dark place. Properly canned salsa can last up to a year. Always check for signs of spoilage before use, such as off smells or mold.
⏱ Time: 5
✓ Doneness: Lids remain firmly sealed, jars stored properly with clear labeling.
Step 7
Before serving, shake the jar gently to mix the flavors. Open and taste the salsa; the fresh tomatoes should shine with a balanced tang from the vinegar and a mild heat from the jalapenos. If you prefer a smoother texture, you can pulse the salsa briefly in a food processor before canning, but I love the chunky feel of this recipe. Serve with tortilla chips, tacos, or as a topping for grilled dishes.
⏱ Time: 5
✓ Doneness: Salsa is vibrant, chunky, and well balanced in flavor.
Step 8
If you want to increase the heat, add more jalapenos or a pinch of cayenne pepper during cooking. For a milder salsa, remove all seeds and membranes from the peppers. Adjusting the salt and sugar to taste after cooking is possible, but do so cautiously to maintain preservation safety. Always keep track of any changes to ensure your salsa stays delicious and safe.
⏱ Time: 5
✓ Doneness: Heat level matches your preference without overpowering the fresh tomato flavor.
Step 9
Finally, enjoy your canned salsa with family and friends! It’s great for meal prep and makes a thoughtful homemade gift. Remember, the quality of your fresh tomatoes is key, so choose ripe, flavorful ones for the best results. This recipe is a wonderful way to preserve summer’s bounty and enjoy it all year long.
⏱ Time: 2
✓ Doneness: Salsa enjoyed fresh from the jar with bright, balanced flavor.
Pro Tips
Always peel your tomatoes before canning salsa.
Tomato skins can be tough and create an unpleasant texture in salsa. They also can interfere with the jar sealing process during canning. Peeling ensures a smoother, more consistent salsa and a safer seal.
Use a boiling water bath for processing the jars.
This method sterilizes the jars and kills any bacteria that could spoil the salsa. It also creates a vacuum seal that preserves the salsa for months. Skipping this step risks foodborne illness and spoilage.
Leave proper headspace in jars when filling with salsa.
Headspace allows the salsa to expand during processing without cracking the jars. It also helps create a vacuum seal. Too little headspace can cause overflow; too much can trap air, leading to spoilage.
Use fresh, firm jalapenos and remove seeds for milder salsa.
The seeds and membranes contain most of the heat. Removing them controls spiciness without sacrificing flavor or texture. Fresh peppers also contribute crispness and brightness.
Add cilantro at the end of cooking or just before canning.
Cilantro’s flavor is delicate and can fade or turn bitter if cooked too long. Adding it late preserves its fresh, bright taste, enhancing the salsa’s overall flavor.
Use canning or kosher salt without additives.
Additives in table salt can cloud the salsa and affect texture. Pure salt ensures clarity and better flavor balance, which is important for a visually appealing and tasty salsa.
Check seals after jars cool and refrigerate any unsealed jars.
Properly sealed jars keep salsa safe and shelf-stable. Unsealed jars should be refrigerated and consumed quickly to avoid spoilage and food safety risks.
Common Mistakes to Avoid
Skipping the peeling of tomatoes.
Why it happens Many cooks want to save time and think peeling isn’t necessary, but tomato skins can cause tough texture and interfere with sealing.
Fix Always blanch and peel tomatoes before chopping. This ensures a smooth salsa texture and helps jars seal properly during canning.
Not sterilizing jars and lids before canning.
Why it happens Some assume boiling salsa alone is enough or underestimate contamination risks.
Fix Sterilize jars and lids by boiling for at least 10 minutes to prevent bacteria and ensure safe preservation.
Not leaving enough headspace in jars.
Why it happens Rushing or misjudging jar filling can cause overflow or poor seals.
Fix Leave 1/2 inch headspace to allow for expansion and proper vacuum sealing during processing.
Using low-acidity vinegar or skipping vinegar.
Why it happens Some try to reduce vinegar for milder flavor but compromise safety.
Fix Use 5% acidity white vinegar as specified to ensure safe preservation and flavor balance.
Overcooking salsa until tomatoes are mushy.
Why it happens Trying to speed cooking or thinking longer cooking improves flavor.
Fix Simmer just until ingredients meld, about 10-15 minutes, to keep fresh texture and vibrant flavor.
Variations
Spicy Roasted Tomato Salsa
Roast your tomatoes, jalapenos, and garlic before chopping and cooking to add a smoky depth. This variation intensifies flavor and adds a subtle char that’s perfect for BBQs or tacos.
Note: Roasting reduces moisture slightly, so simmer salsa a bit less to avoid over-thickening.
Mild Fresh Tomato Salsa
Remove all seeds and membranes from jalapenos and reduce the amount used for a gentle heat. Add a little extra cilantro and a squeeze of lime juice for brightness.
Note: Lower heat means the salsa may taste fresher but less spicy; adjust salt and vinegar carefully to maintain balance.
Chunky Garden Salsa
Add diced bell peppers and corn kernels for extra texture and sweetness. This colorful salsa is great for dipping or as a fresh salad topping.
Note: Additional vegetables increase moisture; simmer salsa slightly longer to thicken before canning.
Tomatillo and Fresh Tomato Salsa
Combine fresh tomatillos with tomatoes for a tangy twist. The tomatillos add acidity and a unique flavor that pairs well with the classic ingredients.
Note: Tomatillos have higher acidity; reduce vinegar slightly and taste before canning to maintain proper pH.
No-Vinegar Fresh Tomato Salsa
Use lemon juice instead of vinegar for a citrusy acidity. This variation is great if you prefer a different acid profile but still want safe preservation.
Note: Lemon juice must be bottled and added in the correct quantity to ensure safe acidity for canning.
Nutrition
Per Serving:
Nutritional values are estimates and may vary based on specific ingredients used.
Storage & Tips
Room Temperature
Canned salsa stored in sealed jars can safely keep at room temperature in a cool, dark pantry for up to 12 months. Avoid exposure to direct sunlight or heat sources to maintain flavor and safety.
Refrigerator
Once opened, store salsa in an airtight container in the refrigerator and consume within 7 days. Flavor may mellow slightly but will remain fresh. Refrigeration slows spoilage and maintains texture.
Freezer
Freezing canned salsa is not recommended as it can alter texture and cause separation. If needed, freeze in airtight containers for up to 3 months and thaw in the refrigerator before use; expect some texture changes.
Reheating
Salsa is typically served cold or at room temperature. If desired warm, heat gently on the stovetop or microwave until just warm. Avoid boiling to preserve fresh flavor and texture.
Make Ahead
You can prepare the salsa base a day ahead and refrigerate it overnight. When ready, reheat gently and proceed with canning steps. This saves time on canning day while preserving freshness.
FAQ
Can I use any type of tomato for canned salsa?
While you can use many types, plum or Roma tomatoes are preferred because they have less water and more flesh, resulting in thicker salsa. Avoid overly ripe or mealy tomatoes as they can make the salsa watery and affect texture.
Is it safe to can salsa without vinegar?
Vinegar is essential for safe canning because it provides the acidity needed to prevent bacterial growth. If you prefer a different acid, like lemon juice, it must be bottled and used in the correct quantity. Skipping acid altogether is unsafe.
How long does canned salsa last on the shelf?
Properly canned salsa stored in a cool, dark place can last up to 12 months. Always check the seal before use and look for signs of spoilage such as off smells, mold, or bubbling.
Can I make this salsa spicier?
Absolutely! Increase the amount of jalapenos or add a pinch of cayenne pepper. Remember to remove seeds if you want to control heat more precisely. Adjust gradually to suit your taste.
What if my jars don’t seal properly?
Unsealed jars should be refrigerated and used within a week. Make sure jars and lids are sterilized, rims are clean, and headspace is correct. Tighten lids properly but not overly tight before processing.
Can I freeze canned salsa instead of storing it on the shelf?
Freezing is possible but not ideal because it can change the salsa’s texture and cause separation. If freezing, use airtight containers and consume within 3 months for best quality.
Why do I need to remove tomato skins?
Tomato skins can be tough and may cause an unpleasant texture in salsa. They also can interfere with the sealing process during canning, potentially causing spoilage.
Can I use dried cilantro instead of fresh?
Fresh cilantro is preferred for its bright, fresh flavor. Dried cilantro lacks the same aroma and can taste muted or bitter when cooked, so it’s best to use fresh if possible.
Final Thoughts
I hope you enjoy making and sharing this fresh tomato canned salsa as much as my family does. It’s a simple way to preserve summer’s best flavors and bring a homemade touch to any meal. Happy canning!